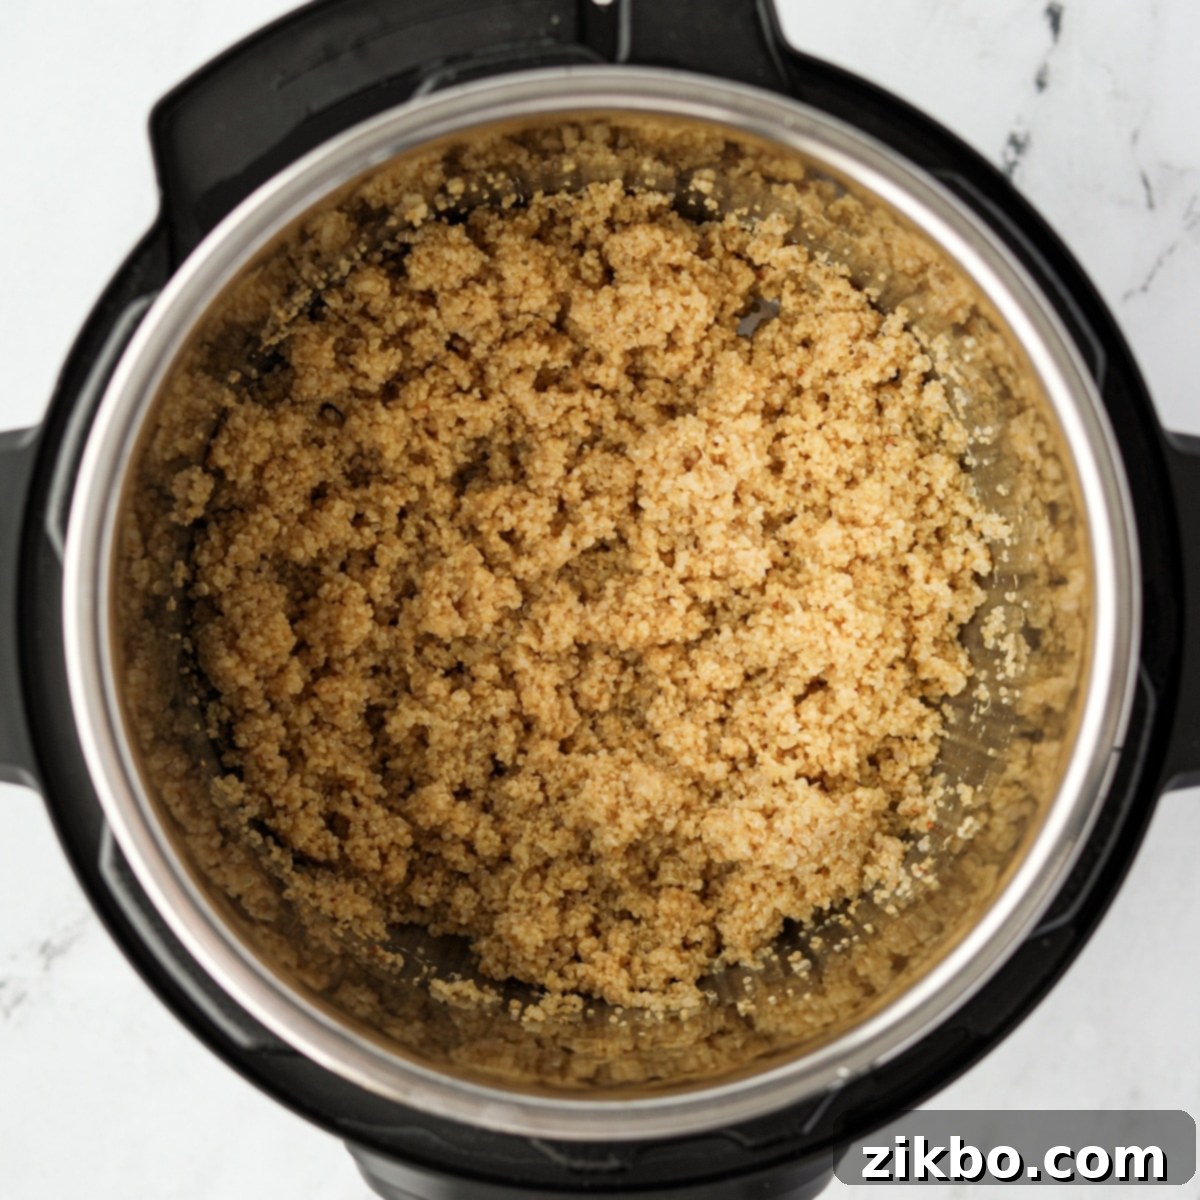
Perfectly Fluffy Instant Pot Quinoa: Your Ultimate Foolproof Recipe
If you’ve ever struggled to cook quinoa perfectly on the stovetop, resulting in either mushy or crunchy grains, then you absolutely need this Instant Pot Quinoa recipe. This method is a game-changer, promising perfectly fluffy, individual grains every single time. It’s an incredibly easy side dish, a stellar component for meal prep, a healthy base for salads, and so much more! Best of all, it’s ready in less than 30 minutes with minimal effort.
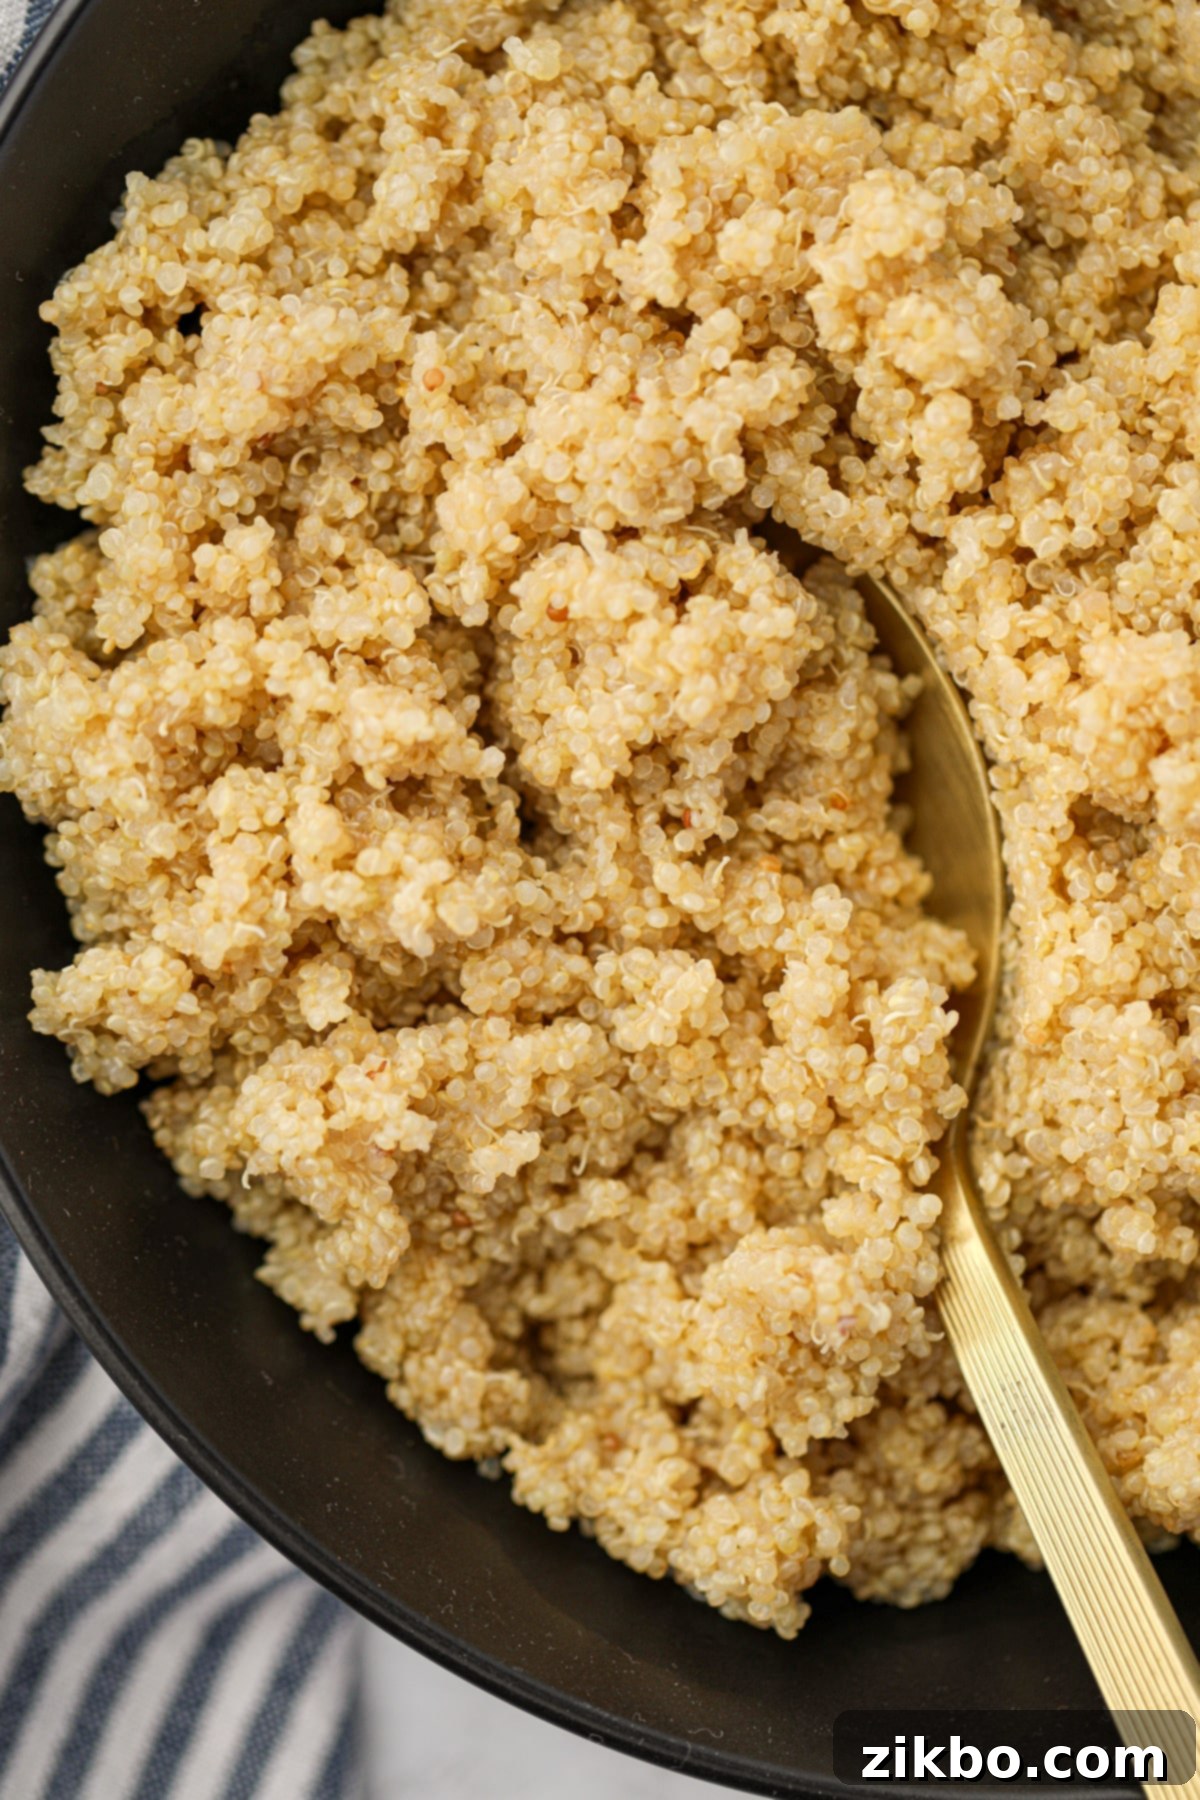
The Instant Pot has revolutionized cooking grains and seeds, making quick work of staples like Instant Pot rice. Now, get ready to fall in love with how effortless and reliable it makes cooking quinoa. This recipe is completely hands-off, meaning no more anxiously watching a pot boil over or constantly checking for doneness. Just set it and forget it, and you’ll be rewarded with perfectly cooked quinoa.
This simple approach to pressure cooker quinoa is not just a recipe; it’s a major meal prep hack. Prepare a large batch at the start of your week, and you’ll have a versatile, nutritious base ready for countless meals. We’re confident you’ll adore this method as much as we do!
Why You’ll Love This Instant Pot Quinoa Recipe
There are countless reasons to make quinoa a regular part of your diet, and the Instant Pot makes it incredibly simple:
- Consistently Perfect Quinoa: Say goodbye to guesswork! This method consistently yields light, fluffy, and nutty quinoa with a pleasant chew, never mushy or undercooked. Each grain remains distinct and perfectly cooked.
- Effortless & Hands-Off: Unlike stovetop cooking that demands constant attention, the Instant Pot handles everything. Simply add your ingredients, set the timer, and walk away. No more watching the pot, adjusting heat, or worrying about scorching.
- Ideal for Meal Prepping: Quinoa is a meal prep superstar. Cook a generous batch once, and you’ll have a healthy, high-protein component ready for quick breakfasts, lunches, and dinners throughout the week. It reheats beautifully and holds up well in the fridge.
- Nutrient-Rich & Satisfying: Quinoa is one of the few plant-based foods considered a complete protein, containing all nine essential amino acids. It’s also packed with fiber, iron, magnesium, and B vitamins. Adding it to your meals provides a significant boost of satisfying protein and essential nutrients.
- Incredibly Versatile: From savory main dishes and vibrant salads to wholesome breakfast bowls, cooked quinoa is an incredibly adaptable ingredient. It easily replaces rice or other grains and absorbs flavors wonderfully.
Essential Ingredients for Instant Pot Quinoa
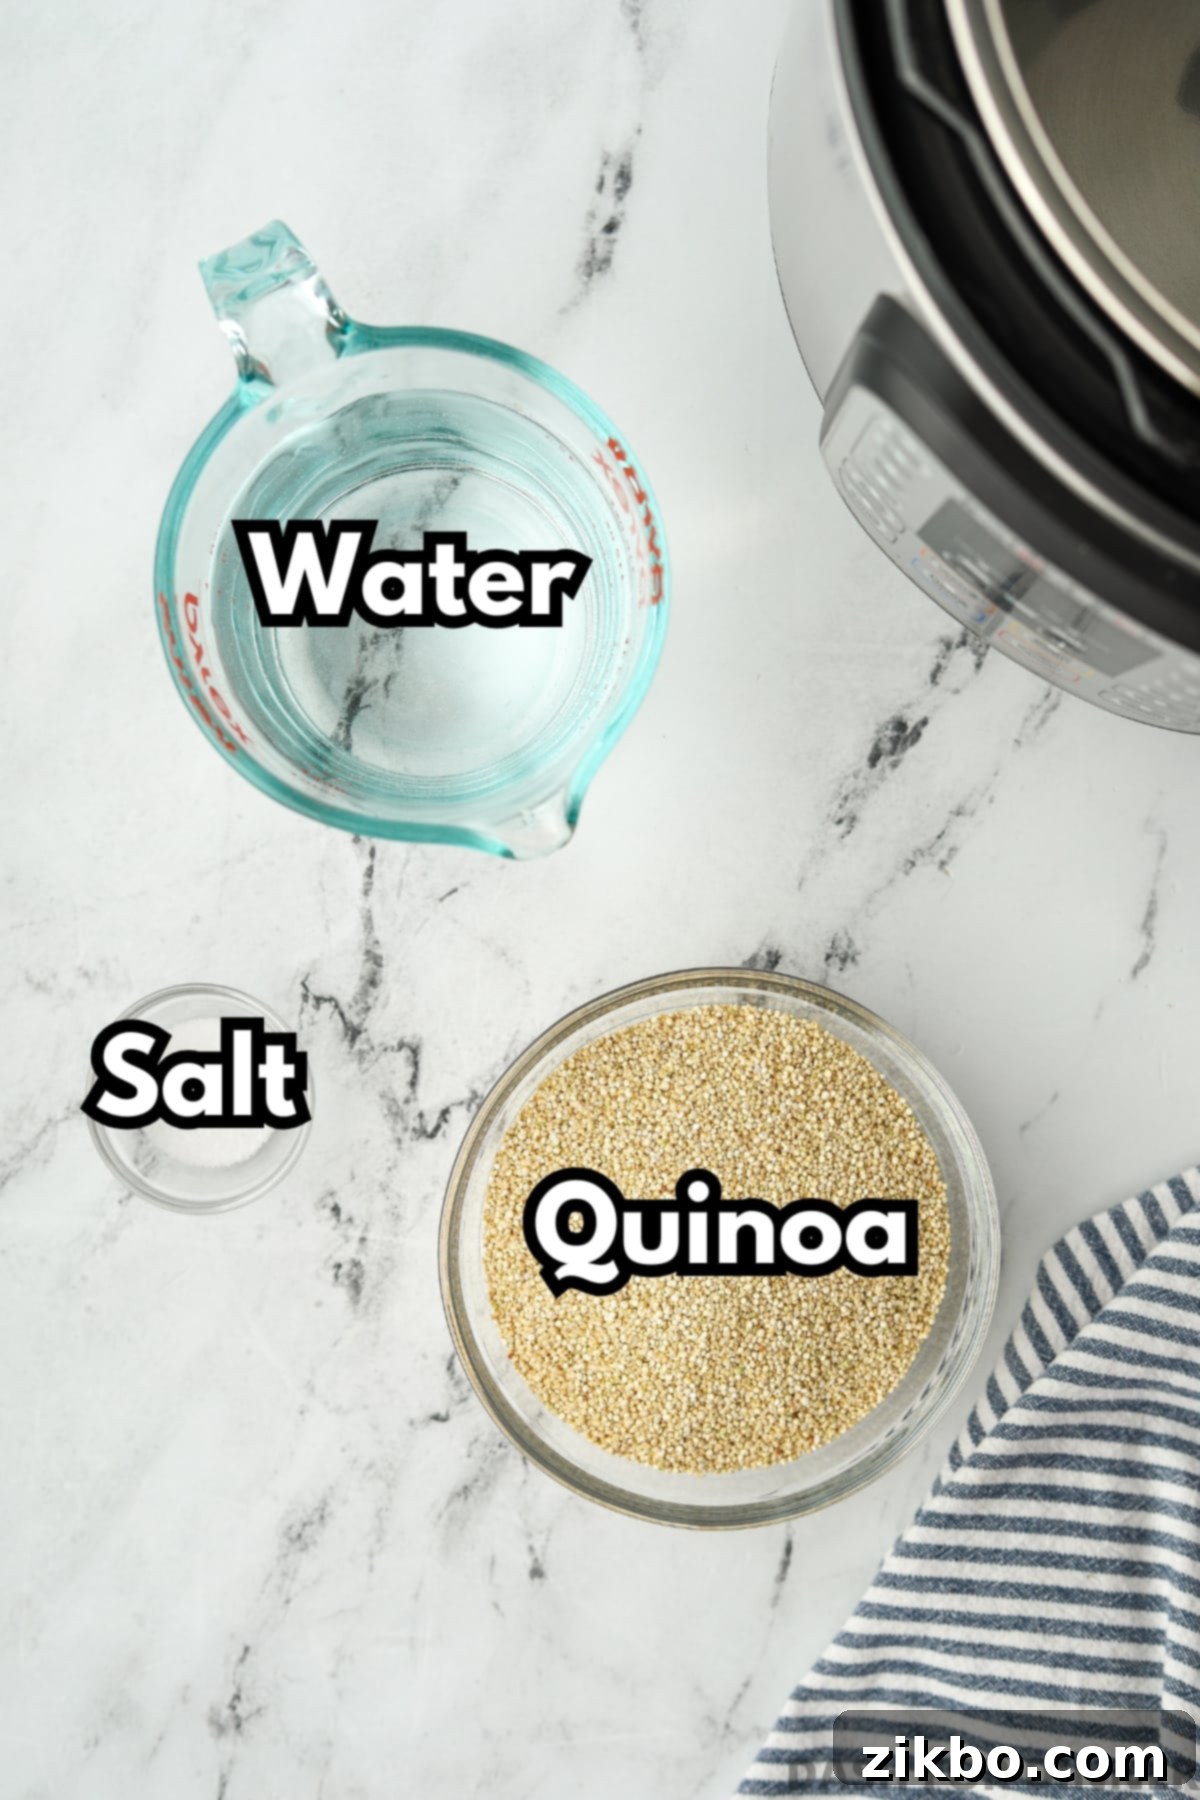
You only need a few basic ingredients to achieve Instant Pot quinoa perfection:
- Quinoa: While white quinoa is the most widely available and cooks up light and fluffy, you can absolutely use tri-color, black, or red quinoa. Each type offers a slightly different texture and subtle flavor profile, but the cooking method remains the same. Most commercially packaged quinoa today is pre-rinsed to remove saponin, a natural coating that can cause a bitter, soapy taste. However, if you’ve purchased quinoa from bulk bins or a farmer’s market, it’s a good idea to rinse it thoroughly before cooking (more on this below).
- Water: This recipe calls for 2 cups of water. The precise ratio of liquid to quinoa is crucial for achieving that perfect texture in the Instant Pot. If you choose to rinse your quinoa, you’ll need to slightly reduce the amount of water to account for the extra moisture. For added flavor and richness, feel free to swap water for a high-quality vegetable broth or chicken broth.
- Salt: A small amount of salt significantly enhances the natural, earthy, and nutty flavors of quinoa, preventing it from tasting bland. It’s a simple but impactful addition that elevates the final dish.
Recommended Tools:
While the ingredients are minimal, the right equipment ensures your success:
- Instant Pot: A 6-quart Instant Pot model is ideal for this recipe. If you own an 8-quart model, consider doubling the recipe to ensure there’s sufficient liquid for the pot to come up to pressure properly. For smaller 3-quart models, the base recipe works perfectly as is.
- Fine Mesh Strainer: Essential if your quinoa is not pre-rinsed.
- Measuring Cups and Spoons: For accurate ingredient measurements.
- Spatula or Spoon: For stirring.
- Fork: For fluffing the cooked quinoa.
Top Tip: Enhance Flavor with Broth!
For an extra layer of flavor and a nutritional boost, cook your quinoa in broth instead of water. Use bone broth for added protein and richness, or a savory vegetable broth for a delicious vegan-friendly option. This simple swap makes a huge difference!
How to Make Quinoa in an Instant Pot: Step-by-Step Guide
Achieving perfectly cooked quinoa in your Instant Pot is incredibly straightforward. Follow these simple steps for a consistently delicious result:
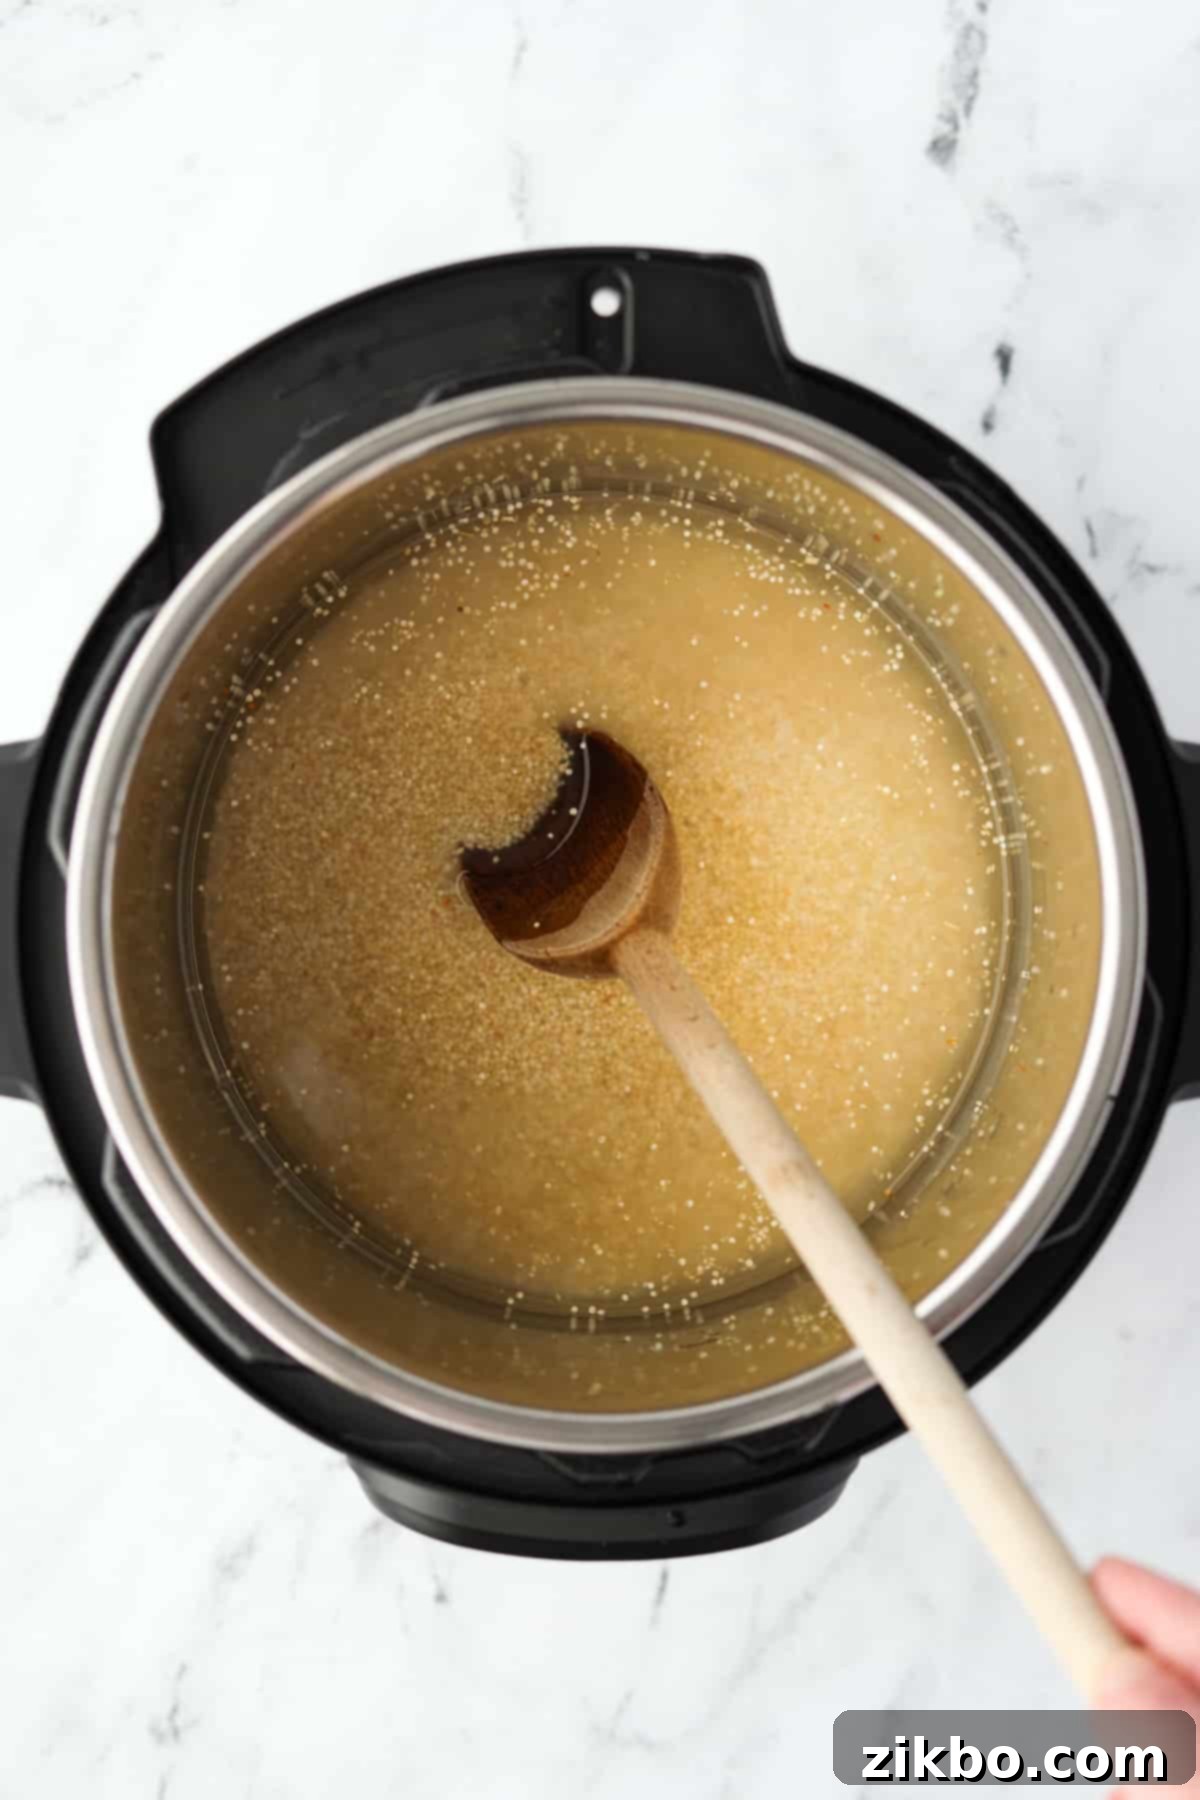
- Combine Ingredients: Add the dry, unrinsed (unless specified) quinoa to the inner pot of your Instant Pot. Pour in the water (or broth) and sprinkle in the salt.
- Stir Well: Give the mixture a good stir to ensure the quinoa and salt are evenly distributed in the liquid. This prevents clumping and ensures consistent cooking.
- Seal the Pot: Secure the lid onto the Instant Pot, making sure it’s properly sealed. Rotate the steam release valve to the “Sealing” position.
- Pressure Cook: Select the “Manual” or “Pressure Cook” setting and set the cooking time for 3 minutes on high pressure. The Instant Pot will take a few minutes to come to pressure before the cooking timer begins.
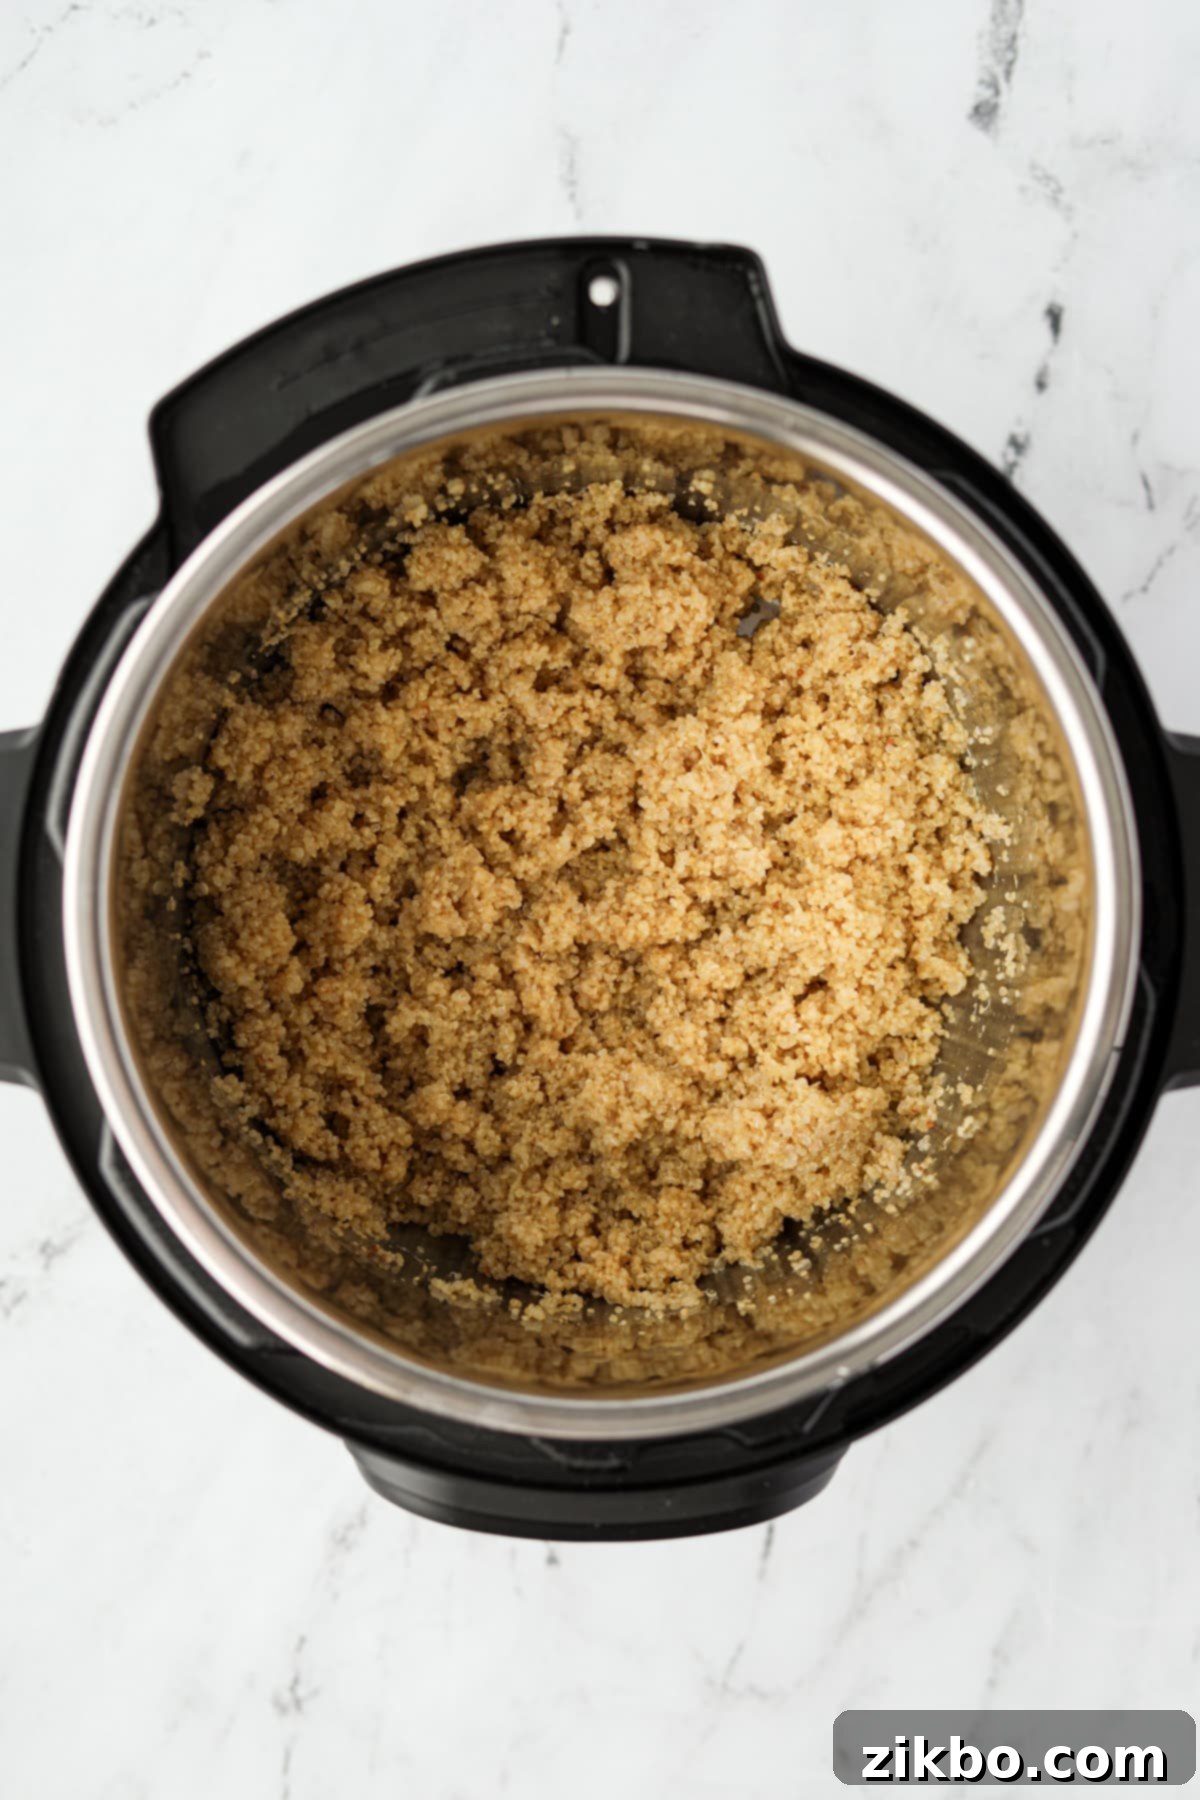
- Natural Pressure Release (NPR): Once the cooking time is complete and the Instant Pot beeps, allow the pot to perform a natural pressure release (NPR) for 10 minutes. Do not manually vent the steam during this time. This crucial step allows the quinoa to fully absorb the remaining liquid and finish cooking gently, preventing it from becoming mushy.
- Quick Release (QR) Remaining Pressure: After 10 minutes of NPR, carefully switch the steam release valve to the “Venting” position to release any remaining pressure. Once the float valve drops, it’s safe to open the lid. (Always refer to your Instant Pot manual for specific safety instructions.)
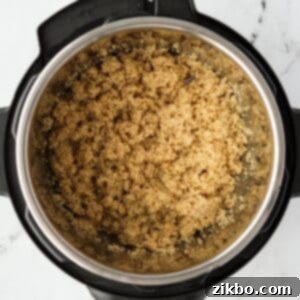
- Fluff the Quinoa: Carefully open the lid away from your face. Using a fork, gently fluff the cooked quinoa. You’ll notice how light and separate the grains are.
- Rest Before Serving: Allow the quinoa to rest, uncovered, for an additional 5 minutes. This allows any excess steam to escape and ensures the quinoa is perfectly airy before serving. Then, dish it up and enjoy!
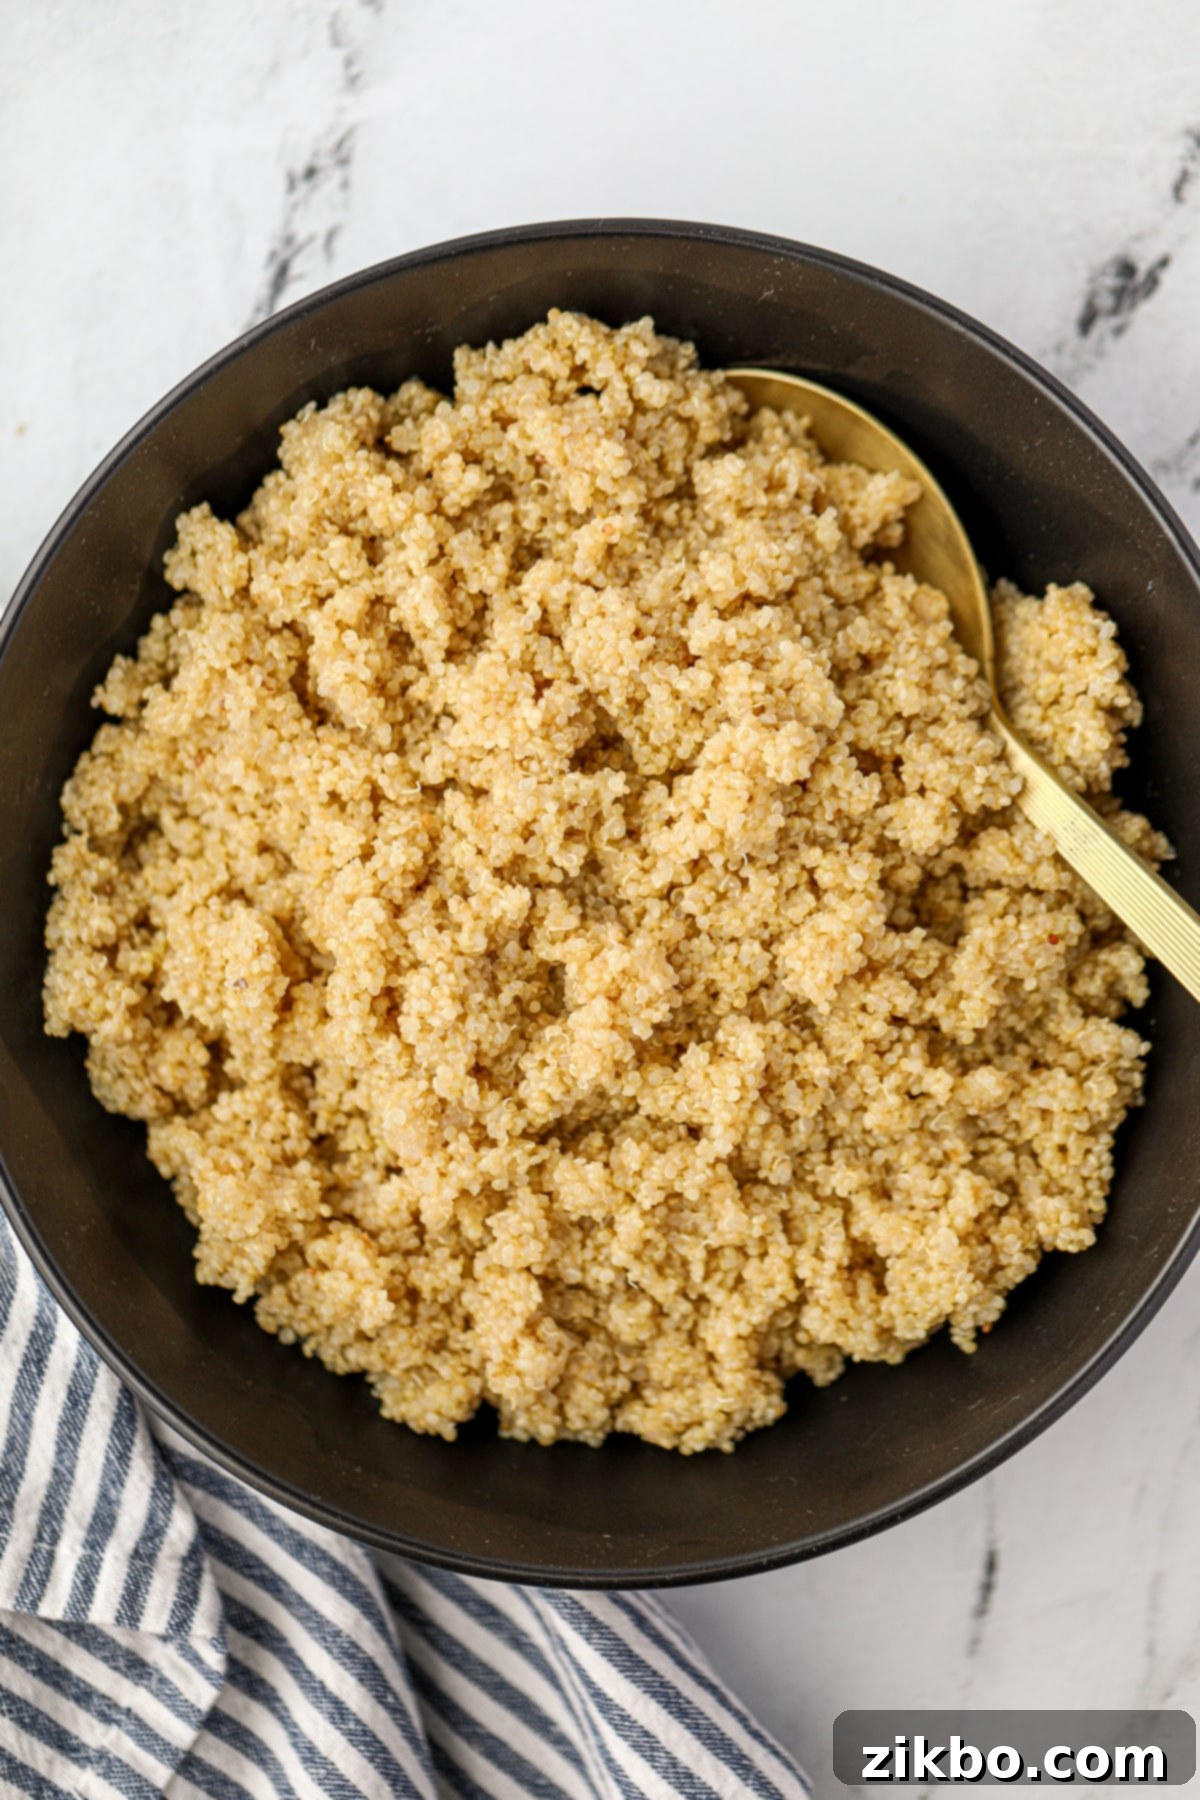
The Golden Instant Pot Quinoa Ratio
Understanding the correct ratio of quinoa to water is the secret to perfect Instant Pot quinoa, regardless of the quantity you’re cooking.
The beauty of Instant Pot cooking lies in its consistency. Once you grasp the simple ratio, you can confidently cook any amount of quinoa to perfection. Here’s what you need to remember:
- Quinoa to Water Ratio: Always use a 1 part dry quinoa to 1.5 parts liquid ratio. For example, if you’re cooking 2 cups of quinoa, you’ll need 3 cups of water or broth. This slightly lower liquid ratio compared to stovetop methods is crucial because less liquid evaporates in the sealed pressure cooker environment.
- Consistent Cook Time: The high-pressure cook time for quinoa remains a steadfast 3 minutes, regardless of the quantity (as long as you have adequate liquid for the Instant Pot to come to pressure).
- Pressure Release & Rest: A 10-minute natural pressure release (NPR) is essential, followed by a quick release of any remaining pressure. After opening, a final 5-minute fluff and rest period allows the grains to fully separate and become perfectly airy.
- Flavor Boost with Salt: Don’t forget the salt! Add approximately ¼ to ½ teaspoon of salt for every 1 cup of dry quinoa to enhance its natural nutty flavor and prevent it from tasting bland.
This consistent ratio and timing ensure you can scale your quinoa production up or down with reliable results, making it an invaluable tool for regular meal prep.
Delicious Ways to Serve Your Fluffy Quinoa
This popular seed, which cooks and acts like a grain, is incredibly easy to incorporate into all your favorite dishes. Quinoa is prized not only for its versatility but also for being high in both protein and fiber, making it a truly satisfying and nutrient-dense addition to any meal. Here are some of my favorite ways to enjoy fluffy Instant Pot quinoa:
- As a Foundation for Salads: Use it as the base for vibrant and hearty cold salads, like my refreshing Greek Quinoa Salad, or a simple tabouleh-style salad with fresh herbs and tomatoes.
- A Wholesome Side Dish: Serve it warm alongside grilled chicken, fish, roasted vegetables, or stews for a healthy and satisfying alternative to rice or potatoes. Season it simply with a squeeze of lemon juice, a drizzle of olive oil, and fresh herbs.
- Replace Rice or Couscous: Quinoa makes an excellent substitute in recipes calling for rice or couscous, offering a more complete protein and fiber boost. Try it in stir-fries, stuffed peppers, or as a bed for curries.
- Build Nourishing Grain Bowls: Create customizable “quinoa bowls” by layering cooked quinoa with your favorite protein (beans, chicken, tofu), a medley of roasted or fresh vegetables, a creamy dressing, and crunchy toppings.
- Innovative Plant-Based Recipes: Quinoa’s texture makes it perfect for binding ingredients. Use it to make delicious homemade veggie burgers, crispy fritters, or even as a filling for wraps and burritos.
- Hearty Breakfast Bowls: Cooked quinoa can be used in savory breakfast bowls with a fried egg and avocado, or sweet versions with fruit, nuts, and a drizzle of maple syrup, much like oatmeal.
- Soups and Stews: Add a scoop of cooked quinoa to your favorite soups or stews during the last few minutes of cooking for extra body, texture, and nutritional value.
Does Quinoa Need to Be Rinsed Before Cooking?
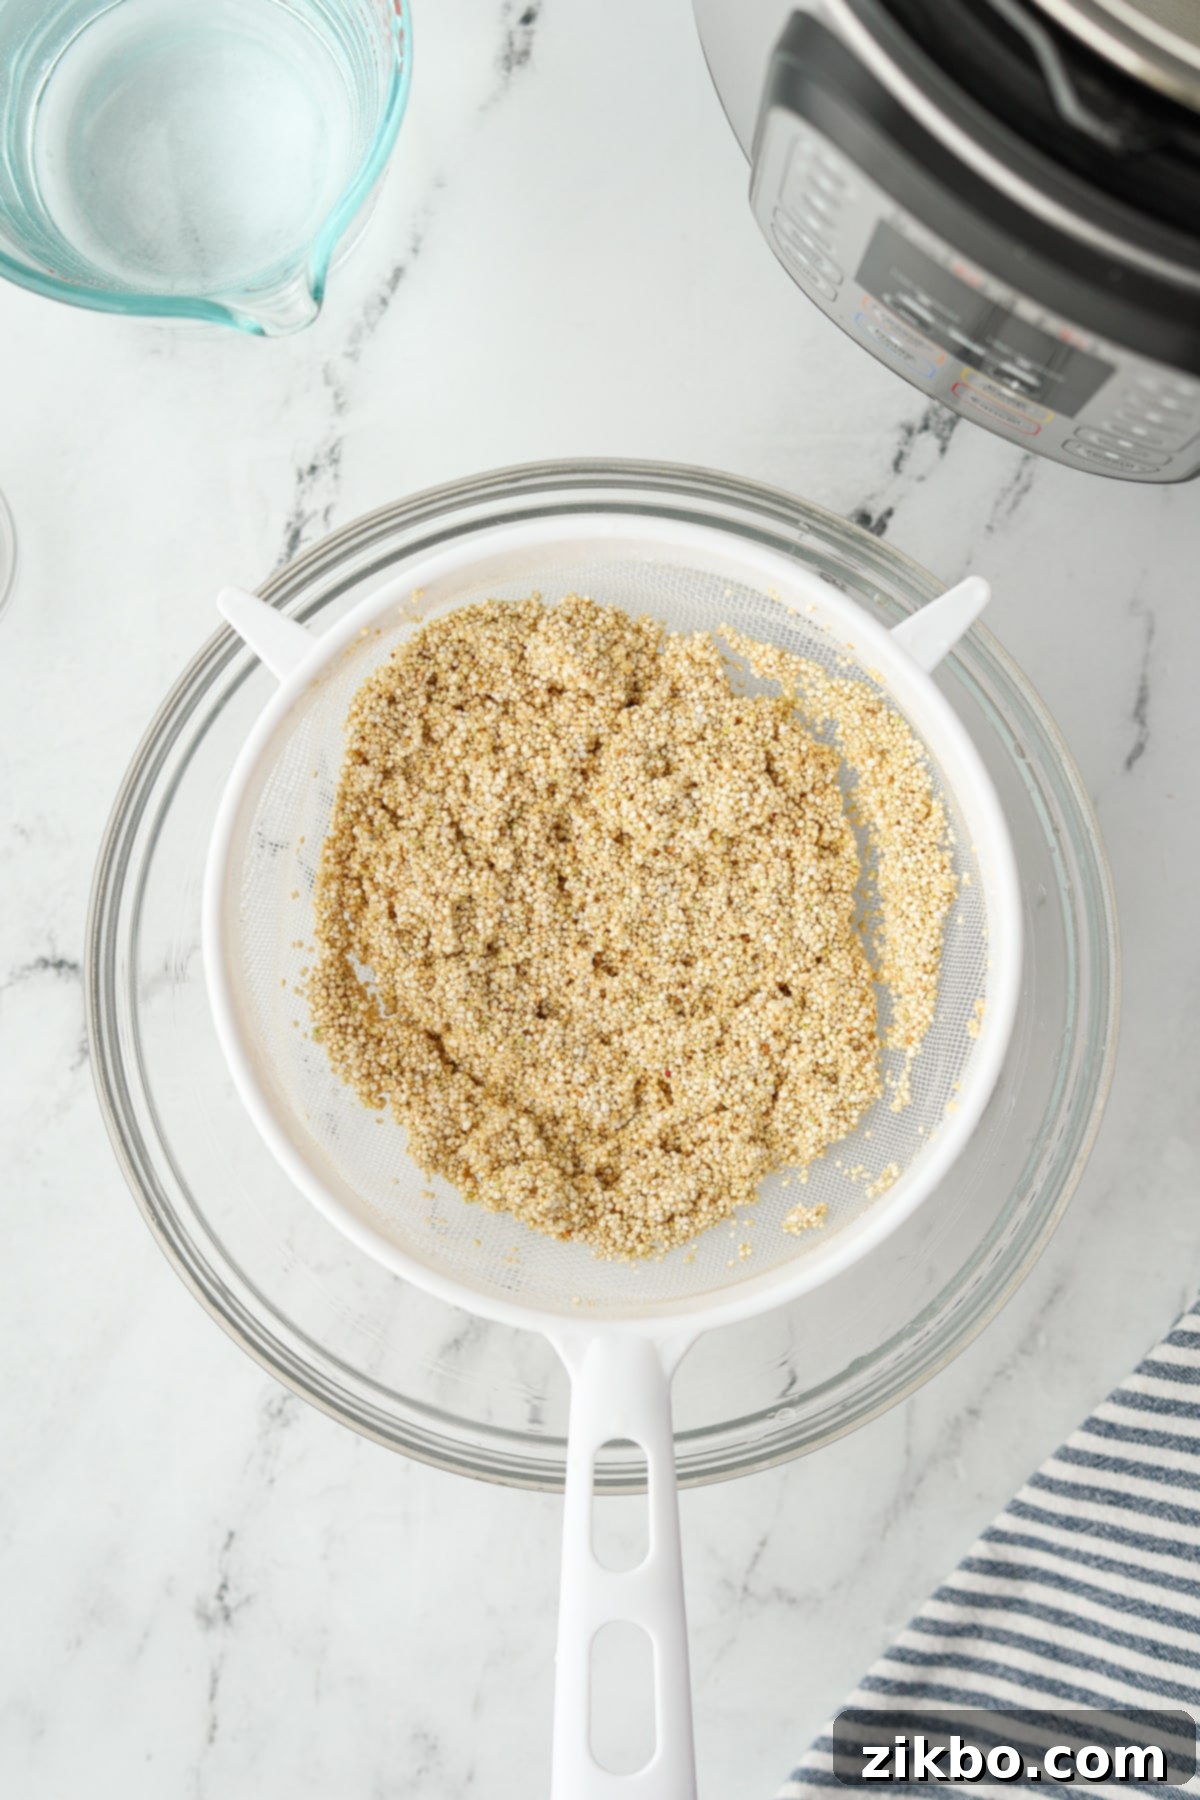
For most modern, commercially packaged quinoa, rinsing is no longer necessary before cooking. Food manufacturers typically pre-rinse quinoa during processing to remove its natural coating, called saponin. Saponin is responsible for the slightly bitter, soapy taste that unrinsed quinoa can sometimes have.
However, if you’ve purchased quinoa from bulk bins, health food stores, or directly from a farmer’s market, it’s highly recommended to rinse it first. To do this, simply place the dry quinoa in a fine mesh strainer and rinse it thoroughly under cool, running water until the water runs clear. This ensures any remaining saponin is washed away, guaranteeing a pleasant, mild flavor.
Important Note: If you do choose to rinse your quinoa, remember to reduce the total amount of cooking liquid (water or broth) by ¼ cup. This adjustment accounts for the extra moisture absorbed during rinsing and helps prevent your quinoa from becoming overly wet or mushy.
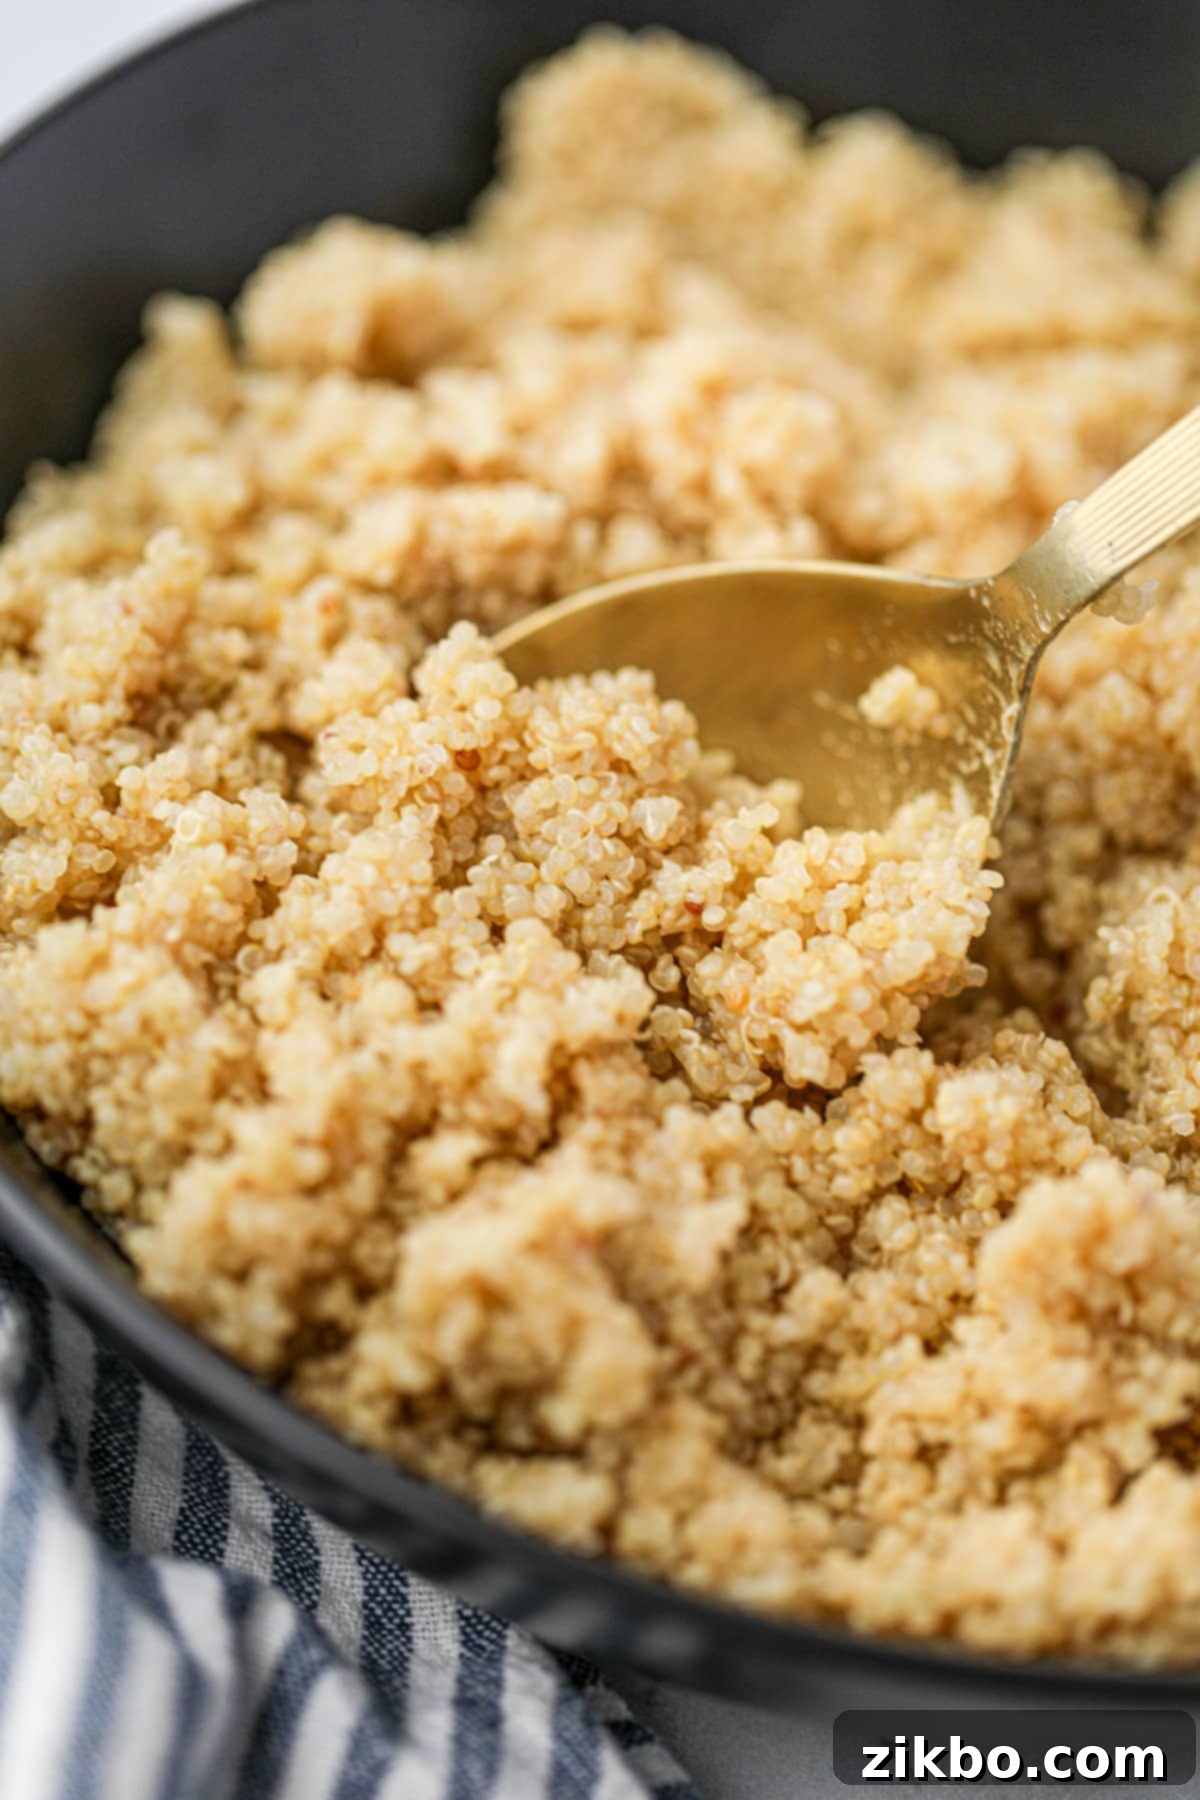
Storing & Reheating Leftover Quinoa
Cooked Instant Pot quinoa is perfect for meal prep because it stores exceptionally well, making healthy eating even easier throughout the week.
Refrigeration:
Allow your freshly cooked quinoa to cool briefly to room temperature. Then, transfer it to an airtight storage container. It will keep beautifully in the refrigerator for up to 4 days. This makes it ideal for preparing on a Sunday and enjoying in salads, bowls, or as sides for several days.
Freezing Cooked Quinoa:
Yes, cooked quinoa freezes wonderfully! This significantly extends its shelf life and is a fantastic strategy for long-term meal planning. To freeze, pack cooked and cooled quinoa into freezer-safe bags or containers. Press out as much air as possible from bags to prevent freezer burn, then seal tightly and label with the date. Quinoa can be frozen for up to 3 months without significant loss of quality or texture.
Reheating Tips:
- From the Refrigerator: Reheat individual portions in the microwave with a tablespoon or two of water or broth, stirring halfway through, until heated through. Alternatively, warm it in a skillet over medium-low heat with a splash of liquid, fluffing with a fork as it heats.
- From the Freezer: You can reheat frozen quinoa directly in the microwave or on the stovetop. Add a bit more liquid than you would for refrigerated quinoa, and gently stir until it’s heated and fluffy again. Thawing overnight in the fridge before reheating is also an option for a slightly quicker and more even reheat.
More Delicious Quinoa Recipes to Try
Once you master this basic Instant Pot quinoa, a world of flavorful possibilities opens up. Here are some other fantastic quinoa recipes to inspire your culinary adventures:
- Greek Quinoa Salad: A vibrant and fresh salad packed with Mediterranean flavors.
- Quinoa Salad with Chickpeas and Feta: Another hearty salad option, great for lunches.
- Quinoa Enchilada Casserole: A comforting and satisfying casserole with a Tex-Mex twist.
- Pesto Chicken Quinoa Bowl: A flavorful and balanced meal perfect for a quick dinner.
If you loved this Instant Pot Quinoa recipe, please let me know by leaving a 5-star review in the recipe card below or dropping a comment! You can also tag me on Instagram @dashfordinner. I love seeing your creations!
Instant Pot Quinoa
Print
Pin
Rate
Ingredients
- 1 ⅓ cups dry quinoa
- 2 cups water or broth**
- ½ teaspoon salt
Instructions
-
Add the dry, unrinsed* quinoa to the insert of a 6-quart Instant Pot.
-
Pour in 2 cups of cool or room temperature water (or broth), and sprinkle in ½ teaspoon of salt.
-
Stir well to combine and secure the lid. Switch the steam release valve to the “Sealing” position.
-
Set the Instant Pot to manual (or pressure cook) high pressure and cook for 3 minutes.
-
Once the cooking time is up (the pot will beep), allow the Instant Pot to do a 10-minute natural pressure release (NPR). Do not manually release the steam during this period.
-
After 10 minutes of NPR, carefully flip the valve to “Venting” to release any remaining steam and pressure completely. Once the float valve drops, it is generally considered safe to open the lid. (Always consult your Instant Pot manual for specific safety instructions.)
-
Carefully open the lid, then use a fork to gently fluff the quinoa.
-
Allow the quinoa to rest, uncovered, for an additional 5 minutes to release any excess steam and achieve optimal fluffiness. Then, serve and enjoy!
Notes
Storing leftovers: Transfer cooled cooked quinoa to an airtight container and store in the refrigerator for up to 4 days. Reheat portions as needed in the microwave or on the stovetop with a splash of water/broth. For longer storage, pack into freezer bags or containers, seal, label, and freeze for up to 3 months.
*Should quinoa be rinsed? When quinoa gained popularity, rinsing was often recommended to remove bitter saponins. Most modern, commercially available brands (including many generic ones) are now pre-rinsed and treated before packaging, making rinsing typically unnecessary.
If your quinoa needs rinsing: If you’ve purchased quinoa from bulk bins or types that aren’t pre-rinsed, rinse it thoroughly under cool water in a fine mesh strainer until the water runs clear. If you rinse your quinoa, reduce the water in the recipe by ¼ cup to account for the extra absorbed liquid.
**Cooking with broth: For an extra boost of flavor and/or protein, you can cook your quinoa in your choice of broth. High-quality bone broth adds a savory depth and extra protein, while vegetable broth is an excellent flavorful choice for a vegetarian or vegan option.
For an 8-quart Instant Pot: To ensure proper pressure build-up and cooking, double the recipe ingredients (2 ⅔ cups quinoa, 4 cups liquid, 1 tsp salt) when using an 8-quart Instant Pot.
For a 3-quart Instant Pot: This recipe can be made as-is in a 3-quart Instant Pot. The smaller volume works perfectly with the stated quantities.
The gist of it (Key Takeaways):
- Ratio: 1 part dry quinoa : 1.5 parts liquid (water or broth).
- High Pressure Cooking time: 3 minutes.
- Pressure Release: 10 minutes Natural Pressure Release (NPR) + 5 minutes fluff and rest.
Please note that some of my blog posts here at Dash for Dinner may contain affiliate links. If you make a purchase through these links, I will get a small commission at no additional cost to you. Please see my Disclaimer for more information.
