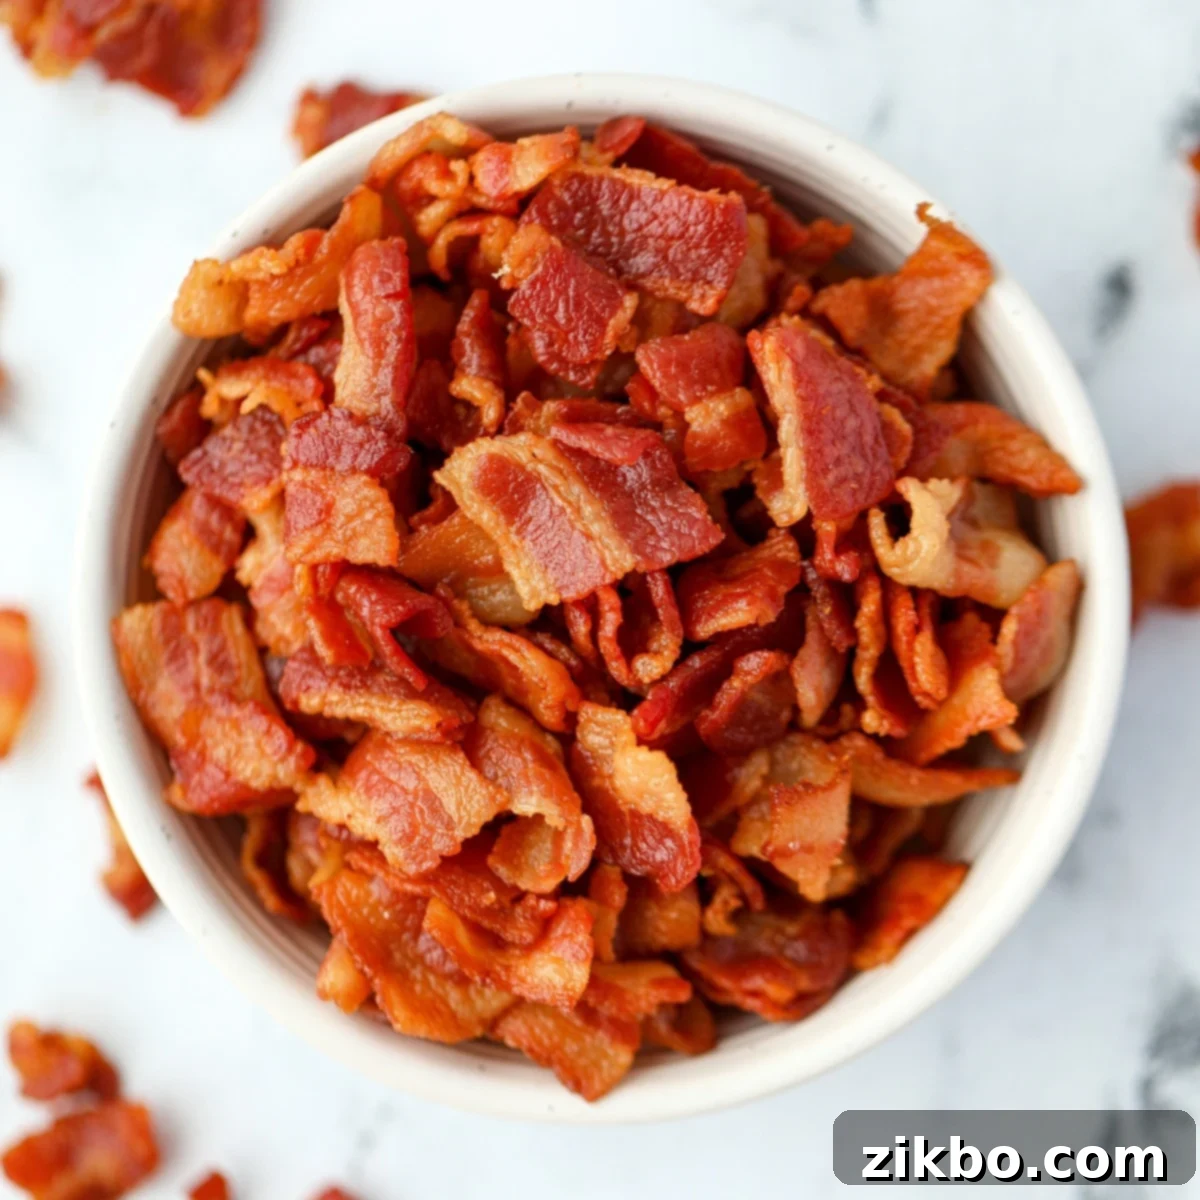
How to Make Perfect Crispy Homemade Bacon Bits: Easy Guide & Expert Tips
Tired of bland, chewy store-bought bacon bits? Unlock the secret to crafting your own perfectly crispy, crunchy, and intensely flavorful bacon bits right in your kitchen. This comprehensive guide will show you how to achieve restaurant-quality results every single time, saving you money and elevating countless dishes. Plus, we’ll cover how to easily store them, so you always have a batch ready for your culinary adventures!
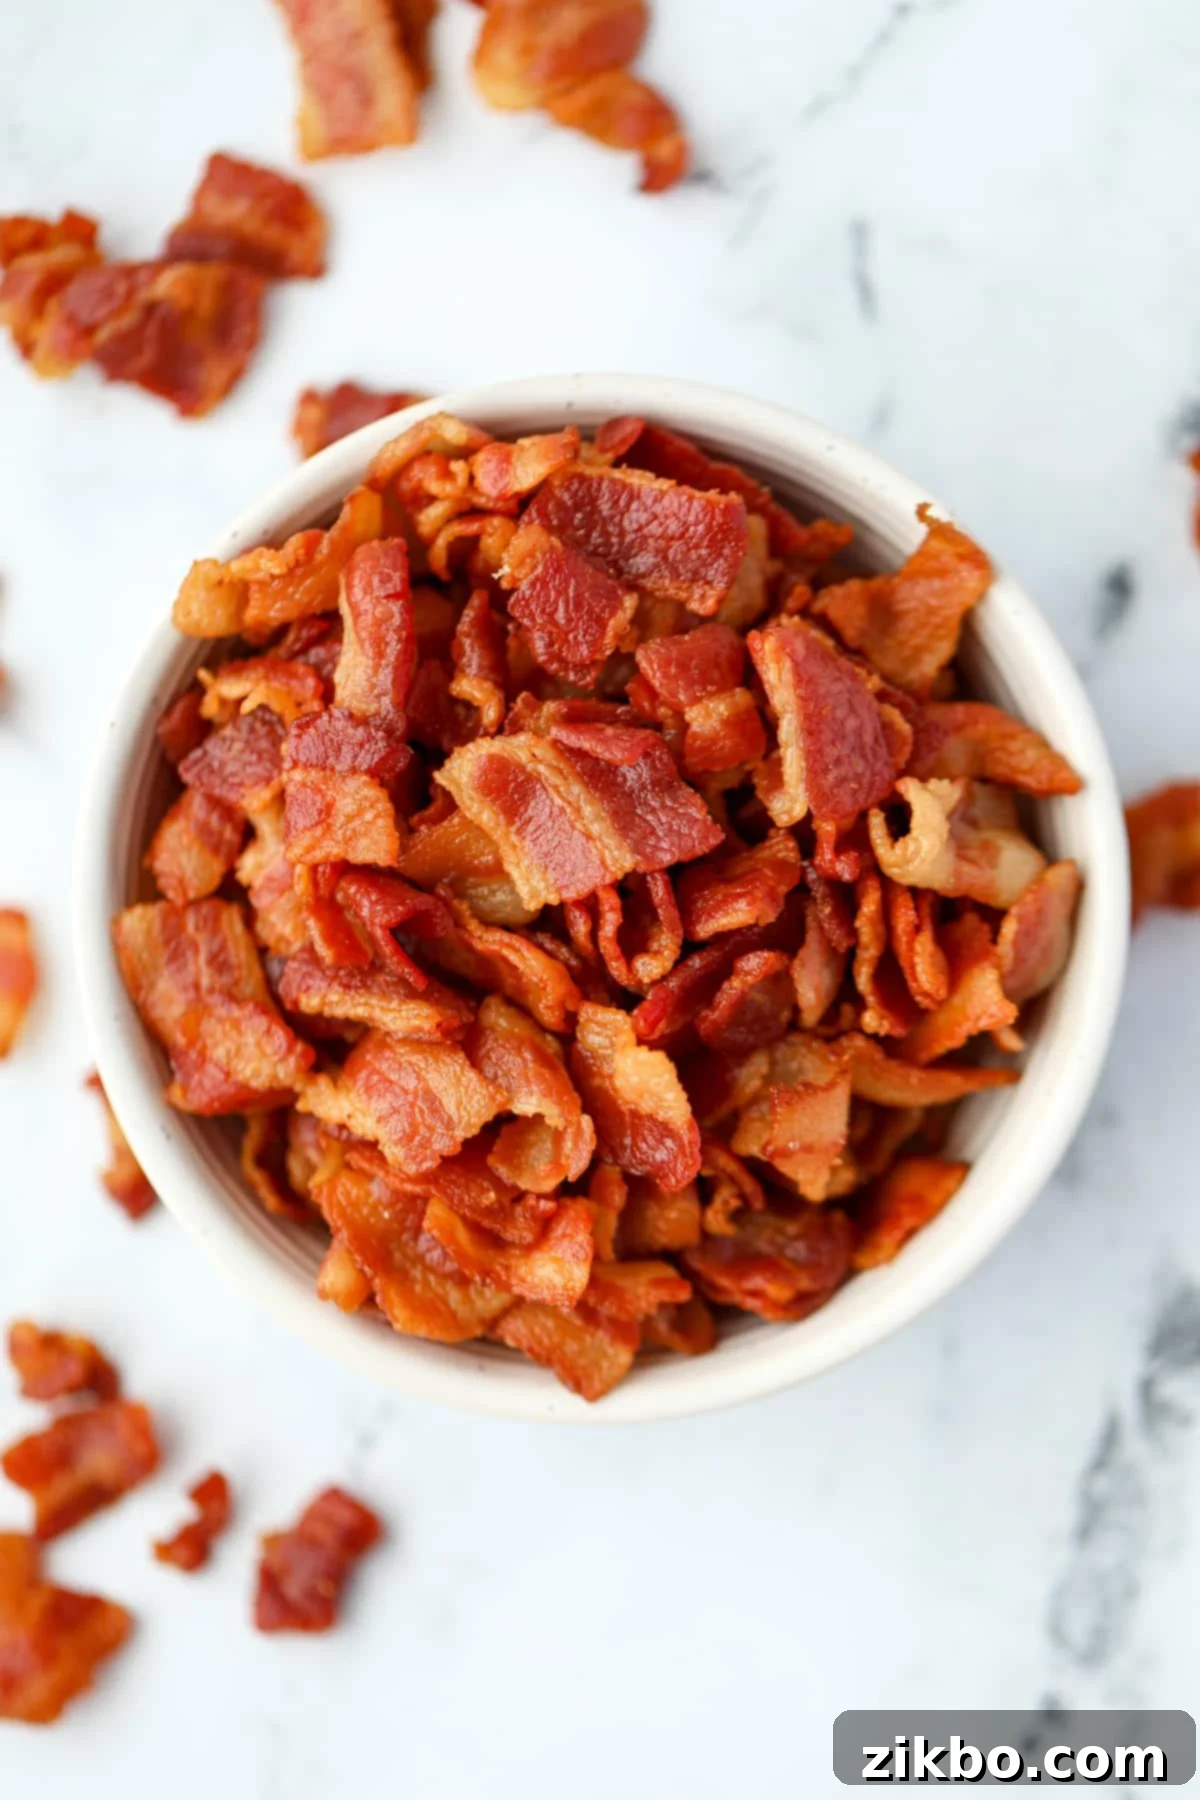
For any home cook aspiring to culinary excellence, mastering the art of making your own bacon bits is a game-changer. There’s simply no comparison between the vibrant taste and satisfying texture of freshly cooked, homemade bits and their pre-packaged counterparts. They infuse a delightful crunch and a deeply savory punch into an array of your favorite recipes, from hearty casseroles and creamy baked potatoes to vibrant dips, fresh salads, and beyond.
For years, like many, I would cook whole strips of bacon and then haphazardly chop them into pieces. However, through trial and error, I discovered a superior method: **the best results consistently come from bacon that is first chopped into small pieces, and then cooked until beautifully crisp.** This technique ensures uniform size, consistent texture, and maximum crunch in every single bite. Continue reading to uncover this foolproof method for making irresistible homemade bacon bits that are guaranteed to become a staple in your kitchen!
Why Homemade Bacon Bits Are Simply the Best
Opting for homemade bacon bits over store-bought alternatives offers a multitude of benefits that truly make a difference in your cooking:
- Significantly More Affordable: Pre-cooked, packaged bacon bits come with a hefty price tag. By purchasing fresh bacon and preparing it yourself, you can dramatically cut costs, allowing your budget to stretch further while enjoying a superior product. This is especially true if you buy bacon in bulk or on sale.
- Unmatched Crispiness: The moment you make them, these bacon bits deliver an unparalleled crispness that store-bought versions can only dream of. Each bite offers a satisfying crunch that adds a fantastic textural element to any dish, far exceeding the often-rubbery or overly hard texture of pre-packaged options.
- Superior Flavor Profile: Nothing quite compares to the rich, savory taste of freshly cooked bacon. Homemade bits retain all the natural, delicious flavors of bacon that are often diminished or altered in products treated for long-term shelf stability. You get pure, unadulterated bacon goodness.
- Conveniently Freezer-Friendly: Making a large batch of homemade bacon bits is a smart time-saving strategy. They freeze beautifully, meaning you can have a stash on hand whenever a recipe calls for that irresistible bacon flavor and crunch, without the hassle of cooking bacon from scratch every time.
- Control Over Ingredients: When you make your own, you know exactly what goes into them. No artificial flavors, preservatives, or excessive sodium often found in commercial products.
Essential Ingredients for Homemade Bacon Bits
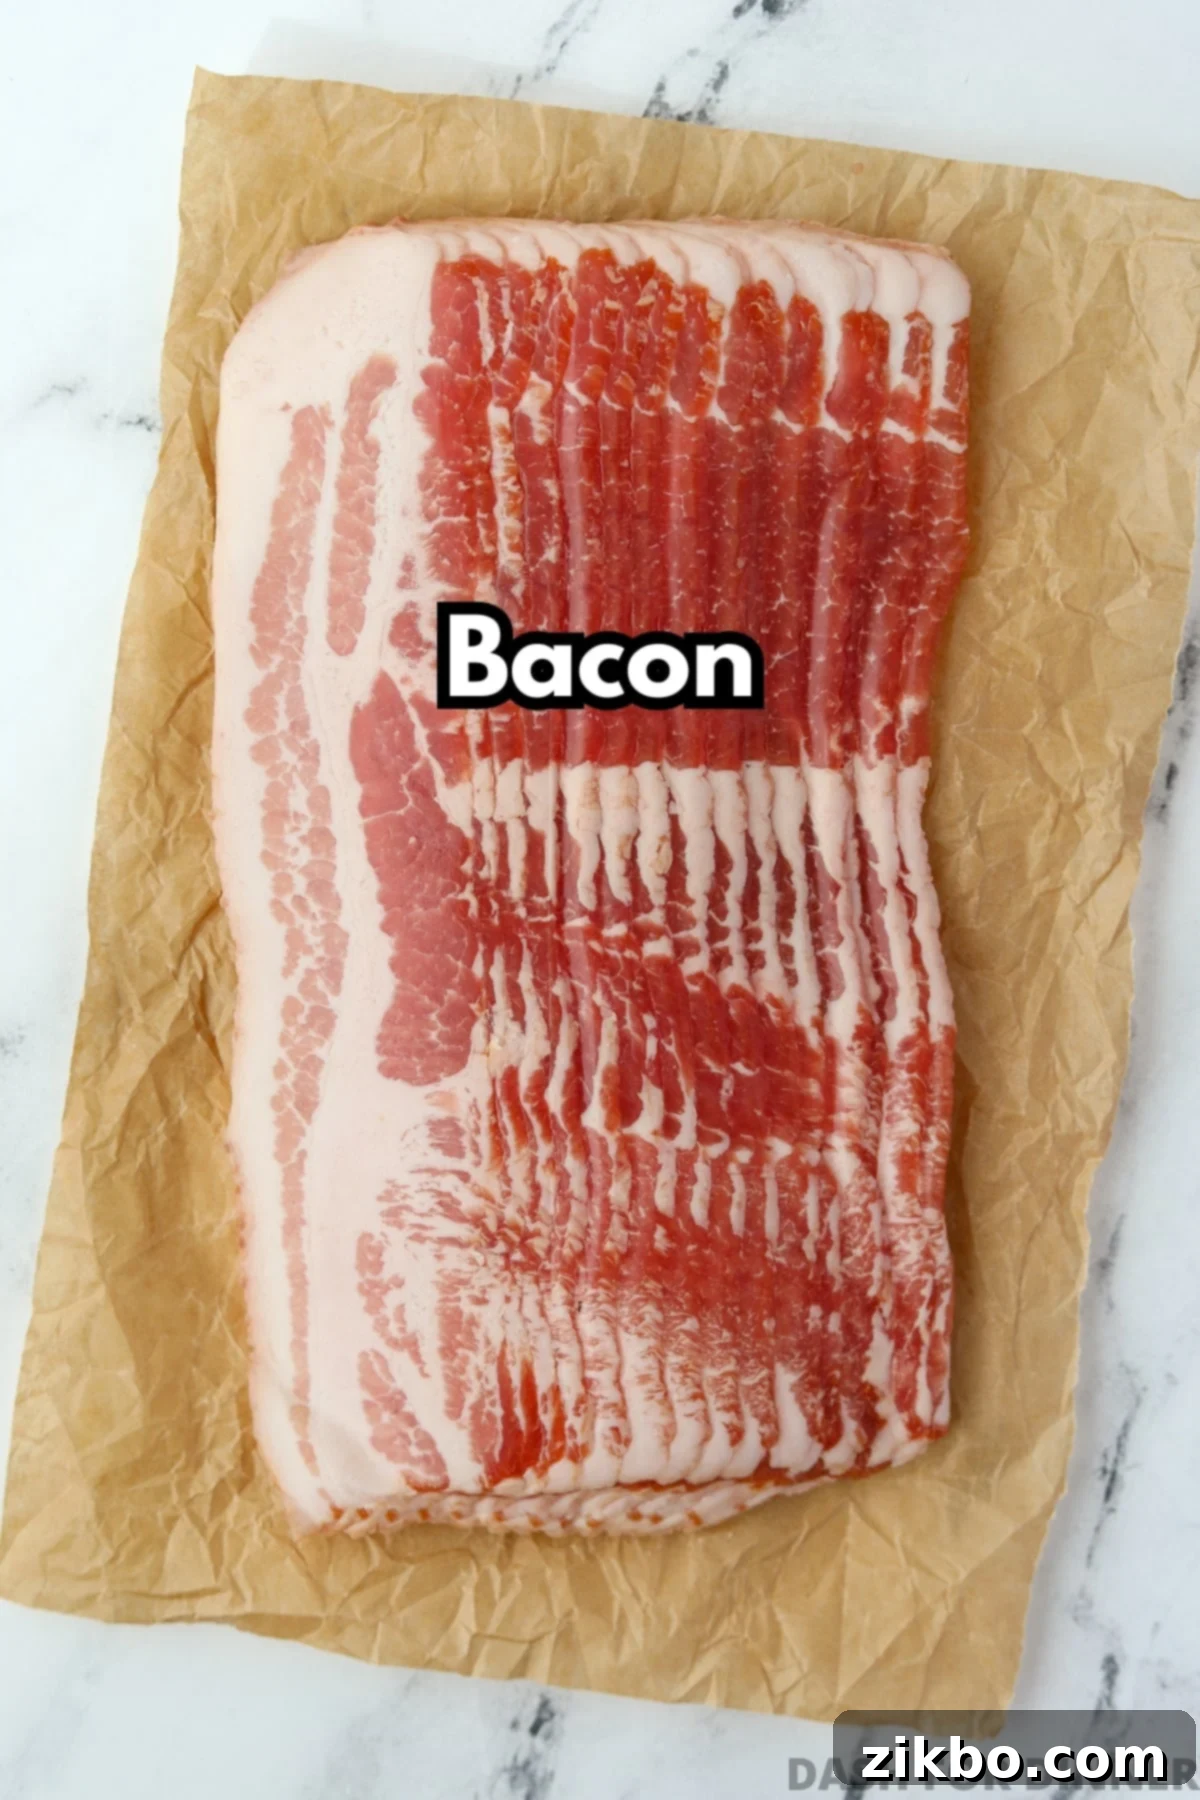
- Bacon: The star of our show! You can use virtually any type of bacon you prefer. Regular sliced bacon, thick-cut bacon, or even specialty flavored varieties like maple, applewood smoked, or cracked pepper bacon will work wonderfully. The key is quality, so choose your favorite brand.
Budget-friendly tip: Ask your local butcher if they sell “bacon ends” or “bacon pieces.” These are often trimmings and irregularly shaped pieces sold at a significantly lower price than sliced bacon, perfect for making bits!
Equipment and Tools You’ll Need
Gathering the right tools before you start will make the process smooth and enjoyable:
- Large skillet or Dutch oven: A heavy-bottomed pan is essential for even cooking. A Dutch oven or a high-sided skillet is recommended to minimize grease splatter and make cleanup easier.
- Sharp knife: For precise and easy chopping of raw bacon.
- Cutting board: To safely prepare your bacon.
- Wooden spoon or heat-resistant spatula: For stirring the bacon as it cooks.
- Slotted spoon: Ideal for removing the crispy bacon bits from the hot grease.
- Paper towels: For draining excess grease and ensuring maximum crispiness.
- Plate or tray: To line with paper towels for draining.
- Airtight container or freezer bag: For storing any leftover bacon bits.
Step-by-Step Guide: How to Make Crispy Homemade Bacon Bits
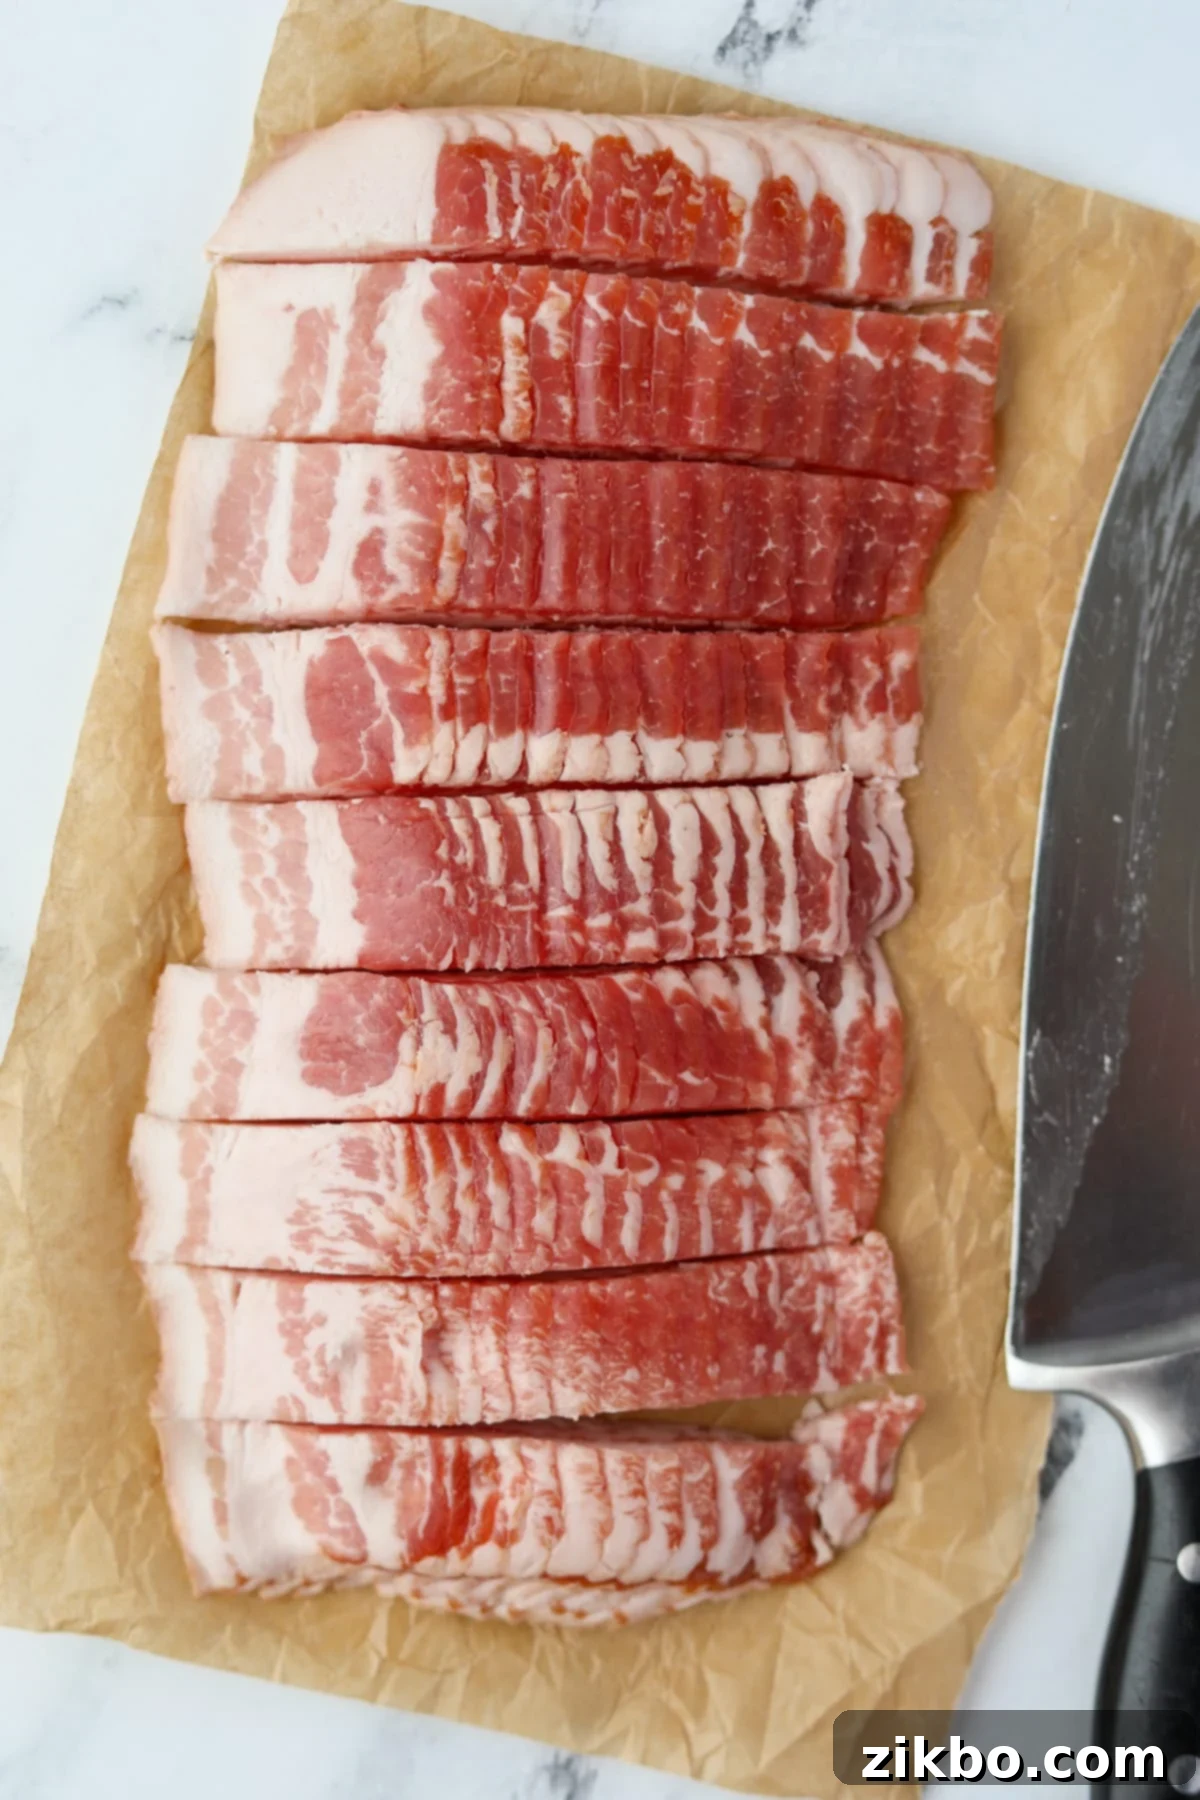
- Prepare the Bacon: Keep the bacon slices neatly stacked as they came in the package. Using a sharp knife, slice the entire stack into ½ to ¾-inch strips along the long side. This creates uniform, rectangular pieces.
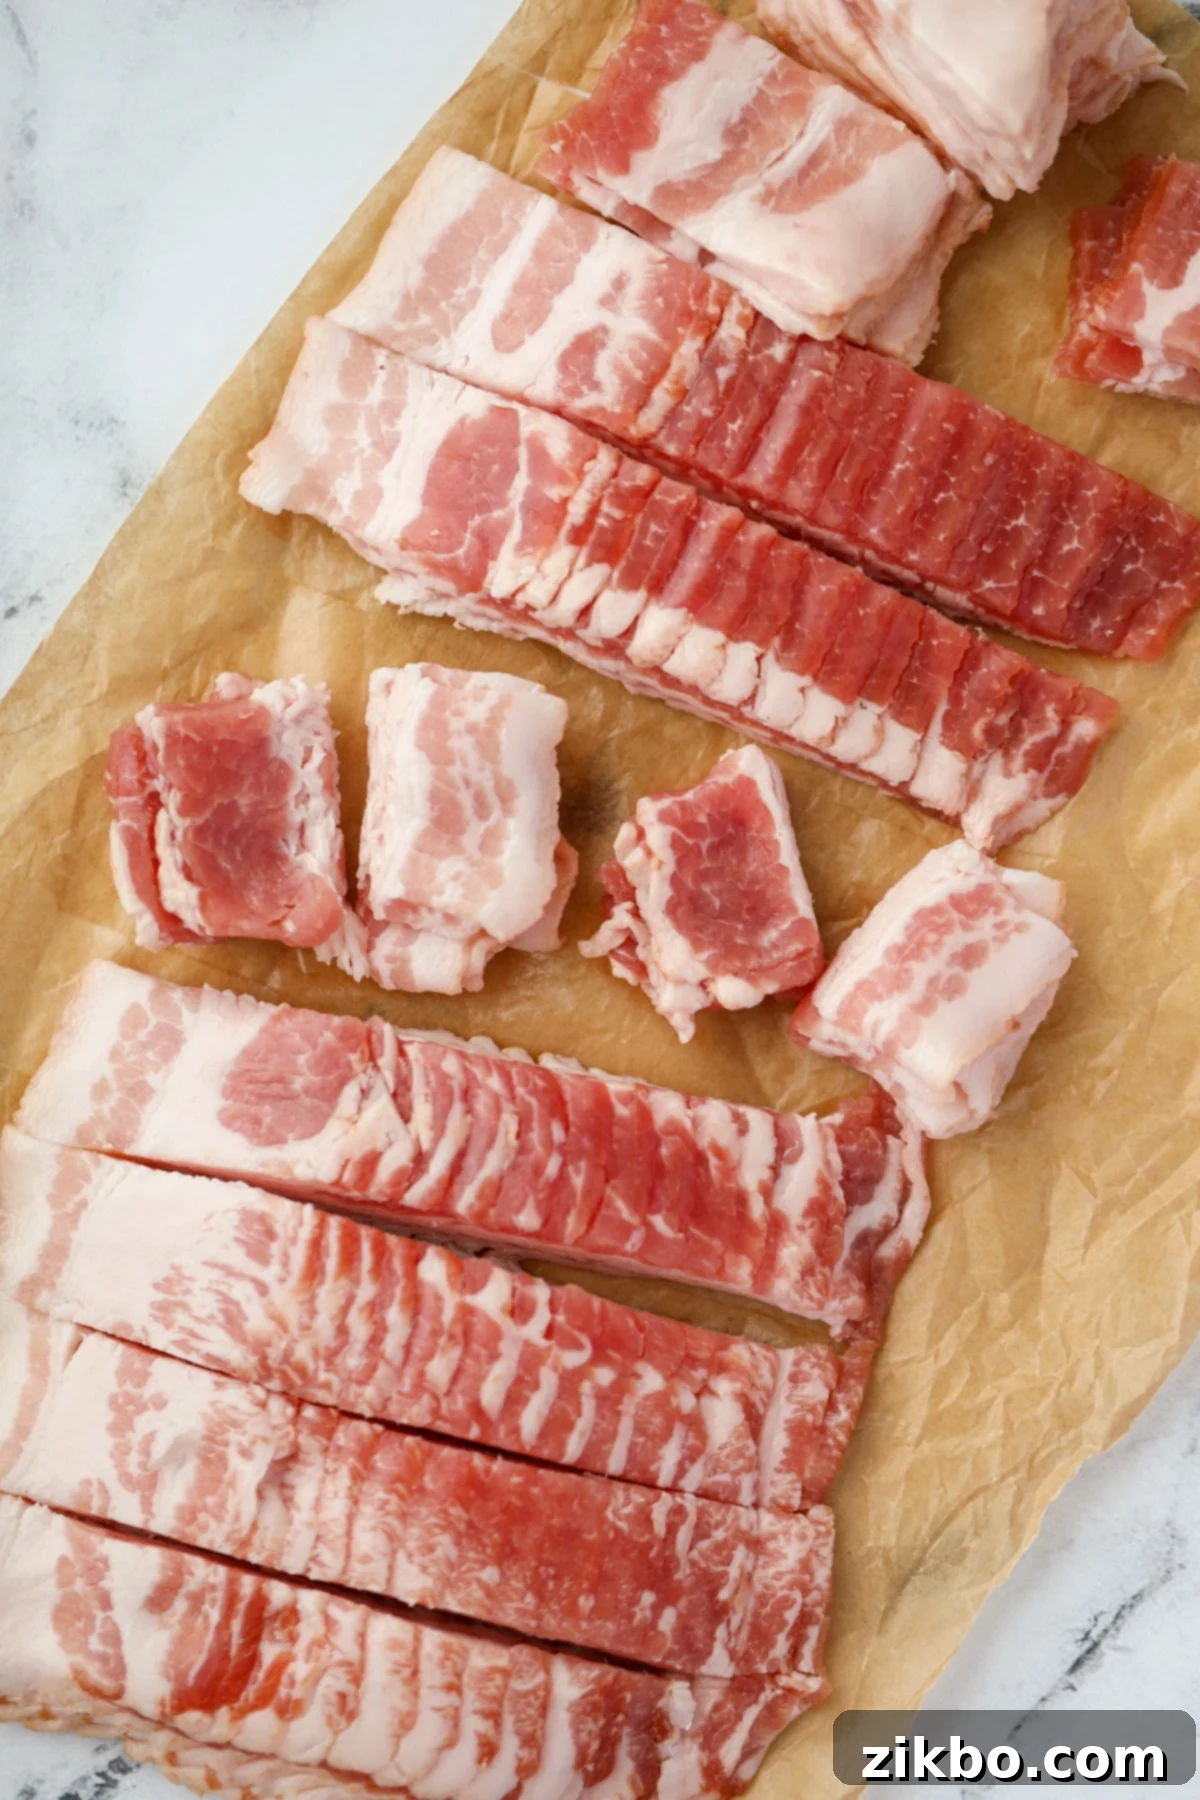
- Chop into Bits: Take the ½ to ¾-inch rectangular strips and stack a few of them together. Now, slice these stacks crosswise (in half or thirds, depending on the length of your original strips) to create small, rough squares or cubes. The goal is to get pieces that are roughly ½ to ¾-inch on all sides. Don’t worry about perfect uniformity; the slight variations add character!
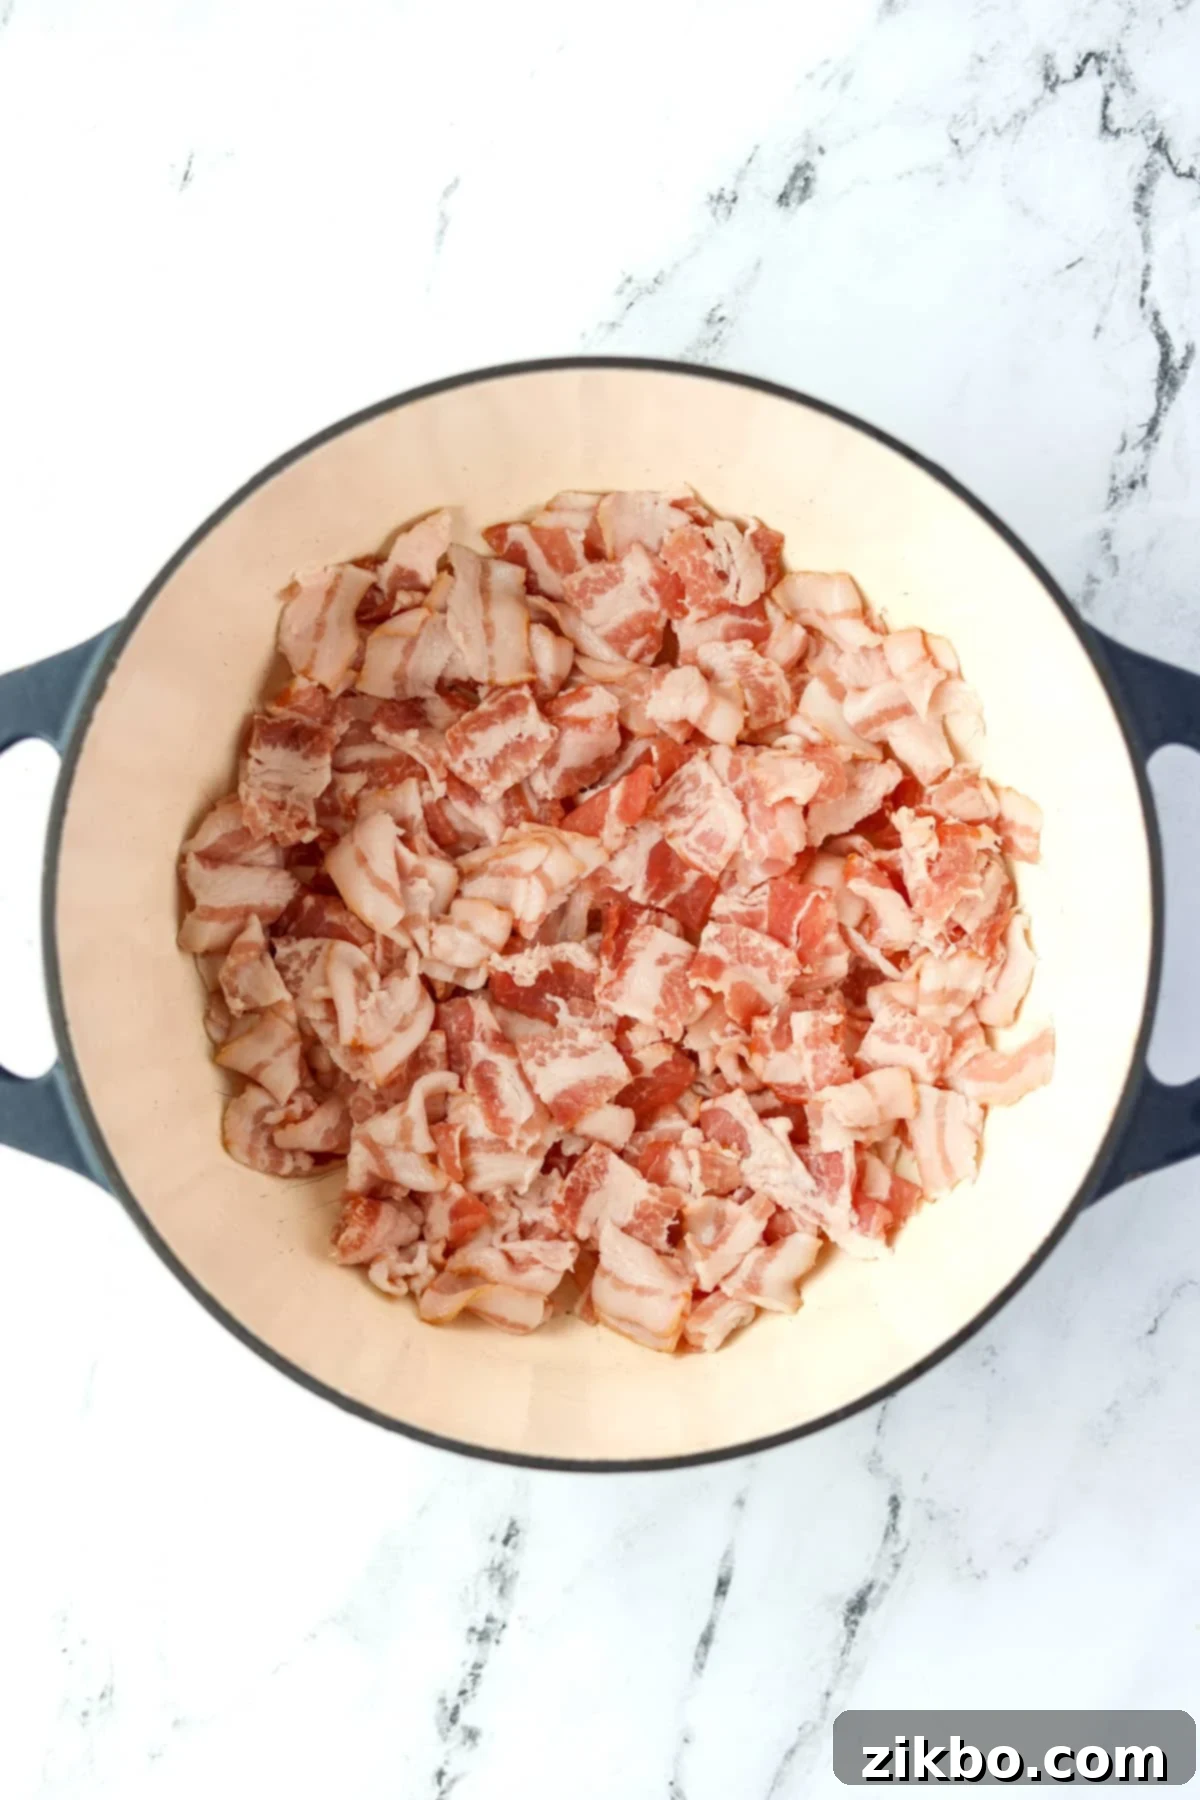
- Preheat Your Pan: Place your Dutch oven or large, high-sided skillet over medium heat. Allow it to heat for 2-4 minutes until it’s hot enough to make a drop of water sizzle immediately.
- Cook the Bacon: Add the chopped bacon pieces to the hot pan. Use a wooden spoon to stir and break up any pieces that are sticking together. Initially, the bacon will release its fat and begin to sizzle.

- Stir and Crisp: Continue to cook the bacon, stirring frequently to ensure even browning and crisping. This also prevents sticking and helps render the fat more efficiently. Keep a close eye on the bacon as it transitions from soft to golden brown and then to deep, crispy perfection. The total cooking time can vary from 8 to 15 minutes depending on your heat and the bacon’s thickness.
Top tip for even cooking: Consistent stirring is key! This ensures all sides of the bacon pieces are exposed to the heat, promoting uniform cooking and crispiness. Without frequent stirring, some pieces might burn while others remain undercooked.
Draining for Perfect Crispiness
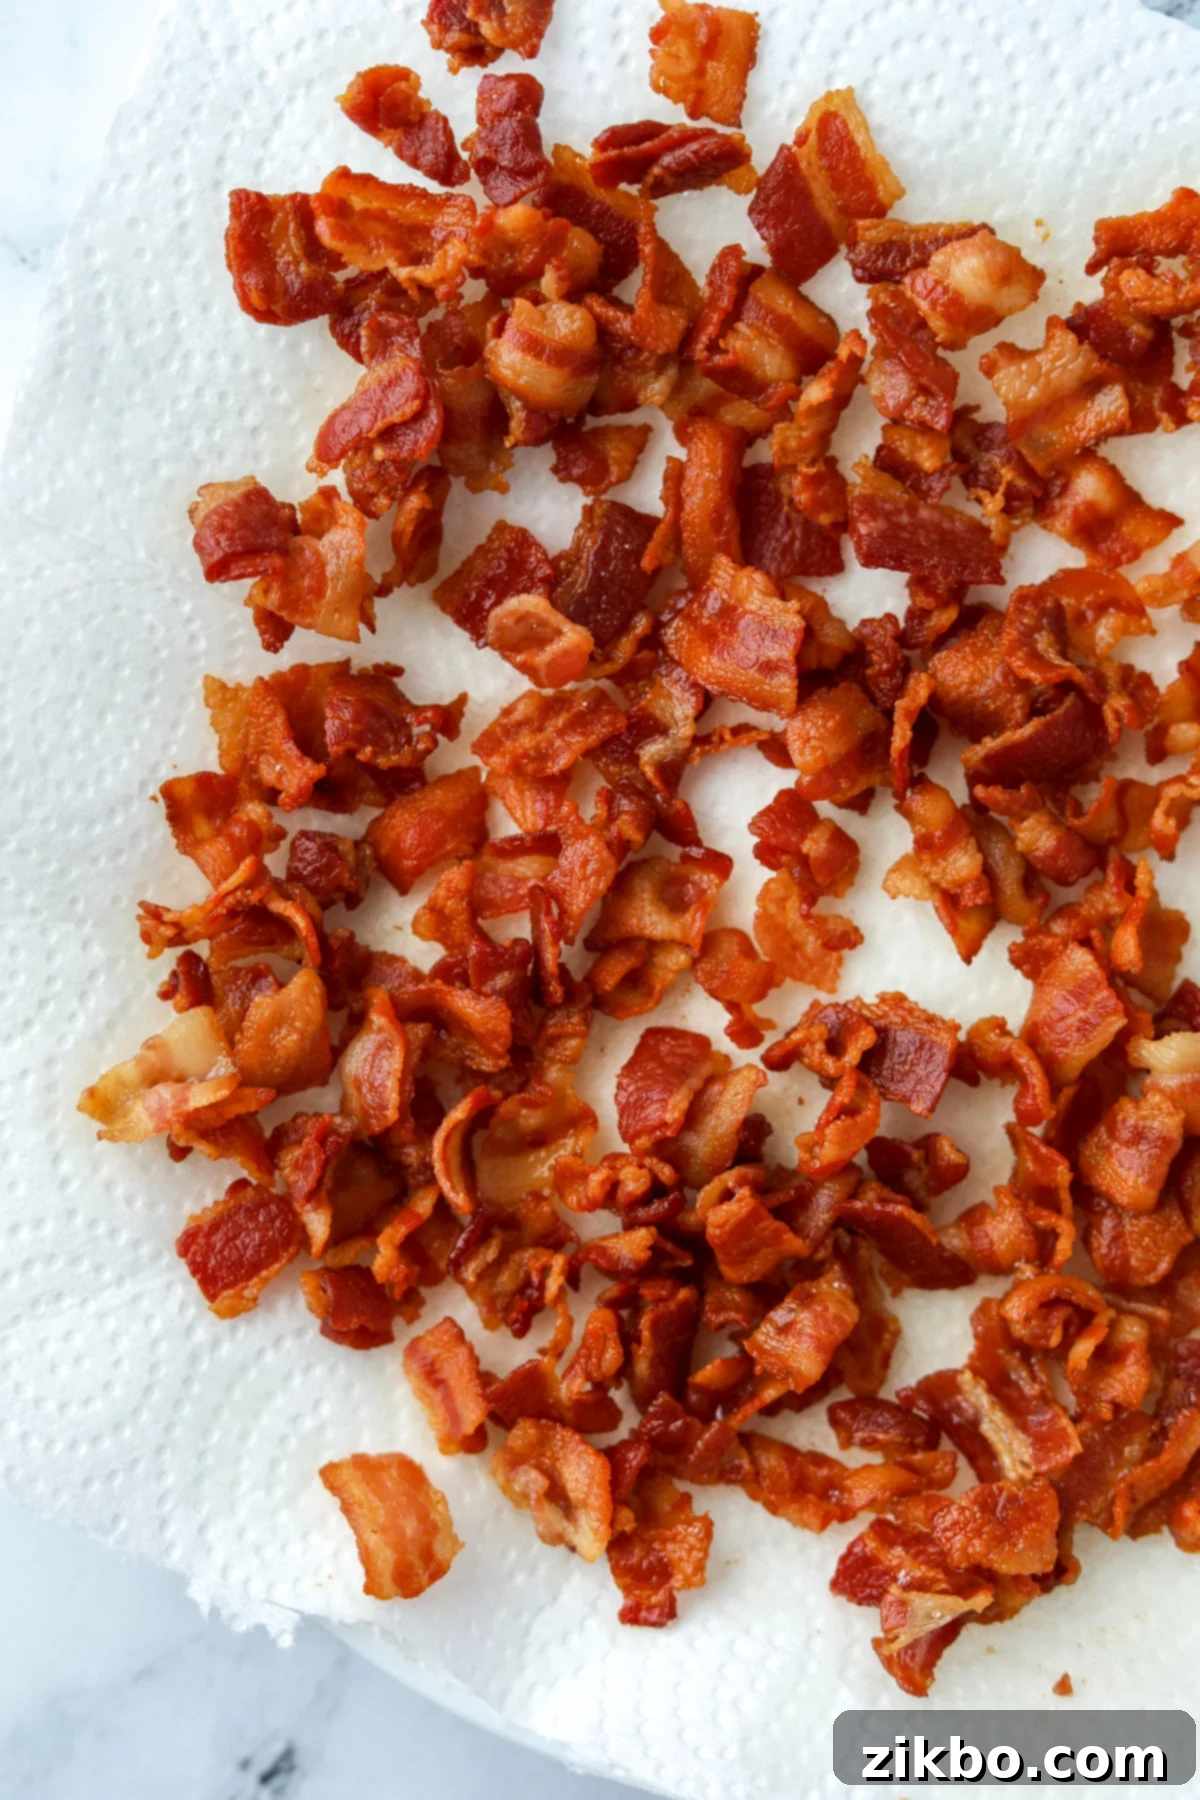
- Prepare to Drain: Line a plate or a small baking sheet with several layers of paper towels. This will absorb the excess grease.
- Remove and Drain: Once the bacon bits have reached your desired level of crispness (they will deepen in color and shrink slightly), use a slotted spoon to carefully remove them from the pan. Transfer them to the prepared paper towel-lined plate.
- Cool and Serve: Allow the bacon bits to cool and drain for at least 3-5 minutes. As they cool, they will continue to crisp up and become beautifully firm. Once cooled, they are ready to be used immediately or stored for later!
Delicious Ways to Use Your Homemade Bacon Bits
Once you have a batch of these glorious homemade bacon bits, the culinary possibilities are endless! They add a burst of smoky, salty flavor and a delightful crunch to almost anything:
- Salads: Sprinkle them over green salads, potato salad, pasta salad, or creamy recipes like my Amish broccoli salad for an instant upgrade.
- Dips & Spreads: Mix them into cheesy dips, creamy spreads, or a classic seven-layer dip. They’re amazing in a loaded baked potato dip!
- Casseroles: Stir them into breakfast casseroles, comforting dinner bakes, or as a crunchy topping.
- Soups: Garnish creamy soups like clam chowder, corn chowder, or a hearty lentil soup for extra flavor and texture. Perfect for Loaded Baked Potato Soup.
- Potatoes: Elevate mashed potatoes, roasted potatoes (especially with my recipe for ranch roasted potatoes!), and classic baked potatoes with a generous sprinkle.
- Breakfast Dishes: Add them to scrambled eggs, omelets, quiches, or pancake/waffle batter for a savory twist. Try them in Bacon and Gruyere Egg Bites.
- Appetizers: Use them as a topping for deviled eggs, bruschetta, or mini quiches.
- Garnish & Topping: A fantastic finishing touch for virtually any savory dish, from mac and cheese to roasted vegetables.
Storing and Freezing Your Homemade Bacon Bits
One of the great advantages of making your own bacon bits is their excellent shelf life and freezer-friendliness. Here’s how to keep them fresh and crispy:
- Cool Completely: Before storing, ensure your bacon bits are completely cooled to room temperature. Storing them while warm can create condensation, leading to soggy bacon.
- Refrigerator Storage: Transfer the cooled bacon bits to an airtight container or a heavy-duty zip-top bag. They will stay fresh and crispy in the refrigerator for up to 3 days. While many people safely store them longer, for optimal quality and safety, 3 days is recommended.
- Freezer Storage: For longer preservation, bacon bits freeze wonderfully. Once completely cooled, place them in a freezer-safe airtight container or freezer bag. Remove as much air as possible from the bag to prevent freezer burn. Label with the date and freeze for up to 3 months.
-
Re-crisping: If your refrigerated or frozen (thawed first, though you can often re-crisp from frozen) bacon bits lose some of their crispness, a quick re-crisp will bring them back to life.
- Skillet: Heat a dry skillet over medium-low heat. Add the bacon bits and cook, stirring occasionally, until they are hot and crispy again.
- Air Fryer: Spread bacon bits in a single layer in your air fryer basket. Cook at 350°F (175°C) for 2-4 minutes, shaking the basket once, until crispy.
- Microwave: While not ideal for crispiness, a quick zap can heat them. Place on a paper towel-lined plate and microwave in 15-second intervals until warm.
- Always drain warmed bacon on fresh paper towels and allow to cool for 2-3 minutes before serving to enhance crispiness.
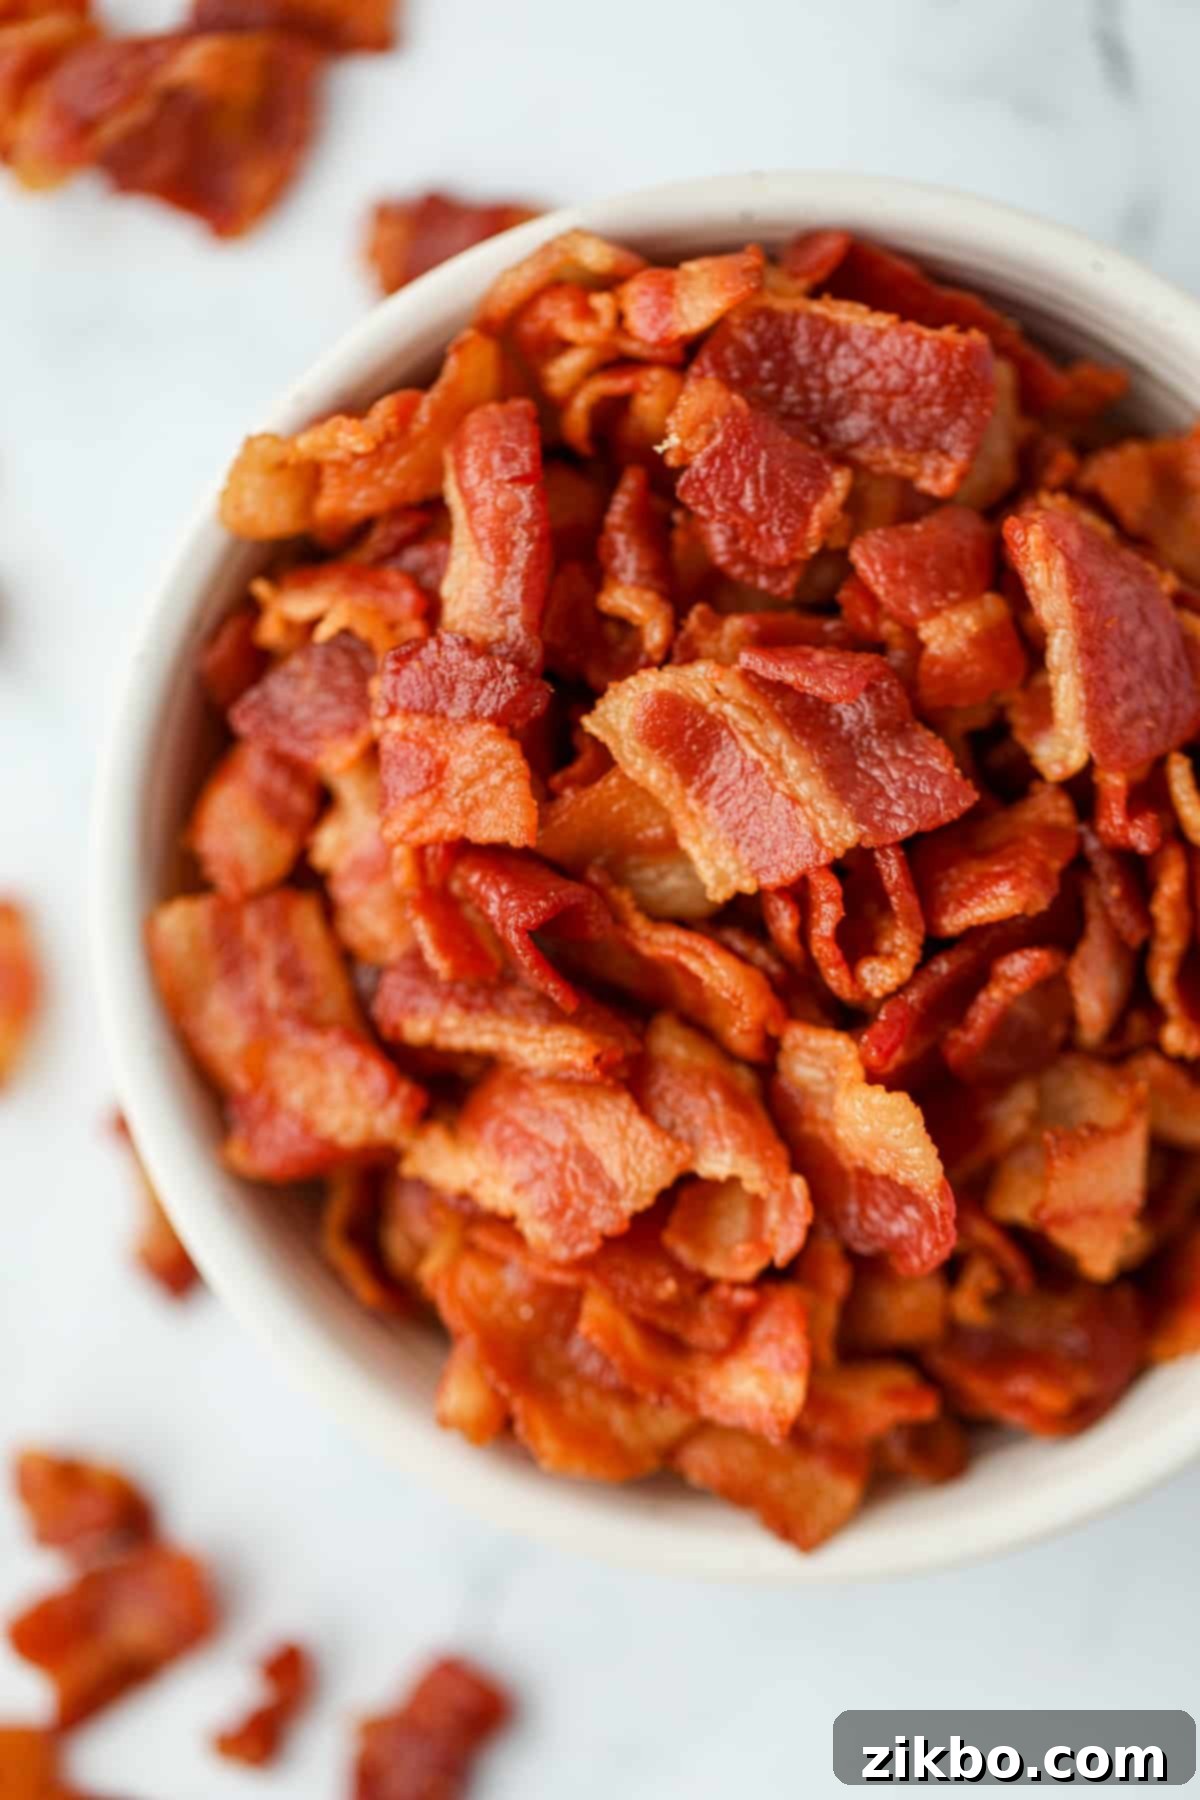
Expert Tips for the Best Bacon Bits Every Time
Achieving consistently perfect bacon bits involves a few key techniques. Follow these expert tips for optimal results:
- Always Slice Raw Bacon Before Cooking: This is the single most important tip and a true game-changer. Slicing raw bacon into small pieces ensures that each “bit” cooks evenly, crisps up beautifully, and maintains a consistent size and texture. If you cook whole bacon strips first and then crumble them, you often end up with irregular “flakes” rather than robust, satisfying “bits.” The pre-chopping method ensures those classic, uniform bacon bit shapes you love.
- Work in Batches for Large Quantities: If you’re cooking a small amount of bacon (e.g., 4-6 slices), it’s easy to achieve even cooking in a single pan. However, when making a larger batch, overcrowding the pan can lead to steaming instead of frying, resulting in less crispy bacon. For the best results, cook in batches of 8-12 slices at a time. This allows enough space for the bacon to fry properly and become uniformly crisp.
-
Don’t Discard the Bacon Grease: The rendered bacon fat is a culinary goldmine! It’s packed with incredible flavor and can be reused in many dishes. To store it, carefully pour the warm (but not boiling hot) grease through a fine-mesh sieve lined with a coffee filter or several layers of cheesecloth/paper towel into a heat-proof glass jar. The filter will catch any solid debris, leaving you with pure, clear bacon grease. Store it in the refrigerator for weeks (or freeze it for months) and use it for:
- Sautéing vegetables (like greens, onions, or potatoes).
- Browning chicken, pork chops, or beef.
- Making flavorful gravies or pan sauces.
- Adding depth to cornbread or biscuits.
- Adjust Heat as Needed: While medium heat is generally recommended, keep an eye on your bacon. If it’s browning too quickly, slightly reduce the heat. If it’s taking too long and not rendering fat efficiently, you might need to slightly increase it. Patience and observation are key to perfect bacon.
- Don’t Overcrowd the Pan: As mentioned, too many bacon pieces will lower the pan temperature and cause the bacon to steam rather than fry. Cook in manageable batches for optimal crispiness.
Recipe FAQs: Your Top Questions Answered
The absolute easiest and best way to make homemade bacon bits is to chop raw bacon into ½-¾ inch pieces, then cook them in a large skillet or Dutch oven over medium heat until they are golden brown and perfectly crispy. Once cooked, remove them with a slotted spoon and let them drain on a paper towel-lined plate to absorb excess grease.
While tempting, it’s generally not recommended to use a food processor for chopping raw bacon. The consistency is difficult to control, often resulting in an inconsistent mix of finely minced bacon (almost a paste) and larger chunks, rather than uniform bits. A very sharp food chopper might yield better results, but for consistent size and texture, using a sharp knife by hand is truly the best method.
For superior results, **always cut raw bacon into bits before cooking.** This crucial step ensures that the bacon bits cook evenly, develop maximum crispness, and maintain a consistent shape, resembling the desirable texture of store-bought versions. Chopping cooked bacon, on the other hand, typically results in flatter, more irregularly shaped pieces that can be less satisfyingly crunchy.
Homemade bacon bits can be stored in an airtight container in the refrigerator for up to 3 days. For longer storage, they freeze well for up to 3 months. Always ensure they are completely cooled before storing.
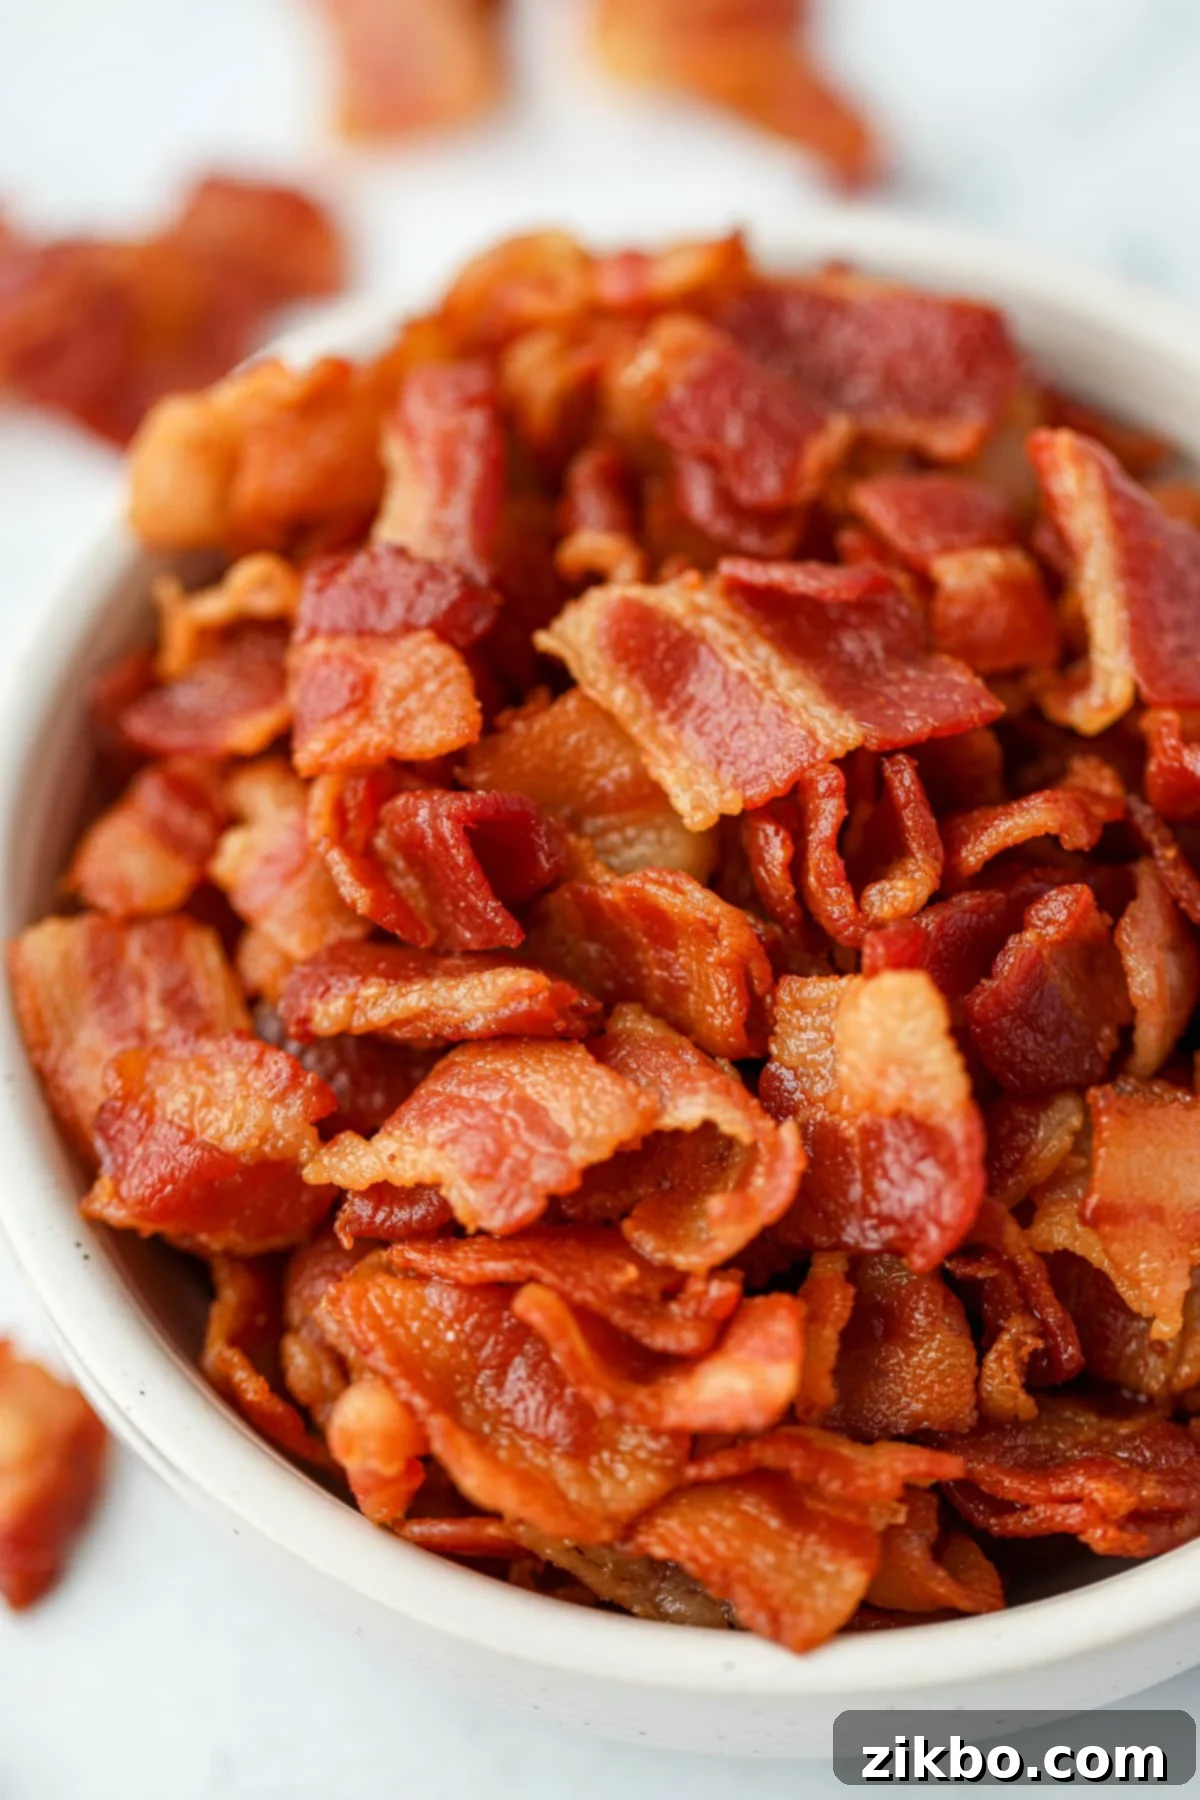
More Delicious Ways to Cook Bacon:
If you love bacon, you’ll want to explore these other fantastic cooking methods:
- Crispy Oven Baked Bacon
- Perfect Air Fryer Bacon
- Instant Pot Bacon
- Sweet & Savory Candied Bacon
- Million Dollar Bacon (A Sweet & Spicy Treat)
- Billionaire’s Bacon (Thick-Cut Perfection)
Favorite Recipes That Shine with Bacon Bits:
Elevate these incredible dishes with a generous sprinkle of your freshly made bacon bits:
If you loved this recipe for homemade bacon bits, please share your thoughts! You can also tag me on Instagram @dashfordinner.

How to Make Crispy Bacon Bits
Learn how to make bacon bits that are perfectly crispy, crunchy, and flavorful. Far cheaper and better than store-bought, and incredibly easy!
Pin Recipe
Equipment
- Dutch oven or large skillet with high sides
- Sharp knife
- Cutting board
- Wooden spoon or heat-resistant spatula
- Slotted spoon
- Paper towels
- Plate or tray
- Airtight container or freezer bag
Ingredients
- 8-16 slices bacon (regular or thick-cut)
Instructions
-
Use a sharp knife to cut your bacon into squares roughly ½-¾” in size. Begin by lining up the bacon as packaged and slicing it into ½-¾” pieces vertically. Then, stack these rectangular pieces and slice them in half or into thirds crosswise, making smaller, rough squares. The exact shape is less critical than aiming for pieces generally less than 1” on any side for even cooking.

-
Gently separate any bacon slices that are sticking together using your fingers. Don’t overthink this step, as they will naturally break apart more as they cook. However, pre-separating helps promote more consistent and even cooking from the start.
-
Heat a Dutch oven (or a large skillet with high sides to minimize splatter) over medium heat for about 2-4 minutes, or until the surface radiates noticeable heat when you hover your hand a few inches above it.
-
Add the chopped bacon pieces to the preheated pan. Use a wooden spoon to gently stir and break them up, ensuring they are not clumped together. This encourages the fat to render efficiently.

-
As the bacon cooks, the fat will render out, and the pieces will begin to crisp up. Continue stirring frequently throughout the cooking process. This constant movement ensures even browning and crisping on all sides.

-
Once the bacon pieces are crisp and cooked to your preference (a deep golden brown), use a slotted spoon to remove them from the pan. Transfer the cooked bits to a plate generously lined with several layers of paper towels to drain any excess grease.

-
Note: As more fat renders into the pan, the remaining bacon pieces will cook more quickly. Keep a watchful eye and don’t hesitate to slightly reduce the heat if you notice them browning too rapidly to prevent burning.
-
Continue removing batches of bacon bits as they reach your desired level of crispness and drain them on paper towels. If necessary, refresh the paper towels or use a fresh plate if they become saturated with grease.
-
Allow the bacon bits to cool on the paper towels for 3-5 minutes before using or storing. They will continue to crisp up during this cooling period, achieving that perfect crunch.
-
Storage: Transfer any cooled leftover bacon bits to an airtight container or freezer bag. Store them in the refrigerator for up to 3 days, or freeze them for up to 3 months. For optimal crispiness when serving later, re-crisp them in a dry skillet over medium-low heat until warm and sizzling, then drain on fresh paper towels before enjoying.
Notes
- Can I use turkey or beef bacon instead? This exact method is primarily designed for pork bacon due to its fat content. Beef and turkey bacon are much leaner and do not render significant amounts of grease. If using them, I recommend cooking the slices as you normally would (e.g., in a skillet or air fryer), then chopping them into small pieces after they are cooked and cooled. They won’t be quite the same as pork bacon bits but will still add flavor.
- Storage: Ensure bacon bits are completely cool before transferring to an airtight container or freezer bag. They keep well in the refrigerator for up to 3 days. For longer storage, freeze them.
- Freezing: Once the bacon bits have cooled completely, transfer them to a freezer-safe bag or container, label it with the date, and freeze for up to 3 months.
- Re-crisping: To bring back crispness, add the desired amount of bacon bits to a preheated dry skillet over medium-low heat. Cook, stirring, until they are hot and slightly re-crisped. Drain on a paper towel-lined plate. This step helps remove any residual moisture and makes them perfectly crunchy again.
-
Ways to use bacon bits:
- Salads (broccoli salad, Caesar salad, Cobb salad)
- Dips (like my loaded baked potato dip, cheesy spreads)
- Soups (chowders, creamy vegetable soups)
- Baked potatoes (as a topping with sour cream and chives)
- Appetizers (deviled eggs, stuffed mushrooms)
- Garnish for vegetables or mac and cheese
Nutrition Information (Approximate per serving)
Serving Size: 1 slice equivalent |
Calories: 37 kcal |
Carbohydrates: 0.1g |
Protein: 3g |
Fat: 3g |
Saturated Fat: 1g |
Polyunsaturated Fat: 0.5g |
Monounsaturated Fat: 1g |
Trans Fat: 0.01g |
Cholesterol: 8mg |
Sodium: 134mg |
Potassium: 40mg |
Vitamin A: 3IU |
Calcium: 1mg |
Iron: 0.1mg
*Nutrition values are estimates and may vary based on specific ingredients and cooking methods.
Please note that some of my blog posts here at Dash for Dinner may contain affiliate links. If you make a purchase through these links, I will get a small commission at no additional cost to you. Please see my Disclaimer for more information.
