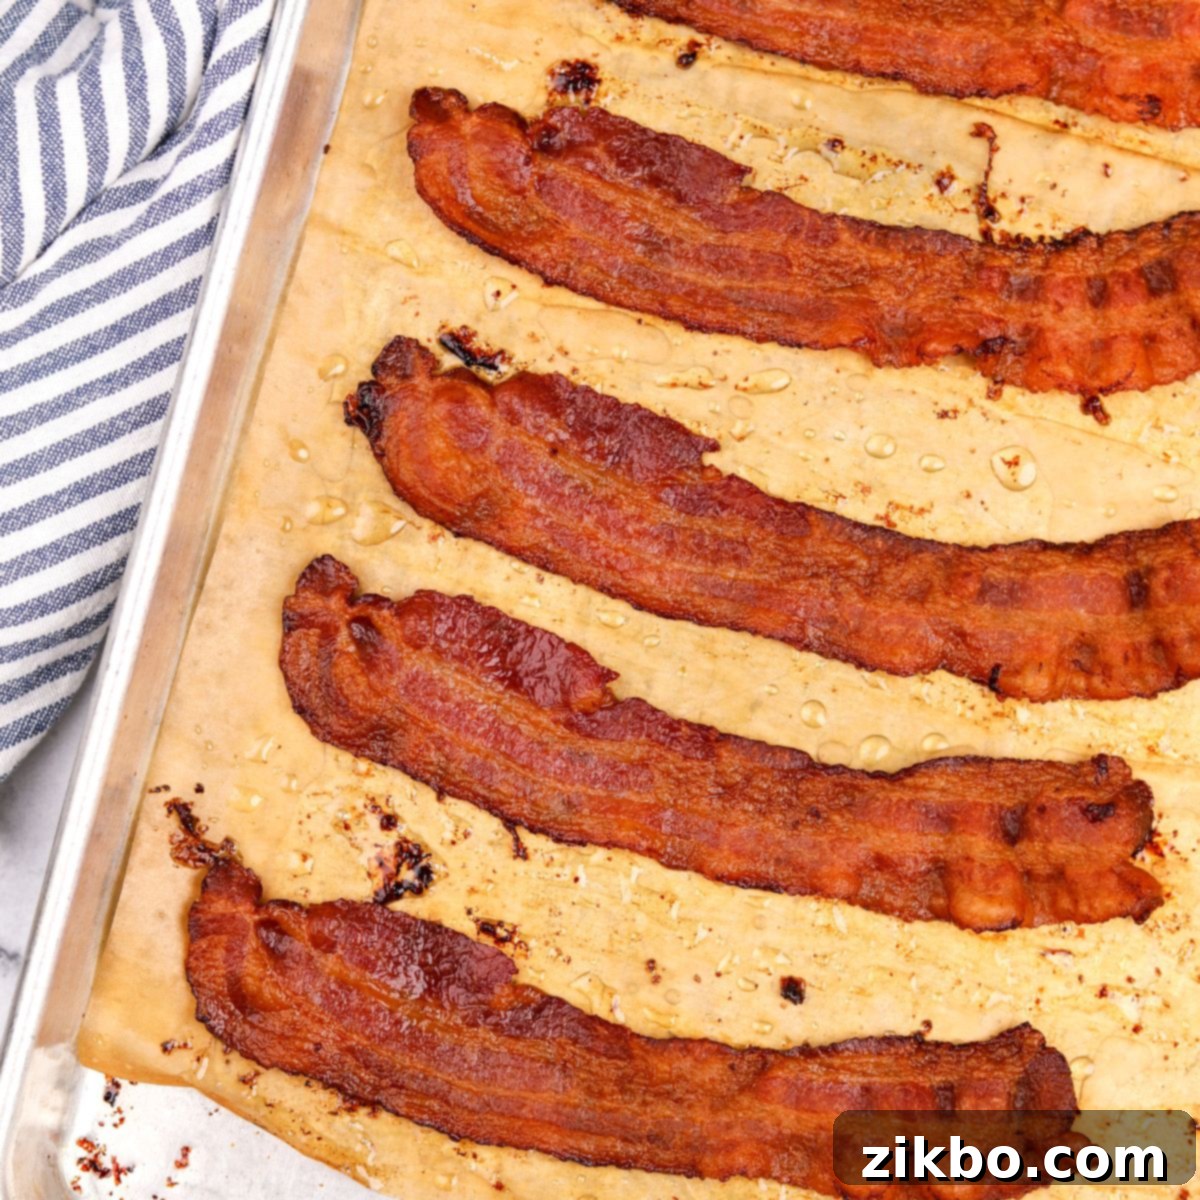
The Ultimate Guide to Crispy Oven Baked Bacon: Perfectly Cooked Every Time!
Forget the days of greasy splatters and unevenly cooked strips! This simple method for making Crispy Oven Baked Bacon is genuinely the best way to achieve perfectly cooked bacon every single time. Not only is it incredibly easy with significantly less mess, but it also frees up your stovetop for other breakfast essentials like scrambling eggs or toasting bread. It’s an absolute game-changer, especially when you need to cook a large batch for a crowd or prepare a lot of bacon for weekly meal prep.
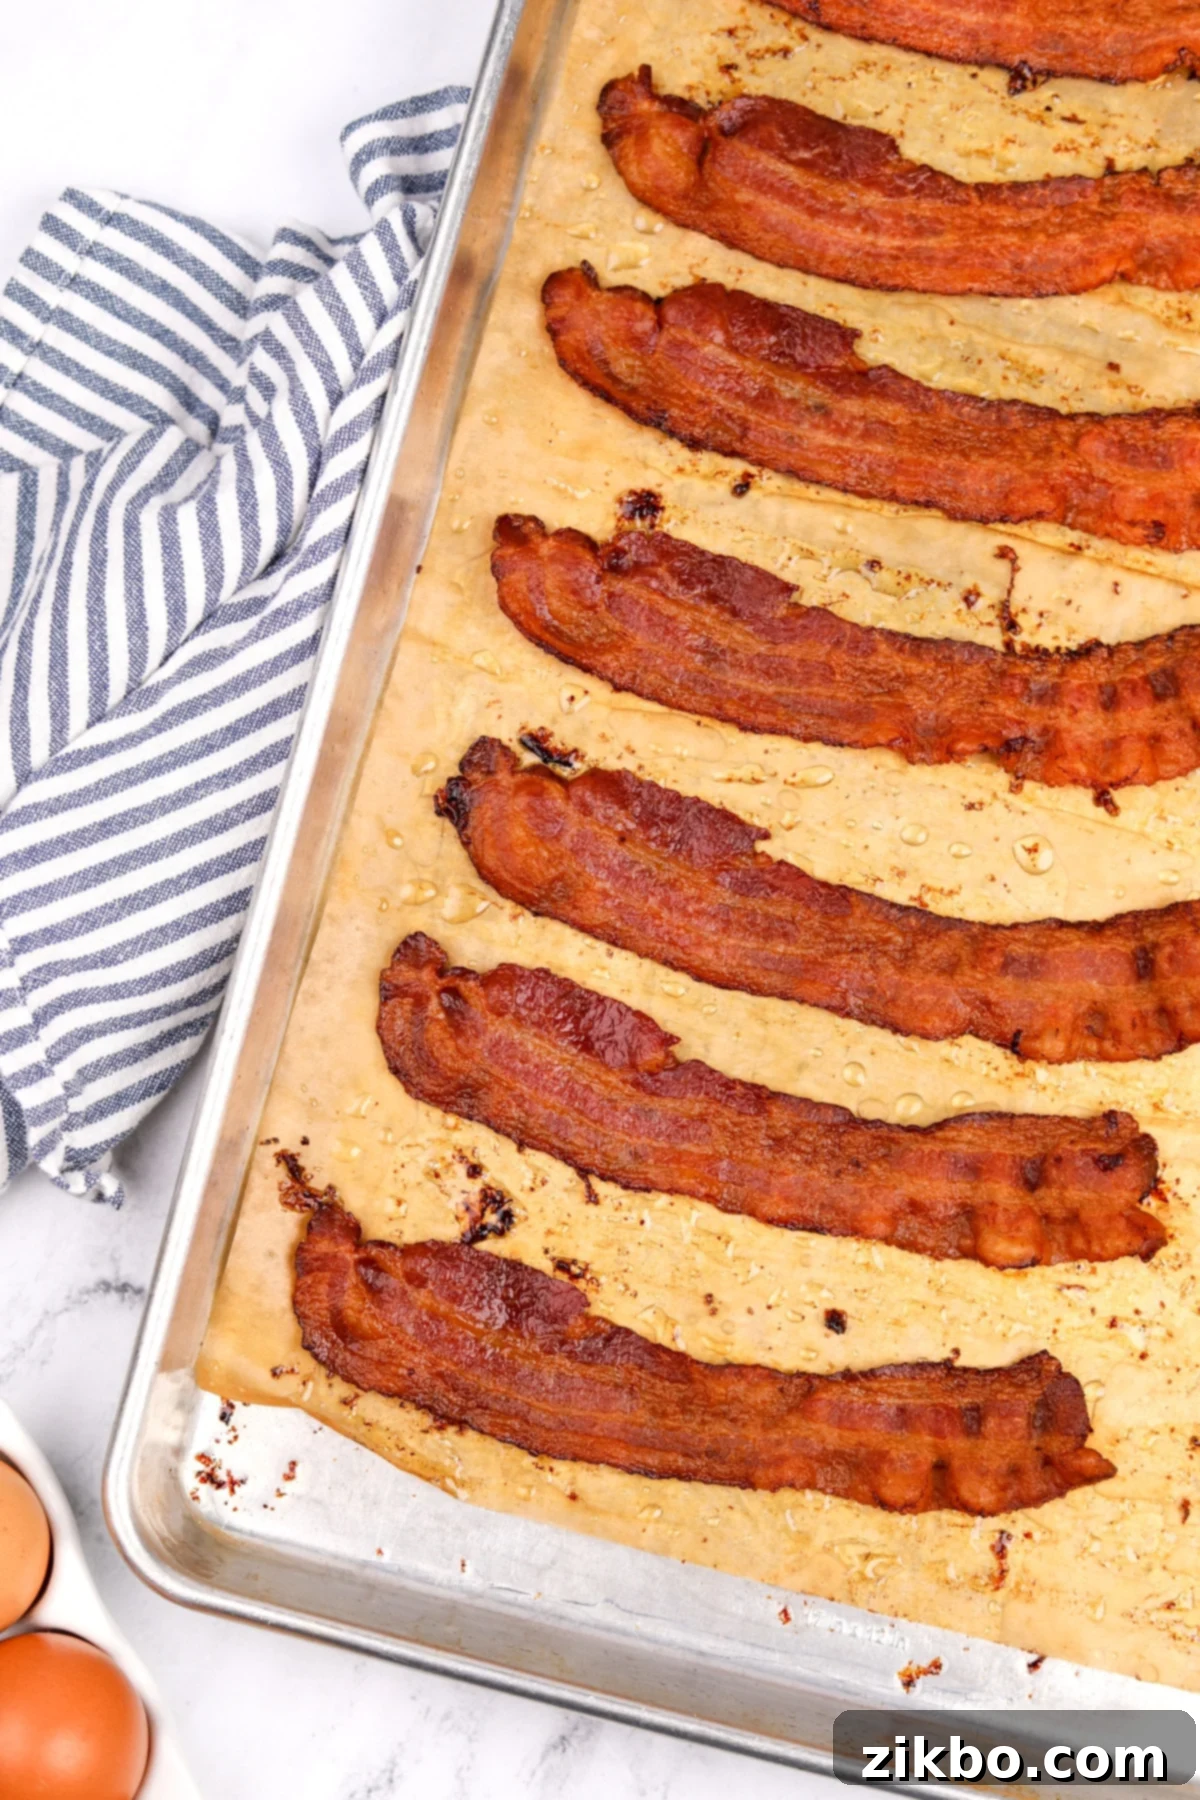
Out of all the various methods I’ve used to cook bacon over the years, baking it in the oven remains my absolute favorite. If you haven’t yet experienced the convenience and deliciousness of oven-baked bacon, you’re truly missing out on an absolute game changer! This technique is not just about avoiding a mess; it’s about consistently achieving the ideal texture and flavor.
The oven method dramatically reduces, if not completely eliminates, the notorious grease splatter that comes with stovetop cooking. More importantly, it reliably produces the crispiest, most flavorful bacon every single time. No need to constantly fuss over a hot pan or babysit individual strips – just perfect bacon, cooked with minimal effort, allowing you to focus on other culinary delights in your kitchen.
Why You’ll Love Oven Baked Bacon:
- Perfectly Crispy Bacon Every Time: The even, consistent heat of the oven allows every single slice of bacon to cook uniformly. This results in an incredibly satisfying crunch and delicious flavor in every bite, without any chewy or undercooked spots. It’s the secret to consistently perfect bacon.
- Effortless Cleanup: Bid farewell to grease-splattered stovetops and countertops! Compared to traditional pan-frying, baking bacon on a sheet pan lined with parchment paper is a dream for cleanup. The parchment paper catches all the rendered fat, making disposal simple and leaving you with virtually no mess to scrub.
- Ideal for Big Batch Cooking: Whether you’re hosting a brunch for friends and family, taking advantage of a sale at the grocery store, or planning your meals for the week, the oven method is the most efficient way to cook a large quantity of bacon. You can easily fit a full pound (or more, in batches) on a single sheet pan.
- Budget-Friendly & Convenient Meal Prep: As a busy home cook, you might occasionally reach for pre-cooked or frozen bacon for convenience. While handy, these options are often more expensive. By cooking your own bacon in bulk in the oven, you can enjoy the same convenience at a fraction of the cost. Cook a large batch, then store and reheat as needed throughout the week or month.
- Hands-Free Cooking: One of the biggest advantages is that once the bacon is in the oven, your hands are free! This allows you to simultaneously prepare other parts of your meal, like whipping up pancake batter, scrambling eggs, or slicing fruit, streamlining your breakfast or brunch routine.
Ingredients You’ll Need
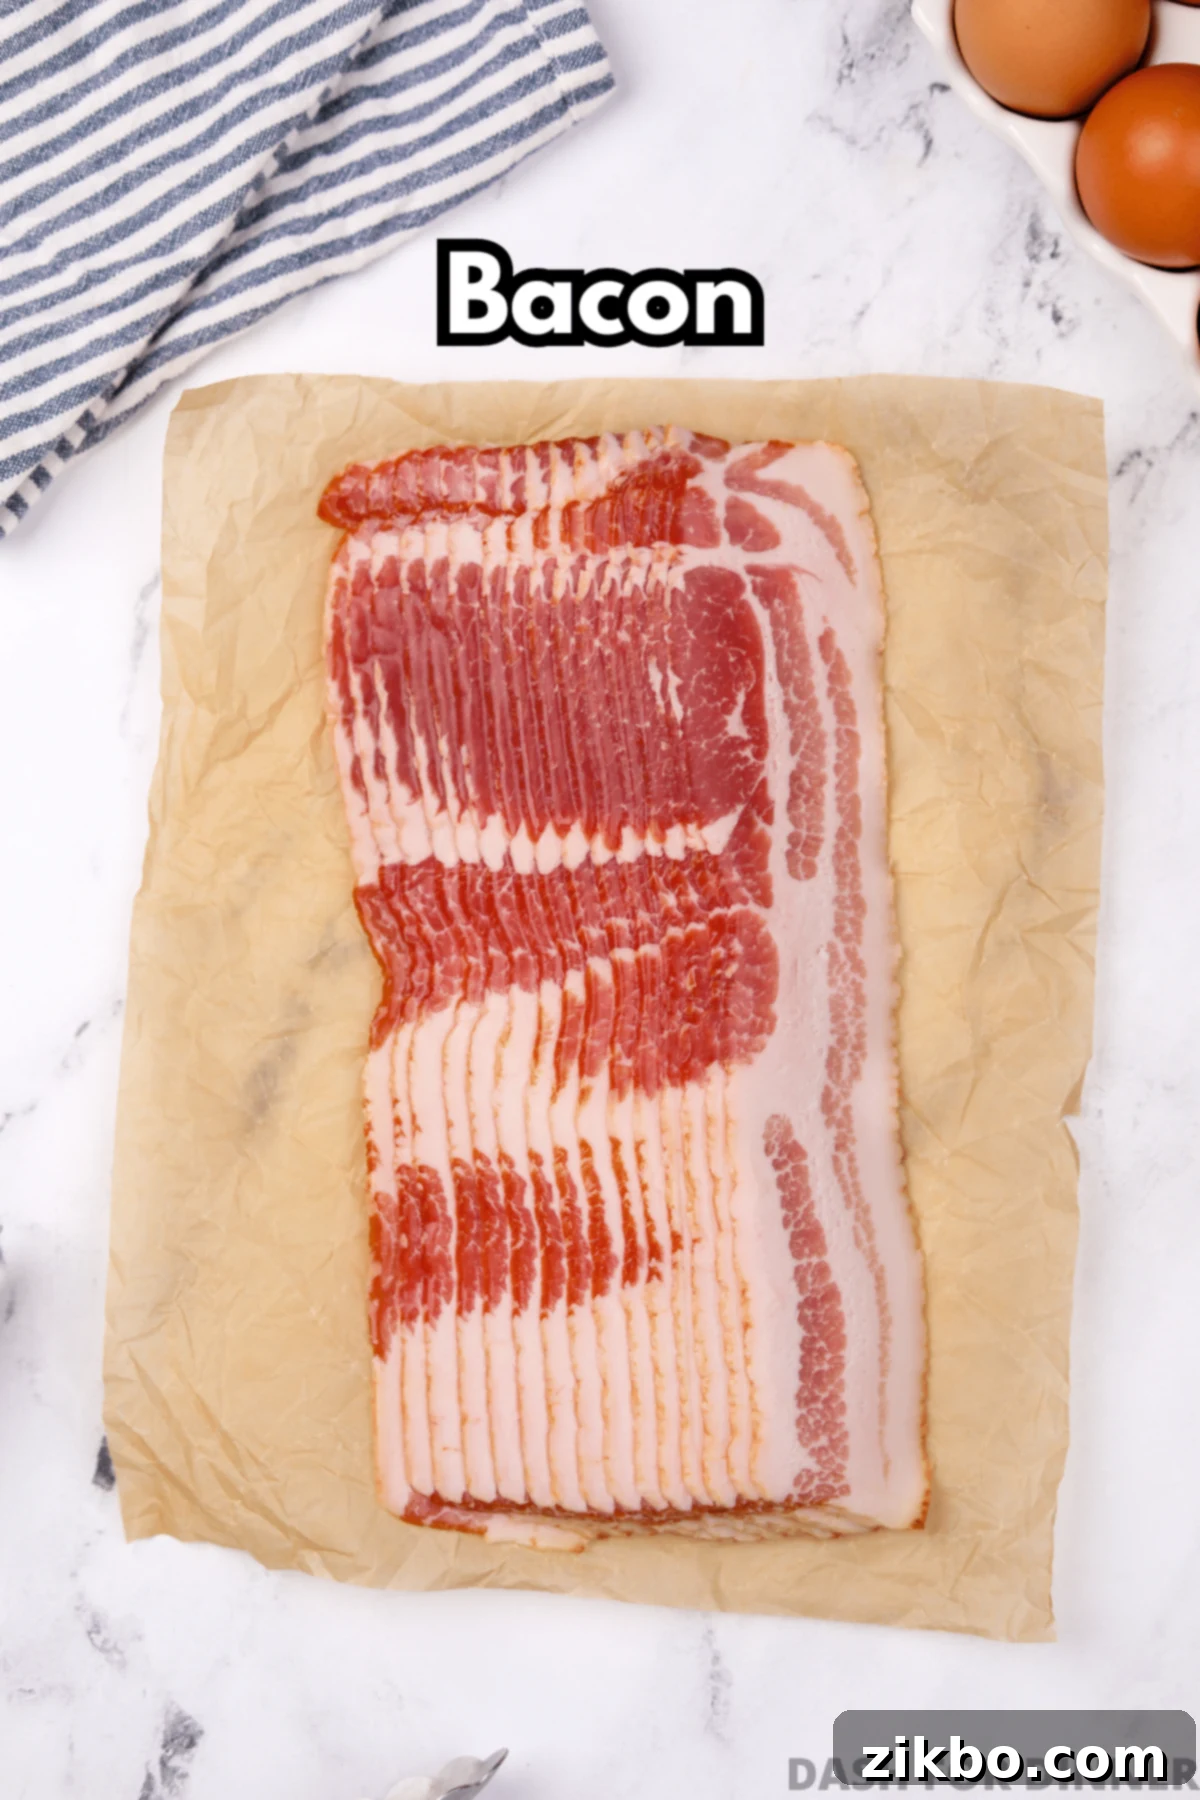
- Bacon: The star of our show! You can bake almost any amount of bacon using this method, simply by working in batches if necessary. I typically prepare 1-2 pounds at a time, using a regular-cut bacon. While regular cut is recommended for consistency, feel free to use thick-cut bacon if you prefer it – just remember to adjust the cooking time slightly (add a few extra minutes). Thin-cut bacon will cook faster, so keep a close eye on it. Look for good quality bacon with a nice balance of meat and fat for the best flavor and texture.
Essential Equipment
- Rimmed Baking Sheet: This is crucial! You will need a baking pan with raised edges to effectively catch all the rendered bacon grease, preventing it from overflowing into your oven. A standard half-sheet pan, which you can find at any kitchen supply or department store, works perfectly for most batches.
- Parchment Paper or Aluminum Foil: Lining your baking sheet is key for incredibly easy cleanup. Parchment paper is my preferred choice as it prevents sticking and contains the grease beautifully. Alternatively, heavy-duty aluminum foil can also be used. This step makes cleanup a breeze – simply discard the liner with the cooled grease after cooking!
- Tongs: Essential for safely flipping your bacon halfway through cooking and for transferring the cooked strips to a draining plate.
- Paper Towels: For draining excess grease from the cooked bacon, ensuring maximum crispiness.
How to Make Crispy Bacon in the Oven: A Step-by-Step Guide
Achieving perfectly crispy bacon in the oven is incredibly straightforward. Follow these simple steps for delicious results every time:
- Prepare Your Oven and Pan: Preheat your oven to 425ºF (218ºC). While the oven heats up, line a rimmed baking sheet with a sheet of parchment paper. This vital step will significantly simplify your cleanup.
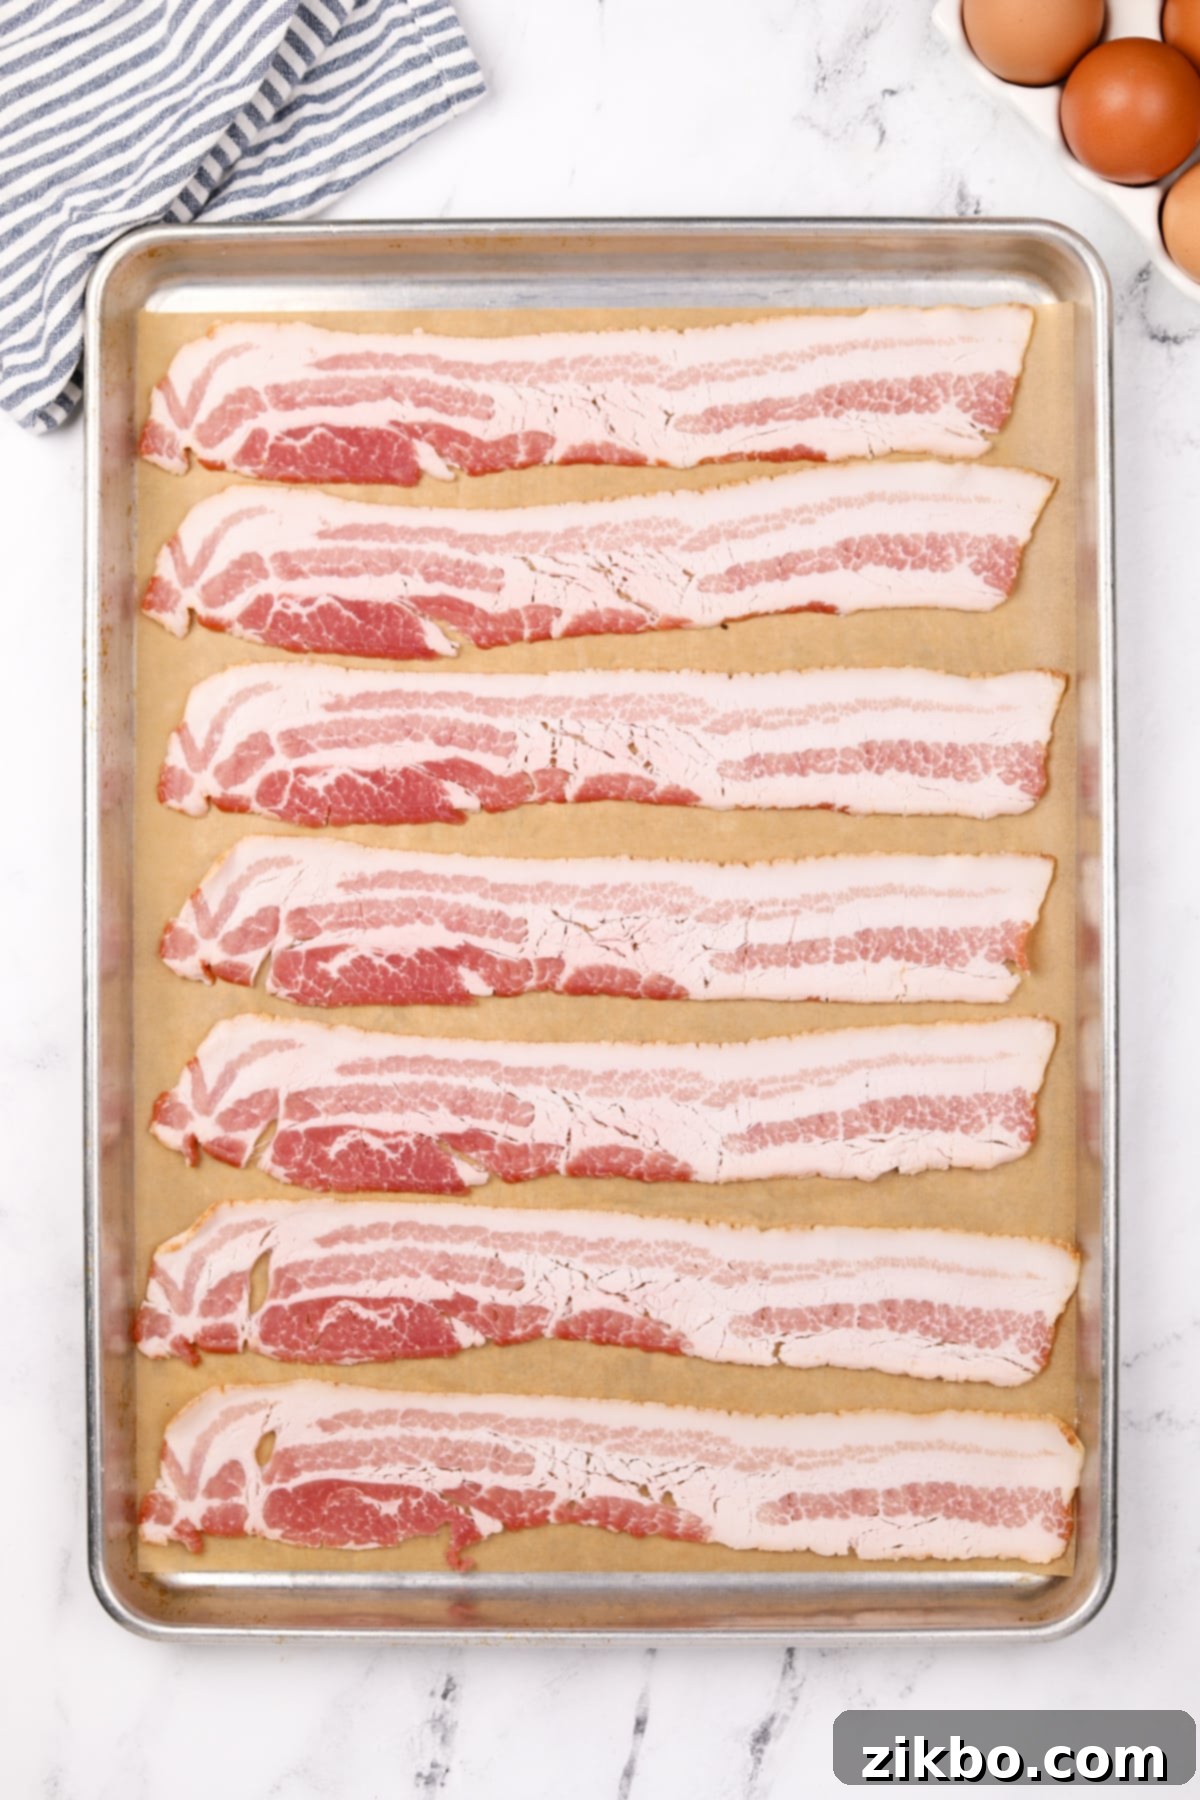
Step Two: Arrange the Bacon: Lay 7-8 strips of bacon in a single layer on the prepared baking sheet. Ensure there is a small amount of space between each piece and that none of the slices overlap. Overlapping prevents even cooking and can lead to some pieces sticking together or being less crispy.
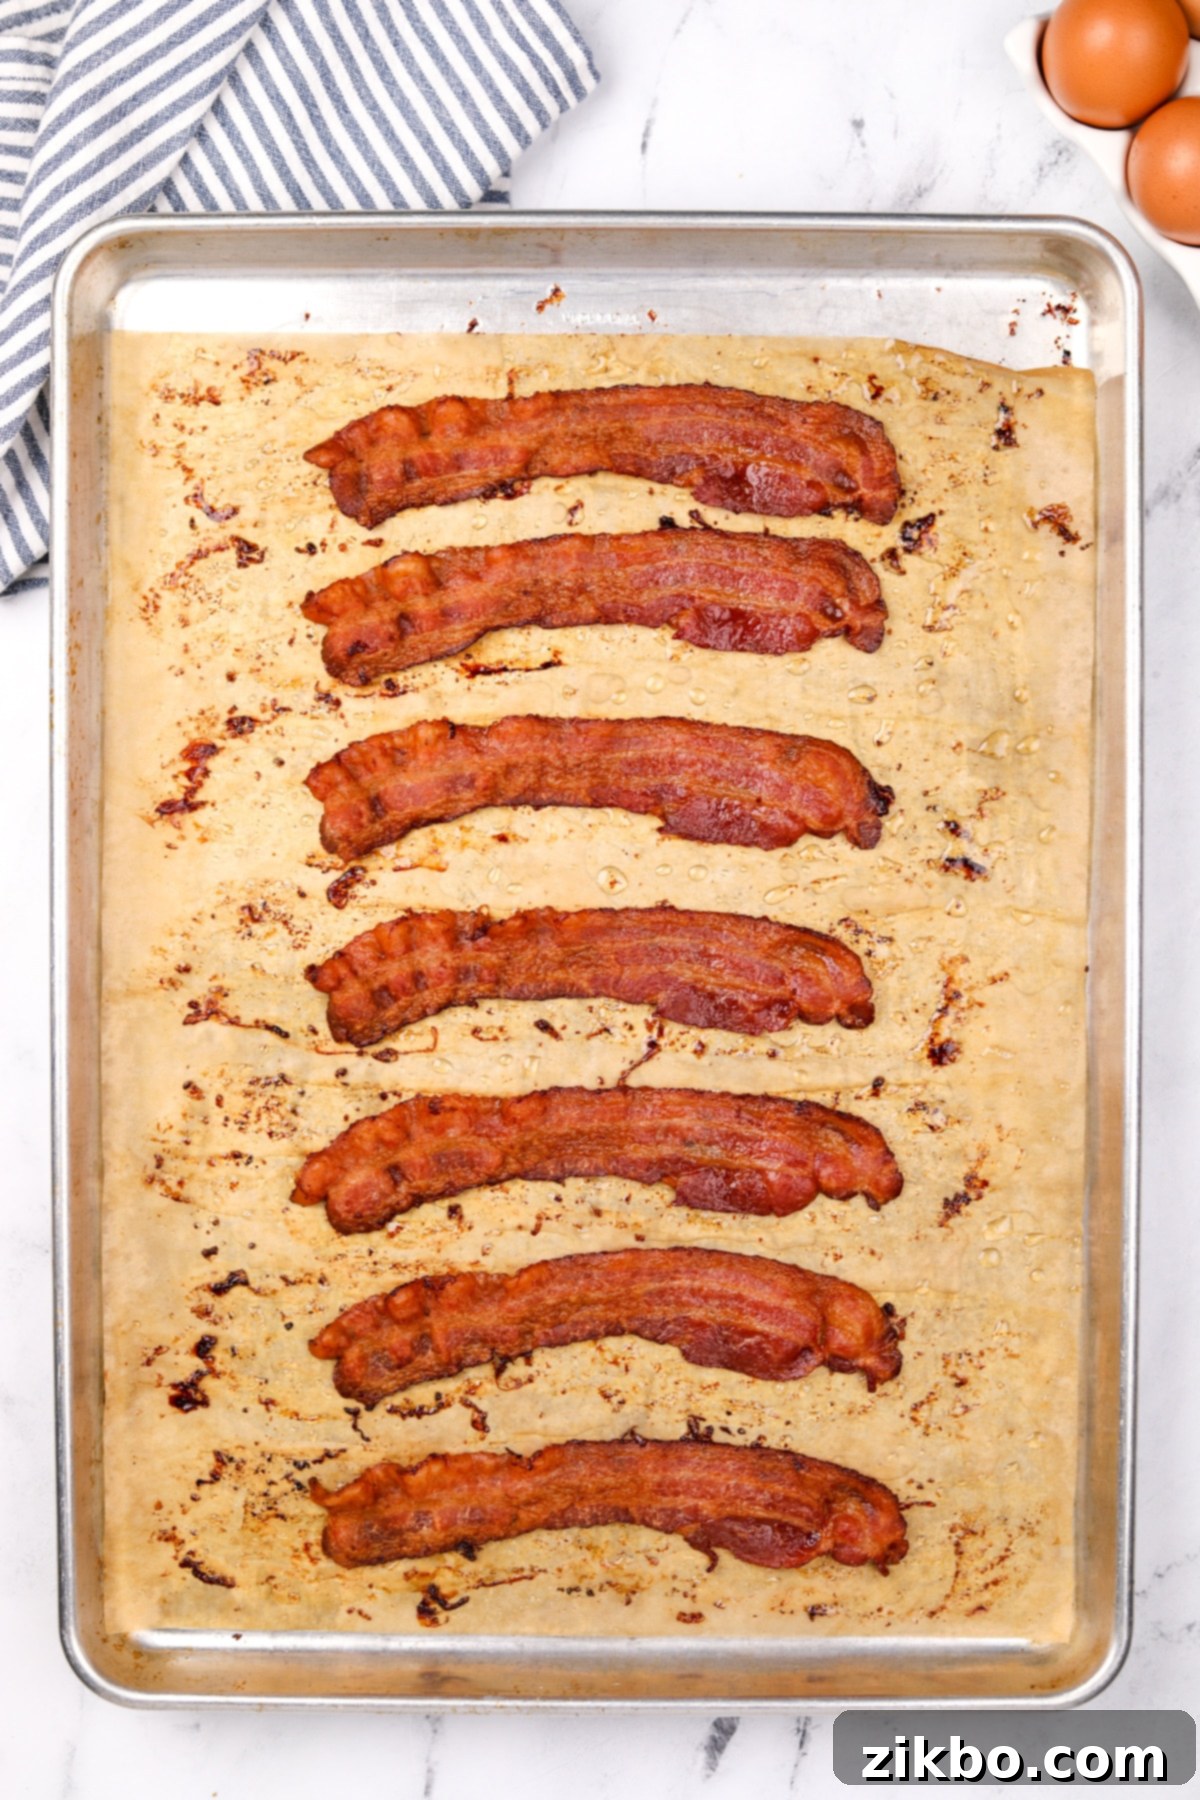
Step Three: Bake to Perfection: Place the baking sheet into your preheated 425ºF (218ºC) oven. Bake for approximately 16-22 minutes. For even crispiness and browning, I highly recommend flipping the bacon pieces halfway through the cooking time, around the 10-minute mark. Keep a close eye on the bacon during the last few minutes, as cooking times can vary slightly depending on your oven and desired crispness. Once the bacon reaches your preferred level of crispiness, remove the baking sheet from the oven.
Draining for Extra Crispiness
For the absolute best texture, most people prefer their bacon once it’s been properly drained. This essential step absorbs any excess grease, contributing significantly to its ultimate crispness and making it less greasy to eat.
- Line a plate or tray with a double layer of paper towels.
- Carefully transfer the cooked bacon pieces from the baking sheet onto the paper towel-lined plate using tongs.
- Allow the bacon to drain for a few minutes. This brief resting period helps the bacon crisp up even further as it cools slightly, absorbing any surface grease before serving.
Bacon Thickness and Cooking Time
The type of bacon you choose plays a significant role in how long it will need to cook to achieve that perfect crispy texture. Thinner slices will cook much faster, while thicker slices require more time in the oven to render their fat and become crisp.
- Thick-cut bacon: If you love that hearty, chewy-crisp texture, thick-cut bacon is a great choice. You’ll need to add approximately 2-5 minutes to the total baking time. So, aim for 18-24 minutes (instead of 16-22 minutes), always keeping a close watch during the final minutes.
- Regular cut bacon: This is the most common type and the one our recipe’s cooking times are primarily based on. Follow the recipe as directed for consistently crispy results (16-22 minutes).
- Thin-cut bacon: This bacon cooks very quickly and can go from perfectly crisp to burnt in a blink! Reduce the initial cooking time by about 2-4 minutes. Start checking at 12-14 minutes and remove as soon as it reaches your desired crispness (total time 14-20 minutes).
For less crispy bacon: If your preference leans towards chewy rather than super crispy bacon, simply keep a very close eye on it and remove the baking sheet from the oven as soon as it reaches your desired level of doneness. This typically falls within the 12-16 minute range, depending on your oven’s calibration.
Expert Tips for the Crispiest Oven Bacon
- Flip for Even Cooking: While not strictly mandatory, flipping your bacon slices halfway through the cooking process is highly recommended. This ensures both sides brown evenly and helps to promote that consistent, all-over crispiness we’re aiming for. Use tongs for easy and safe flipping.
- Drain the Fat Between Batches (if applicable): If you’re cooking a large quantity of bacon in multiple batches, it’s crucial to carefully drain the rendered fat from the pan after each batch. Leaving excessive fat can cause subsequent batches to cook too quickly, become soggy, or even smoke, imparting an undesirable burnt flavor to your bacon. Allow the fat to cool slightly before pouring it into a heat-safe container.
- Always Work in Batches: Resist the temptation to overcrowd the pan. While it might seem faster, packing too many strips onto one baking sheet will lead to steaming rather than crisping. Overlapping pieces also prevent even cooking. It’s far better to take your time, working in smaller batches, to guarantee consistently crispy and perfectly cooked bacon slices.
- Use a Cold Oven Start? (Optional, but not necessary for this recipe): Some methods suggest starting bacon in a cold oven. While it can work, I find preheating the oven provides more predictable and consistent results, especially when cooking multiple batches. This recipe is optimized for a preheated oven.
How to Store Cooked Bacon & Reheating Tips
Cooking bacon in advance is an excellent way to save time and always have some on hand. Here’s how to properly store and reheat your delicious oven-baked bacon:
- Refrigerator Storage: Once your cooked bacon has completely cooled to room temperature, transfer the pieces to an airtight container. Stored properly, it will keep fresh in the refrigerator for up to 4-5 days. This makes it perfect for meal prep throughout the week.
- Freezer Storage: For longer storage, cooked bacon freezes beautifully. Once cooled, arrange the bacon in a single layer on a plate or small baking sheet and flash freeze for about 30 minutes until firm. Then, transfer the frozen bacon to a freezer-safe bag, removing as much excess air as possible. Seal tightly and label with the date and contents. It can be frozen for 3-6 months. Reheat directly from frozen.
- Re-crisping for Best Results: While you can simply microwave cooked bacon to heat it through, re-crisping it is highly recommended to restore its delicious texture. Draining on paper towels after reheating helps remove any residual grease and enhances crispiness.
- Skillet: Heat a non-stick or cast iron skillet over medium heat. Add the bacon and warm for 30-60 seconds per side, until it reaches your desired crispness.
- Air Fryer: Use the “reheat” setting (or 350°F / 175°C) and heat for 1-2 minutes. Check frequently to prevent burning.
- Microwave: For quick heating, place bacon on a paper towel-lined plate and heat in 30-second intervals until warmed through. Note: this method may result in less crispiness.
- Oven: Preheat oven to 350°F (175°C). Spread bacon on a baking sheet and heat for 5-7 minutes, until crispy.
What to Do with the Bacon Fat?
One of the perks of cooking bacon is the delicious rendered fat! For the best results when cooking multiple batches, I highly recommend draining the bacon fat from the baking pan after each batch has been removed from the oven. This prevents subsequent batches from cooking too quickly or soaking in too much grease.
This reserved bacon grease is a culinary treasure! It can be collected in a heat-safe glass jar and stored in the refrigerator to be reused as a flavorful cooking fat. Rendered bacon fat is commonly used to sauté vegetables (especially greens like collard greens or kale), to season cast iron skillets, to add depth to gravies, or even to create incredibly moist and flavorful cornbread.
Top tip for long-lasting grease: If you plan to store your bacon grease for an extended period, I highly recommend straining off any bacon solids. I do this by carefully pouring the cooled liquid fat through a fine-mesh sieve lined with a coffee filter into your storage jar. This removes any bits of bacon that could cause the fat to spoil faster.
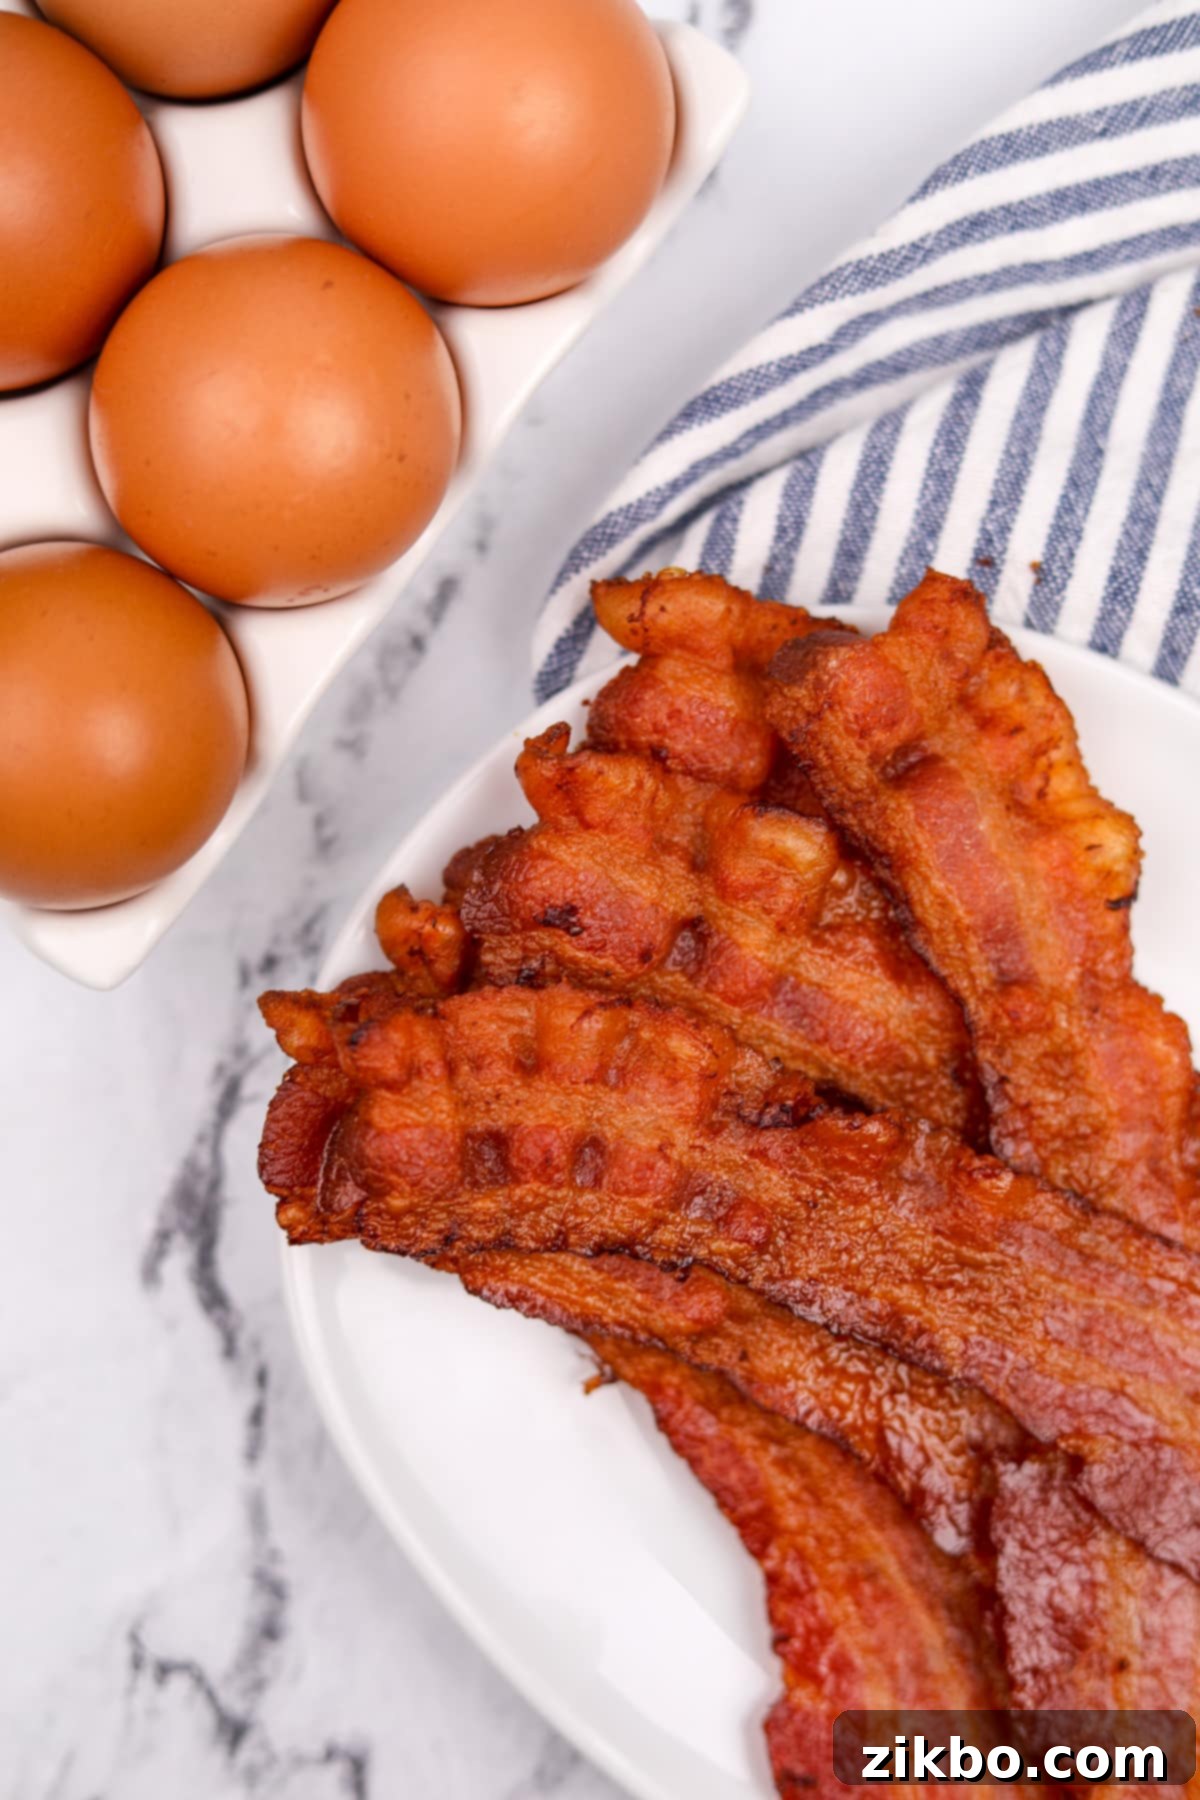
Creative Ways to Use Cooked Bacon
Beyond being a breakfast staple, crispy bacon is a versatile ingredient that can elevate countless dishes. Here are just a few ideas for how to use your perfectly cooked oven bacon:
- Classic BLT Sandwiches: The quintessential use for perfectly crispy bacon, paired with fresh lettuce and juicy tomatoes.
- Hearty Breakfast Sandwiches: Add a slice (or two!) to your morning egg and cheese sandwich for an instant flavor upgrade.
- Loaded Baked Potatoes: Crumble bacon on top of baked potatoes with sour cream, cheese, and chives for an irresistible side or main.
- Efficient Meal Prep: Have cooked bacon ready to add to salads, wraps, or as a quick snack throughout the week.
- Homemade Bacon Bits: Easily crumble the crispy bacon into small pieces to use as a topping for salads, soups, or even mac and cheese.
- Comforting Casseroles: Stir into breakfast casseroles, quiches, or savory bread puddings for an added layer of smoky flavor.
- Delicious Dips: Incorporate into creamy dips, like a loaded baked potato dip, for an extra burst of savory goodness.
- Enhance Subs, Sandwiches, or Salads: A few strips of bacon can transform any ordinary sandwich or salad into something extraordinary.
- Quick Snacking: Grab a piece straight from the fridge for a satisfying and flavorful snack.
- Classic Breakfast Spreads: Serve alongside scrambled eggs, pancakes, waffles, or French toast for the ultimate breakfast experience.
- Frozen for Later Use: Always have bacon on hand for unexpected cravings or last-minute meal additions by freezing cooked portions.
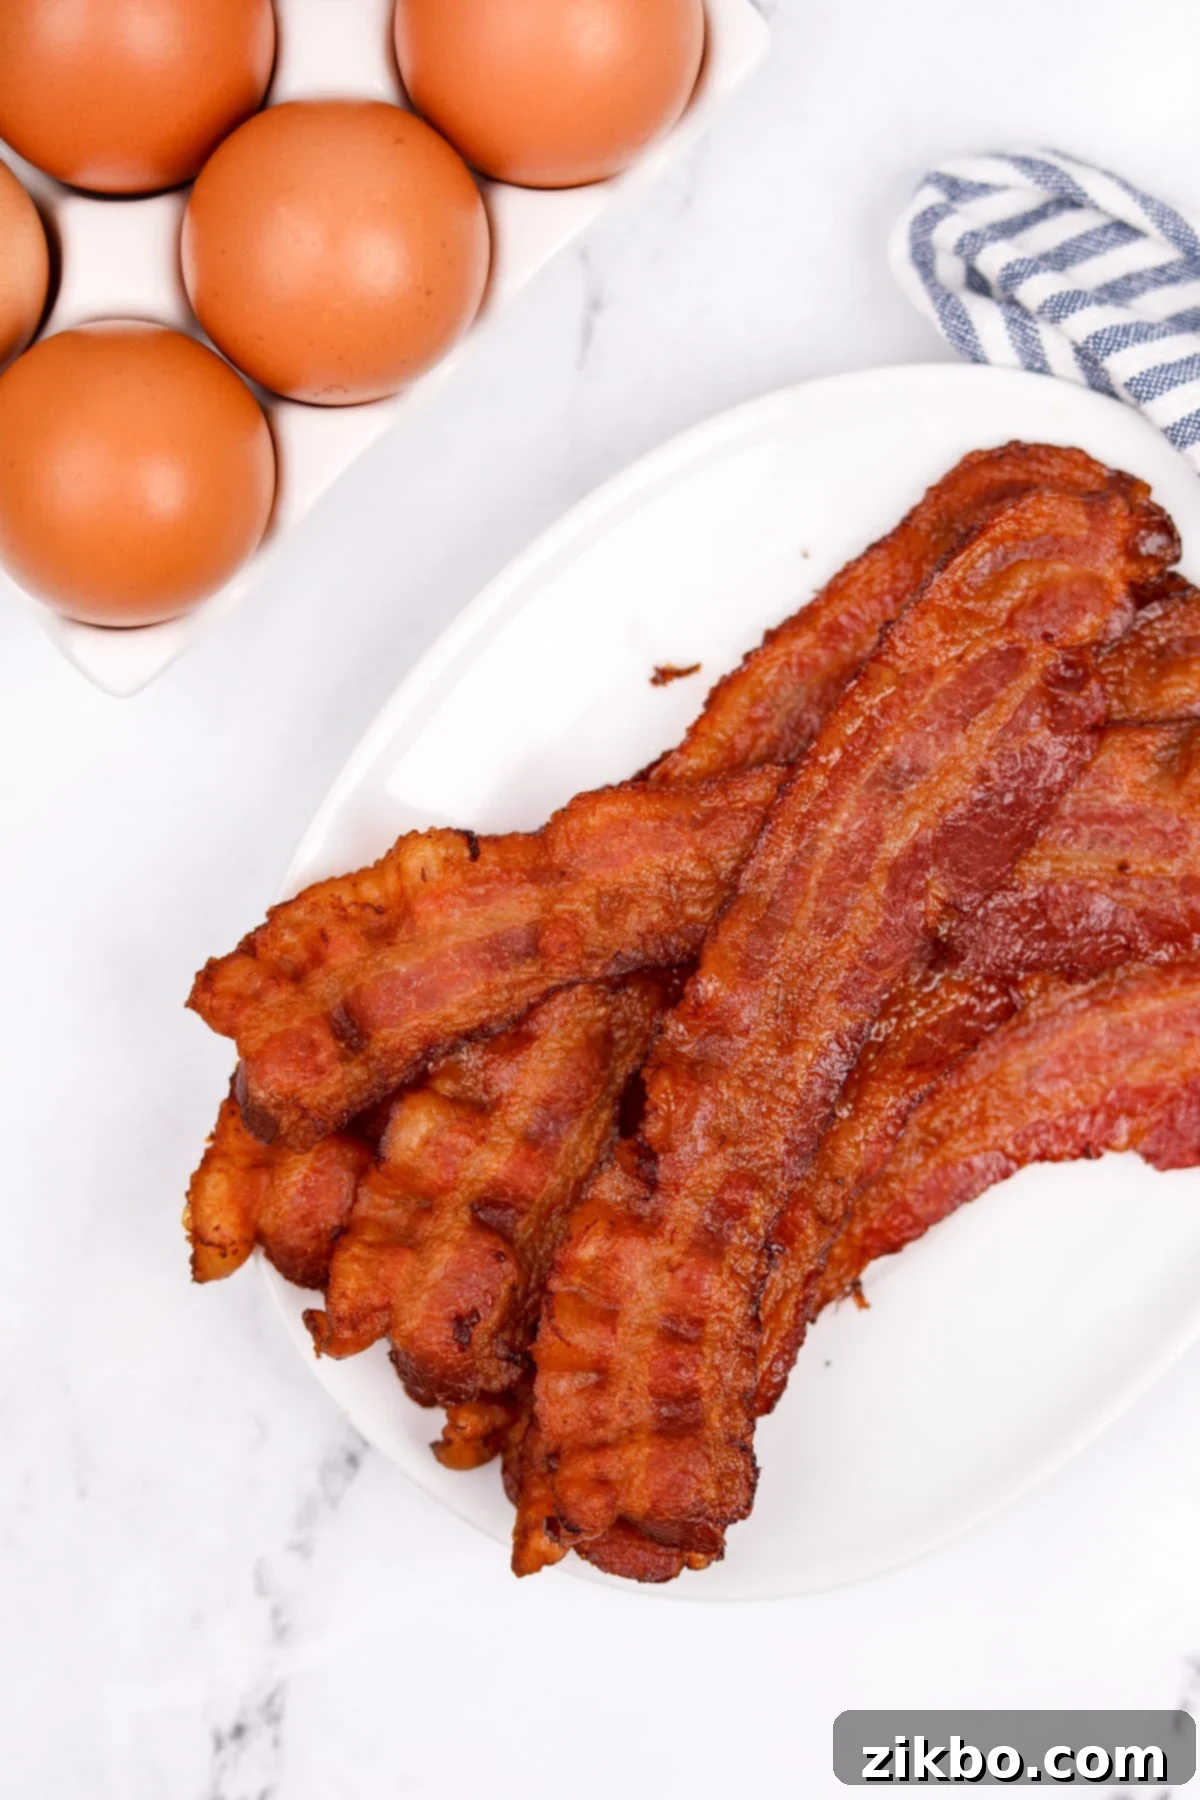
Recipe FAQs: Your Oven Bacon Questions Answered
I’ve thoroughly tested this recipe using various approaches, and starting the bacon in a cold oven yields very similar results when compared to adding it to an oven that has already been preheated. I opted for the preheated oven method in this guide because it’s the more common practice for most home cooks, and it ensures the instructions are clear and consistent, especially when cooking subsequent batches. Both methods produce delicious results, but preheating offers a bit more predictability.
I’ve tested cooking bacon on an oven-safe wire cooling rack placed over the baking sheet. While some argue it allows for more airflow and drainage, in my experience, it doesn’t make a significant difference in crispiness compared to cooking directly on parchment paper. Furthermore, using a rack tends to make cleanup considerably more difficult, as the bacon fat drips and bakes onto the rack. For simplicity and minimal mess, I recommend sticking with parchment paper directly on the baking sheet.
For consistently crispy bacon that’s perfectly rendered without burning, 425ºF (218ºC) is the sweet spot. This temperature is high enough to quickly crisp the bacon, but not so high that it cooks too fast and burns before the fat has a chance to render properly. It ensures a beautiful golden-brown color and a satisfying crunch.
Chewy bacon usually means it hasn’t cooked long enough or that it cooked unevenly. To prevent this, ensure your bacon slices are in a single layer with no overlapping. Flipping them halfway through cooking also promotes even crisping. If your bacon isn’t quite crispy enough at the end of the recommended time, simply continue baking for a few more minutes, checking frequently, until it reaches your desired level of crunch.
Recipes Using Crispy Bacon:
- Broccoli Salad with Cheese and Bacon
- Loaded Baked Potato Soup
- Nacho Cheese Dip
- Loaded Baked Potato Dip
- Amish Broccoli Salad
- Air Fryer Twice-Baked Potatoes
If you loved this tutorial for how to cook bacon in the oven, please let me know by leaving a 5-star review in the recipe card below or sharing your feedback in the comments! You can also tag me on Instagram @dashfordinner. Your support and comments mean the world!
Crispy Oven Baked Bacon
Print
Pin
Rate
Equipment
-
Baking sheet (rimmed)
-
Parchment paper
-
Tongs
-
Paper towels
Ingredients
- 8 slices bacon regular cut (not thin or thick cut for this timing)
Instructions
-
Preheat your oven to 425ºF (218ºC).
-
Line a rimmed baking sheet with parchment paper to catch the grease and ensure easy cleanup.
-
Place the bacon slices on the parchment-lined baking sheet, arranging them in a single layer. Ensure a small gap between each piece; do not overlap them, as this helps them cook evenly and become crispy.

-
Bake in the preheated oven for 10 minutes.
-
Remove the baking sheet from the oven and carefully flip over each bacon slice using tongs or a fork. This step promotes even browning and crispiness on both sides.
-
Return the baking sheet to the oven and continue baking for an additional 6-12 minutes. Monitor the bacon closely during these final minutes, removing it as soon as it reaches your desired level of crispness.

-
Once the bacon is perfectly crispy, carefully remove the baking sheet from the oven. Transfer the cooked bacon pieces to a plate or tray lined with a double layer of paper towels to drain any excess grease. This helps ensure maximum crispiness.
-
If cooking more bacon, repeat the process with any remaining strips, working in batches to avoid overcrowding the pan. I highly recommend carefully draining off any accumulated bacon fat from the baking sheet in between batches to prevent smoking and ensure consistent cooking.
Video Tutorial
Notes
Freezing: For best results when freezing, flash freeze cooled bacon slices on a tray for 30 minutes, then transfer to a freezer-safe bag. Remove as much air as possible, seal, and label with the contents and date. Freeze for 3-6 months. Reheat directly from frozen using a microwave, skillet, or air fryer.
Reheating: For ultimate crispiness, reheat in a pre-heated skillet for 30-60 seconds per side, in an air fryer on “reheat” for 1-2 minutes (checking frequently), or in a preheated oven at 350°F (175°C) for 5-7 minutes. If using a microwave, heat in 30-second intervals until warmed through. Drain on paper towels (if desired) before serving to remove excess grease.
Thick-cut bacon: If using thick-cut bacon, add approximately 2-5 minutes onto the expected cooking time (total 18-24 minutes). Watch closely and remove the bacon as soon as it is done to your liking.
Less crispy preference: If you prefer your bacon less crispy or slightly chewy, keep a close eye on the oven and remove the bacon as soon as it reaches your desired doneness (typically around 12-16 minutes, depending on your oven).
Nutrition
Please note that some of my blog posts here at Dash for Dinner may contain affiliate links. If you make a purchase through these links, I will get a small commission at no additional cost to you. Please see my Disclaimer for more information.
