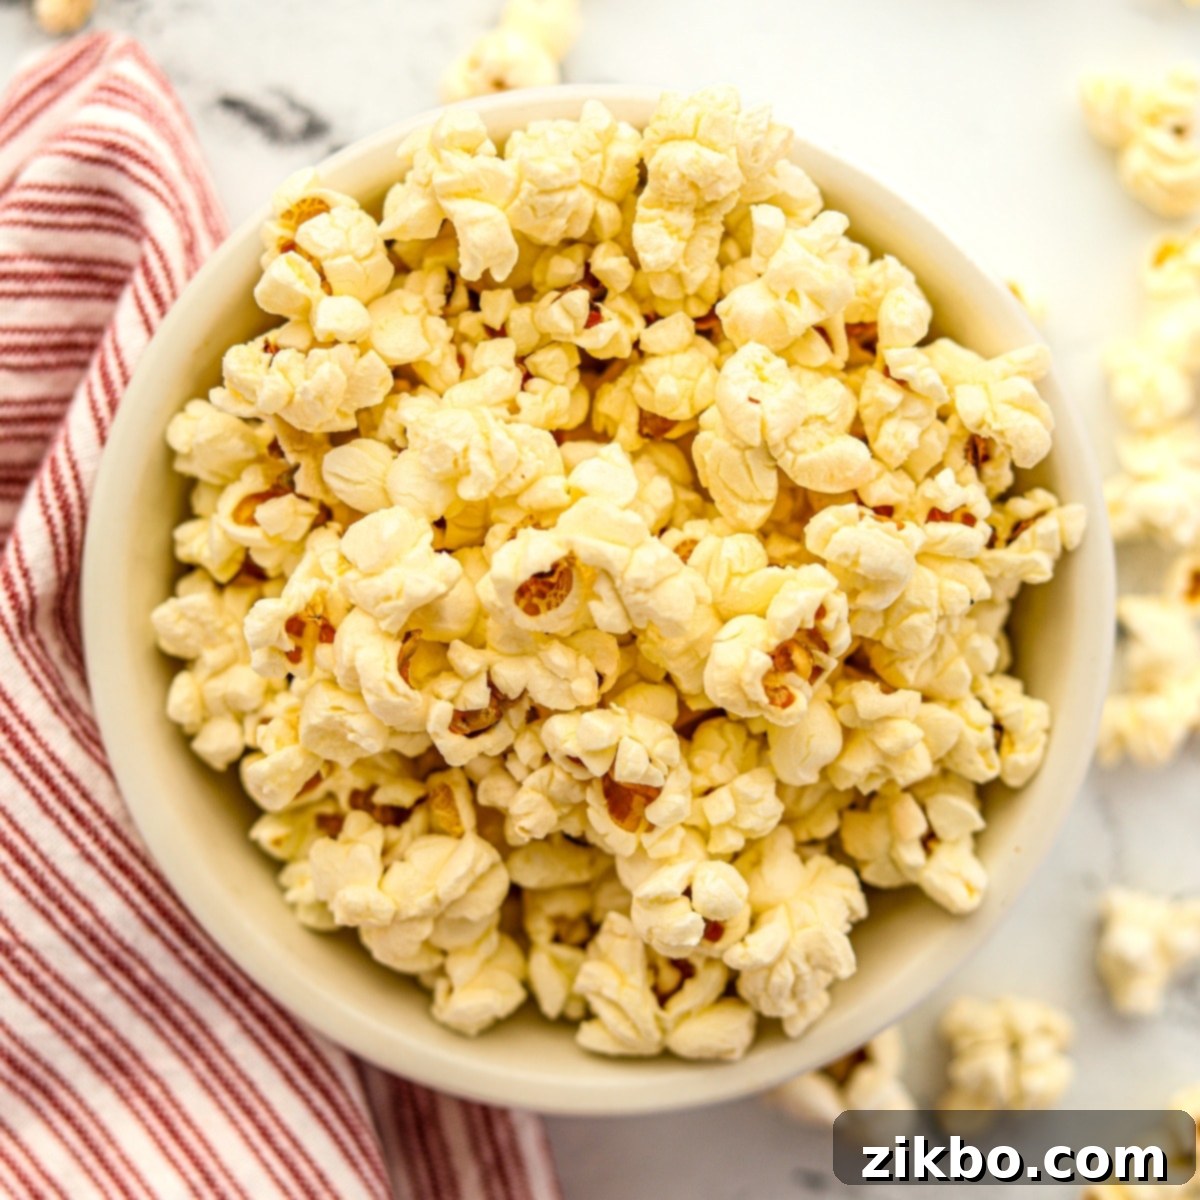
Master the Art of Stovetop Popcorn: Movie Theater Style at Home
Craving that irresistibly crisp, buttery, and perfectly salted popcorn you only seem to get at the movies? You’re in luck! This comprehensive guide will walk you through an easy stovetop method for crafting the most delicious **homemade popcorn** right in your own kitchen. Forget expensive cinema trips; with a few simple secrets, you can elevate your family movie nights and enjoy gourmet popcorn comfort without ever leaving your home.
While microwave bags and air poppers offer undeniable convenience, they simply can’t compare to the rich flavor and satisfying texture of popcorn made on the stovetop with a touch of quality oil and real butter. This traditional technique ensures every kernel pops perfectly, resulting in a fluffy, crispy snack that’s ready for your favorite seasonings and guaranteed to be a crowd-pleaser.
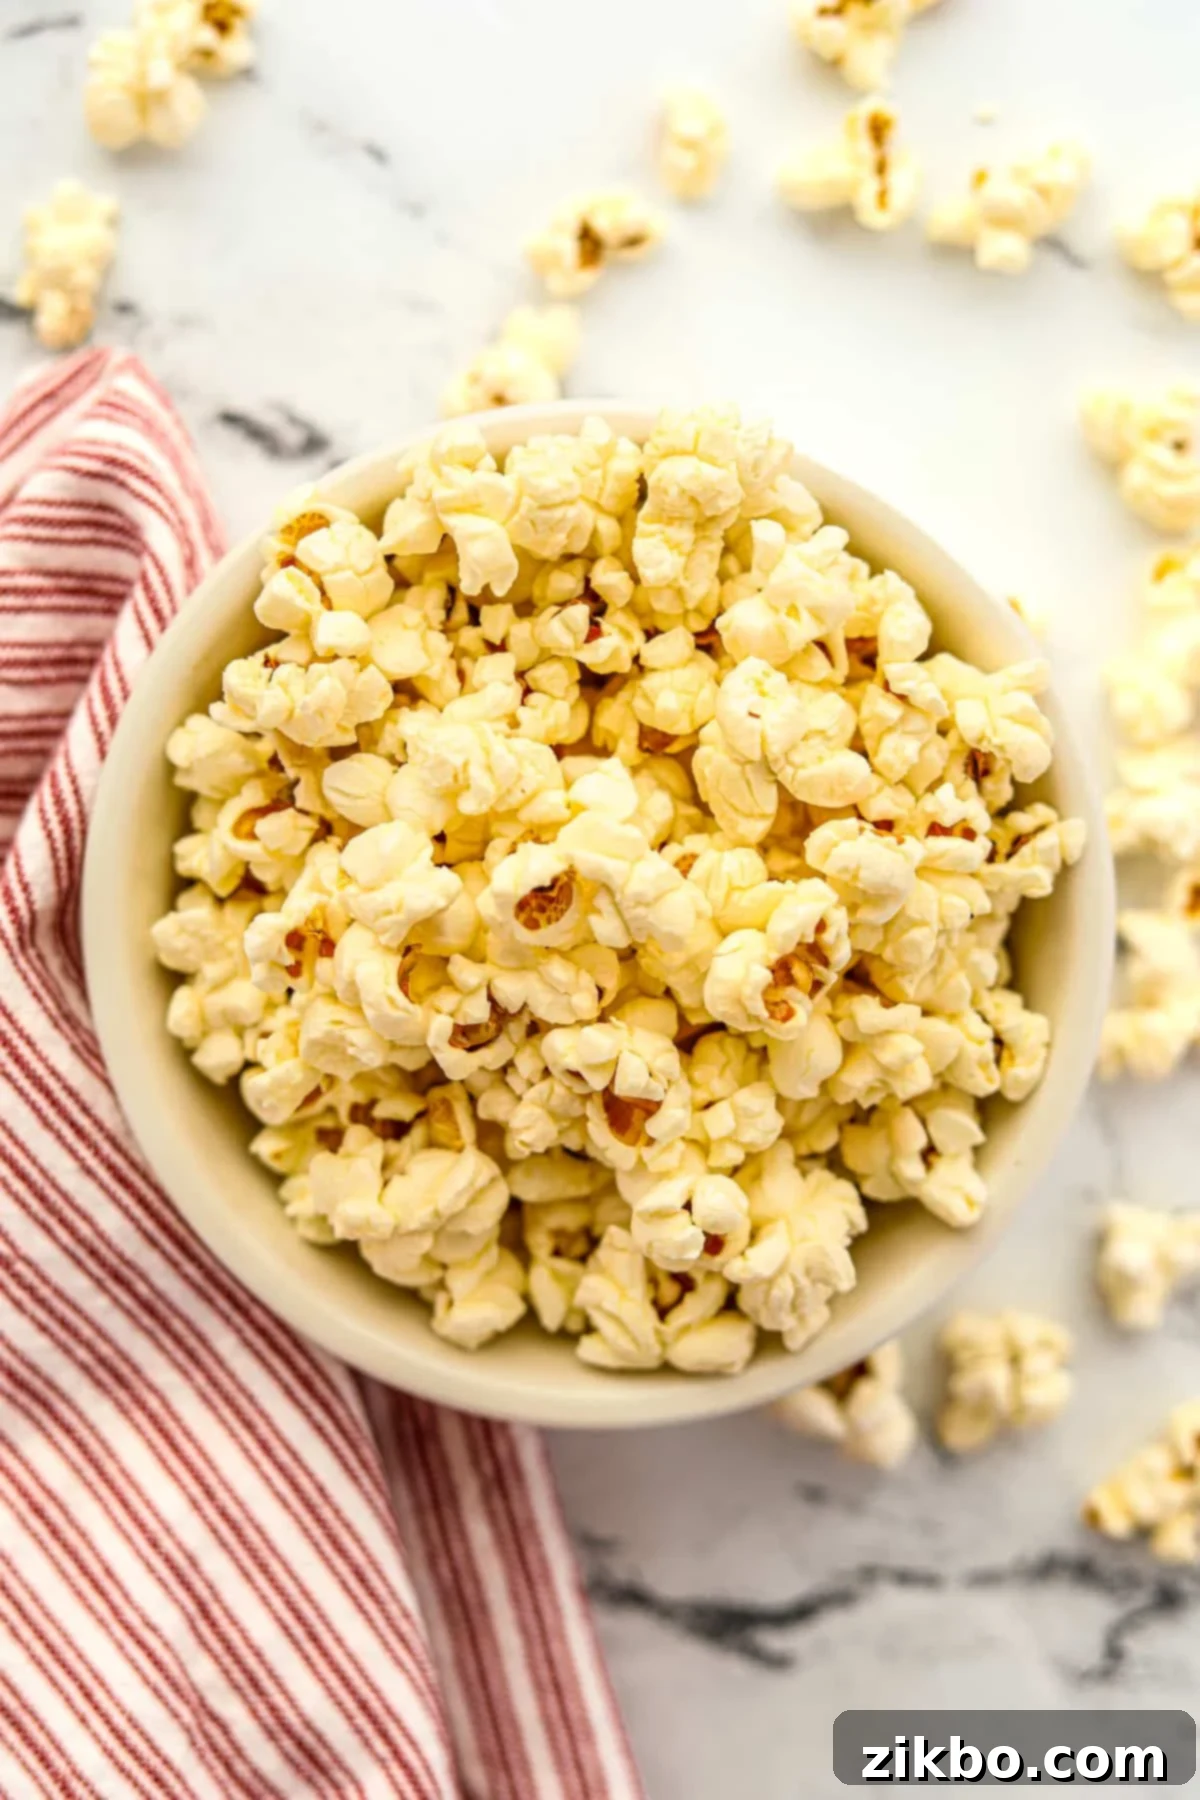
If you’re a true popcorn aficionado, mastering the art of homemade stovetop popcorn is a culinary skill worth acquiring. This method, utilizing a trusty big pot and a few simple, quality ingredients, consistently yields **perfectly crisp and buttery results** every single time. Plus, it’s incredibly versatile, allowing you to customize the flavor profile to suit any craving, from classic salty to gourmet cheesy or spicy variations.
Why You’ll Love This Stovetop Popcorn Recipe:
- Achieve Perfect Stovetop Popcorn: Say goodbye to clunky, single-purpose popcorn machines and bland, chemical-laden microwave packets. This straightforward recipe empowers you to create superior popcorn using just basic kitchen tools – a pot and a lid. The hands-on control over heat and ingredients ensures a consistently delicious batch, far surpassing most store-bought options in freshness, flavor, and texture. It’s truly a game-changer for homemade snacks.
- Experience Unbeatable Movie Theater Results: While air-popped popcorn offers a lighter alternative and is great for specific uses like making caramel corn, our oil-popping method delivers a rich, satisfying texture and taste that’s remarkably similar to, and often even better than, actual movie theater popcorn. The subtle oil coating combined with even heat distribution makes all the difference, giving you that delightful crunch and deep corn flavor.
- Quick and Effortless Preparation: Don’t be intimidated by stovetop cooking! Once you’ve tried this method a couple of times, it becomes incredibly fast and intuitive. You’ll be able to whip up a large, piping hot bowl of buttery popcorn whenever the craving strikes, often quicker than driving to the store for a pre-packaged alternative. It’s the ultimate convenient homemade snack for impromptu movie nights or anytime cravings.
- Enjoy Longer Lasting Freshness: One of the often-overlooked benefits of this recipe, especially when using our recommended homemade popcorn butter (clarified butter or ghee), is its excellent shelf life. If by some miracle you happen to have any leftovers, they can be stored at room temperature for several days without losing much of their delightful crispness, unlike buttered popcorn made with regular butter which tends to get soggy quickly due to milk solids.
Essential Ingredients & Equipment for Perfect Popcorn:
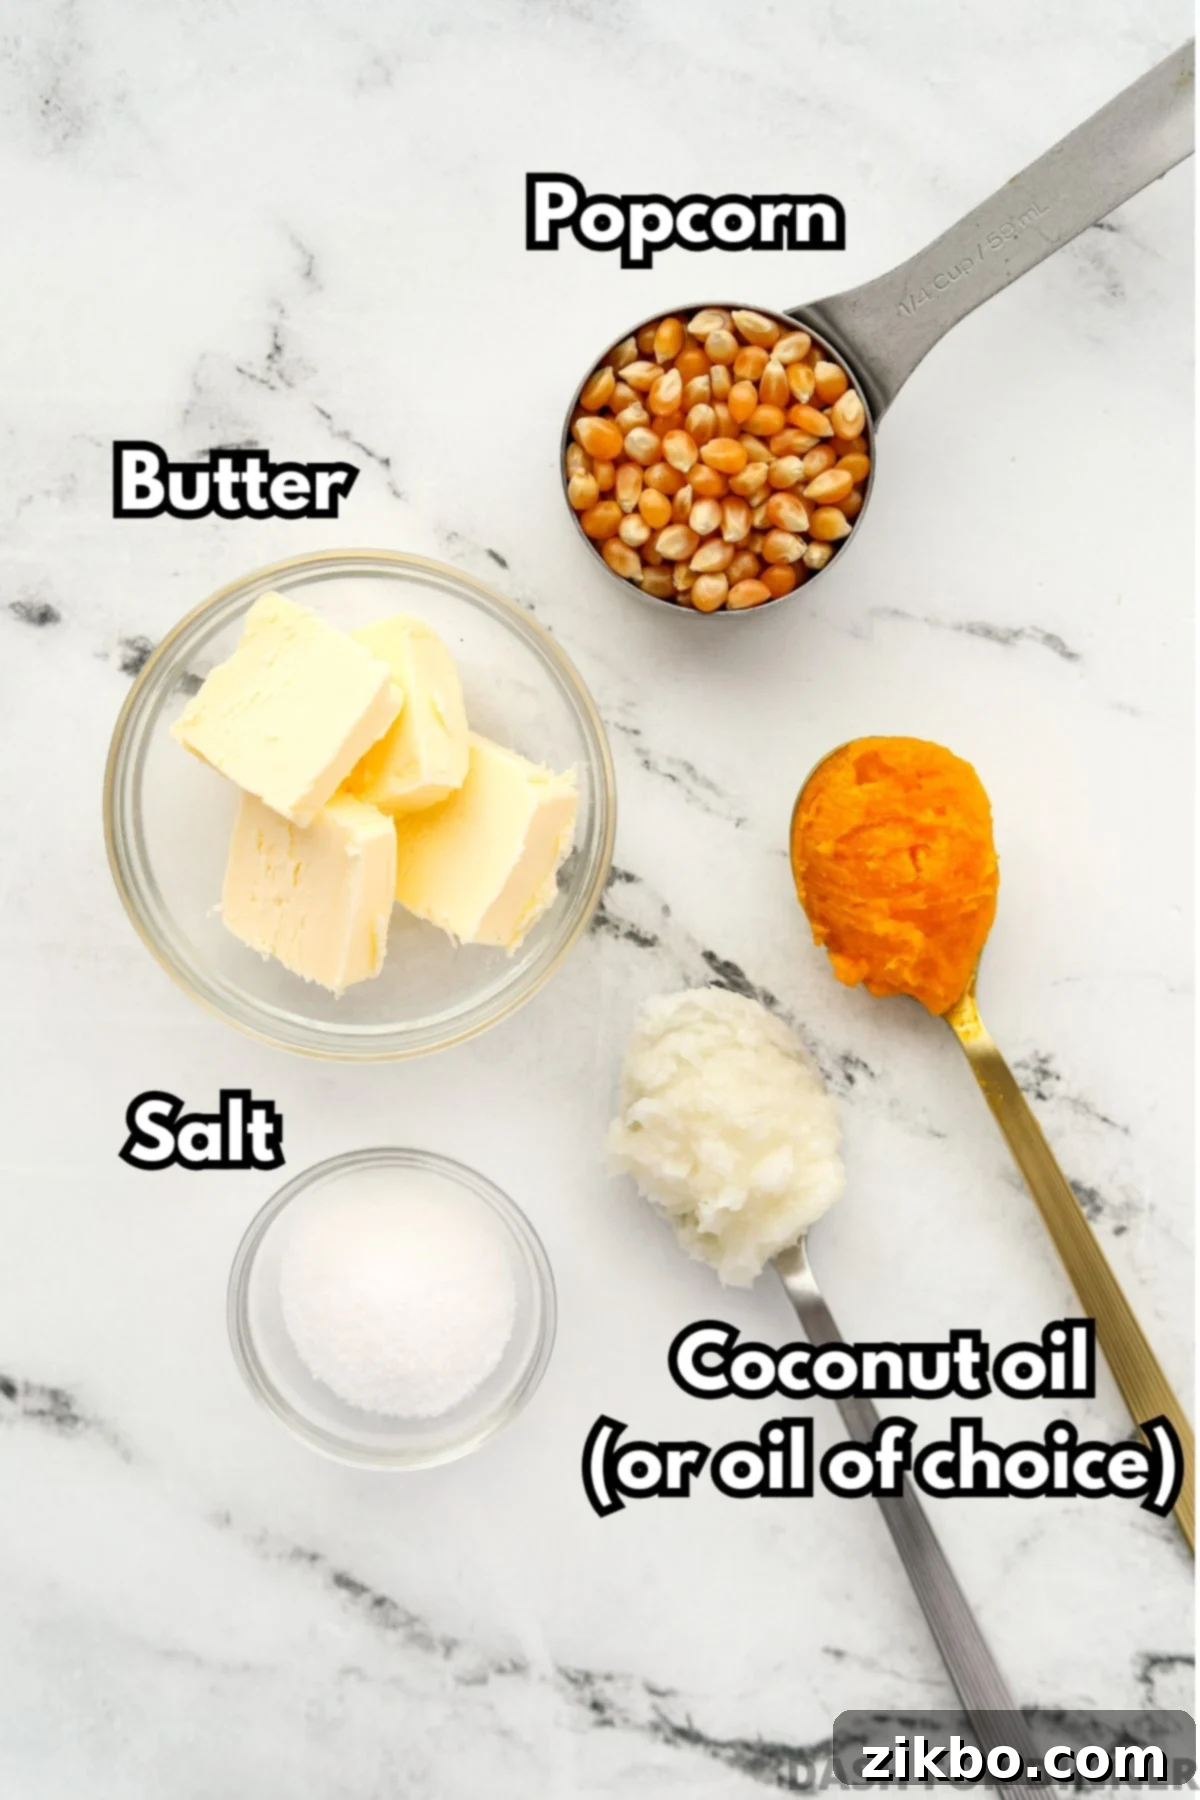
- Popcorn Kernels: The foundation of great popcorn starts here! You can use any type of popcorn kernel you prefer. While many specialty varieties exist (like white kernels for smaller, tender puffs, or “mushroom” kernels for larger, rounder shapes ideal for candy coatings), standard yellow kernels are our top pick for classic movie theater-style popcorn. Look for fresh, good quality kernels to ensure maximum pop and minimal “old maids.” Popular brands like Orville Redenbacher’s are known for their consistent quality, but many store brands also deliver excellent results.
- Oil: The right cooking oil is crucial for even popping and delicious flavor. Select an oil with a moderate to high smoke point and a neutral or complementary taste. Our top recommendations include unrefined coconut oil (which adds a classic, subtle popcorn flavor), avocado oil (known for its very high smoke point and neutral taste), or specialty popcorn oil (often refined coconut oil enhanced with coloring). Canola oil is also a perfectly acceptable alternative. Avoid extra virgin olive oil due to its lower smoke point, which can burn and impart an undesirable flavor.
- Butter (or Popcorn Butter): This is where the magic truly happens for movie theater flavor! While regular melted butter works, for a truly authentic and non-soggy experience, we strongly recommend making your own popcorn butter. This clarified butter (or ghee) has the milk solids and water removed, which prevents the popcorn from becoming soggy and allows for a beautiful, even coating of pure, rich butter flavor that clings better to each kernel.
- Salt: Often underestimated, salt is absolutely vital for flavorful popcorn. Don’t be shy with it! A generous amount of fine-grain salt will enhance the butteriness and bring out the natural sweetness of the corn. This is one of the “secrets” to addictive movie theater popcorn. For the best adhesion and distribution, consider using a fine popcorn salt, which we’ll discuss how to make. Otherwise, a good quality fine sea salt will do perfectly well.
Essential Equipment
- Large, Heavy-Bottomed Pot with a Tight-Fitting Lid: A high-quality pot is indispensable for consistent results. We recommend using a very large stainless steel stockpot (at least 6-quart capacity) or a Dutch oven. The heavy bottom ensures even heat distribution, which is critical for consistent popping and preventing burnt kernels. A large capacity is necessary as popcorn expands significantly, and a tight-fitting lid is crucial to contain the popping kernels and the heat.
- Oven Mitts: For safety, especially when shaking the hot pot. Handles can get extremely hot.
- Large Serving Bowl: To quickly transfer your freshly popped goodness.
Choosing the Best Oil for Stovetop Popcorn:
Through extensive testing, we’ve found that the key to perfect stovetop popcorn lies in using an oil with a moderate to high smoke point. This ensures the oil can get hot enough to pop the kernels effectively without burning, which would impart an unpleasant flavor. Our absolute favorite is popcorn oil, which is typically refined coconut oil infused with annatto or beta-carotene to give it that signature yellow movie theater hue. This oil offers a neutral yet pleasant base that allows the popcorn and butter flavors to truly shine.
Refined coconut oil (which is unflavored, unlike virgin coconut oil that can carry a strong coconut taste) is an excellent runner-up, providing a clean taste and good heat resistance. Avocado oil is another fantastic choice due to its very high smoke point and neutral flavor profile, ensuring your popcorn doesn’t pick up any unwanted tastes. Canola oil also works well in a pinch if you’re looking for an economical and widely available option. The most important factor is avoiding oils with low smoke points (like extra virgin olive oil) or strong, overpowering flavors that might detract from the delicate popcorn taste.
Step-by-Step Guide: How to Make Popcorn on the Stovetop
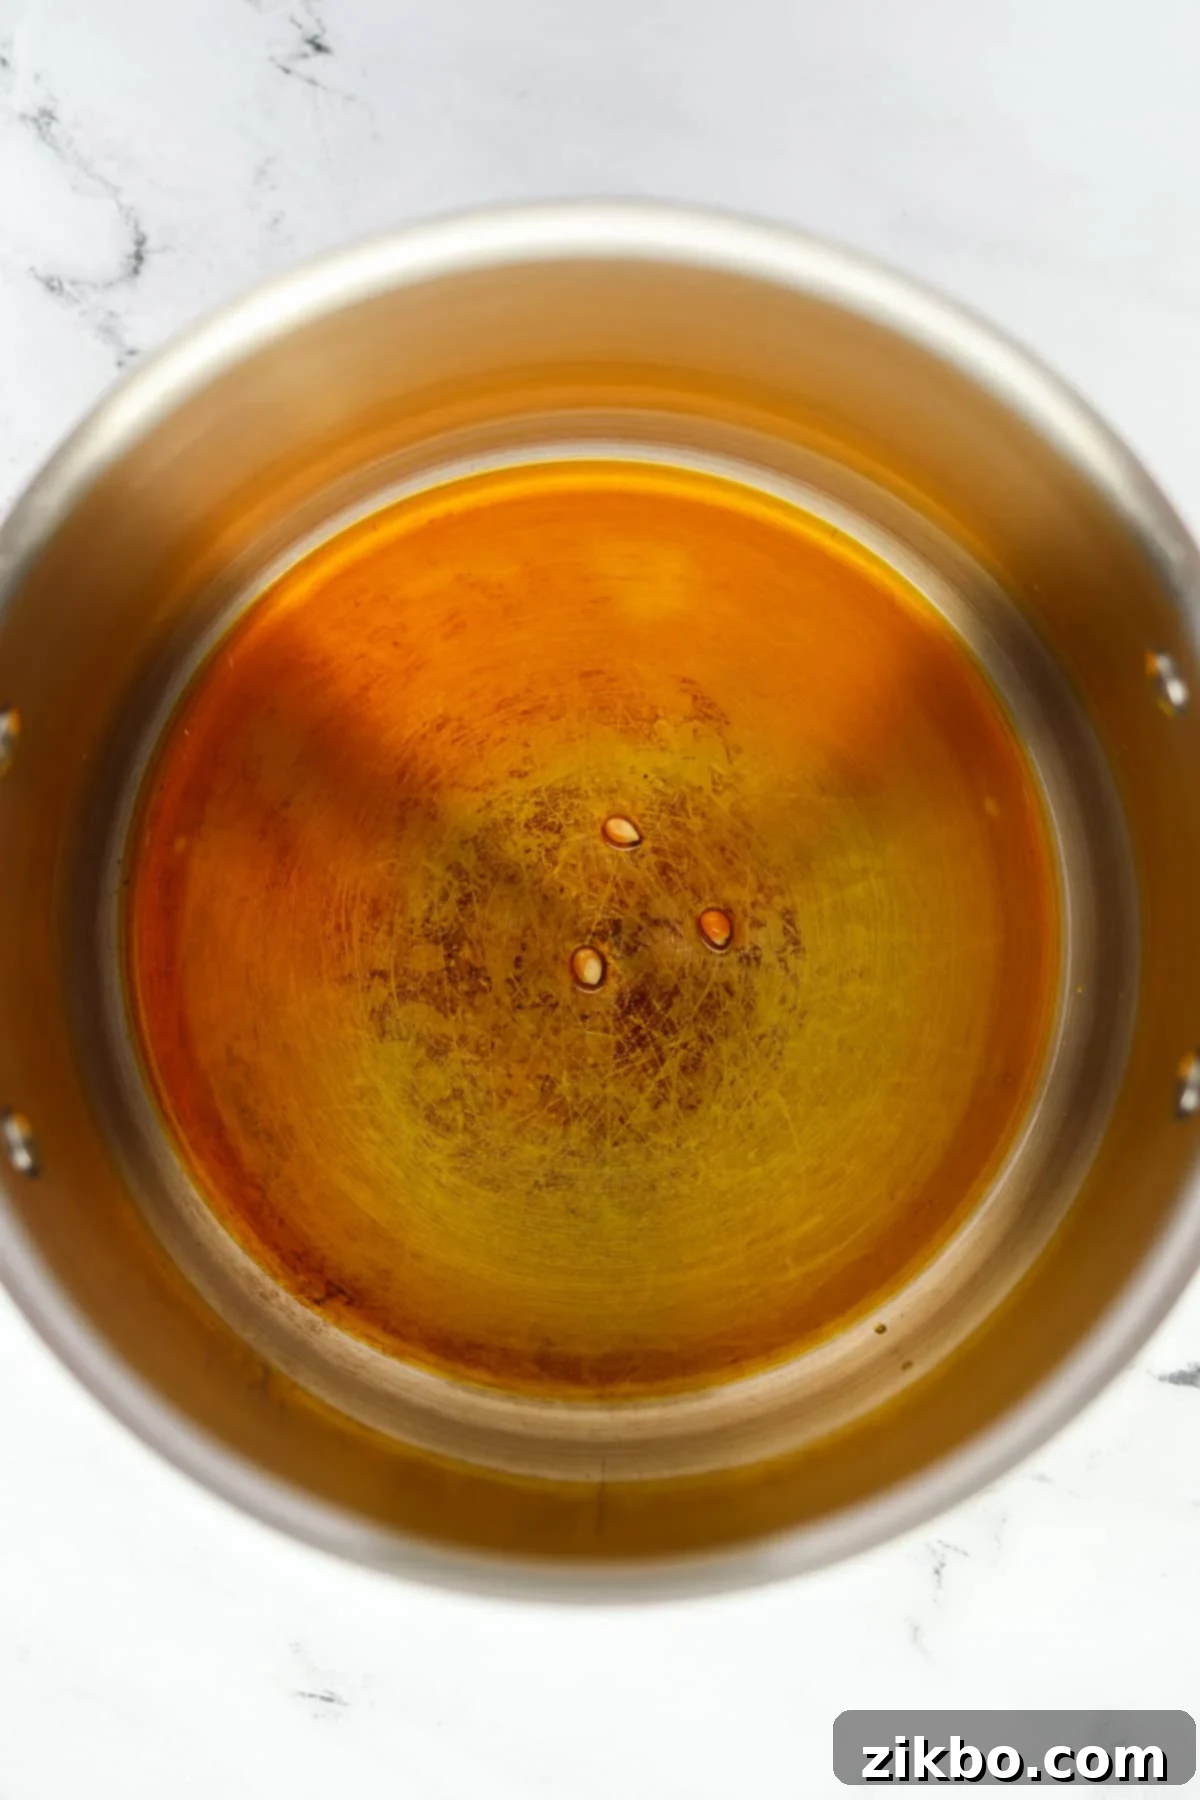
- Prepare the Oil: Heat 2 tablespoons of your chosen oil (refined coconut, avocado, or popcorn oil) in a very large, heavy-bottomed pot over medium heat. This initial heat-up is crucial for successful popping, aiming for the oil to be shimmering but not smoking.
- Test the Temperature: Add just 3 popcorn kernels to the hot oil. Cover the pot with its lid and watch them closely. These test kernels act as a perfect thermometer, indicating when the oil has reached the optimal popping temperature.
- Wait for the Pop: As soon as 2 out of these 3 kernels pop, you know the oil has reached the ideal temperature for popping the rest of your batch. This prevents kernels from burning or sitting too long in oil that isn’t hot enough, which can lead to tough, unpopped kernels.
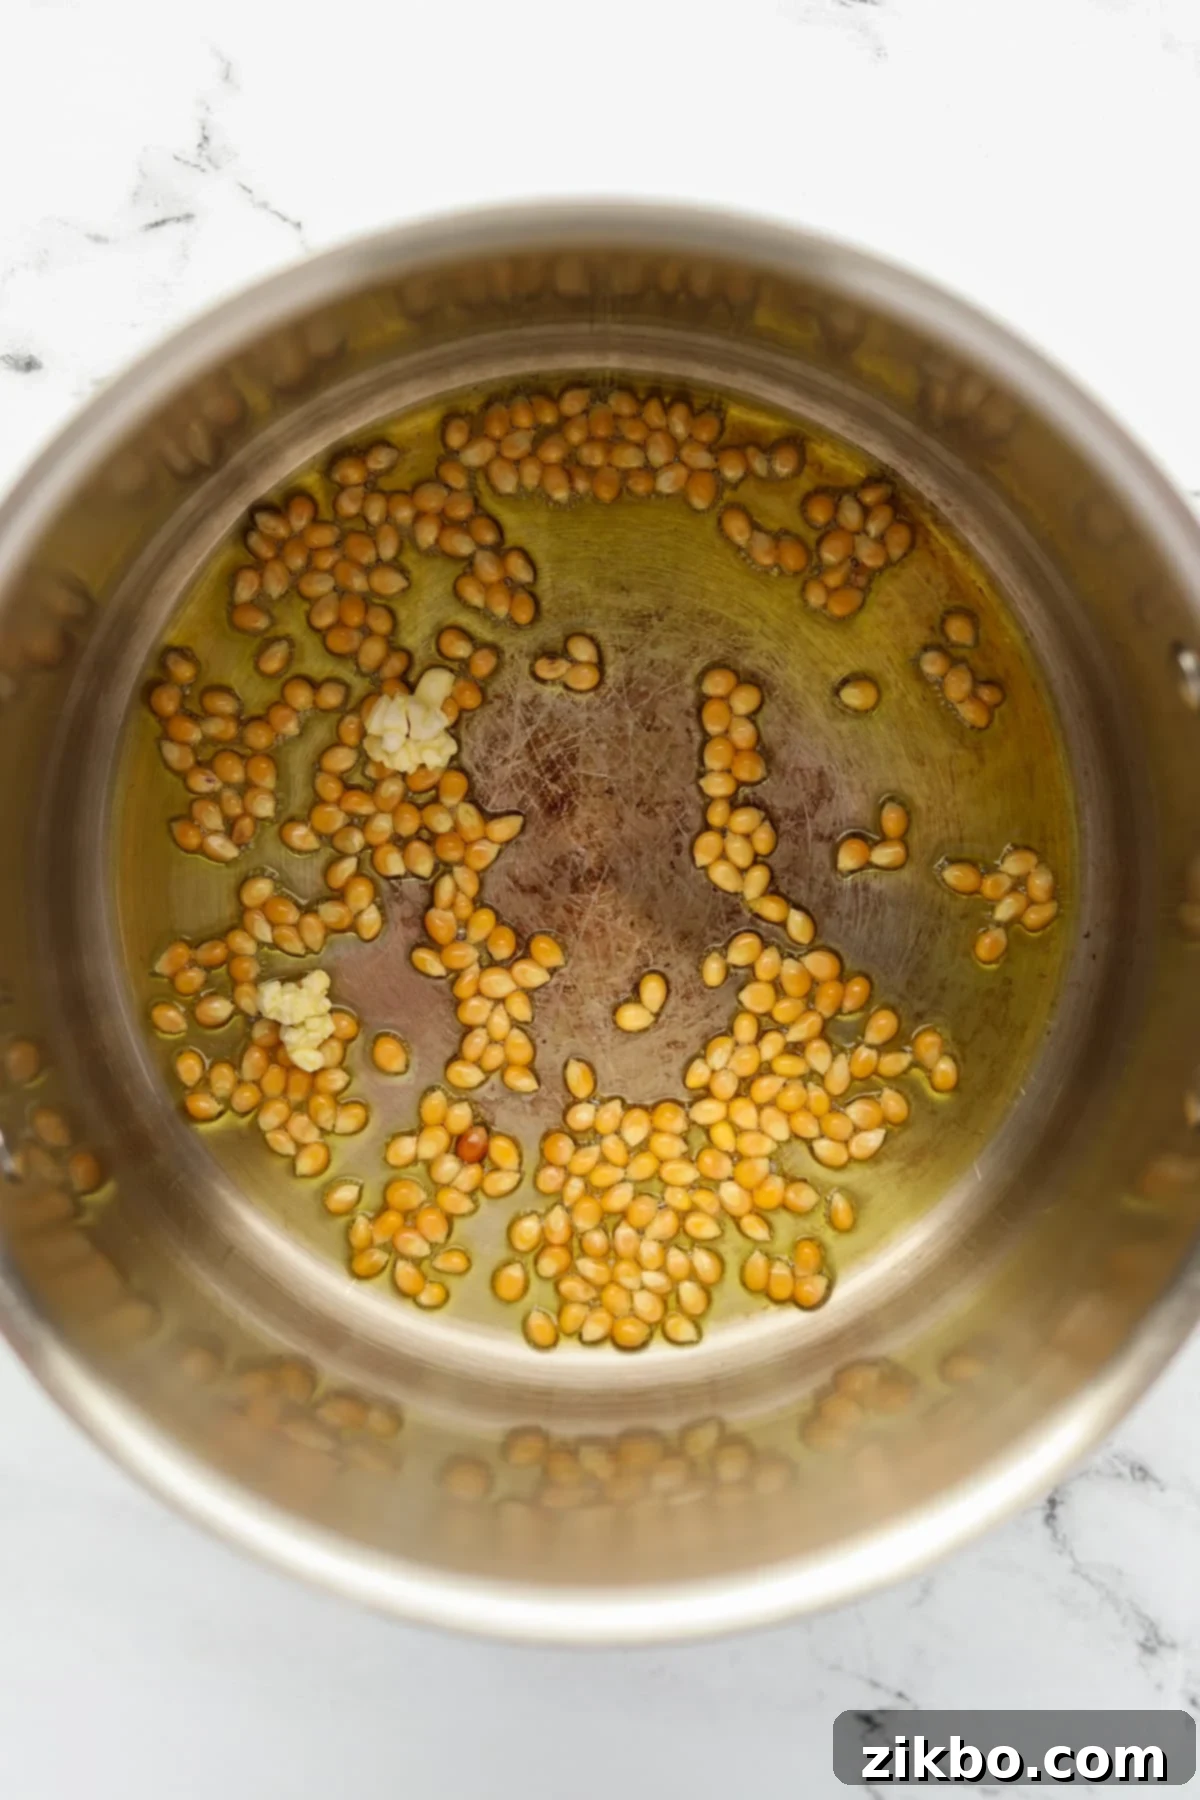
- Add Remaining Kernels and Rest: Immediately remove the pot from the heat once the test kernels pop. Add the rest of your popcorn kernels (typically ¼ cup for a good batch) to the pot. Cover with the lid and let it rest off the heat for 1 full minute. This resting period allows all kernels to reach a uniform temperature without scorching, ensuring a more even and thorough pop with significantly fewer unpopped “old maids.”
- Return to Heat and Begin Popping: Place the pot back on medium heat. Keep the lid on tightly. You’ll soon hear the kernels begin to pop vigorously, typically within 2-4 minutes.
- Vent for Crispness: Once you hear the first few kernels popping, slightly tilt the lid, leaving a small gap (about ¼ inch). This allows steam to escape during cooking, which is a critical step for achieving wonderfully crisp, non-soggy popcorn. Trapped steam can make your popcorn chewy and undesirable.
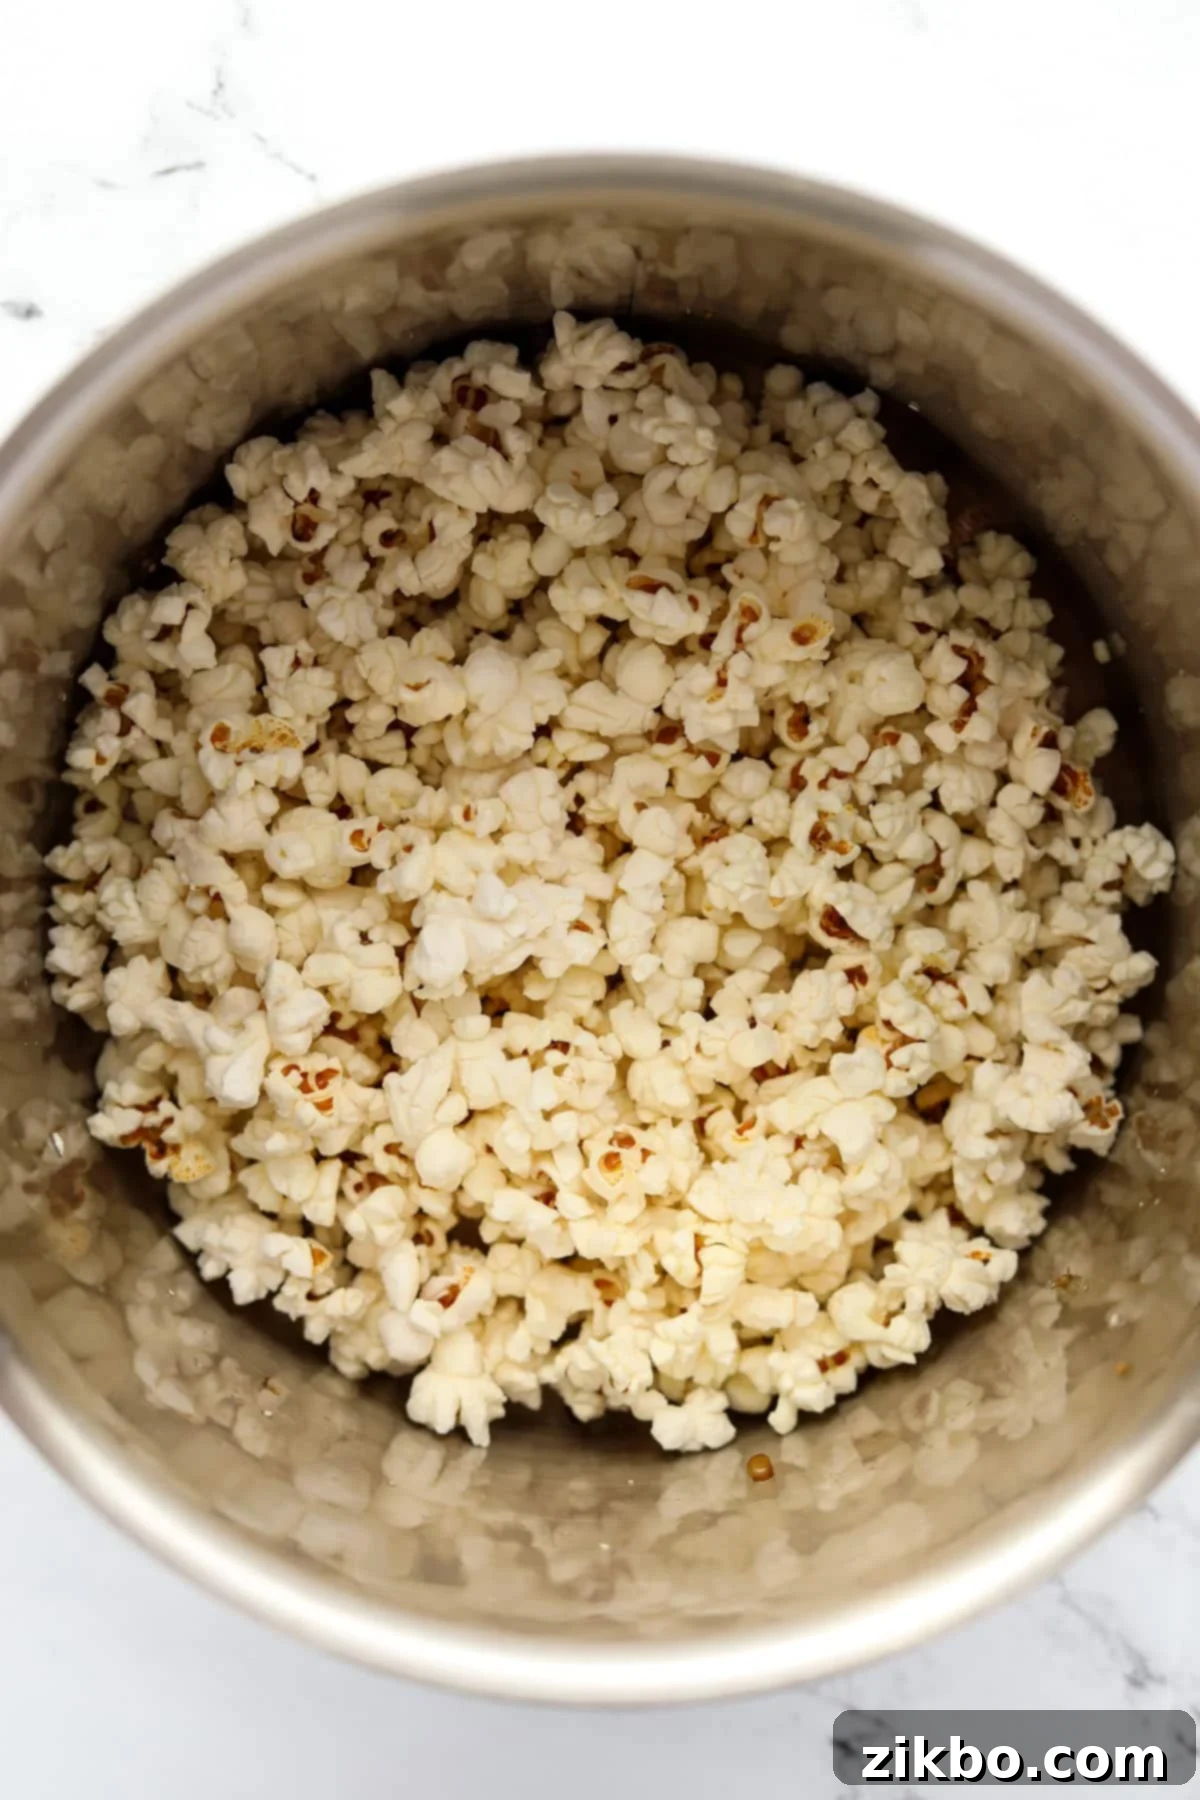
- Continue Popping and Shake Occasionally: Continue to cook the popcorn until the popping sounds slow down significantly to about one pop every few seconds. Throughout this stage, gently shake the pot every 15-20 seconds while keeping the lid tilted. This helps to redistribute the kernels, ensuring even cooking, preventing the bottom kernels from burning, and encouraging remaining kernels to pop. Remember to use oven mitts as the handles will be hot!
- Remove from Heat: When the pops nearly stop (don’t wait until it’s completely silent, or you risk burning the batch!), remove the pot from the heat. Let it rest for about 20-30 seconds with the lid still on. This brief rest allows any lingering kernels to pop from the residual heat and prevents the bottom from scorching. Then, carefully remove the lid completely.
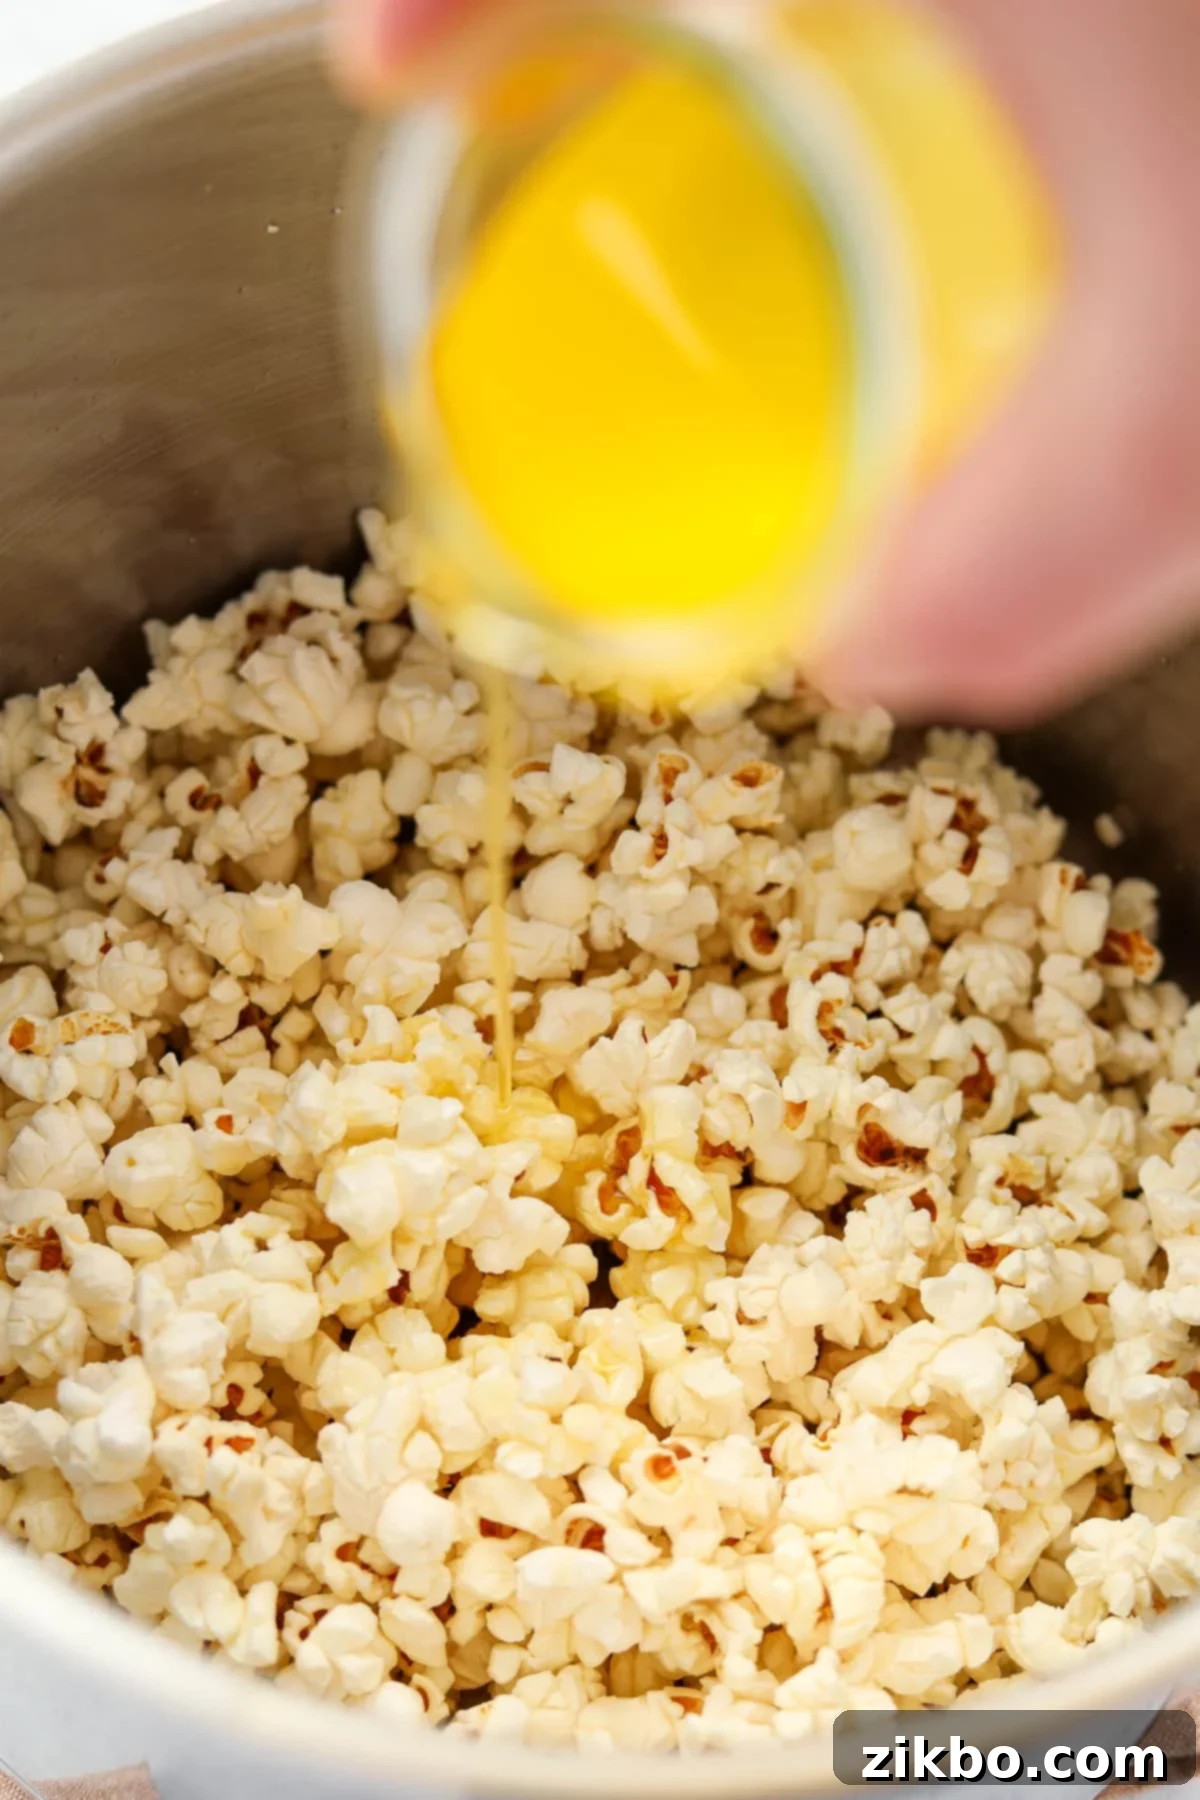
- Butter and Toss: Immediately drizzle 2-4 tablespoons of your melted butter or clarified popcorn butter over the hot popcorn. Toss it well using a large spoon or by shaking the covered pot to ensure every single kernel gets a luxurious coating of buttery goodness.
What if the Popcorn Starts Overflowing?
If you’re making a particularly large batch or using a pot that’s slightly too small for the volume, your popcorn may fill and even overflow the pot quickly. Don’t panic! If this happens, simply and carefully (wearing oven mitts, as the pot is hot) tip the already popped corn into a very large serving bowl. Then, return the pot with the remaining unpopped kernels to the heat and continue the popping process until all kernels have popped. This allows you to manage the volume without sacrificing any delicious popcorn.
Finishing Touches: Salting and Seasoning Your Perfect Popcorn
- One of the most frequently underestimated factors in achieving truly excellent, movie theater-quality popcorn is **salt!** It doesn’t just add a salty taste; it significantly enhances the natural corn flavor and amplifies the richness of the butter, creating a perfectly balanced profile.
- Adequate salt truly **adds flavor** and elevates the buttery-ness to professional levels. Think about movie theater popcorn – it’s often generously salted for a reason; it’s designed to be an irresistible, savory treat.
- The secret to that addictive movie theater taste is indeed… a good amount of fine-grain salt! Fine salt adheres far better to the buttered kernels than coarse salt, ensuring a burst of flavor in every single bite.
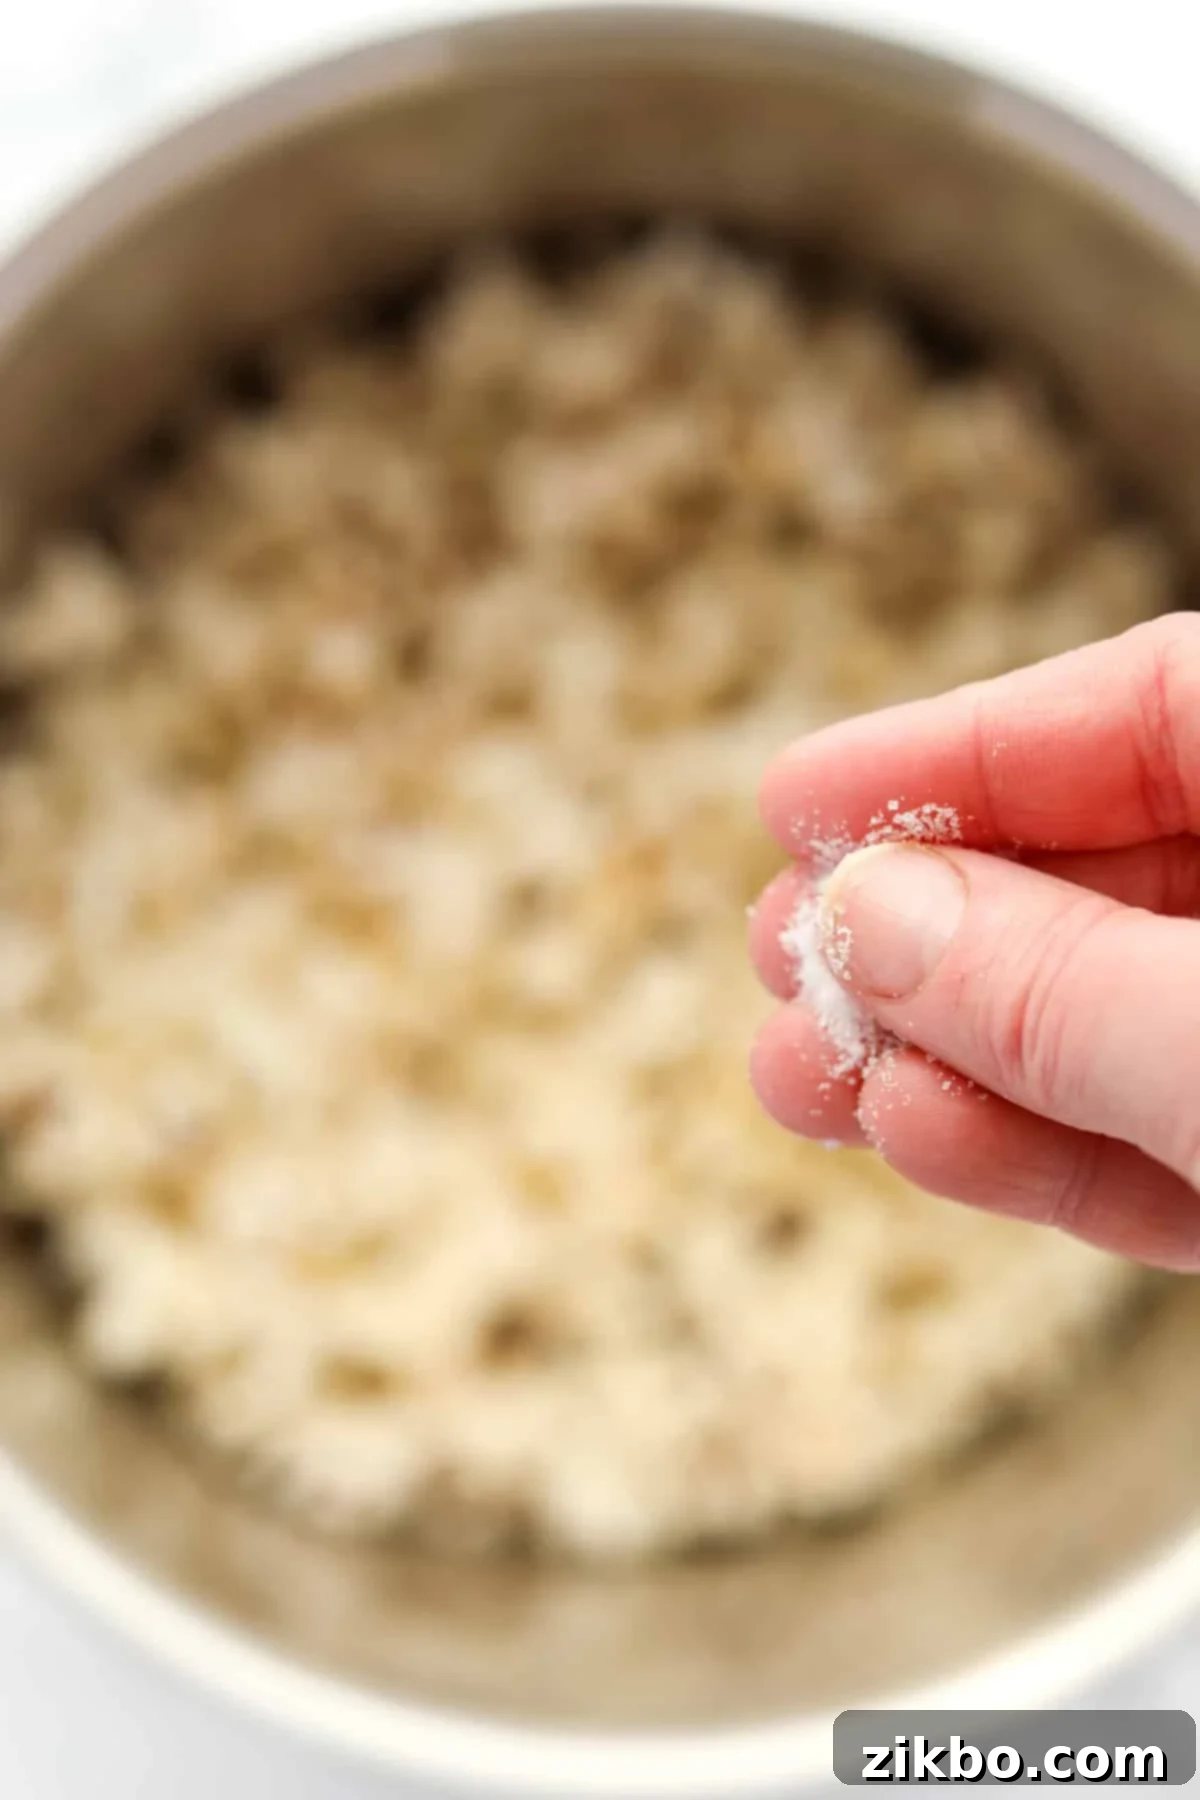
- **Application is Key:** Once buttered, sprinkle a little salt onto the hot popcorn, then toss it thoroughly using a large spoon or by shaking the covered pot. Taste, and then add more salt in small increments until it reaches your desired flavorful and well-balanced perfection. Don’t add all the salt at once, as it’s easier to add more than to remove it.
- For the absolute best adhesion and even seasoning, use popcorn salt if you can (we highly recommend making your own by finely grinding sea salt or table salt). Otherwise, a good quality fine-grain sea salt will work perfectly well.
- **Using Popcorn Seasonings:** This recipe provides a fantastic base for applying various powdered seasonings (such as dill pickle, white cheddar, ranch, chili lime, and more). For best results, add your chosen seasoning blend to the hot popcorn *after* the butter has been drizzled and tossed, but *before* you add the final salt. Many seasoning blends already contain salt, so remember to taste and adjust any additional salt as needed to avoid over-salting.
- Finally, transfer your perfectly popped and seasoned popcorn to a large serving bowl and enjoy immediately while it’s warm and at its crispiest!
How to Make Homemade Popcorn Butter (Clarified Butter/Ghee)
For the absolute closest experience to movie theater popcorn – and in our opinion, an even better one – we strongly recommend using clarified butter (also known as ghee) instead of regular melted butter. The absence of milk solids prevents sogginess and allows for a pure, rich butter flavor that coats every kernel beautifully. Clarified butter also has a higher smoke point, contributing to its superior performance and longevity. If you prefer the simplicity of melted regular butter, that’s perfectly fine too, but the clarified version is truly a game-changer for discerning popcorn lovers.
Below is a basic rundown of how to create your own clarified butter specifically for popcorn. For more in-depth, detailed instructions, including troubleshooting tips and storage advice, be sure to check out our dedicated recipe for homemade popcorn butter.
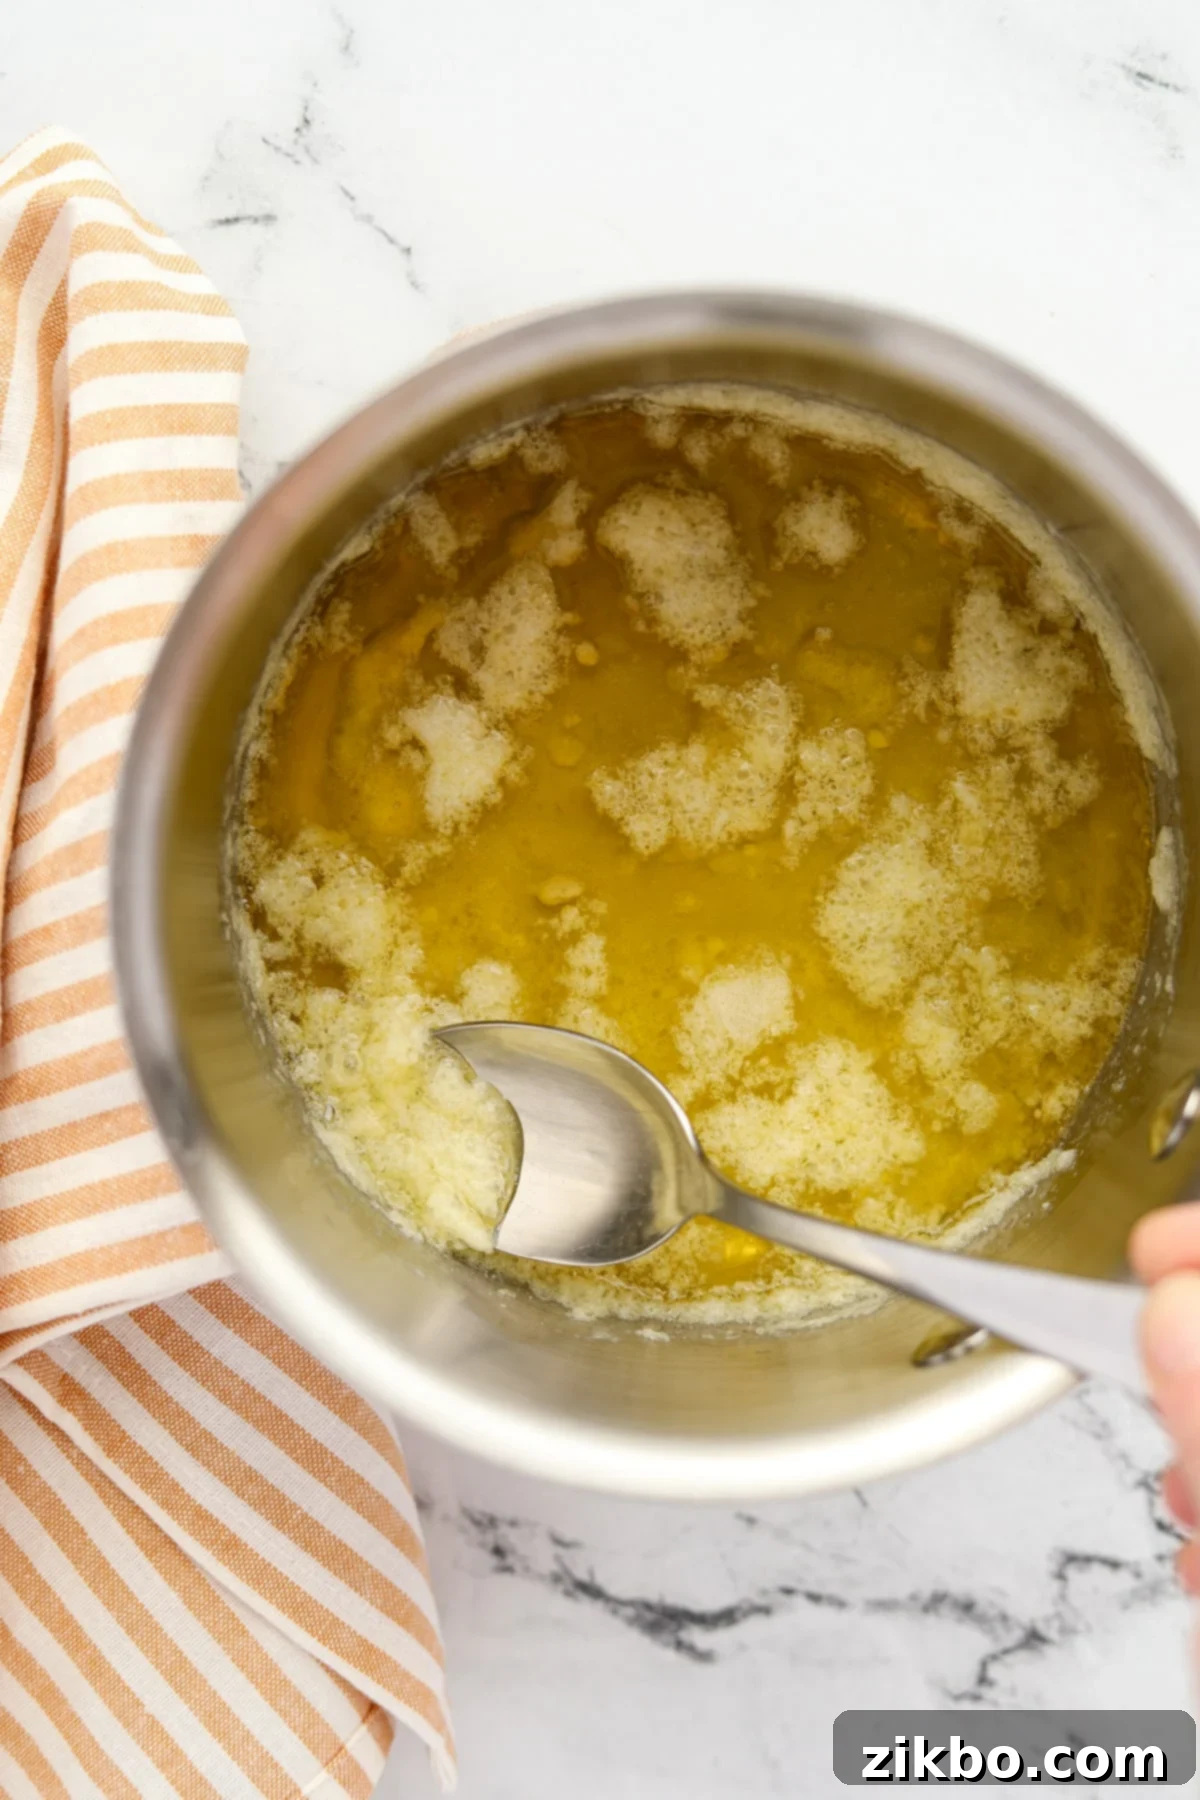
- Melt and Simmer Butter: Begin by melting your desired amount of unsalted butter in a stainless steel saucepan over low-medium heat. Allow it to cook gently for 15-25 minutes. During this slow simmering, the water content will evaporate, and the butter’s milk solids will begin to separate from the pure butterfat.
- Skim the Foam: As the butter slowly clarifies, a white, frothy foam will rise to the surface. Use a spoon to carefully skim off and discard this foam. This step helps remove impurities and contributes to the butter’s beautiful clarity and pure flavor.
- Observe Separation: Continue cooking until the milk solids settle and cling to the bottom of the pan, taking on a light, golden-brown (toasted) appearance. The butter oil above should be clear and golden, and the bubbling should have significantly subsided, indicating that most of the water has evaporated. Be careful not to burn the solids.
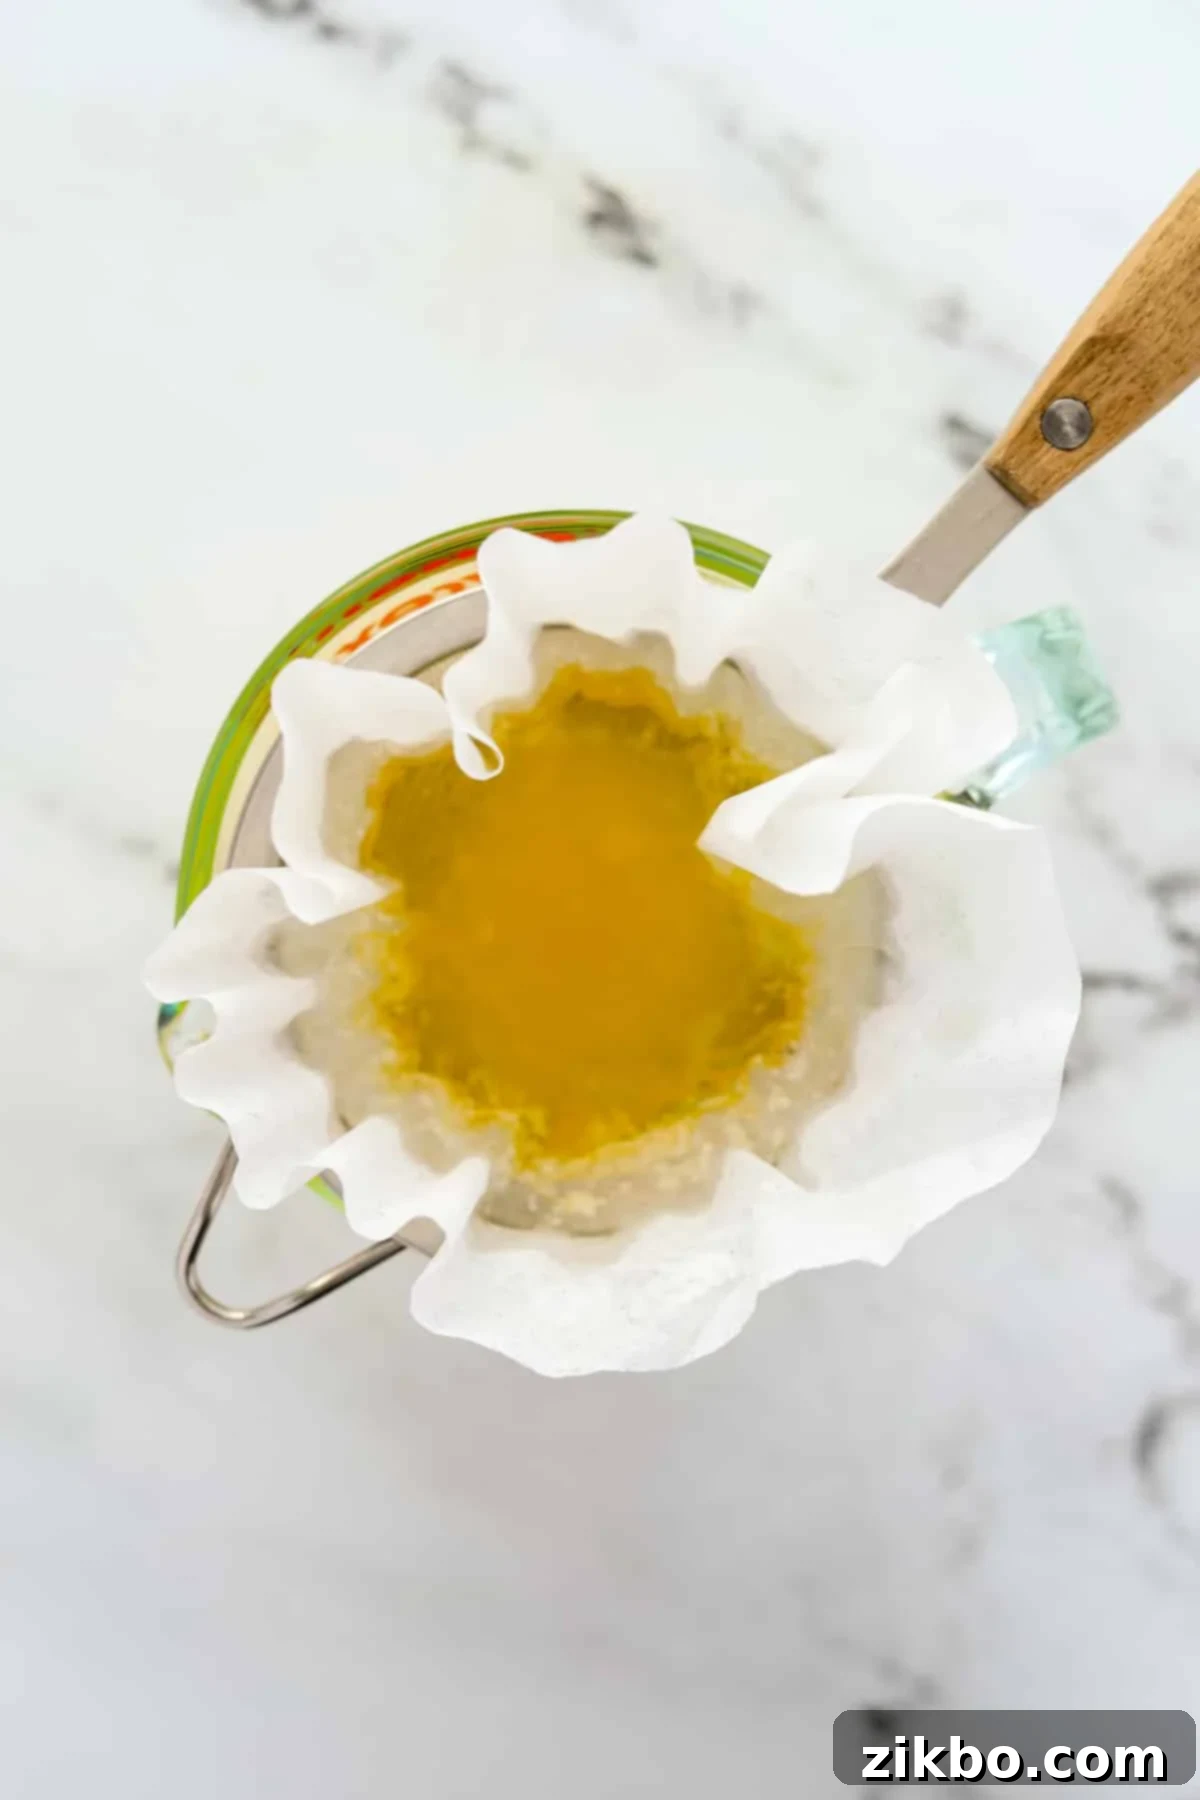
- Prepare for Straining: Line a small mesh strainer with a coffee filter or several layers of fine cheesecloth. Position this prepared strainer over a clean, heat-proof bowl or measuring cup.
- Strain the Clarified Butter: Carefully pour the hot butter through the prepared strainer. The filter will effectively catch all the separated milk solids and any remaining foam, allowing only the pure, clear, golden butter oil (clarified butter) to collect below. This liquid gold is your homemade popcorn butter, ready to transform your snack.
Tip for Efficient Straining: Sometimes the milk solids can clog the filter, slowing the straining process. If the butter is straining slowly, you may gently gather up the edges of the filter and use a spoon or clean fingers to lightly press the butter through, aiding the filtration process. Always be careful, as the butter will be hot.
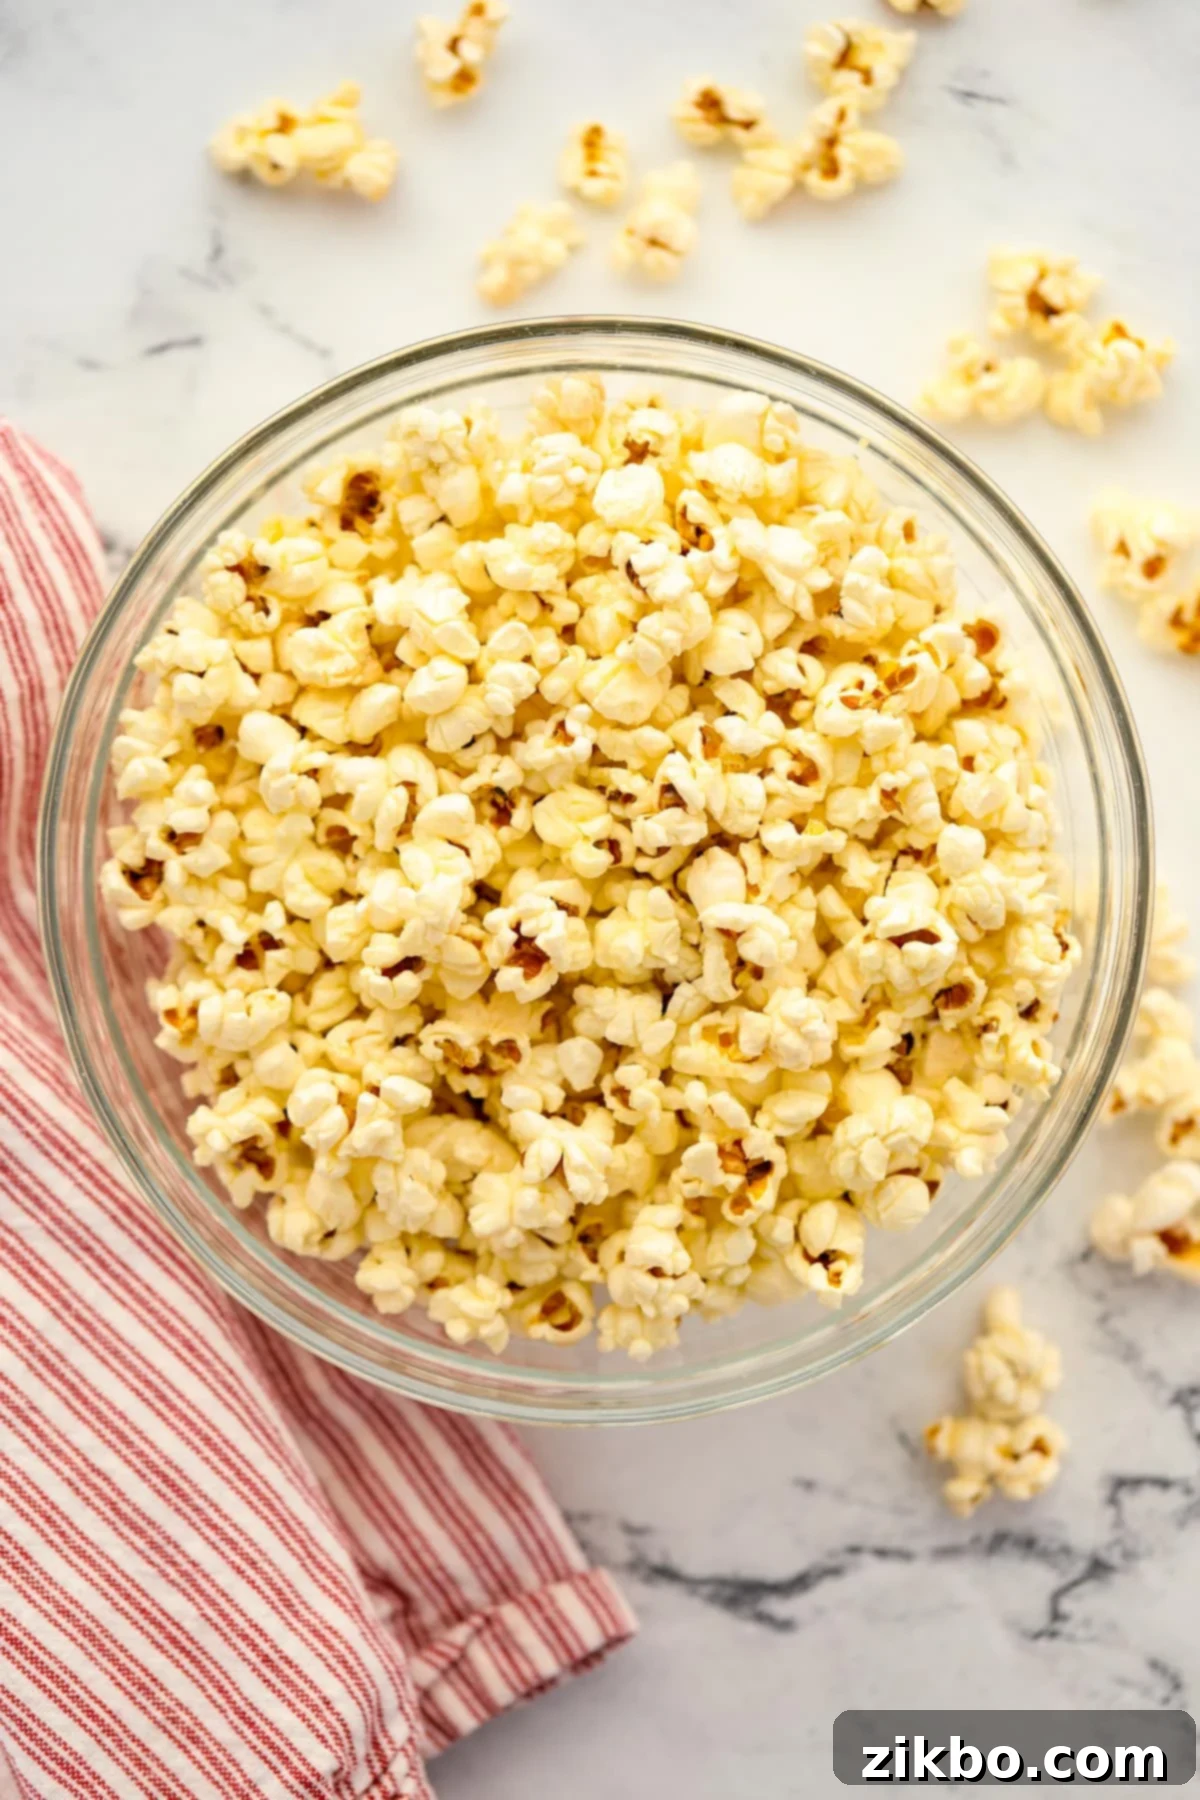
Expert Tips for Stovetop Popcorn Success:
- Always Use Oven Mitts for Shaking the Pot: Safety is paramount when making stovetop popcorn. The handles of your stainless steel stockpot or Dutch oven will become extremely hot during the popping process due to direct heat. To prevent burns and ensure safe, comfortable handling when shaking the pot, always wear sturdy oven mitts.
- Invest in (or Make) Popcorn Salt: This specialized salt has a much finer grain than regular table salt, allowing it to adhere far more effectively to the buttered popcorn kernels. This ensures a consistent burst of flavor in every bite. You can purchase it online or easily make your own by finely grinding sea salt in a food processor, spice grinder, or with a mortar and pestle until it reaches a powdery consistency. This small, yet significant, step makes a huge difference in overall flavor distribution and enjoyment.
- Choose a Large, Heavy-Bottomed Pot: The quality of your pot directly impacts your popcorn’s success. A large capacity is essential because popcorn expands considerably, easily quadrupling in volume. A heavy-bottomed pot, like a good quality stainless steel stockpot or a cast-iron Dutch oven, is crucial because it distributes heat evenly and consistently. This even heat prevents hot spots that can burn kernels and leads to a higher yield of perfectly popped kernels. Cheap, thin aluminum pans often create uneven heat, resulting in a frustrating mix of burnt and unpopped kernels. If your pot does start to overfill during popping, don’t hesitate to carefully pour out some of the already popped kernels into a separate bowl to make more room for the remaining unpopped ones, then return the pot to the heat to finish.
- Don’t Overcrowd the Pot: While a large pot is key, avoid using too many kernels at once. Overcrowding can lower the oil temperature too quickly and unevenly, which can prevent proper popping and result in a higher number of unpopped kernels. Stick to the recommended amount for your pot size, typically 1/4 to 1/2 cup of kernels per batch, allowing ample space for expansion.
- Listen Carefully and Act Quickly: The sound of popping kernels is your most reliable guide. Don’t wait until the popping stops completely, as the residual heat in the pot can quickly burn the last few kernels, imparting a bitter taste to your entire batch. Remove the pot from the heat as soon as the popping slows down significantly, usually to 1-2 seconds between pops.
Exciting Flavor Variations for Your Homemade Popcorn:
- Classic Cheddar Cheese Popcorn: For an intensely cheesy, savory snack, increase your popcorn butter to 3-4 tablespoons to ensure better adhesion for the powder. Then, generously toss with 5-6 tablespoons of high-quality cheddar cheese powder (we highly recommend Hoosier Hill Farms cheddar powder for its authentic, bold flavor). While regular kernels work, “mushroom” popcorn kernels are often preferred for cheese popcorn as their round, dense shape holds the powder more effectively.
- Creamy White Cheddar Popcorn: Achieve this sophisticated and slightly milder cheesy flavor by increasing your popcorn butter to 3-4 tablespoons and using 5-6 tablespoons of white cheddar cheese powder (like Hoosier Hill white cheddar powder). To maintain the characteristic white color, prepare your popcorn butter without any added annatto, paprika, or turmeric, and use a clear cooking oil such as refined coconut oil, avocado oil, or vegetable oil for popping.
- Zesty Dill Pickle Popcorn: If you love the tangy, savory, and slightly sour taste of dill pickles, this variation is a must-try. Increase the popcorn butter slightly (this extra moisture helps the seasoning stick) and liberally sprinkle your favorite dill pickle popcorn seasoning blend to taste. Start with a moderate amount and add more until you reach your desired intensity, ensuring even coating by tossing frequently.
- Nutty Brown Butter Popcorn: Instead of clarifying your butter, aim for a delicious brown butter, also known as beurre noisette. To do this, increase the heat to medium during the butter melting process (watch very carefully!). Cook the butter until it develops a rich, nutty aroma and the milk solids at the bottom of the pan turn a rich, golden-brown. Skim off any foam and use this incredibly flavorful brown butter to drizzle over your freshly popped kernels for an aromatic, deep, and savory taste.
- Savory Nutritional Yeast Popcorn (Vegan/Dairy-Free): For a plant-based or dairy-free alternative that still delivers a delightful cheesy-nutty flavor, nutritional yeast is your secret weapon. After popping your corn with a suitable oil like avocado or refined coconut oil, skip the dairy butter and toss the warm popcorn generously with 2-3 tablespoons of nutritional yeast. Add a pinch of salt to enhance the umami flavor.
- Spicy Chili Lime Popcorn: For a vibrant and zesty kick, after buttering your popcorn, generously sprinkle it with a mix of chili powder, a pinch of cayenne pepper (adjust to your heat preference), and a squeeze of fresh lime juice. A little zest from the lime peel can also add a wonderfully aromatic and bright note.
- Sweet & Salty Kettle Corn: While traditionally made in specific kettles, you can achieve a delicious stovetop version. Add 1-2 tablespoons of granulated sugar along with your kernels and oil at the beginning. Pop as usual, but shake the pot almost continuously to prevent the sugar from burning and sticking to the bottom. Be aware that this variation requires more vigilance to avoid scorching the sugar.
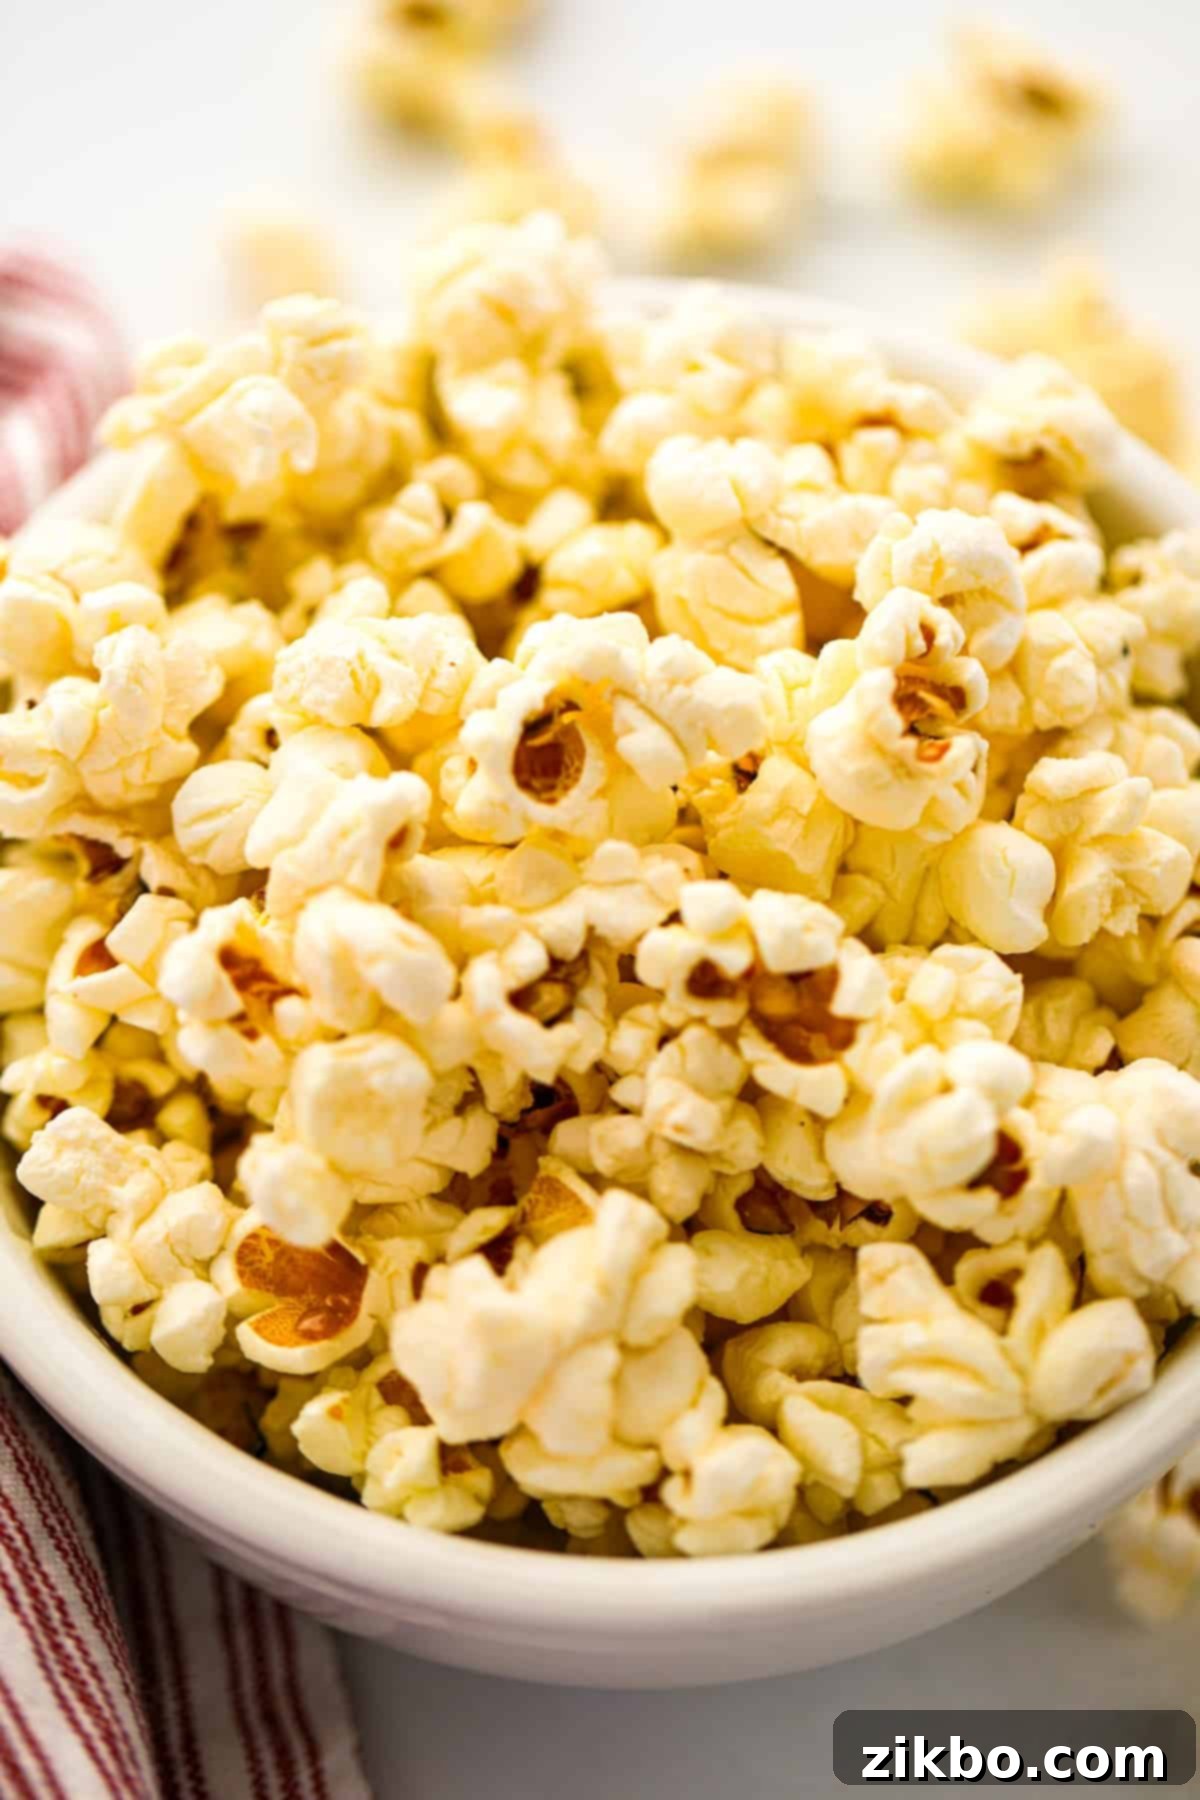
Storing Leftover Popcorn for Maximum Freshness:
If you’re lucky enough to have any leftover popcorn (a rare occurrence for such a delicious snack!), proper storage is key to maintaining its delicious crispness. Transfer it to an airtight container or a large, sealable plastic bag as soon as it cools down slightly to room temperature. Popcorn made with regular melted butter tends to store moderately well for about 6-12 hours before it starts to lose its crispness and can become a bit soggy. This is due to the water content present in the butter’s milk solids, which gradually re-introduces moisture to the popcorn.
However, popcorn made with our recommended clarified butter (popcorn butter or ghee) offers superior longevity. Because the milk solids and water have been meticulously removed during the clarification process, clarified butter doesn’t contribute moisture that would soften the popcorn. This means your clarified butter popcorn can be stored at room temperature in an airtight container for several days (up to 2-3 days), retaining much of its delightful crunch and flavor. It is crucial not to store popcorn in the refrigerator or freezer, as these environments introduce excessive moisture and can severely compromise its texture, making it stale and chewy.
More Easy Snack Recipes to Explore:
- Chex Mix
- Air Fryer Tortilla Chips (Corn or Flour)
- Trail Mix
- Parmesan Crisps
If you loved this **Homemade Stovetop Popcorn** recipe, please let me know by leaving a 5-star review in the recipe card or a comment below! Your feedback is invaluable. You can also tag me on Instagram @dashfordinner to share your delicious creations with our community.

The BEST Homemade Movie Theater Style Popcorn (On the Stovetop)
Print
Pin
Rate
Ingredients
- ¼ cup popcorn kernels
- 2 tablespoons oil* like avocado, popcorn oil, or refined coconut oil
- 2-4 tablespoons melted butter popcorn butter**, ghee, or clarified butter (we like popcorn butter best – it’s the most like the movie theatre style!)
- ¼ teaspoon fine salt (or popcorn salt) plus more to taste
Instructions
-
Melt 2 tablespoons of refined coconut oil (popcorn oil, or a high smoke point oil of your choice like avocado) in a large stockpot or Dutch oven over medium heat, until shimmering.
-
Add 3 popcorn kernels to the bottom of the pot and cover it with a lid. These serve as test kernels to gauge the oil’s perfect popping temperature.
-
Continue to heat, shaking occasionally, until at least 2 of the 3 popcorn kernels pop. This signals the oil is ready.
-
Once the test kernels have popped, immediately remove the pot from the heat. Add in the remaining ¼ cup of popcorn kernels. Cover with a lid and shake the pot vigorously to ensure all kernels are evenly coated in the hot oil.
-
Let the pot rest off the heat for 1 full minute. This crucial resting period allows all kernels to warm up uniformly before popping, leading to fewer unpopped kernels.
-
Return the pot to the medium heat source and cook with the lid secured. You should begin to hear vigorous popping within 2-4 minutes.
-
Once you hear the first few pops, tilt the lid slightly, leaving a small gap. This allows steam to escape, which is essential for achieving crisp, non-chewy popcorn.
-
Continue heating until the popping sounds slow down significantly to about one pop every few seconds. Shake the pot every now and then (wearing oven mitts!) to help with even cooking and prevent scorching.
-
When the pops almost stop, remove the pot from the heat and allow it to rest for about 20-30 seconds with the lid still on. Then, carefully remove the lid completely.
-
Drizzle in 2-4 tablespoons of melted butter (or clarified popcorn butter) over the hot popcorn. Toss it gently but thoroughly to coat every kernel evenly. Sprinkle in ¼ teaspoon of fine salt (or popcorn salt), then taste and add more salt to your preference, aiming for that perfect movie theater balance.
-
Transfer your freshly popped and seasoned popcorn to a large serving bowl and enjoy immediately while it’s warm and at its crispiest!
Notes
Storage Best Practices: For any popcorn leftovers, transfer them promptly to an airtight container once slightly cooled. Popcorn prepared with regular melted butter will maintain its quality for approximately 6-12 hours before becoming noticeably less crisp due to the moisture from butter’s milk solids. In contrast, popcorn made with ghee or our homemade popcorn butter (clarified butter) boasts a significantly longer shelf life of 2-3 days when stored at room temperature in airtight bags or containers. The removal of milk solids and water in clarified butter minimizes moisture transfer, preserving the popcorn’s delightful crunch. It is crucial not to store popcorn in the refrigerator or freezer, as these environments introduce moisture and can severely compromise its texture.
Creative Flavor Explorations: This stovetop popcorn recipe is an ideal base for a myriad of flavor additions. Experiment with your favorite powdered popcorn seasonings, such as a tangy dill pickle blend, smoky barbecue, or a zesty ranch. Dry cheese powders are also fantastic – we particularly love making savory cheddar cheese popcorn or a milder white cheddar popcorn for a snack that easily rivals store-bought versions in both taste and freshness. Remember to add seasonings after buttering but before the final salt adjustment, as many blends already contain salt.
**Homemade Popcorn Butter (Clarified Butter): Our preferred method involves making clarified butter that is pure butter oil, going beyond simple clarification but not quite to the point of deeply browned ghee. This process meticulously removes all milk solids from the butter and evaporates its water content, leaving behind a shimmering, pure butter oil. This is the secret to non-soggy, intensely buttery popcorn.
- Heat ½ cup of unsalted butter in a stainless steel saucepan over medium-low heat.
- Allow it to gently melt and simmer for 20-25 minutes without stirring. You will observe foam rising to the top and milk solids beginning to settle and cling to the bottom of the saucepan. The butter oil will become clear, and bubbling will significantly reduce once most of the water has evaporated.
- Remove the pan from the heat. Carefully skim off the white foam that has accumulated on the surface.
- Line a small mesh strainer with a coffee filter (or several layers of cheesecloth) and position it over a clean, heat-proof bowl or measuring cup. Strain the butter through the filter, ensuring that all milk solids are caught, and only the clear, golden liquid collects below.
- Drizzle 2-4 tablespoons of this pure popcorn butter over your freshly prepared popcorn.
- Leftover clarified popcorn butter can be stored in an airtight container in the refrigerator for several months.
- Simply melt a small portion as needed each time you make a fresh batch of popcorn!
Please note that some of my blog posts here at Dash for Dinner may contain affiliate links. If you make a purchase through these links, I will get a small commission at no additional cost to you. Please see my Disclaimer for more information.
