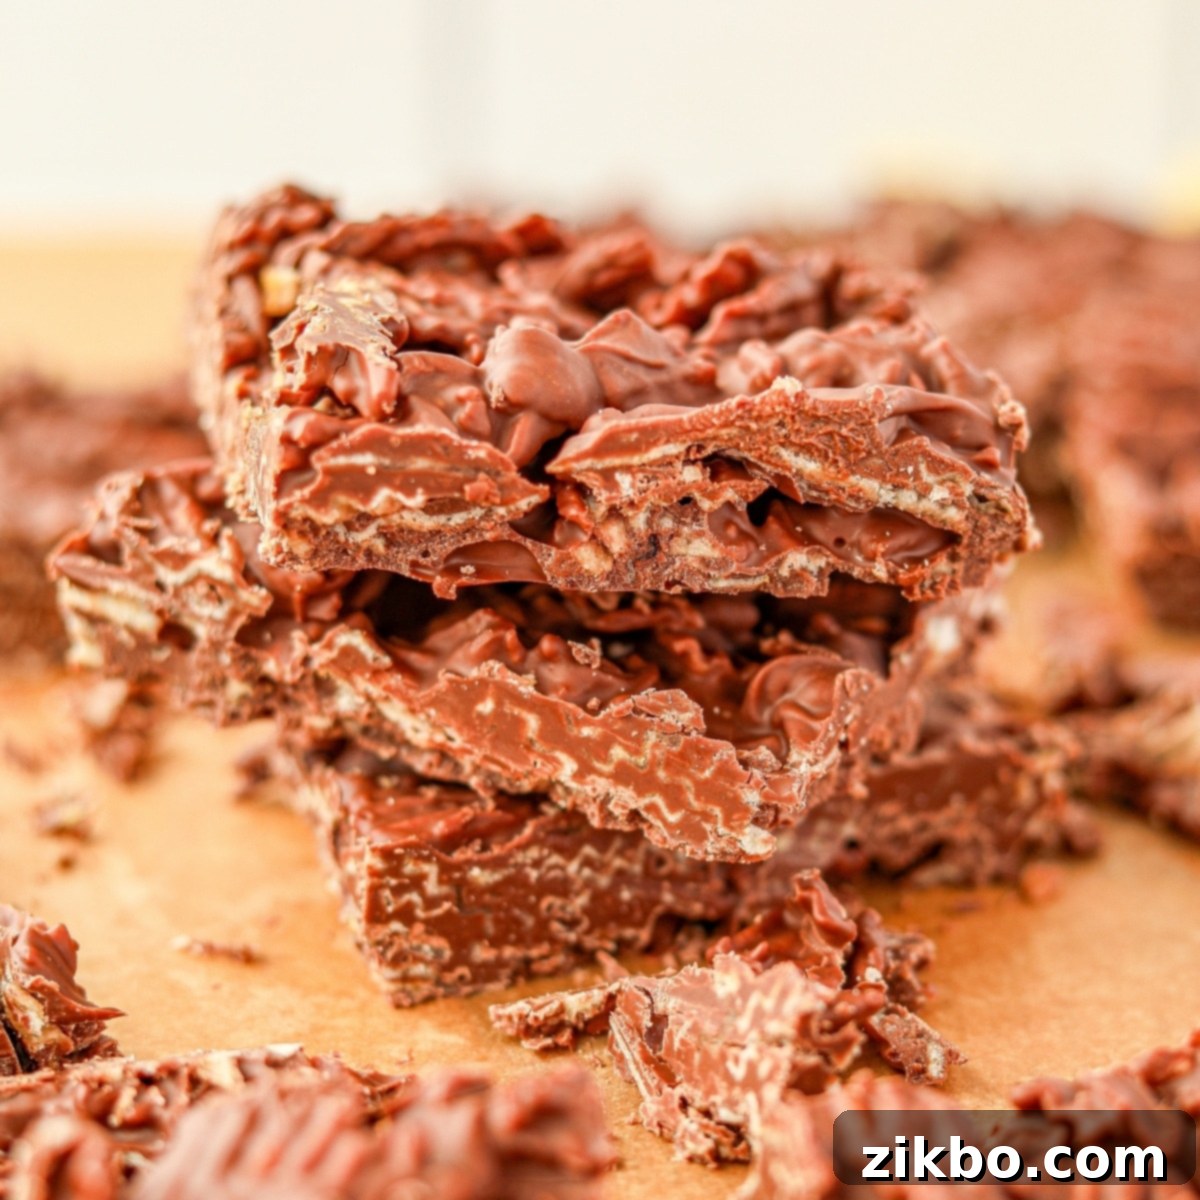
Irresistible Chocolate Potato Chip Bark: The Ultimate Sweet & Salty Treat (2-Ingredient Recipe!)
Prepare to fall in love with the ultimate sweet and salty sensation: Chocolate Potato Chip Bark! This incredibly easy recipe requires just two simple ingredients – crispy crushed potato chips and luscious melted chocolate. Once hardened, this delightful chocolate bark breaks into perfect, bite-sized pieces, making it an ideal treat for holiday gifting, last-minute desserts, or simply satisfying that unique craving for something both savory and sweet. Its irresistible combination of textures and flavors is guaranteed to be a crowd-pleaser!
For another quick and equally delightful potato chip and chocolate combination, be sure to check out our easy recipe for chocolate potato chip clusters!
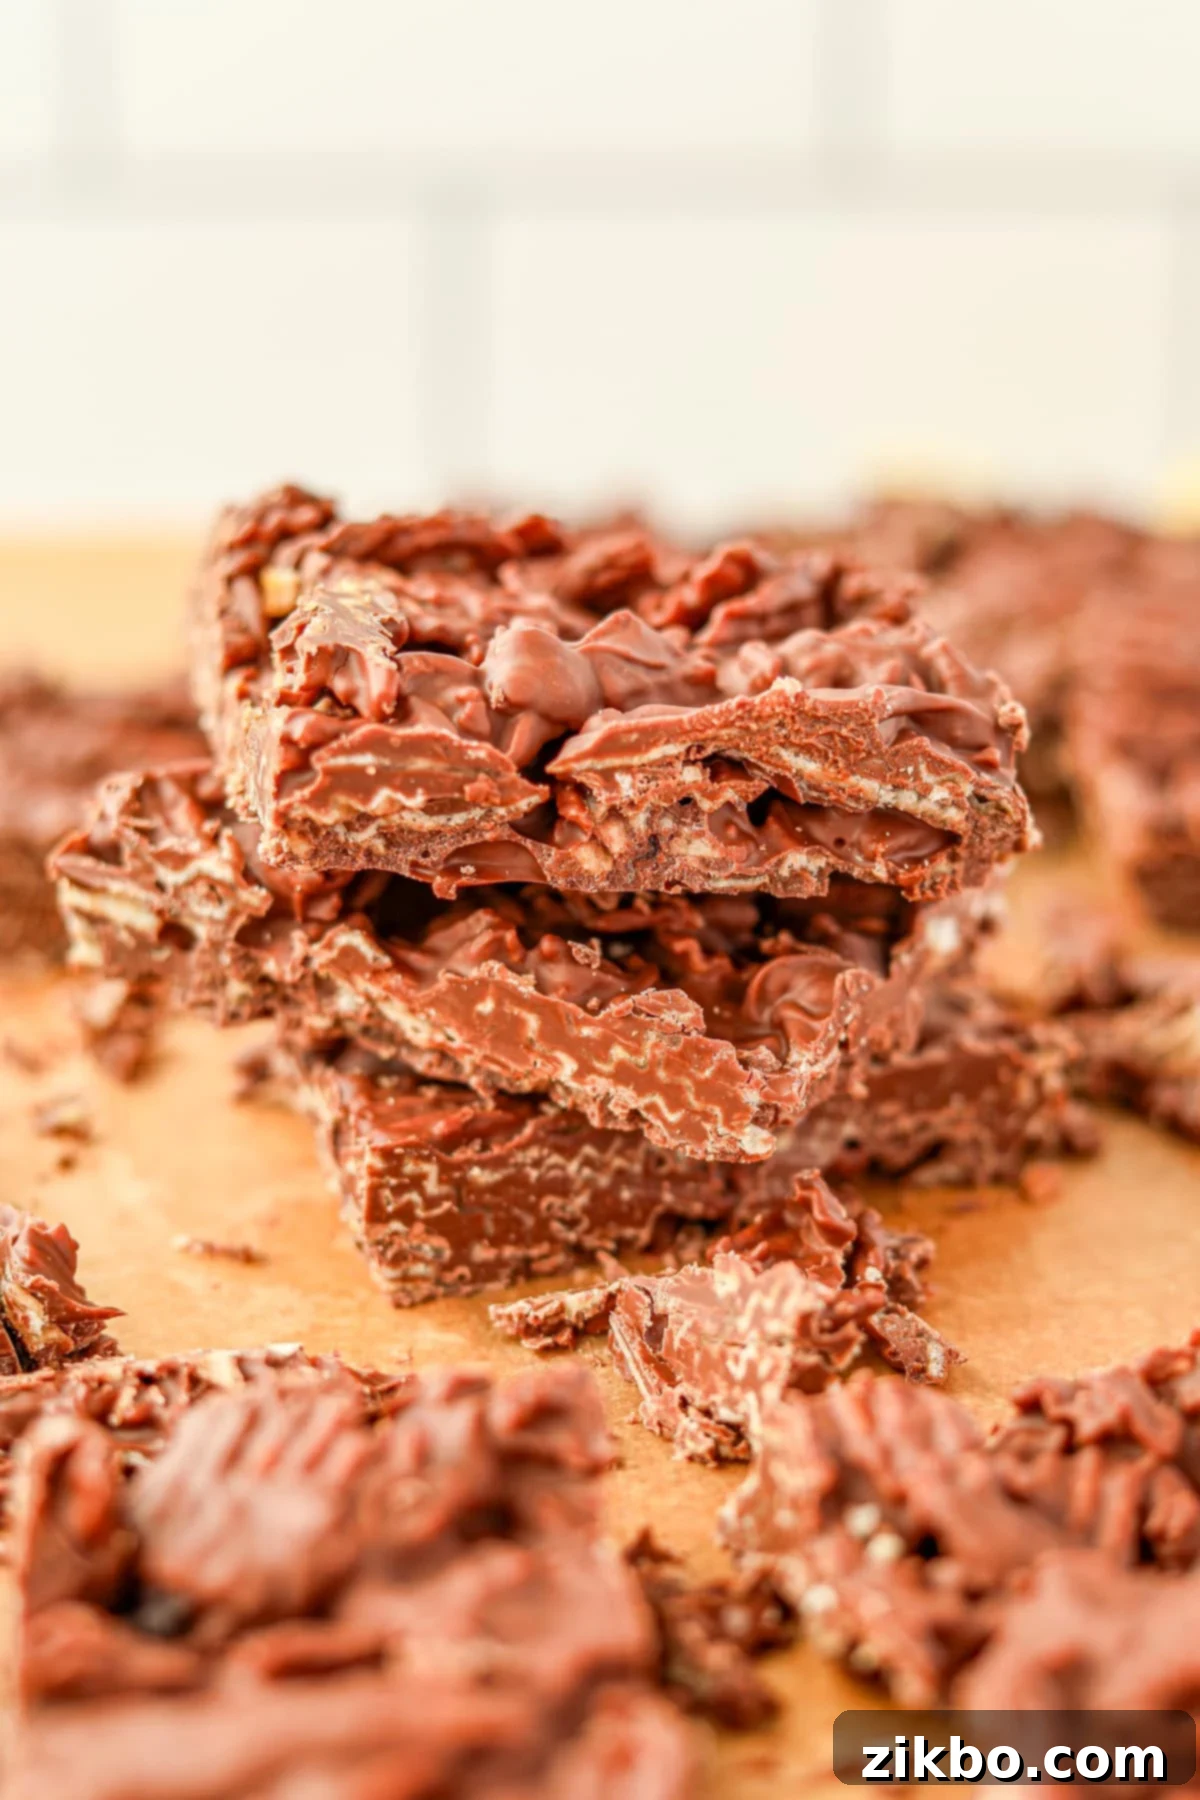
Do you ever find yourself torn between a craving for something sweet and something salty? This Chocolate Potato Chip Bark is the answer to your culinary dilemma! It perfectly balances those cravings, delivering a truly unique and satisfying experience with every bite. The creamy texture of the chocolate beautifully complements the irresistible crunch and savory saltiness of the potato chips.
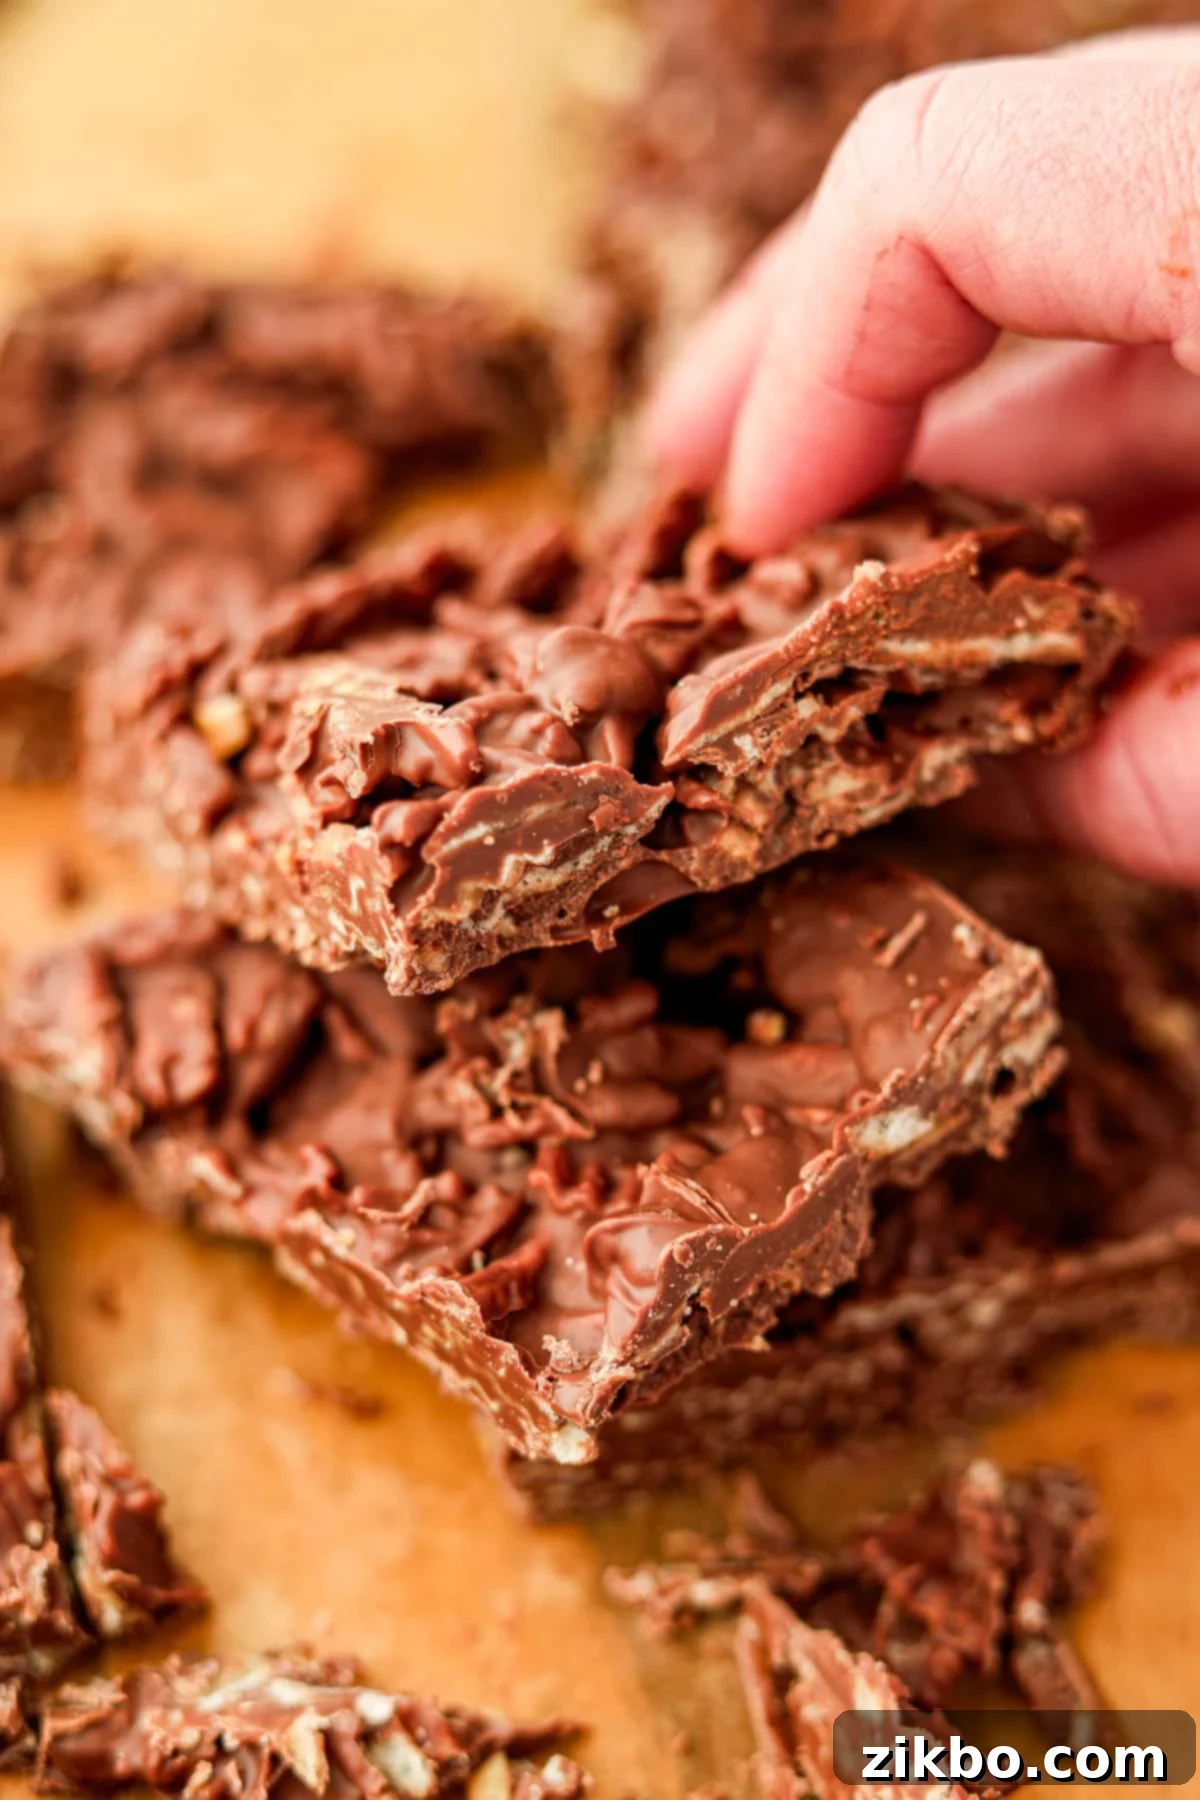
Imagine rich, velvety milk chocolate generously coating crisp, crushed potato chips. The result is a treat that is crunchy, creamy, savory, and supremely sweet – a symphony of flavors and textures that dance on your palate. It’s a surprisingly decadent treat that comes together with minimal effort, making it perfect for any occasion, from casual snacking to elegant entertaining.
This bark is also an excellent choice for a thoughtful, yet inexpensive, holiday gift. Package it in a beautiful decorative tin alongside other homemade goodies. Don’t forget to include a written recipe card, because your friends and family will undoubtedly ask for it!
Why You’ll Adore This Chocolate Potato Chip Bark
This isn’t just another sweet treat; it’s a game-changer! Here’s why this Chocolate Potato Chip Bark will quickly become a favorite in your kitchen:
- The Perfect Harmony of Sweet and Salty: This is the star of the show! The crispy, savory potato chips provide a delightful counterpoint to the rich, melted chocolate. Each bite offers an exciting contrast that tantalizes your taste buds, making it incredibly addictive. It’s the ultimate answer to those “I don’t know if I want something sweet or savory” moments.
- Effortless Preparation – No Special Equipment Needed: Forget about fancy kitchen gadgets and complicated techniques. You can easily melt the chocolate using a microwave or a simple saucepan on the stovetop. There’s no need for a double boiler, making this a truly accessible recipe for home cooks of all skill levels. Minimal equipment also means minimal cleanup, which is always a win!
- Incredibly Simple with Just 2 Ingredients: Yes, you read that correctly! All you need are potato chips and chocolate chips to create this gourmet-tasting treat. This simplicity makes it a fantastic last-minute dessert option or a fun project to do with kids. Plus, it’s a no-bake recipe, saving you time and keeping your kitchen cool.
- Quick to Make and Set: With only about 10 minutes of active prep time, this bark comes together rapidly. The chilling time ensures it sets perfectly, allowing you to enjoy your delicious creation sooner.
- Versatile for Any Occasion: Whether you’re looking for a quick snack, a unique dessert for a potluck, a special treat for holiday gatherings, or an impressive homemade gift, this chocolate bark fits the bill perfectly. Its crowd-pleasing appeal makes it suitable for almost any event.
Ingredients & Equipment You Will Need
Crafting this amazing bark requires very few items, making it super accessible. Here’s what you’ll need to gather:
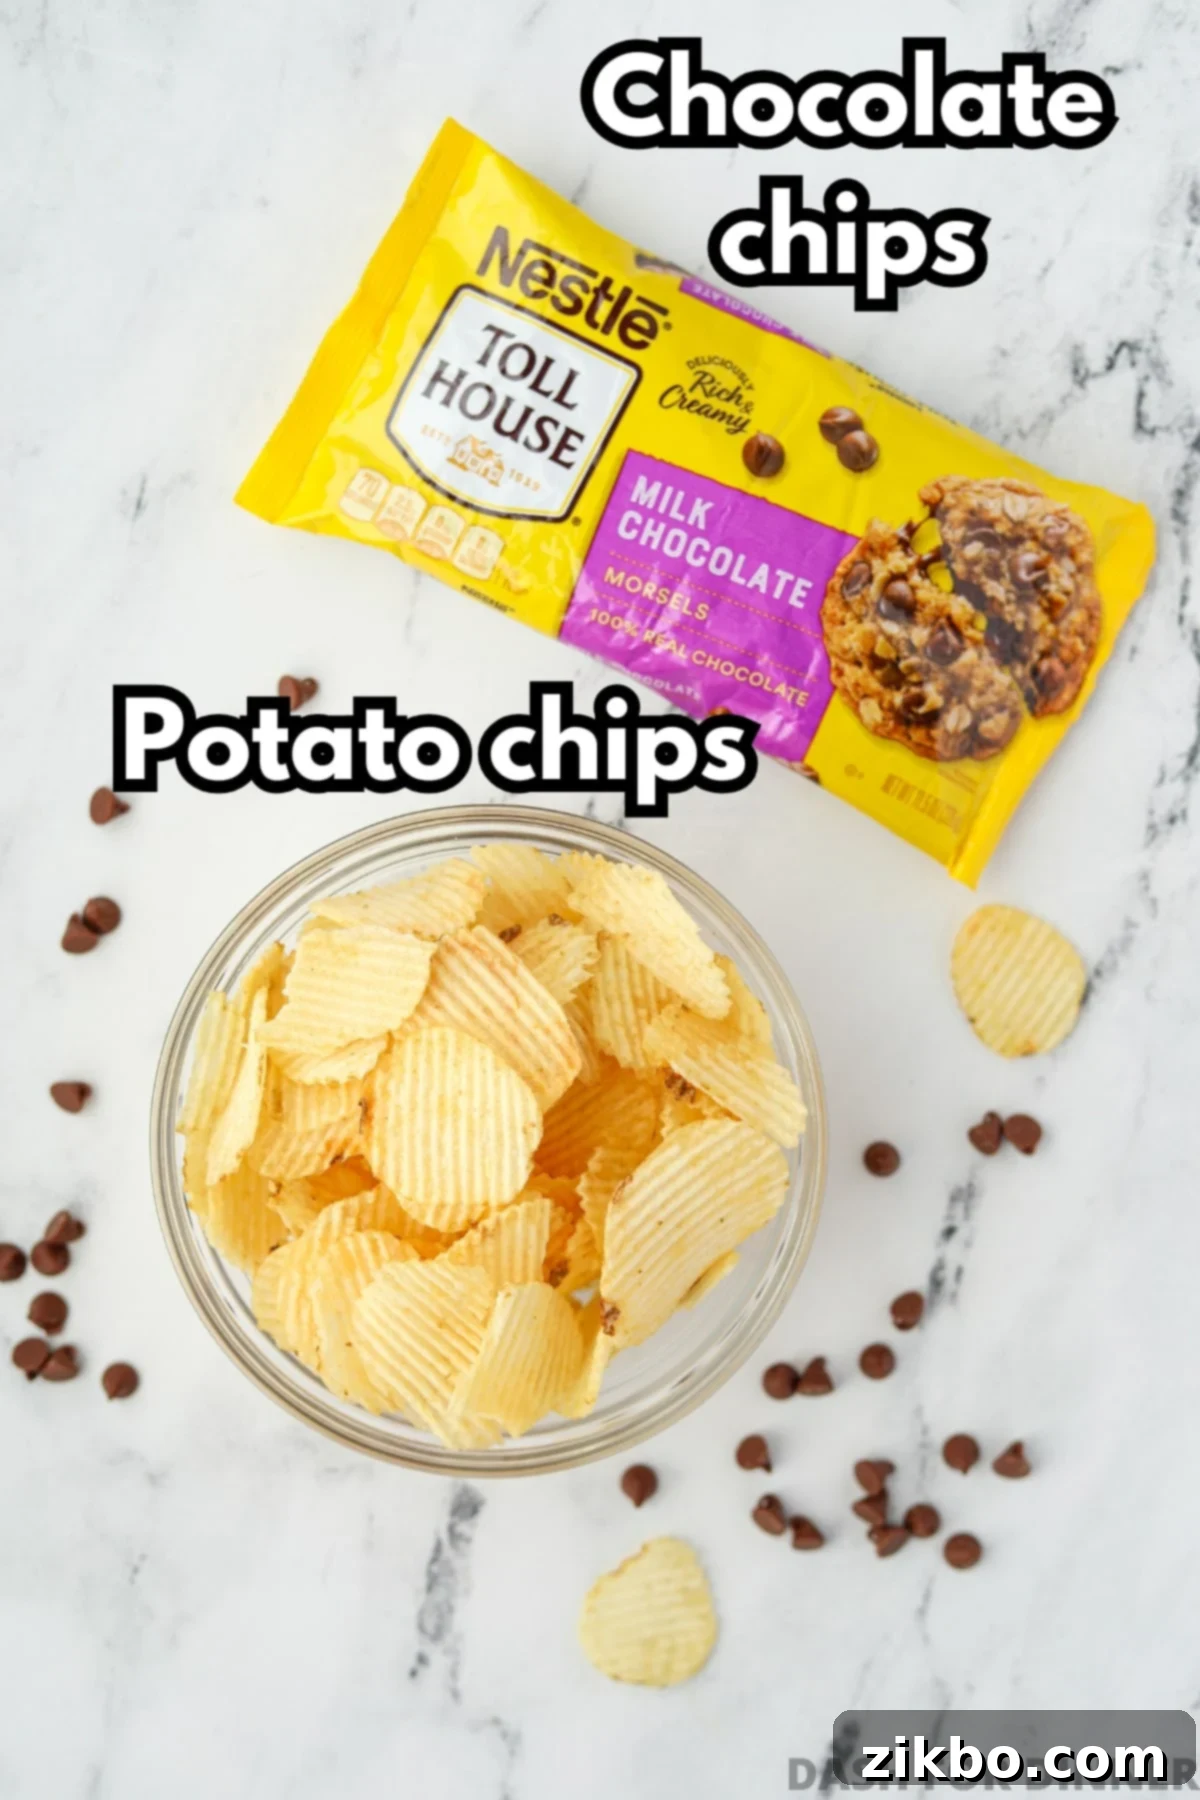
Essential Ingredients:
- Potato Chips: For the absolute best results, we highly recommend using wavy potato chips, specifically Ruffles Original. While we’re not typically brand-specific, the sturdy, ridged texture of wavy chips holds up exceptionally well to the chocolate coating, providing maximum crunch without becoming soggy. They also offer excellent surface area for the chocolate to cling to, ensuring every bite is perfectly balanced. That said, any plain, salted potato chips will work if wavy chips aren’t available, but the texture might vary slightly. Ensure they are lightly crushed into bite-sized pieces, not a fine powder.
- Chocolate Chips: We’ve found that milk chocolate chips deliver the ideal balance of sweetness to counteract the savory saltiness of the potato chips. Nestle Tollhouse milk chocolate chips consistently provide a smooth melt and a creamy finish that pairs beautifully with the chips. While semi-sweet or dark chocolate chips can be used for variations, they won’t offer the same classic sweet-and-salty harmony as milk chocolate. If experimenting, be aware that darker chocolates will create a more intense, less sweet bark.
Recommended Equipment:
- Baking Sheet: A standard rimmed baking sheet provides the perfect surface for spreading and chilling your bark.
- Parchment Paper or Silicone Baking Mat: This is crucial for preventing the chocolate from sticking and makes cleanup an absolute breeze. It also aids in easily transferring the bark once it has hardened.
- Silicone Spatula: Ideal for gently folding the chips into the melted chocolate and smoothly spreading the mixture onto the baking sheet. Its flexible nature ensures you get every last bit of deliciousness!
- Microwave-Safe Bowl or Medium Saucepan: For melting your chocolate chips quickly and efficiently.
- Plastic Bag (Ziploc type) and Rolling Pin/Measuring Cup: For easily crushing your potato chips without making a mess.
How to Make Easy Chocolate Potato Chip Bark
This milk chocolate potato chip bark is so simple and delicious, it’s destined to become a cherished holiday tradition! It’s perfect for a last-minute sweet treat, adding to festive Christmas cookie tins, or just enjoying as a delightful everyday snack.
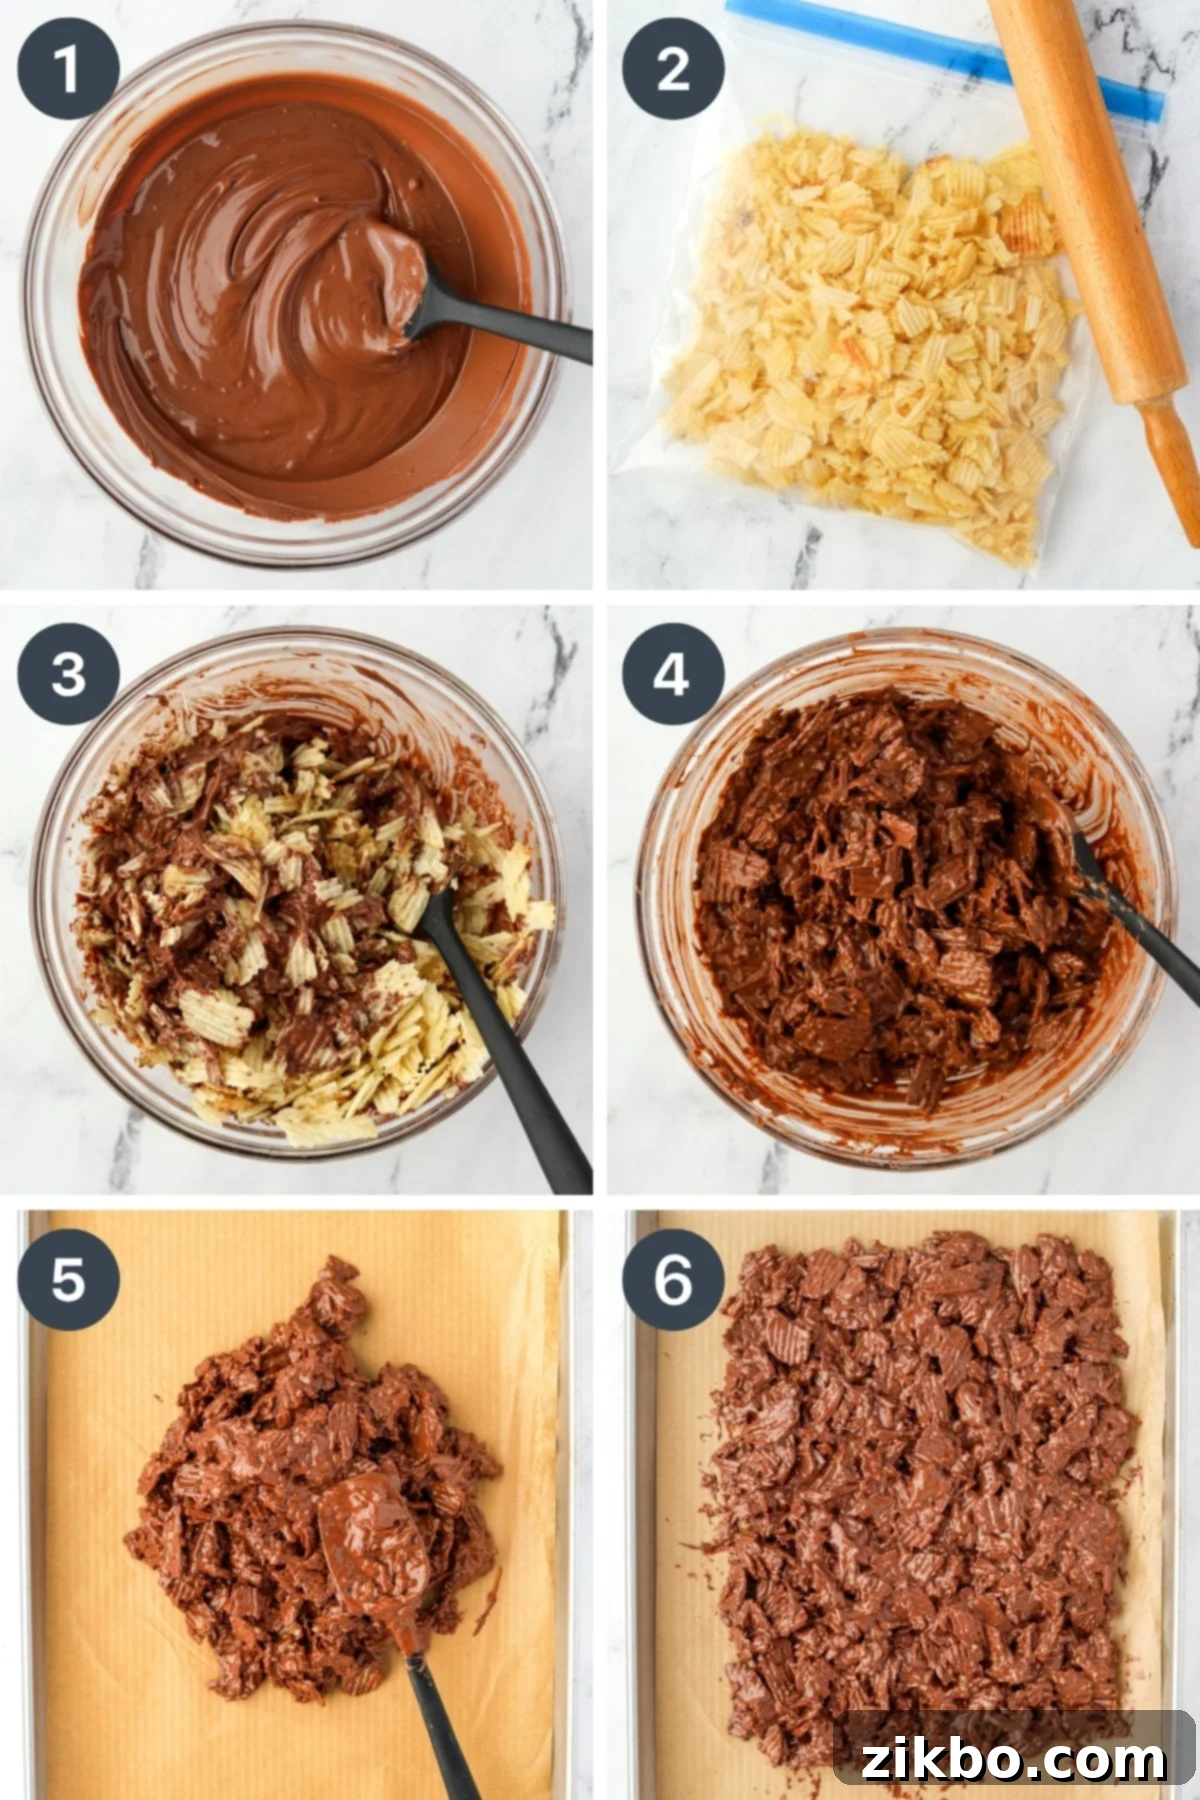
- Crush the Potato Chips: Begin by placing your chosen potato chips into a large plastic freezer bag. Gently but firmly “whack” the bag with a rolling pin, the bottom of a measuring cup, or even your hands. The goal is to break them down into irregular, bite-sized pieces – not a fine powder. You want distinct pieces that offer a satisfying crunch. Aim for about 5 cups of lightly crushed chips (approximately 210g or 7.4oz).
- Melt the Chocolate: Transfer your milk chocolate chips to a large microwave-safe bowl. Heat the chocolate in 30-second intervals in the microwave, stirring thoroughly after each interval. This is key to preventing the chocolate from overheating and seizing. Continue heating and stirring until the chocolate is smooth, creamy, and completely melted with no lumps remaining (this typically takes 4-5 intervals).
- Melting Tip: Always stir the chocolate well between microwave intervals. Chocolate can hold its shape even when melted, and it’s very easy to overheat it, causing it to “seize” and become thick and grainy. Stirring distributes the heat evenly. Alternatively, you can melt the chocolate on the stovetop in a medium saucepan over very low heat, stirring constantly until smooth.
- Combine Chips and Chocolate: Once the chocolate is perfectly melted, add the crushed potato chips directly into the bowl of melted chocolate.
- Gently Stir to Coat: Using a silicone spatula, gently fold the crushed chips into the melted chocolate. Continue folding until all the potato chip pieces are thoroughly coated in the chocolate. Be careful not to over-mix, as this can break the chips down too much.
- Prepare the Baking Sheet: Line a rimmed baking sheet with a sheet of parchment paper or a silicone baking mat. This step is essential for easy removal and cleanup.
- Spread and Chill: Pour the chocolate-covered potato chip mixture onto the center of the prepared baking sheet. Use your silicone spatula to spread the mixture into an even layer, approximately ¾ inch thick. It won’t fill the entire baking sheet; instead, aim for a roughly rectangular shape about 8 inches by 12-15 inches. Ensure there are minimal gaps between the chips, pushing any stray chips from the edges back into the mixture to create a cohesive bark.
Chilling, Hardening, and Slicing Your Bark
Once your delectable potato chip bark mixture is spread into an even layer, the next crucial step is to let it harden. While it can eventually firm up at room temperature, due to the generous amount of chocolate, we highly recommend chilling the baking sheet in the refrigerator. This speeds up the setting process significantly and ensures a firm, snappy bark.
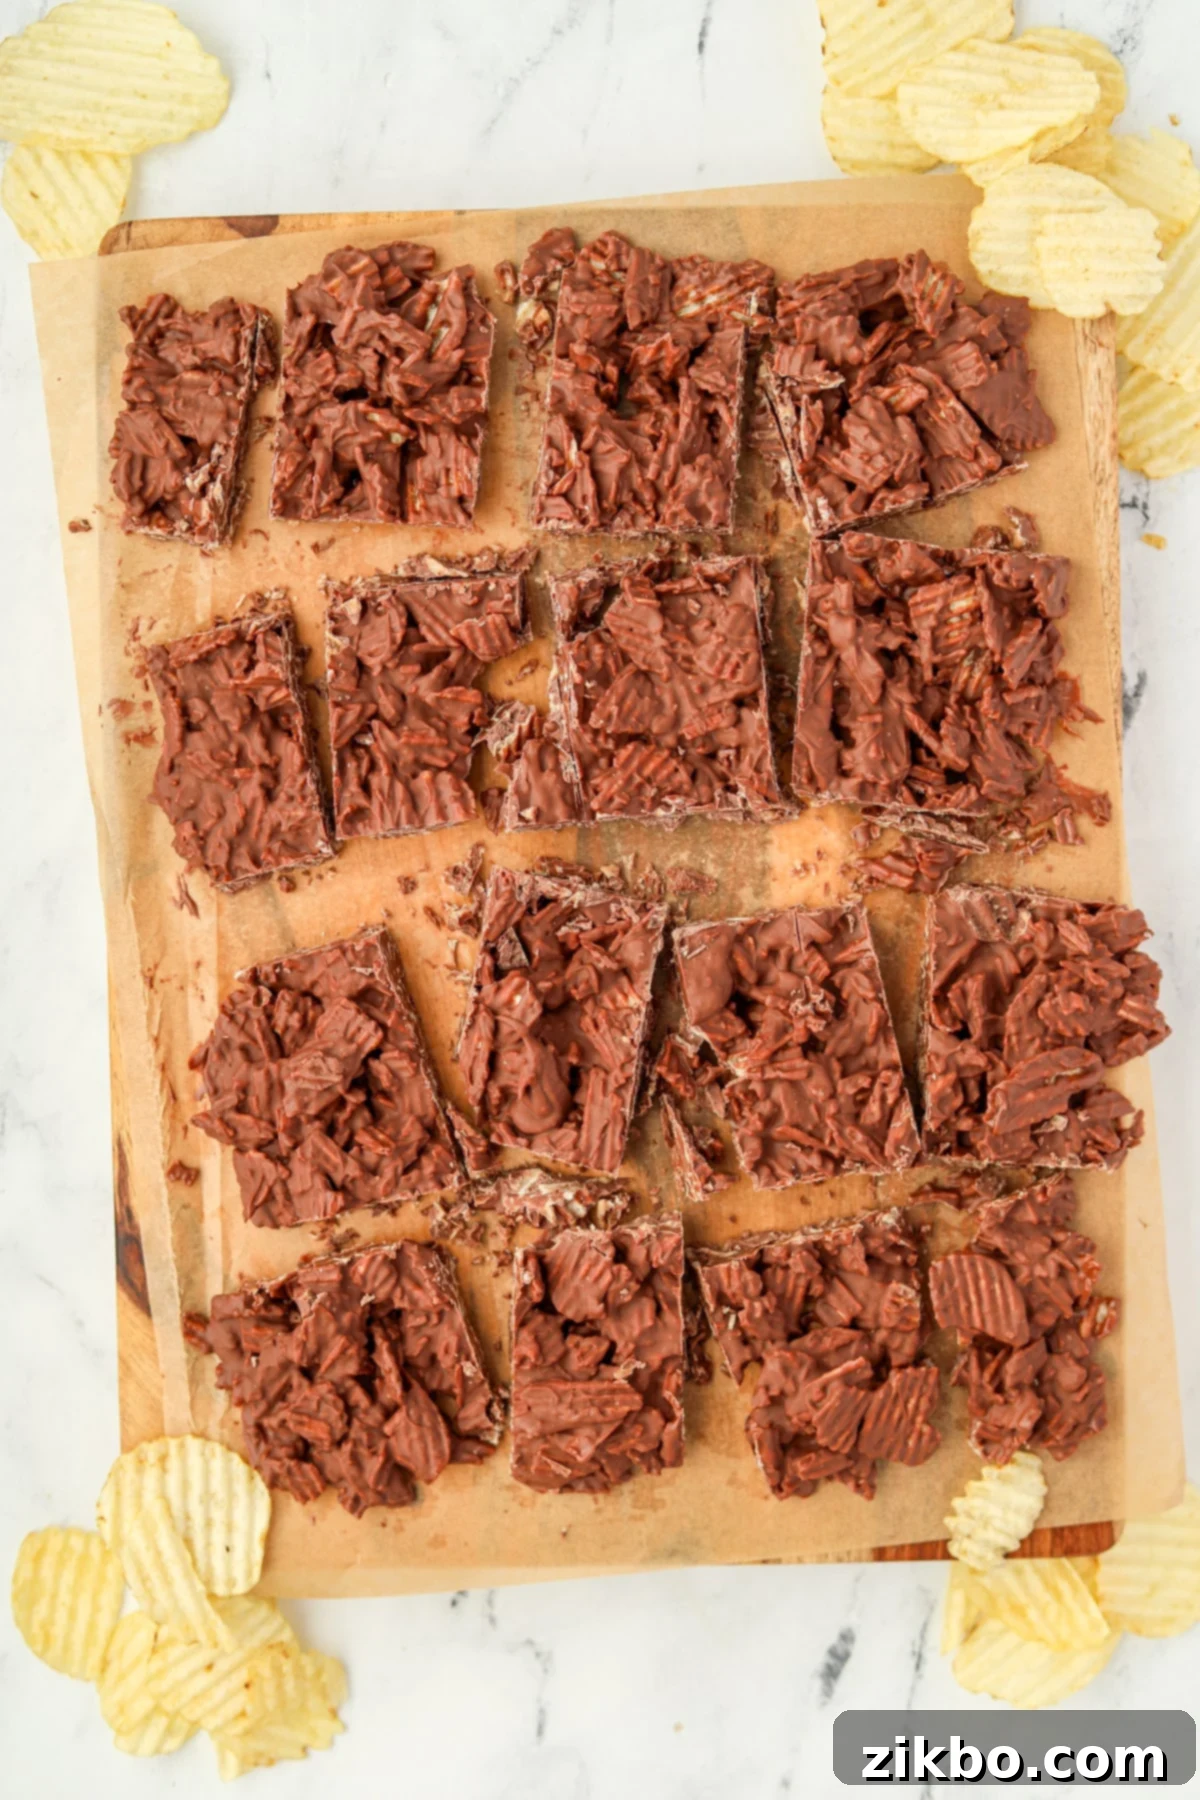
Chill for 2-3 hours, or until the chocolate is completely firm to the touch. You’ll know it’s ready when it feels solid and doesn’t yield when gently pressed. Once firm, carefully transfer the entire sheet of parchment paper (with the hardened bark still on it) to a clean cutting board. Using a sharp, sturdy knife, divide the bark into your desired individual pieces. We typically aim for about 16 squares or irregular shards, but you can cut them larger or smaller based on preference.
Storing Your Delicious Potato Chip Bark
Proper storage ensures your Chocolate Potato Chip Bark remains fresh, crisp, and delicious for as long as possible. Once the bark is cut into pieces, transfer them to an airtight container. We recommend lining the container with parchment paper to prevent sticking and maintain freshness. To store:
- Refrigerator: Store the bark in an airtight container in the refrigerator for up to 1-2 weeks. The cool temperature helps maintain its firmness and prevents the chocolate from melting.
- Freezer: For longer storage, tightly wrap the bark pieces in plastic wrap, then place them in a freezer-safe bag or an airtight container. Store in the freezer for up to 2 months. When you’re ready to enjoy, simply remove from the freezer and let them sit at room temperature for a few minutes before serving.
Tips and Ideas for Gifting This Sweet & Salty Treat
This bark makes an absolutely delightful homemade gift. Here are some ideas to make your gifted bark extra special:
- Charming Presentation: Arrange the bark pieces neatly in a decorative tin, a festive box, or a clear cellophane bag tied with a ribbon.
- Assortment of Treats: Create a beautiful holiday assortment by including other homemade Christmas treats, such as cookies, truffles, or peanut butter balls, alongside your potato chip bark.
- Protective Lining: Always line your tin or container with decorative parchment paper or wax paper. This not only adds to the aesthetic appeal but also prevents the chocolate from sticking and preserves its quality.
- Share the Recipe: Include a small, handwritten recipe card with your gift. Your friends and family will surely love the bark and appreciate having the recipe to make it themselves.
- Storage Instructions: For the longevity of their delicious gift, kindly remind your giftees to keep the bark refrigerated.
Expert Tips for Perfect Chocolate Potato Chip Bark
- Mastering Chocolate Melting: The most crucial step is melting the chocolate correctly. When heating chocolate, whether in the microwave or on the stovetop, it is vital to avoid *overheating* it. Overheated chocolate can “seize,” becoming thick, grainy, and unusable. Stirring frequently (every 30 seconds in the microwave) is key, as it helps distribute the heat evenly. Stop heating as soon as the chocolate is smooth and completely melted, even if a few small lumps remain (they will melt with residual heat as you stir). If you’re nervous, using a double boiler provides a gentler, more controlled melting environment.
- Mind the Sharp Edges: Since this recipe uses potato chips, some pieces might have slightly sharp edges, especially if using standard thin chips. When breaking or cutting the bark into smaller pieces, be mindful of this. Advise those enjoying it to eat cautiously to avoid any little pokes. Wavy chips tend to have slightly thicker, less sharp edges.
- Explore Exciting Variations: Don’t be afraid to customize your bark!
- Different Chocolate Types: While milk chocolate offers the classic balance, you can certainly try dark chocolate chips for a more intense, less sweet profile, or semi-sweet for a middle ground.
- White Chocolate Bark: For a non-chocolate version, use melted white chocolate or vanilla almond bark (often found in baking aisles or specialty stores). This creates a visually striking contrast with the chips.
- Flavorful Additions: Enhance your bark with extra toppings! A sprinkle of flaky sea salt immediately after spreading can elevate the sweet and salty notes. You could also add a drizzle of contrasting melted chocolate (e.g., white chocolate over dark chocolate bark), colorful sprinkles for festive occasions, or a handful of chopped nuts (like peanuts or pecans) for added texture. Consider a pinch of cayenne pepper for a spicy kick or a dash of espresso powder for depth.
- Experiment with Chip Flavors: While original salted chips are recommended, adventurous palates might enjoy trying other plain flavors like sea salt and vinegar for an interesting tang, or even a very mild BBQ chip (though be cautious not to overwhelm the chocolate).
Frequently Asked Questions (FAQs)
What kind of potato chips are best for chocolate bark?
For the best texture and to prevent the chips from becoming soggy, wavy potato chips (like Ruffles Original) are highly recommended. Their ridges help them stand up to the chocolate and provide a satisfying crunch. Plain, salted chips are essential to achieve that classic sweet and salty flavor profile.
Can I use different types of chocolate for the bark?
Absolutely! While milk chocolate is recommended for its balanced sweetness with the salty chips, you can experiment. Dark chocolate or semi-sweet chocolate chips will create a richer, less sweet bark. White chocolate can also be used for a unique flavor and visual contrast. Just ensure the chocolate is good quality for optimal melting and flavor.
How do I prevent the chocolate from seizing when melting?
The key to preventing chocolate from seizing is to melt it slowly and stir frequently. If using a microwave, heat in 30-second bursts, stirring vigorously after each interval. If using the stovetop, melt over very low heat in a saucepan or a double boiler, stirring continuously. Avoid getting any water into your chocolate, as this is a common cause of seizing.
Can I make this chocolate potato chip bark ahead of time?
Yes, this bark is perfect for making ahead! It stores well in the refrigerator for up to 1-2 weeks in an airtight container lined with parchment paper. You can also freeze it for up to 2 months. This makes it an excellent option for holiday meal prep or planning for future gatherings.
Are there any recommended toppings or additions?
To enhance your bark, consider adding a sprinkle of flaky sea salt over the top before it sets. You can also drizzle with a contrasting melted chocolate (e.g., white chocolate over milk chocolate bark), add colorful sprinkles, or incorporate chopped nuts like peanuts, pecans, or almonds for extra crunch and flavor.
Is this recipe gluten-free?
If you use certified gluten-free potato chips and ensure your chocolate chips are also gluten-free (most plain chocolate chips are, but always check the label), then this recipe can be entirely gluten-free. It’s an excellent option for those with gluten sensitivities!
More Delicious Holiday Treats to Explore:
- Chocolate Orange Truffles
- Peppermint Truffles
- Cranberry Bliss Bars
- Cranberry Pretzel Salad
If you loved this incredibly easy and delicious recipe for Chocolate Potato Chip Bark, please let us know by leaving a 5-star review in the recipe card below or dropping a comment! We always appreciate your feedback. You can also tag us on Instagram @dashfordinner and share your delightful creations!
Chocolate Potato Chip Bark Recipe
This effortless Chocolate Potato Chip Bark recipe creates the ultimate sweet and salty treat. With just 2 ingredients and minimal effort, it’s perfect for gifting or a quick indulgence!
Course: Dessert, Sweet Treat
Cuisine: American
Prep Time: 10 minutes
Chilling Time: 2 hours
Total Time: 2 hours 10 minutes
Servings: 16 servings
Author: Dorothy Bigelow
Pin Recipe
Ingredients
- 5 cups lightly crushed potato chips (wavy preferred, like Ruffles) (210g / 7.4oz)
- 3 ½ cups milk chocolate chips (approximately 2 standard bags, 326g or 11.5oz each)
Instructions
- Crush your potato chips by placing them in a sturdy plastic storage bag and gently striking them with the back of a measuring cup or rolling pin until they are broken into bite-sized pieces. Measure out 5 cups (or 210 grams) of crushed chips.
- Add the milk chocolate chips to a large microwave-safe bowl.
- Heat the chocolate chips in the microwave in 30-second intervals, stirring thoroughly after each interval. Continue until the chocolate is smooth, creamy, and easily stirs into a uniform consistency (this usually takes 4-5 intervals).
- Note: If you prefer, you can melt the chocolate on the stovetop over low to medium heat, stirring constantly to prevent burning.
- Once melted, add the crushed potato chips to the chocolate. Gently fold the chips into the melted chocolate using a silicone spatula until all the chips are well coated.
- Line a rimmed baking sheet with parchment paper or a silicone baking mat.
- Transfer the chocolate and potato chip mixture to the center of the prepared baking sheet. Spread it into an even layer, about ¾ inch thick. Create a rectangle roughly 12-15 inches by 8 inches, ensuring minimal gaps in the bark.
- Transfer the baking sheet to the refrigerator and chill for 2-3 hours, or until the bark is completely firm.
- Once hardened, remove the bark from the refrigerator. Carefully lift the parchment paper (with the bark) onto a cutting board. Use a sharp knife to divide the bark into smaller, individual pieces. Aim for about 16 squares or irregular shards.
- Store the finished bark in an airtight container lined with parchment paper in the refrigerator for up to 1 week. For longer storage, tightly wrap the pieces and place them in a freezer bag, storing in the freezer for up to 2 months.
Nutrition Information
(Per serving, based on 16 servings)
- Calories: 338kcal
- Carbohydrates: 40g
- Protein: 2g
- Fat: 20g
- Saturated Fat: 8g
- Polyunsaturated Fat: 2g
- Monounsaturated Fat: 5g
- Trans Fat: 0.01g
- Sodium: 140mg
- Potassium: 431mg
- Fiber: 1g
- Sugar: 23g
- Vitamin C: 6mg
- Calcium: 34mg
- Iron: 0.3mg
Did you try this recipe? Tag us at @dashfordinner and share your photos! We’d love to see your creations!
Please note that some of my blog posts here at Dash for Dinner may contain affiliate links. If you make a purchase through these links, I will get a small commission at no additional cost to you. Please see my Disclaimer for more information.
