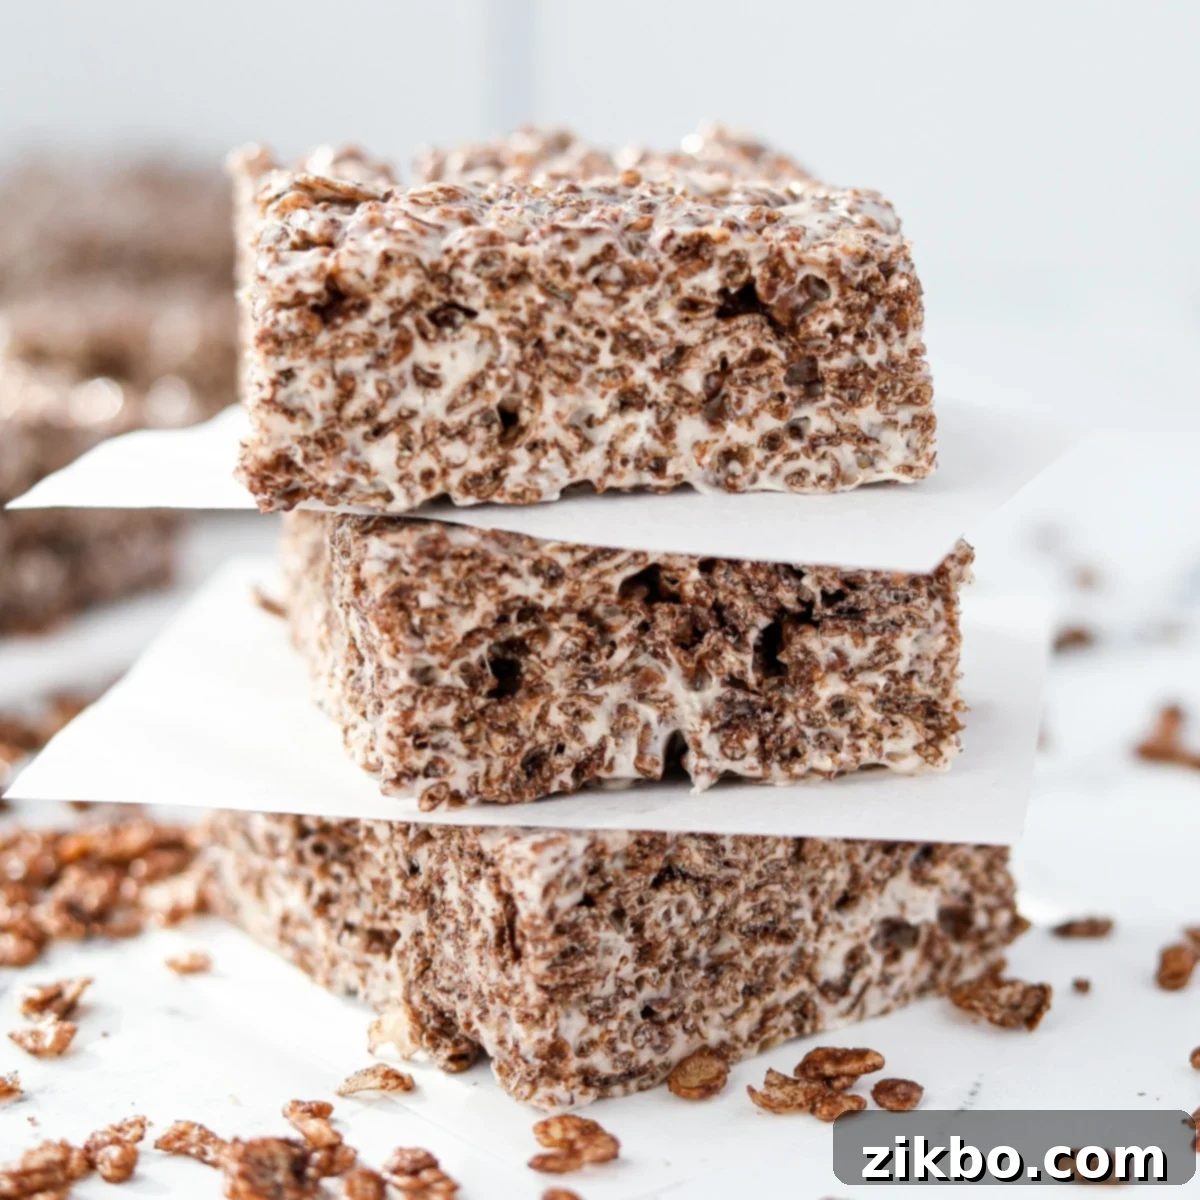
Easy No-Bake Cocoa Pebbles Treats: Your Go-To Gooey Chocolate Marshmallow Dessert
Get ready to indulge in a delightful, no-fuss dessert that’s perfect for any occasion! This easy recipe for Cocoa Pebbles Treats takes the beloved classic cereal bar and gives it a fun, chocolatey twist. Crafted with just 4 simple ingredients, this no-bake wonder is not only incredibly quick to whip up but also a fantastic way to transform that box of cereal into something truly special. Whether you’re preparing for a bake sale, bringing a dish to a potluck, planning a birthday party, or simply craving a speedy and satisfying sweet treat, these gooey, crispy Cocoa Pebbles Treats are guaranteed to be a hit with both kids and adults!
For those who love a vibrant, fruity alternative, don’t miss our equally delicious Fruity Pebbles Treats recipe, a colorful cousin to this chocolatey delight!
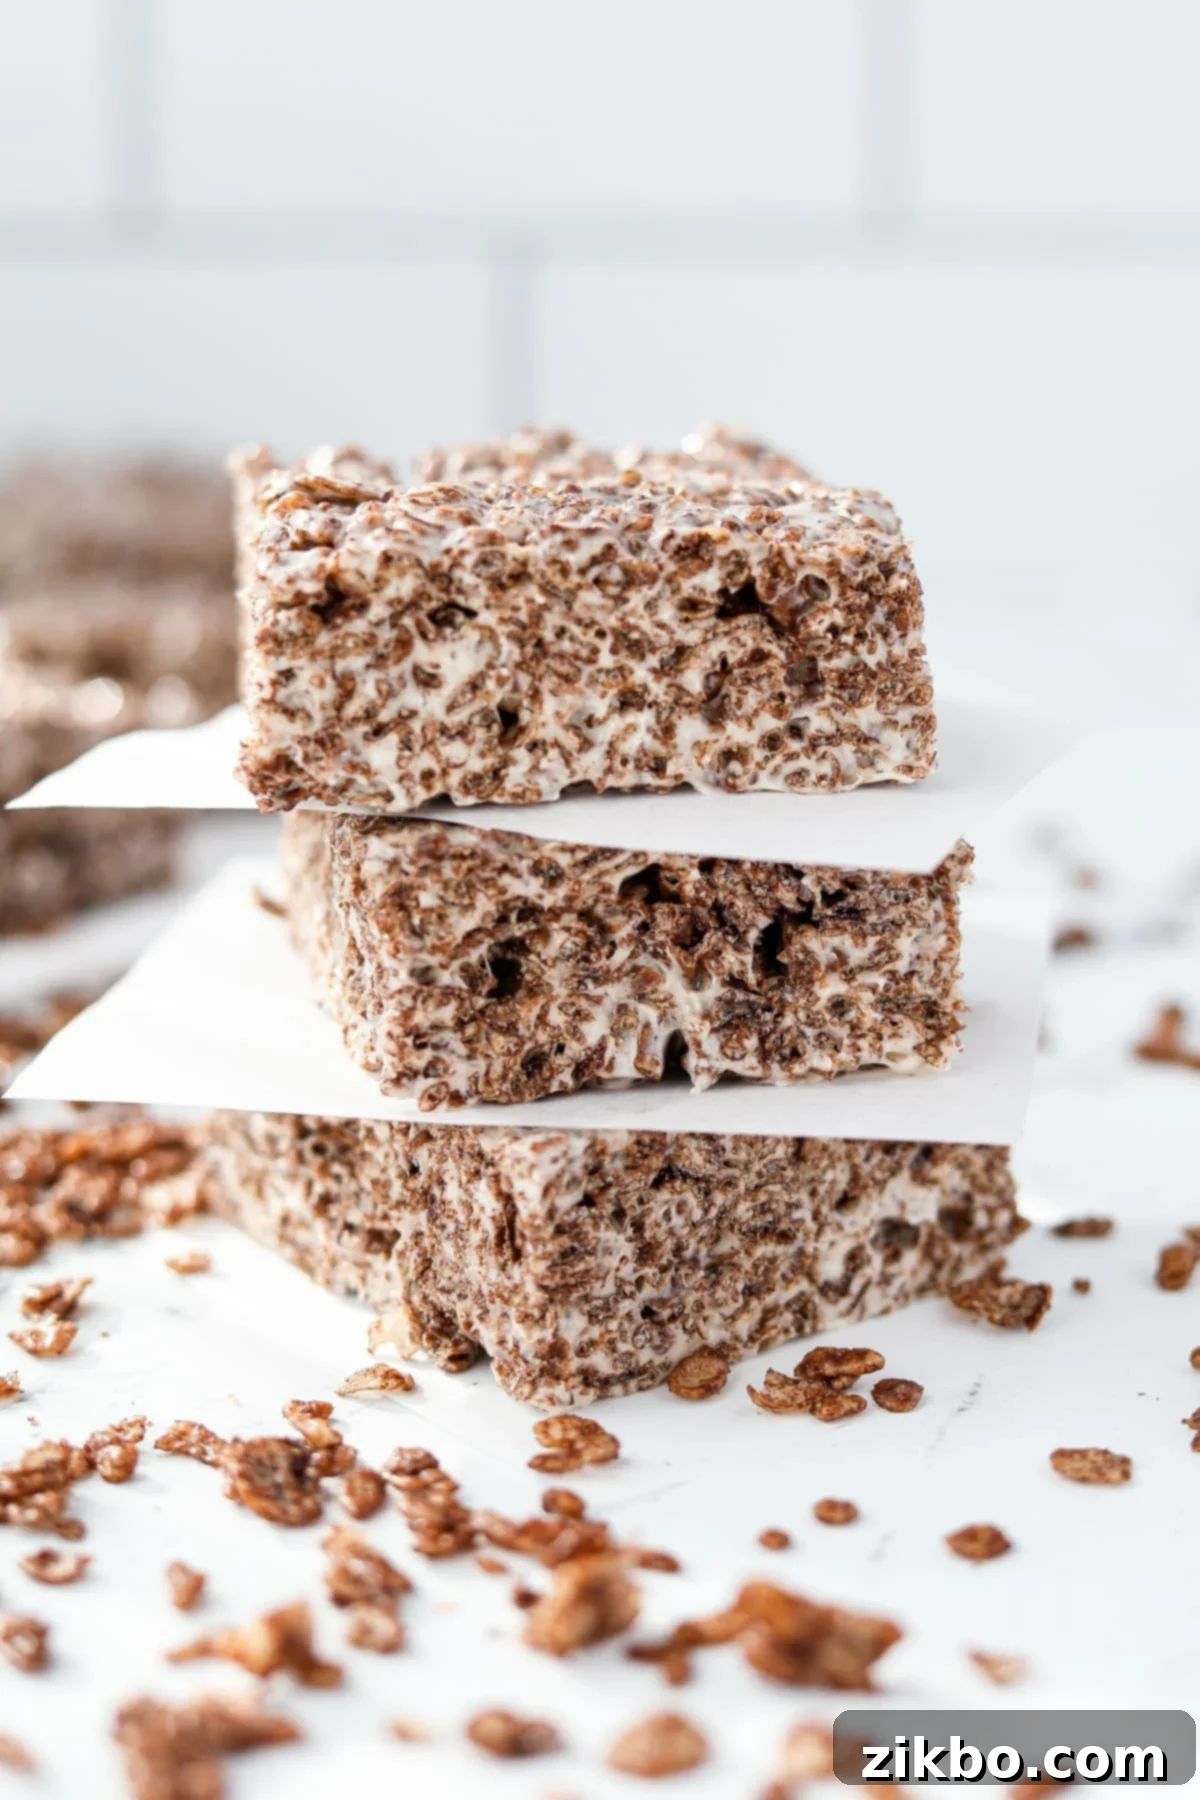
This fun and incredibly simple recipe for Cocoa Pebbles Treats quickly became a household favorite shortly after I first experimented with them a few months ago. My journey into these crispy cereal delights began with testing Fruity Pebbles Treats, adapting my tried-and-true Rice Krispies Treats recipe. Once those vibrant, fruity bars proved to be a resounding success, I knew I absolutely had to try a chocolate version with Cocoa Pebbles. And let me tell you, I’m so glad I did!
The debate rages in my family – which is better, the fruity or the chocolate? While it’s a tough call for most, my little one definitely leans towards this rich Cocoa Pebbles version. It’s hard to argue with the timeless, irresistible combination of chocolate and gooey marshmallow, isn’t it? These easy no-bake chocolate marshmallow treats bring a smile to everyone’s face, proving that sometimes, the simplest ingredients create the most memorable desserts.
Why You’ll Love This Easy No-Bake Cocoa Pebbles Treat Recipe
There are countless reasons why these Cocoa Pebbles Treats will quickly become a staple in your recipe collection. They offer the perfect blend of simplicity, nostalgia, and deliciousness, making them a winner for any occasion:
- Effortlessly Simple & Quick: These crispy treats are astonishingly easy to make, requiring just 4 core ingredients and less than 15 minutes of active preparation time. Forget complicated baking processes; this recipe is about maximum flavor with minimal effort, making it ideal for busy schedules, spontaneous cravings, or when you need a last-minute dessert.
- A Delightful Chocolatey Spin on a Classic: While traditional Rice Krispie Treats hold a special place in our hearts, this recipe offers a fantastic twist, infusing the beloved crispy, gooey texture with rich, satisfying chocolate from the Cocoa Pebbles cereal. It’s a nostalgic treat with an exciting upgrade that appeals to all chocolate lovers, providing a depth of flavor that’s truly irresistible.
- Perfect for Beginners and Kids: If you’re new to the world of cooking or looking for a fun, hands-on activity to do with children, this recipe is your best friend. The steps are straightforward, safe (especially when using the microwave method), and incredibly rewarding. It’s a wonderful way to introduce young aspiring chefs to the joys of the kitchen, building confidence with a delicious outcome.
- Dietary Friendly Options: Good news for many dessert enthusiasts! Cocoa Pebbles Treats are naturally gluten-free, making them a perfect inclusive dessert for family and friends with gluten sensitivities or Celiac disease. Furthermore, this post includes easy-to-follow options for making these irresistible treats entirely vegan and dairy-free, ensuring almost everyone can enjoy a bite of this chocolatey goodness without compromise.
The Magic Behind the Ingredients: What You’ll Need
Creating these incredibly delicious Cocoa Pebbles Treats starts with selecting just a few key components. Each ingredient plays an important role in achieving that perfect crispy, gooey, and chocolatey balance that makes these no-bake bars so addictive. Here’s a closer look at what you’ll need and why each one is essential for your no-bake success:
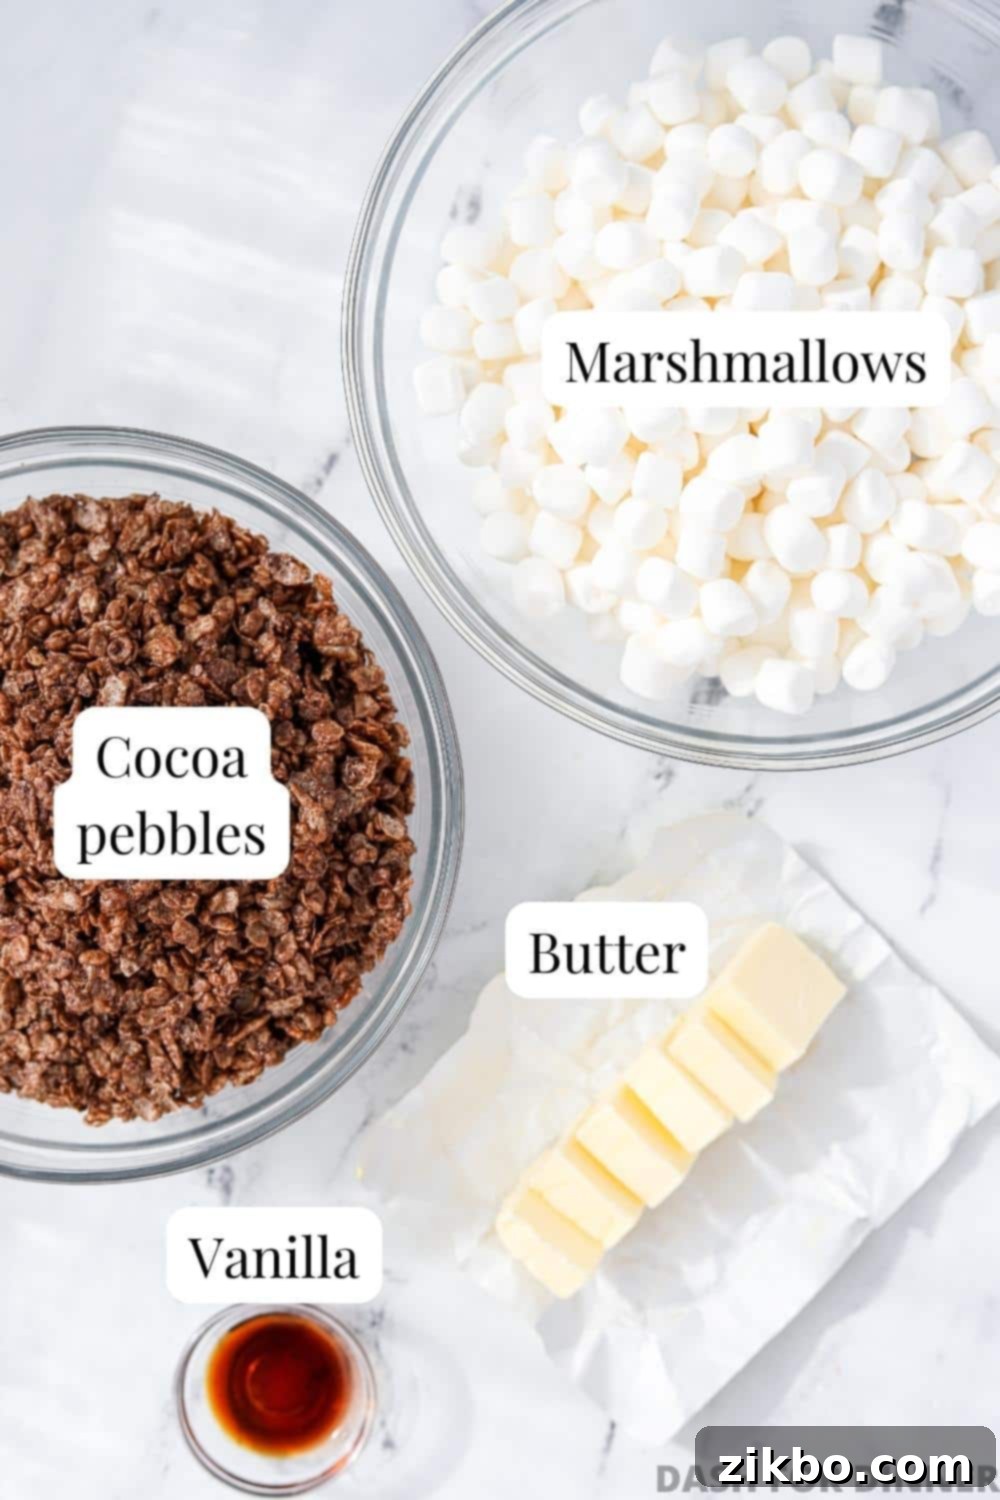
- Cocoa Pebbles: The undisputed star of our show! You will need 5 ½ cups of Cocoa Pebbles cereal. This amount typically accounts for most of a standard-sized box, ensuring you get plenty of the rich chocolate flavor and signature crispy texture in every bite. Unlike regular Rice Krispies, Cocoa Pebbles bring a unique, robust cocoa profile that elevates these treats, giving them a distinct and utterly satisfying chocolate taste.
- Marshmallows: These are the magical binder that gives our treats their signature gooey, chewy texture! While you could use 10 ounces of regular large marshmallows, I highly recommend using mini marshmallows. They melt much more quickly and evenly, leading to a smoother, more consistent marshmallow coating throughout the cereal. You’ll need about 10 ounces, which is approximately 6 cups, of mini marshmallows. Using fresh marshmallows is crucial for the best gooey results, so check that expiration date!
- Butter: Essential for both flavor and texture, butter helps the marshmallows melt smoothly and prevents the treats from becoming overly sticky once cooled. This recipe calls for ½ cup (or 6 tablespoons) of butter. You can use either salted or unsalted butter, depending on your preference. I personally love using salted butter as it beautifully enhances the chocolate and marshmallow flavors, creating a delightful “sweet and salty” contrast that makes these treats utterly irresistible and perfectly balanced.
- Vanilla Extract: This might seem like a small addition, but trust me, it’s my secret ingredient for ultra-delicious cereal treats! Just a touch of pure vanilla extract (½ teaspoon) profoundly deepens and enriches the flavors, especially the chocolate, adding a complex warmth and aroma that takes these treats from merely good to absolutely amazing. Don’t skip this ingredient – it truly makes a difference!
Essential Equipment for Perfect Treats
While this is a wonderfully simple no-bake recipe, having the right tools on hand can make the process even smoother and ensure your Cocoa Pebbles Treats turn out perfectly. Here’s a list of the equipment you’ll find most helpful:
- Baking Pan: For a single batch of these gooey cereal treats, I highly recommend using an 8×8-inch (20x20cm) baking pan. This size yields beautifully thick, substantial bars that are satisfying to eat. My personal favorite is a USA Pan for its non-stick properties and even heat distribution (though even heating isn’t as critical for no-bake recipes, its sturdy construction is a plus). If you plan to double the recipe, a larger 9×13-inch (23x33cm) pan is the ideal choice to accommodate the increased volume. Alternatively, if you prefer thinner, crispier bars, a 9×9-inch (23x23cm) pan will work perfectly, giving you more surface area per treat and a slightly different texture.
- Parchment Paper: This is a non-negotiable item for any sticky treat, and especially for cereal bars! Lining your baking pan with parchment paper is absolutely crucial for making the cereal treats incredibly easy to remove once set, eliminating any sticking to the pan and making cleanup an absolute breeze. I often cut two pieces slightly wider than the pan and overlap them, creating convenient “handles” that allow you to simply lift the entire block of treats out of the pan with minimal effort.
- Large Mixing Bowl or Large Saucepan: Depending on whether you choose the microwave or stovetop method for melting your butter and marshmallows, you’ll need either a large microwave-safe mixing bowl (preferably glass) or a large, heavy-bottomed saucepan. Ensure it’s spacious enough to comfortably hold all the ingredients, including the cereal, to allow for easy and thorough mixing without spills.
- Silicone Spatula: A sturdy, heat-resistant silicone spatula is perfect for several tasks in this recipe. It’s ideal for stirring the melted marshmallow mixture, scraping down the sides of the bowl, and, crucially, for gently pressing the cereal mixture into the prepared pan without compacting it too much. Lightly buttering your spatula can prevent the sticky mixture from clinging to it.
Step-by-Step Guide: How to Make Gooey Cocoa Pebbles Treats
This easy recipe for Cocoa Pebbles Treats is the best way to utilize leftover cereal and produces the perfect batch of sweet, chocolatey treats for bake sales, potlucks, or even as a fun surprise tucked into lunch boxes. If you’re a fan of these simple no-bake cereal bars and are eager to explore a fruity flavor, be sure to check out my delightful recipe for Fruity Pebbles Treats!
In the photos below, I’ll walk you through the microwave method, which is incredibly quick and convenient for melting. However, the comprehensive recipe card at the end of this post describes both the stovetop and microwave methods in full detail. Choose whichever option works best for your kitchen and comfort level!
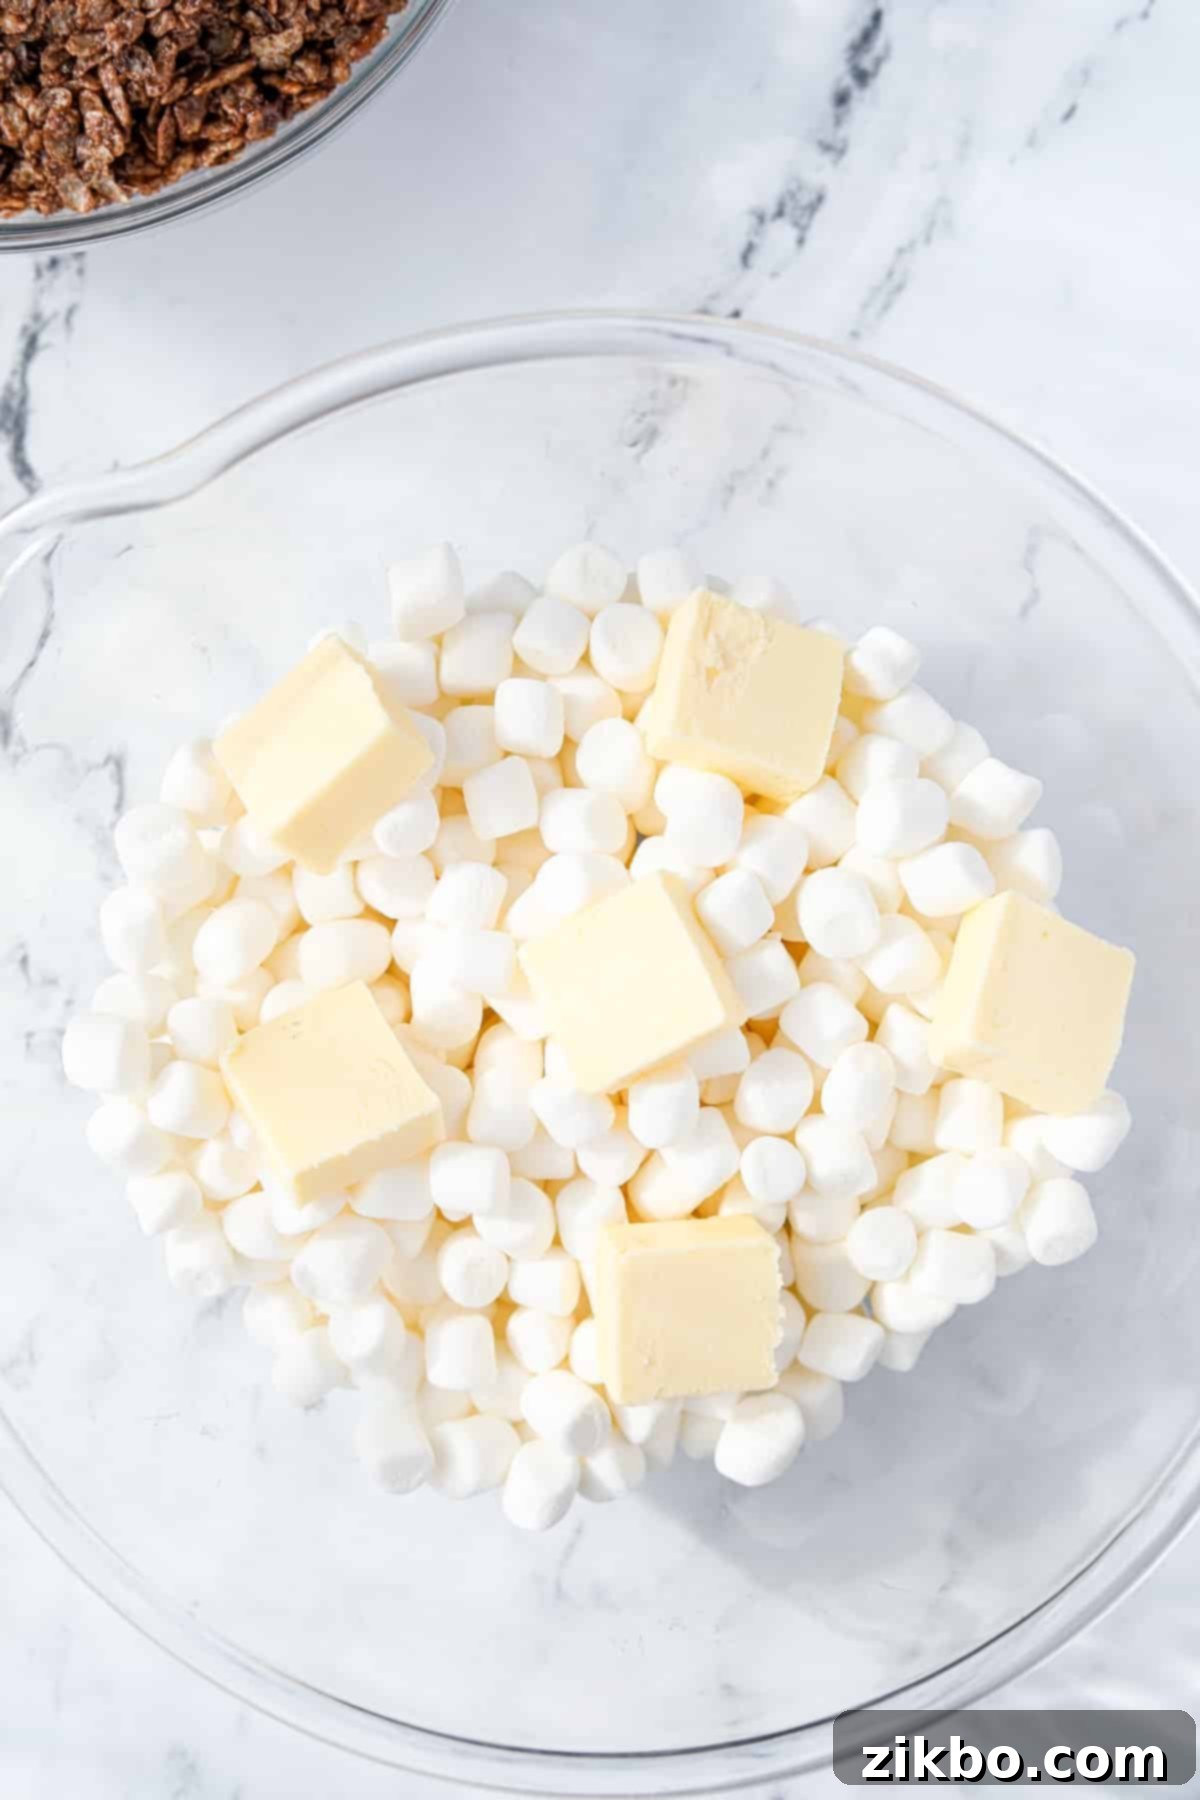
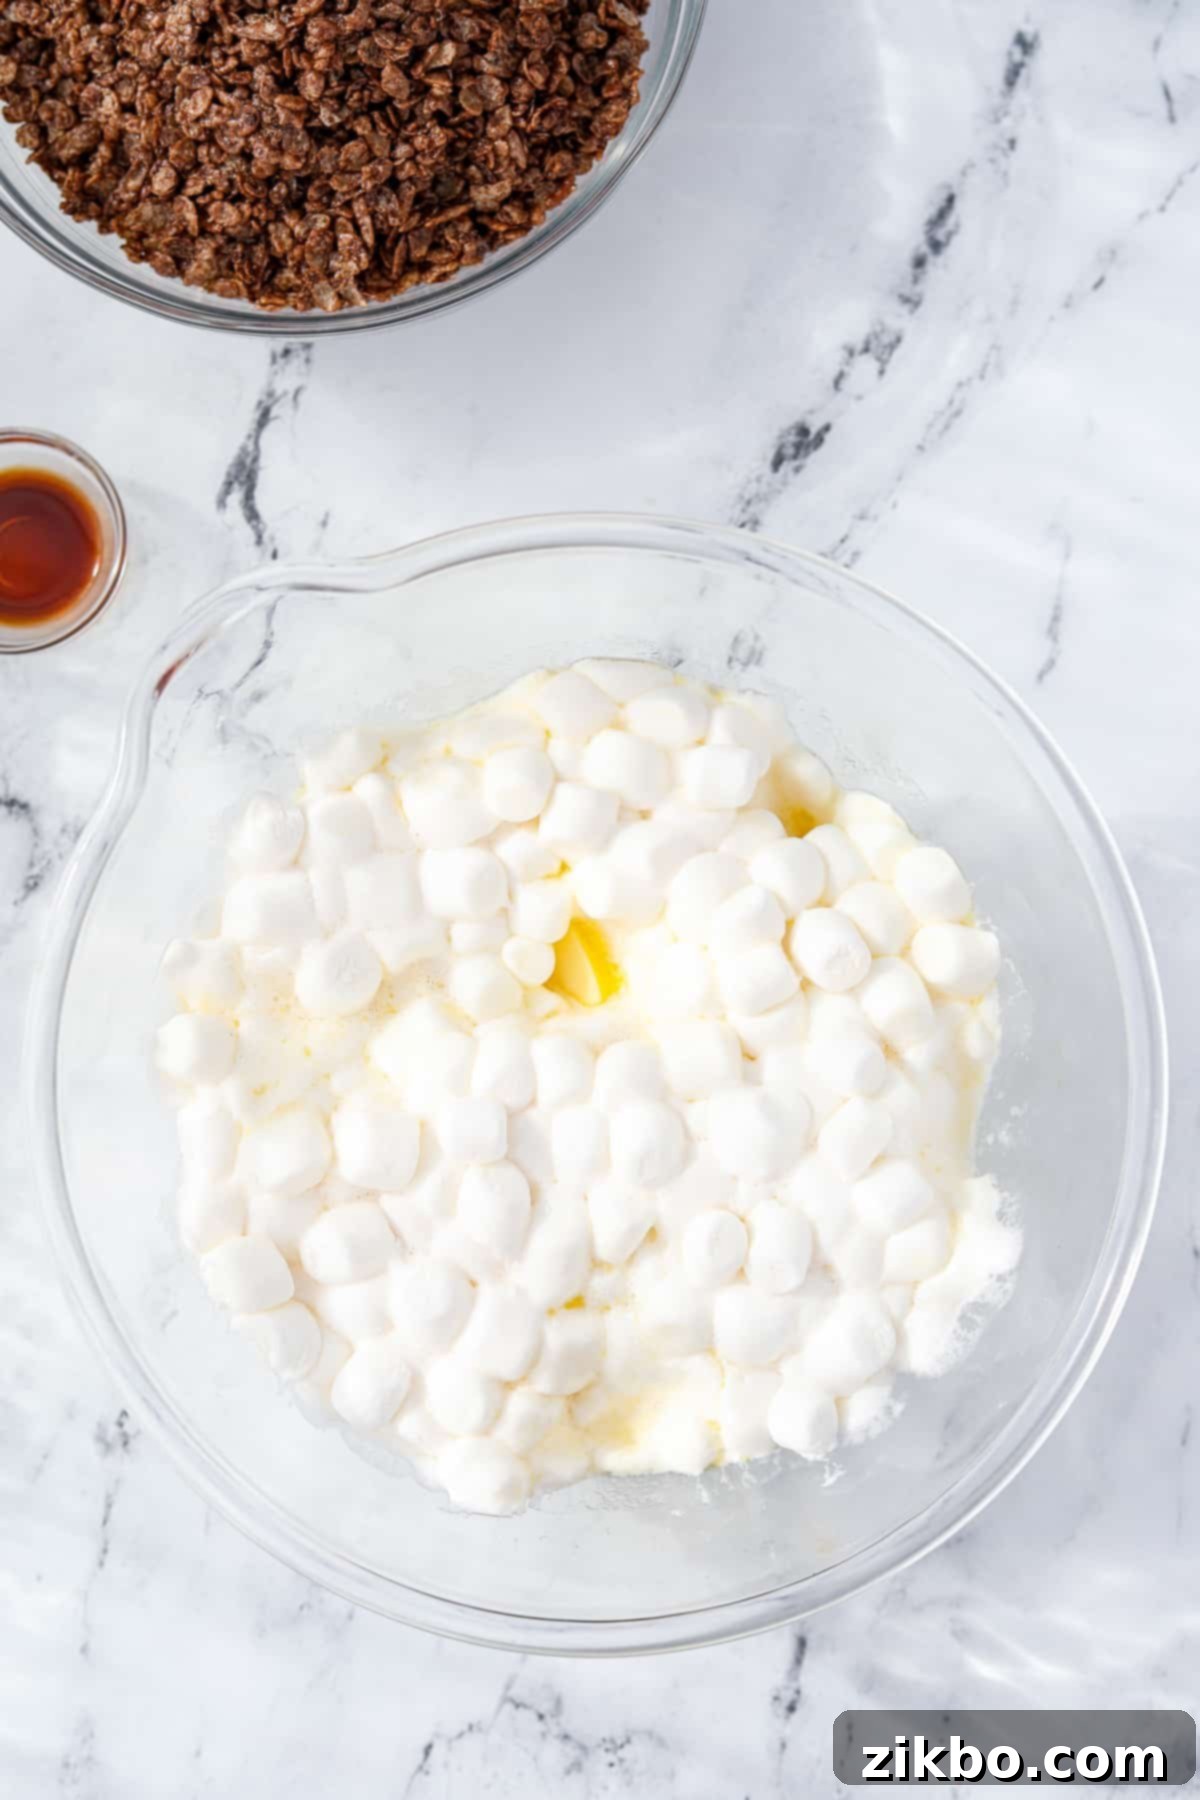
Step One: Prepare Your Melting Base. In a large, microwave-safe mixing bowl (if using microwave) or a large saucepan (if using stovetop), combine the butter and mini marshmallows. If melting in the microwave, heat in 30-second intervals, stirring well after each turn, until the butter is fully melted and the marshmallows are soft and puffy. If using the stovetop, melt over medium-low heat, stirring constantly to prevent scorching, until smooth.
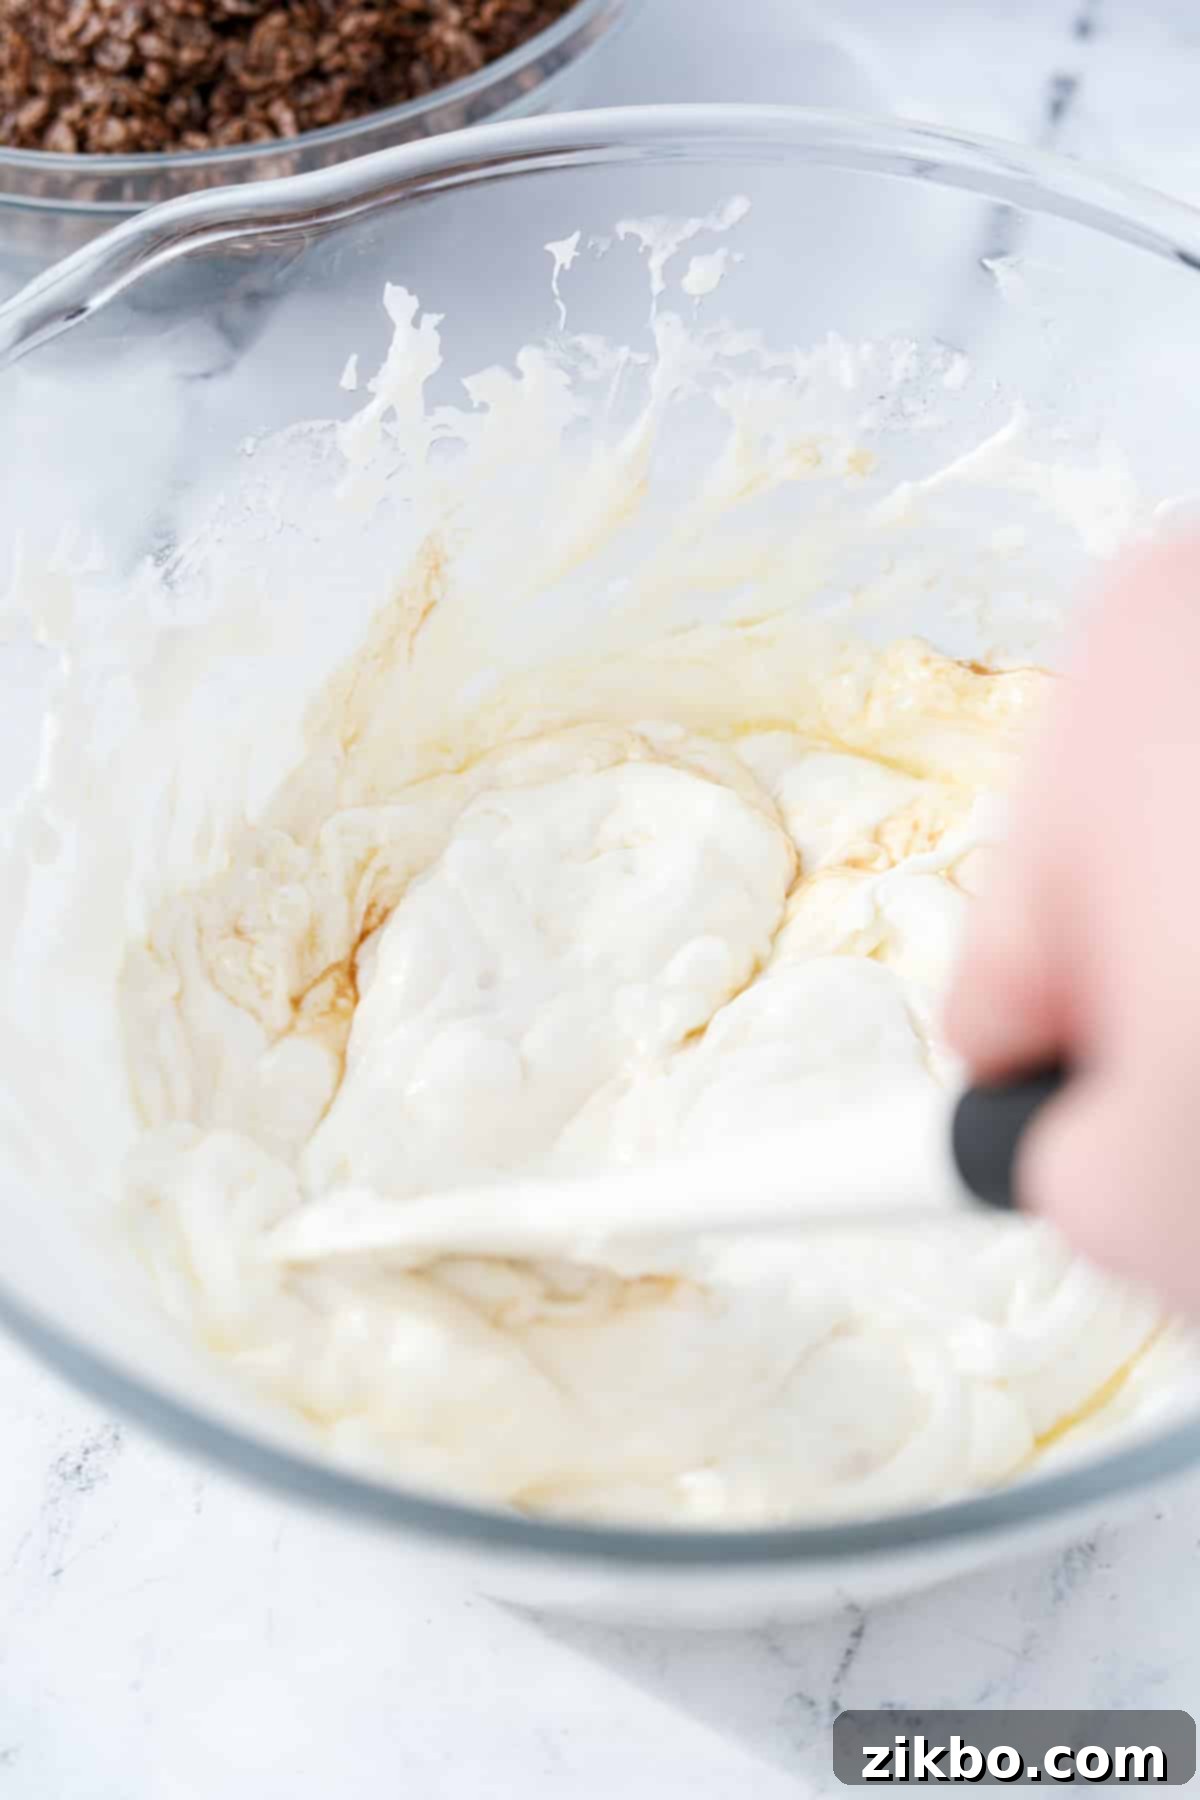
Step Two: Stir Until Smooth. Once melted, use your silicone spatula to stir the melted marshmallows and butter together vigorously until they are completely smooth and beautifully combined. This ensures an even coating for your cereal and a consistent texture throughout your treats. A few tiny lumps are perfectly fine and can even add to the gooey appeal!
Step Three: Infuse with Vanilla. Remove the mixture from the heat (if on stovetop) or microwave. Now, stir in the vanilla extract. This small but mighty addition truly makes a huge difference, deepening and enhancing the overall flavor profile of your treats. Give it another good stir to ensure the vanilla is fully incorporated.
Add the Cocoa Pebbles
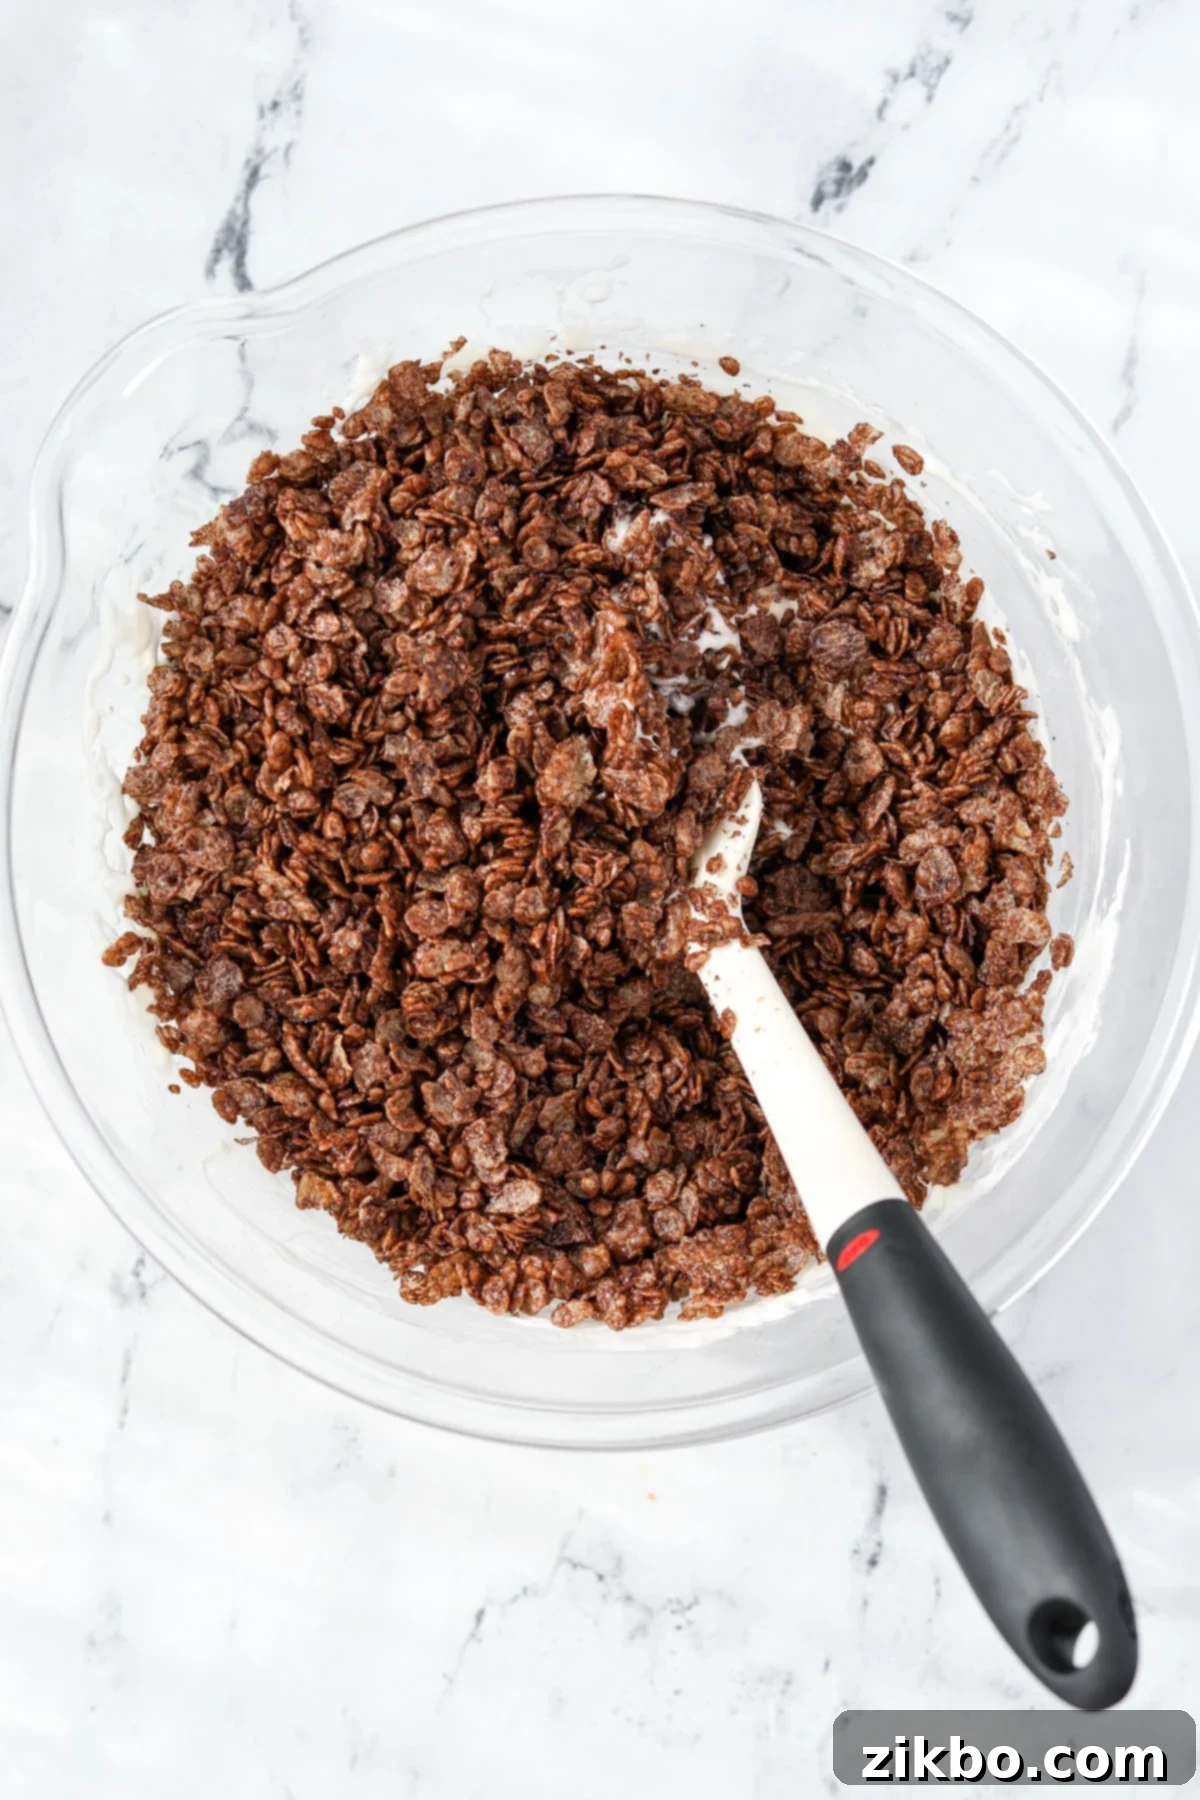
Step Four: Introduce the Cereal. Carefully and quickly pour all 5 ½ cups of Cocoa Pebbles cereal into the large bowl with the warm marshmallow mixture. Speed is key here to ensure the marshmallows don’t set before mixing is complete.
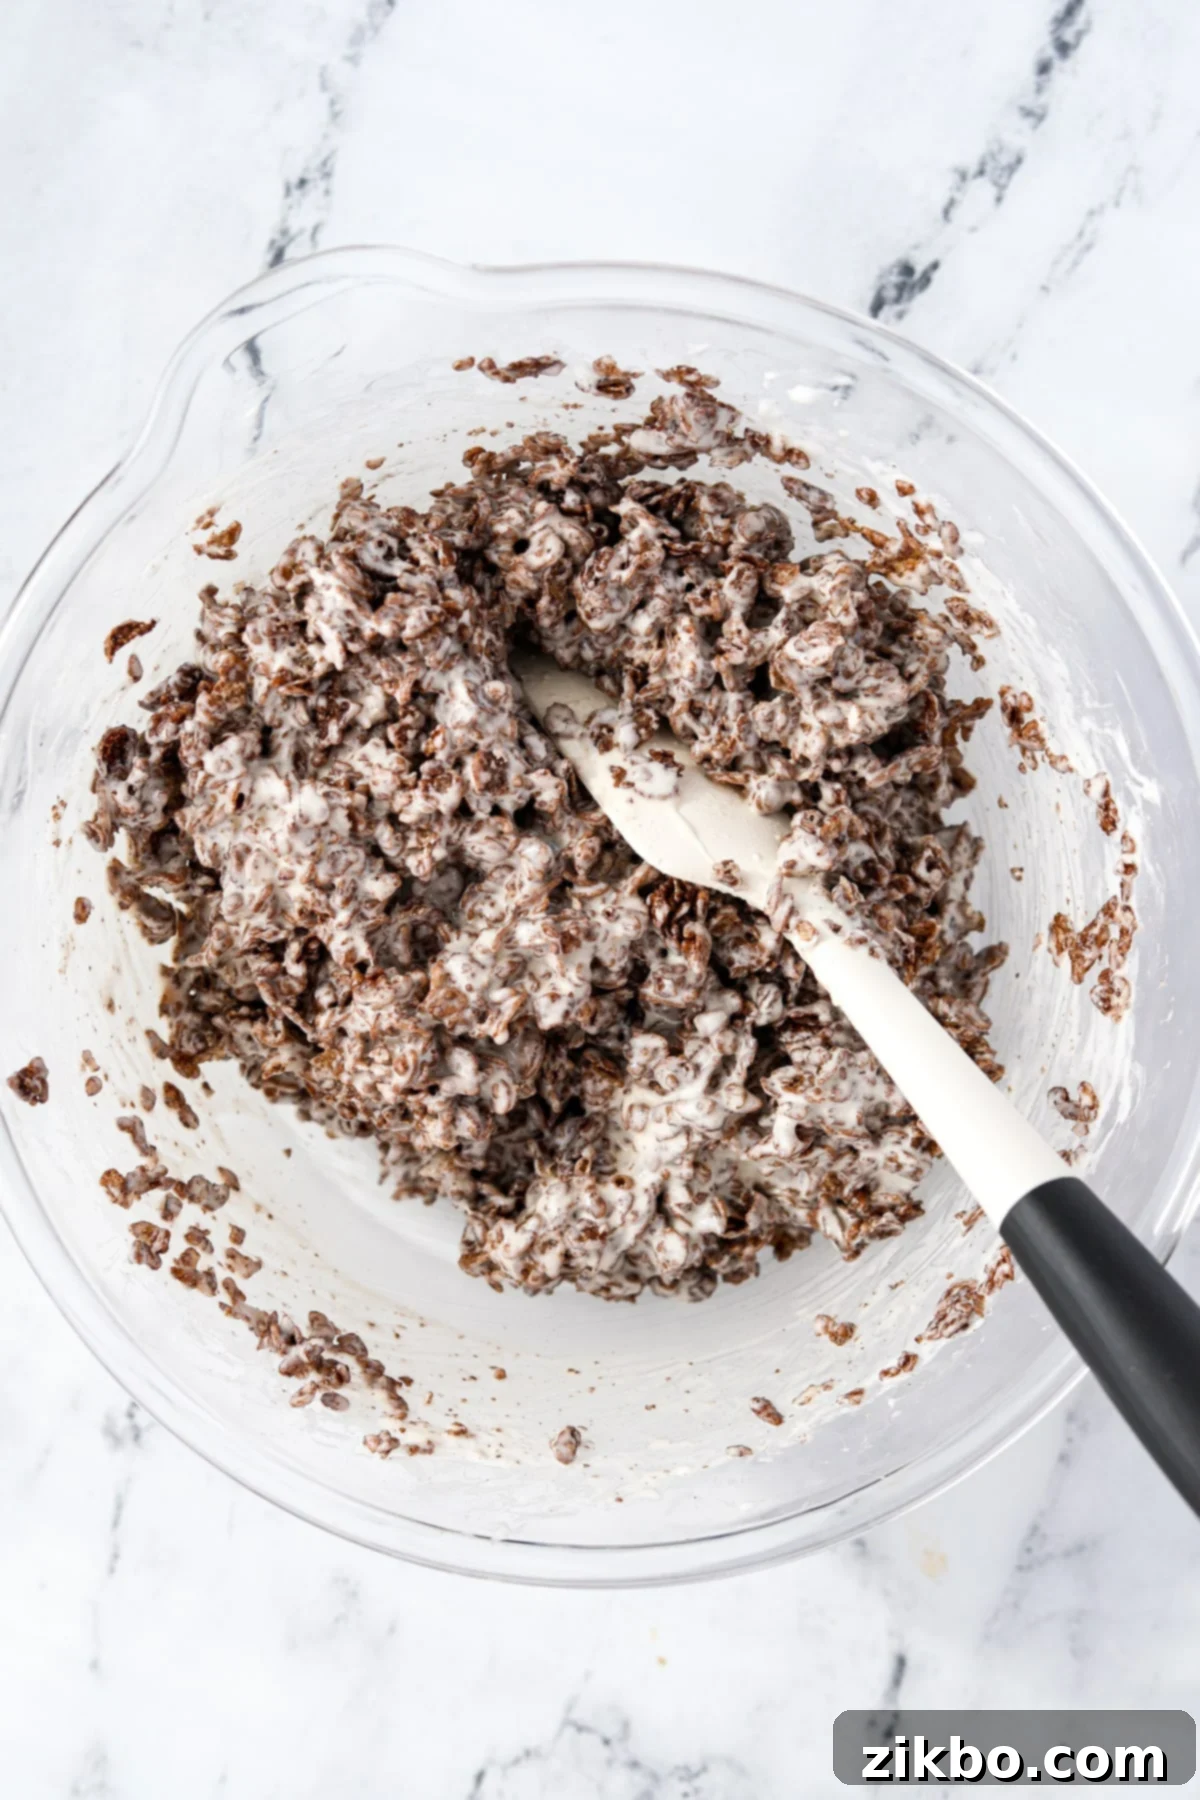
Step Five: Fold Until Coated. Using your silicone spatula, gently but thoroughly fold the cereal into the marshmallow mixture. Continue folding until every single piece of Cocoa Pebbles cereal is evenly coated with the gooey marshmallow. Be careful not to crush the cereal too much; we want to preserve those delightful crispy bits for texture!
Forming the Treats
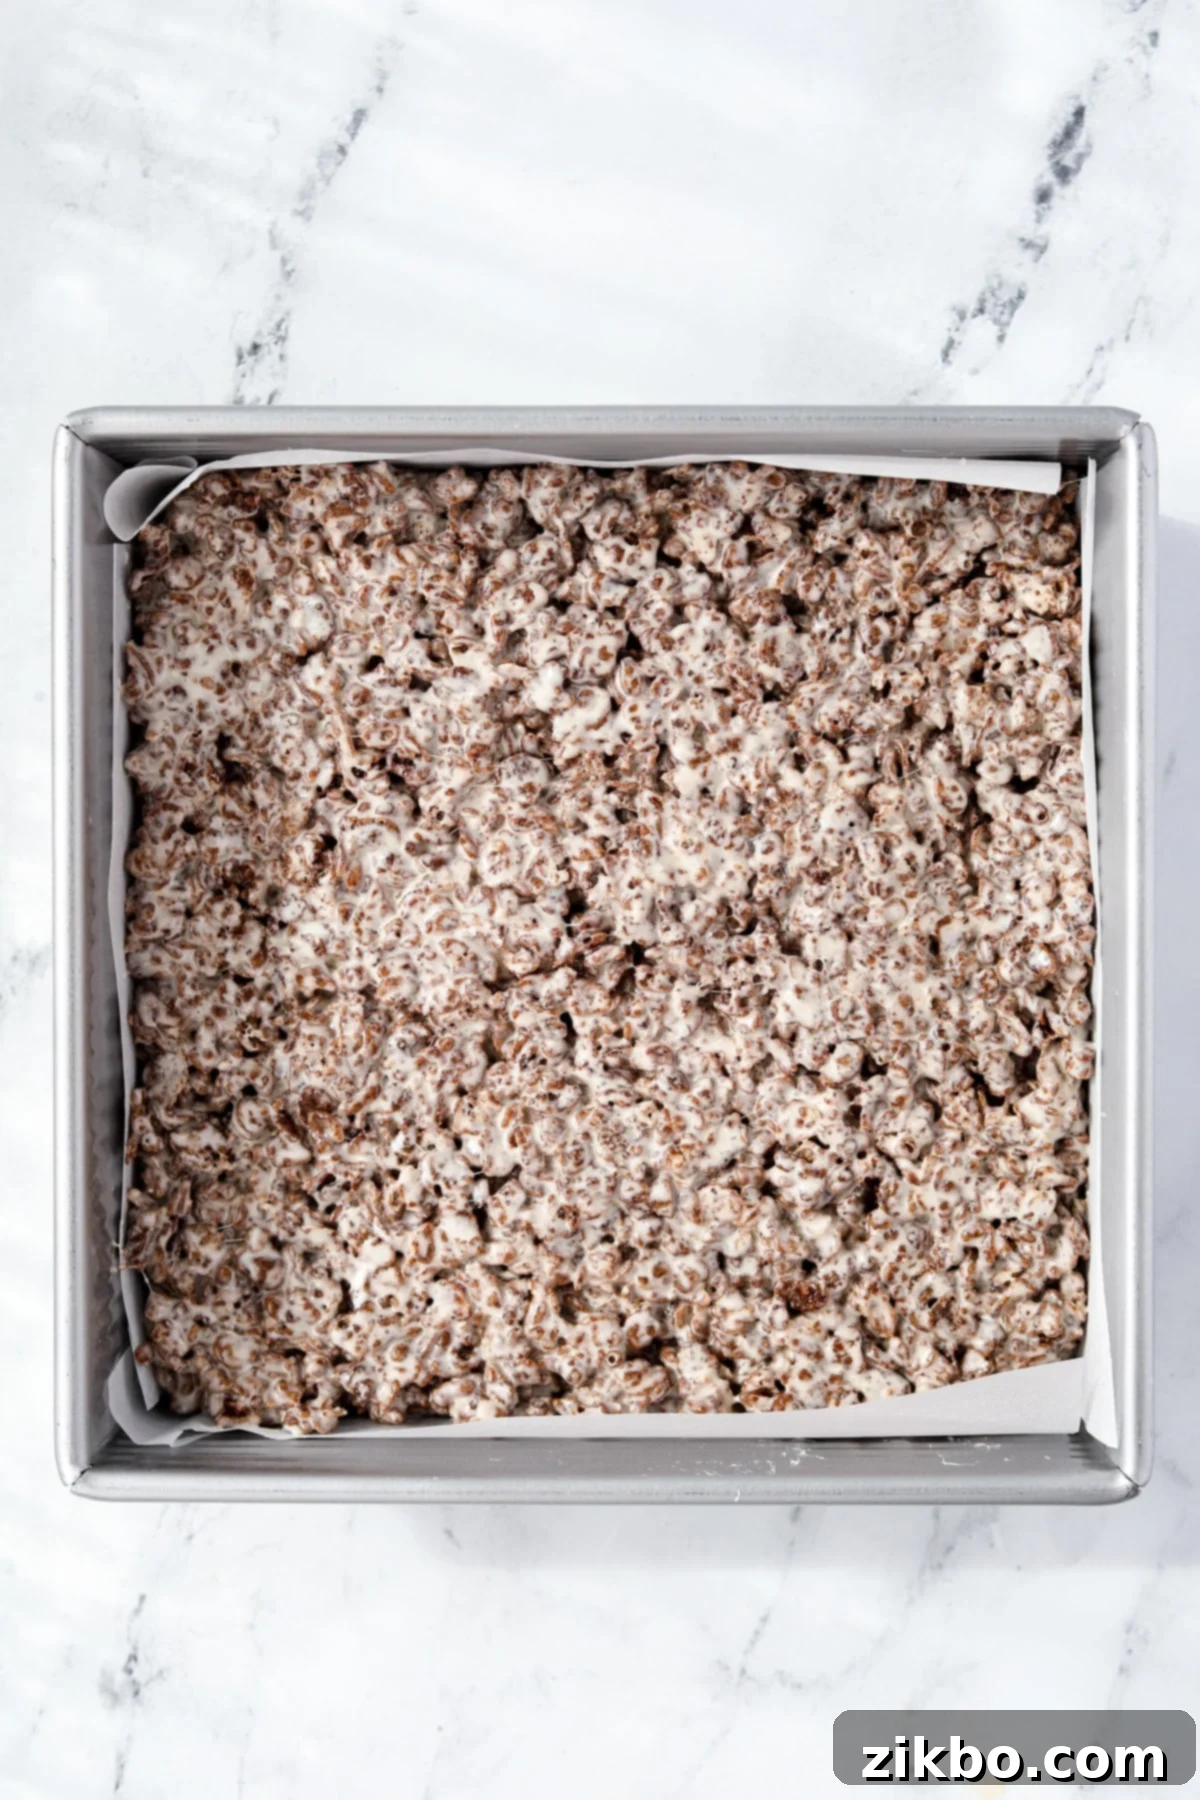
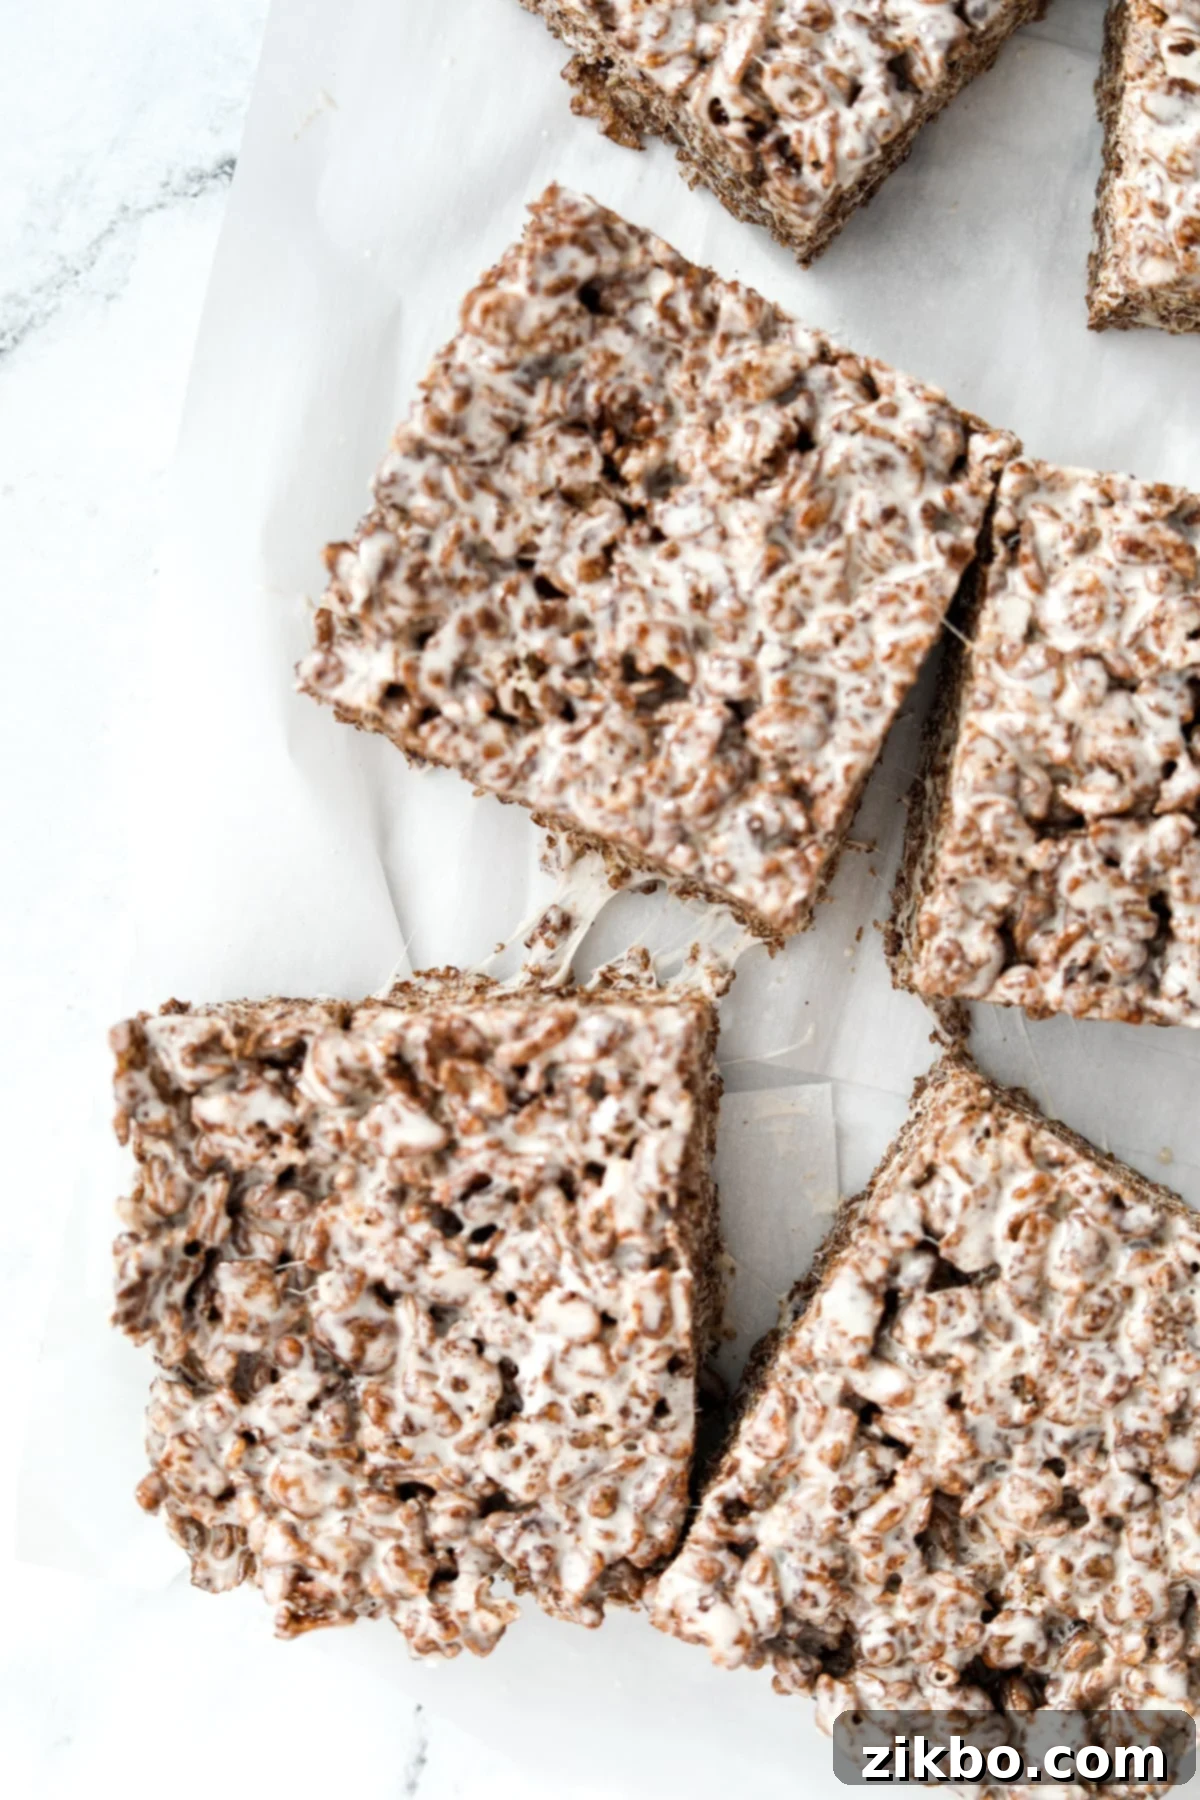
Step Six: Transfer to Prepared Pan. Promptly transfer the entire coated cereal mixture to your 8×8-inch (20x20cm) pan that has been meticulously lined with parchment paper. Use those convenient “handles” you created with the parchment for easy removal later!
Step Seven: Gently Press and Cool. Using a lightly buttered spatula or your hands (lightly buttered to prevent sticking), gently and evenly press the mixture into the prepared pan. Remember, the key is a light touch; avoid pressing too firmly, as this can result in dense, hard treats rather than delightfully gooey ones. Once evenly spread, cover the pan loosely with plastic wrap or foil and allow it to cool and set for at least 1 hour at room temperature. For even cleaner, crisper cuts, 2-3 hours is ideal.
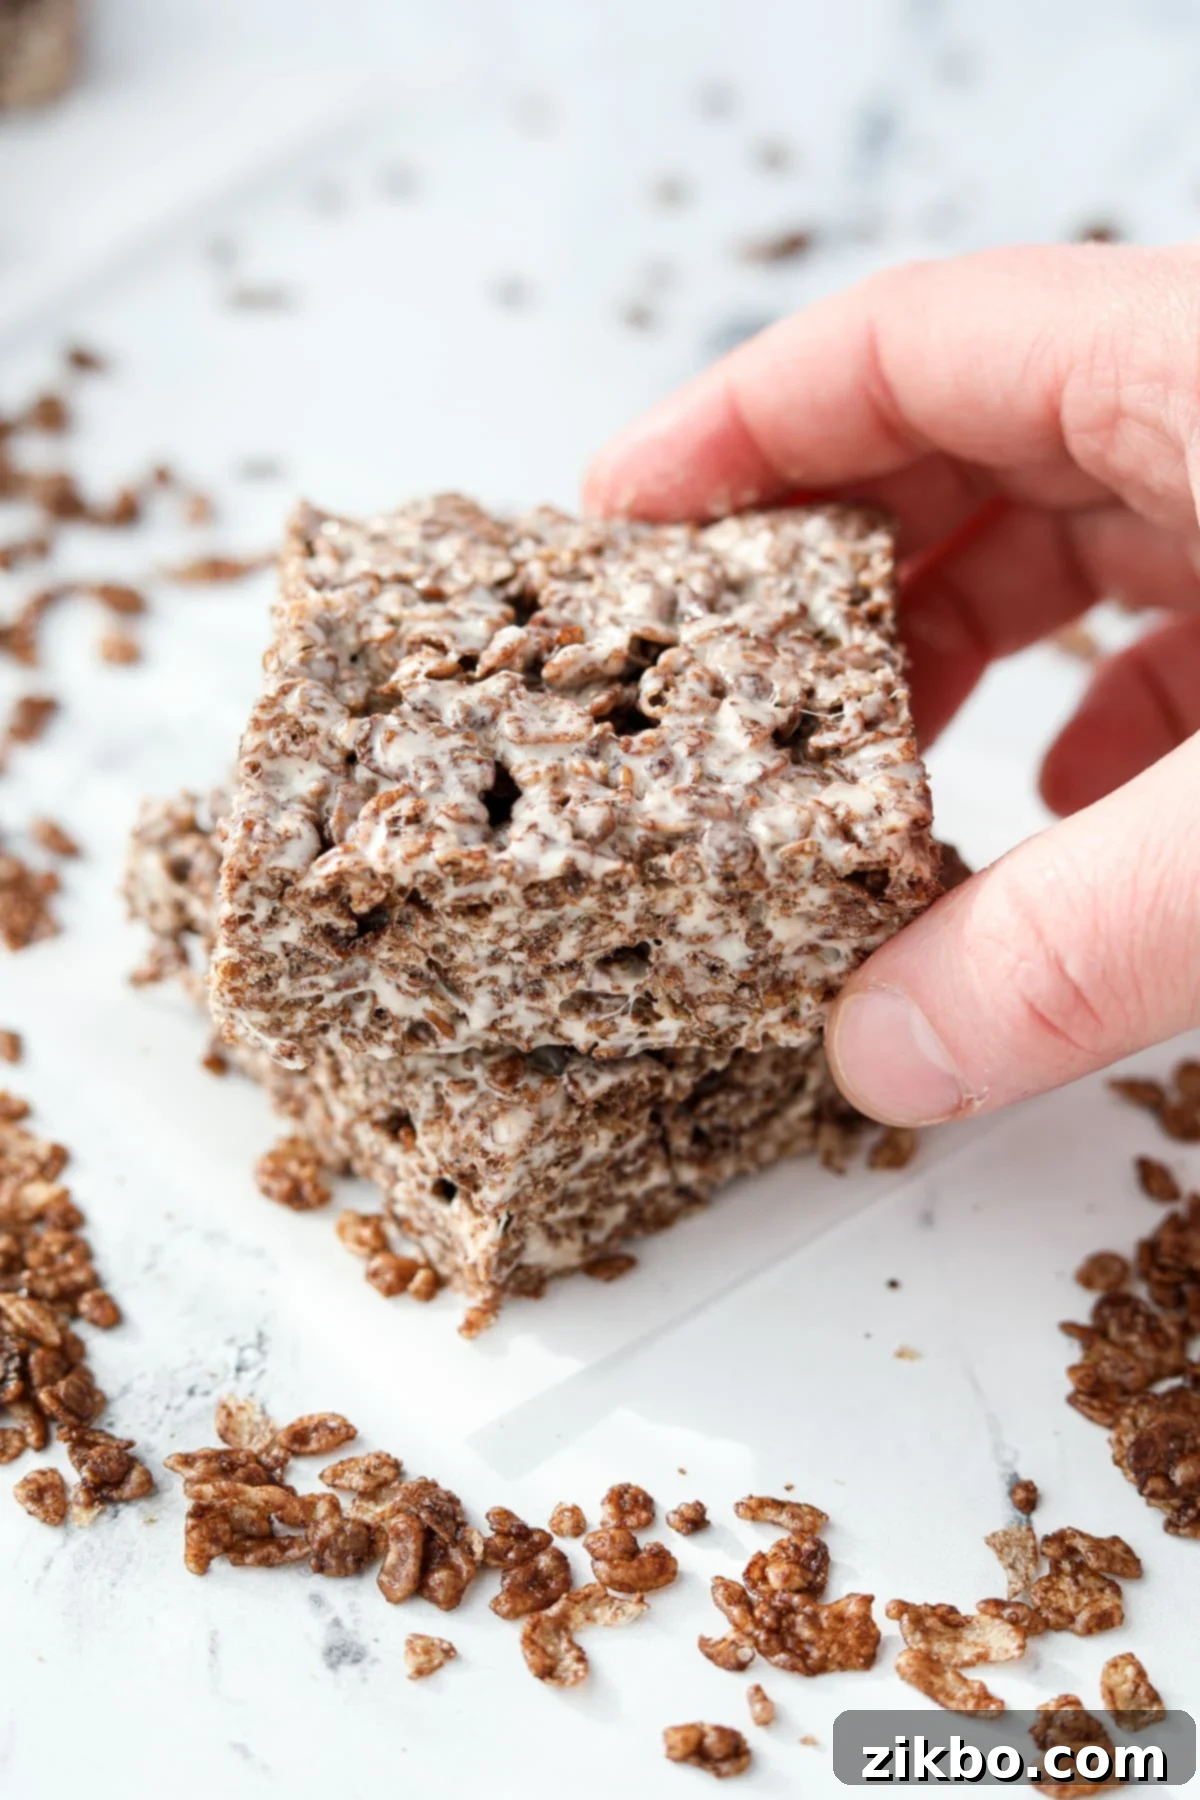
Slicing: Once the bars are fully cooled and set to your desired firmness, use the parchment paper overhangs to carefully lift the entire slab out of the pan. Place it on a clean cutting board and, using a sharp, lightly buttered knife, slice it into 16 individual treats (typically 4 sections vertically and 4 sections horizontally). This ensures uniform portions for everyone to enjoy!
Hint: If you find the mixture sticky while pressing it into the pan, a lightly buttered spatula or even lightly buttered fingertips can make the process much smoother and prevent the mixture from clinging to your tools or hands.
For more detailed instructions, including both stovetop and microwave methods, please refer to the complete, printable recipe card provided below.
Storing Your Delicious Cocoa Pebbles Treats
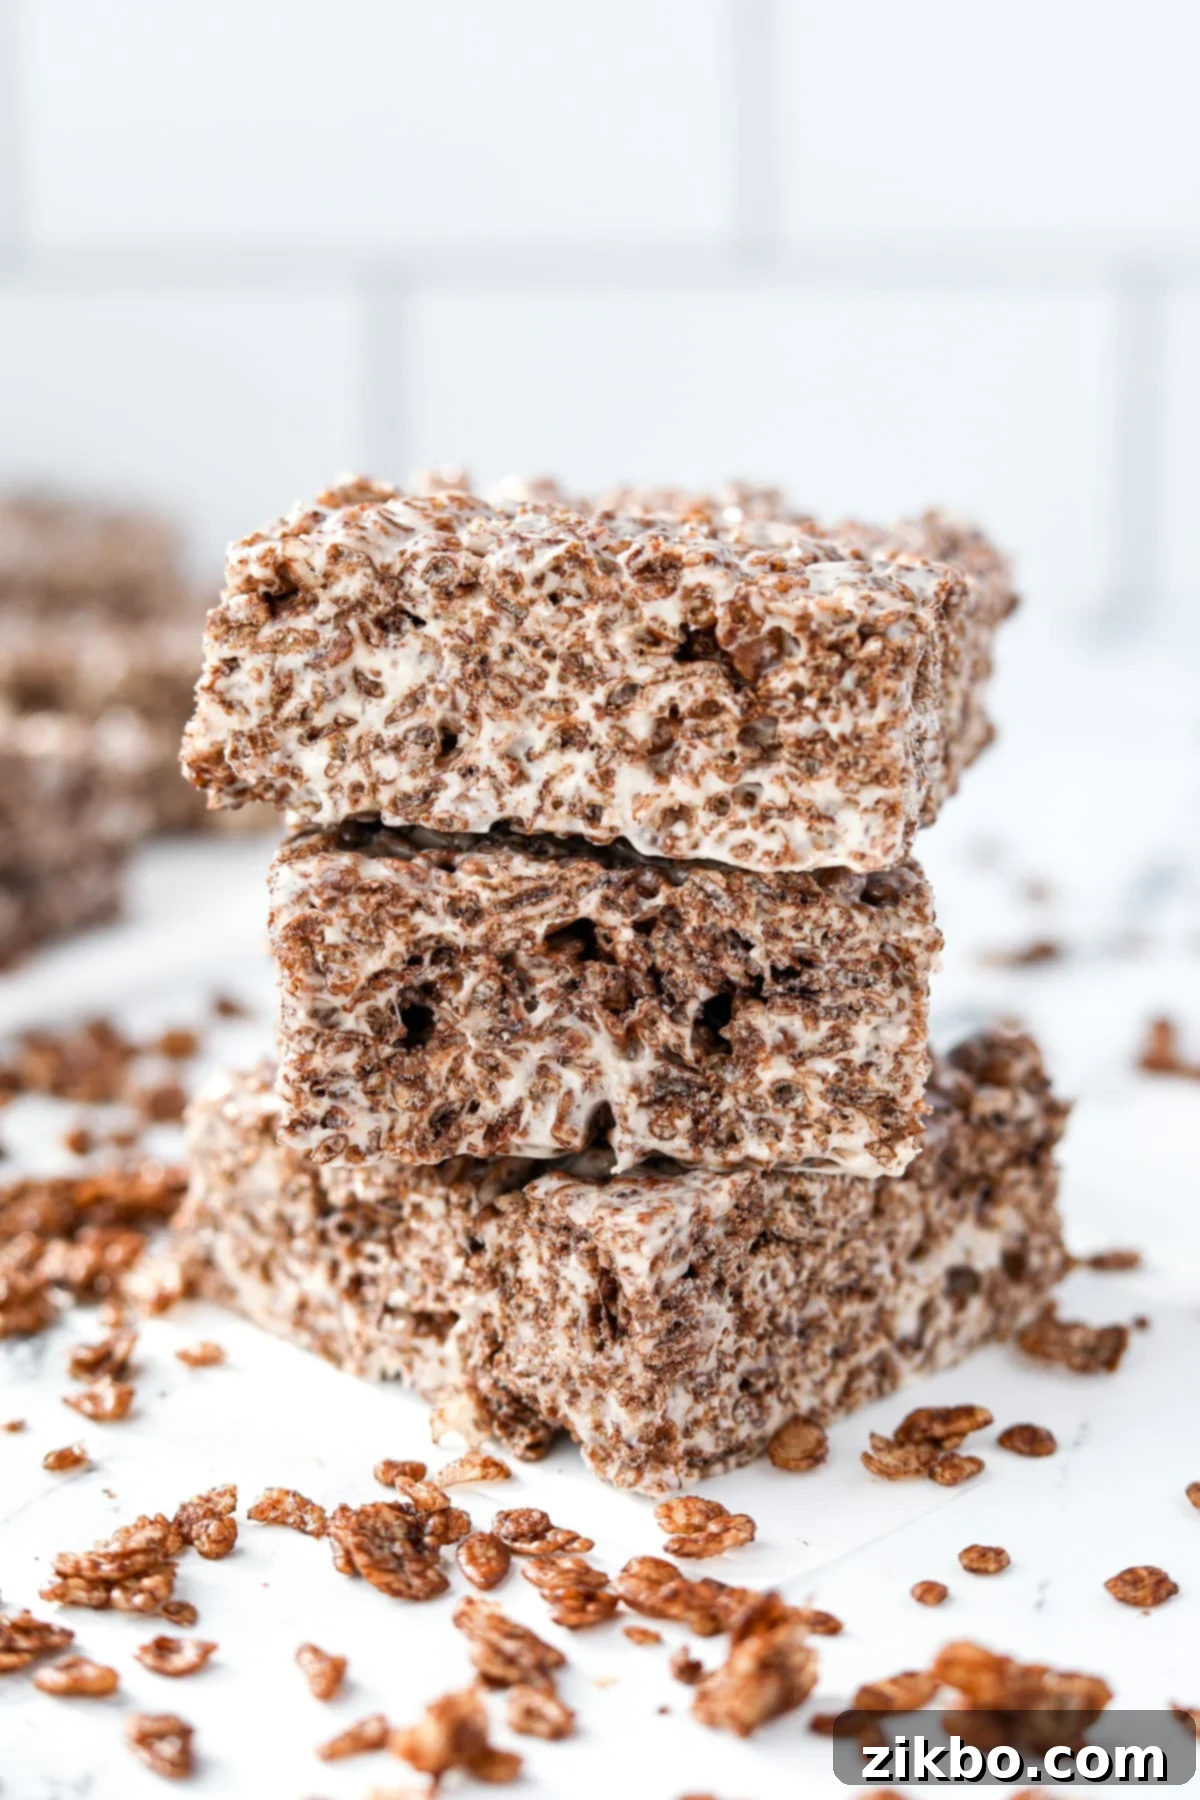
Proper storage is key to maintaining the irresistible gooey texture and fresh taste of your homemade Cocoa Pebbles Treats. These delightful bars are best enjoyed within a few days of making them, but they can certainly last longer with the right storage methods.
Leftover Cocoa Pebbles Treats are at their prime when stored in an airtight container at room temperature. This method helps them retain their soft, chewy, and wonderfully gooey marshmallow texture. If you prefer a slightly firmer treat or need to extend their shelf life, refrigeration is an option, though it can make them a bit denser.
Storing Times:
- Room temperature: When stored in an airtight container, your treats will remain fresh and delightfully gooey for up to 3 days. Keep them in a cool, dry place away from direct sunlight or heat sources.
- Refrigerator: If you prefer a chewier, more firm texture, or wish to store them for a longer period, place them in an airtight container in the refrigerator for up to 1 week. For optimal gooeyness, allow them to come closer to room temperature before enjoying.
- Freezer: For long-term storage, Cocoa Pebbles Treats freeze exceptionally well! They can be stored in the freezer for up to 2 months, making them perfect for meal prep, unexpected guests, or saving for future cravings.
To freeze: For best results and to prevent freezer burn, wrap each individual treat tightly in plastic wrap. Once wrapped, place the treats in a freezer bag or a freezer-safe airtight container, ensuring as much air as possible is removed. Don’t forget to label with the date! When ready to enjoy, simply thaw them at room temperature for an hour or two, or pop them in the microwave for a few seconds for a warm, soft treat.
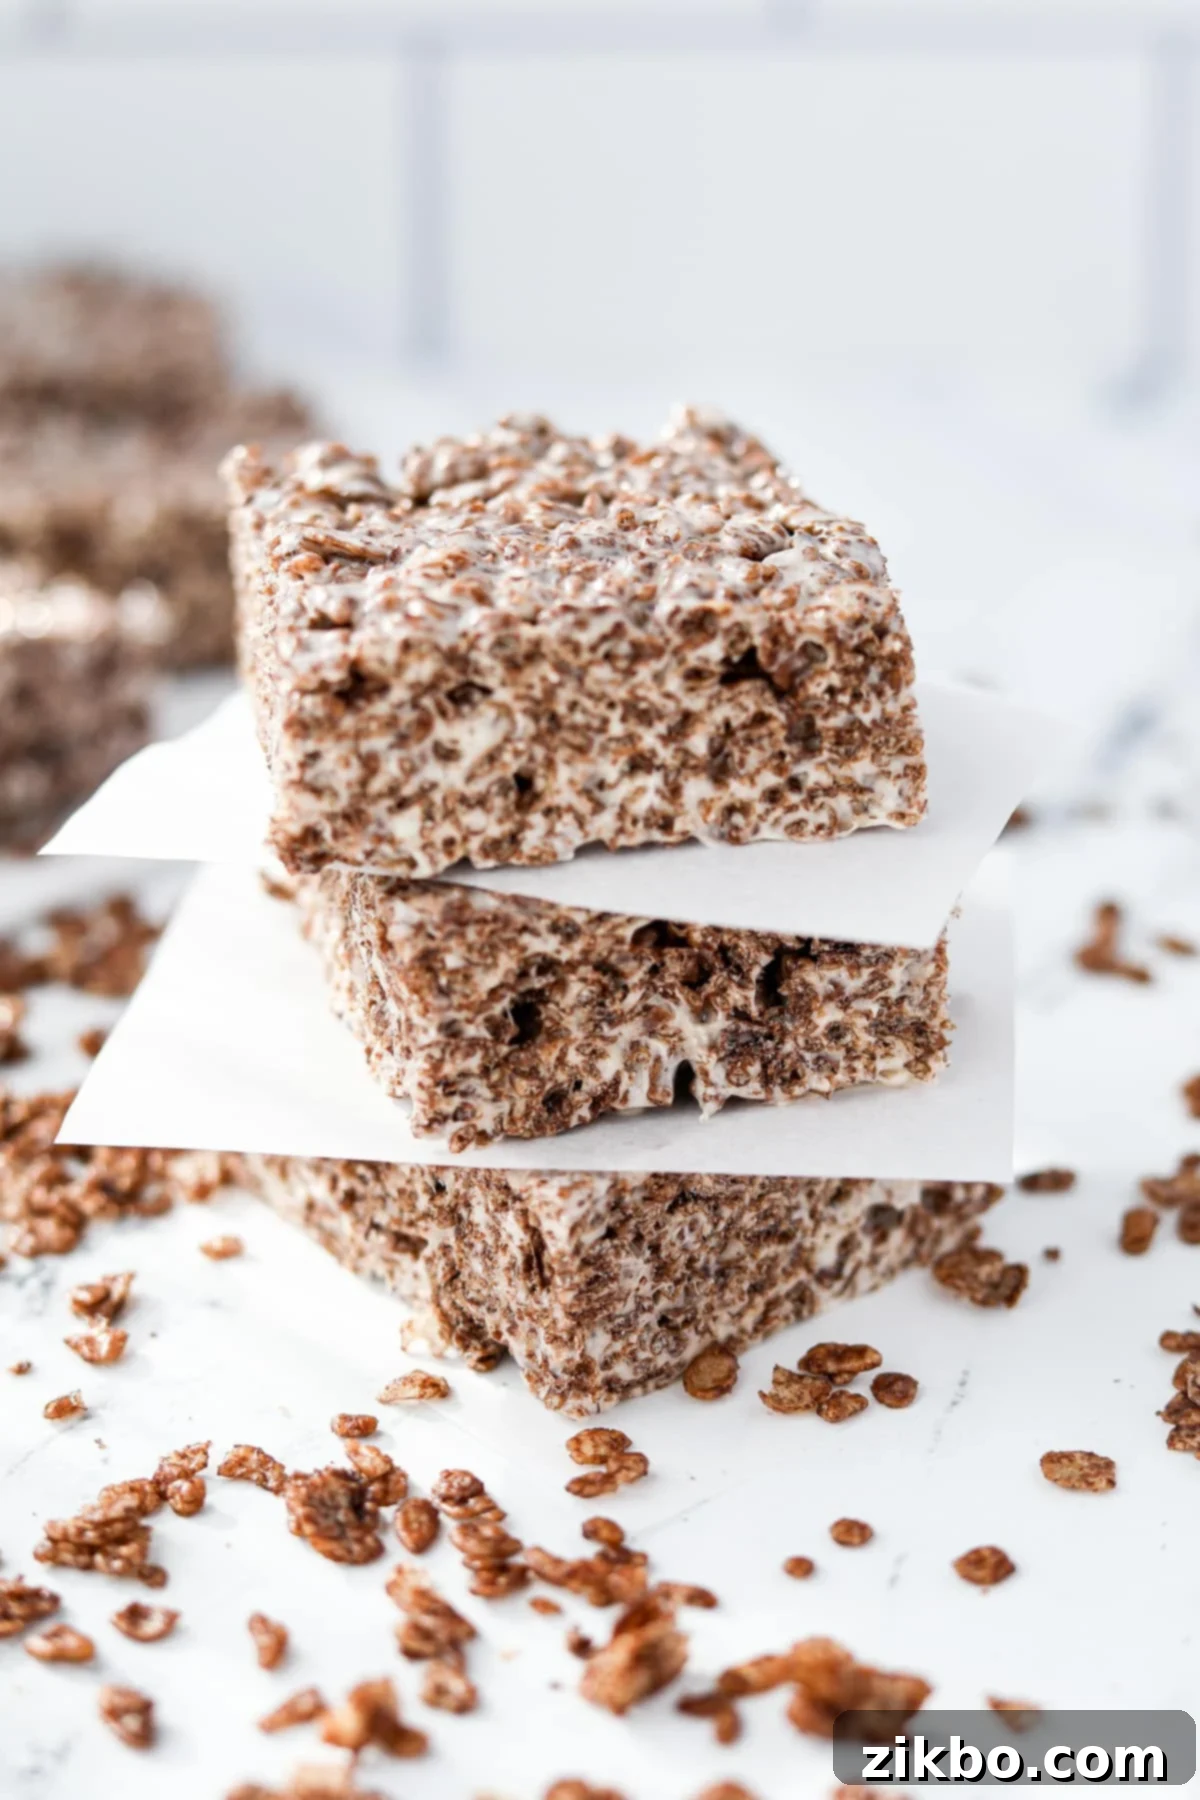
Hint: When stacking Cocoa Pebbles treats in a container, whether for the fridge or pantry, layer them between sheets of wax paper or parchment paper. This simple trick will prevent them from sticking together and make it easy to grab a single treat whenever a craving strikes without damaging the others!
Top Tips for Cereal Treat Perfection
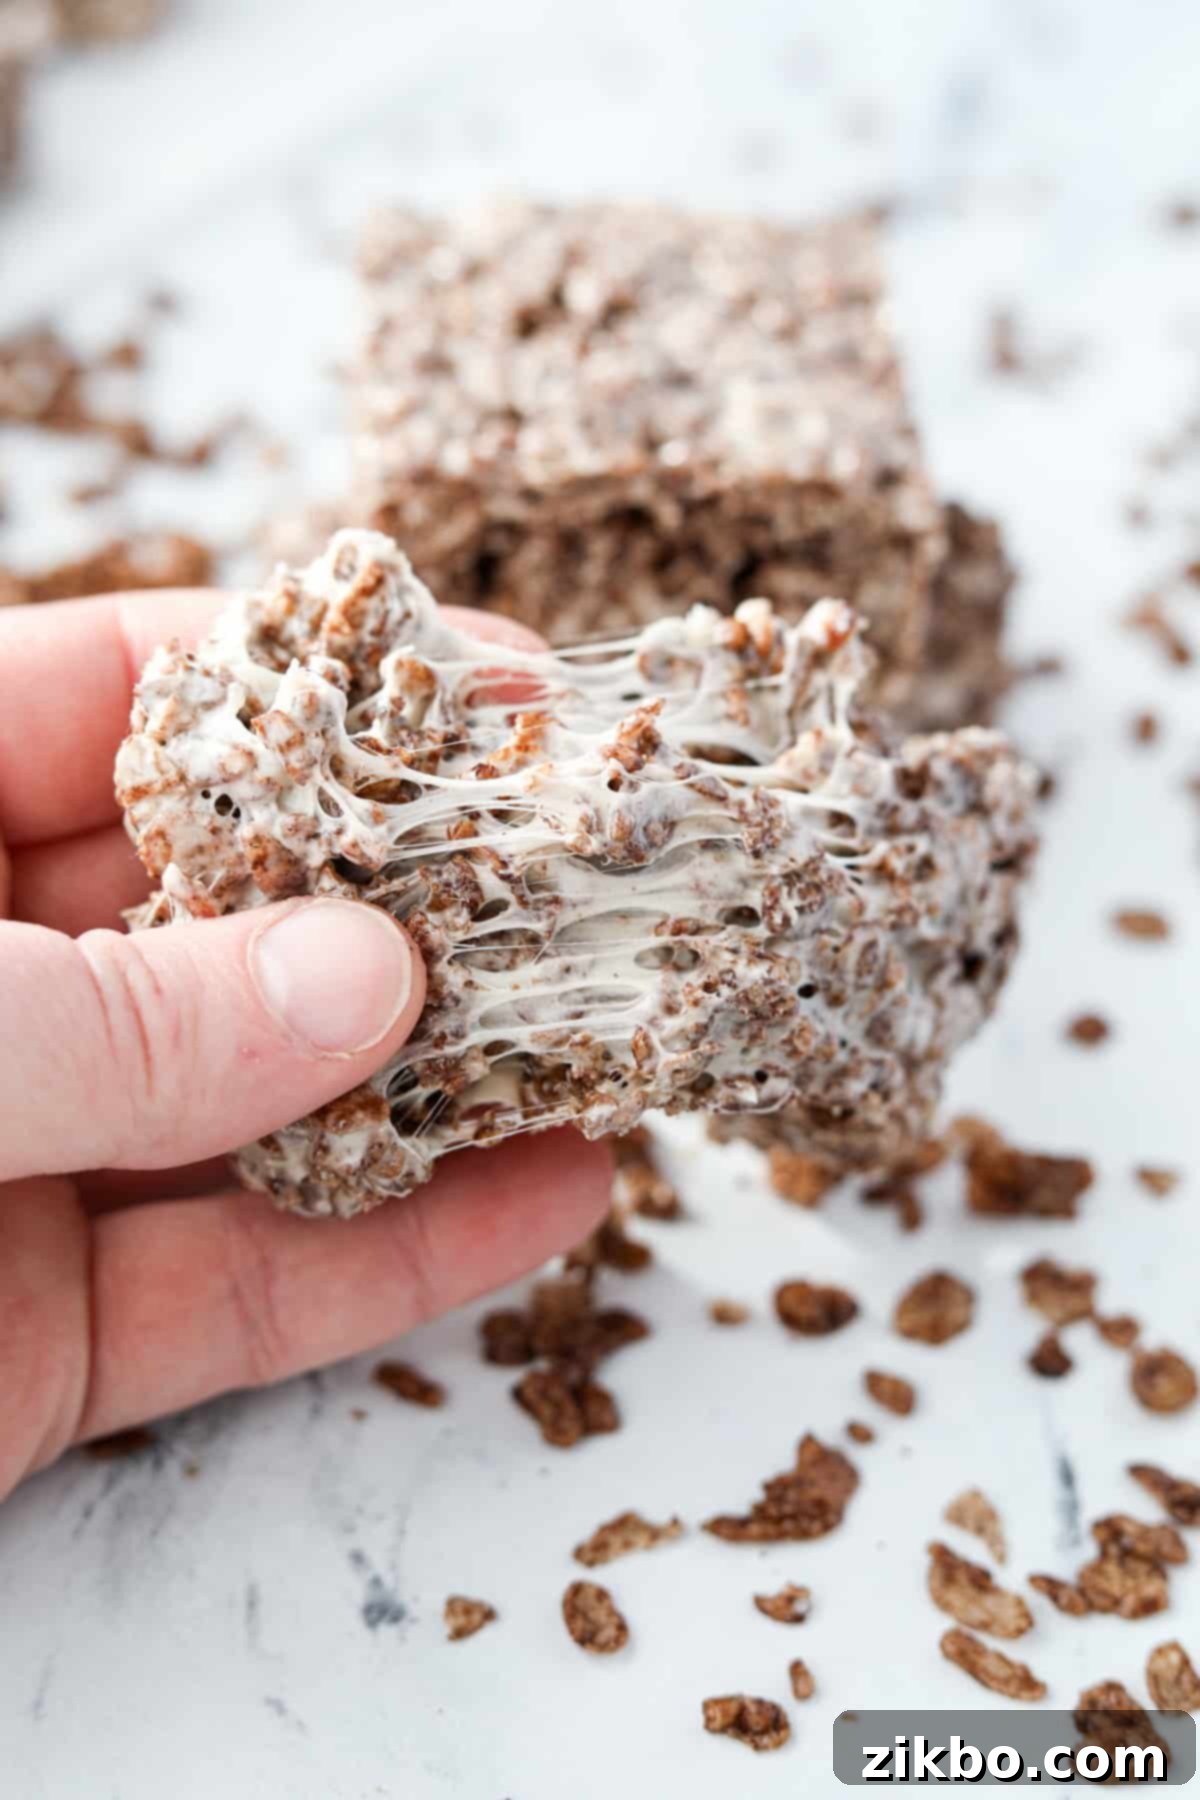
Achieving the perfect batch of Cocoa Pebbles Treats is inherently easy, but a few expert tips can elevate your results from merely good to absolutely phenomenal. Follow these pointers for gooey, crispy, and perfectly set bars every single time:
- Always Use Parchment Paper: Cereal treats are notoriously sticky, and skipping parchment paper is a recipe for frustration (and a lot of scrubbing!). I highly recommend lining your baking pan with parchment paper, allowing it to generously overhang on the sides. I usually cut two pieces to the width of the pan and overlap them, creating convenient “handles.” These handles make lifting the entire block of treats out of the pan incredibly easy, ensuring a mess-free removal and quick cleanup.
- Embrace Room Temperature for Gooey Goodness: For both setting and storing your delicious treats, room temperature is truly best. While chilling them in the fridge might speed up the setting process, it often results in denser, chewier, and sometimes harder treats. Allowing them to set at room temperature (at least 1-2 hours) ensures they maintain that delightful, soft, and wonderfully gooey marshmallow texture that everyone loves.
- Patience is a Virtue (Especially When Cooling): We know it’s tempting to slice into these warm, fragrant treats immediately after mixing, but resist the urge! They truly need ample time to set up properly. Aim for at least an hour of cooling at room temperature, but honestly, 2-3 hours will yield much cleaner, sharper edges once cut, and a more stable bar. Rushing this step can lead to a messy, crumbly experience.
- Fresh Marshmallows Make a Difference: While you can technically use older marshmallows, fresher ones melt much more smoothly and contribute to a more consistently gooey, soft texture in your treats. If your marshmallows are a bit stale, they might require a little more heat and stirring, and the final texture might be slightly chewier.
- Gentle Pressing is Key: When transferring the mixture to your prepared pan, use a very light hand to gently press it into an even layer. The goal is to spread it, not compact it. Over-compressing the mixture will lead to dense, hard treats instead of the desired light, airy, yet chewy, texture. A buttered spatula or damp hands can help you spread it without applying too much force.
- Don’t Overcook the Marshmallows: Whether you’re using the stovetop or microwave method, avoid overcooking the marshmallows. Once they are mostly melted and smooth, remove them immediately from the heat. Overcooked marshmallows can seize up and become hard, sugary clumps when cooled, leading to tough, brittle treats.
Frequently Asked Questions (FAQs) About Cocoa Pebbles Treats
Here are some common questions about making and enjoying these tasty Cocoa Pebbles Treats, along with their answers to help you achieve the best results and troubleshoot any issues:
Yes, absolutely! Cocoa Pebbles cereal is proudly certified gluten-free, a fact clearly displayed on its packaging. The ingredient list also confirms the absence of any gluten-containing components. This makes Cocoa Pebbles a safe and delicious option for individuals with Celiac disease or those who are sensitive to gluten, allowing these treats to be enjoyed by a wider audience without worry.
The Cocoa Pebbles cereal itself is free from dairy and animal-derived ingredients, making it a suitable choice for vegans as a breakfast cereal. However, traditional marshmallow treats, including this recipe as written, typically use butter (a dairy product) and conventional marshmallows (which contain gelatin, an animal-derived product). But don’t worry! You can easily adapt this recipe to be completely vegan and dairy-free by substituting the butter with a plant-based butter alternative and using vegan marshmallows (I highly recommend brands like Dandies).
While you can technically use stale marshmallows in a pinch, they might not melt as smoothly or evenly as fresh ones. Stale marshmallows can also lead to a tougher final product with a less desirable gooey texture. For the absolute best and most consistent gooey results, it’s always recommended to use fresh, soft marshmallows. If your marshmallows are a little past their prime, they may require slightly more melting time and constant stirring.
If your treats turned out too hard, there are a few common culprits. The most frequent reason is overcooking the marshmallows. When marshmallows are heated for too long, their sugar structure can change, causing them to become brittle and hard once cooled. Another common reason is pressing the mixture too firmly into the pan. Remember, a gentle hand is all that’s needed to spread the mixture evenly, not to compact it. Lastly, storing them in the refrigerator can also make them significantly firmer, so if you prefer gooey treats, stick to room temperature storage.
To achieve an even gooier texture, try folding in an additional ½ cup of mini marshmallows when you add the Cocoa Pebbles cereal to the melted mixture. The residual heat will soften them, creating delightful pockets of extra melted marshmallow throughout the bars. Also, ensuring you don’t overcook the initial marshmallows and storing the finished treats at room temperature will help maintain maximum gooeyness.
Flavorful Variations and Smart Substitutions
One of the best things about easy no-bake cereal treats is how easily they can be customized to suit different tastes or dietary requirements! Once you’ve mastered the basic Cocoa Pebbles Treats, feel free to get creative with these variations and substitutions to make them uniquely yours.
- With Cocoa Krispies: If Cocoa Pebbles cereal isn’t available in your area or you simply prefer the classic puffed rice texture with a chocolatey twist, you can easily substitute them with Cocoa Rice Krispies. Just use a 1:1 ratio (5 ½ cups), or for a slightly firmer treat, you can increase the cereal amount up to 6 cups. The preparation method remains exactly the same!
- With Fruity Pebbles: For a wonderfully vibrant and fruity alternative, simply swap the Cocoa Pebbles in this recipe for an equal amount of Fruity Pebbles. The result is a fun, colorful, and equally delicious treat that bursts with fruity flavor! For more specific details and unique tips for the fruity version, be sure to check out my dedicated Fruity Pebbles Treats recipe.
- Extra Marshmallows for Ultimate Gooeyness: If you’re a true marshmallow fiend and want your Cocoa Pebbles Treats to be even gooier and chewier, here’s a simple trick: fold in an additional ½ cup of mini marshmallows at the very same time you add the cereal. These will partially melt from the residual heat, creating delightful pockets of soft, melted marshmallow throughout the bars.
- Add Chocolate Chips: For an even more intense chocolate experience, fold in ½ to 1 cup of your favorite chocolate chips (milk, semi-sweet, or dark chocolate work wonderfully) along with the cereal. The residual heat from the marshmallow mixture will slightly melt them, creating luscious pockets of rich, melty chocolate throughout the treats.
- Drizzle with Chocolate or White Chocolate: Once the treats have cooled and fully set, elevate their presentation and flavor by melting some extra chocolate (milk, dark, or white chocolate) and drizzling it artfully over the top. This adds an extra layer of sweetness and makes them look even more professional.
- Sprinkle with Fun: Add a dash of celebratory fun by mixing in some colorful sprinkles with the cereal before pressing, or sprinkle them generously on top while the treats are still warm and soft, just before they set. Perfect for birthday parties or festive occasions!
Smart Substitutions for Dietary Needs
These Cocoa Pebbles Treats are incredibly versatile and can be adapted to accommodate various dietary preferences with a few simple swaps:
- Dairy Free: To make these treats completely dairy-free, simply substitute the butter called for in this recipe with your favorite plant-based butter alternative (brands like Earth Balance or Miyoko’s Kitchen work wonderfully and melt beautifully). Ensure that your chosen marshmallows are also dairy-free, though most traditional marshmallows are, it’s always wise to double-check the label.
- Gluten-Free: Excellent news! Since Cocoa Pebbles cereal is already certified gluten-free, this recipe as written is naturally gluten-free. No special substitutions are needed here, making it an excellent, worry-free choice for those avoiding gluten.
- Vegan: To create a fully vegan version of these delicious treats, you’ll need two main substitutions:
- Swap out traditional marshmallows for vegan marshmallows. I highly recommend Dandies brand, as they melt beautifully and have a fantastic texture comparable to conventional marshmallows.
- Replace the butter with your preferred plant-based butter option (as mentioned in the dairy-free substitution above). With these two simple changes, everyone can enjoy these fantastic no-bake chocolate cereal treats!
More Easy No-Bake Desserts You’ll Love
If you’re a fan of quick, delicious, and no-fuss desserts like these Cocoa Pebbles Treats, then you’re in for a treat! Our collection of easy no-bake recipes is perfect for satisfying your sweet tooth without ever turning on the oven. Explore these other simple yet delightful options that are sure to become new family favorites:
- No Bake Peanut Butter Bars: Rich, creamy, and utterly irresistible – a classic combination of peanut butter and chocolate that never disappoints.
- Lucky Charms Treats: A magical and colorful twist on cereal bars, packed with fun marshmallows, perfect for kids and adults alike.
- Chocolate Wafer Icebox Cake: Layers of delicate chocolatey wafers and whipped cream that get softer and more delicious as they chill – a simple yet elegant dessert.
- No Bake Chocolate Chip Cheesecake: All the creamy indulgence of cheesecake, studded with chocolate chips, and best of all, absolutely no oven required!
- Lazy Cheesecake Salad: A light, fruity, and delightfully easy dessert that tastes like a dream, combining fresh fruit with a creamy, cheesecake-like dressing.
If you loved this simple and satisfying recipe for Cocoa Pebbles Treats, please let me know by leaving a 5-star review in the recipe card below or sharing your thoughts in the comments section! Your feedback truly helps others discover and enjoy these delicious recipes. You can also tag me on Instagram @dashfordinner to share your delicious creations – I absolutely love seeing what you make!
Cocoa Pebbles Treats
Print
Pin
Rate
Equipment
-
8X8 Baking Pan (20X20cm) or 9X9″ baking pan (23X23cm)
-
Silicone spatula
-
Parchment paper
Ingredients
- 6 tablespoons butter
- 10 ounces mini marshmallows approximately 6 cups
- ½ teaspoon vanilla extract
- 5 ½ cups Cocoa Pebbles cereal 9.2 ounces
Instructions
-
Line an 8X8” or 9X9” baking pan with overlapping pieces of parchment paper and cut to size.
-
Melt the butter over medium heat in a large pot (or use the microwave method, see notes*).
-
Once the butter is melted, add the mini marshmallows. Stir to coat them in the melted butter.
-
Continue to stir until the marshmallows are completely melted.
-
Once the marshmallows are melted, remove them from the heat and stir in the vanilla extract.
-
Add the Cocoa Pebbles cereal to the marshmallow mixture. Fold it in until the cereal is completely coated.
-
Transfer the coated cereal mixture to the prepared baking dish, and smooth it gently into an even layer.**
-
Cover the dish and let the treats sit for at least 1 hour at room temperature.***
-
Use the parchment paper handles to lift the treats out of the baking pan. Then slice and serve the Cocoa Pebbles treats.
-
Store in an airtight container at room temperature for up to 3 days, or in the refrigerator for up to 5 days.
Notes
**Packing the cereal into the dish will create a very firm square. The goal is to have a gooey square, so a gentle hand is all that’s needed.
***Storing your Cocoa Pebbles treats in the fridge will make for a firmer treat, so room temperature is recommended if you like a gooey texture.
Doubling: If you want to fill a 9X13 baking pan double the recipe of all the quantities listed.
Nutrition
Please note that some of my blog posts here at Dash for Dinner may contain affiliate links. If you make a purchase through these links, I will get a small commission at no additional cost to you. Please see my Disclaimer for more information.
