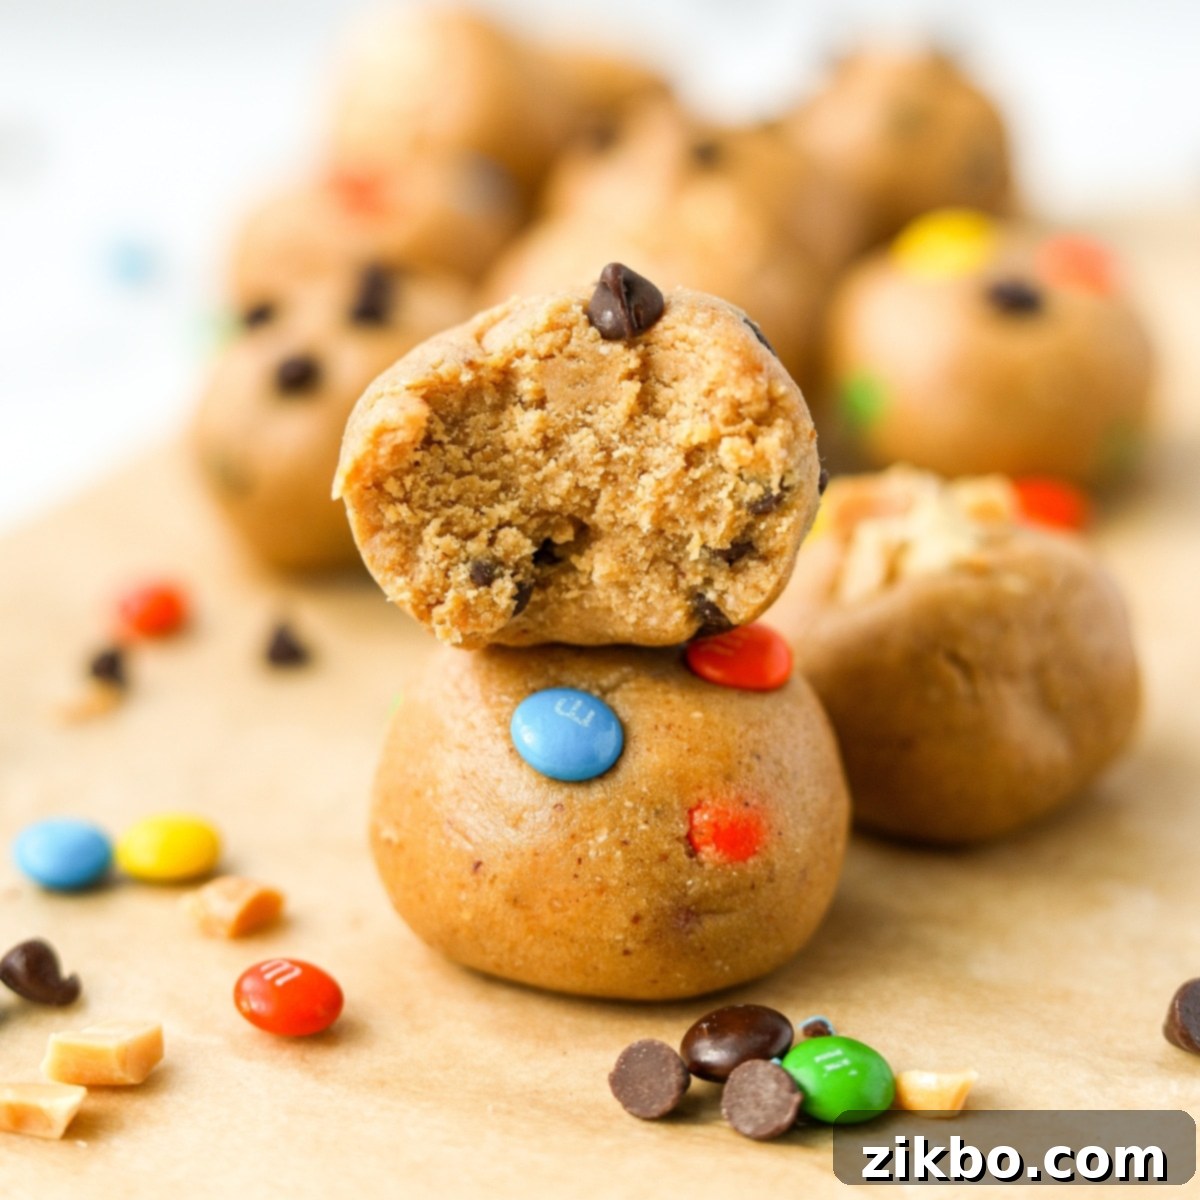
Delicious No-Bake Protein Cookie Dough Balls: Your Ultimate Healthy Snack & Meal Prep Solution
Craving a sweet treat that’s also good for you? Look no further than these incredibly easy and utterly delicious Protein Cookie Dough Balls! Made with wholesome, simple ingredients like creamy nut butter, your favorite protein powder, rolled oats, and natural maple syrup, these no-bake wonders are the perfect solution for a quick, healthy snack, a post-workout boost, or a smart addition to your weekly meal prep. They’re not only packed with flavor but also conveniently freeze well, ensuring you always have a nutritious option on hand.

After perfecting my recipe for monster cookie protein bars, I was inspired to create an even more versatile and bite-sized version. These high-protein cookie dough balls build upon that same delicious base, offering all the flavor you love in a convenient, portable form. They are incredibly easy to customize, allowing you to tailor the flavors and mix-ins to suit any craving. Whether you prefer classic chocolate chip, vibrant M&M’s, crunchy chopped nuts, or something entirely unique, this recipe is your canvas. Prepare a big batch for effortless meal prep throughout the week, ensuring you always have a delightful and guilt-free sweet treat readily available.
Why You’ll Fall in Love with This Protein Cookie Dough Balls Recipe:
- A Truly Healthy Snack: Each of these delightful protein cookie dough bites delivers approximately 6 grams of muscle-building protein, making them an excellent choice for curbing hunger and fueling your body. They’re crafted using real, whole food ingredients like fiber-rich oats, healthy-fat-packed peanut butter, and naturally sweet maple syrup, providing sustained energy without a sugar crash. It’s a snack you can feel genuinely good about enjoying.
- Effortlessly Easy to Make: Forget about preheating the oven or complicated baking steps! This is a completely no-bake recipe, meaning all you need to do is combine the ingredients, roll them into perfect spheres, and let them chill until firm. No special equipment is required beyond a mixing bowl and a spatula, making cleanup a breeze and the process incredibly straightforward, even for beginner cooks.
- Your Ultimate Meal Prep Companion: Say goodbye to unhealthy snack temptations! Preparing a large batch of these protein cookie dough balls at the beginning of the week means you’ll have convenient, portion-controlled snacks ready to grab and go whenever hunger strikes. Their fantastic freezer-friendly nature allows for long-term storage, ensuring you’re always prepared with a wholesome, satisfying treat.
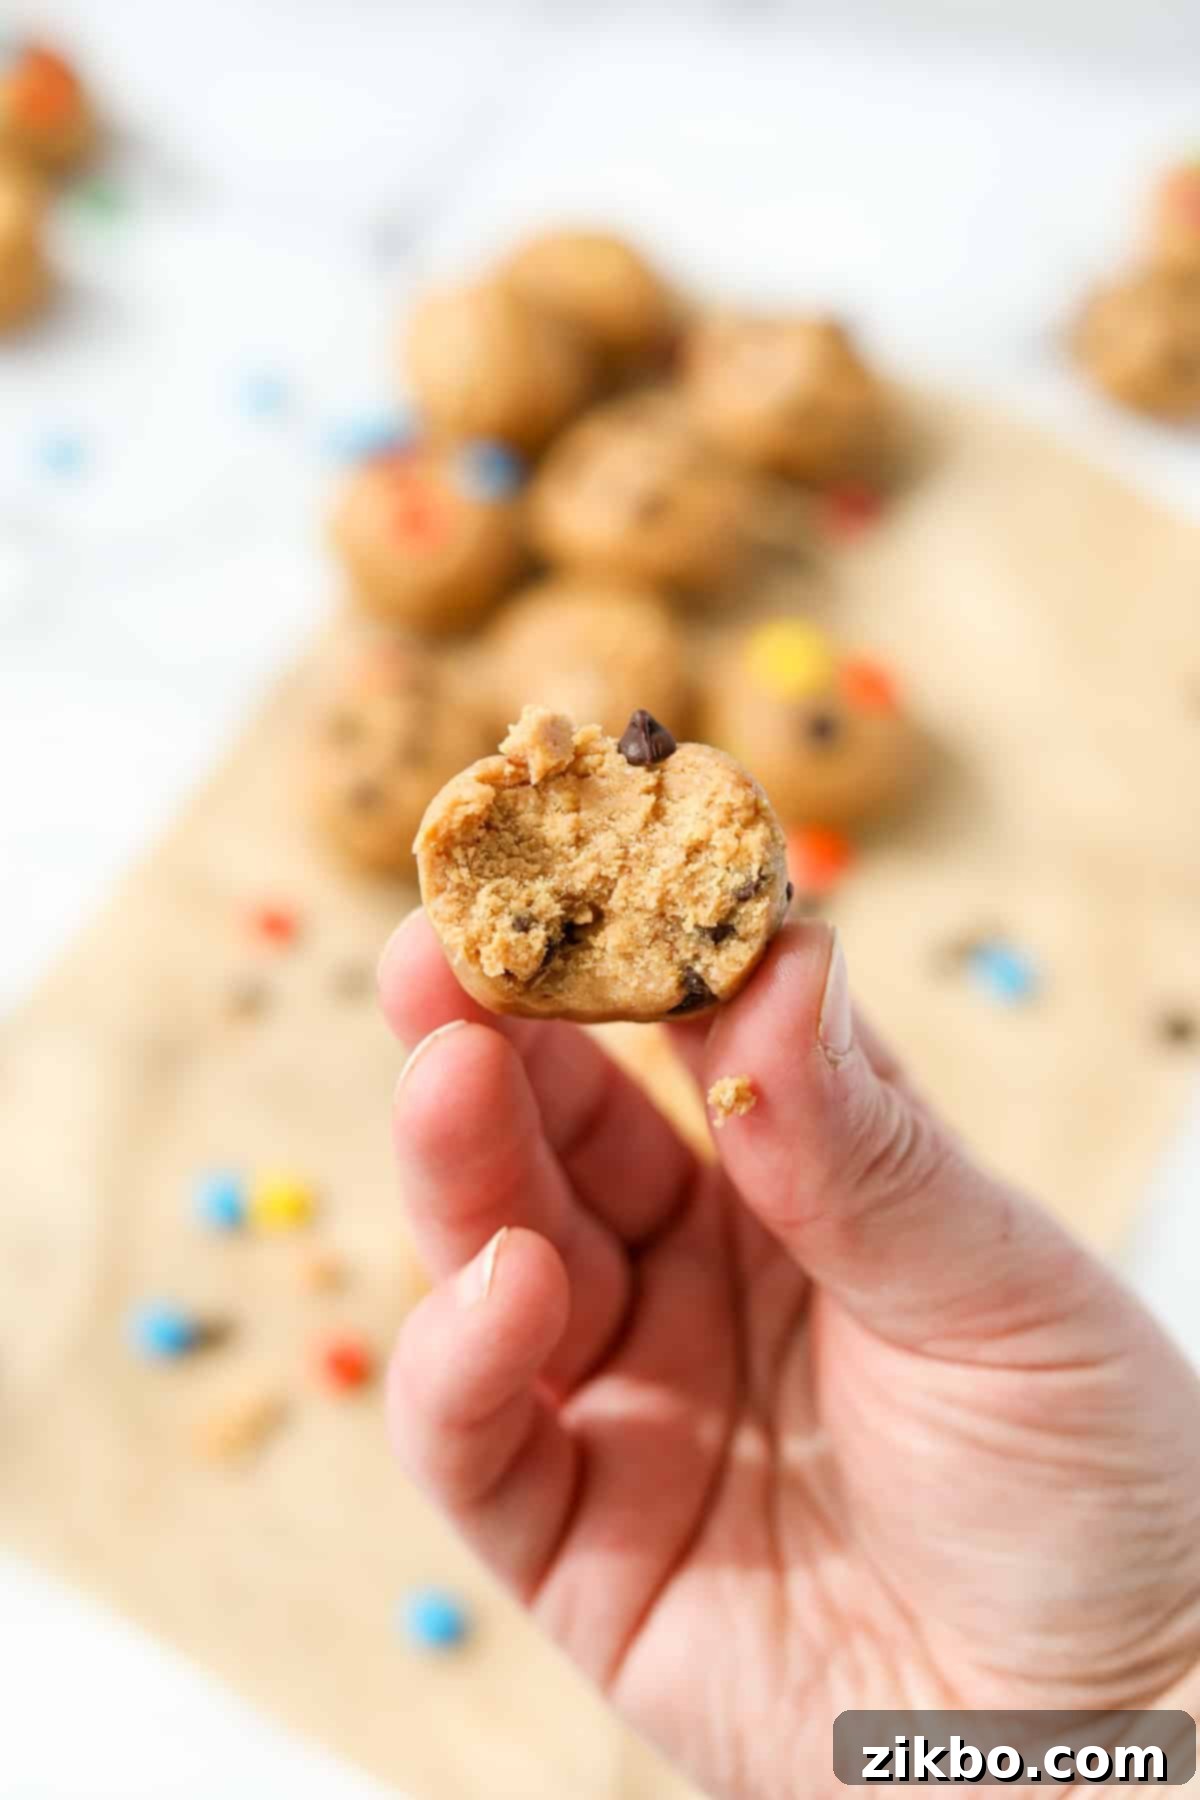
- Safe and Delicious Edible Cookie Dough: Indulge your cookie dough cravings without any worries! Unlike traditional raw cookie dough, this recipe contains no eggs or raw flour, making it completely safe to eat straight from the bowl (though we recommend chilling for the best texture). Enjoy all the comforting flavor of cookie dough with the added benefit of protein, transforming a guilty pleasure into a nutritious delight.
Source: Eating Raw Cookie Dough – WebMD
Essential Ingredients for Your Protein Cookie Dough Balls
Crafting these protein-packed delights requires just a handful of straightforward ingredients. Here’s a closer look at what you’ll need and why each component is crucial for success:
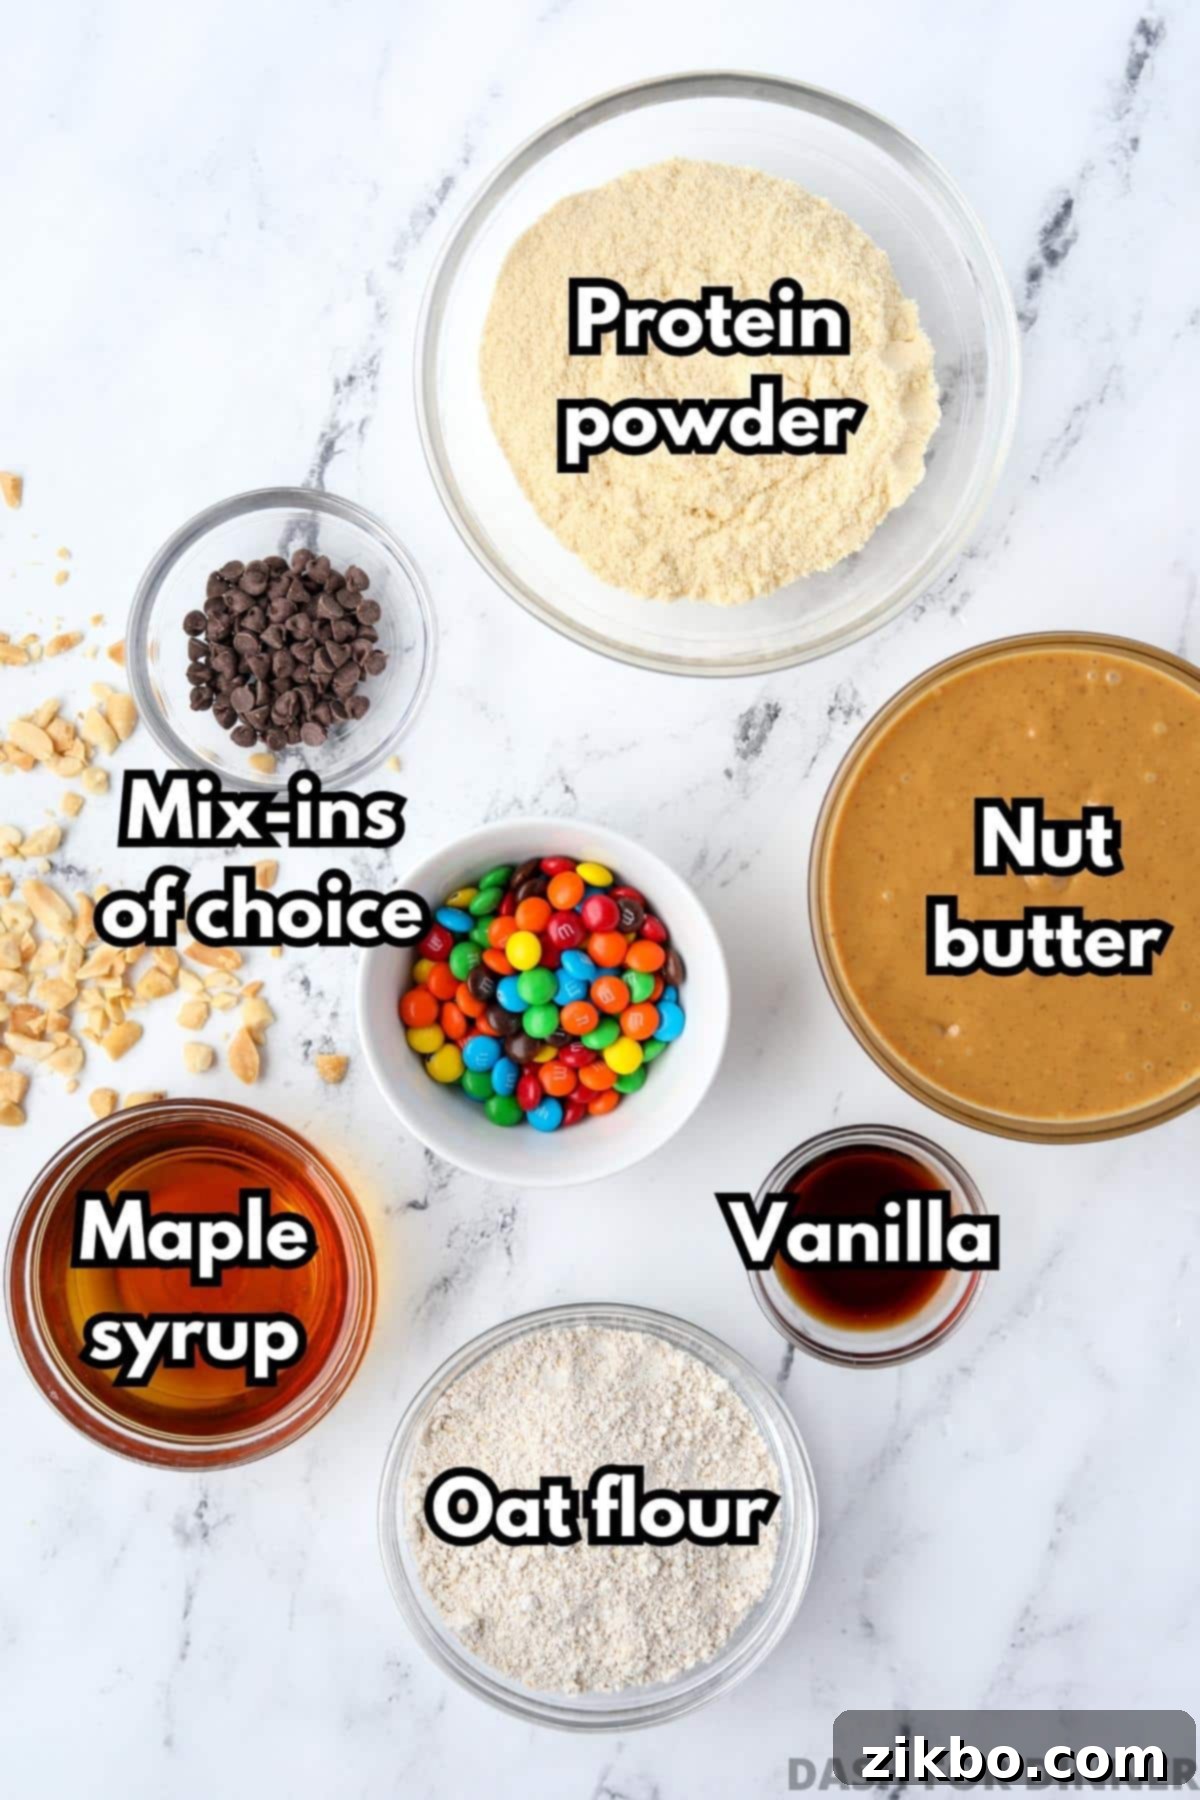
- Natural Nut Butter: This is the creamy, binding foundation of your protein balls. The key here is *natural* nut butter, which typically has oil separation, resulting in a thinner, more pliable consistency perfect for these no-bake treats. Peanut butter offers a classic, versatile flavor, but feel free to experiment with almond butter for a milder taste or cashew butter for an incredibly rich and creamy texture. Ensure it’s not a “no-stir” or commercial type that contains added sugars or hydrogenated oils, as these will affect the dough’s texture significantly.
- Protein Powder: The star ingredient for that protein boost! I highly recommend using a good quality vanilla whey protein powder that you genuinely enjoy the taste of. The flavor of your protein powder will greatly influence the final taste of your cookie dough balls. You’ll need 60 grams, which is crucial for the dough’s consistency. This volume can vary by brand (for example, it was approximately ½ cup + 2 tablespoons for my brand), so using a kitchen scale for accuracy is ideal. If you’re vegan, opt for a plant-based protein powder that mixes well.
- Oat Flour: This ingredient acts as a fantastic binder, helping to create that familiar cookie dough texture. You can easily purchase oat flour from most grocery stores, or make your own in minutes! Simply blend or process rolled oats (quick oats or old-fashioned oats work fine) in a high-speed blender or food processor until they form a fine powder. For those with gluten sensitivities or celiac disease, ensure you use certified gluten-free oats or oat flour.
- Pure Maple Syrup: This natural sweetener not only adds a lovely depth of flavor but also contributes to the binding properties of the dough. It’s essential to use *pure* maple syrup, not pancake syrup, which is primarily high-fructose corn syrup and will not yield the same taste or texture. If pure maple syrup is unavailable, agave nectar is a suitable alternative, offering a similar sweetness and liquid consistency.
- Vanilla Extract: A crucial flavor enhancer that brings out the classic “cookie dough” taste. This is merely a starting point for your creativity! Feel free to experiment with other extracts like butter extract for an even richer profile, caramel extract, almond extract for a marzipan-like hint, or even a touch of peppermint extract for a festive twist.
- Mix-ins: Here’s where the real fun begins and you can truly personalize your protein balls! Your choice of mix-ins will determine the cookie dough flavor you’re aiming for. Think mini chocolate chips for classic chocolate chip cookie dough, colorful M&M’s for a monster cookie dough vibe, finely chopped nuts (like peanuts, walnuts, or pecans) for added crunch, sprinkles for a festive birthday cake theme, or even dried fruit bits for a chewy texture.
Recommended Equipment for Easy Preparation
While these protein cookie dough balls are a no-bake recipe requiring minimal fuss, a couple of tools can make the process even smoother and more efficient:
- Cookie Scoop: A medium-sized cookie scoop is incredibly helpful for portioning out the dough evenly. This ensures that all your protein balls are uniform in size, which is not only aesthetically pleasing but also guarantees consistent serving sizes and nutritional content. It’s also excellent for making energy bites or other types of edible protein cookie dough.
- Baking Sheet: You’ll need a sturdy surface to place your rolled cookie dough balls on before chilling. A baking sheet, ideally lined with parchment paper or a silicone baking mat, prevents them from sticking and makes transferring them to the freezer or refrigerator much easier. While a plate would work in a pinch, a baking sheet provides ample space and stability.

Unleash Your Creativity: Exciting Flavor Options
The beauty of this protein cookie dough base is its incredible versatility. You can easily transform it into a myriad of delicious flavors with just a few simple adjustments and your favorite mix-ins. Get creative and find your ultimate protein ball combination!
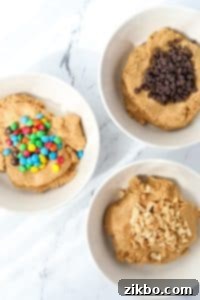
- Classic Chocolate Chip Cookie: Achieve this beloved flavor by using mini chocolate chips as your mix-ins. For the base, either natural peanut butter or a milder cashew butter works wonderfully, allowing the chocolate flavor to shine. A sprinkle of sea salt can further enhance the sweetness.
- Rich Peanut Butter Cookie: For the ultimate peanut butter lover, stick with peanut butter as your base and incorporate finely chopped roasted peanuts for an extra layer of texture and intense peanut flavor. You could also add a few Reese’s Pieces for a nostalgic touch.
- Fun Monster Cookie: Recreate the iconic monster cookie by adding a generous amount of mini M&M’s and a small quantity of mini chocolate chips. The colorful candy shells and chocolate provide a delightful crunch and burst of sweetness.
- Celebratory Birthday Cake: Transform your protein balls into a festive treat! Use creamy cashew butter or almond butter as your base for a neutral canvas, then fold in colorful sprinkles (jimmies work best!). Enhance the “cake” flavor with a few drops of butter extract and a hint of almond extract to taste.
- Decadent Toffee Chip: For a sophisticated crunch, opt for almond butter as your base and stir in crushed toffee bits (or Heath bar bits). The buttery, caramel notes of toffee pair perfectly with the mild almond flavor.
- Wholesome Peanut Butter Oatmeal: If you enjoy a chewier texture, leave 1-2 tablespoons of the oats whole (or lightly pulsed) instead of fully processing into flour. Combine with peanut butter and add chopped peanuts or even a few Reese’s Pieces for a hearty and satisfying snack.
Step-by-Step Instructions to Make Your Protein Cookie Dough Balls
Making these no-bake protein balls is incredibly simple. Just follow these easy steps for perfect results every time:
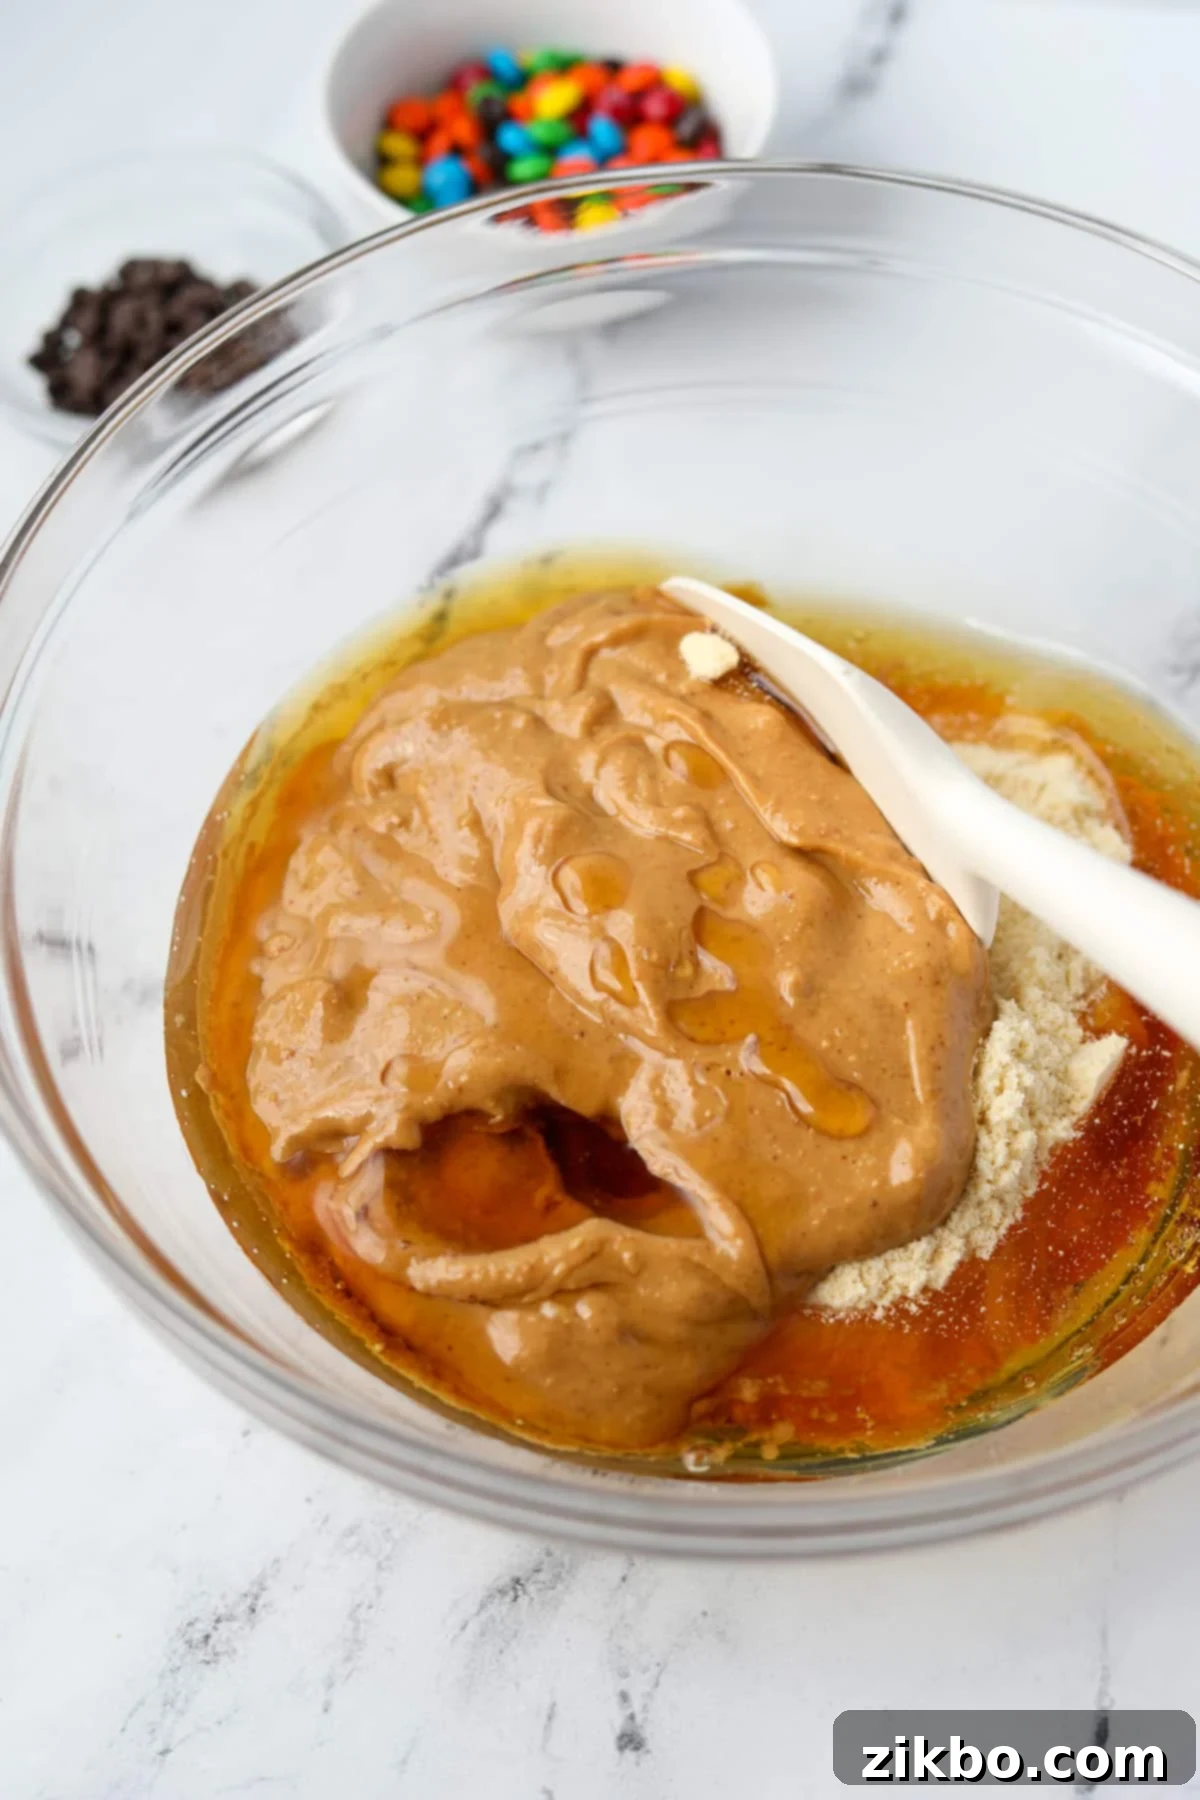
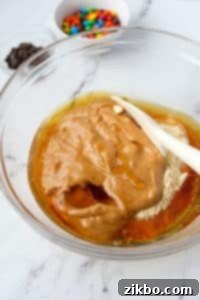
Step one: Combine Wet and Dry Ingredients. In a large mixing bowl, add the oat flour, protein powder, maple syrup, your chosen natural nut butter (like peanut butter), and vanilla extract. Ensure your nut butter is at room temperature for easier mixing.
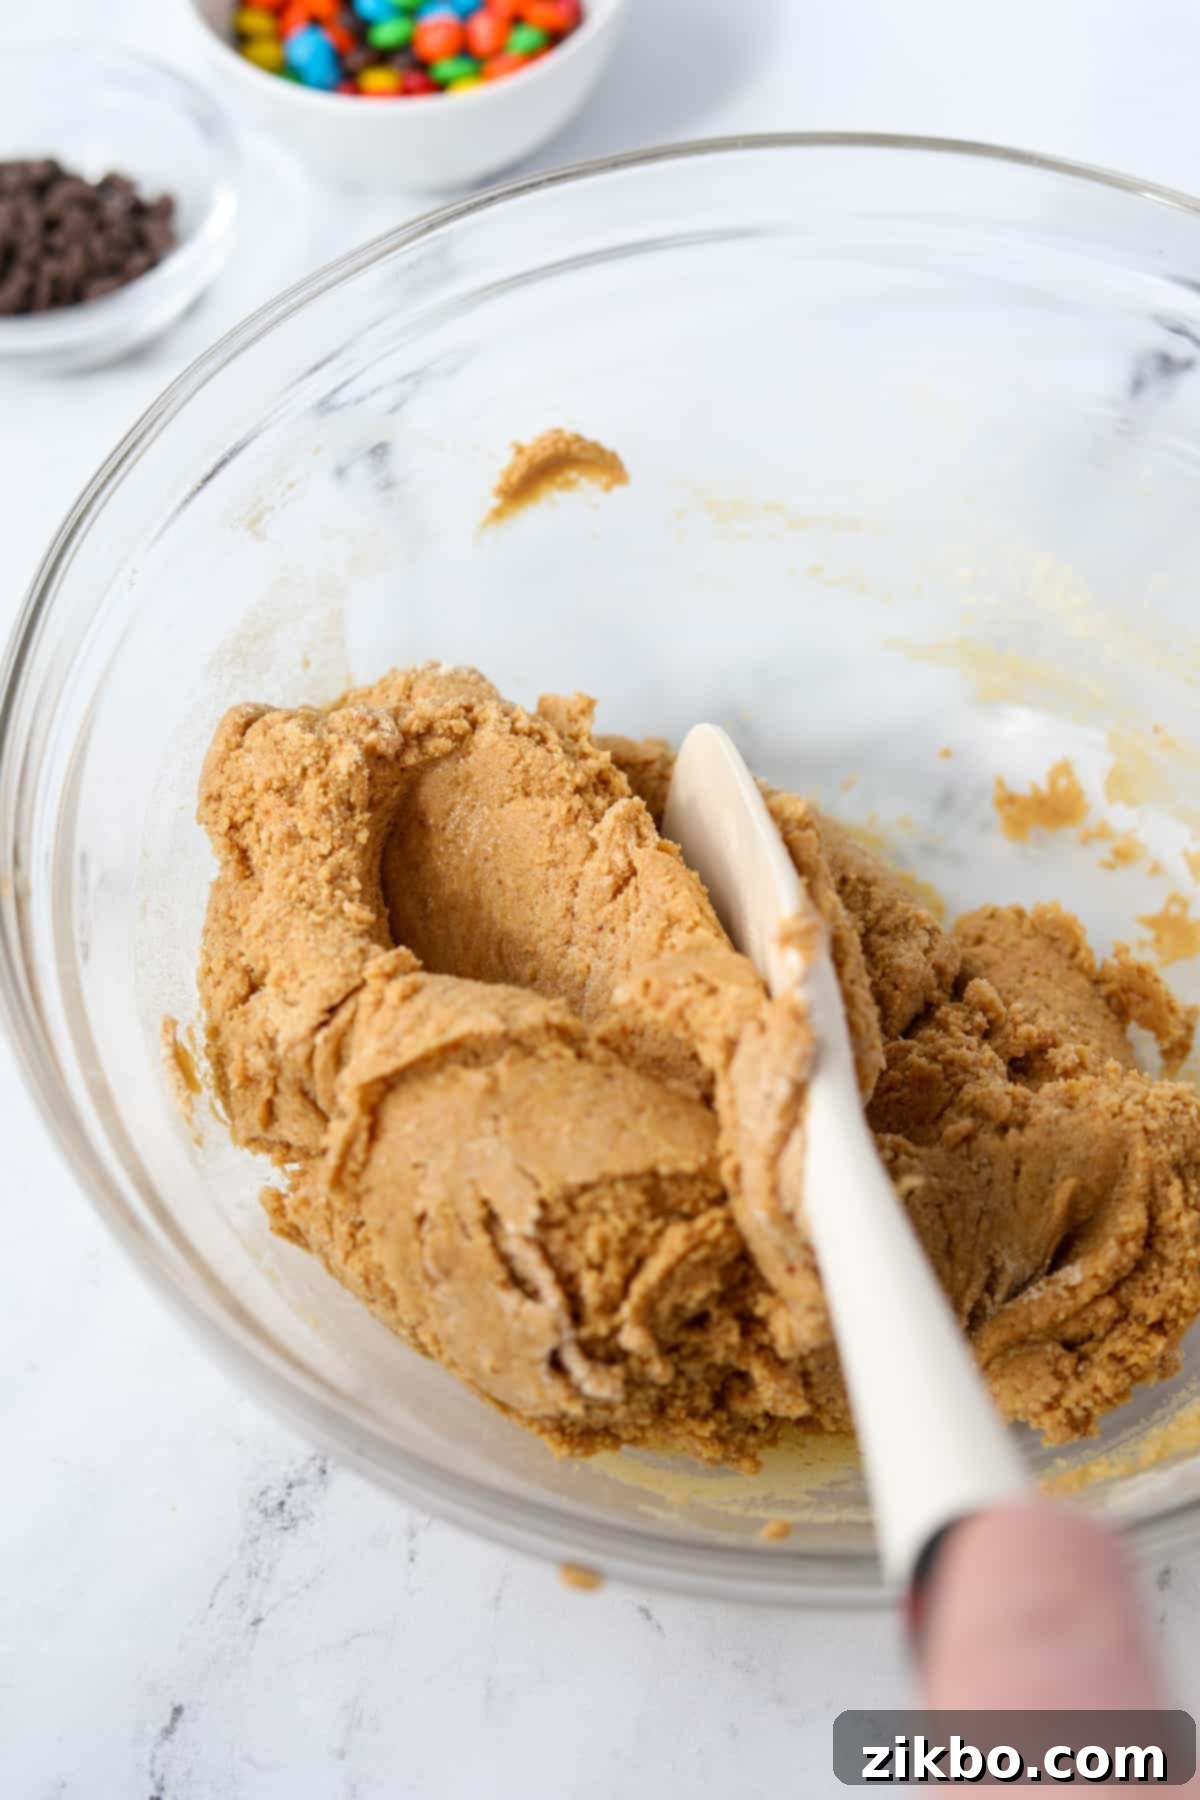
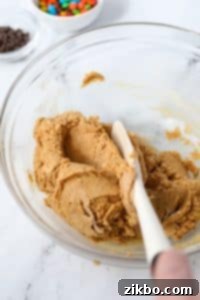
Step two: Mix Until Well Combined. Using a sturdy silicone spatula, a wooden spoon, or even the paddle attachment of a stand mixer, mix all the ingredients together thoroughly. Continue mixing until a cohesive dough forms and there are no dry spots. The mixture should be thick and pliable.
Adding Your Mix-ins and Portioning
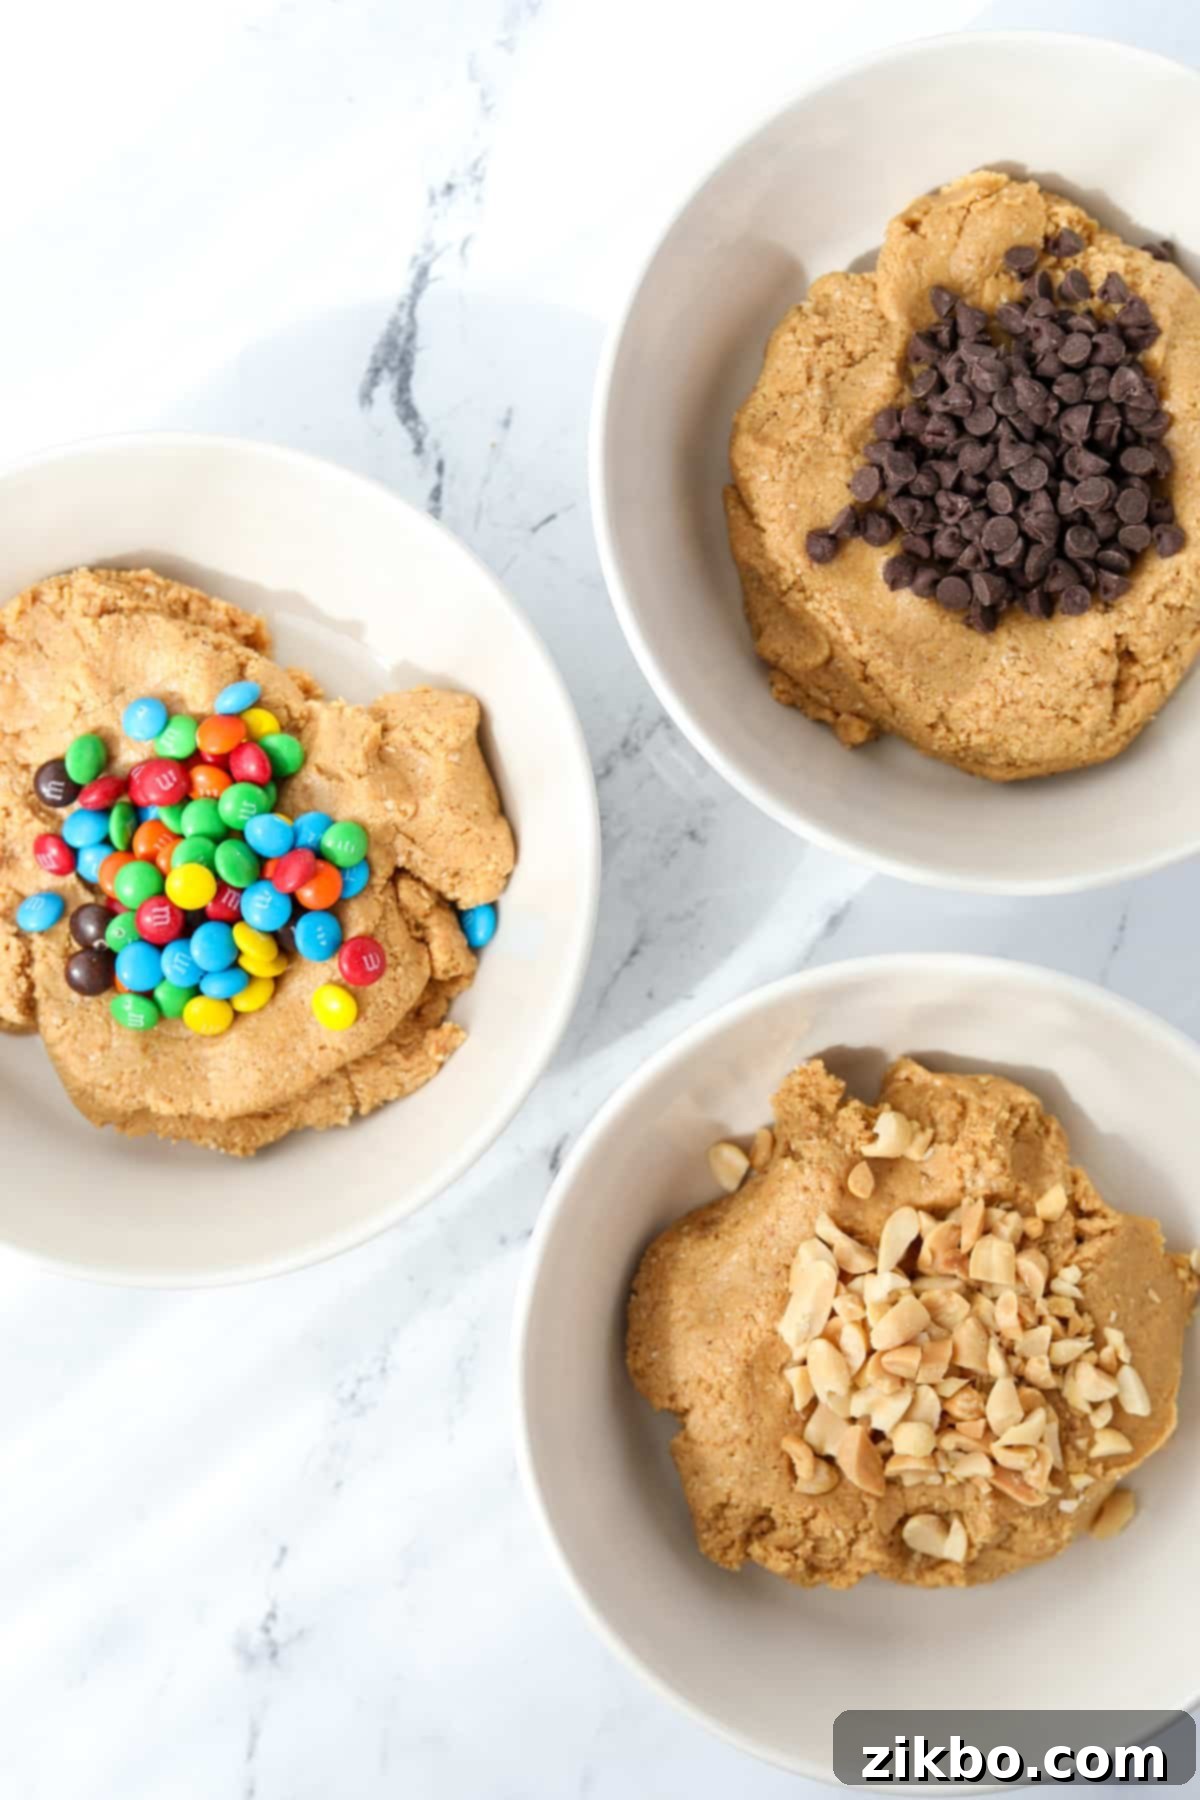
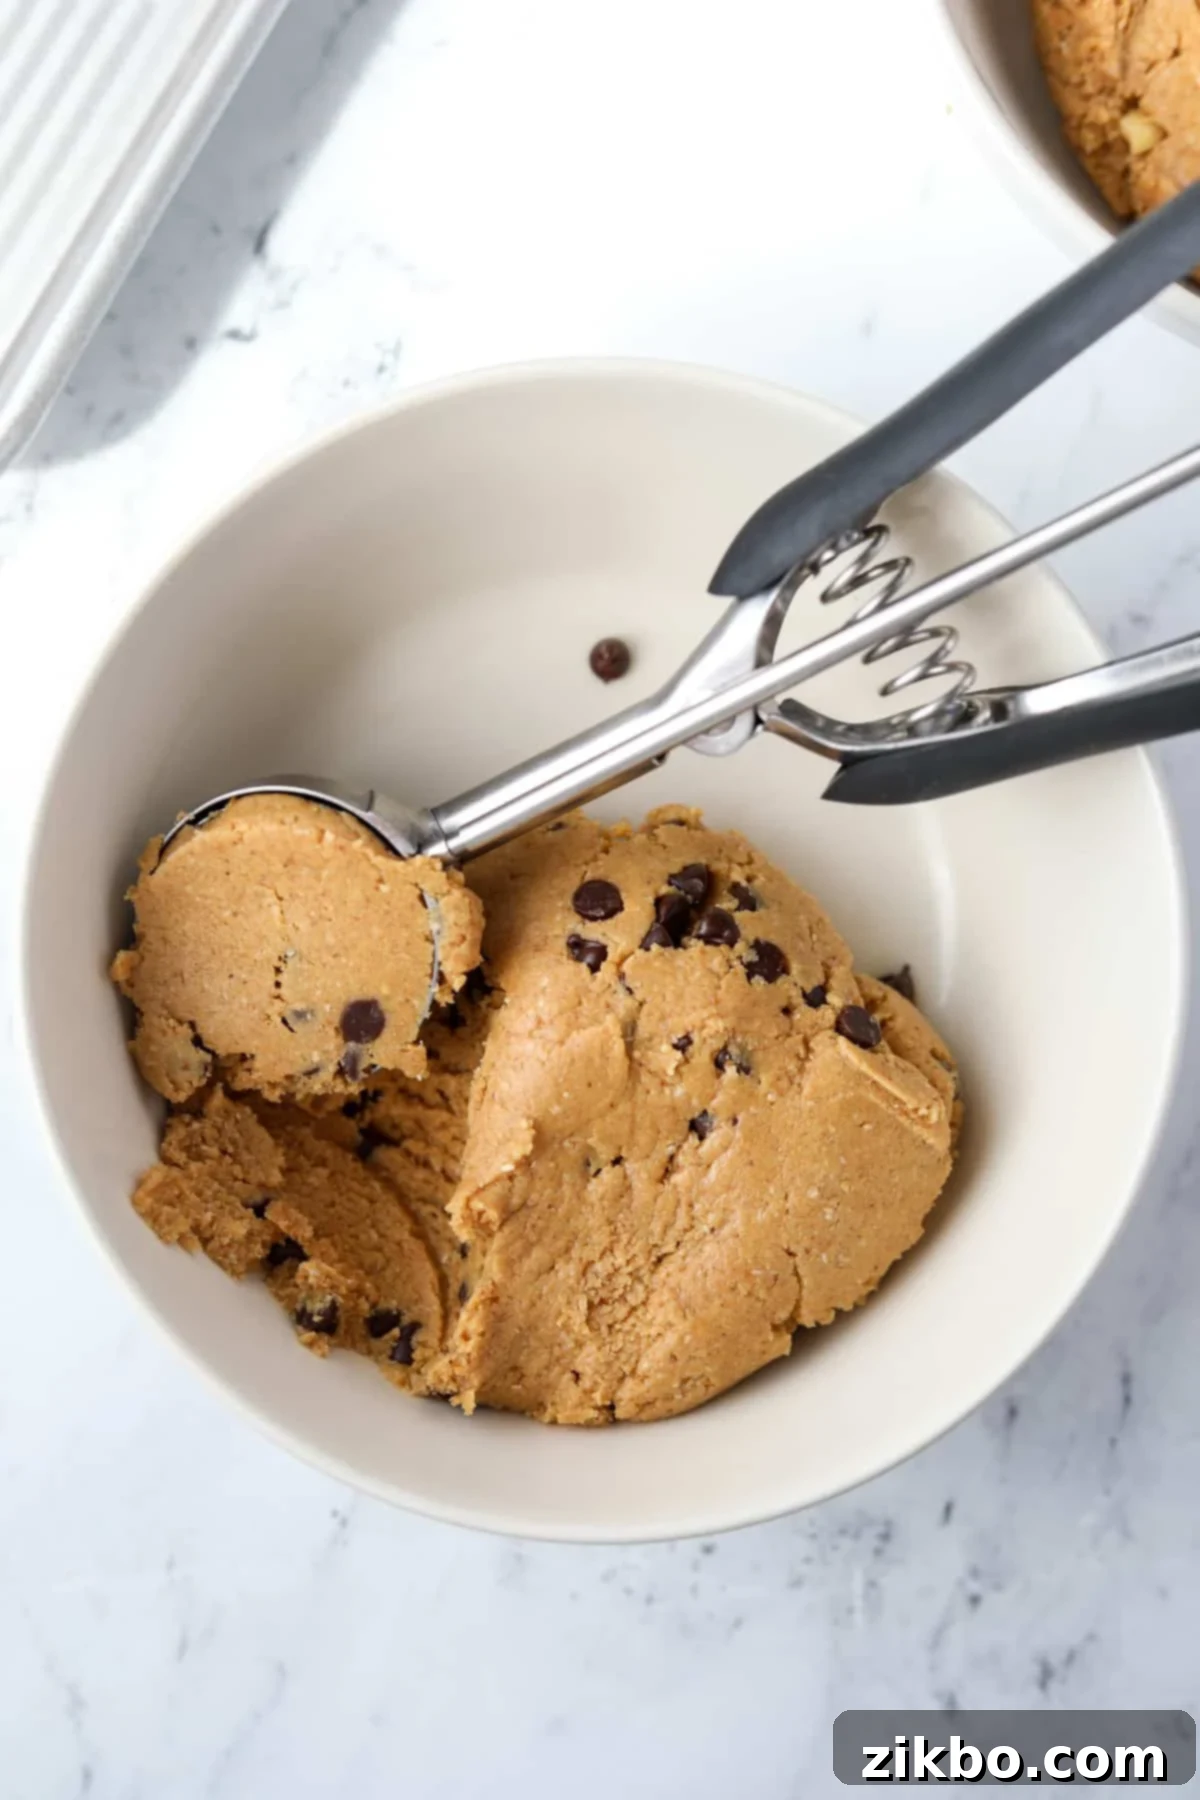
Step three: Fold in Your Favorite Mix-ins. Once your base dough is ready, fold in your chosen mix-ins until they are evenly distributed throughout the dough. Remember the tip: if you’re making multiple flavors, divide the dough into separate bowls *before* adding different mix-ins to each portion.
Tip: If the dough feels too sticky to handle after adding mix-ins, chill it in the refrigerator for 10-15 minutes before proceeding to the next step.
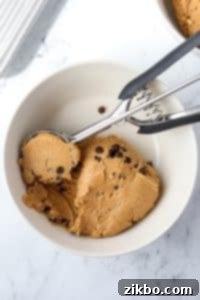
Step four: Portion the Dough. Use a medium cookie scoop or a heaping tablespoon to portion the dough into individual, uniform-sized balls. This helps ensure consistent serving sizes and makes the rolling process easier.
Rolling and Chilling for Perfect Texture
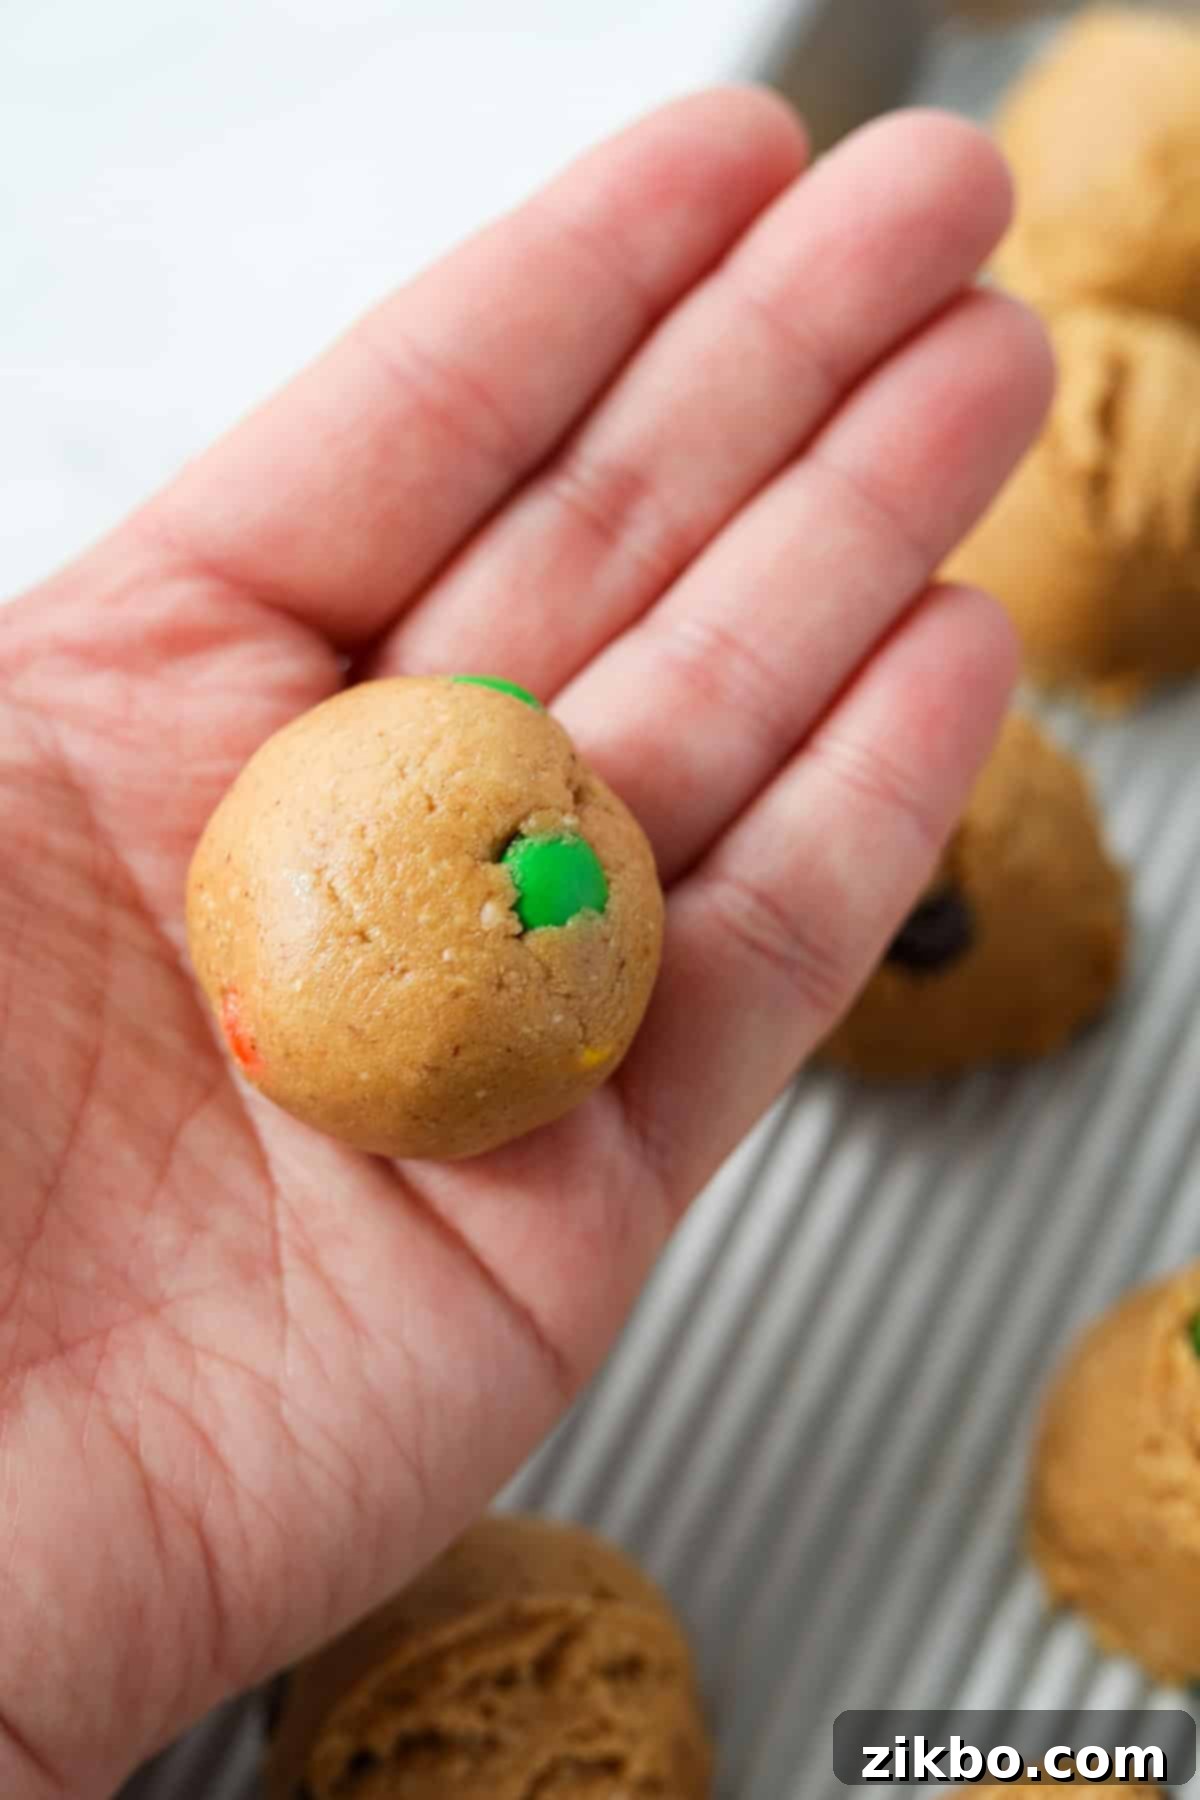
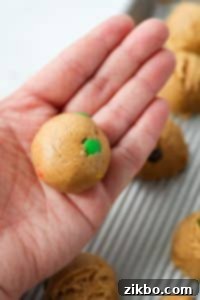
Step five: Roll into Smooth Balls. Gently roll each portion of cookie dough between your palms. Apply even pressure to form a smooth, round, and compact shape. This also helps to fully incorporate the mix-ins and ensures a pleasant texture.
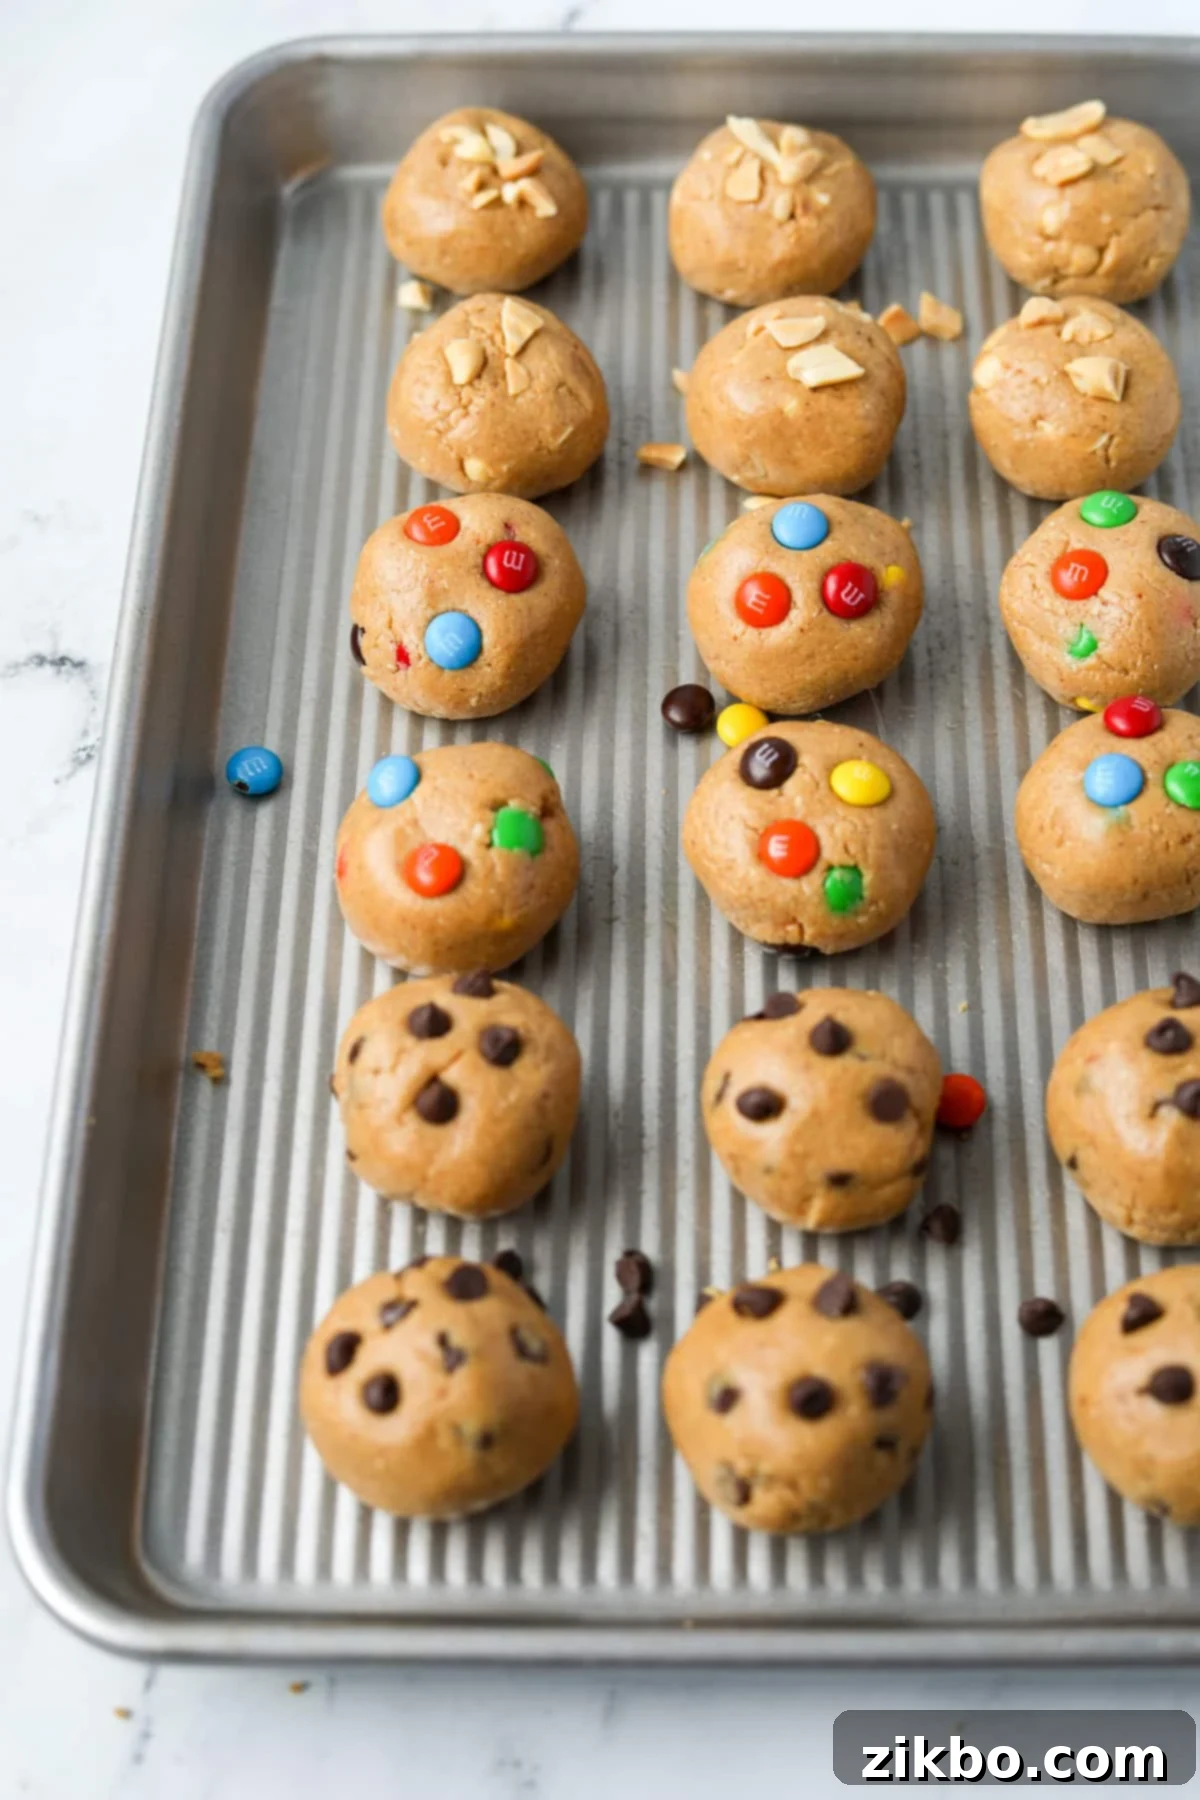
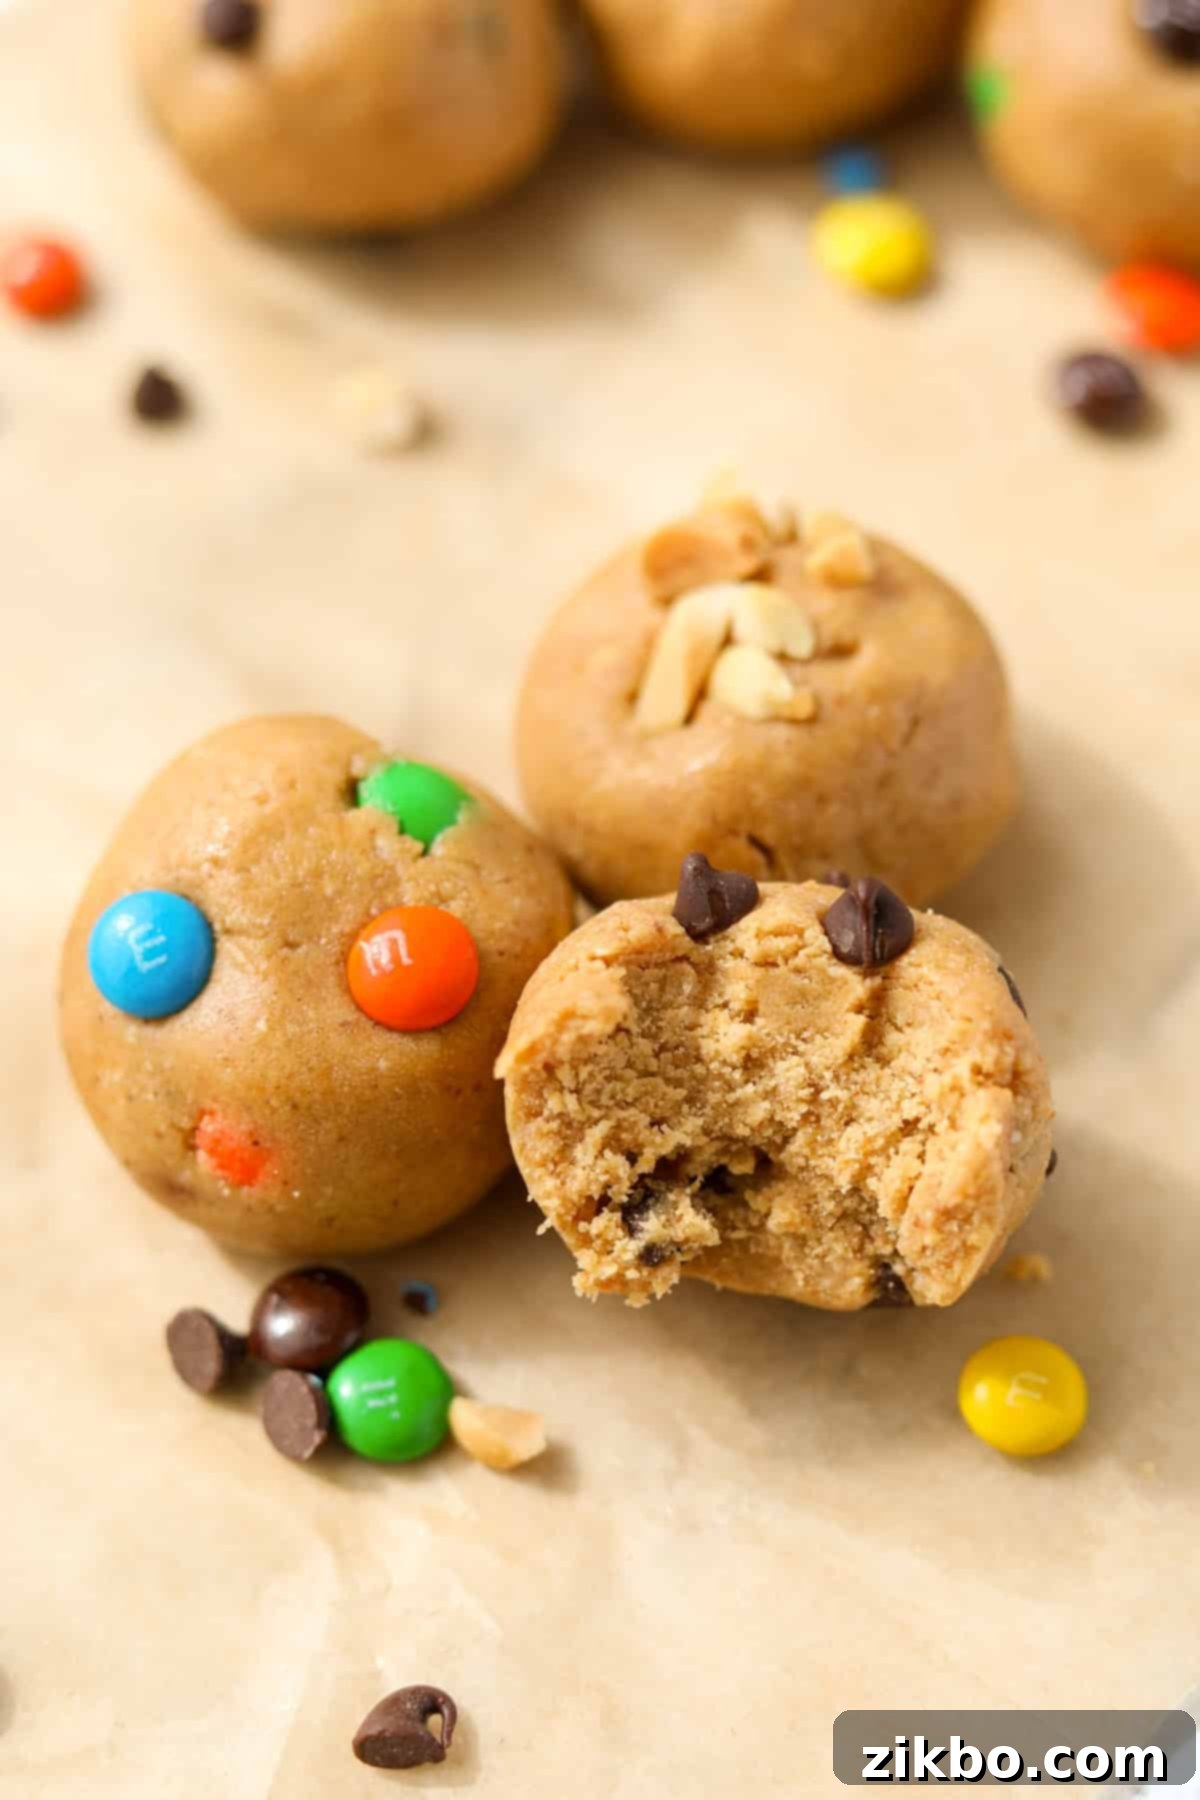
Step six: Chill to Perfection. Place the rolled balls onto a baking sheet (preferably lined with parchment paper). If desired, gently press a few extra chocolate chips, M&M’s, or other toppings onto the outside of each ball for an appealing finish. Chill the protein balls in the freezer for at least 1 hour, or until they are firm enough to hold their shape and have achieved that delightful cookie dough consistency. This chilling process is crucial for optimal texture and flavor.
Storing and Freezing Your Protein Cookie Dough Balls
One of the best features of these protein cookie dough balls is how well they store, making them an ideal meal prep solution. Proper storage ensures they remain fresh and delicious for an extended period.
- Once your protein cookie dough balls have thoroughly chilled and are firm, transfer them to an airtight container or a freezer-safe bag. This protects them from absorbing odors and prevents freezer burn.
- They will keep beautifully in the refrigerator for up to 1 week, perfect for daily snacking. For longer storage, you can keep them in the freezer for up to 2 months without any loss of quality.
Top tip: If you’re planning to take a few protein balls to work or for a quick snack on the go, simply toss them into your lunch bag frozen. By the time your afternoon snack craving hits, they’ll be perfectly thawed and ready to enjoy!
Expert Tips for Protein Cookie Dough Ball Success
Achieving the perfect texture and flavor for your protein cookie dough balls is easy with these helpful tips:
- Precision with Protein Powder: Protein powders vary significantly in density and absorption. For the most accurate and consistent results, always use a kitchen scale to measure out 60 grams of protein powder. While a volumetric measurement (like ½ cup + 2 tablespoons for my preferred brand) can be a good estimate, weighing ensures the correct dough consistency. Different protein powders (e.g., whey vs. plant-based) can also affect the final texture, sometimes requiring slight adjustments in liquid or oat flour to achieve the desired pliability.
- Thorough Mixing is Key: Don’t rush the mixing process. For a super smooth and uniform consistency, ensure all ingredients are thoroughly combined. Start by mixing the dry ingredients together, then incorporate the wet ingredients. If you have a stand mixer, it can make quick work of this, but a strong arm and a silicone spatula work just as well. Proper mixing prevents grainy textures and ensures all flavors are evenly distributed.
- Embrace Experimentation: This base recipe is incredibly versatile! Don’t limit yourself to just protein balls. The same delicious dough can be pressed into a pan and cut into protein cookie dough bars or enjoyed as a spoonful of edible protein cookie dough. In fact, this recipe was proudly adapted from my popular Monster Cookie Protein Bars. Feel free to play with extracts, spices (like cinnamon or nutmeg), and various mix-ins to discover your personal favorite combinations.
- Adjusting Consistency: If your dough feels too sticky to roll into balls, try adding an extra tablespoon of oat flour or protein powder, one at a time, until it reaches a manageable consistency. If the dough seems too dry and crumbly, a tiny splash more maple syrup or a small dollop of nut butter can help bring it together. The goal is a firm but pliable dough that holds its shape.
- Room Temperature Ingredients: For the smoothest and easiest mixing, ensure your nut butter and maple syrup are at room temperature. Cold nut butter will be much harder to incorporate evenly into the dry ingredients.
Customizing for Dietary Needs: Smart Substitutions
This protein cookie dough ball recipe is wonderfully adaptable, making it easy to fit various dietary preferences and needs:
- For a Vegan Version: Simply swap the whey protein powder for your favorite plant-based protein powder (such as pea protein, soy protein, or a mixed plant-based blend). Ensure your nut butter and mix-ins are also vegan-friendly. The texture might vary slightly with different plant proteins, so you might need minor adjustments to the oat flour or liquid sweetener for the perfect consistency.
- Making it Low Carb: To reduce the carbohydrate content, replace the oat flour with almond flour, coconut flour, or a combination of both. You’ll also need to substitute the maple syrup with a liquid low-carb sweetener like sugar-free maple syrup, erythritol-based syrup, or stevia drops, adjusting to your preferred level of sweetness. Don’t forget to use sugar-free chocolate chips or other low-carb mix-ins to keep the carb count down.
- Ensuring it’s Gluten-Free: The recipe as written is naturally gluten-free! However, for individuals with celiac disease or severe gluten sensitivity, it’s crucial to purchase certified gluten-free oats (or oat flour) to avoid cross-contamination that can occur during processing. Many brands clearly label their oats as certified gluten-free.
Recipe FAQ’s for Protein Cookie Dough Balls
Absolutely! Making your own oat flour is incredibly simple if you don’t have any on hand. Just add quick oats or old-fashioned rolled oats to a high-speed blender or food processor. Pulse them repeatedly until they break down into a fine, flour-like powder. This usually takes only 30 seconds to a minute.
It is generally not recommended to store homemade protein balls at room temperature for extended periods. Due to their high moisture content from ingredients like nut butter and maple syrup, they are more prone to spoilage and can become soft and lose their ideal texture. For the best quality, freshness, and safety, always store your protein balls in the refrigerator or freezer.
Yes, you can! Pure maple syrup is preferred for its natural flavor and binding properties, but agave nectar is a great 1:1 substitute. For a lower-sugar option, you could try a liquid low-carb sweetener like sugar-free maple syrup or a monk fruit/erythritol blend. Be aware that changing the sweetener might slightly alter the texture, so you may need minor adjustments to the dry ingredients.
The ideal number of protein balls depends on your individual dietary needs, activity level, and overall caloric intake. Each ball provides about 6 grams of protein and 134 calories, making them a substantial snack. Many people enjoy 1-2 balls as a pre- or post-workout snack, or as a healthy pick-me-up between meals. Always consider them as part of a balanced diet.
If you loved this easy and adaptable recipe for Protein Cookie Dough Balls, please let me know by leaving a 5-star review in the recipe card below or sharing your thoughts in the comments! Your feedback truly helps. You can also tag me on Instagram @dashfordinner to share your delicious creations!

Protein Cookie Dough Balls
Print
Pin
Rate
Equipment
-
Cookie scoop
-
Sheet Pan
Ingredients
- 1 cup creamy natural peanut butter or nut butter of choice (*must be natural, the kind with oil separating out)
- 5 tablespoons maple syrup
- 1 teaspoon vanilla extract
- ½ cup oat flour **see notes
- 60 grams vanilla whey protein powder about ½ cup + 2 tablespoons
- ⅓ cup mix-ins of your choice mini chocolate chips, m&m’s, chopped nuts, etc
Instructions
-
In a large bowl, combine the natural peanut butter (or chosen nut butter), pure maple syrup, vanilla extract, oat flour, and vanilla whey protein powder.
-
Mix everything together using an electric mixer or vigorously by hand with a sturdy silicone spatula until all ingredients are thoroughly combined and a thick, uniform cookie dough forms.
-
Carefully fold in your desired mix-ins until they are evenly distributed throughout the dough. For a variety of flavors, divide your dough into 2 or 3 portions beforehand and then add 2-3 tablespoons of different mix-ins to each section.
-
Use a cookie scoop (approximately 1.5-2 tablespoons) or a heaping tablespoon to portion the dough into individual, even-sized balls.
-
Gently roll each portioned dough between your palms to form a smooth, perfectly round shape.
-
Place each rolled ball onto a baking sheet lined with parchment paper. If desired, lightly press a few extra chocolate chips, M&M’s, chopped peanuts, or other toppings onto the surface of each ball for decoration.

-
Freeze the protein cookie dough balls for at least 1 hour, or until they are completely firm and hold their shape well.
-
Once thoroughly chilled and firm, transfer the protein cookie dough balls into an airtight container. Store them in the refrigerator for up to 1 week for daily enjoyment, or move them to the freezer for longer-term storage, up to 2 months.
Did you try this recipe?Tag me at @dashfordinner and share your photos!
Notes
*Nut butter: It’s really important that you use natural peanut butter (the kind that separates with an oily layer on top) or another natural nut butter. This thinner, more liquid texture is what effectively binds the protein balls together. Do not substitute a commercial peanut butter brand like Kraft or Jif, as their thicker consistency and added ingredients will alter the dough.
**Oat flour: If you don’t have pre-made oat flour, it’s incredibly easy to make your own! Simply process old-fashioned or quick oats in a blender or food processor until they achieve a fine powder-like consistency.
Customizing: Unleash your culinary creativity by adding your favorite extracts and mix-ins. This allows you to craft unique, custom cookie dough flavors such as festive birthday cake, rich toffee, classic monster cookie, and many more!
Gluten free: For a certified gluten-free recipe, ensure you use certified gluten-free oat flour, or make your own flour from certified gluten-free oats. This is especially important for individuals with celiac disease to prevent cross-contamination.
Nutrition
Please note that some of my blog posts here at Dash for Dinner may contain affiliate links. If you make a purchase through these links, I will get a small commission at no additional cost to you. Please see my Disclaimer for more information.
