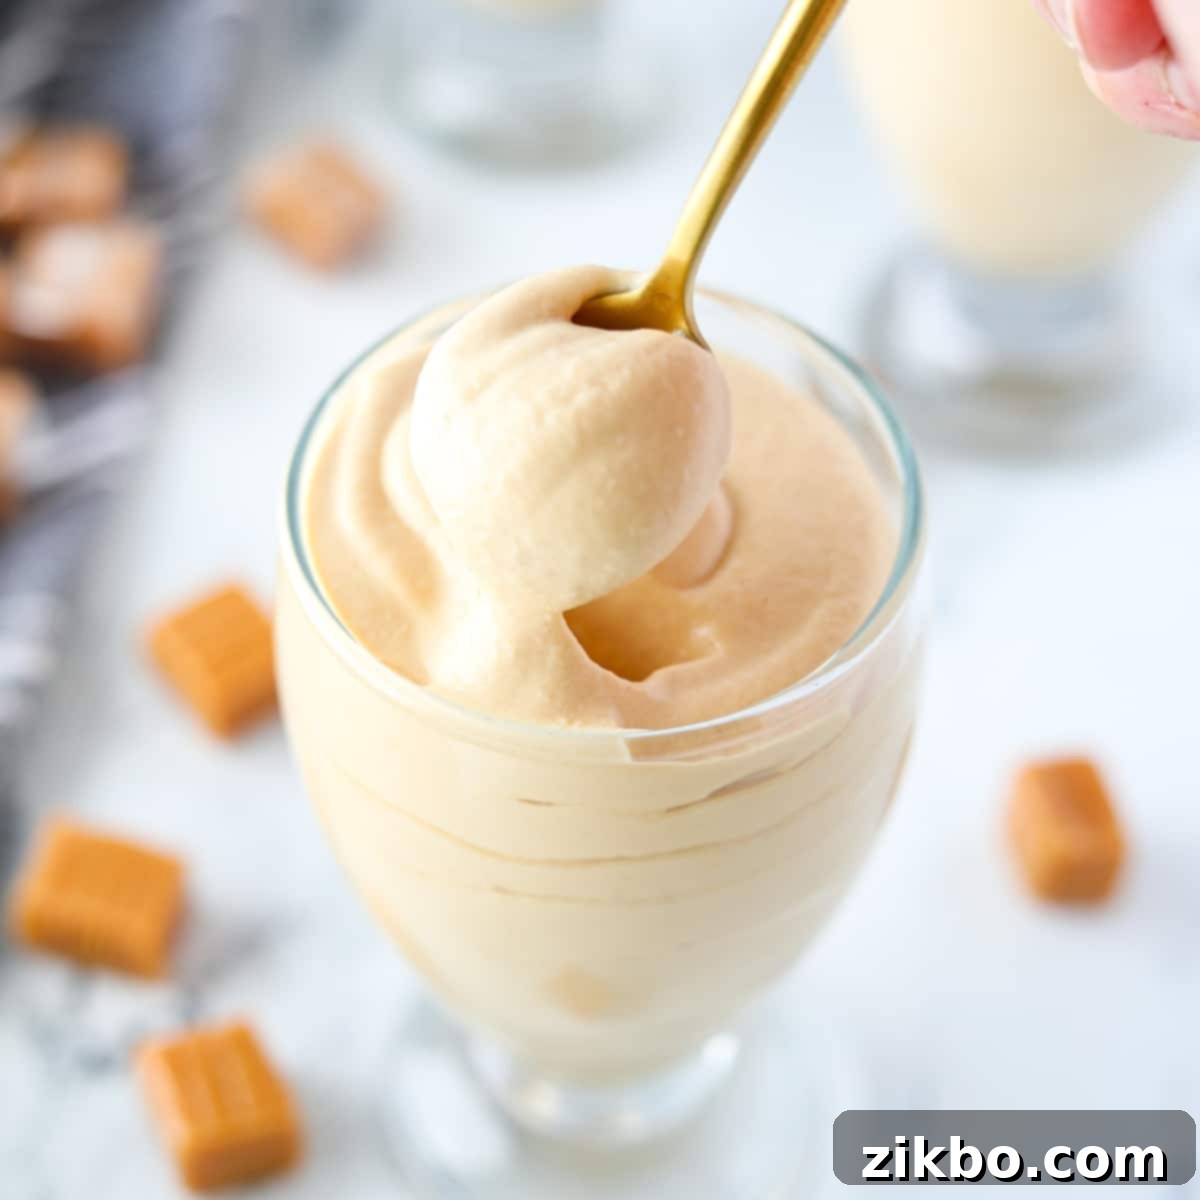
Easy 2-Ingredient Dulce de Leche Mousse: A Quick No-Bake Dessert (Ready in Under 10 Minutes!)
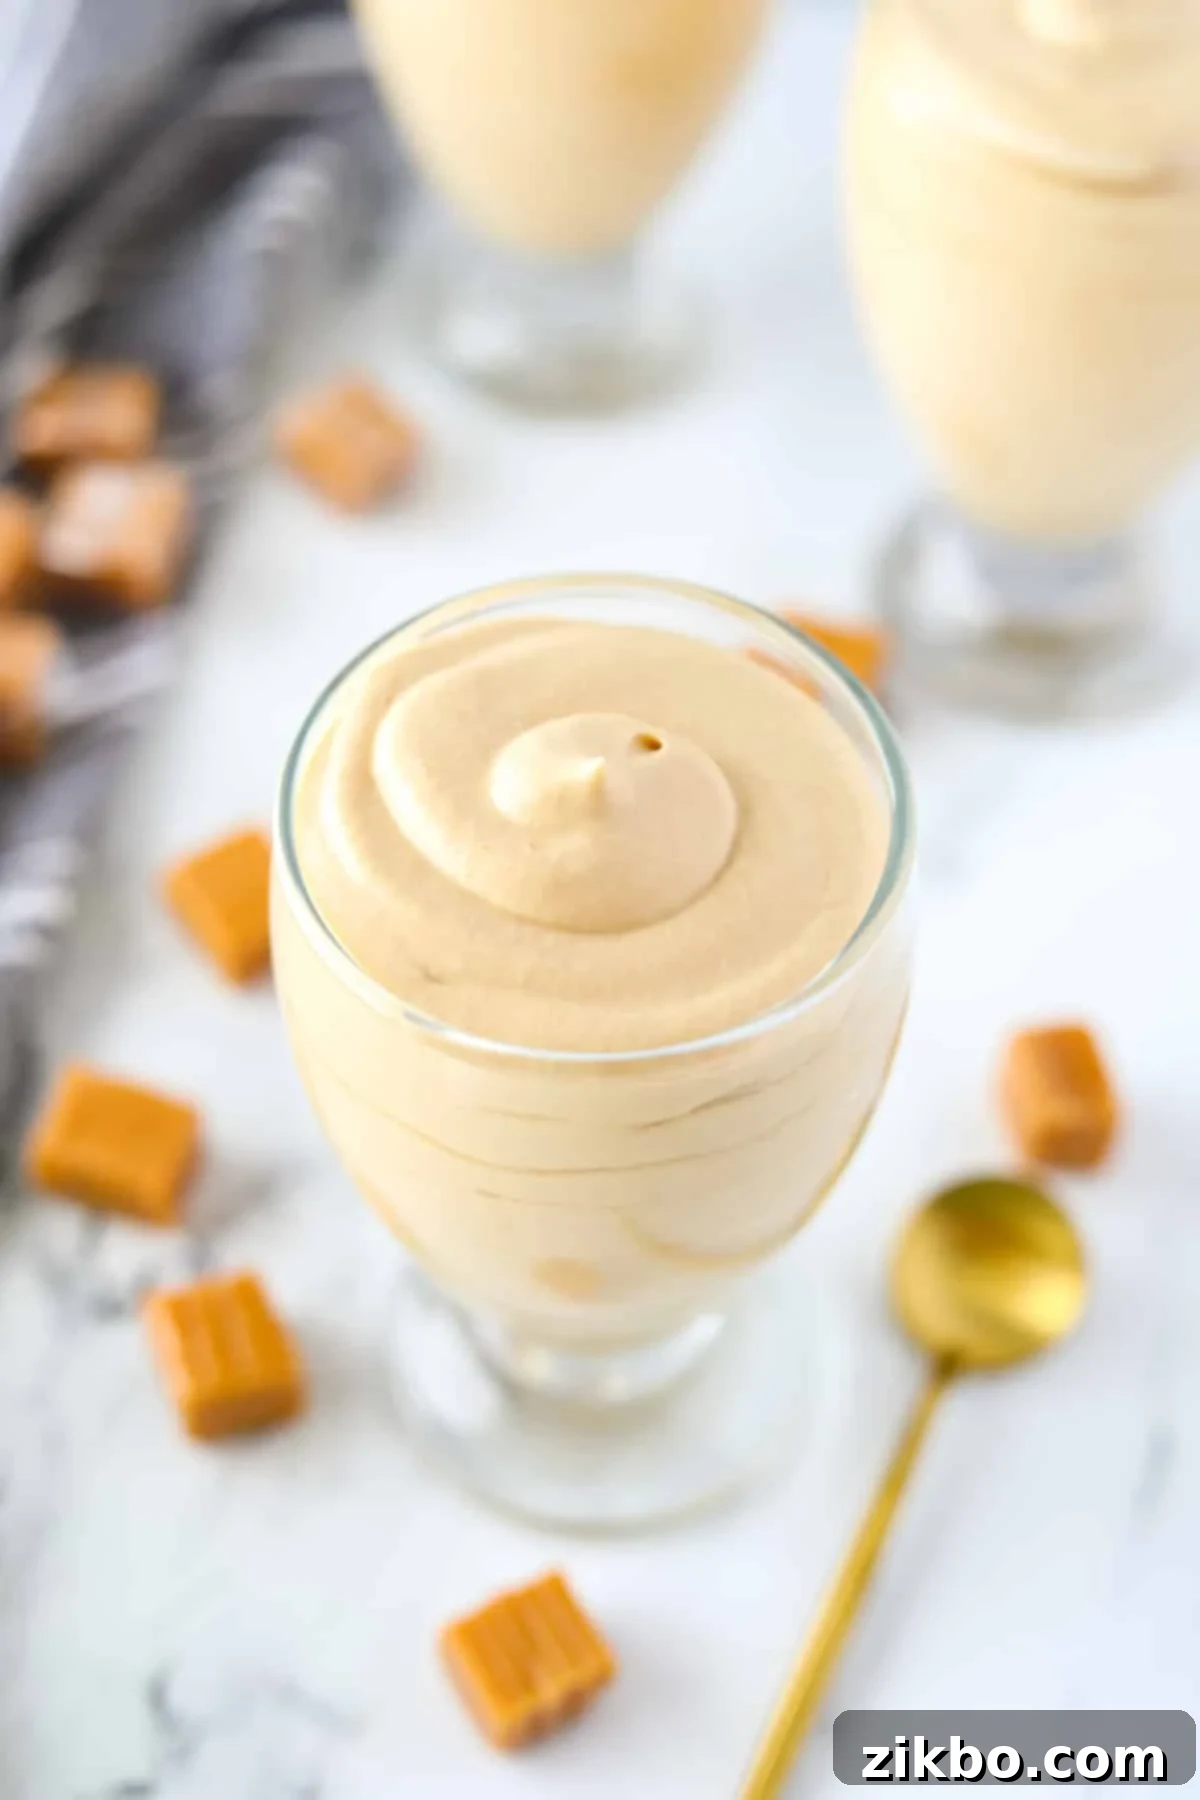
Prepare to be amazed by this effortlessly delicious Dulce de Leche Mousse recipe! Crafted with just two key ingredients – rich heavy cream and luscious, thick dulce de leche – this dessert comes together in an astounding less than 10 minutes. Forget the fuss of egg yolks, cream cheese, or gelatin; this incredibly simple mousse is perfect for last-minute cravings or unexpected guests, offering a creamy, airy texture and an irresistible caramel flavor that will delight everyone.
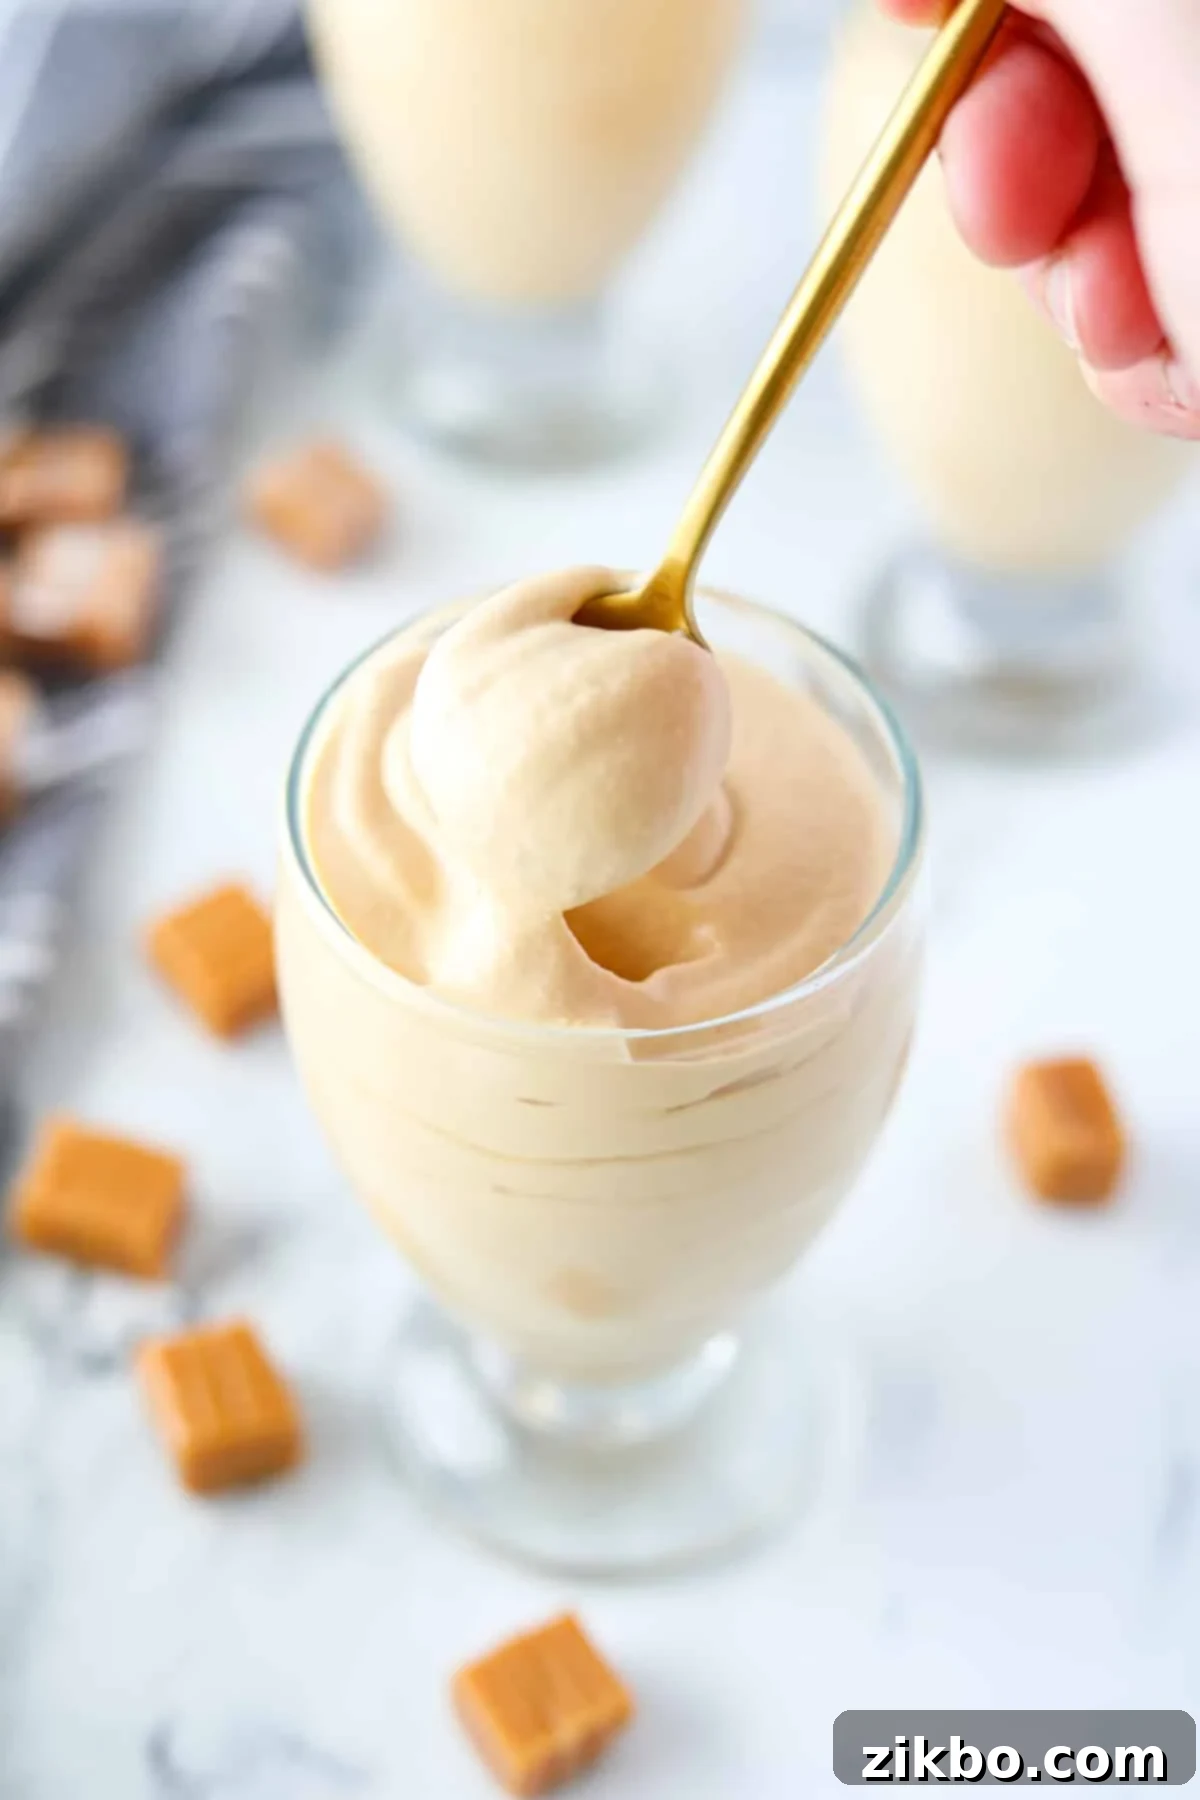
Dulce de leche, a beloved sweet treat, holds a special place in the hearts (and stomachs) of many across Latin America. This velvety, caramelized sweetened milk is a staple dessert filling, topping, and flavoring, particularly celebrated in Argentina and Brazil. Its popularity also extends widely throughout Mexico and much of the United States, where its unique, deep caramel notes are savored in various culinary creations.
In my home, our love affair with dulce de leche spans well over a decade. After successfully whipping up a batch of homemade Dulce de Leche ice cream, I was inspired to explore its potential in other desserts. My next mission: to create a wonderfully creamy dulce de leche mousse that captured its rich essence.
My initial attempts involved a traditional mousse base, complete with raw eggs and a lengthy preparation time. While delicious, I quickly encountered issues with the dulce de leche separating, and the entire process proved to be far too time-consuming for my preference. As someone who prioritizes quick and easy recipes, this traditional approach felt counterintuitive to my cooking philosophy.
After a bit of brainstorming, I began to wonder: could a “cheater mousse” be made simply by combining whipped cream with dulce de leche? To my absolute delight, the experiment was a resounding success! This simplified method not only delivered on flavor and texture but also drastically cut down on preparation time, making it a perfect solution for busy bakers and dessert enthusiasts alike.
Why You’ll Adore This Dulce de Leche Mousse Recipe
- **Effortless Elegance:** This recipe is truly the perfect dessert for any occasion – whether you’re celebrating Cinco de Mayo, hosting a sophisticated dinner party, or simply craving something easy yet undeniably elegant. Its rich flavor and beautiful presentation make it a showstopper without the stress.
- **Minimal Ingredients, Maximum Flavor:** You only need just 2 basic ingredients: high-quality heavy cream and luscious dulce de leche. That’s right – no Cool Whip, no cream cheese, no eggs, and absolutely no unflavored gelatin are required. This straightforward ingredient list ensures a pure, intense caramel flavor.
- **Unbelievably Fast Preparation:** Get ready to indulge in this delightful mousse in less than 15 minutes! Unlike many traditional mousse recipes, there’s no extensive chilling or resting period needed. It’s truly a dessert that can be made and enjoyed almost instantly.
- **Flexible Serving Options:** The best part? This easy dulce de leche mousse can be prepared right before your guests arrive, allowing for spontaneous dessert moments, or it can be made up to 24 hours ahead of time, freeing you up to focus on other aspects of your event. Convenience is key here!
Seriously, it’s a creamy, dreamy caramel mousse with a light, airy texture – what’s not to fall in love with!?
Essential Ingredients for Your Dulce de Leche Mousse
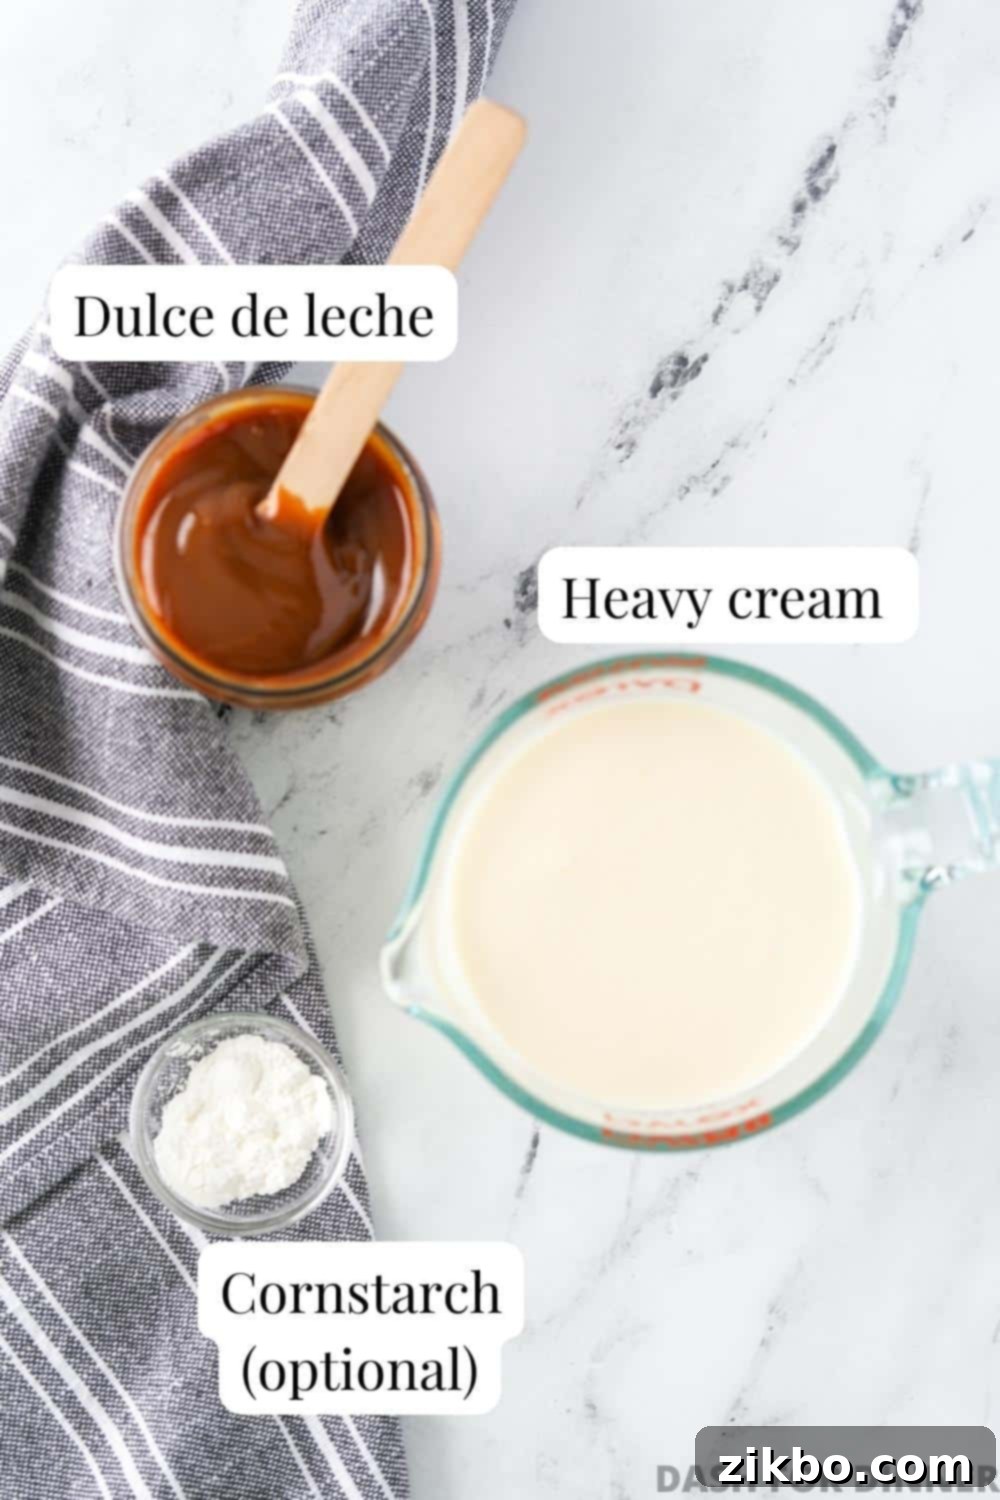
- Dulce de Leche: The star of our show! For the best flavor and texture, I highly recommend opting for a good quality dulce de leche that possesses a very thick consistency. Brands like La Lechera often work well due to their adequate thickness. However, I would advise against using thinner varieties, such as some versions of Eagle Brand dulce de leche, as they might not yield the desired rich mousse texture. For an extra luxurious experience, seek out thick, dark-colored dulce de leche at your local specialty shops or international markets. The quality of your dulce de leche directly impacts the final taste, so choose wisely!
- Heavy Cream: Also commonly known as heavy whipping cream or simply whipping cream, this ingredient is crucial for creating the mousse’s signature thickened, airy, and creamy silky texture. It’s imperative that your heavy cream is adequately chilled before you begin the recipe. Cold cream whips much faster and achieves a better volume and stability, which is essential for a light mousse.
- Cornstarch (optional): Known as corn flour in the UK, this humble ingredient serves a vital role as a thickener and stabilizer for your dulce de leche mousse. If you plan on preparing the mousse in advance or storing any leftovers, incorporating cornstarch is highly recommended. It helps prevent separation and maintains that beautiful, airy consistency over time. If you intend to serve and consume the mousse immediately, you can omit it, but for optimal storage and consistency, it’s a wise addition.
Recommended Equipment for Easy Mousse Making
- Electric Mixer: While a manual whisk might seem like an option, whipping heavy cream to the desired consistency by hand is an arduous task. To save time and effort, I strongly recommend using an electric hand mixer or a stand mixer fitted with a whisk attachment. These tools make the process quick, efficient, and ensure a perfectly airy mousse.
- Large Mixing Bowl: If you’re using a hand mixer, you’ll need a sufficiently large bowl to contain the splashing as the cream whips. Ensure it’s big enough to give you plenty of room to effectively combine and whip the heavy cream and dulce de leche without making a mess.
- Piping Bag (optional): For an elegant presentation, a piping bag is ideal for portioning the mousse into dessert cups. If you don’t own a pastry bag, a simple plastic storage bag (like a Ziploc) with one corner snipped off works perfectly as a homemade alternative. Alternatively, you can always carefully spoon the mousse into your chosen serving vessels.
- Dessert Cups or Ramekins: I personally prefer taller dessert cups for a visually appealing presentation. However, feel free to use ramekins, small bowls, or even shot glasses if you’re serving miniature portions. Any individual serving dish will work beautifully.
How to Master This 10-Minute Dulce de Leche Mousse
This delightful dulce de leche mousse recipe is a testament to simplicity, requiring just a few basic ingredients and coming together in an astonishingly short time – less than 10 minutes! Prepare to fall in love with its airy texture, straightforward preparation, and exquisitely rich caramel flavor.
Step One: Prepare Your Cream
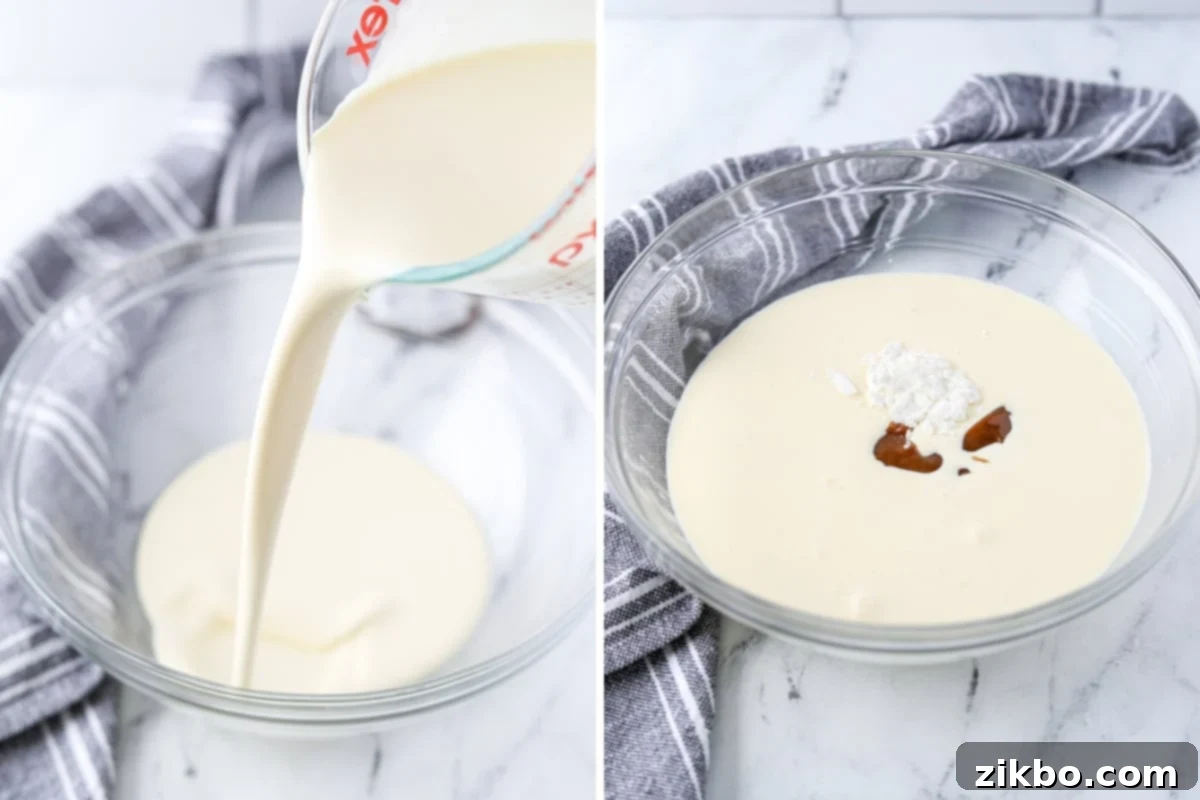
Begin by pouring the well-chilled heavy cream into a large mixing bowl. If you are using a stand mixer, transfer the cream to the bowl of your stand mixer, fitted with the whisk attachment. Ensuring your cream is cold is paramount for optimal whipping.
Step Two: Combine Key Ingredients
To the bowl containing the heavy cream, add 1 cup of your chosen thick dulce de leche. If you plan on storing the mousse or preparing it ahead of time, also add 1 teaspoon of cornstarch (or corn flour).
Whipping to Perfection
Step Three: Whip Until Soft Peaks Form
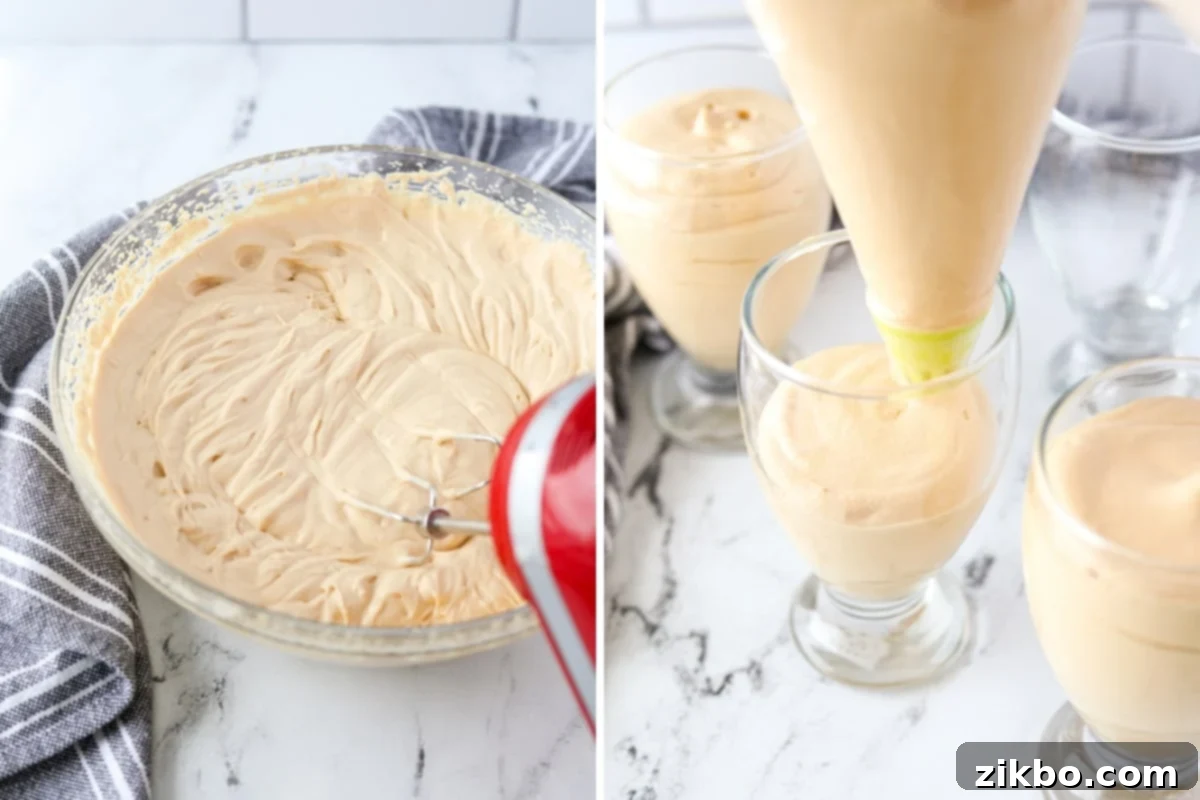
Using your electric mixer (handheld or stand mixer), begin mixing the ingredients together on medium-high speed. Continue to whip until the mixture thickens considerably and forms soft peaks. This usually takes about 3-5 minutes. The mixture should be light, airy, and hold its shape slightly when the whisk is lifted.
Step Four: Portion and Present
Carefully transfer the thickened dulce de leche mousse mixture into a pastry bag using a rubber spatula. Gently pipe the mixture into your chosen dessert cups or individual ramekins. If you don’t have a pastry bag, simply spoon the mousse into the cups, taking care to create a pleasing presentation.
Step Five: Garnish and Serve
For an extra touch of indulgence, you can top each mousse cup with an additional drizzle of dulce de leche, a light dusting of powdered sugar, or a sprinkle of finely chopped nuts. Alternatively, the mousse is perfectly delicious left unadorned. Serve immediately to enjoy its freshest texture, or chill it for later enjoyment. If you used cornstarch, the mousse can be stored in the refrigerator for up to 24 hours before serving, maintaining its delightful consistency.
Hint: No pastry bag? No problem! A quick and easy workaround is to transfer the mousse mixture into a sturdy plastic storage bag (like a Ziploc). Snip off one of the bottom corners, and voila! You have an instant, disposable piping bag for neat and professional-looking portions.
Storing Leftover Dulce de Leche Mousse
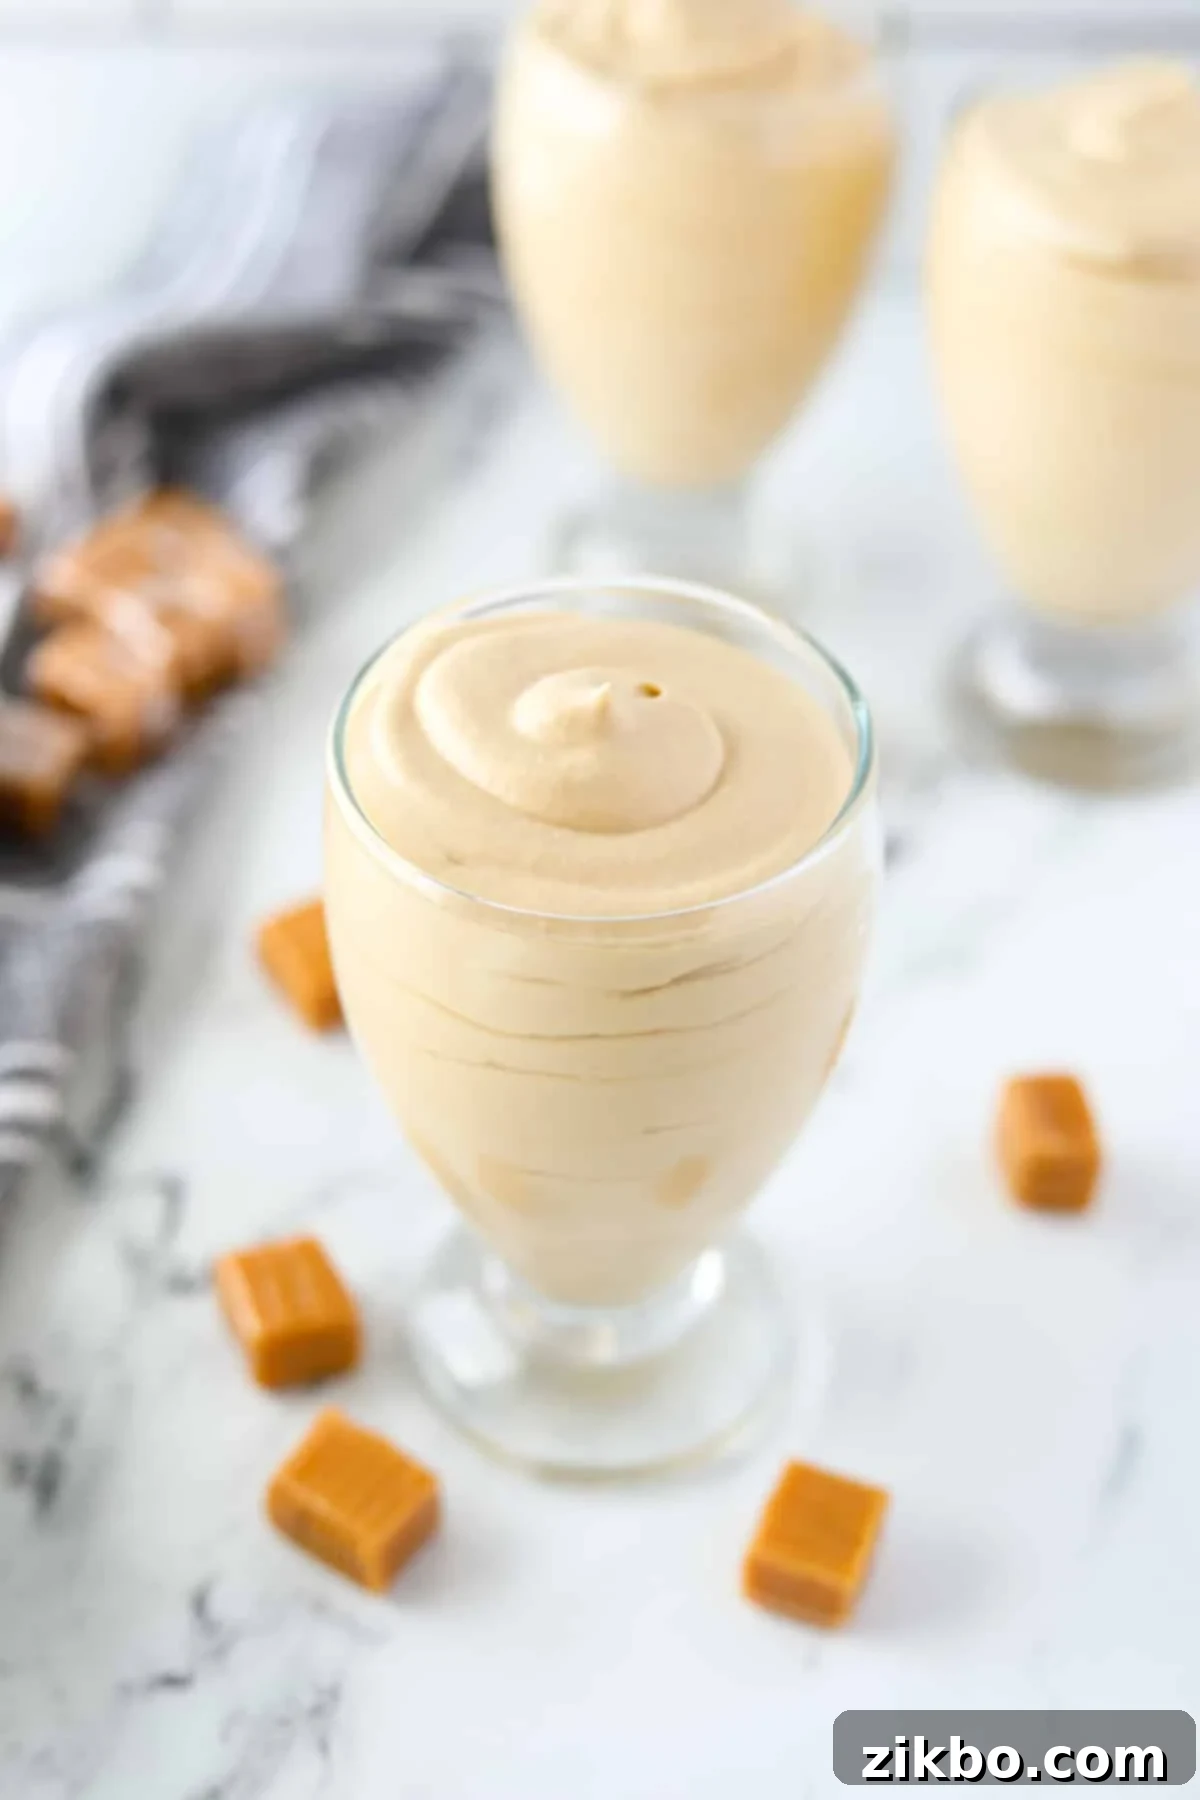
Proper storage is key to enjoying your homemade dulce de leche mousse for longer. Leftovers will store quite well for up to 3 days in the refrigerator. However, for the absolute best flavor and texture, I highly recommend consuming the mousse within the first 24 hours after preparation.
It’s crucial to remember that if you plan on storing your mousse, you absolutely must include the optional cornstarch in the recipe. Cornstarch acts as a vital stabilizer, helping to maintain the mousse’s airy structure and preventing it from separating. If you chose to skip the cornstarch, it’s best to enjoy your dulce de leche mousse within 6-12 hours of making it. While it will still be safe to eat after this period, the whipped cream component will likely begin to “weep” or release liquid, and the mixture may lose its distinct mousse-like texture and separate.
To store, wrap individual dessert jars tightly with plastic wrap or transfer the mousse to an airtight container. This will protect it from absorbing refrigerator odors and help preserve its freshness.
Choosing the Best Dulce de Leche for Your Mousse
When selecting the perfect dulce de leche for this mousse recipe, keep in mind that it is one of only two primary ingredients (three if you include the small amount of cornstarch). This means that the quality of your dulce de leche is paramount. If you don’t enjoy the flavor of the dulce de leche you’re using, it’s highly unlikely you’ll be satisfied with the finished mousse.
I strongly recommend seeking out a thick, authentic dulce de leche. These often have a deeper, richer caramelized flavor and a more robust consistency that contributes wonderfully to the mousse’s body. Explore your local specialty stores or international markets, where you can often find high-quality imported varieties. While supermarket staples like La Lechera can certainly be used in a pinch, a premium brand will truly elevate your dessert experience.
If finding good quality dulce de leche proves challenging, or if you simply enjoy the satisfaction of making things from scratch, you can absolutely create your own! Lynn from Fresh April Flours has an excellent resource detailing a comparison of various methods for making your own Dulce de Leche. I highly recommend checking out her post if you decide to embark on a homemade dulce de leche adventure.
Expert Tips for the Perfect Dulce de Leche Mousse
- Always Use Chilled Ingredients: Since heavy whipping cream is the foundational ingredient for this dulce de leche mousse, maintaining a cold temperature is absolutely critical. Heavy cream whips most effectively and achieves maximum volume when it is thoroughly chilled. For an even better result, consider chilling your mixing bowl and even the dulce de leche in advance. A cold environment helps stabilize the fat in the cream, leading to a quicker and more stable mousse.
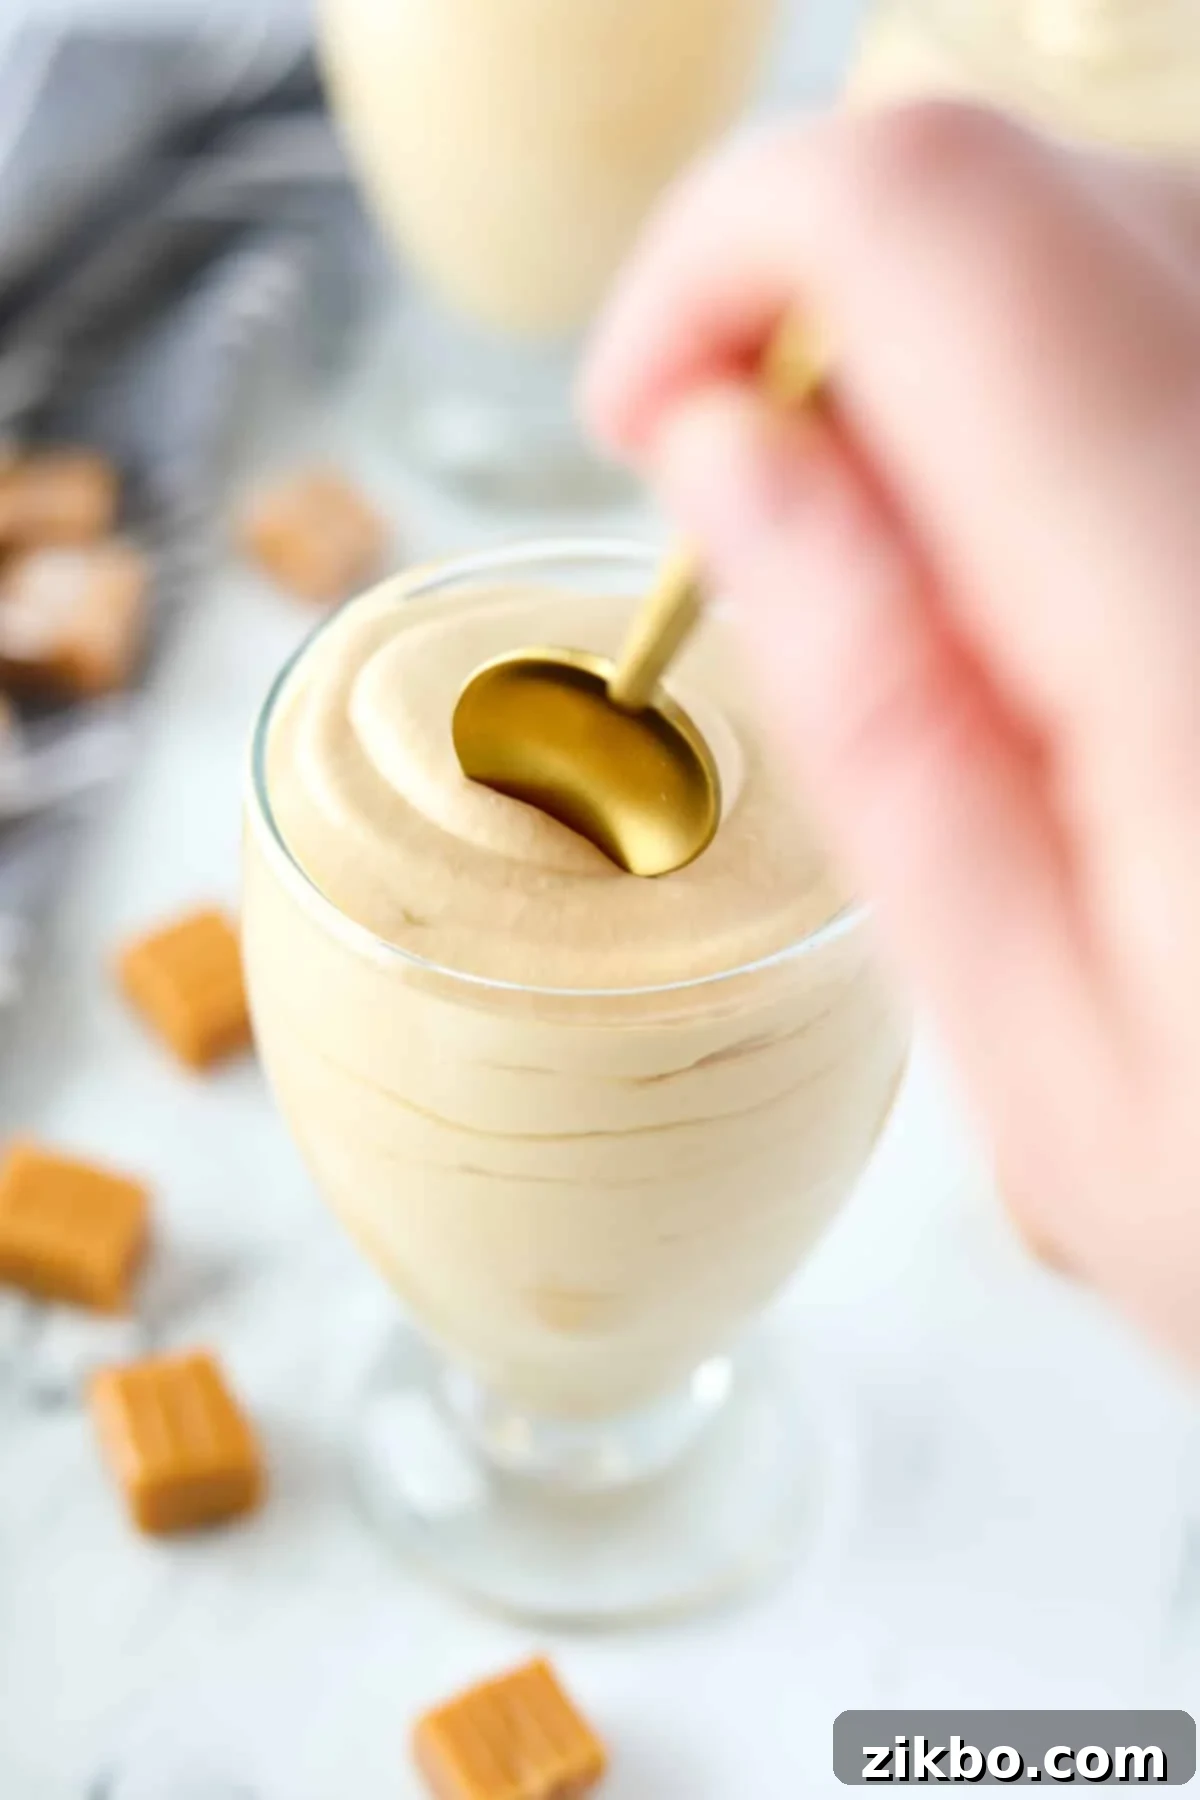
- Understanding “Soft Peaks”: If you’re familiar with making homemade whipped cream, you’ve likely encountered the terms “soft peaks” and “stiff peaks.” For this specific dulce de leche mousse recipe, the goal is to achieve soft peaks. Unlike traditional whipped cream, the addition of dulce de leche will prevent the mixture from reaching stiff or firm peaks, which is perfectly fine. When you lift the whisk attachment from the mousse mixture, a small, gentle peak should form that curls over slightly but still holds its shape. This indicates the ideal airy yet stable consistency.
- Embrace Your Electric Mixer: While the idea of whisking this by hand might sound like a rustic culinary adventure, I assure you, it’s an incredibly strenuous task that most of us would rather avoid! Whipping cream to the correct consistency by hand requires significant physical effort and time. I strongly recommend using an electric hand mixer or a stand mixer equipped with a whisk attachment. This will dramatically cut down on preparation time and save your arm strength, ensuring a beautifully consistent mousse every time.
- Don’t Over-Whip: While you want soft peaks, be careful not to over-whip the mixture, especially if you’re not using cornstarch. Over-whipped cream can become grainy or even start to separate into butter and buttermilk. Keep a close eye on the consistency as you mix.
- Taste and Adjust: Before serving, always taste your mousse. Depending on the sweetness of your dulce de leche and your personal preference, you might want to add a tiny pinch of salt (to enhance caramel flavor) or a splash of vanilla extract for added depth.
Delicious Variations for Your Mousse Adventure
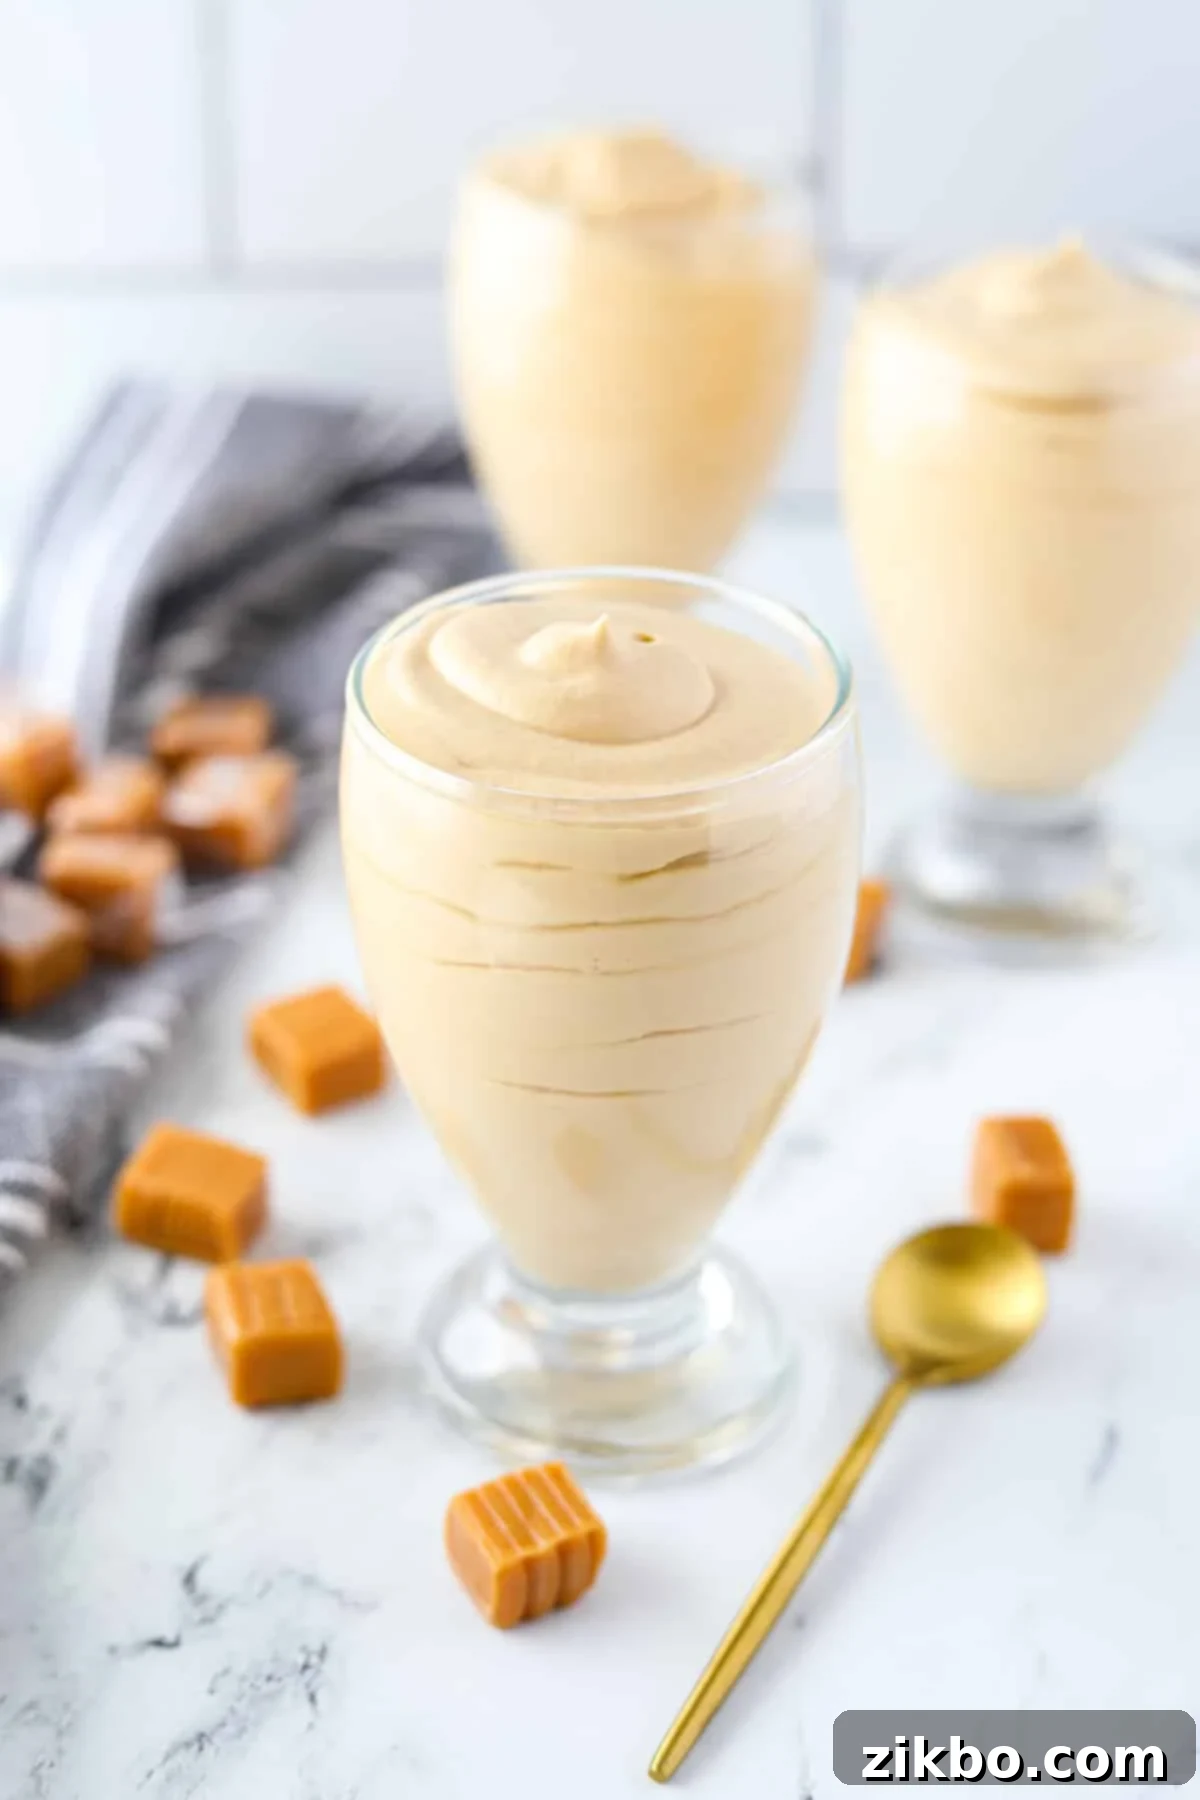
This simple mousse base is incredibly versatile! Once you’ve mastered the classic dulce de leche version, feel free to experiment with these delightful variations:
- Peanut Butter Mousse: While I haven’t personally tested this specific variation yet, based on the thick and creamy consistency of most peanut butters, I believe it would work exceptionally well when substituted for dulce de leche. Imagine a rich, nutty mousse – a dream for peanut butter lovers! Opt for a smooth, creamy peanut butter for the best results.
- Cookie Butter Mousse: Similar to peanut butter, Biscoff cookie butter (or any other brand of speculoos spread) boasts a wonderfully thick and spreadable consistency. This makes it an excellent candidate for replacing dulce de leche in this recipe, promising a spiced, caramelized biscuit-flavored mousse that’s truly unique and irresistible.
- Nutella Mousse: I have actually tested this variation by substituting Nutella for dulce de leche, and the results were undeniably delicious! However, I found the consistency to be a bit thinner than the dulce de leche version. My hypothesis is that chilling the Nutella beforehand could lead to a thicker, more stable mousse. I plan to re-test this variation with pre-chilled Nutella and will be sure to update the recipe with the best method for a perfectly thick Nutella mousse.
- Salted Caramel Mousse: For a sophisticated twist, add a pinch of sea salt (about ¼ to ½ teaspoon) to the heavy cream and dulce de leche mixture before whipping. The salt will beautifully enhance and balance the sweetness of the caramel, creating a more complex flavor profile.
- Coffee Dulce de Leche Mousse: Infuse your mousse with a subtle coffee kick by adding 1-2 teaspoons of instant espresso powder (dissolved in a tiny bit of hot water and cooled) to the mixture before whipping. This creates a delightful mocha-caramel fusion.
Frequently Asked Questions About Dulce de Leche Mousse
Dulce de leche offers a wonderfully unique flavor profile that can be best described as a rich, milky, and intensely sweet caramel. The primary distinction between traditional caramel and dulce de leche lies in the absence of a distinct buttery taste in dulce de leche. Since it’s primarily made by slowly caramelizing milk and sugar, it has a deeper, more rounded milky undertone rather than a butter-forward richness. This makes it equally delicious yet totally unique, creating a thick, velvety, and deeply satisfying sauce that elevates any dessert it graces.
If your recipe specifically calls for dulce de leche, it is generally not recommended to substitute it with sweetened condensed milk. The two products, while both made from milk and sugar, are quite different. Sweetened condensed milk is much thinner in consistency and possesses a more simplistic, less complex flavor profile compared to the deep, caramelized notes of dulce de leche. Swapping them out will likely result in a dessert with a different texture, flavor, and overall outcome than what the original recipe intended.
Typically, unopened jars or cans of dulce de leche can be safely stored at cool room temperature in a pantry or cupboard. However, once the package has been opened, it is crucial to transfer any remaining dulce de leche to an airtight container and store it in the refrigerator. This helps to maintain its freshness and prevent spoilage. Always make sure to check the specific product packaging for detailed storage instructions and recommended storage durations, as these can sometimes vary between brands.
Explore More Easy Dessert Recipes
If you loved the simplicity and flavor of this Dulce de Leche Mousse, you’re in for a treat! Here are more of my favorite easy dessert recipes that require minimal effort but deliver maximum satisfaction:
- Homemade Dulce de Leche Ice Cream: A creamy, dreamy delight for dulce de leche aficionados.
- Lazy Cheesecake Salad: All the flavors of cheesecake in a refreshingly easy, no-bake salad format.
- No Bake Peanut Butter Bars: A classic, crowd-pleasing dessert that comes together in minutes.
- Berry Cheesecake Salad: A vibrant and fruity twist on the cheesecake salad, perfect for summer.
- Chocolate Wafer Icebox Cake (Zebra Cake): Layers of chocolate and cream create a stunning and simple dessert.
If you tried and loved this incredible recipe for easy Dulce de Leche Mousse, please let me know by leaving a 5-star review in the recipe card below or sharing your feedback in the comments section! Your reviews help other dessert lovers discover this fantastic recipe. You can also tag me on Instagram @dashfordinner to share your beautiful creations – I love seeing what you bake!

Dulce de Leche Mousse
Print
Pin
Rate
Dessert
Latin, Mexican
10 minutes
4
204
kcal
Dorothy Bigelow
7.50
Equipment
-
Stand mixer or electric hand mixer
-
Piping bag optional, or a plastic storage bag with corner cut off
-
Large Mixing Bowl
-
Dessert Cups or Ramekins
Ingredients
-
1 cup dulce de leche thick, good quality -
1 cup heavy cream well-chilled -
1 teaspoon cornstarch (optional, for stabilization)
Instructions
-
Add the well-chilled heavy cream, dulce de leche, and cornstarch (if you’re using it) into a large mixing bowl or the bowl of your stand mixer fitted with the whisk attachment.
-
Beat the ingredients together on medium-high to high speed for about 3-5 minutes, until they are well combined and the mixture becomes very thick and airy.
-
The mixture should form soft peaks – if it seems too runny, continue to mix for another minute or add an additional half teaspoon of cornstarch and whip briefly.
-
Carefully transfer the thickened mousse to a pastry bag (or a plastic storage bag with a corner cut off) and pipe the mixture into your dessert cups. Alternatively, gently spoon it in if preferred.
-
Garnish with an additional drizzle of dulce de leche, a dusting of powdered sugar, or leave plain, as desired.
-
Serve this delicious mousse immediately for the best texture, or make it ahead and chill for up to 1 day before serving (especially if using cornstarch for stability).
Did you try this recipe?Tag me at @dashfordinner and share your photos!
Notes
Chilling: For the quickest and most stable results, it is absolutely essential that your heavy cream is thoroughly chilled. If possible, chilling the dulce de leche as well will further assist the mixture in thickening more rapidly and consistently.
Cornstarch: The cornstarch acts as a crucial stabilizer in this recipe, helping to prevent the mousse from separating and ensuring it maintains its creamy texture, especially when stored in the refrigerator. If you plan on enjoying the dulce de leche mousse right away and consuming it immediately, you can certainly omit the cornstarch. However, if you intend to store it for any length of time or prepare it in advance, I highly recommend including it for optimal results.
Nutrition
Carbohydrates: 2g |
Protein: 2g |
Fat: 21g |
Saturated Fat: 14g |
Polyunsaturated Fat: 1g |
Monounsaturated Fat: 5g |
Cholesterol: 67mg |
Sodium: 16mg |
Potassium: 57mg |
Fiber: 0.01g |
Sugar: 2g |
Vitamin A: 875IU |
Vitamin C: 0.4mg |
Calcium: 39mg |
Iron: 0.1mg
Please note that some of my blog posts here at Dash for Dinner may contain affiliate links. If you make a purchase through these links, I will get a small commission at no additional cost to you. Please see my Disclaimer for more information.
