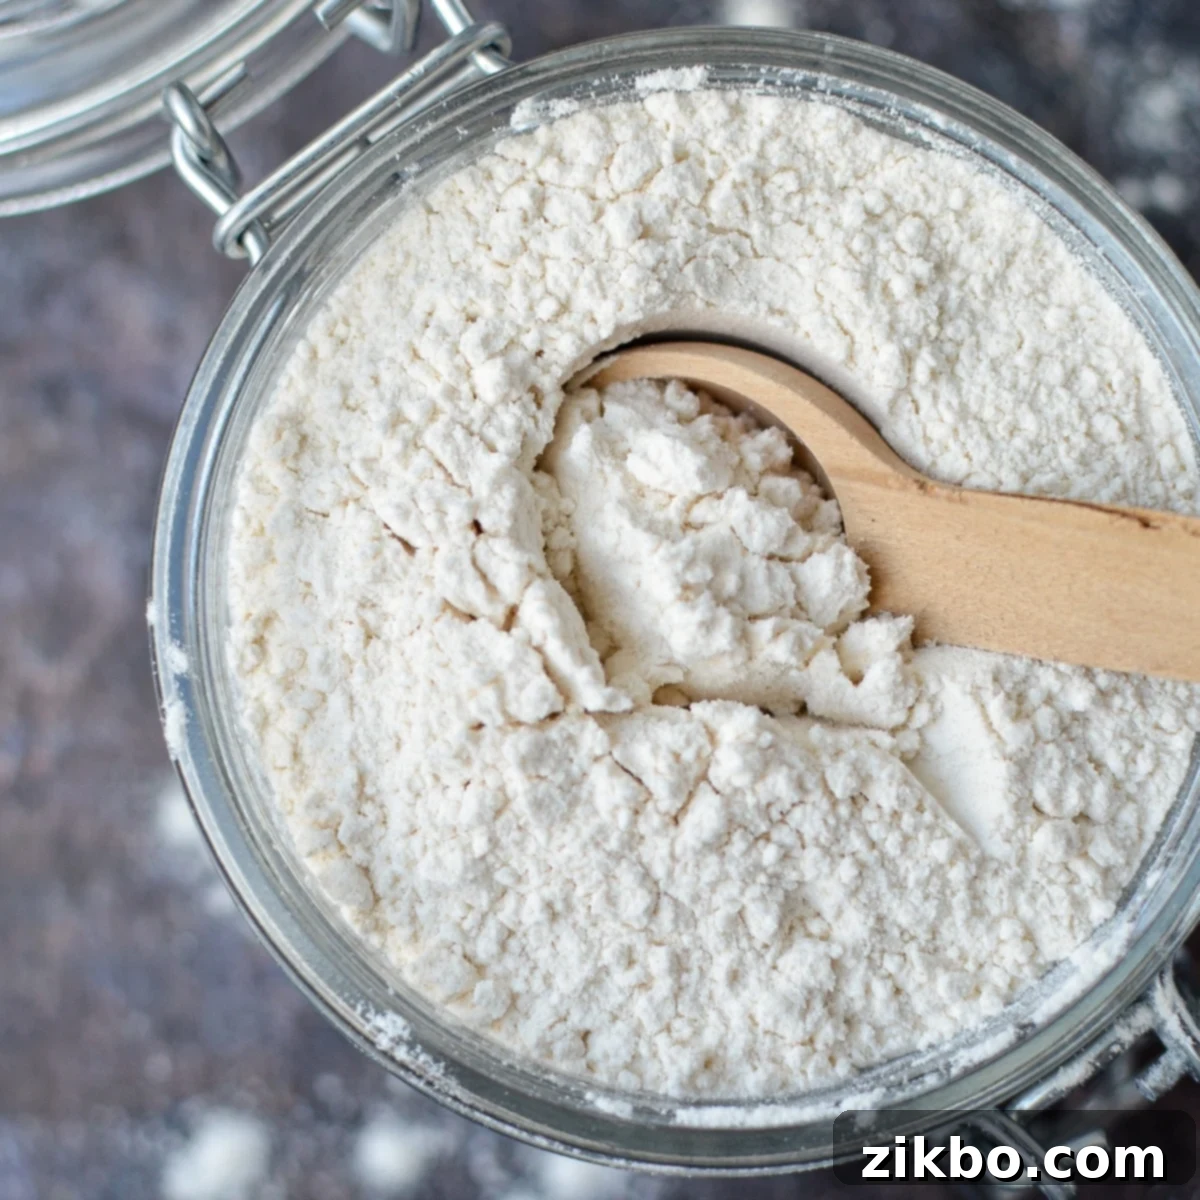
Easy Homemade Self-Rising Flour: Your Essential DIY Baking Mix for Perfect Results
Ever found yourself in the middle of a baking project, only to realize you’re missing that crucial bag of self-rising flour? Or perhaps, like many living in areas with limited grocery options, store-bought self-rising flour simply isn’t available. Don’t let a forgotten ingredient or a remote location halt your culinary creativity! This comprehensive guide will show you how to effortlessly create your own high-quality homemade self-rising flour in less than 5 minutes, using just three basic ingredients you likely already have in your pantry. It’s the ultimate hack for any home baker, ensuring you’re always prepared to bake up light, fluffy, and perfectly leavened treats.
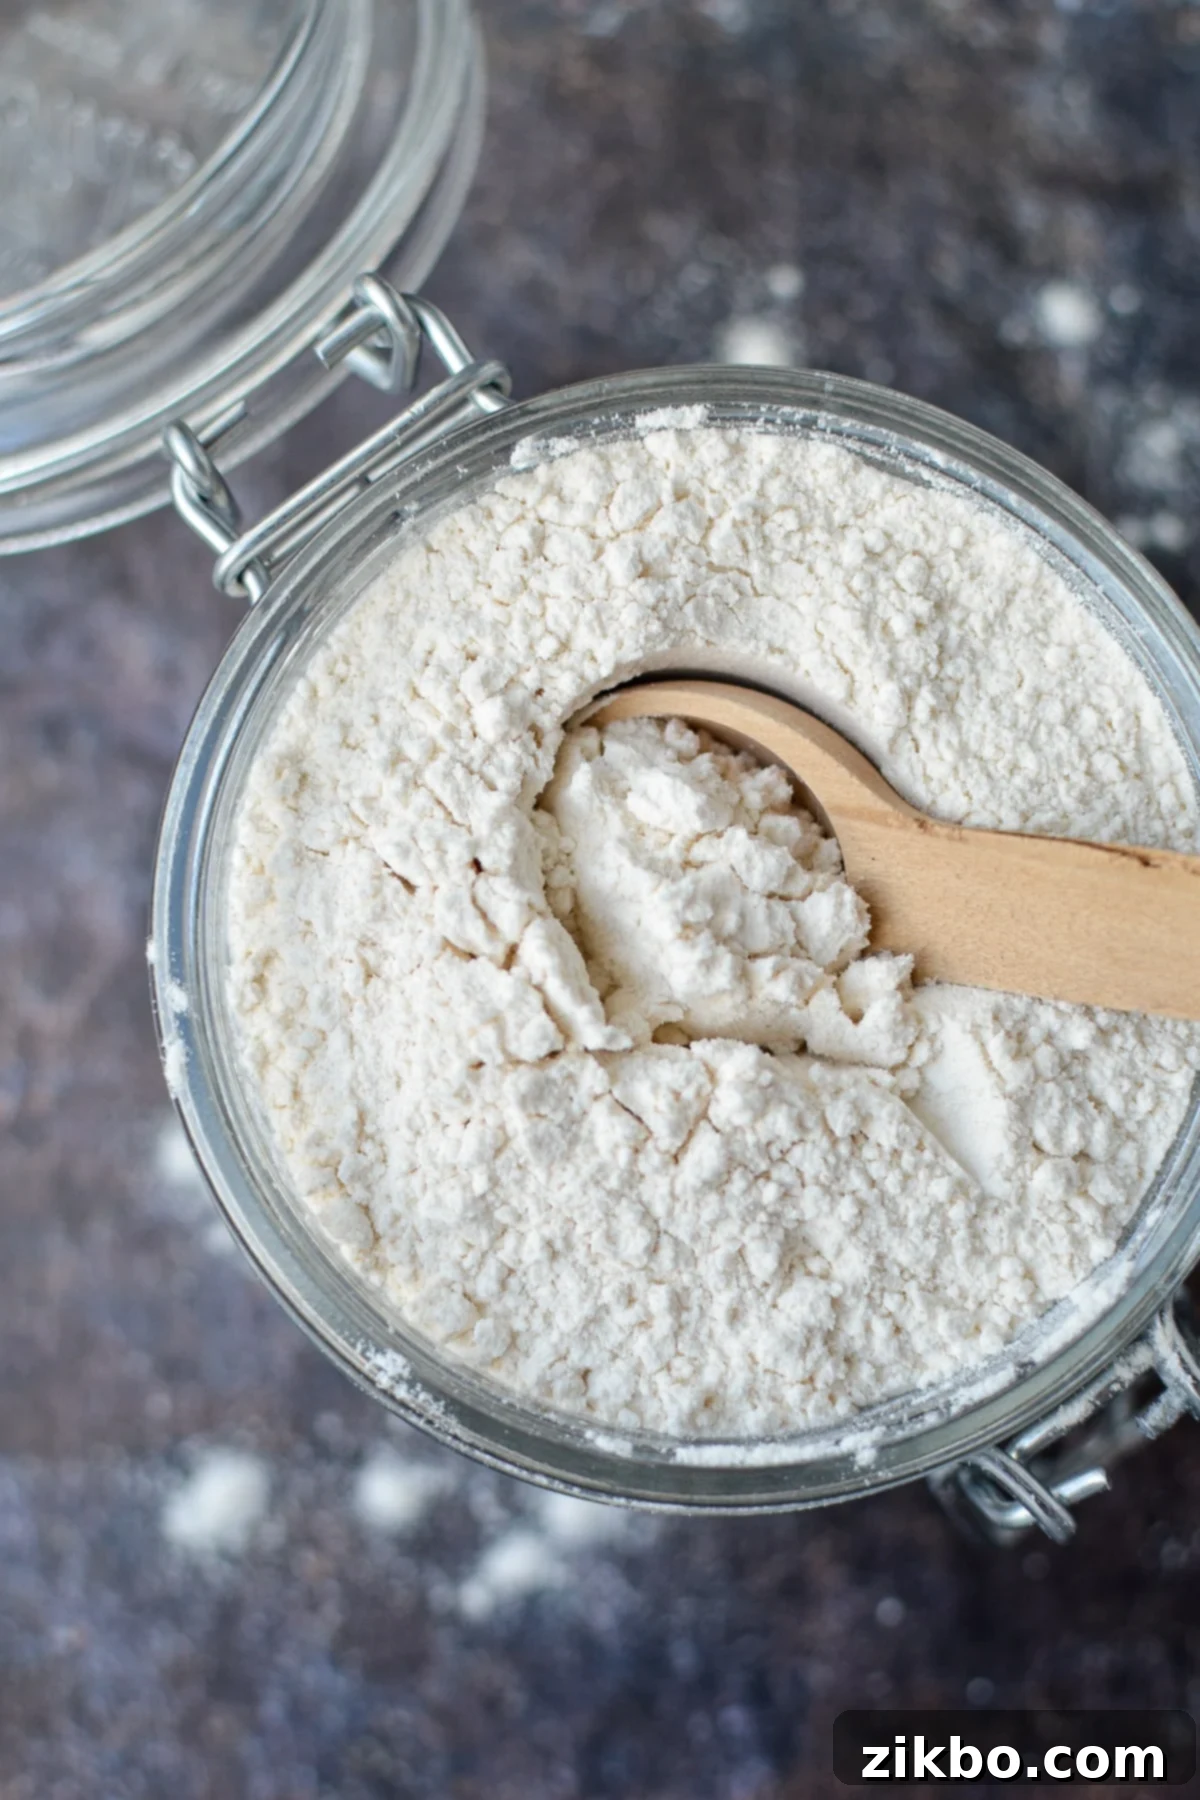
My personal journey to perfecting this easy recipe stems from living in a small, rural community. While the picturesque landscapes and an abundance of local farm produce are wonderful, the selection in the grocery department can sometimes be quite limited. One ingredient that consistently eludes my local store shelves is self-rising flour. This challenge turned into an opportunity, compelling me to develop a reliable homemade self-rising flour substitute.
What I discovered was not just a convenient workaround, but a genuinely superior product. This simple recipe, made with ordinary flour, baking powder, and a touch of salt, performs just as well as, if not better than, its store-bought counterparts. It’s incredibly simple, cost-effective, and guarantees the freshest ingredients for your baking. Now, whenever a recipe calls for self-rising flour—be it for a batch of my famous Southern biscuits or a nostalgic “Cuppa Cake” inspired by Steel Magnolias—I can whip up a fresh batch in moments. And while I certainly appreciate the legendary quality of White Lily Flours (Brenda Gantt’s endorsements are truly compelling!), having this DIY option means I’m never at the mercy of my grocery store’s stock, or lack thereof.
What Exactly Is Self-Rising Flour?
Self-rising flour, often known as self-raising flour in Canada and the UK, is a specially formulated flour mix designed to simplify baking. It’s essentially all-purpose flour that has had a leavening agent (typically baking powder) and a small amount of salt already mixed into it. This pre-blended mix means you don’t need to add these ingredients separately, making baking quicker and less prone to errors. The flour itself typically has a lower protein content compared to bread flour, contributing to a tender crumb in baked goods. It’s particularly beloved in Southern American cuisine for its ability to create wonderfully light and fluffy biscuits, cakes, quick breads, and dinner rolls without the extra steps of measuring multiple leavening agents.
The baking powder in self-rising flour reacts with moisture and heat to produce carbon dioxide gas. These gas bubbles get trapped in the dough or batter, expanding as they bake and causing the mixture to “rise.” The added salt balances the flavors and also helps regulate the leavening process, ensuring a consistent and appealing texture.
Why You Should Make Your Own Self-Rising Flour
Beyond the simple satisfaction of DIY, there are several compelling reasons why making your own self-rising flour is a smart choice for any baker:
- Unmatched Convenience: No more last-minute dashes to the grocery store when you realize you’re out. With this simple recipe, you can create fresh self-rising flour in minutes, right when you need it, using common pantry staples.
- Guaranteed Freshness: The effectiveness of self-rising flour heavily relies on the freshness of its baking powder. Commercial self-rising flour can sit on shelves for extended periods, potentially losing its leavening power. By making your own, you ensure the baking powder is fresh and potent, leading to more reliable and consistent rises in your baked goods.
- Cost-Effective Baking: Buying individual ingredients like all-purpose flour, baking powder, and salt is often more economical than purchasing pre-mixed self-rising flour. This recipe helps you save money in the long run, especially if you bake frequently.
- Accessibility Anywhere: Self-rising flour isn’t universally available. If you live in a region where it’s hard to find, or if you’re traveling, knowing this simple recipe is invaluable. It liberates you from geographical baking limitations.
- Ingredient Control: Making your own gives you full control over the quality and type of flour and salt used. You can choose unbleached flour or your preferred brand, avoiding any additives or preservatives sometimes found in commercial products.
- Perfect for Southern Classics: This homemade blend is ideal for traditional Southern recipes, from fluffy buttermilk biscuits to tender cornbread and delightful quick breads, ensuring authentic textures and flavors every time.
Essential Ingredients for Homemade Self-Rising Flour
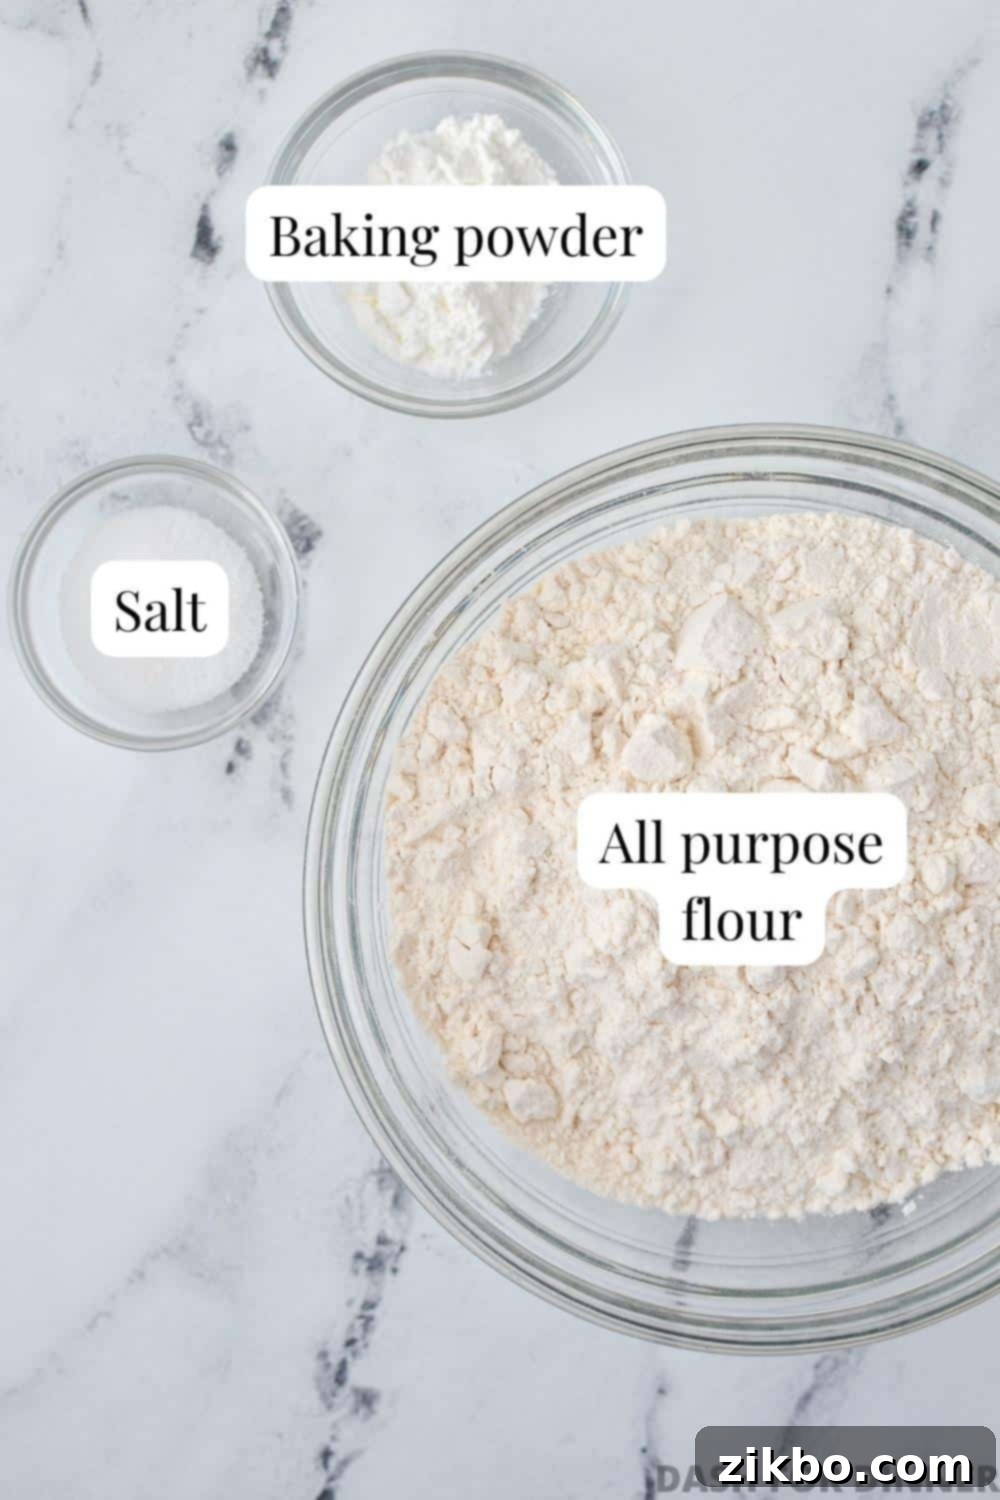
The beauty of this recipe lies in its simplicity. You only need three readily available ingredients:
- All-Purpose Flour: This forms the base of your self-rising flour. You can use any brand of regular all-purpose flour, whether it’s bleached or unbleached. For a slightly finer texture similar to commercial self-rising flours often used in the South, a softer wheat all-purpose flour or even cake/pastry flour (which has a lower protein content) can work wonderfully. Avoid using bread flour, as its higher gluten content can result in tougher baked goods, which is typically not desired when using self-rising flour.
- Baking Powder: This is your key leavening agent. Most baking powders available today are “double-acting,” meaning they create carbon dioxide gas in two stages: once when mixed with wet ingredients, and again when exposed to heat in the oven. This ensures a consistent and impressive rise. To check if your baking powder is still active, mix a teaspoon of it with a quarter cup of hot water. If it fizzes vigorously, it’s good to go!
- Salt: A small amount of salt is crucial for balancing the flavors and enhancing the overall taste of your baked goods. It also plays a subtle role in regulating the baking powder’s reaction. I highly recommend using a fine-grain salt, such as table salt or fine sea salt, as it blends seamlessly with the flour and baking powder, ensuring even distribution. Coarse salts like Kosher salt can be unevenly distributed, leading to pockets of saltiness, and are best avoided for this specific recipe.
Recommended Equipment:
- Flour Sifter or Fine Mesh Strainer: While not strictly mandatory, sifting your ingredients together is highly recommended for the best results. It ensures that the baking powder and salt are evenly distributed throughout the flour, preventing clumps and guaranteeing a uniform rise in your baked goods. Sifting also aerates the flour, contributing to a lighter, more tender texture. If you don’t have a sifter, a fine mesh strainer works perfectly. Alternatively, a simple whisk can achieve sufficient mixing, though sifting offers an advantage.
How to Make Self-Rising Flour: Step-by-Step Guide
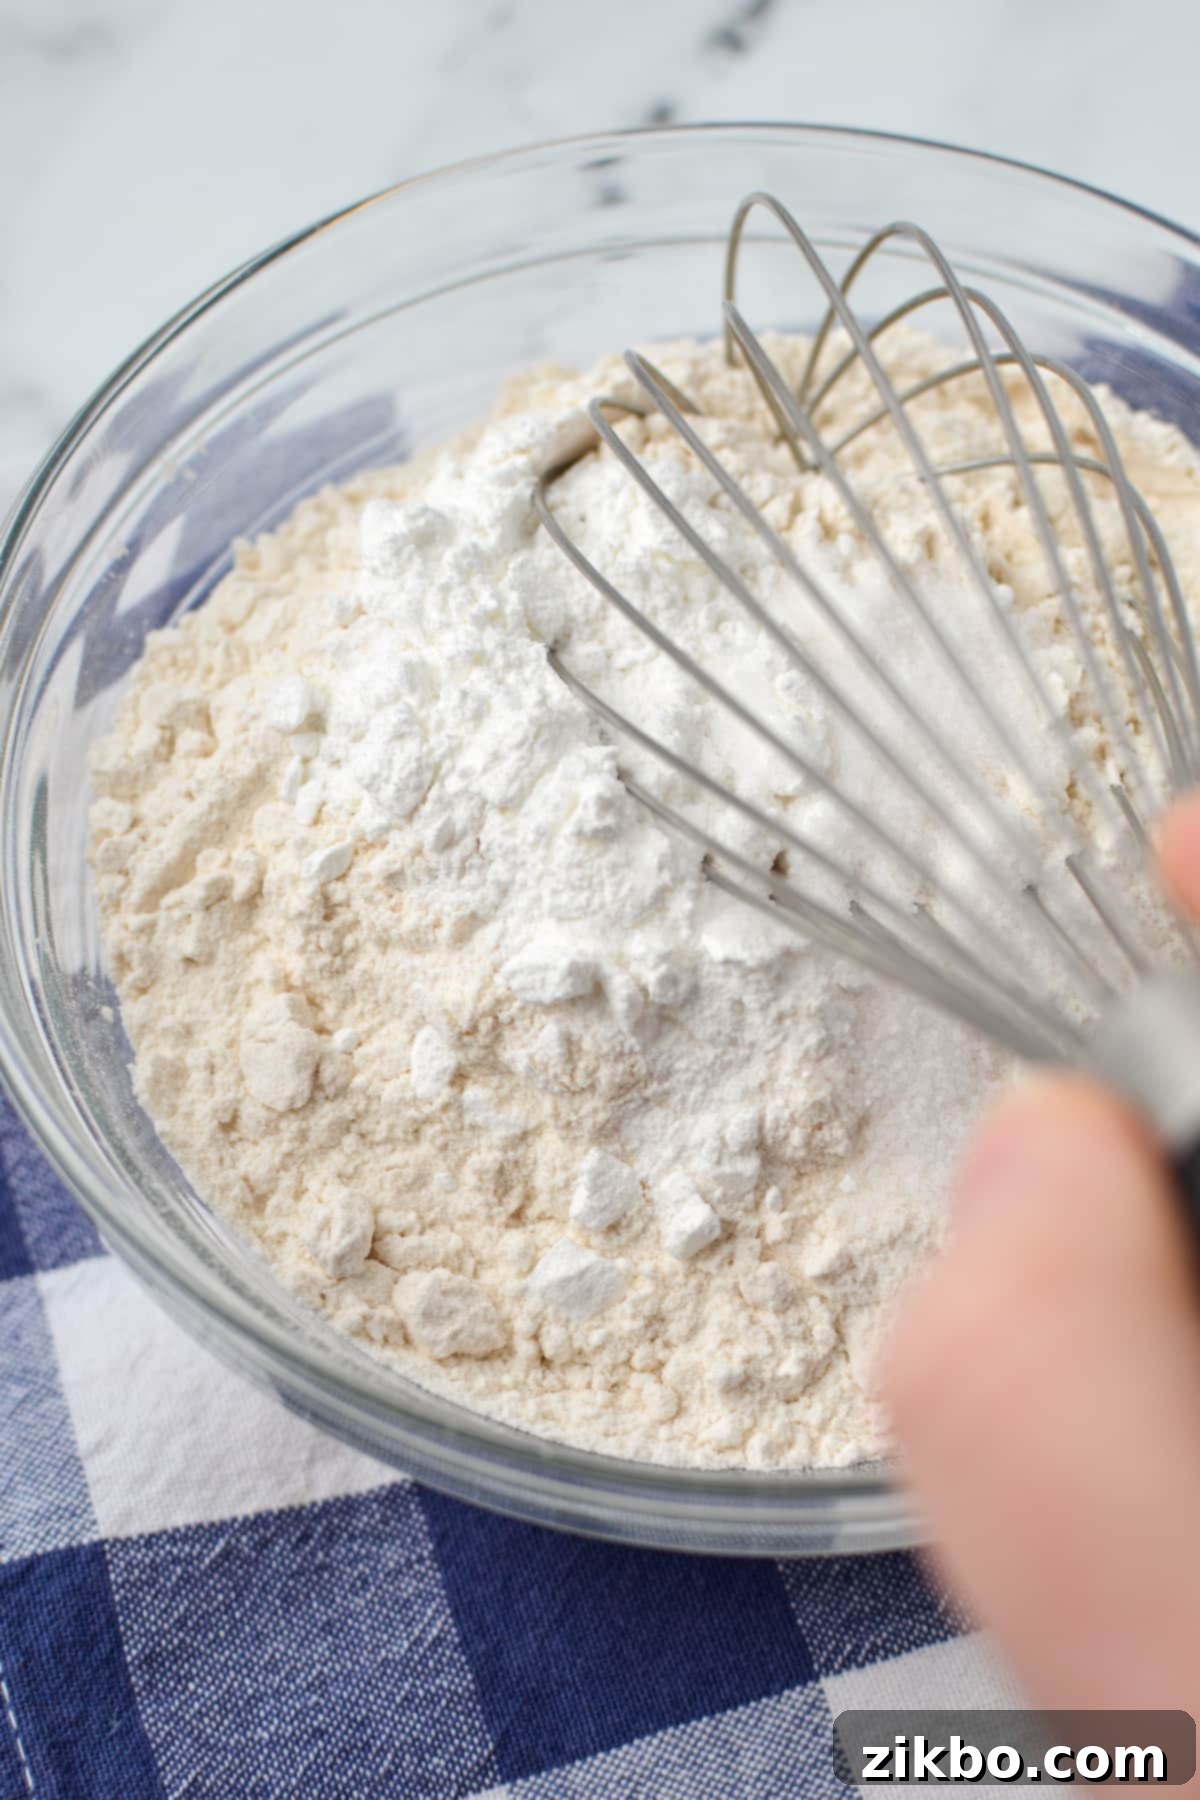
Making your own self-rising flour is incredibly straightforward and takes mere minutes. Here’s how:
Step One: Combine Ingredients
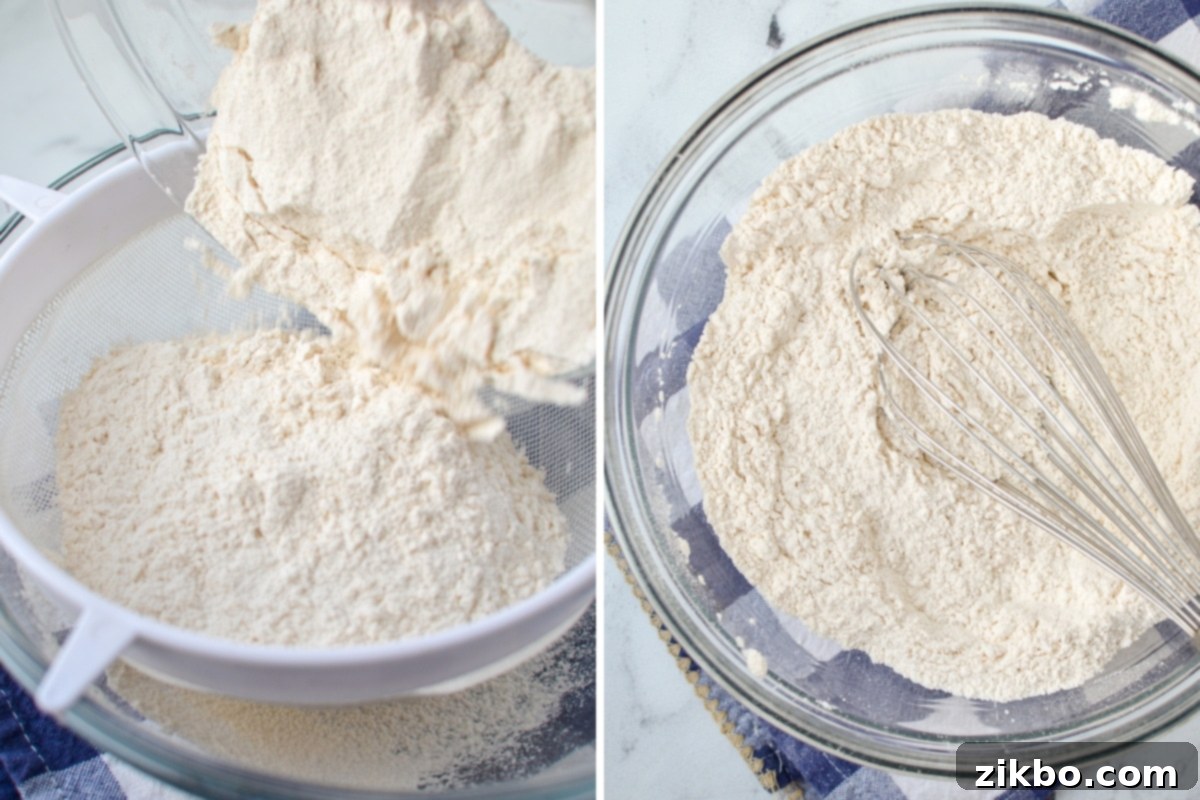
In a spacious mixing bowl, combine the all-purpose flour, baking powder, and salt. Use a whisk to thoroughly blend all three ingredients together. Stir vigorously for at least 1-2 minutes to ensure the leavening agent and salt are evenly distributed throughout the flour. This initial mixing is crucial for the success of your baked goods.
Step Two: Sift for Superior Results (Optional but Recommended)
For the absolute best results and a supremely light texture, place a large fine mesh strainer or a flour sifter over a separate, clean large bowl. Carefully pour the flour mixture from Step One into the sifter or strainer. Gently tap the side of the sifter or use a spoon to encourage the flour to pass through. This additional step helps to break up any tiny clumps, further distribute the baking powder and salt evenly, and aerate the flour, leading to an even better rise.
Step Three: Ready to Use!
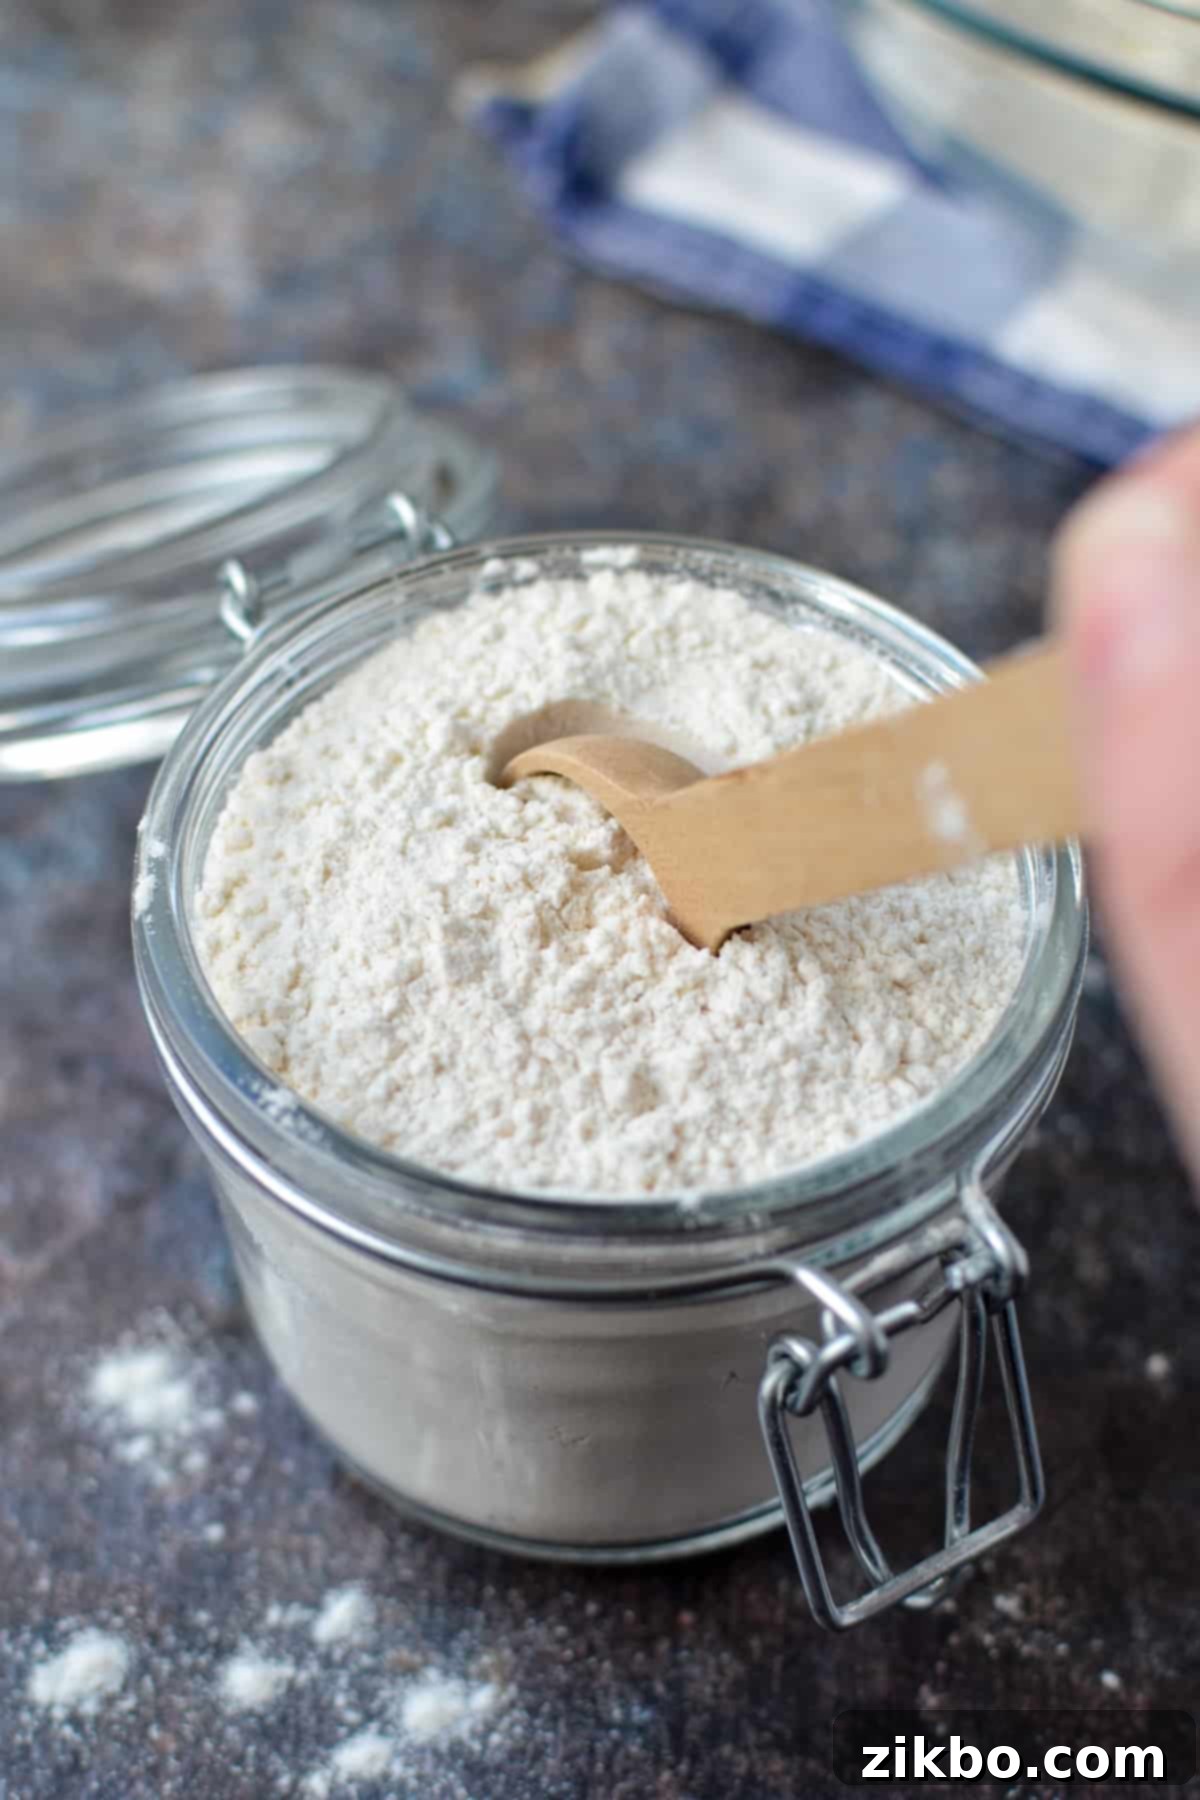
Your homemade self-rising flour is now perfectly prepared! You can either use it immediately in your favorite recipes or transfer it to an airtight container for future baking adventures. Ensure it’s labeled clearly for easy identification.
Storage Tips for Homemade Self-Rising Flour
To maintain the potency of the baking powder and ensure your self-rising flour delivers consistent results, proper storage is key:
- Airtight Container: Always store your homemade self-rising flour in an airtight container. This protects it from moisture and odors, which can degrade the effectiveness of the baking powder.
- Cool, Dry, Dark Place: Keep the container in a cool, dry, and dark pantry or cupboard. Exposure to humidity, heat, and light can accelerate the degradation of baking powder, causing it to lose its leavening power over time.
- Shelf Life: For optimal results, aim to use your homemade self-rising flour within 3 months. While it might last longer, the baking powder’s potency can diminish, leading to less rise in your baked goods.
- Freezer Storage (Optional): For extended shelf life, you can store homemade self-rising flour in the freezer in a well-sealed, airtight container or freezer bag. Just bring it to room temperature before using in your recipes to prevent condensation.
Delicious Ways to Use Your Homemade Self-Rising Flour
If you’re new to self-rising flour, you might be wondering about its best applications. This versatile ingredient is a staple in many kitchens, particularly in the Southern United States and the UK (where it’s known as self-raising flour). Its built-in leavening makes it perfect for a variety of quick and easy baking projects:
- Fluffy Biscuits: The quintessential Southern classic! Self-rising flour is the secret to tender, sky-high biscuits.
- Quick Breads: Ideal for muffins, scones, soda bread, and other quick breads that rely on chemical leaveners.
- Pancakes & Waffles: Achieve light and airy breakfast favorites with ease.
- Cakes & Cupcakes: Many simple cake recipes, especially those from traditional Southern cookbooks, call for self-rising flour for a tender crumb.
- Dinner Rolls: Perfect for making soft, fluffy rolls that don’t require yeast.
- Brownies: Some brownie recipes benefit from the gentle lift provided by self-rising flour, resulting in a slightly lighter, cakier texture.
- Beer Bread: A fantastic shortcut for creating a rustic loaf with minimal effort.
- And More: Essentially, any recipe that specifically calls for self-rising flour can now be made with your homemade version!
Important Note: It’s crucial to understand that self-rising flour cannot be directly substituted for regular all-purpose flour in every recipe. Because it already contains baking powder and salt, using it in a recipe that also calls for these leaveners and seasonings will result in an over-leavened, potentially salty, or even bitter product. Always seek out recipes that specifically call for self-rising flour, or adapt standard recipes carefully by omitting the separate baking powder and salt measurements when using your homemade mix.
The Perfect Ratio for Your Self-Rising Flour Substitute
The beauty of making your own self-rising flour lies in its consistent and easy-to-remember ratio. This formula allows you to scale the recipe up or down effortlessly, whether you need a small amount for a single recipe or a large batch to keep on hand:
- 1 cup of all-purpose flour
- 1 ½ teaspoons of baking powder
- ½ teaspoon salt (fine-grain)
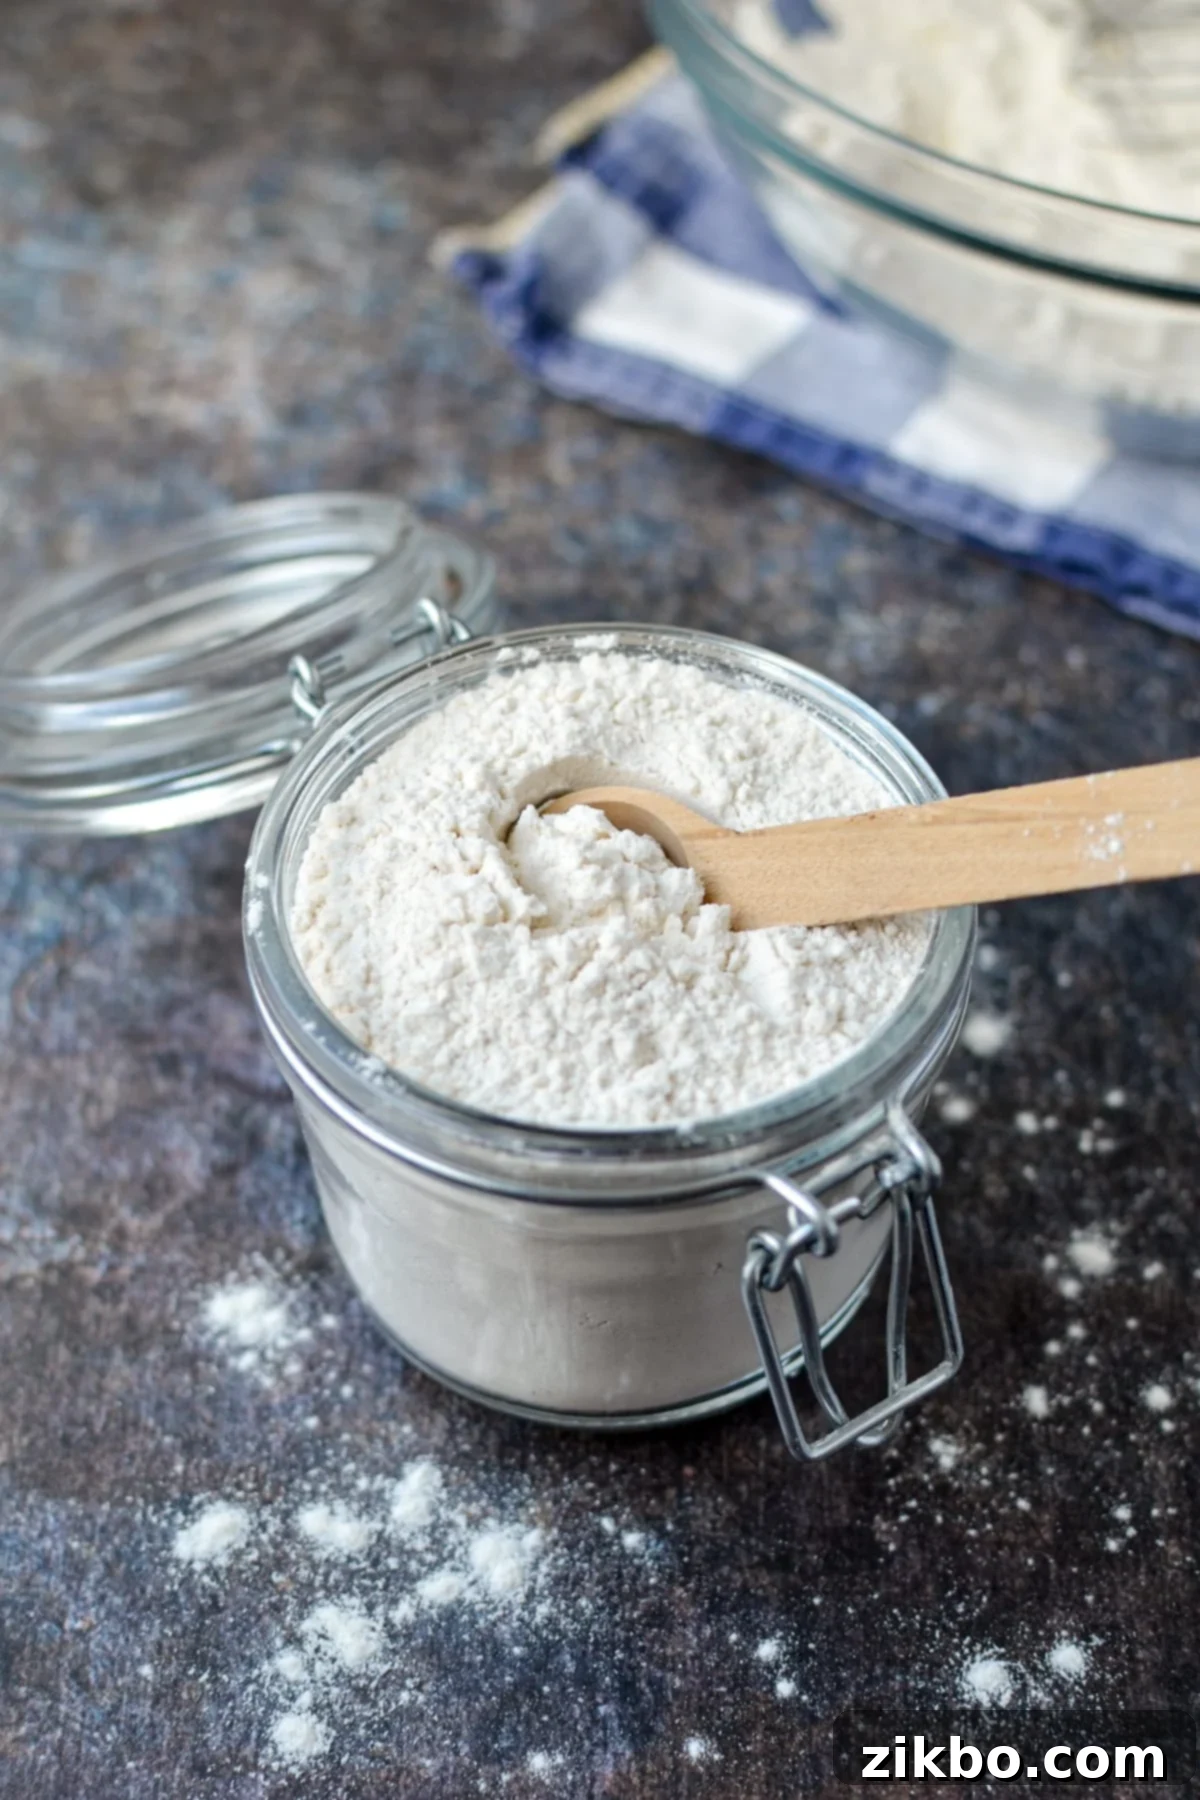
Simply combine these three ingredients thoroughly. For best results, sift them together as described in the steps above. Once mixed, store your homemade self-rising flour in an airtight container in a cool, dry place for up to three months. This perfect ratio ensures your baked goods will have the ideal lift and flavor balance every time.
Recipe FAQ’s
The core difference is that self-rising flour is essentially plain all-purpose flour that has had baking powder (a chemical leavening agent) and salt pre-mixed into it. This means self-rising flour has a built-in mechanism to help baked goods rise, whereas plain flour requires you to manually add leavening agents like baking soda, yeast, or baking powder, along with salt, to achieve the desired lift and flavor.
If a recipe calls for self-rising flour and you use plain all-purpose flour without adding extra leavening agents and salt, your baked goods will likely turn out dense, flat, and heavy, rather than light and airy. They simply won’t rise as intended. To correct this, you can quickly make your own self-rising flour substitute by adding 1 ½ teaspoons of baking powder and ½ teaspoon of fine salt for every 1 cup of all-purpose flour.
Yes, absolutely! “Self-rising flour” and “self-raising flour” refer to the exact same product. The name used largely depends on your geographical location. In the United States, it’s most commonly known as self-rising flour, while in the United Kingdom, Canada, Australia, and New Zealand, the term self-raising flour is widely used. Both contain flour, baking powder, and salt and are used interchangeably in recipes across these regions.
Generally, it is not recommended to substitute self-rising flour for recipes that specifically call for yeast. Yeast is a biological leavening agent that requires time to ferment and produce gas, contributing a distinct flavor and texture to breads. Baking powder, found in self-rising flour, is a chemical leavener that reacts much more quickly and does not impart the same flavor or chewiness as yeast. While it might provide some lift, the end result will not be what the original yeast-based recipe intended in terms of taste, texture, and structure.
Homemade Self-Rising Flour
Print
Pin
Rate
Equipment
-
Fine Mesh Strainer or flour sifter (optional but recommended for best results)
Ingredients
- 2 cups all-purpose flour
- 1 tablespoon baking powder
- 1 teaspoon fine salt
Instructions
-
Add all of the ingredients (all-purpose flour, baking powder, and salt) to a large bowl and whisk everything together thoroughly until well combined.
-
Optionally, for the lightest texture and most even distribution, sift the combined flour mixture through a fine mesh strainer or flour sifter into another bowl.
-
Your homemade self-rising flour is now ready to use immediately in place of store-bought self-rising flour in your favorite recipes.
-
Store any leftover flour in a clean, airtight container in a cool, dry, dark place for up to 3 months for best results.
Notes
Nutrition
Making your own self-rising flour is a simple yet powerful skill that transforms your baking experience. It’s not just about having a substitute; it’s about embracing convenience, ensuring freshness, and saving money, all while opening up a world of delightful recipes. With this easy guide, you’ll never be without this essential ingredient again. Happy baking!
Please note that some of my blog posts here at Dash for Dinner may contain affiliate links. If you make a purchase through these links, I will get a small commission at no additional cost to you. Please see my Disclaimer for more information.
