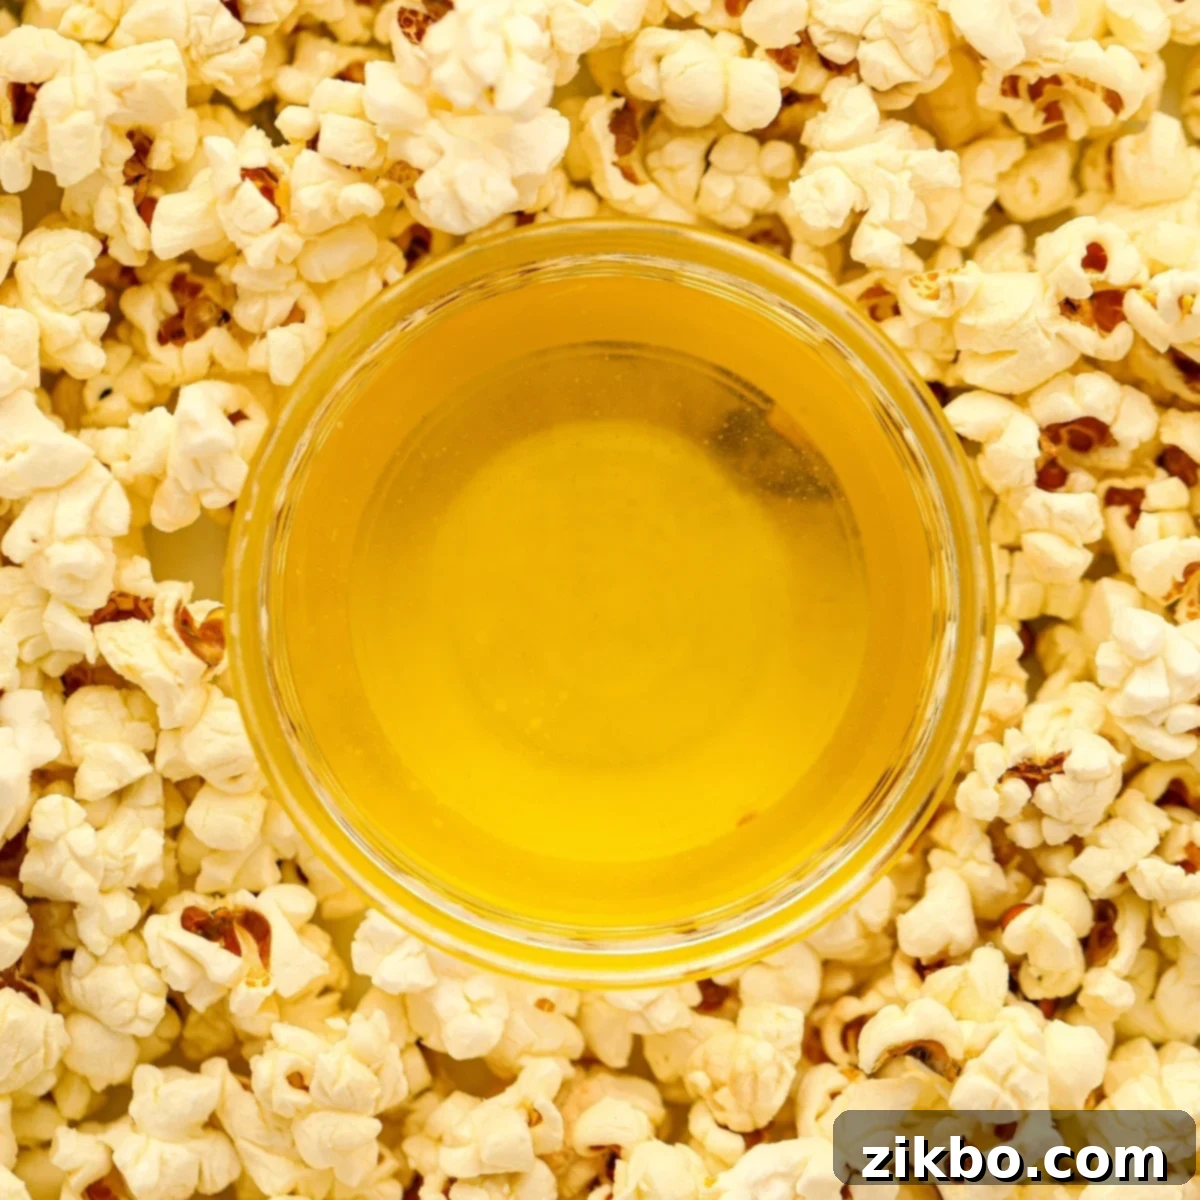
Homemade Popcorn Butter: The Ultimate Secret to Movie Theater Popcorn at Home
If you’ve ever found yourself longing for that unmistakable, rich, and perfectly crisp popcorn you get at the movie theater, then you’ve come to the right place. That signature taste isn’t just about the kernels; it’s all about the butter! This easy recipe for homemade popcorn butter (which is essentially clarified butter or ghee) is your golden ticket to transforming your ordinary home popcorn into an extraordinary cinematic snack.
Imagine batches of popcorn, each kernel shimmering with buttery goodness, maintaining its delightful crispness, and boasting that iconic movie theater flavor. No more soggy, bland popcorn – just pure, buttery perfection. Best of all, you can make it ahead of time, store the leftovers in the refrigerator, and be ready to whip up this crunchy snack any time the craving strikes!
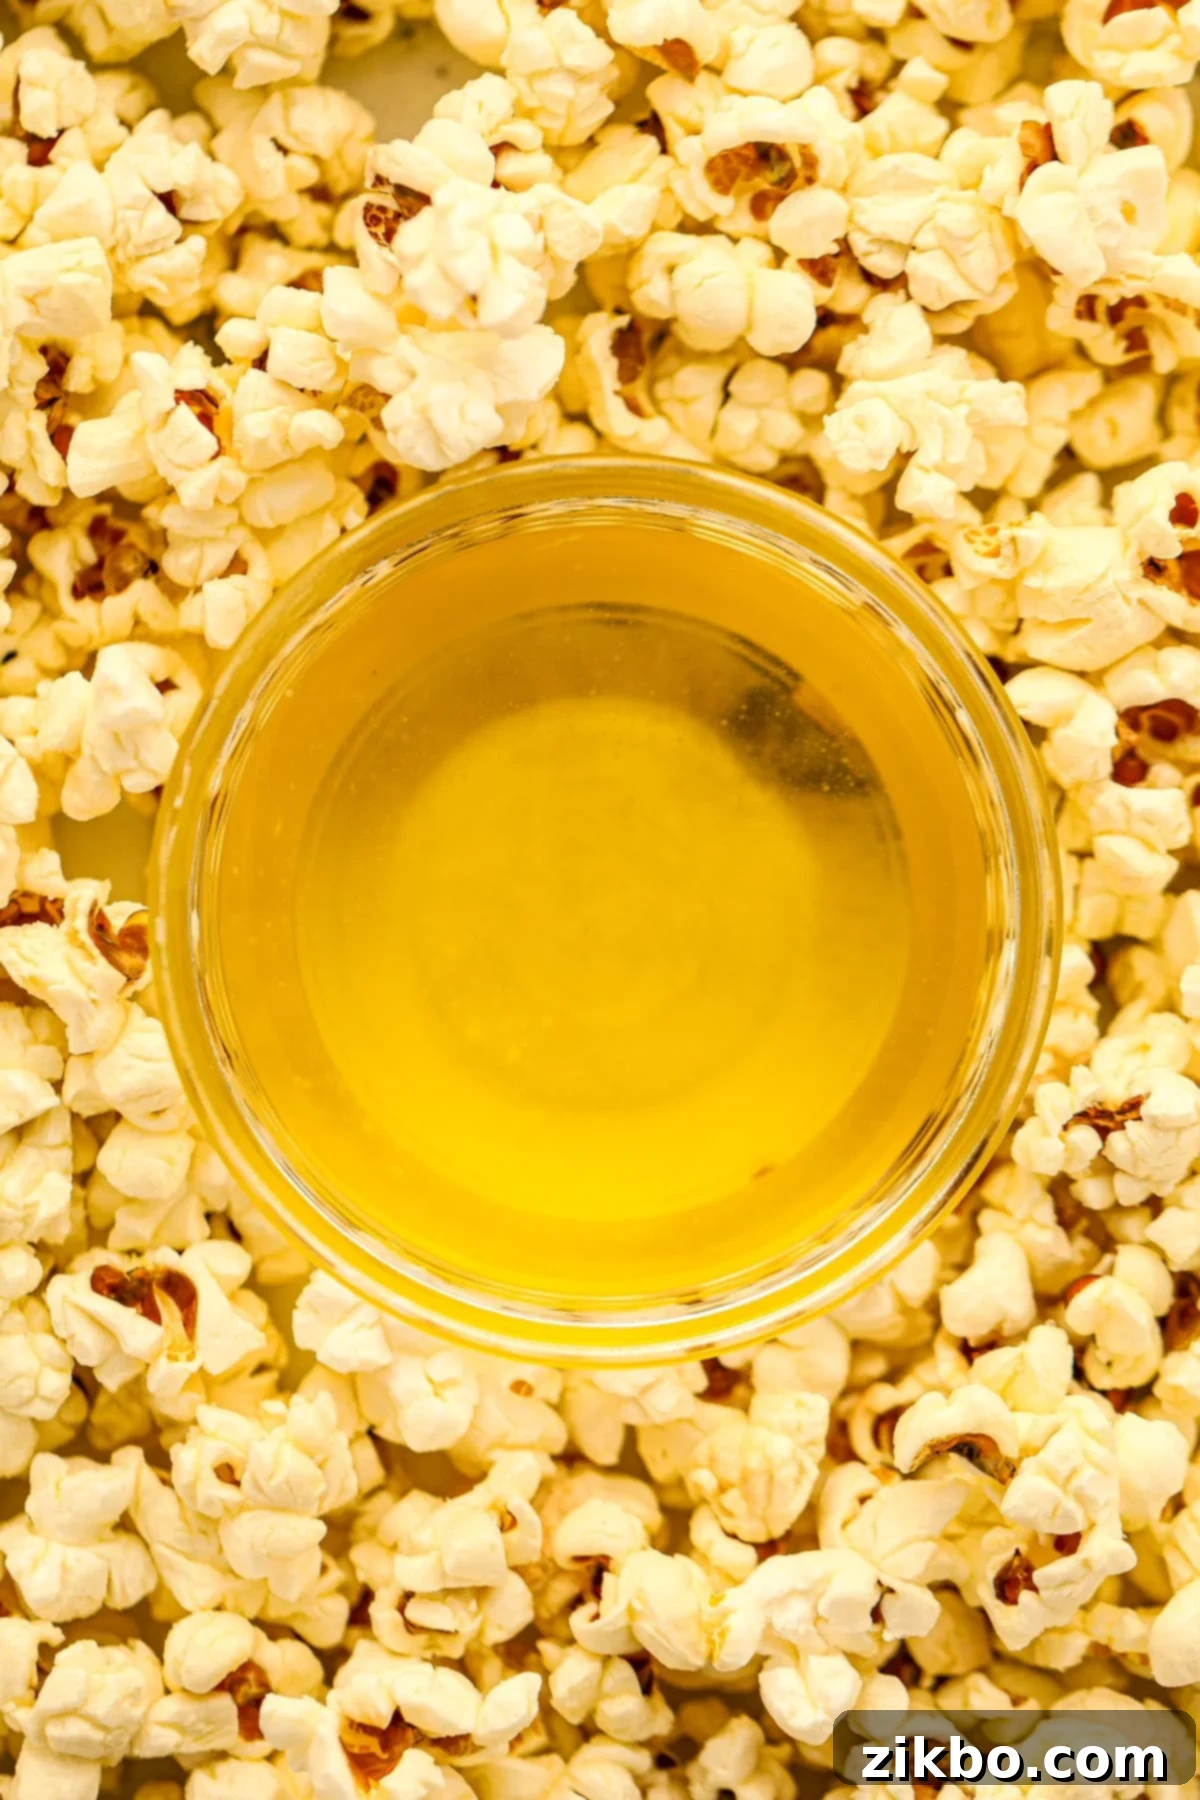
For many families, buttery popcorn is the quintessential snack. It’s salty, savory, and when done right, generously coated in delicious melted butter. Its status as the G.O.A.T (Greatest Of All Time) in the snack world is truly undeniable!
However, there’s often one common complaint: when you try to make it at home, it just doesn’t quite capture that same movie theater butter flavor or texture, does it? The secret, as many popcorn aficionados have discovered, lies in clarified butter.
Clarified butter is butter with its milk solids and water removed. What remains is a pure, shimmering, butter-flavored oil that tastes like real butter but behaves in a fundamentally different way. This pure butterfat is the key to perfectly crisp popcorn, delivering that elusive flavor and texture you typically only find in the best cinemas. It coats each kernel beautifully without making it soggy, ensuring every bite is a delightful crunch.
The best part? It’s incredibly simple to make at home using just one ingredient: butter! You can even enhance its visual appeal by adding a touch of natural color with spices like annatto, turmeric, or paprika. Once you try this homemade popcorn butter, you’ll wonder how you ever made popcorn any other way. It’s guaranteed to be a hit in your household, elevating your movie nights and snack times to a whole new level!
Why Homemade Popcorn Butter Will Be Your New Favorite
This isn’t just another butter recipe; it’s a game-changer for your popcorn. Here’s why you’ll absolutely love making and using your own clarified popcorn butter:
- No More Soggy Popcorn: Traditional melted butter contains water and milk solids that can weigh down your popcorn, making it feel “wet” or soggy. Our homemade popcorn butter, being pure butterfat, effortlessly glides over each popped kernel, adhering perfectly and maintaining that desirable crisp texture for a superior snack experience.
- Long-Lasting Freshness: Popcorn drizzled with clarified butter or ghee boasts an incredible advantage – it can be stored for several days without losing its delicious flavor or satisfying crunch. This means you can enjoy fresh-tasting popcorn even days after it’s made!
- The Best of Both Worlds: Many popcorn enthusiasts use coconut oil for its excellent popping properties and adherence, but it lacks that rich, authentic buttery taste. Clarified popcorn butter offers the perfect synergy: it behaves like an oil, ensuring great coverage, but delivers the full, incredible flavor of real butter. It truly gives you the best of both worlds.
- Excellent for Storage: Once prepared, your leftover popcorn butter can be stored in the refrigerator for a month or even longer. Simply scoop out the desired amount, gently melt it, and drizzle it generously over your air-popped or stovetop popcorn whenever a craving strikes for a quick, delicious treat.
Essential Ingredients & Equipment
Making this incredible popcorn butter requires minimal ingredients and common kitchen tools. Here’s what you’ll need to get started:
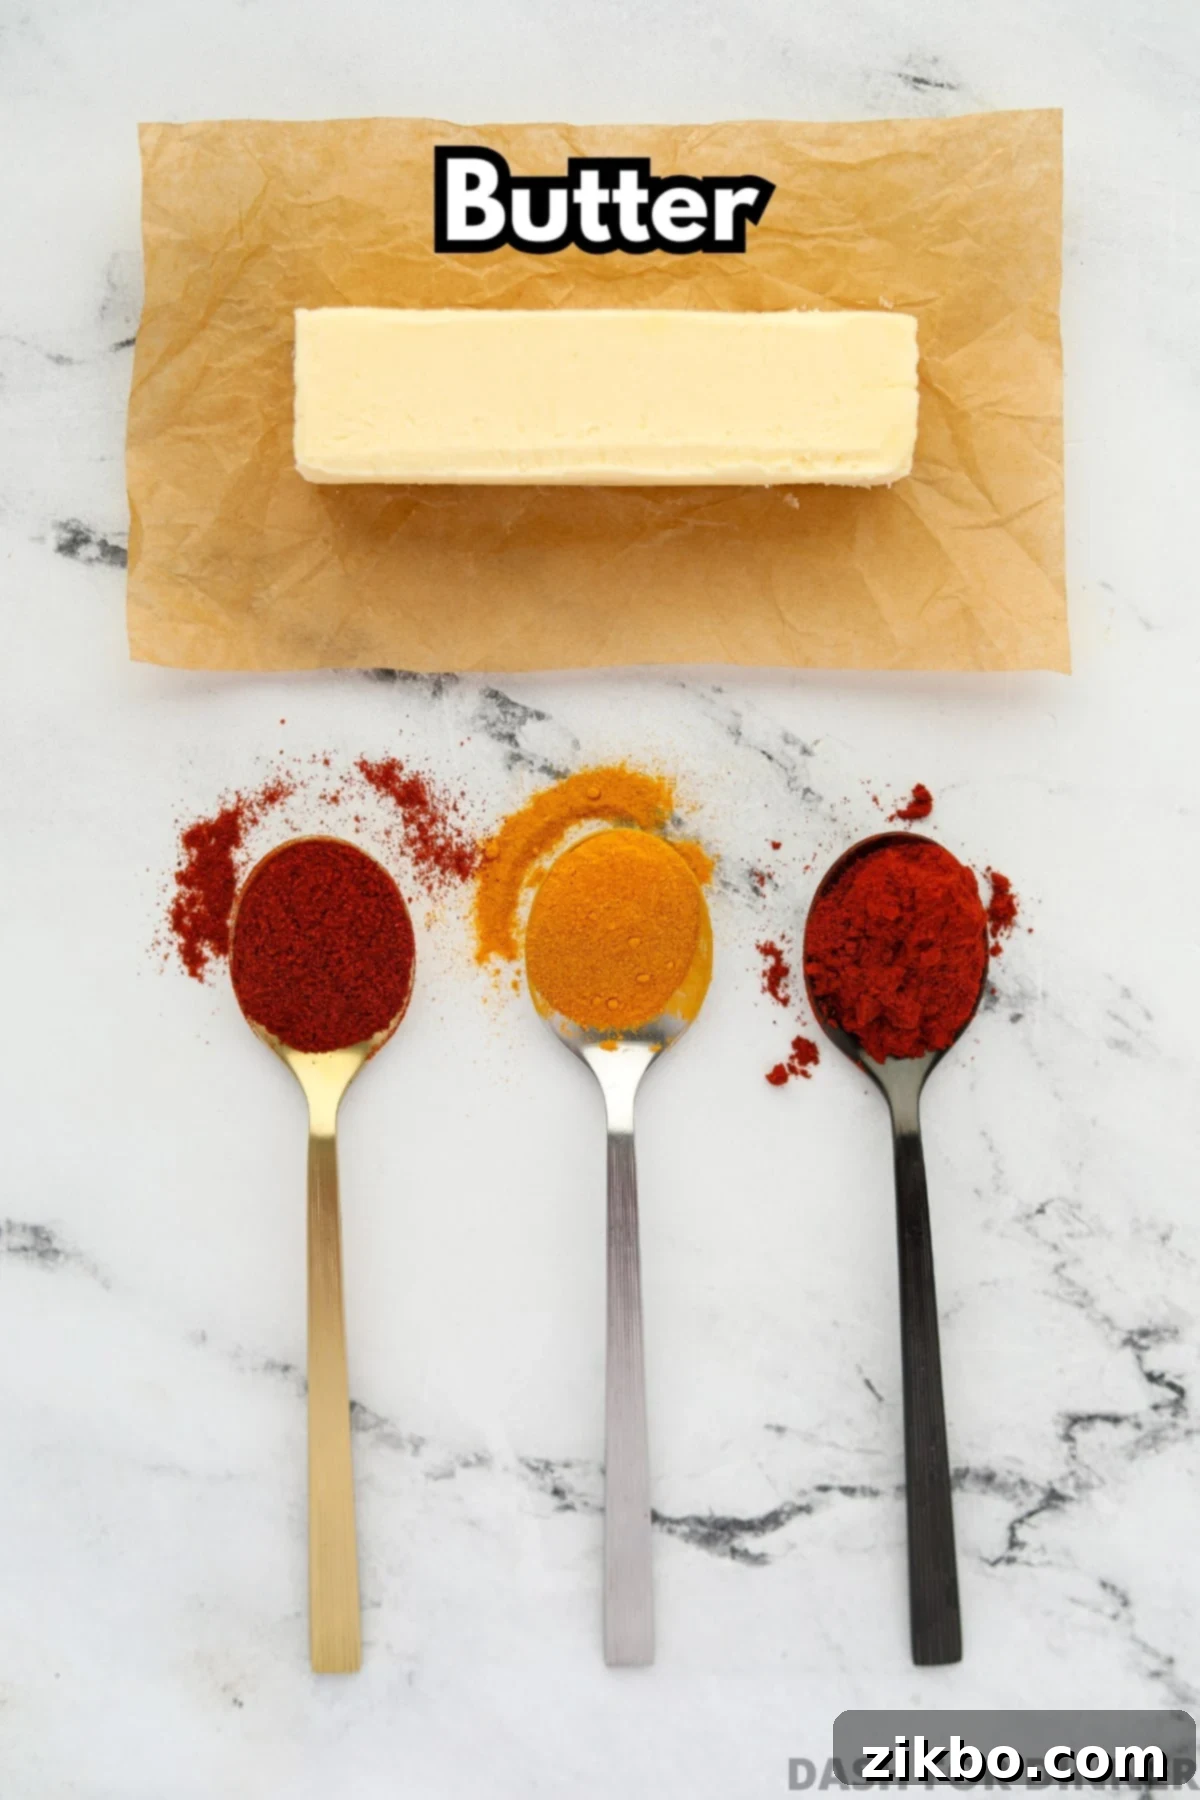
Ingredients:
- Butter: We highly recommend using unsalted butter for this recipe. During the clarification process, the milk solids (which often carry most of the salt if using salted butter) are removed. Using unsalted butter gives you complete control over the final saltiness of your popcorn. You can then sprinkle fine salt or popcorn salt on your popcorn after the butter has been added, tailoring it perfectly to your taste.
- Optional – Spices for Color (Annatto, Turmeric, or Paprika): If you want your popcorn to have that classic yellowish or orange hue, reminiscent of movie theater popcorn, you can easily add a touch of spice for coloring. This step is entirely optional and does not significantly alter the flavor (especially annatto), but it enhances the visual appeal for those who appreciate it.
Tools & Equipment:
- Stainless Steel Saucepan: A light-colored saucepan is crucial for monitoring the color of the milk solids as they cook. This helps prevent burning and ensures perfectly clarified butter.
- Strainer: A fine-mesh strainer will hold your coffee filter or cheesecloth, catching the milk solids while allowing the pure butterfat to pass through.
- Coffee Filter (or Cheesecloth): This acts as the final filter, separating the clarified butter from the last remaining milk solids, ensuring a perfectly clear and pure butter oil.
- Glass Bowl or Heat-Proof Measuring Cup: To collect the strained clarified butter.
- Jar with a Lid: An airtight glass jar, such as a mason jar, is ideal for storing your finished popcorn butter in the refrigerator.
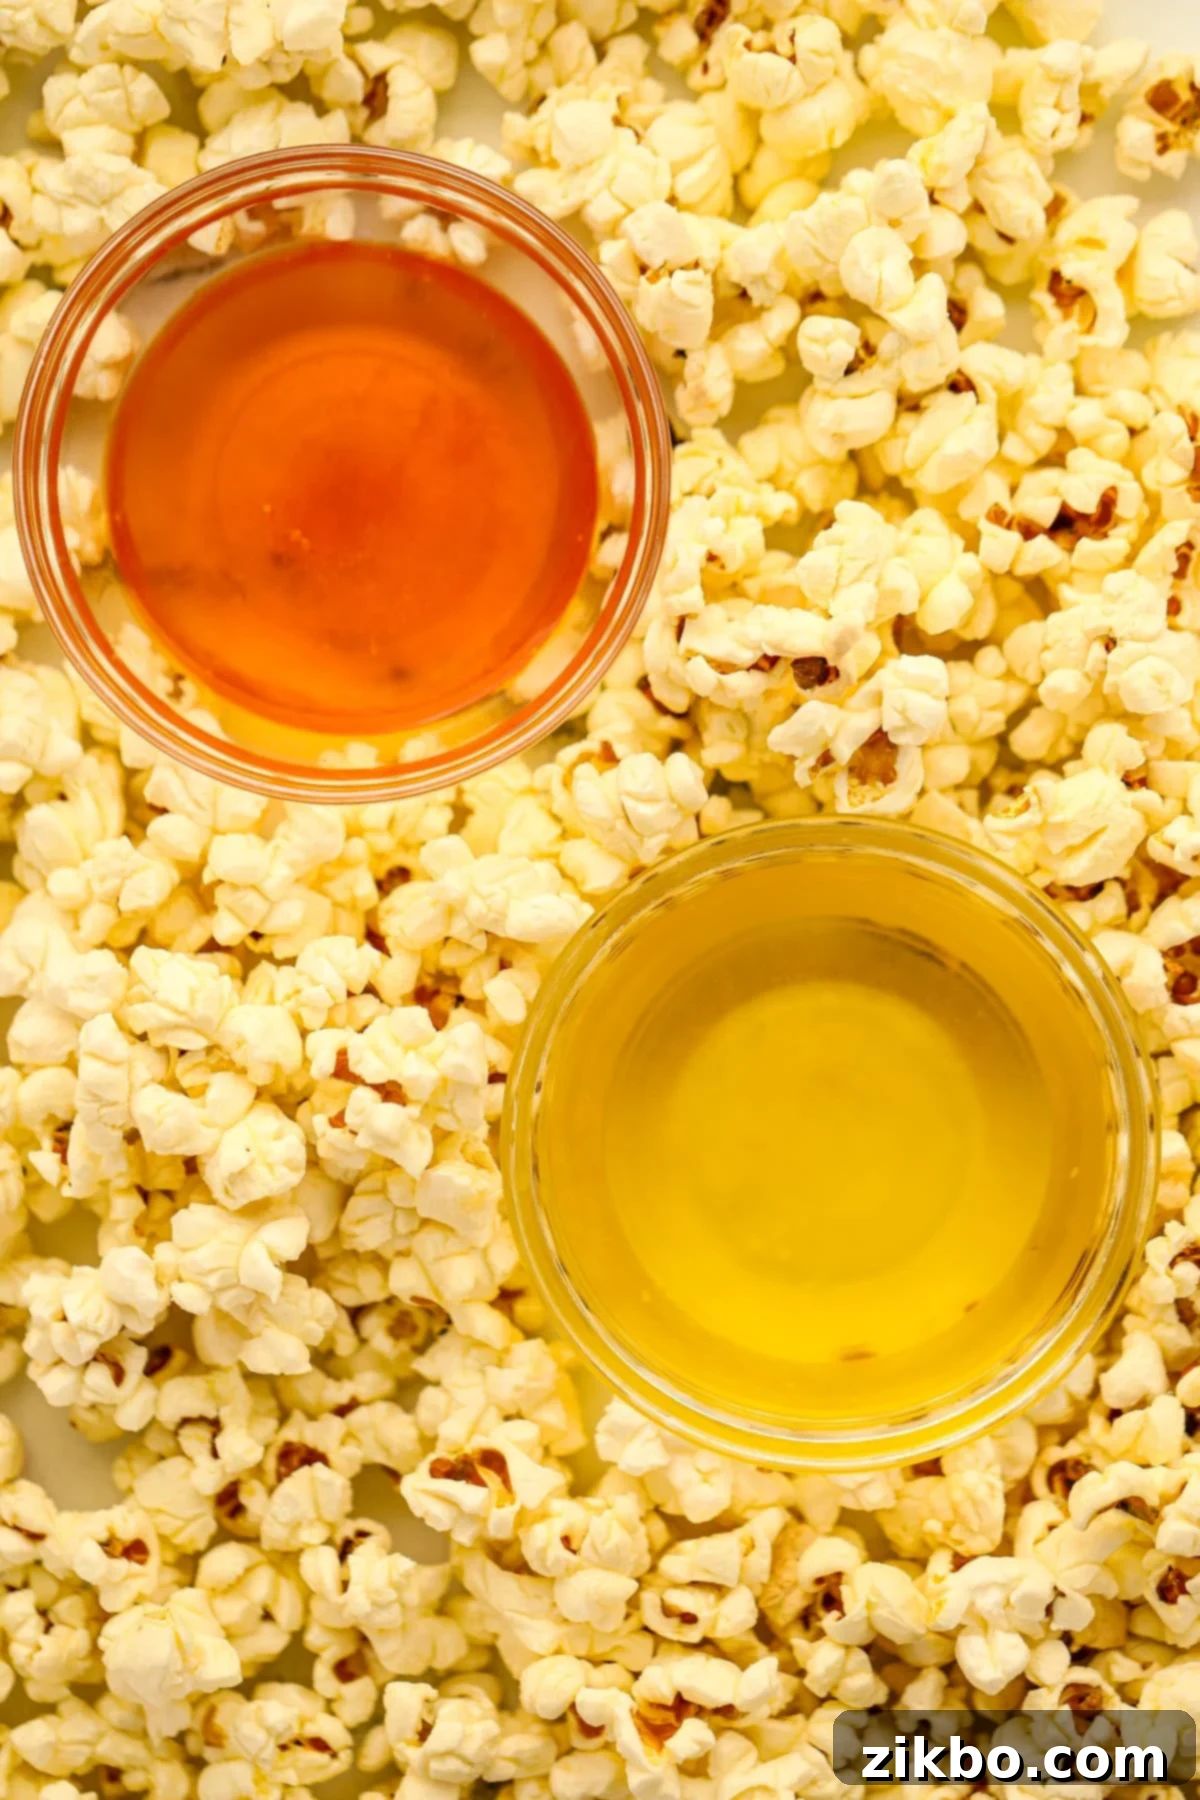
Annatto, Turmeric, Paprika, or Plain? Choosing Your Popcorn Butter Color
In my opinion, this homemade popcorn butter is truly next level. The “butter” often found in commercial popcorn machines is typically soybean or canola oil infused with artificial butter flavors and colors. This is because oil adheres to popcorn kernels far better than regular melted butter. However, by making your own clarified butter or ghee, you get the best of both worlds: genuine, rich buttery flavor and all the superior coating benefits of an oil. You can even add natural color by stirring in annatto, turmeric, or paprika. But which one should you choose? Let’s break down the characteristics of each option.
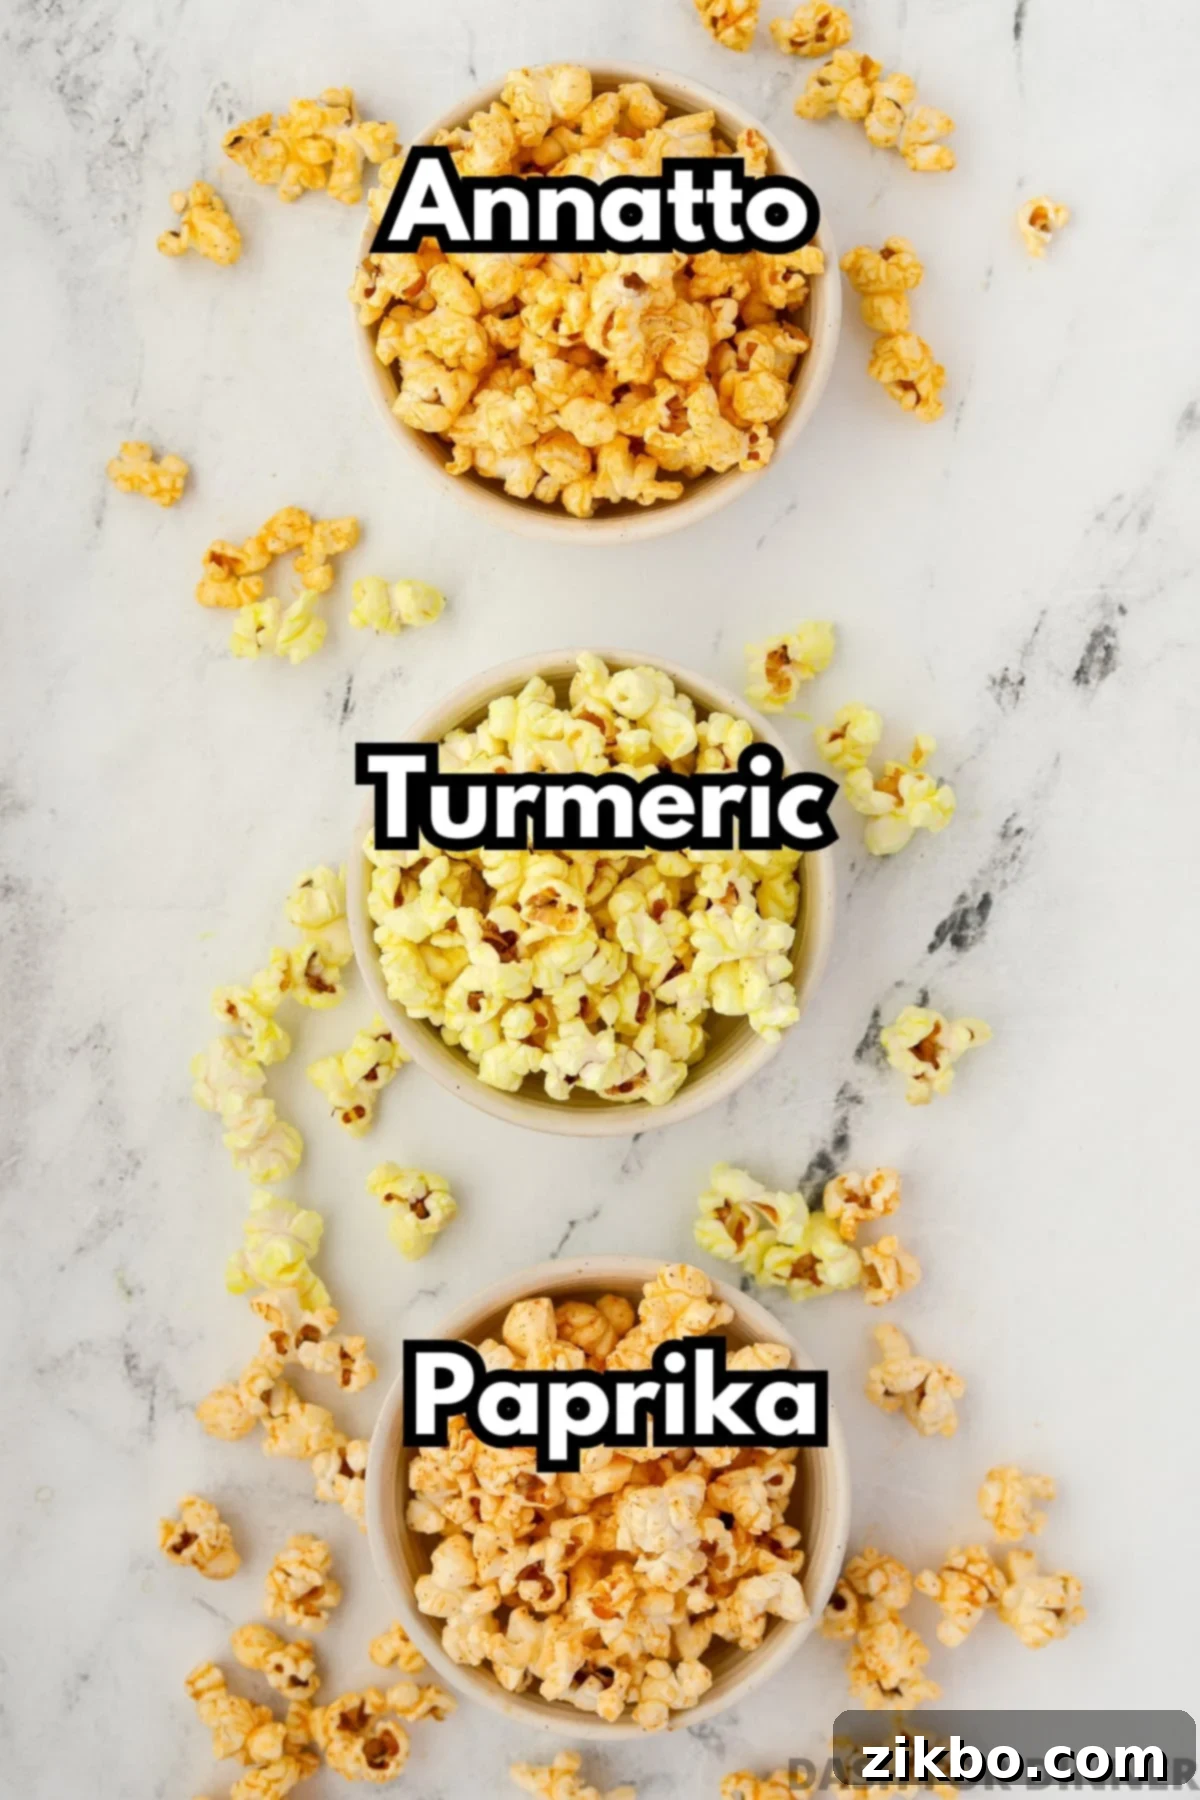
- Annatto Powder: This is the most common natural additive used to color commercial popcorn oil, often made with coconut oil. Annatto imparts a vibrant orange-ish hue, which gives a visually appealing “buttery” appearance without adding any detectable flavor. It blends seamlessly into the clarified butter, creating a consistent color.
- Turmeric Powder: Turmeric adds a beautiful yellow hue to your popcorn butter. While primarily used for color, it can also impart a subtle, slightly earthy, and sometimes “sweet” flavor (depending on the variety and amount used). It’s a popular choice for those who enjoy a hint of warmth and a golden color.
- Paprika Powder: Paprika delivers a color similar to annatto, ranging from red-orange to deep red, depending on the type (sweet, smoked, or hot). However, paprika tends not to blend as smoothly into the butter as annatto or turmeric. You might notice tiny, detectable “specks” in your clarified butter, which some people don’t mind, while others prefer a perfectly smooth consistency. It adds a mild, peppery, or smoky flavor depending on the variety.
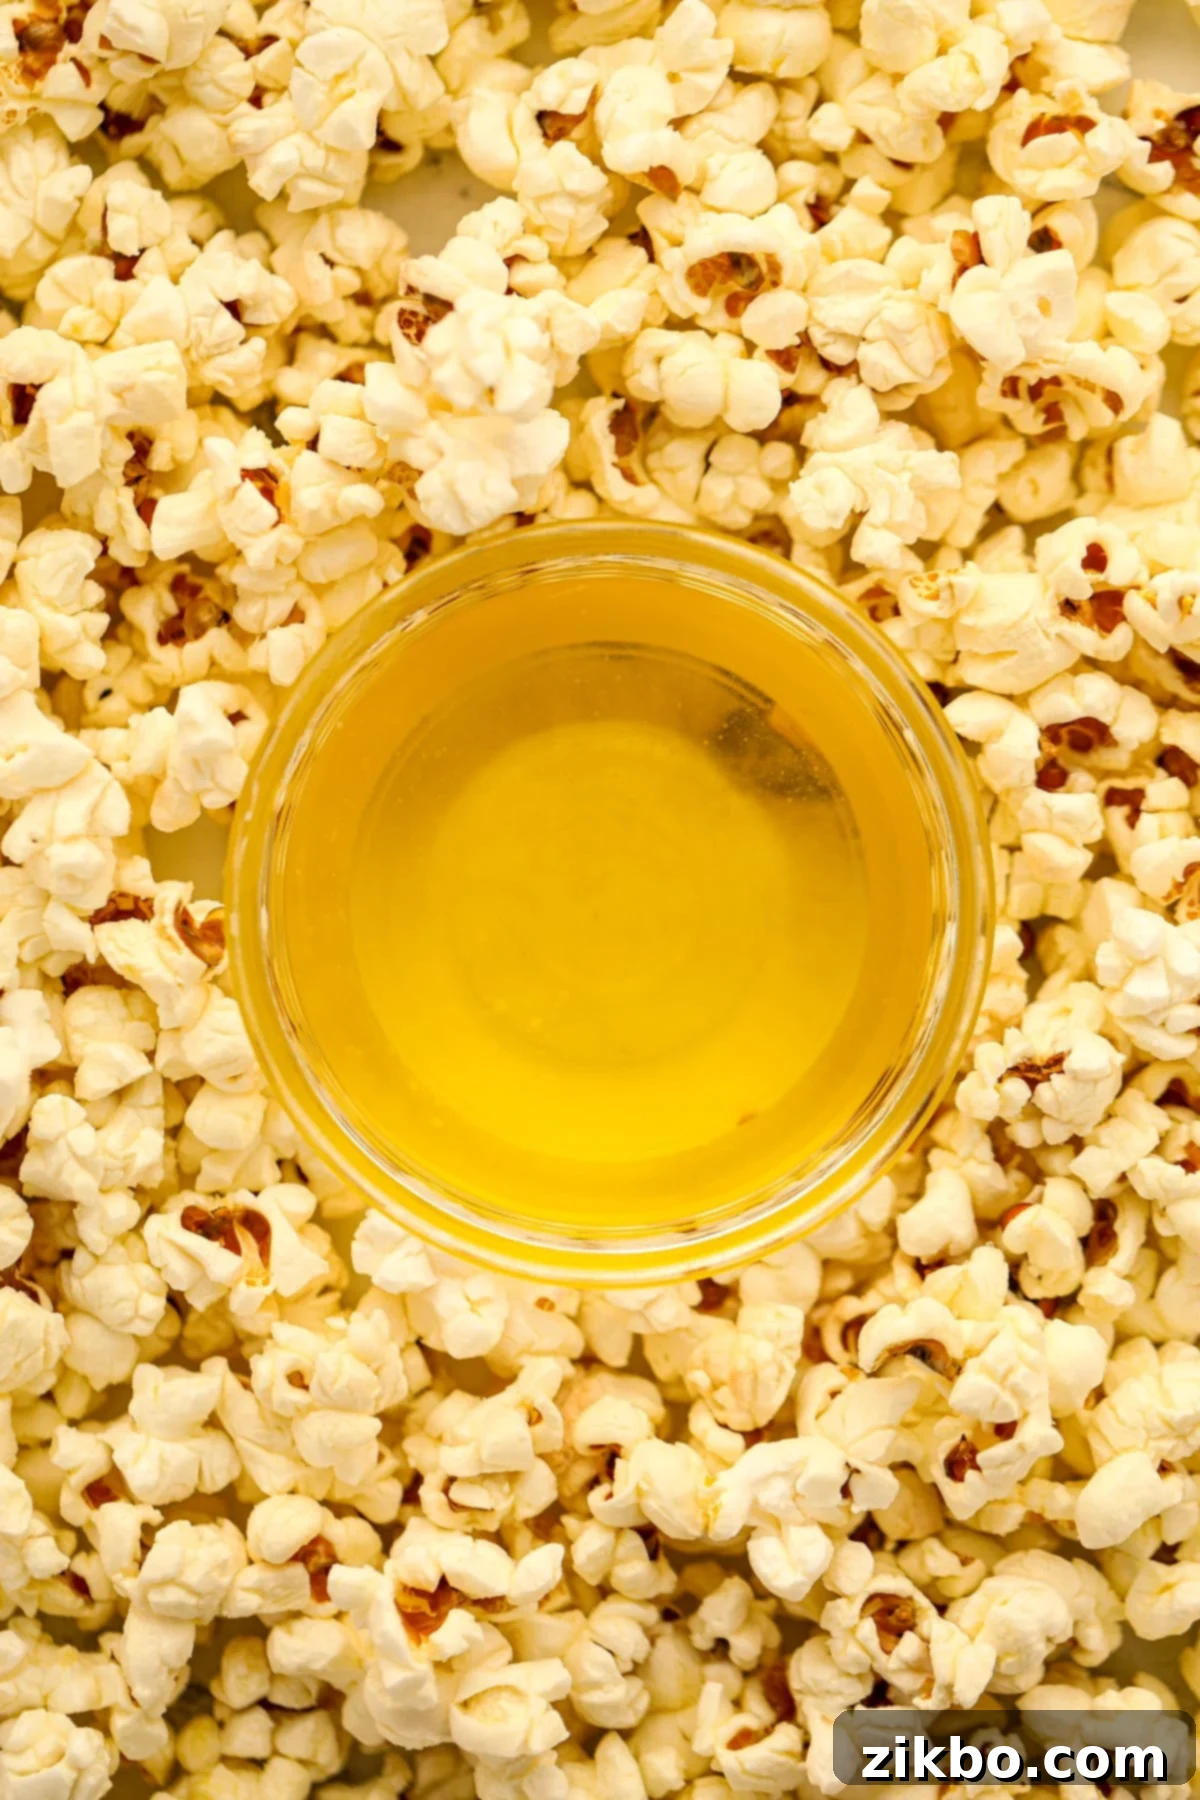
- Butter Only (Plain): Our personal top pick! If your primary goal is simply delicious butter popcorn and you care little about achieving a specific yellow or orange appearance, then making it with butter only is the way to go. The natural golden color of clarified butter is beautiful in itself, and the flavor is pure, unadulterated buttery goodness. It’s all about the taste!
How to Make Perfect Popcorn Butter (Step-by-Step Guide)
Clarified butter boasts exceptional adherence compared to plain melted butter. This makes it the absolute best buttery topping, as it clings beautifully to each kernel, delivering an incredible flavor and a satisfying texture in every single bite. Follow these simple steps to create your own liquid gold.
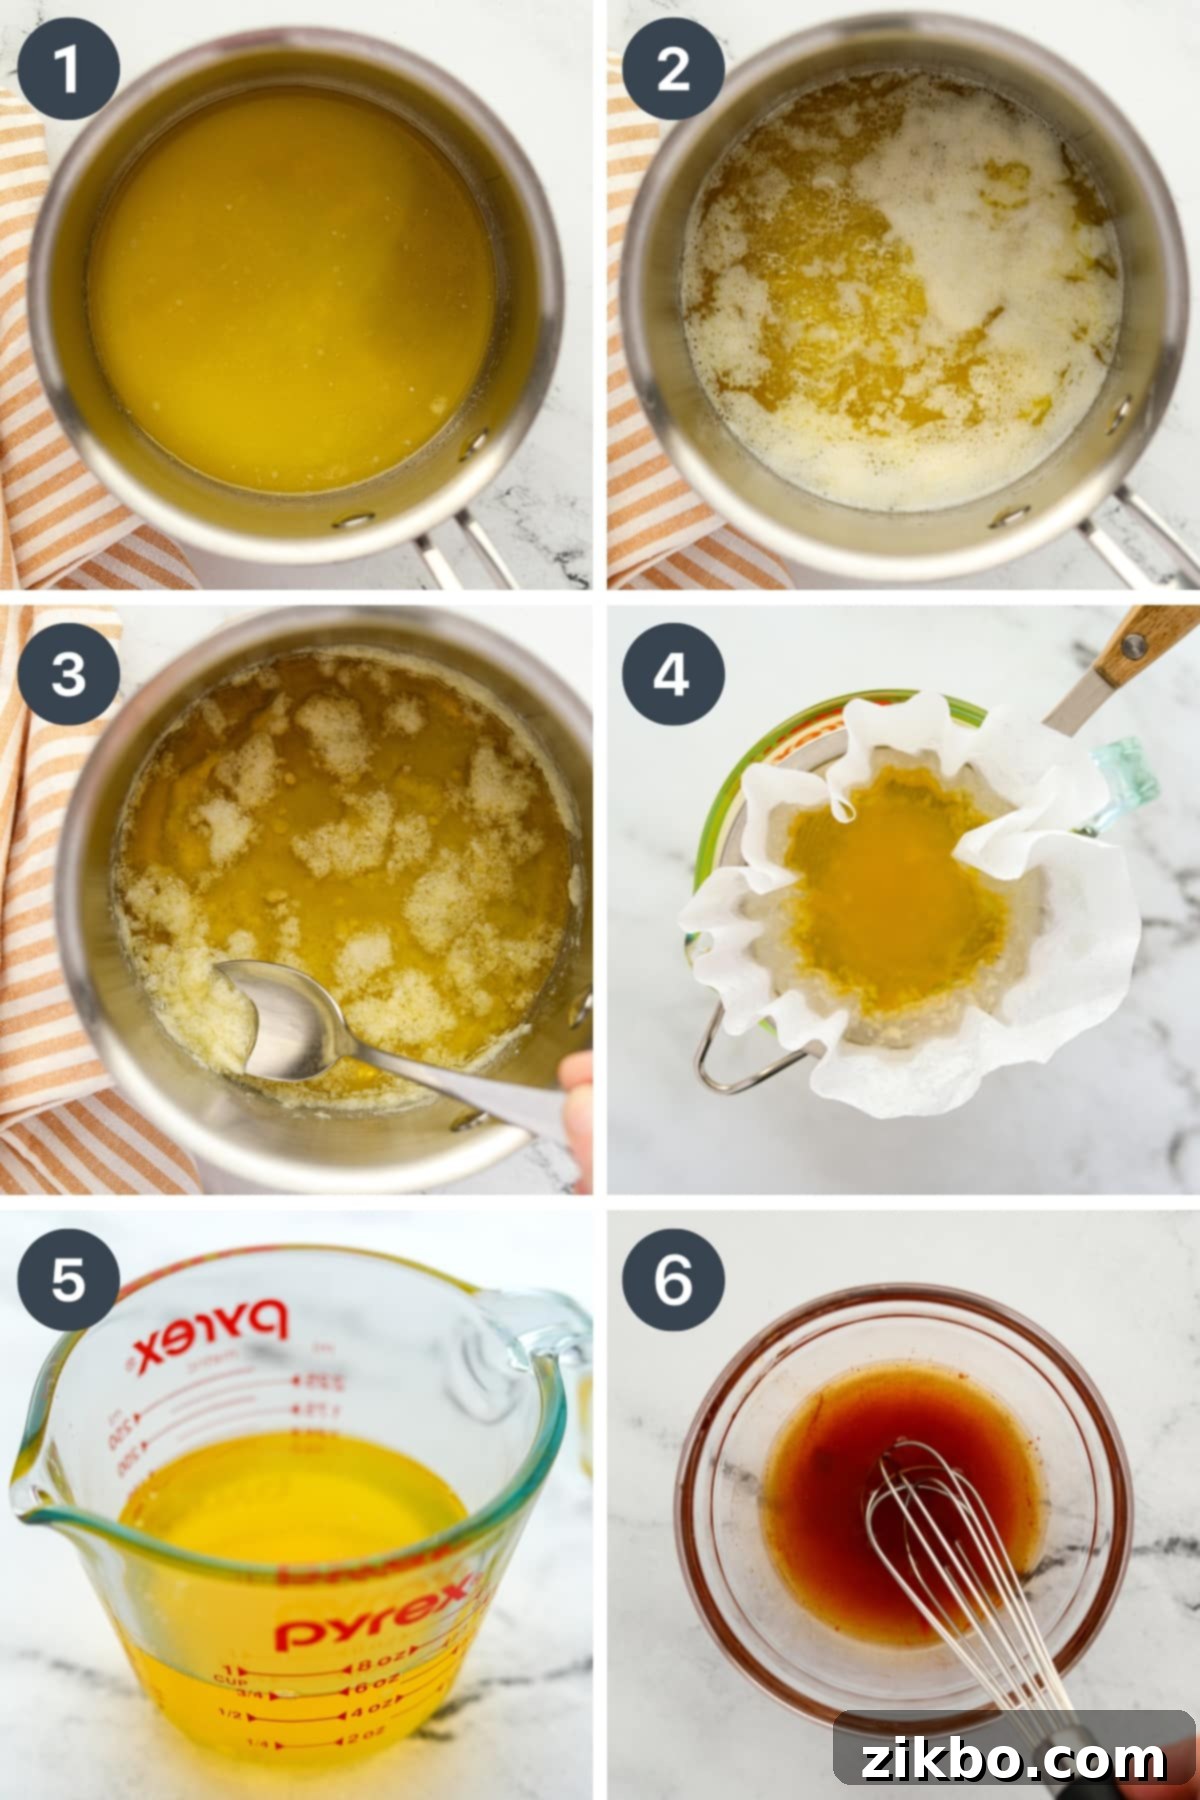
- Melt the Butter: Begin by adding 1 to 2 sticks of unsalted butter (which equates to ½ to 1 cup) to a medium-sized stainless steel saucepan. Place the saucepan over medium to medium-high heat. Allow the butter to melt completely, watching it closely.
- Simmer and Separate: As soon as the butter is fully melted and begins to bubble actively, reduce the heat immediately to low-medium. Continue to cook gently for approximately 15-25 minutes. During this time, the water will evaporate, and the milk solids will separate and gradually sink to the bottom of the pot. You’ll notice them start to cling to the bottom and change color, becoming “toasted” or lightly brown. Throughout this process, use a spoon to gently skim off any foam that rises to the surface.
- Chef’s Tip: Don’t discard the reserved foam! It can be a delicious addition to mashed potatoes, rice, or even scrambled eggs for an extra layer of buttery flavor.
- Strain for Clarity: Once the milk solids are nicely browned at the bottom and the bubbling has significantly reduced (indicating most of the water has evaporated), remove the saucepan from the heat. Line a small fine-mesh strainer with either a coffee filter or 1-2 layers of cheesecloth. Position this strainer over a clean, heat-proof glass bowl or measuring cup. Carefully pour the cooked butter through the prepared strainer. The milk solids will be caught in the filter, leaving behind pure, shimmering clarified butter oil.
- Assist the Straining (if needed): The clarified butter can sometimes filter slowly, especially through a coffee filter. If this happens, you can gently work it through with a spoon or carefully gather up the edges of the coffee filter and press lightly to encourage the butter oil to pass through more quickly. Be patient, as this step ensures a perfectly clear end product.
- Optional Color Boost: If you desire to add color to your popcorn butter, now is the time! Once the butter has been strained, you may whisk in ⅓ to ½ teaspoon of annatto powder, turmeric, or paprika for every ½ cup of clarified butter you have. Stir until thoroughly combined for an even hue.
Using Your Freshly Made Popcorn Butter
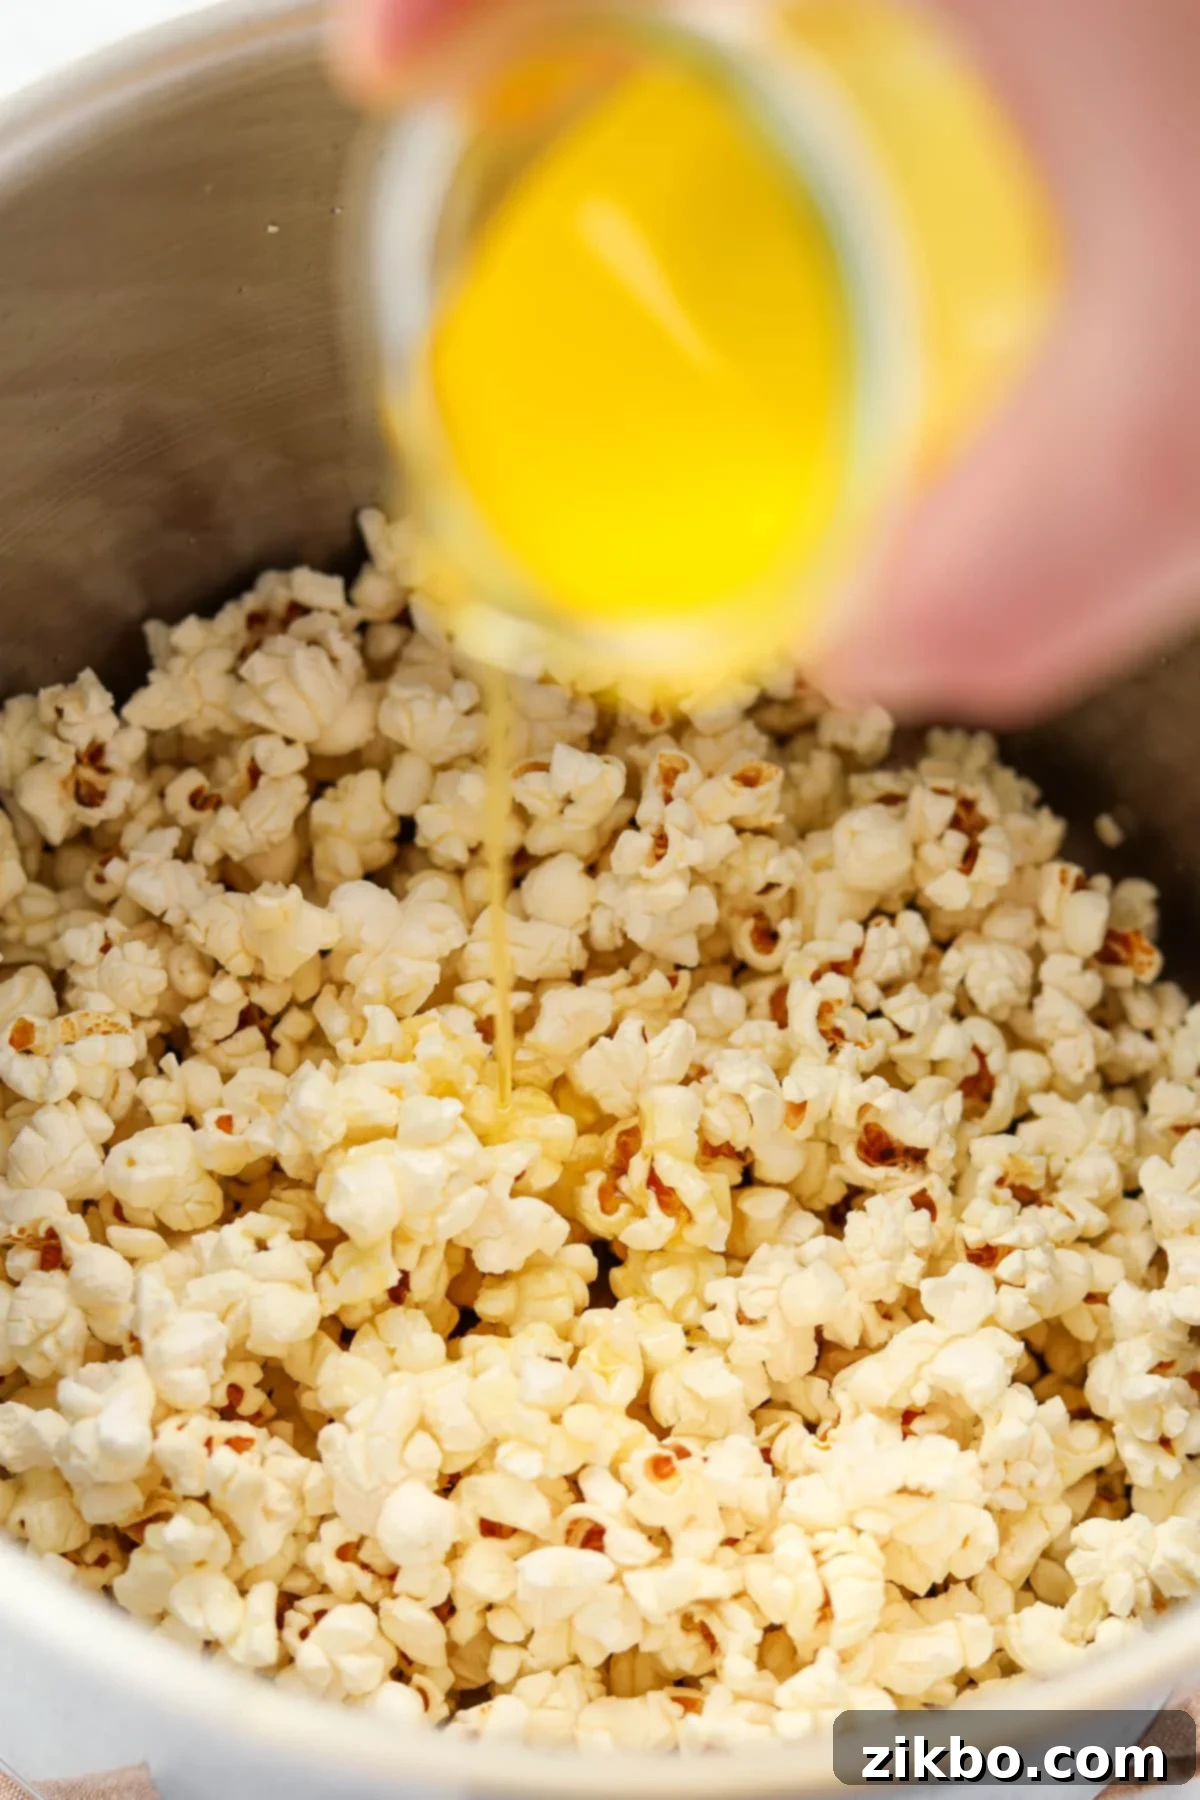
Drizzle 2-3 tablespoons of your warm, melted popcorn butter generously over your freshly popped popcorn. Toss or stir until all of the kernels are evenly coated with that glorious buttery sheen. Then, sprinkle generously with fine salt (or popcorn salt) to taste, adjust as needed, and enjoy!
Alternatively, you can allow your clarified butter to cool completely and then store it for future use. It keeps exceptionally well in the fridge and is perfect for a spontaneous movie night snack or for enhancing other dishes.
Storage Tips for Your Popcorn Butter
Proper storage is key to maximizing the shelf life and freshness of your homemade popcorn butter. Here’s how to ensure it stays perfect for weeks:
- Choose the Right Container: Once your clarified butter has been strained and is still warm, transfer it into an airtight container or a glass mason jar with a secure lid.
- Cool Completely Before Sealing: This is a crucial step! Allow the clarified butter to cool completely at room temperature before placing the lid on top. Sealing a warm container can cause condensation and moisture to form inside, creating an environment ripe for spoilage. If you’re concerned about dust or pests during cooling, you can cover it with a square of cheesecloth secured with a rubber band.
- Refrigerate for Freshness: Store your container of popcorn butter in the refrigerator. It will solidify, becoming a firm, pale yellow substance, similar to coconut oil or shortening.
- Easy to Use: When you’re ready to use it, simply scoop out several tablespoons (or your desired amount) of the solidified butter.
- Melt and Enjoy: Melt the scooped portion in the microwave in short bursts or gently in a small saucepan over low heat until it returns to a liquid state. Drizzle it generously over your homemade popcorn, whether you use an air popper or the stovetop method.
How Long Does Homemade Popcorn Butter Keep?
One of the fantastic benefits of clarified butter is its extended shelf life. Because the milk solids and water—the components most prone to spoilage—are removed during the clarification process, your popcorn butter tends to keep for a significant amount of time. You can typically store it for about 1-2 months in the refrigerator, and sometimes even longer!
This method of making homemade popcorn butter is very similar to the traditional preparation of Indian ghee, which is renowned for its stability and long storage time, often lasting for months at room temperature or even longer when refrigerated. While your homemade version might not have the exact same commercial-grade shelf life, it’s remarkably durable.
Always use your judgment and caution before using stored butter. Before each use, quickly check for any signs of spoilage such as mold growth, an off-color (beyond its natural golden hue), or any unusual, sour, or rancid odors. When stored properly, it should remain fresh and delicious for weeks, ready for your next popcorn adventure.
Making the Perfect Popcorn for Your Butter
Now that you have your incredible homemade popcorn butter, it’s time to make the popcorn itself! You can use an air popper for a simple, oil-free base, or follow our favorite stovetop homemade popcorn recipe for a classic preparation. Once your kernels have fully popped and are still warm, generously drizzle them with your melted popcorn butter. Finish by sprinkling with fine salt to taste (or use a specialized popcorn salt for extra fine adherence).
Voila! You’ve just created a masterpiece. Now you’re perfectly ready for a truly authentic movie night experience, right in the comfort of your home!
Expert Tips for Clarified Butter Success
Achieving the perfect batch of popcorn butter is simple when you know a few key tricks. Follow these expert tips for the best results every time:
- Use a Light-Colored Saucepan: This tip is paramount! It’s essential to closely monitor the color of the milk solids as they cook and caramelize at the bottom of the pan. This can only be effectively done with a light-colored saucepan, such as stainless steel or enameled cast iron. Avoid using non-stick cookware or dark-colored pans, as they will obscure your view and increase the risk of burning the solids, which can impart an undesirable flavor to your clarified butter.
- Opt for the Freshest Butter: The quality of your clarified butter directly depends on the quality of your starting ingredient. Always choose the freshest butter you can find. This is especially important when using unsalted butter, which tends not to stay as fresh as salted butter due to the absence of salt as a preservative. Fresher butter will yield a cleaner, richer, and more delicious clarified product.
- Allow It to Cool Completely Before Sealing: As mentioned in the storage section, this step cannot be overstressed. When you store warm liquid in an airtight container, condensation inevitably forms. These water droplets create a moist environment inside the container, which is an ideal breeding ground for mold and other forms of spoilage. To prevent this, always allow your popcorn butter to cool completely to room temperature before securing the lid for storage in the refrigerator. If you’re worried about curious pets or airborne particles during the cooling process, simply cover the jar loosely with a piece of cheesecloth secured with a rubber band.
- Don’t Stir While Clarifying: While it might be tempting to stir the butter as it cooks, resist the urge! Stirring will reincorporate the milk solids into the butter, making it harder for them to settle at the bottom and brown properly. Let the process unfold naturally for the best separation and clarity.
- Monitor Heat Carefully: Clarifying butter is a gentle process. If the heat is too high, the water will evaporate too quickly, and the milk solids might burn before fully separating, leading to a bitter taste. If the heat is too low, the process will take an unnecessarily long time. Aim for a steady, gentle simmer where the butter is bubbling consistently but not aggressively.
We hope you love this recipe for homemade Popcorn Butter as much as we do! If you try it, please consider leaving a 5-star review in the recipe card below or sharing your feedback in the comments. We’d also love to see your creations! Tag us on Instagram @dashfordinner to share your buttery popcorn masterpieces.
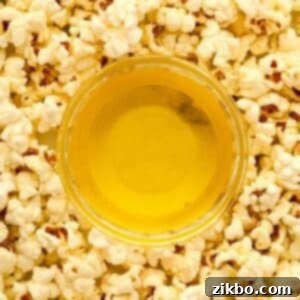
Homemade Popcorn Butter (Movie Theater Style)
The secret to movie theater popcorn at home is this easy homemade popcorn butter recipe! All you need is butter to get started.
Rating: 5 out of 5 stars (from 1 vote)
Print Recipe |
Pin Recipe |
Rate Recipe
Course: Condiments |
Cuisine: American
Prep Time: 5 minutes |
Cook Time: 25 minutes |
Total Time: 30 minutes
Servings: 5 servings |
Author: Dorothy Bigelow
Ingredients
- ½ cup unsalted butter
- ⅓-½ teaspoon annatto powder, paprika, or turmeric* (optional; for color only)
For serving (optional):
- Popped popcorn
- Salt (or popcorn salt)
Instructions
- Add the butter to a medium stainless steel saucepan* and heat over medium heat until melted.
- Once the butter starts to bubble, reduce the heat to low-medium. Cook for 15-25 minutes, or until the milk solids start to cling to the bottom of the pan, foam rises to the surface, and very few bubbles remain. Do not stir during the cooking process; if you feel it’s progressing too quickly, reduce the heat to low instead.
- Once it’s done, remove from the heat and use a spoon to skim the foam off the top. You can discard the foam, or use it for something like mashed potatoes. You will know it’s done when the milk solids are browned and stuck to the bottom of the pan, and the bubbling in the pan has stopped and become nearly still.
- To strain, add a small metal strainer to the rim of a bowl or measuring cup and line it with a coffee filter (or cheesecloth). Pour the butter into the strainer, where the golden butter oil will collect below, and the solids will collect in the filter. You may need to gather up the edges of the filter and gently press it to strain the butter through more quickly.
- Optional: Whisk in ⅓ – ½ teaspoon of annatto seed powder, turmeric, or paprika to add color to the butter.
- Drizzle a small amount of the popcorn butter over your homemade popcorn (start with 2 tablespoons, then add more as needed) and add salt to taste.
- Leftovers can be stored in the refrigerator in an airtight container (I use a small glass Weck jar) for 1-2 months. Just melt a small portion in the microwave every time you need butter for popcorn! It also makes fabulous fried eggs and fried potatoes!
Tag me at @dashfordinner and share your photos!
Notes
- Check out my recipe for the Stovetop Homemade Popcorn. It uses this popcorn butter to make the most amazing homemade popcorn that tastes even better than the movie theatre!
- *If you don’t have a stainless steel saucepan, a light-colored enameled cast iron skillet/dutch oven can do the trick. You’ll need to monitor the color of the milk solids; a non-stick or dark-colored saucepan will not work as well.
- Storage: Transfer leftovers to an airtight glass jar and keep in the refrigerator for up to 1-2 months. Discard if there are any signs of spoilage such as mold, an off-color, or off-flavor.
- Double batch: If you make a lot of popcorn, you may want to make a double batch using 1 cup of butter at a time. It doesn’t add much time onto the total clarifying time (anywhere from 0-5 minutes) and keeps for several months when refrigerated.
- *Annatto, paprika, or turmeric? I’ve tested all three of these options, and they all add a nice color to the popcorn, while turmeric adds a bit of flavor (it’s my picky eater’s favorite!). Paprika doesn’t incorporate as well into the butter, while annatto makes for a more consistent color throughout. It’s also perfectly good plain! It’s really all about if you want your popcorn to be yellow or orange in hue (basically … aesthetics only).
- What can I do with the leftover milk solids? These can be discarded or incorporated into something like mashed potatoes (along with regular butter).
- Should I use unsalted butter or salted butter? This recipe calls for unsalted butter as the salt is removed during clarification. You may use salted butter, but I find that unsalted butter does not bubble as vigorously and is easier to control the temperature of. You will still need to salt your popcorn after, whichever you choose.
- Tip: When straining the butter, you may need to gather up the edges of the coffee filter and squeeze gently to work the melted butter through.
Please note that some of my blog posts here at Dash for Dinner may contain affiliate links. If you make a purchase through these links, I will get a small commission at no additional cost to you. Please see my Disclaimer for more information.
