Irresistibly Fudgy Lotus Biscoff Brownies: The Ultimate Cookie Butter Dessert Recipe
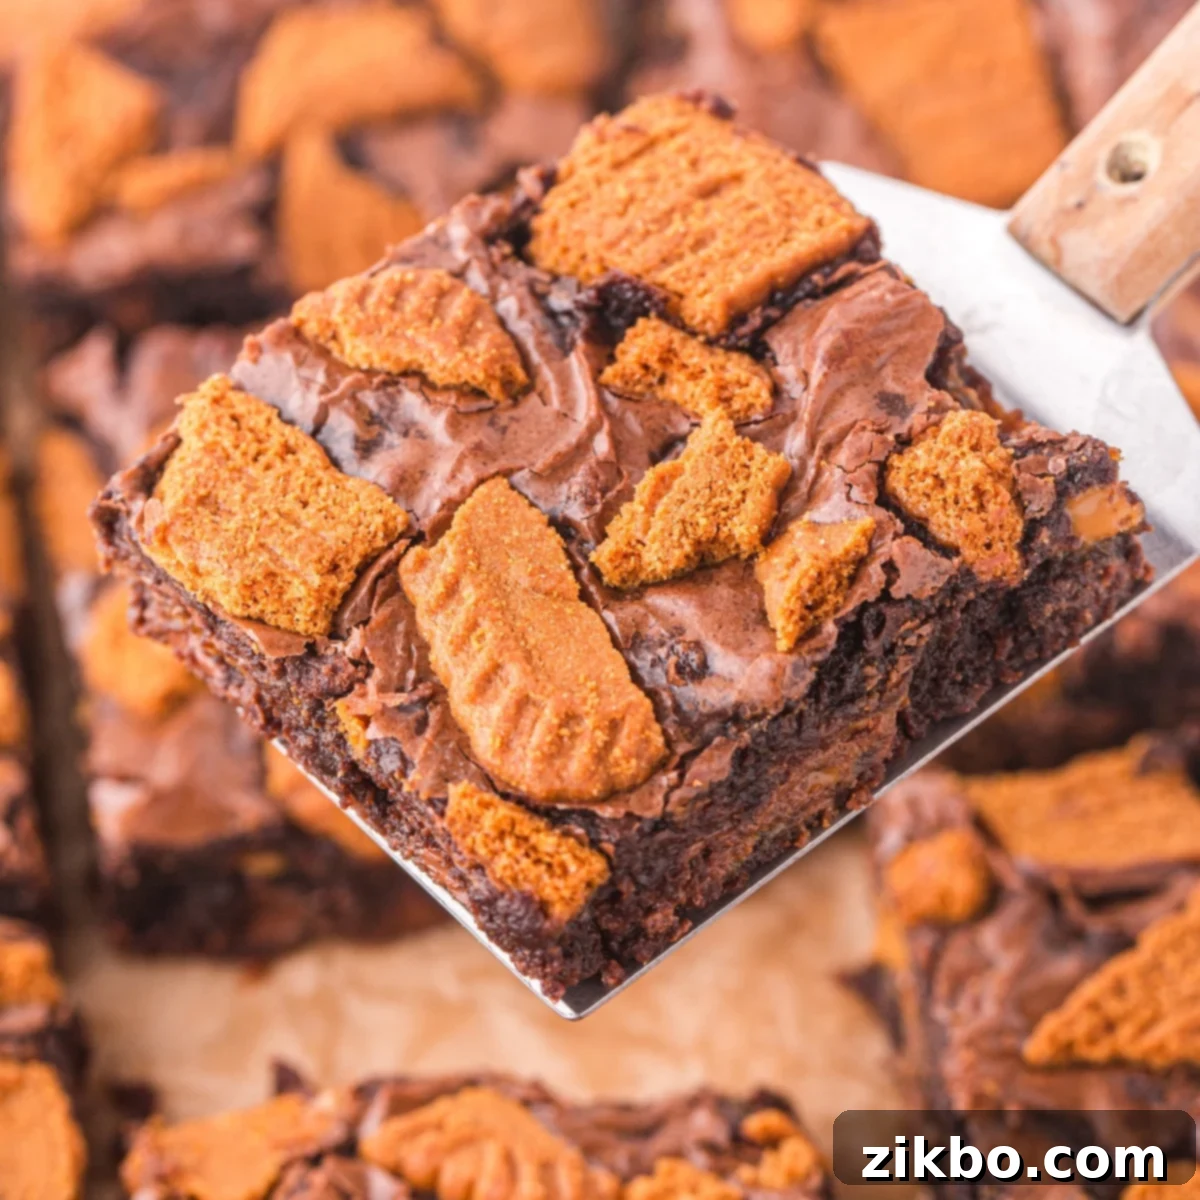
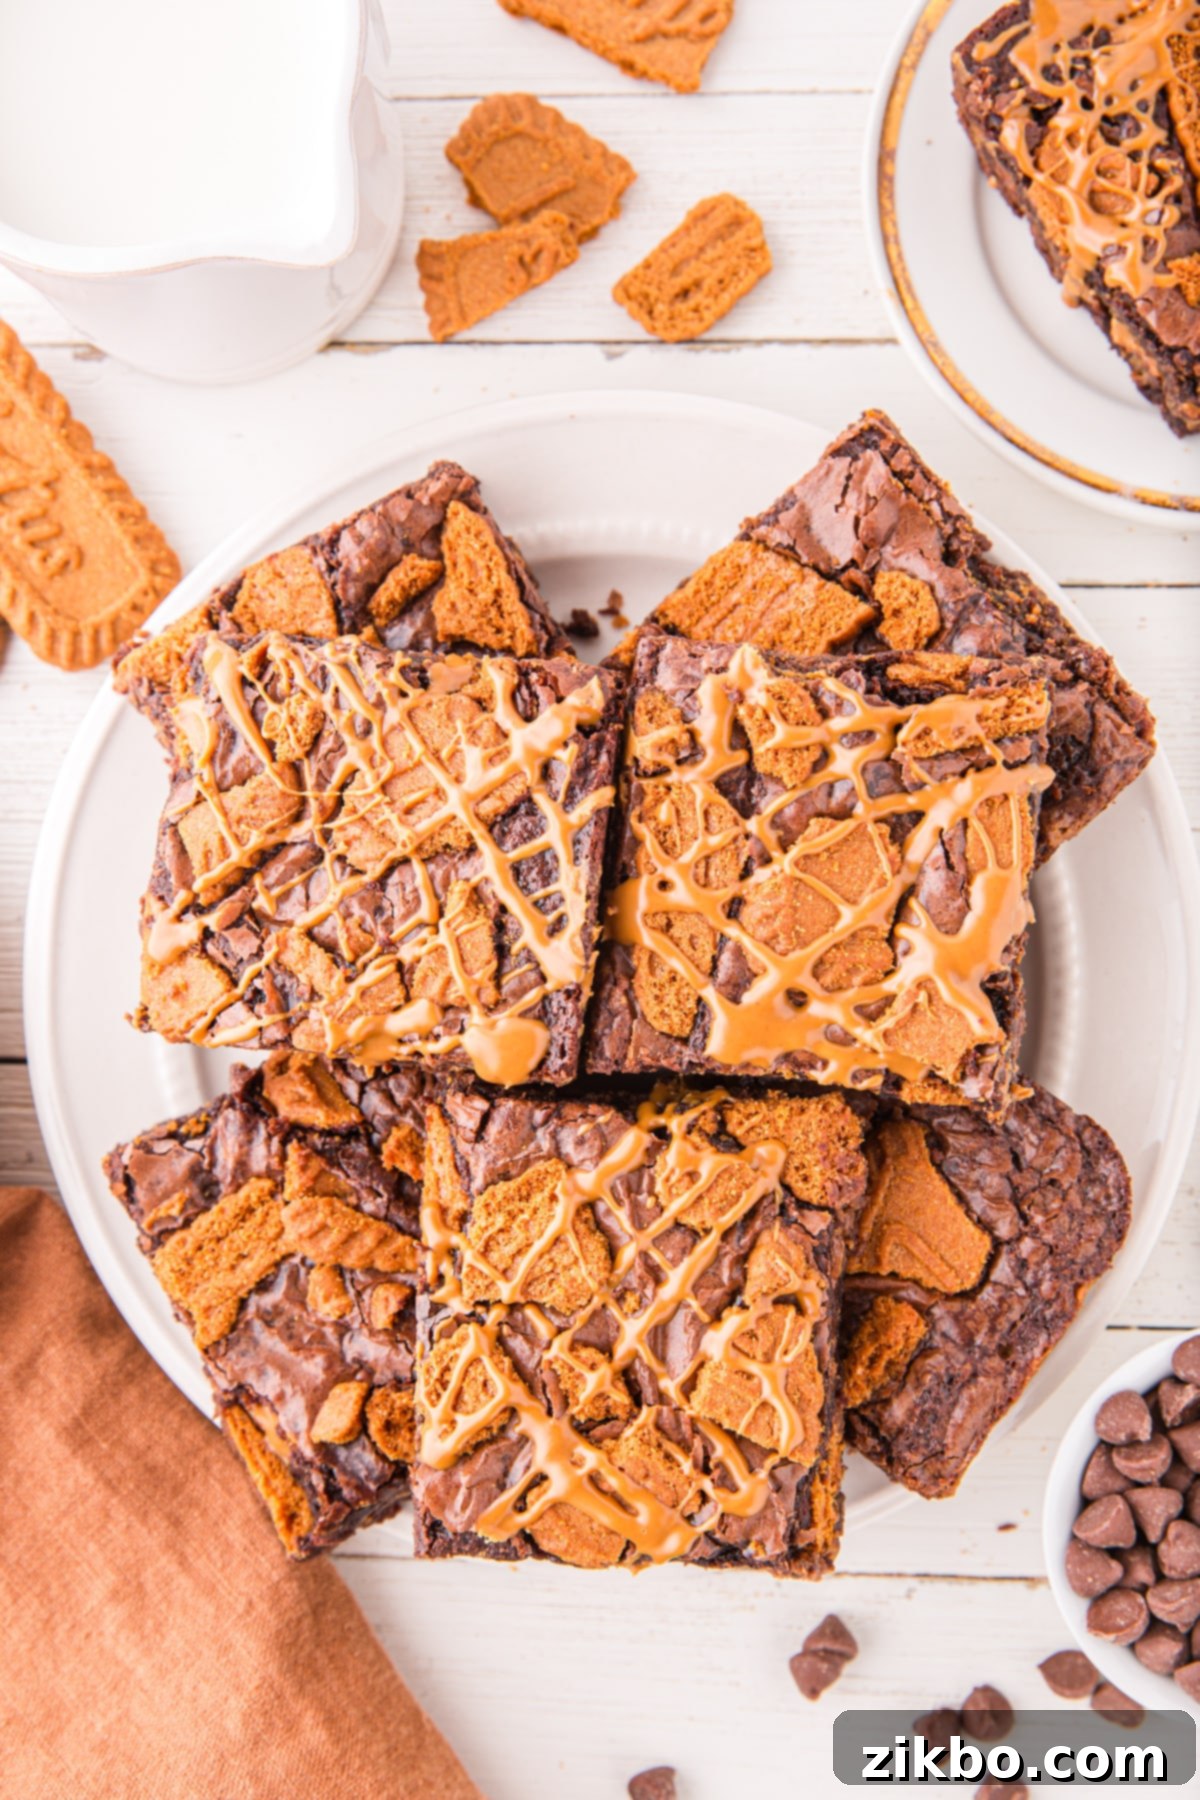
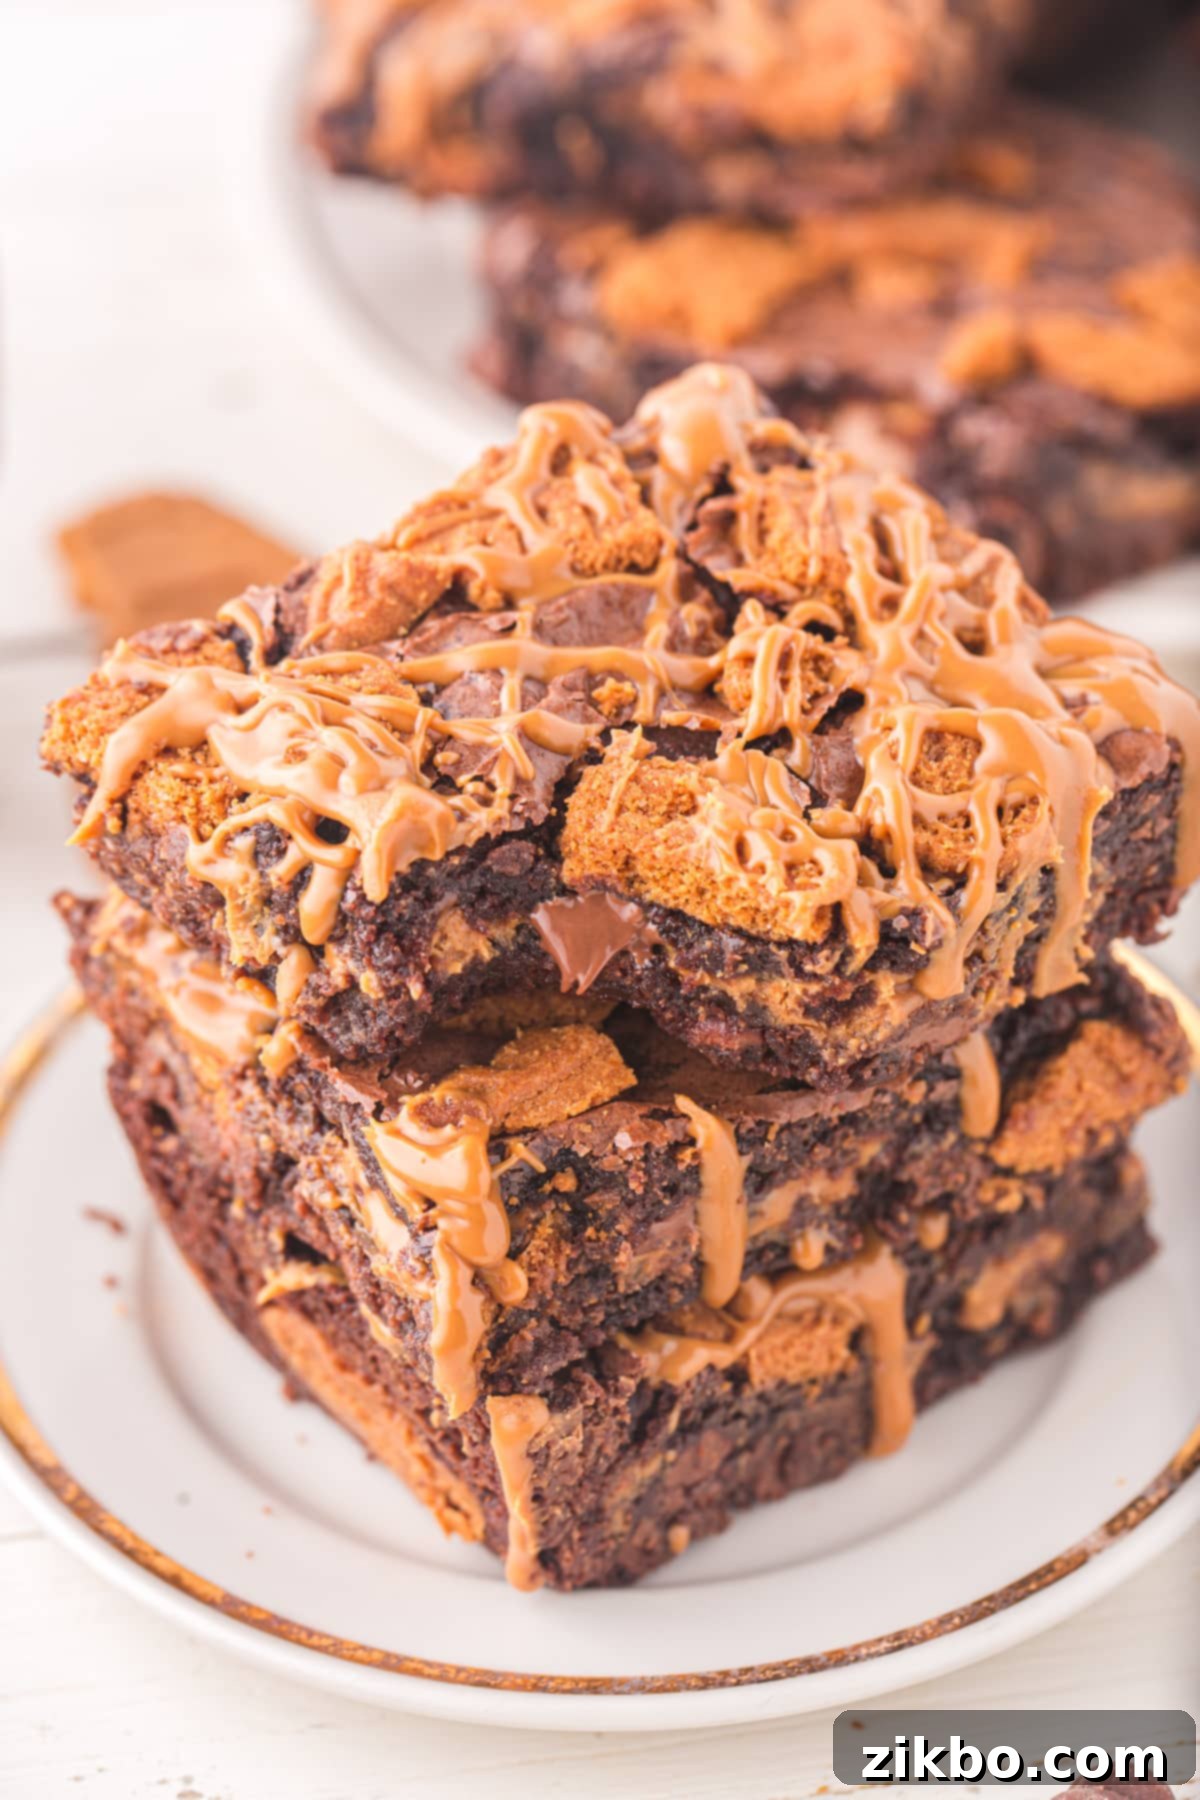
Prepare for a truly decadent treat with this incredibly easy recipe for Lotus Biscoff Brownies. This dessert seamlessly blends the rich, fudgy texture of classic chocolate brownies with the unique, caramelized flavor of Lotus Biscoff. Each bite offers layers of smooth, creamy cookie butter (often called Biscoff spread) nestled within the brownie, all crowned with delightful crunch from chopped Lotus Biscoff biscuits. It’s a match made in dessert heaven, perfect for any occasion and guaranteed to become a new favorite in your baking repertoire.
And if your love for Biscoff knows no bounds, be sure to explore my recipe for Biscoff Blondies too. You’ll be glad you did!
[feast_advanced_jump_to]
Lotus Biscoff biscuits, known affectionately as Biscoff cookies in North America and simply “biscuits” in the UK and Canada, have captivated taste buds around the globe. Originating in Belgium, these distinctive caramelized cookies first gained widespread popularity in Europe before making their way across the Atlantic. It wasn’t long before their unique spiced, brown sugar flavor and delightful crunch won over North Americans, turning them into a beloved pantry staple. This recipe celebrates the irresistible allure of Lotus Biscoff by combining two of its most celebrated forms: the crispy biscuits and the incredibly smooth cookie butter.
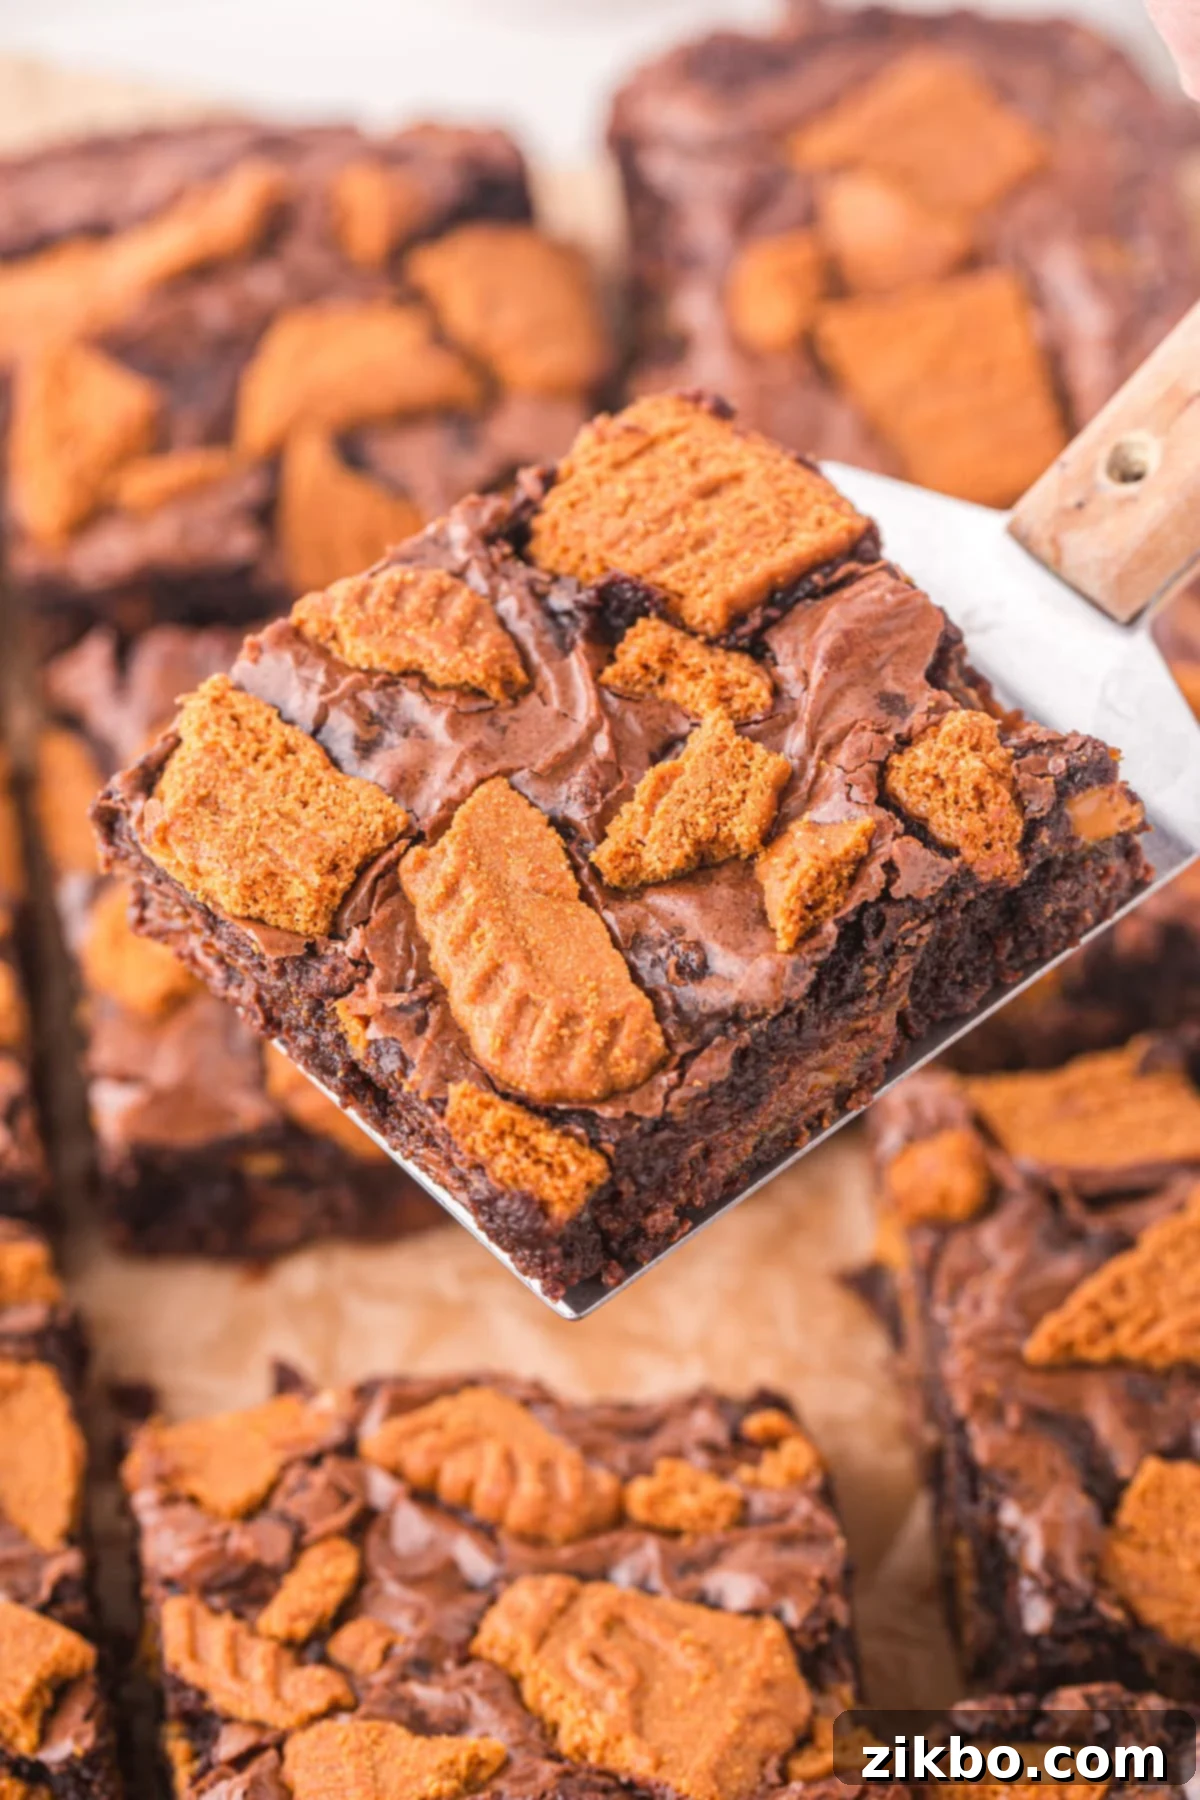
This recipe for fudgy Biscoff brownies is truly the ultimate way to experience the magic of Lotus Biscoff. We’re talking rich, deep chocolate brownies, generously layered with creamy Biscoff cookie butter spread, and then finished with a sprinkle of crunchy Biscoff biscuit pieces. The result is a multi-textured, flavor-packed dessert that’s sure to impress. Trust me, these cookie butter brownies are a game-changer – incredibly gooey, satisfyingly sweet, and utterly delicious!
Why You’ll Adore These Lotus Biscoff Brownies
Looking for a standout dessert that’s both impressive and simple to make? These Biscoff brownies tick all the boxes. Here are just a few reasons why this recipe will become your go-to:
- Effortlessly Quick: Starting with a high-quality boxed brownie mix dramatically reduces your prep time, allowing you to get these incredible brownies into the oven faster. It’s perfect for when cravings strike or you need a last-minute dessert!
- Remarkably Easy: With just a handful of straightforward ingredients and simple steps, these cookie butter brownies are incredibly easy to pull together. You don’t need to be an experienced baker to achieve perfect results every time.
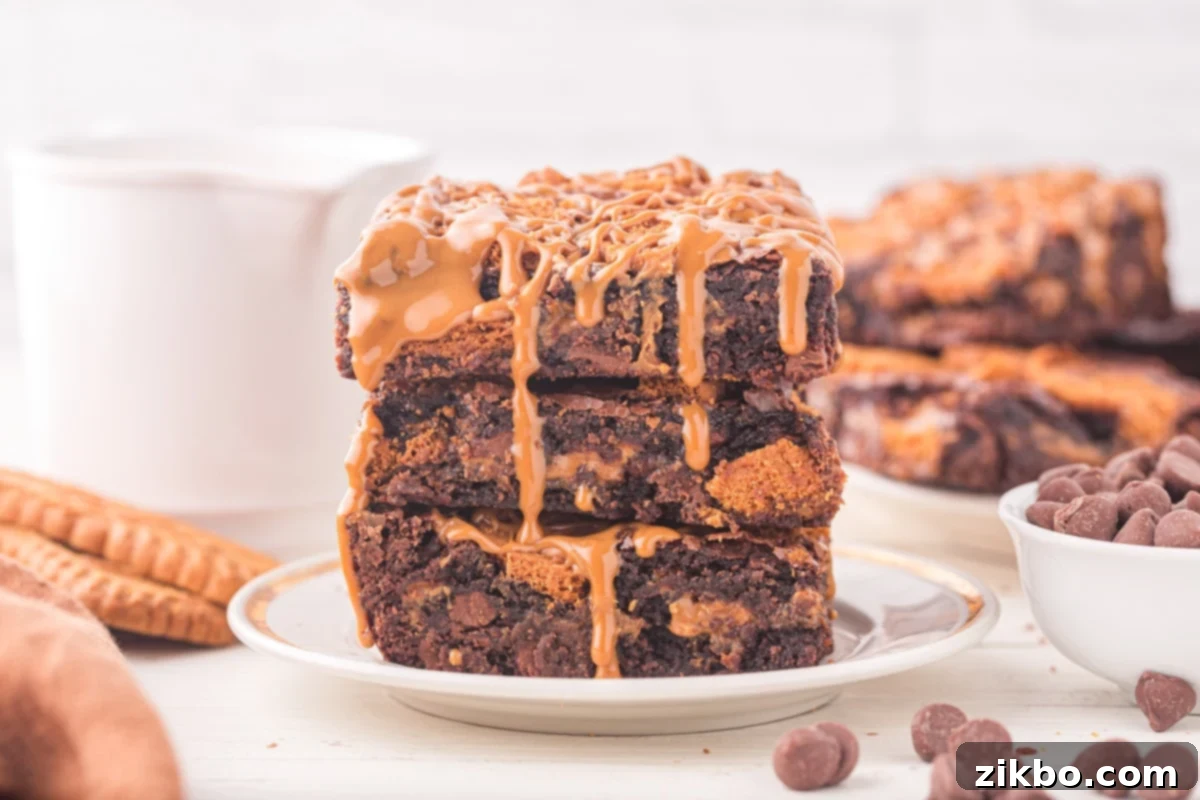
- Unforgettable Fudgy Texture: The secret to their incredible richness lies in the generous layer of smooth Biscoff cookie butter spread embedded within the brownie batter. This addition ensures an intensely moist, gooey, and seriously decadent brownie experience that melts in your mouth.
- Super Customizable: While the convenience of a brownie mix is undeniable, this recipe is highly adaptable. If you prefer a homemade touch, you can easily substitute the boxed mix with your favorite scratch-made brownie recipe. See our “Variations” section for more tips on making it your own!
- Unique Flavor Combination: The warm, spiced caramel notes of Biscoff cookies and cookie butter perfectly complement the deep chocolatey goodness of the brownies, creating a flavor profile that stands out from ordinary brownies.
Essential Ingredients for Your Biscoff Brownies
Gathering your ingredients is the first step towards creating these sensational brownies. You’ll find most of these items readily available at your local grocery store, making this recipe a breeze to whip up.
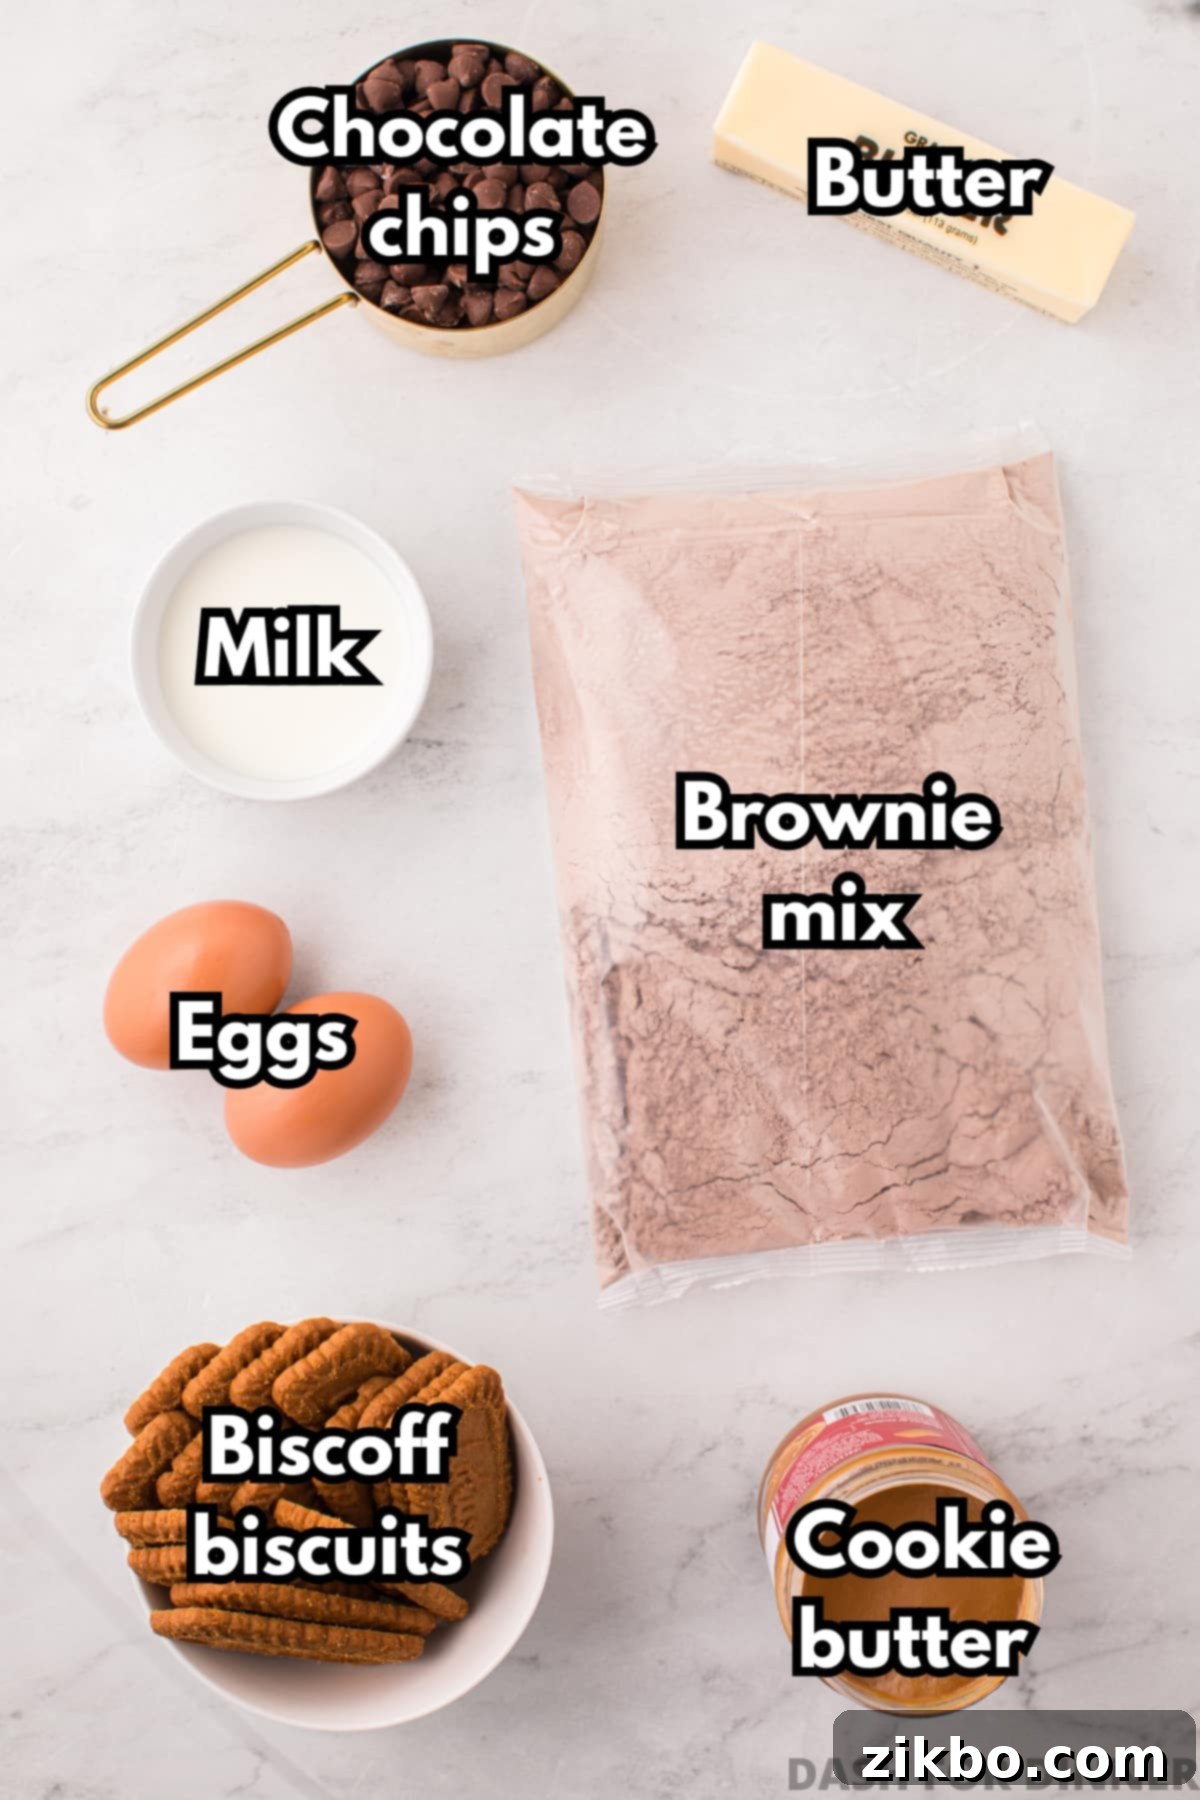
- Brownie Mix: The foundation of our quick and easy recipe! Opt for a larger box size, typically around 18 ounces (520g), to ensure you have enough batter for the layered effect. Using a mix saves significant time without compromising on flavor or fudginess. If you’re a purist who prefers baking from scratch, check our “Variations” section for how to easily adapt this recipe with your favorite homemade brownie batter.
- Biscoff Spread (Cookie Butter): This is the star ingredient that creates that irresistible gooey center. Known as Lotus Biscoff Spread in the UK and Canada, and simply “Cookie Butter” in the US, this creamy spread boasts a distinct caramelized biscuit flavor and a consistency similar to peanut butter. It melts beautifully into the brownies, providing a luscious, sweet, and spiced layer.
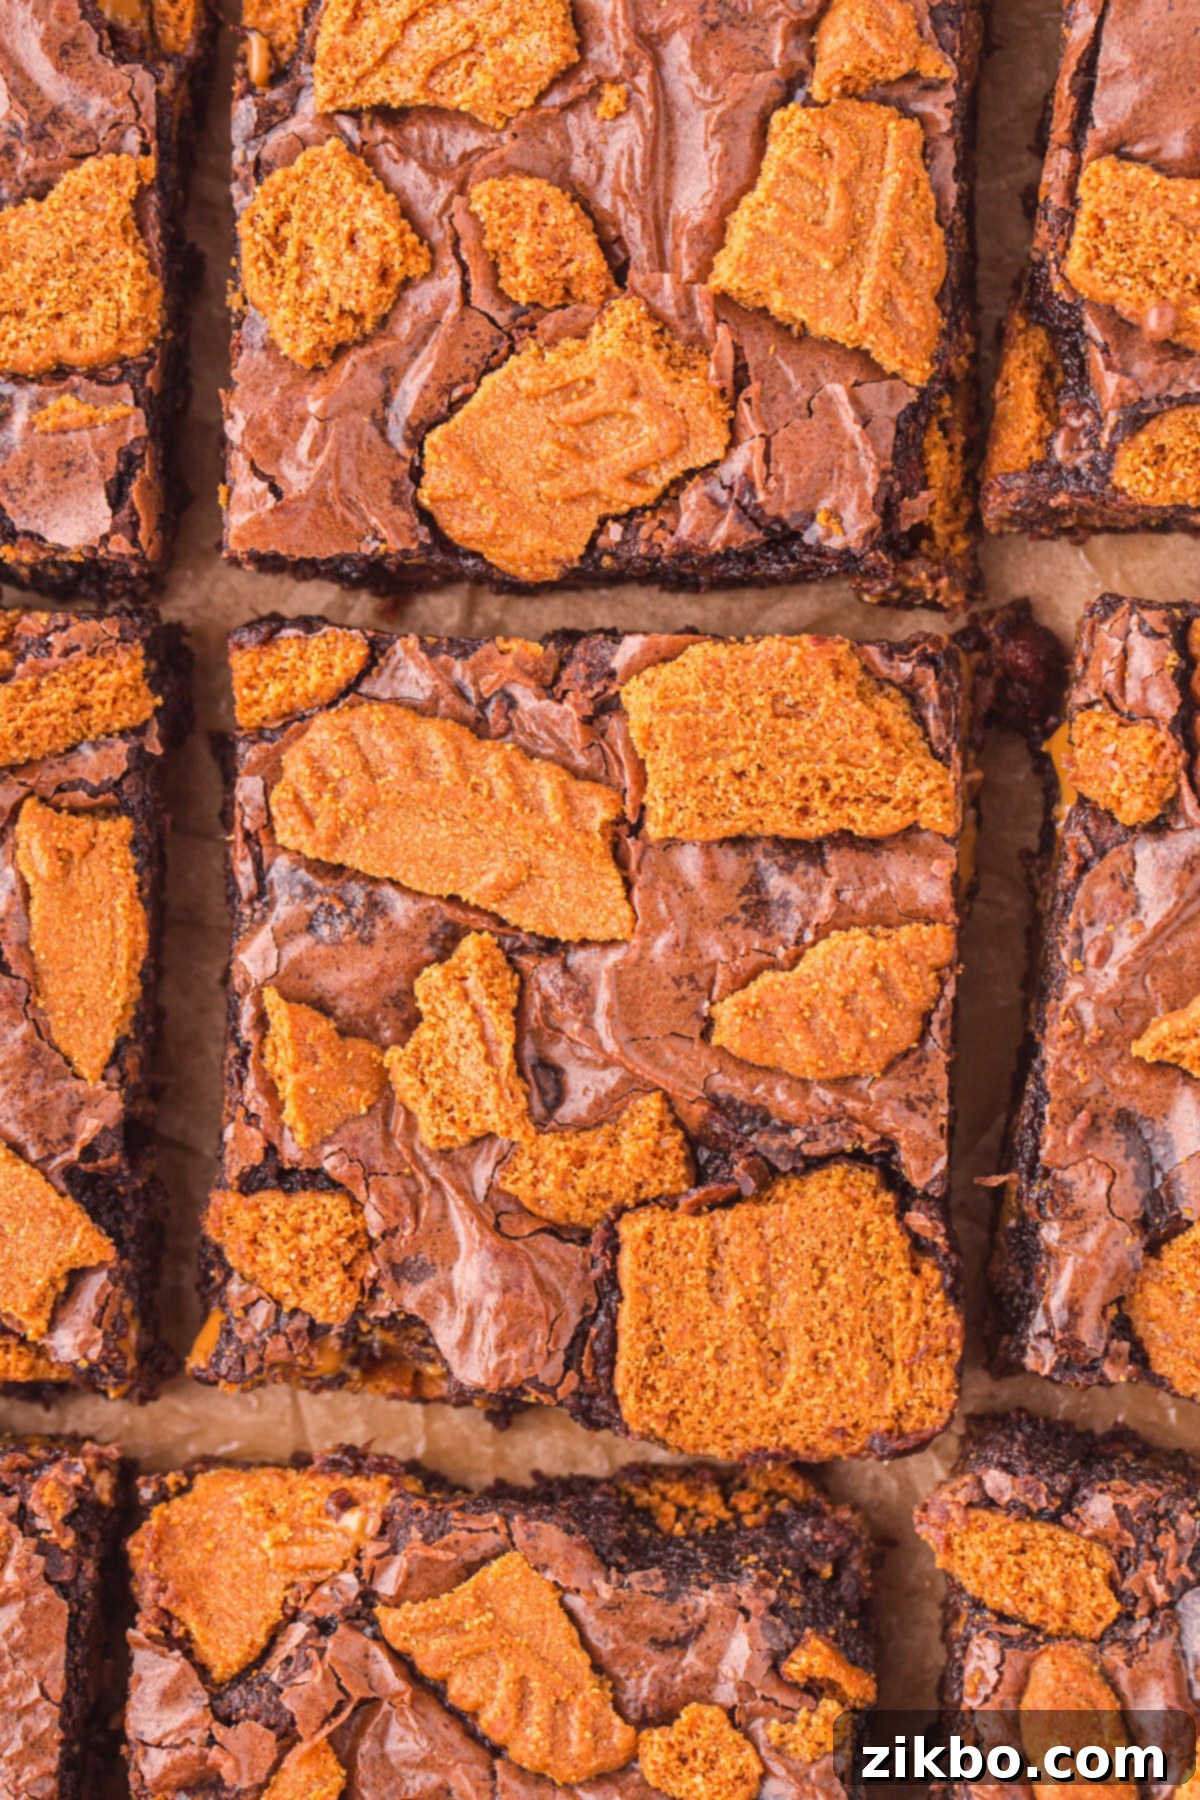
- Lotus Biscoff Biscuits (Cookies): These iconic caramelized cookies are not only delicious on their own but also provide the perfect crunchy topping for our brownies. Their unique brown sugar and spice notes enhance the overall Biscoff experience, adding texture and visual appeal to each square.
- Chocolate Chips: We recommend using rich milk chocolate chips for a classic, sweet chocolate flavor that pairs wonderfully with Biscoff. However, feel free to substitute with dark chocolate chips or semi-sweet chocolate chips if you prefer a deeper, less sweet chocolate contrast.
- Butter: Salted butter adds a subtle balance, cutting through the sweetness with a hint of savory. If you only have unsalted butter, that works perfectly too; simply add a pinch more salt (about ¼ teaspoon) to your brownie mix to achieve a similar flavor profile. Make sure it’s melted for easy incorporation into the batter.
- Milk: A small amount of milk helps achieve a perfectly smooth and spreadable brownie batter, ensuring all ingredients are well combined and the final texture is just right.
- Eggs: You’ll need two large eggs to bind the ingredients and contribute to the rich, fudgy texture of the brownies. For the best results, aim for room temperature eggs as they incorporate more smoothly into the batter.
For a comprehensive list of all ingredients and precise quantities, please refer to the recipe card below.
Note for UK Bakers: Metric measurements are conveniently provided in the recipe card. Simply select the “metric” option to access accurate conversions for all ingredients.
Essential Equipment for Perfect Brownies
Having the right tools makes baking a joy. Here’s what you’ll need to make these incredible Lotus Biscoff brownies:
- Baking Pan: A sturdy 9×13-inch (23x33cm) baking pan is essential for these brownies. For consistently even baking and beautiful results, I highly recommend using a USA Pan brand. Their bakeware is known for its excellent heat distribution.
- Hand Mixer or Stand Mixer: While you can mix by hand, a hand mixer or stand mixer makes combining the ingredients quick and easy, ensuring a smooth, lump-free brownie batter.
- Parchment Paper: This is a baker’s best friend! Lining your pan with parchment paper prevents sticking, guarantees effortless removal of your brownies, and makes cleanup an absolute breeze. For the best coverage, cut two pieces—one for length and one for width—allowing some overhang on the sides. You can use binder clips to hold them in place while you add the batter.
- Offset Spatula or Butter Knife: Crucial for gently spreading the cookie butter layer and the remaining brownie batter without disturbing the layers. An offset spatula offers excellent control for smooth, even distribution.
Baking Your Delicious Biscoff Brownies: Step-by-Step Guide
Get ready to create some magic! Follow these simple steps to bake the most irresistible Lotus Biscoff brownies.
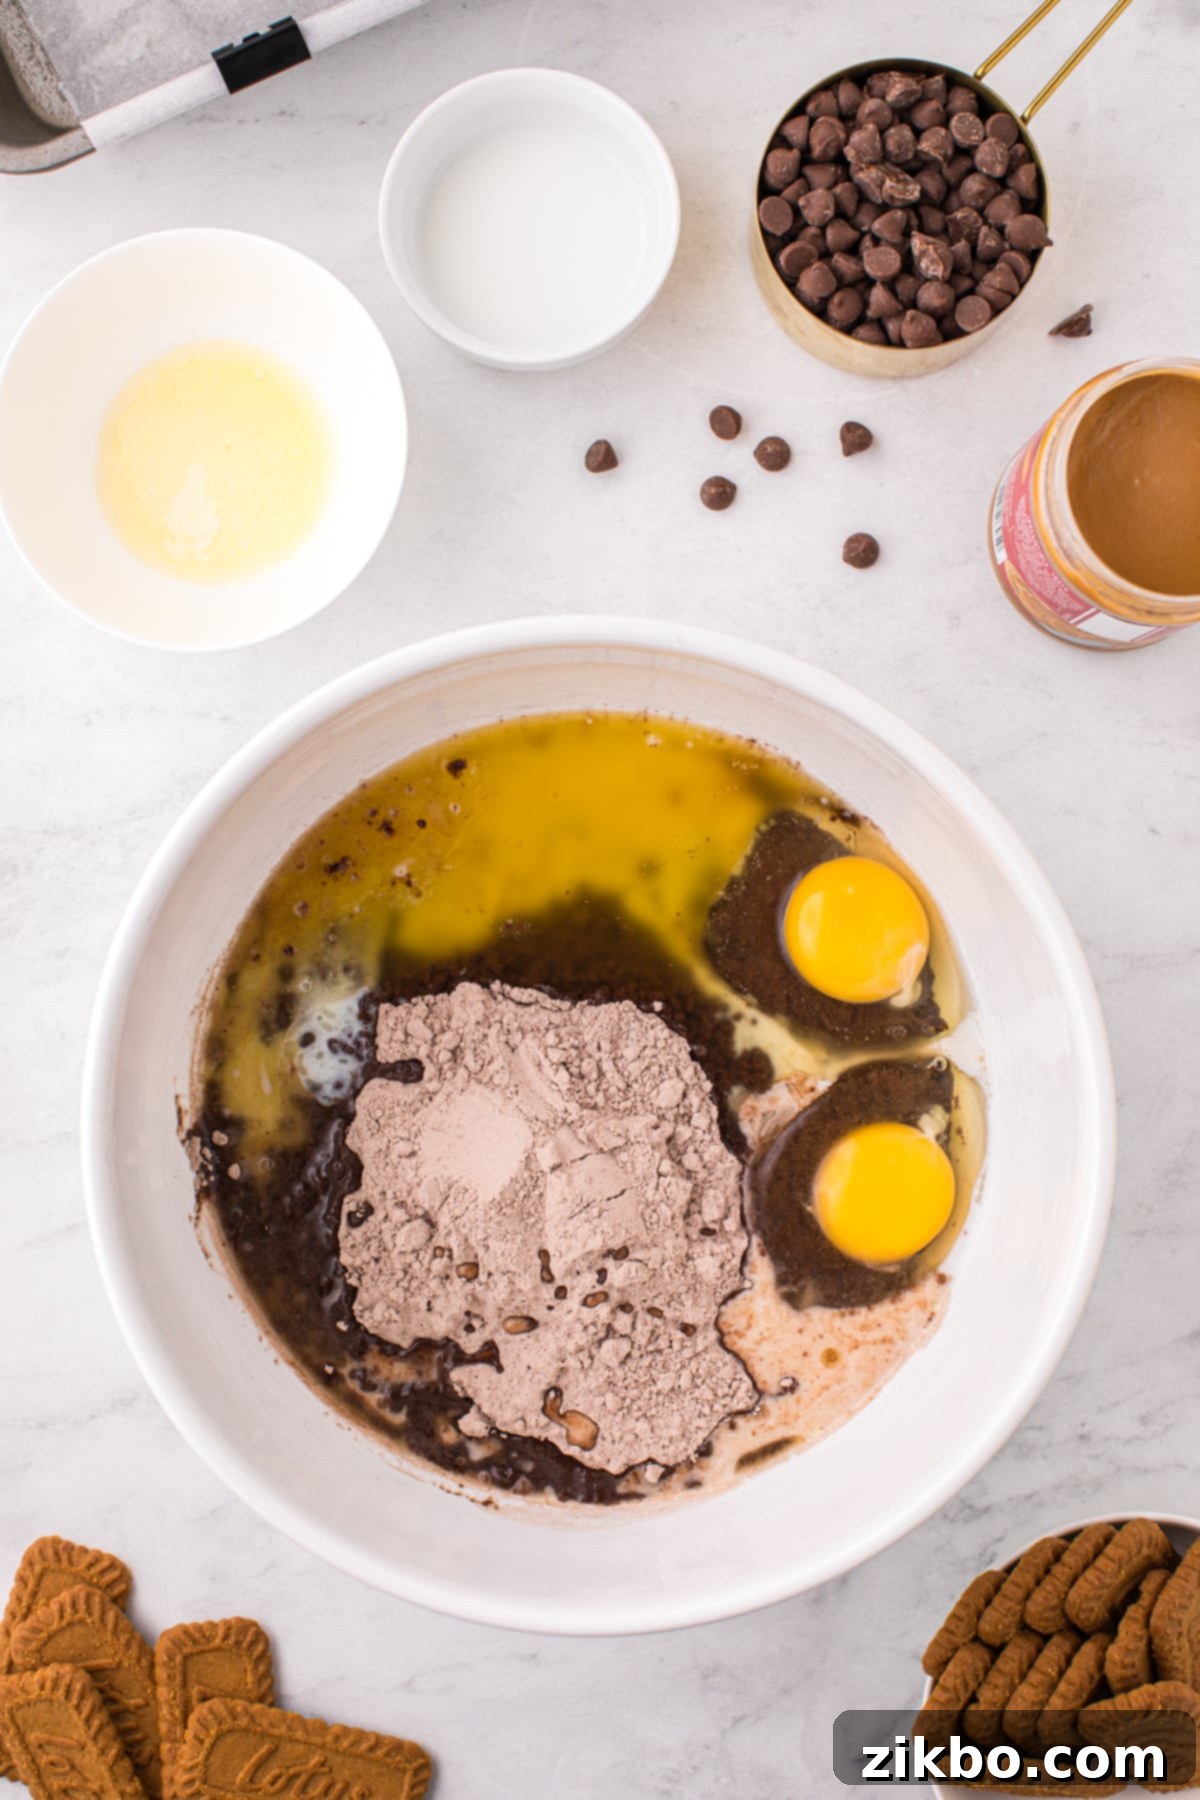
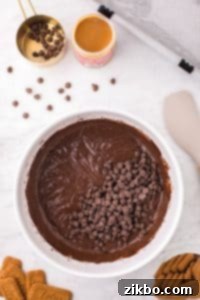
Step One: Prepare the Brownie Batter. In a large mixing bowl, combine the brownie mix, two large eggs, the melted butter, and the milk. Using a hand mixer or stand mixer on medium speed, mix for 2-3 minutes until the batter is smooth and well-combined. Ensure there are no dry pockets of mix remaining.
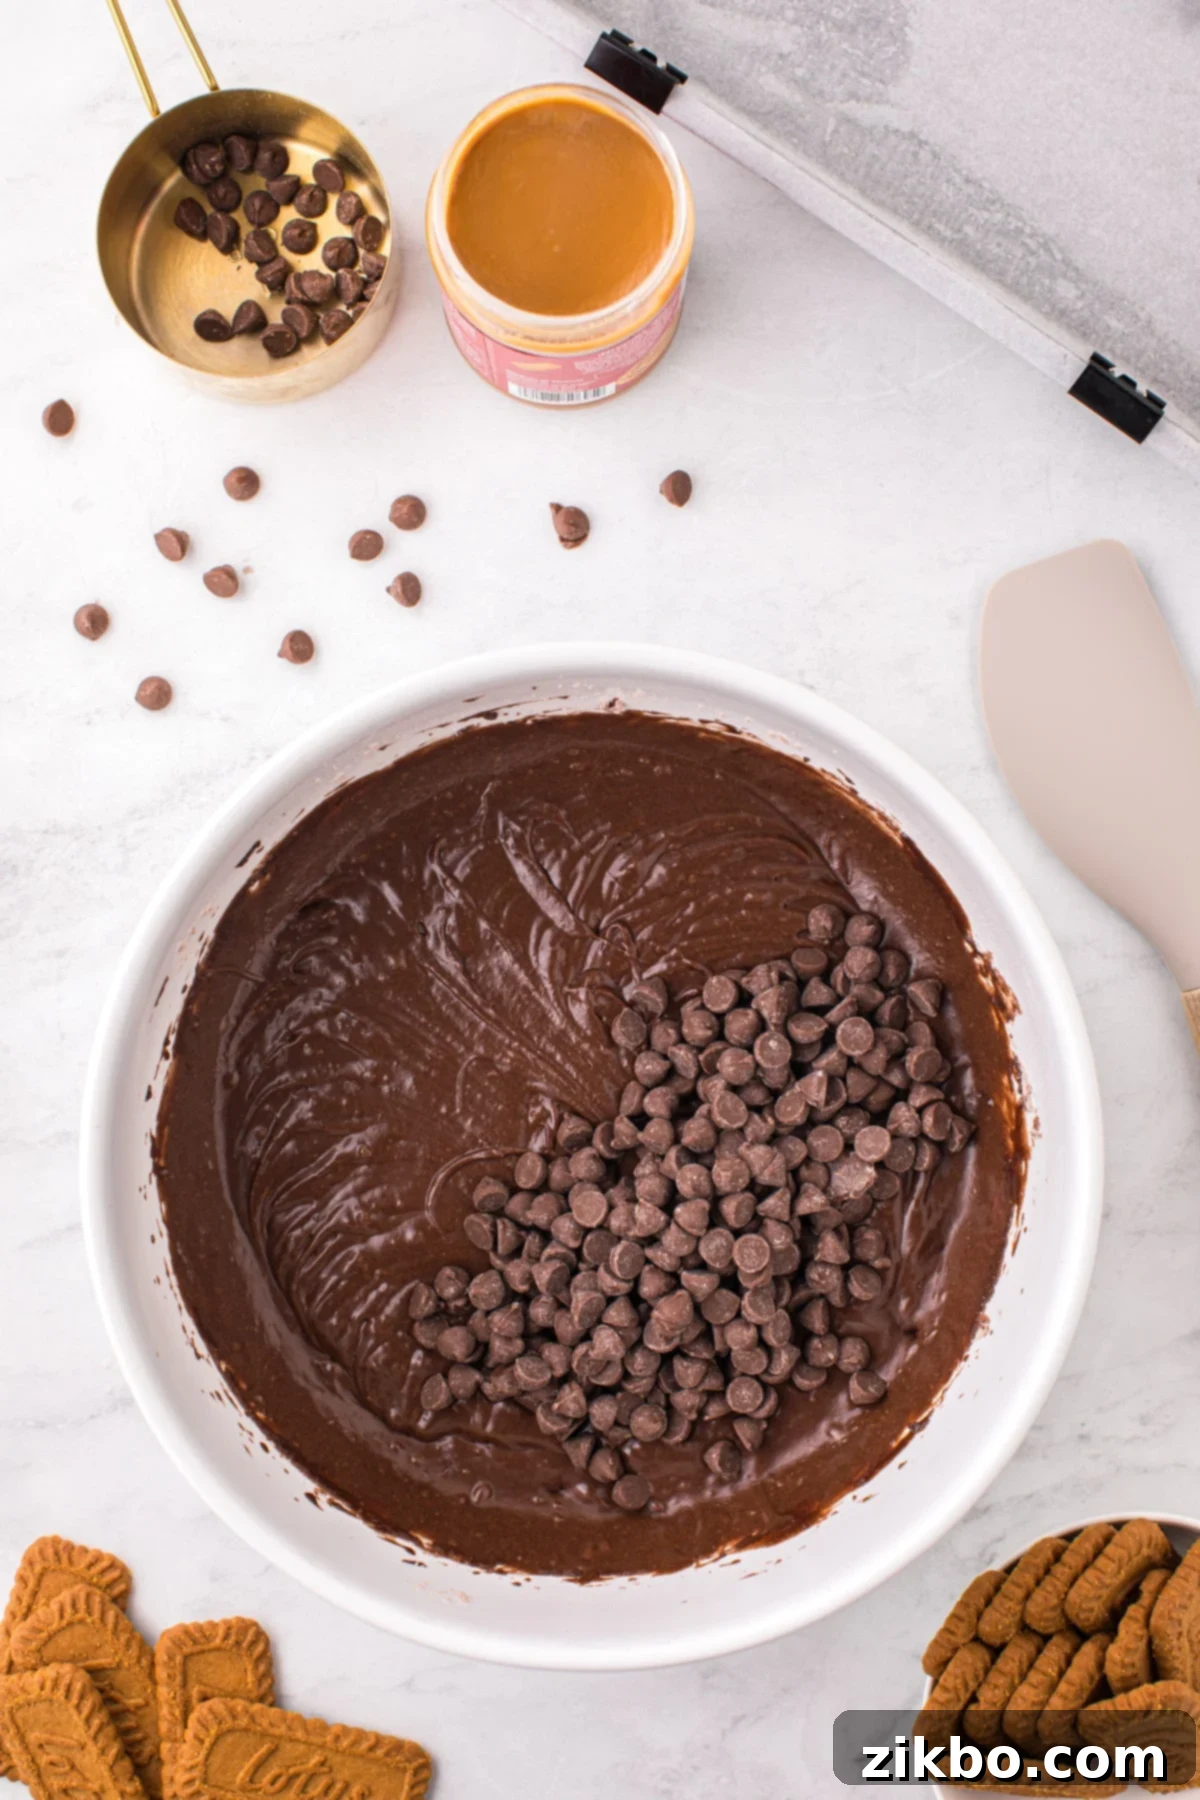
Step Two: Fold in Chocolate Chips. Gently fold the milk chocolate chips into the prepared brownie batter using a spatula. Mix until the chocolate chips are evenly distributed throughout the batter. Be careful not to overmix at this stage.
Assembling the Delicious Layers
The magic happens when we layer the rich brownie batter with the creamy Biscoff spread.
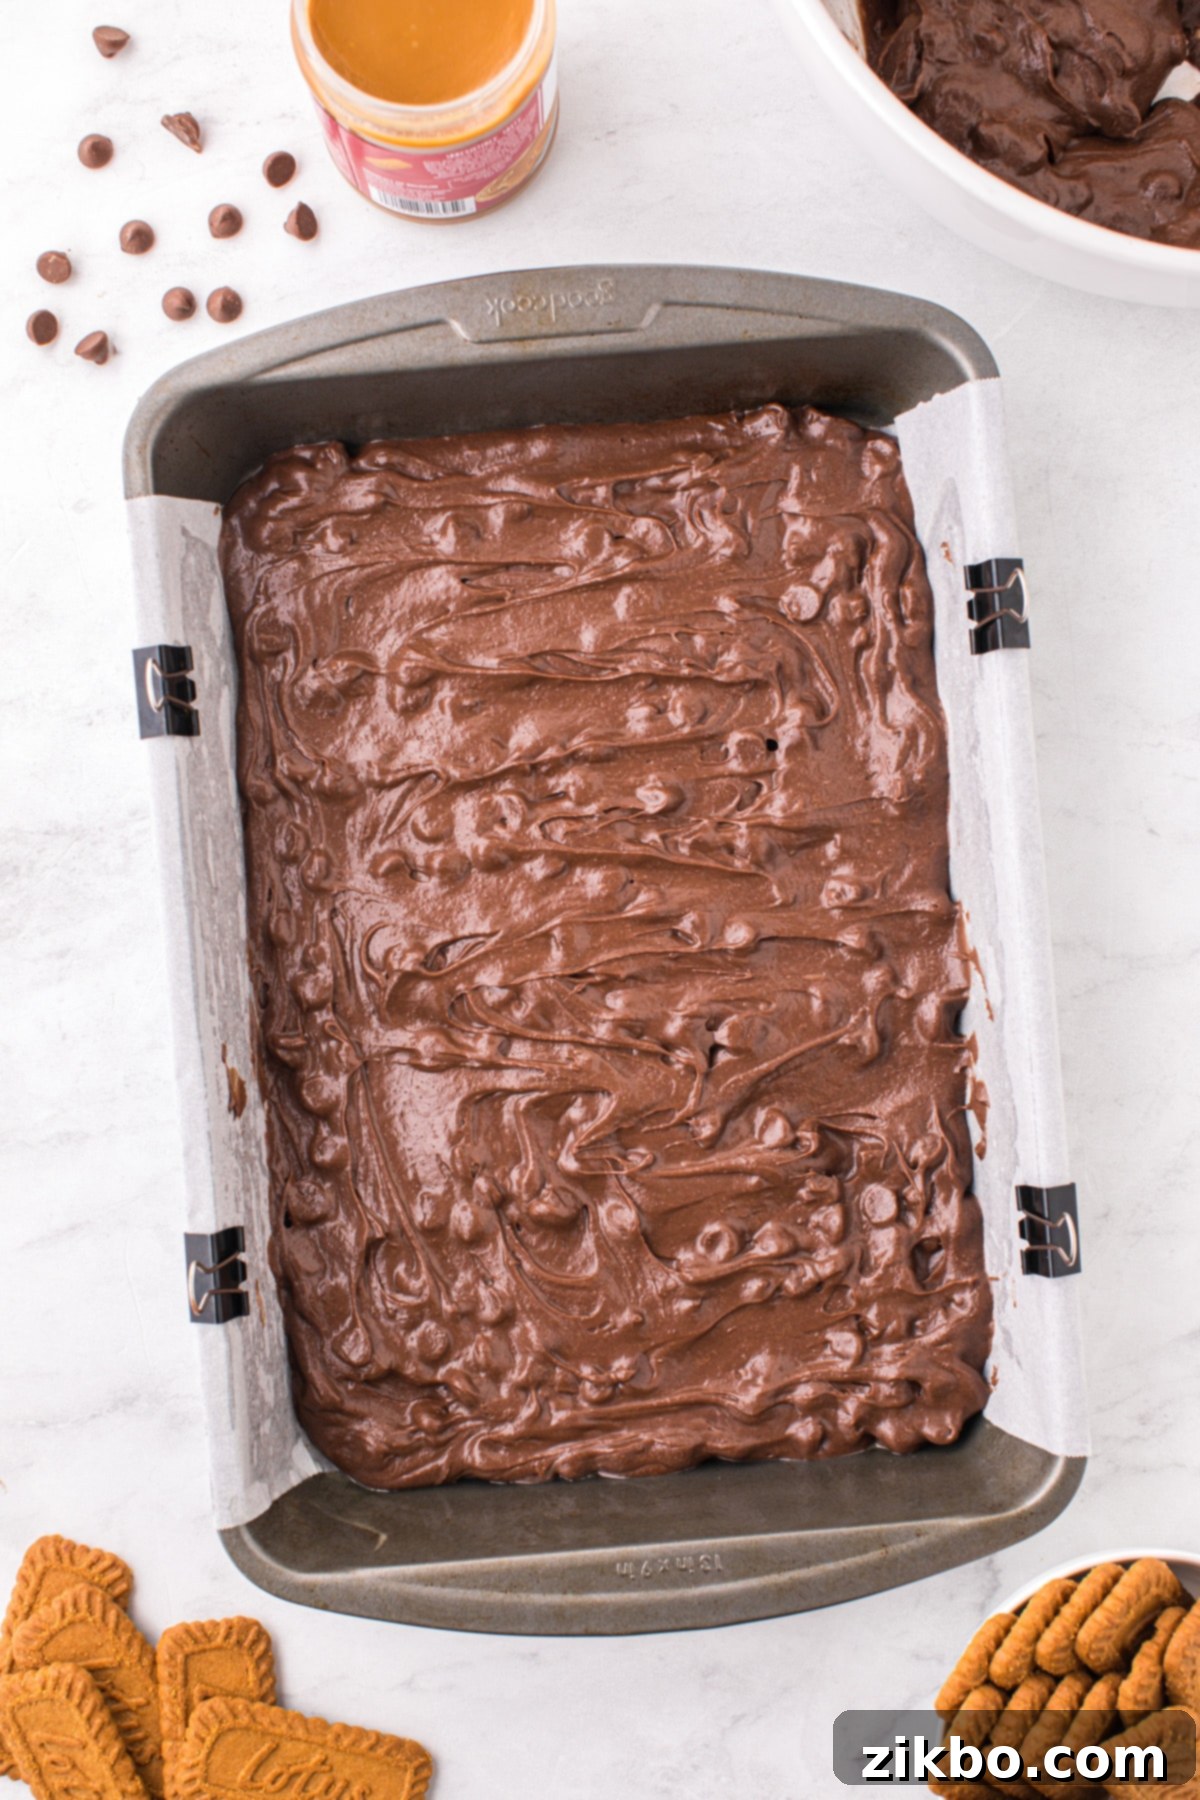
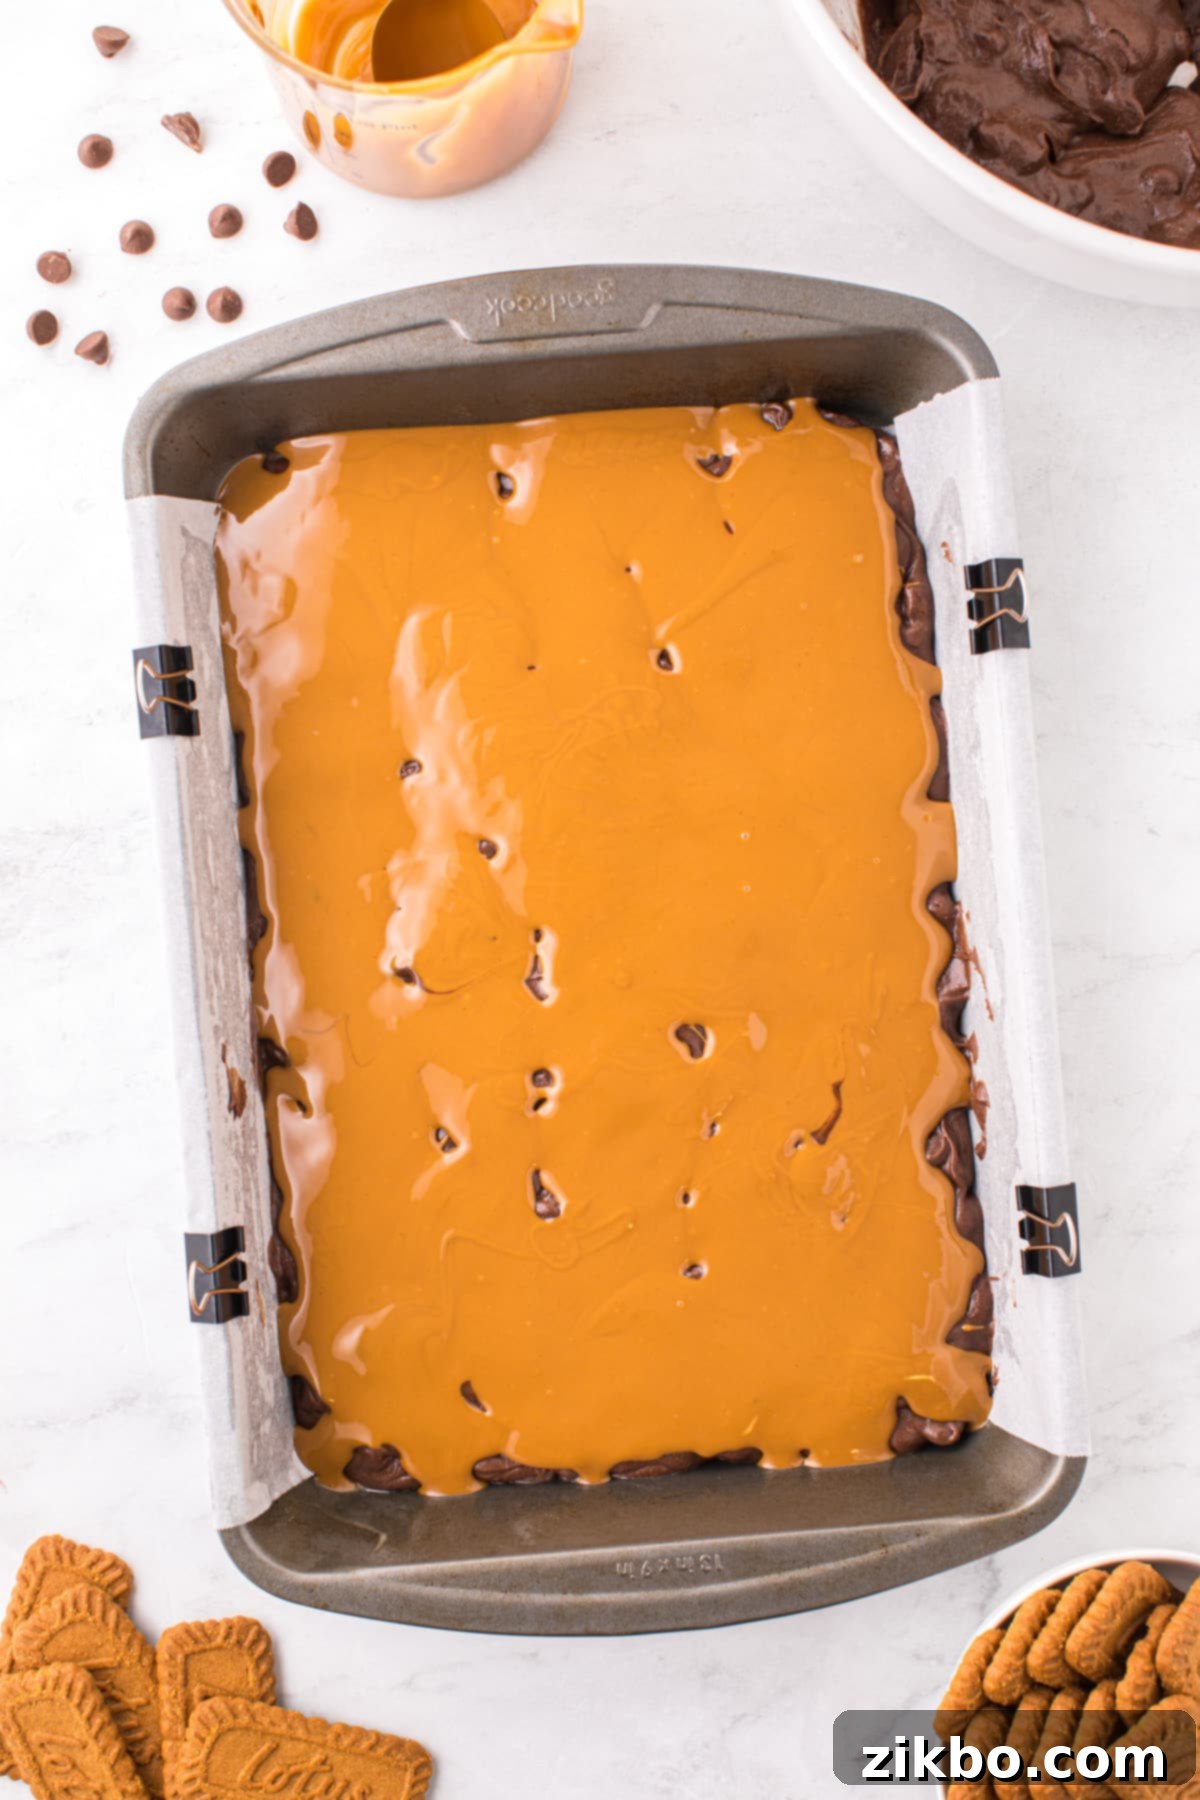
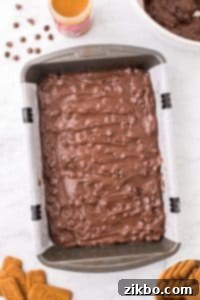
Step Three: Create the Base Layer. Pour approximately 2 cups of the prepared brownie mixture into your greased and parchment-lined 9×13-inch (23x33cm) baking pan. Using an offset spatula or the back of a spoon, carefully spread the batter into an even layer across the bottom of the pan, ensuring it reaches all corners.
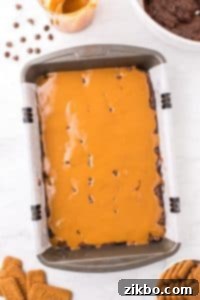
Step Four: Add the Biscoff Cookie Butter Layer. For ultimate ease, gently warm the jar of Biscoff cookie butter in the microwave for 15-30 seconds until it becomes soft and more pourable (like melted peanut butter). Dollop the warmed Biscoff cookie butter over the brownie base. Then, using an offset spatula or butter knife, carefully smooth it out as evenly as possible over the brownie batter. Work gently to avoid mixing the layers.
Pro Tip: Warming the cookie butter slightly makes it significantly easier to spread without pulling up the brownie base.
The Finishing Touch: Topping and Baking
Almost there! Now for the final layers and the delightful bake.
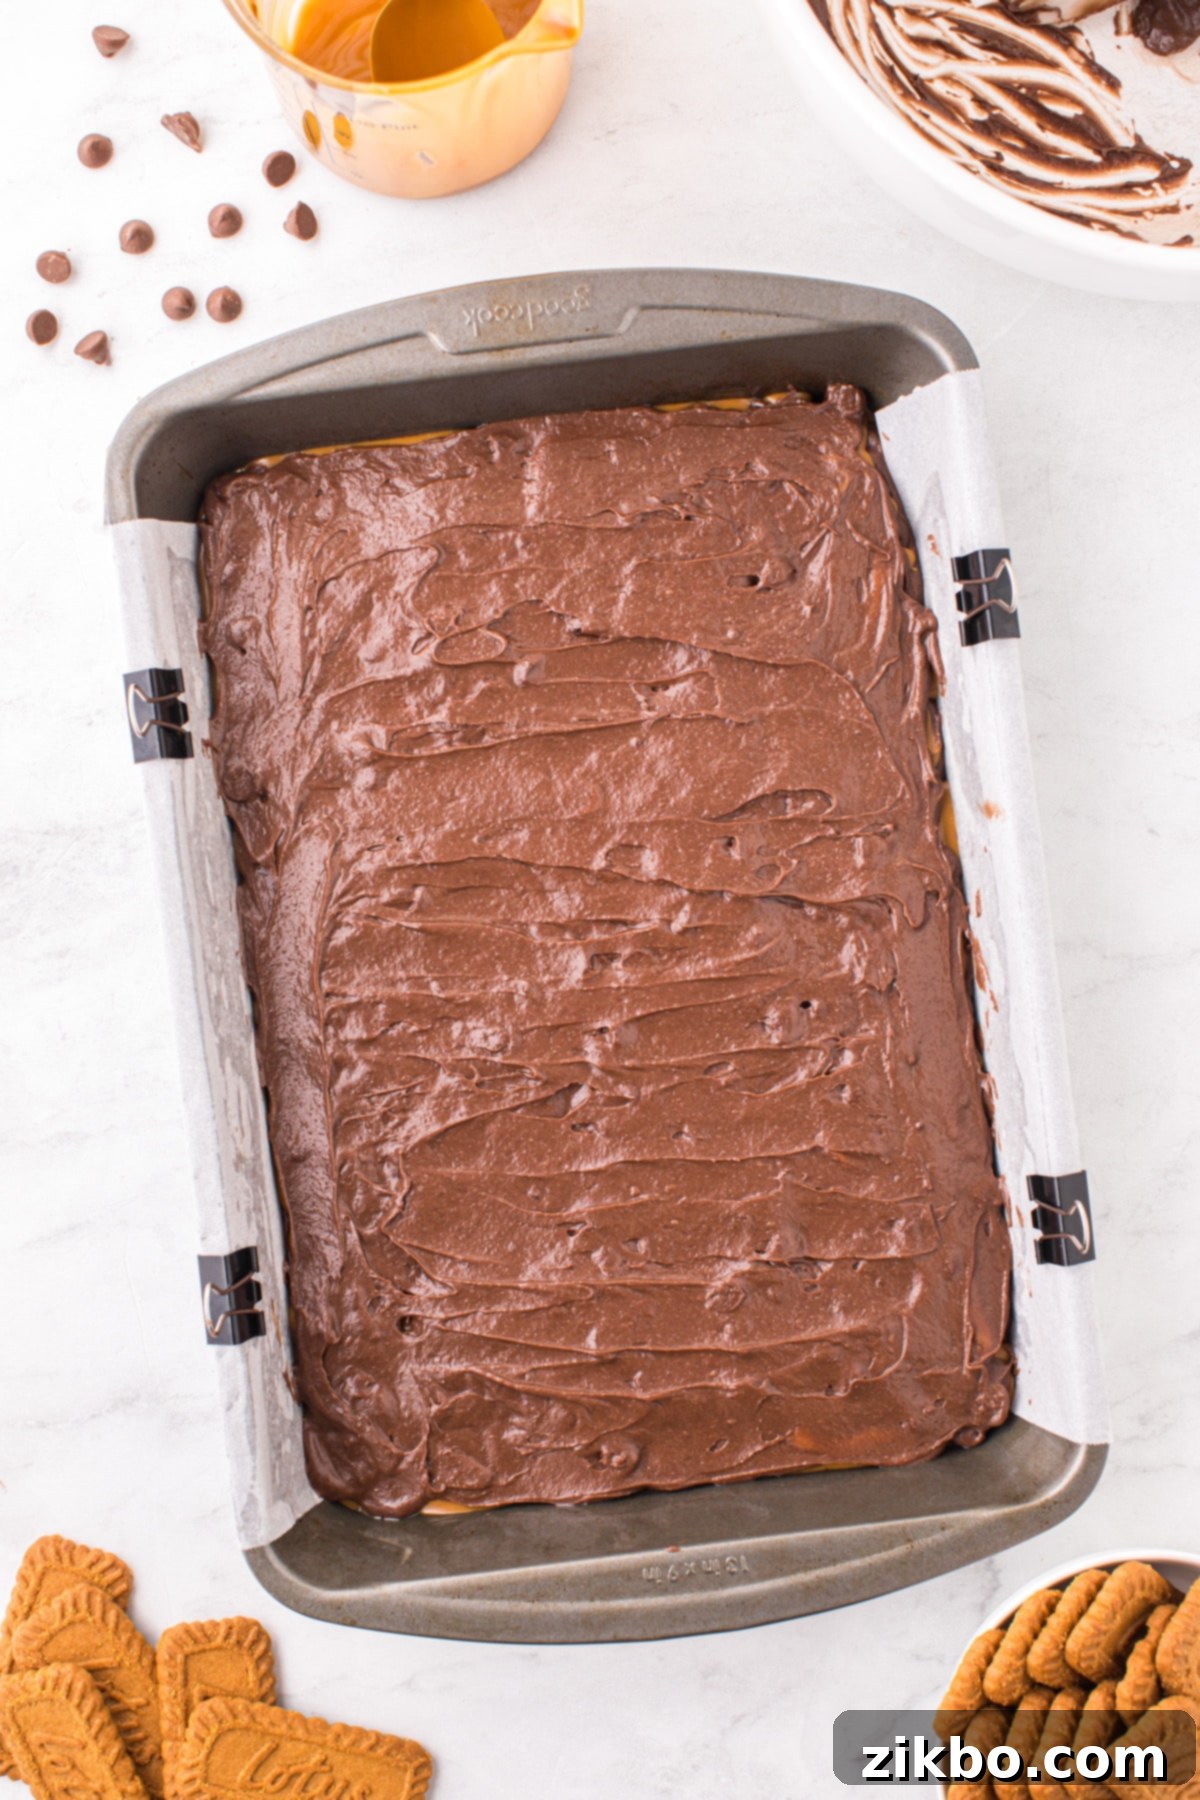
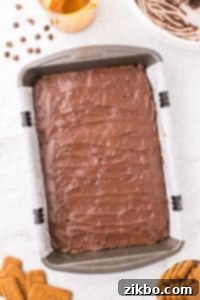
Step Five: Top with Remaining Batter. Carefully spoon the remaining brownie batter over the Biscoff layer. Begin by adding dollops around the edges of the pan, then gently fill in the middle. Smooth the top with a clean offset spatula or the back of a spoon, again, being mindful not to aggressively mix it with the cookie butter layer below.
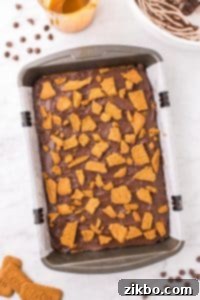
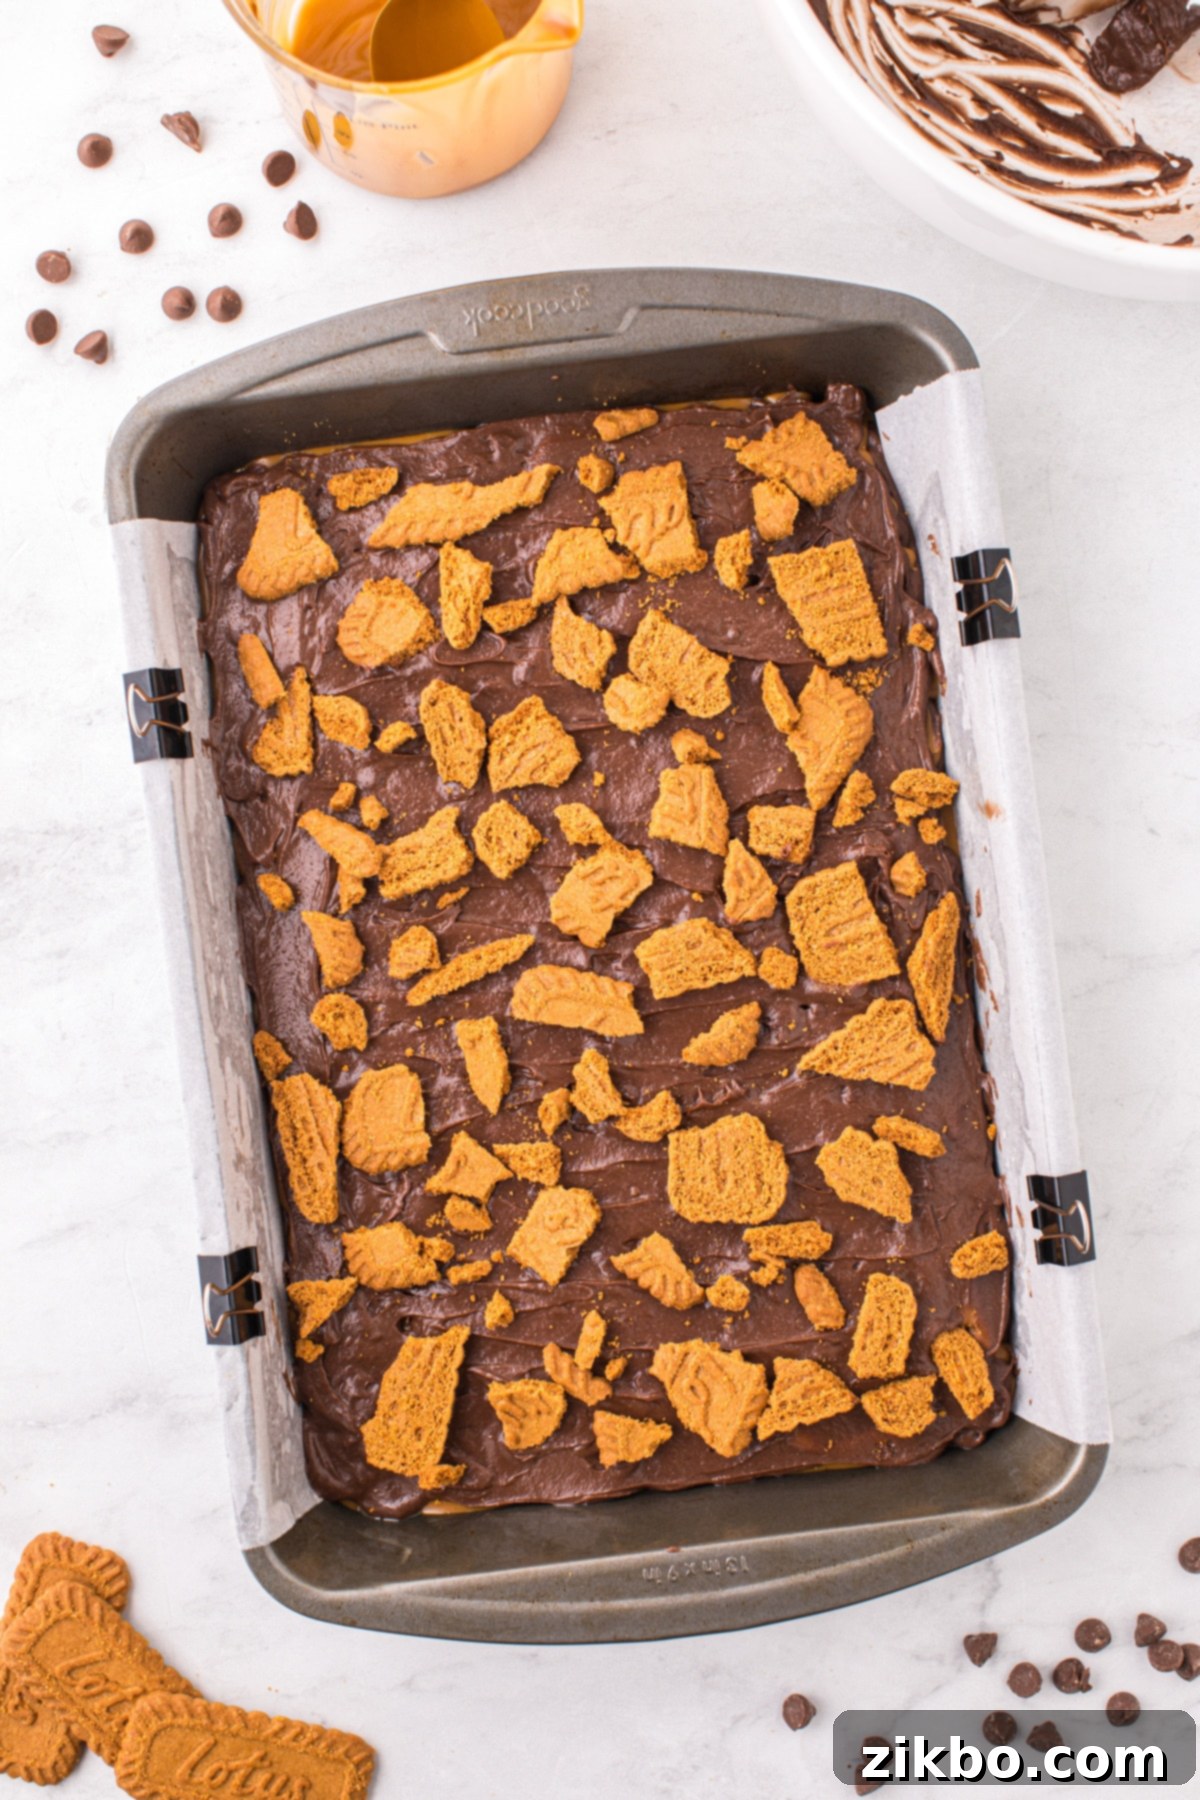
Step Six: Add Biscoff Cookie Topping and Bake. Generously sprinkle the roughly chopped Lotus Biscoff cookies evenly over the top layer of brownie batter. Gently press them down slightly to ensure they adhere. Place the pan in your preheated oven at 350ºF (177ºC) and bake for 33-38 minutes. The brownies are done when a toothpick inserted into the center comes out with moist crumbs, but no wet batter.
Cooling for Perfect Slices
Patience is a virtue, especially when it comes to brownies! Proper cooling ensures the best texture and clean cuts.
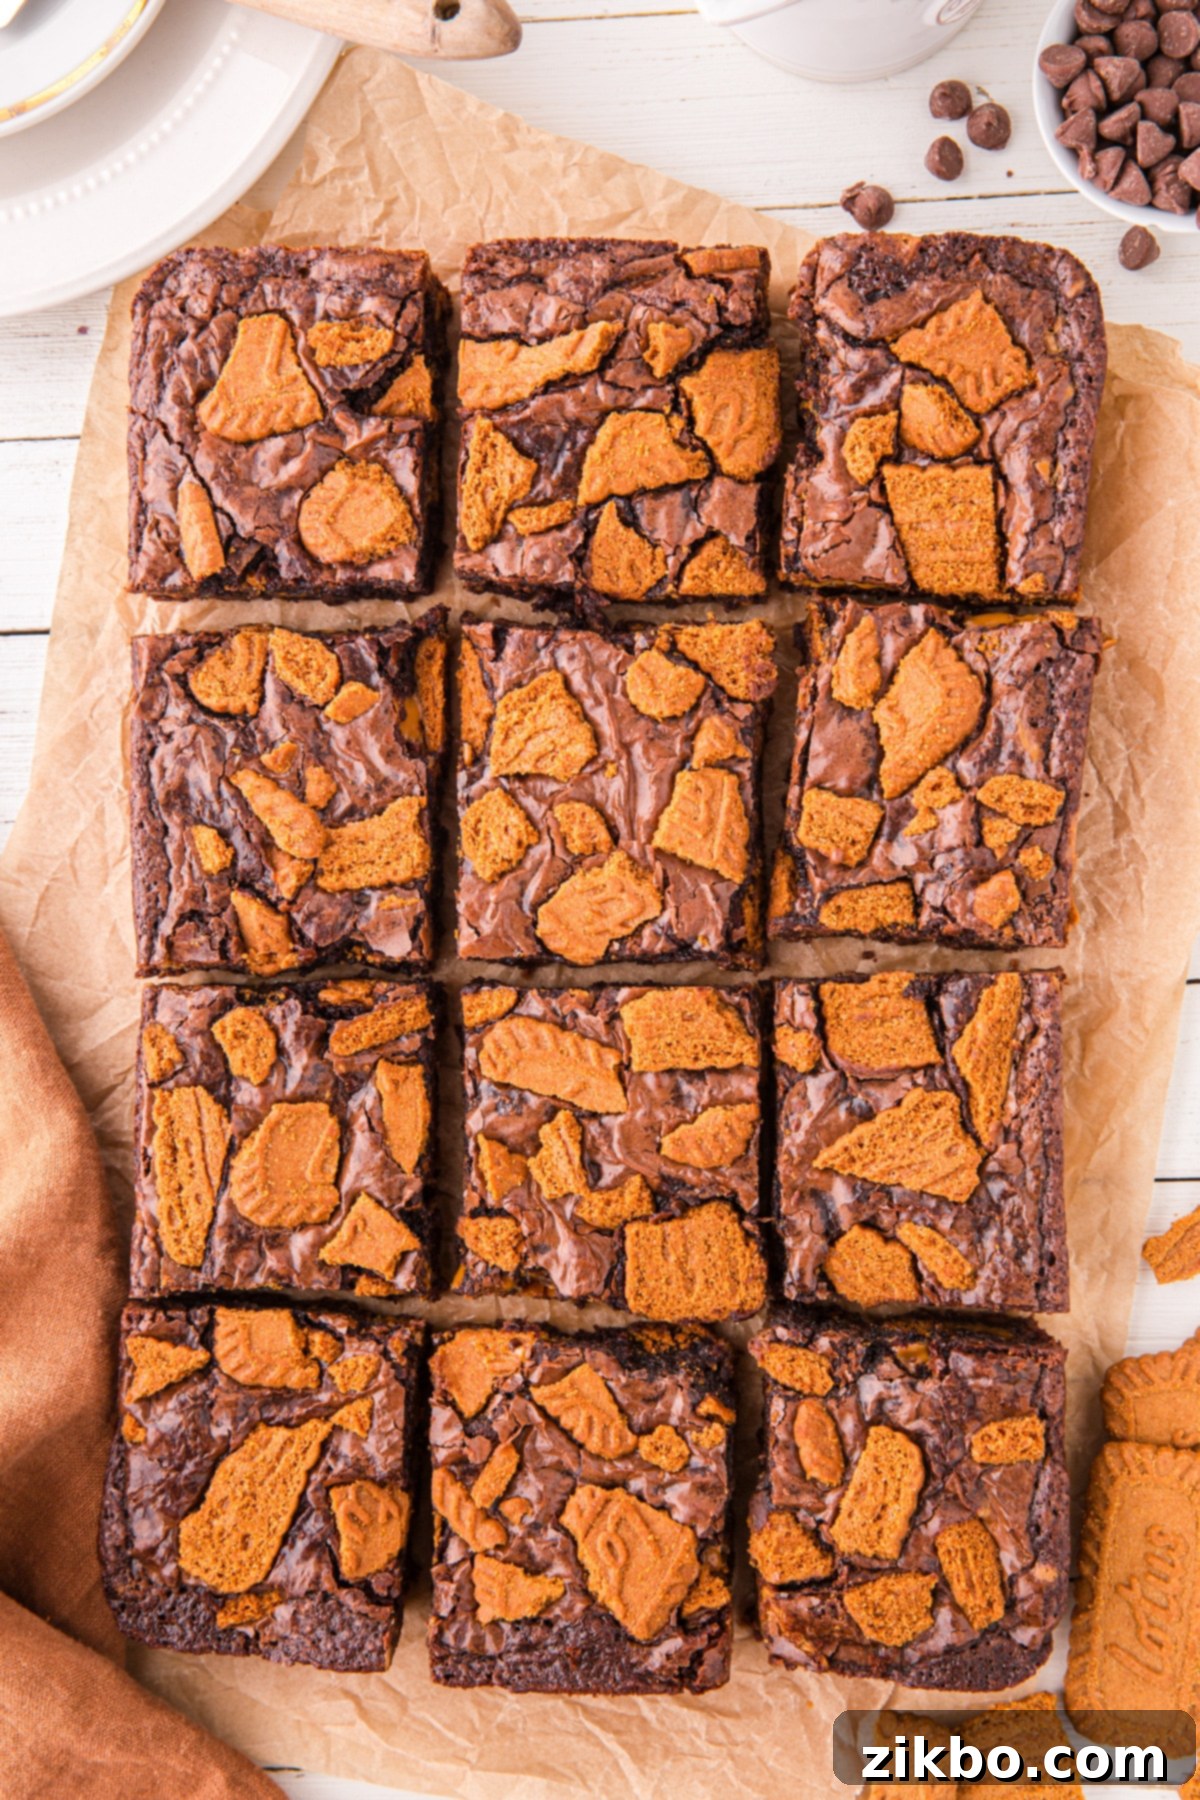
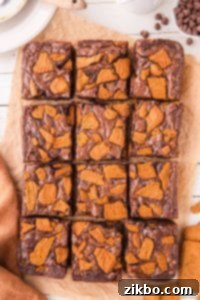
Step Seven: Cool Completely Before Slicing. This step is critical for fudgy brownies! Allow your Lotus Biscoff brownies to cool completely in the pan on a wire rack before attempting to remove them or slice. This can take anywhere from 1 to 2 hours. Once cooled, use the parchment paper overhang to lift them out of the pan. Slice them into 12-16 perfect squares using a sharp, clean knife. For extra clean cuts, wipe your knife with a warm, damp cloth between each slice.
Storing Your Decadent Biscoff Brownies
Proper storage ensures your brownies stay fresh, fudgy, and delicious for longer. Here’s how to keep them at their best:
- Always allow your brownies to cool completely to room temperature before storing them. Storing warm brownies can lead to condensation and a soggy texture.
- Transfer the cooled brownies into an airtight container. If stacking layers, place a sheet of parchment paper or waxed paper in between to prevent them from sticking together.
- Store at room temperature for up to 3 days. For extended freshness, you can keep them in the refrigerator for up to 5 days. Brownies stored in the fridge tend to become denser and chewier; for a softer texture, warm them briefly in the microwave before serving.
- To freeze brownies for longer-term storage, wrap individual squares tightly in plastic wrap, then place them in a freezer-safe bag (such as a sturdy plastic bag or reusable silicone freezer bag). They can be frozen for up to 3 months. Thaw at room temperature or gently warm in the microwave before enjoying.
Expert Tips for the Best Biscoff Brownies Ever
Achieving bakery-quality brownies at home is simpler than you think. Follow these expert tips for crave-worthy results every single time you bake:
- Warm the Biscoff Spread for Smooth Application: This is a game-changer! Cold Biscoff spread can be stiff and difficult to spread evenly without tearing the brownie batter. Gently warm it in a small saucepan over low heat or in the microwave for 15-30 seconds until it’s smooth, pourable, and easy to work with. This ensures a beautifully even Biscoff layer.
- Customize Your Brownie Base: While a boxed mix offers convenience, feel free to use your favorite homemade brownie recipe if you prefer. Just prepare your chosen recipe as instructed and then proceed with the layering steps as outlined here. The beauty of this recipe is its flexibility to suit your baking style, whether you prefer ultra-fudgy, chewy, or slightly cakey brownies.
- Choose a Metal Baking Pan: For optimal baking results, especially with brownies, a metal pan is highly recommended over glass. Metal pans conduct heat more efficiently and evenly, leading to consistent baking and a desirable chewy edge. My personal favorite for this recipe is a 9×13-inch (23x33cm) USA Pan due to its superior non-stick properties and even heat distribution.
- Don’t Overbake Your Brownies: This is arguably the most important tip for fudgy brownies! Keep a close eye on them towards the end of the baking time. Brownies are often done when a toothpick inserted into the center comes out with moist crumbs attached, but not completely wet batter. A slightly underbaked brownie is usually fudgier than an overbaked, dry one.
- Line with Parchment Paper Properly: For effortless removal and cleanup, ensure your baking pan is adequately lined with parchment paper. Leave an overhang on two opposite sides to create “handles” that you can use to lift the cooled brownies out of the pan with ease.
Creative Variations and Simple Substitutions
This Biscoff brownie recipe is fantastic as is, but it also serves as a wonderful canvas for your creativity. Feel free to experiment with these ideas to make them uniquely yours!
- Experiment with Chocolate Chips: While milk chocolate chips offer a sweet balance, don’t hesitate to use semi-sweet chocolate chips or dark chocolate chips if you prefer a richer, more intense chocolate flavor that contrasts beautifully with the sweet Biscoff. You could even try white chocolate chips for a different aesthetic and creamy sweetness.
- Go the Homemade Brownie Route: If you’re a fan of baking from scratch, this recipe seamlessly accommodates your favorite homemade brownie batter. Simply omit the boxed brownie mix, eggs, milk, and melted butter from our ingredient list, and prepare your homemade batter according to your recipe’s instructions. Then, proceed with the layering of Biscoff cookie butter and crushed cookies as directed in steps three through six.
- Melted Chocolate for Extra Fudginess: For an unbelievably fudgy texture, try melting your chocolate chips before adding them to the brownie batter. This creates an even smoother chocolate base and enhances the melt-in-your-mouth quality of the brownies.
- Biscoff Nutella Swirl Brownies: Elevate the indulgence by adding a luscious swirl of Nutella to the Biscoff cookie butter layer. Simply dollop both the warmed Biscoff spread and Nutella onto the brownie base, then use a skewer or knife to gently swirl them together before adding the top layer of brownie batter. This combination adds a delightful hazelnut-chocolate dimension.
- Add a Pinch of Salt Flakes: For those who appreciate a sweet and salty contrast, sprinkle a few flaky sea salt crystals over the top of the brownies just before baking. This simple addition beautifully enhances the caramel notes of the Biscoff.
- Coffee Infusion: Add a teaspoon of instant espresso powder to your brownie mix (or homemade batter) to deepen the chocolate flavor without making the brownies taste like coffee. It’s a classic baker’s trick for richer chocolate desserts.
Frequently Asked Questions About Biscoff Brownies
Got questions? We’ve got answers to help you perfect your Biscoff brownies and enjoy them to the fullest!
Lotus Biscoff cookies (or biscuits, as they’re known in the UK) offer a distinct, irresistible flavor. They taste like a crisp, caramelized brown sugar cookie with subtle hints of warm spices like cinnamon and nutmeg. Many describe the flavor as similar to a graham cracker, but with a richer, less dry texture and prominent brown sugar notes instead of honey. The cookie butter spread captures this same unique taste in a smooth, creamy form.
Absolutely! In most baking recipes, you can easily substitute unsalted butter for salted butter. If you’re making this swap, an easy rule of thumb is to add ¼ teaspoon of salt to the recipe for every cup of butter that is used. This will help maintain the flavor balance and enhance the sweetness of the brownies.
This can happen if the cookie butter is too warm and runny, or if you spread the top layer of brownie batter too vigorously. To prevent this, ensure the cookie butter is warmed just enough to be spreadable, but not liquid hot. Also, when adding the second layer of brownie batter, dollop it carefully and spread it gently from the edges inward, avoiding aggressive mixing with the Biscoff layer below.
To check for doneness, insert a toothpick into the center of the brownies. If it comes out with moist crumbs attached but no wet batter, they are ready. If it comes out clean, they might be slightly overbaked, leading to a cakier texture. If it comes out with wet batter, they need more time. Remember that brownies will continue to set as they cool, so slightly underbaked is often preferred for a truly fudgy center.
Elevate Your Biscoff Brownie Experience
These Lotus Biscoff brownies are absolutely delightful on their own, but if you’re looking to elevate the experience, consider these serving suggestions:
- A La Mode: Serve a warm brownie with a scoop of vanilla bean ice cream. The cold, creamy ice cream melting over the warm, fudgy brownie is a classic pairing that never disappoints.
- With a Drizzle: For an extra touch of indulgence, drizzle a little extra warmed Biscoff cookie butter or some melted chocolate over each serving.
- Coffee Companion: These rich brownies pair perfectly with a hot cup of coffee, a latte, or a cold glass of milk. The slight bitterness of coffee beautifully cuts through the sweetness of the brownie.
- Whipped Cream or Custard: A dollop of fresh whipped cream or a side of warm vanilla custard can add another layer of creamy texture and subtle flavor contrast.
- Fruit Garnish: A few fresh raspberries or sliced strawberries can add a pop of color and a refreshing tartness that complements the rich chocolate and caramel notes.
Explore More Irresistible Brownie Recipes
If you’re a brownie enthusiast, here are some other highly-rated and popular brownie recipes from around the web that you might enjoy:
- Fudgy Cocoa Brownies – Cafe Delites
- Homemade Brownies – Love and Lemons
- Chewy Brownies – Handle the Heat
- Seriously Fudgy Homemade Brownies – Sally’s Baking Addiction
- Super Chewy Gooey Brownies – Creme De la Crumb
We hope you fall in love with this sensational recipe for Biscoff Brownies! If you do, please let us know by leaving a glowing 5-star review in the recipe card below or sharing your thoughts in the comments. We’d also be thrilled to see your creations—tag us on Instagram @dashfordinner!

Lotus Biscoff Brownies
Print
Pin
Rate
Equipment
-
9 X 13″ baking pan 23 x 33cm
-
Hand mixer
Ingredients
- 1 box brownie mix (18.3 oz/520g)
- 2 large eggs
- ⅔ cup salted butter melted
- ¼ cup milk
- 1 cup milk chocolate chips
- 1 jar Lotus Biscoff Spread cookie butter (14.1oz/400g)
- ½ package Biscoff Cookies roughly chopped (8.8oz/250g)
Instructions
-
Preheat and Prepare: Preheat your oven to 350ºF (177ºC). Lightly grease a 9×13-inch (23 x 33cm) baking pan with cooking spray, then line it with parchment paper, leaving an overhang on two sides for easy removal.
-
Prepare the Brownie Batter: In a large mixing bowl, combine the brownie mix, two large eggs, the melted butter, and the milk. Using a hand mixer or a stand mixer with the paddle attachment, mix until all ingredients are well combined and the batter is smooth, typically for about 1-2 minutes. Scrape down the sides of the bowl as needed to ensure everything is incorporated.

-
Fold in Chocolate Chips: With a spatula, gently fold the milk chocolate chips into the brownie batter. Mix just until they are evenly distributed. Avoid overmixing once the chocolate chips are added.

-
Create the Base Layer: Spread approximately 2 cups (473mL) of the prepared brownie batter evenly into the bottom of your lined baking pan. Use an offset spatula or the back of a spoon to ensure a smooth, consistent layer.

-
Prepare the Cookie Butter Layer: Gently warm the jar of Lotus Biscoff Spread in the microwave for 15-30 seconds until it’s smooth and pourable. Pour the warmed cookie butter as evenly as possible over the base brownie layer.
-
Spread Cookie Butter: Using an offset spatula or a butter knife, carefully and gently spread the cookie butter evenly over the brownie layer. Work slowly to avoid disturbing the brownie batter underneath.

-
Add the Remaining Brownie Batter: Carefully spoon the remaining brownie batter over the cookie butter layer. Start by placing spoonfuls around the edges, then gently spread towards the middle to form an even top layer. Again, work gently to prevent the brownie batter from blending too much with the Biscoff layer.

-
Add the Cookies: Generously sprinkle the roughly chopped Lotus Biscoff cookies over the top of the brownie batter. Gently press them into the batter just enough to secure them.

-
Bake to Perfection: Place the pan in your preheated oven and bake for 33-38 minutes. To check for doneness, insert a toothpick into the center of the brownies; it should come out with moist crumbs, not wet batter. Be careful not to overbake, as this can lead to dry brownies.
-
Cool and Slice: This is a crucial step! Allow the brownies to cool completely in the pan on a wire rack before attempting to cut them. This can take 1-2 hours. Once fully cooled, use the parchment paper handles to lift them out, then slice them into 12-16 perfect squares. For clean cuts, use a sharp knife and wipe it clean between each slice.

Video
Notes
To Freeze: For longer storage, wrap individual brownie squares tightly in plastic wrap, then transfer them to a freezer-safe bag. They can be frozen for up to 3 months. Thaw at room temperature or warm gently before serving.
Nutrition Information
Please note that some of my blog posts here at Dash for Dinner may contain affiliate links. If you make a purchase through these links, I will get a small commission at no additional cost to you. Please see my Disclaimer for more information.
