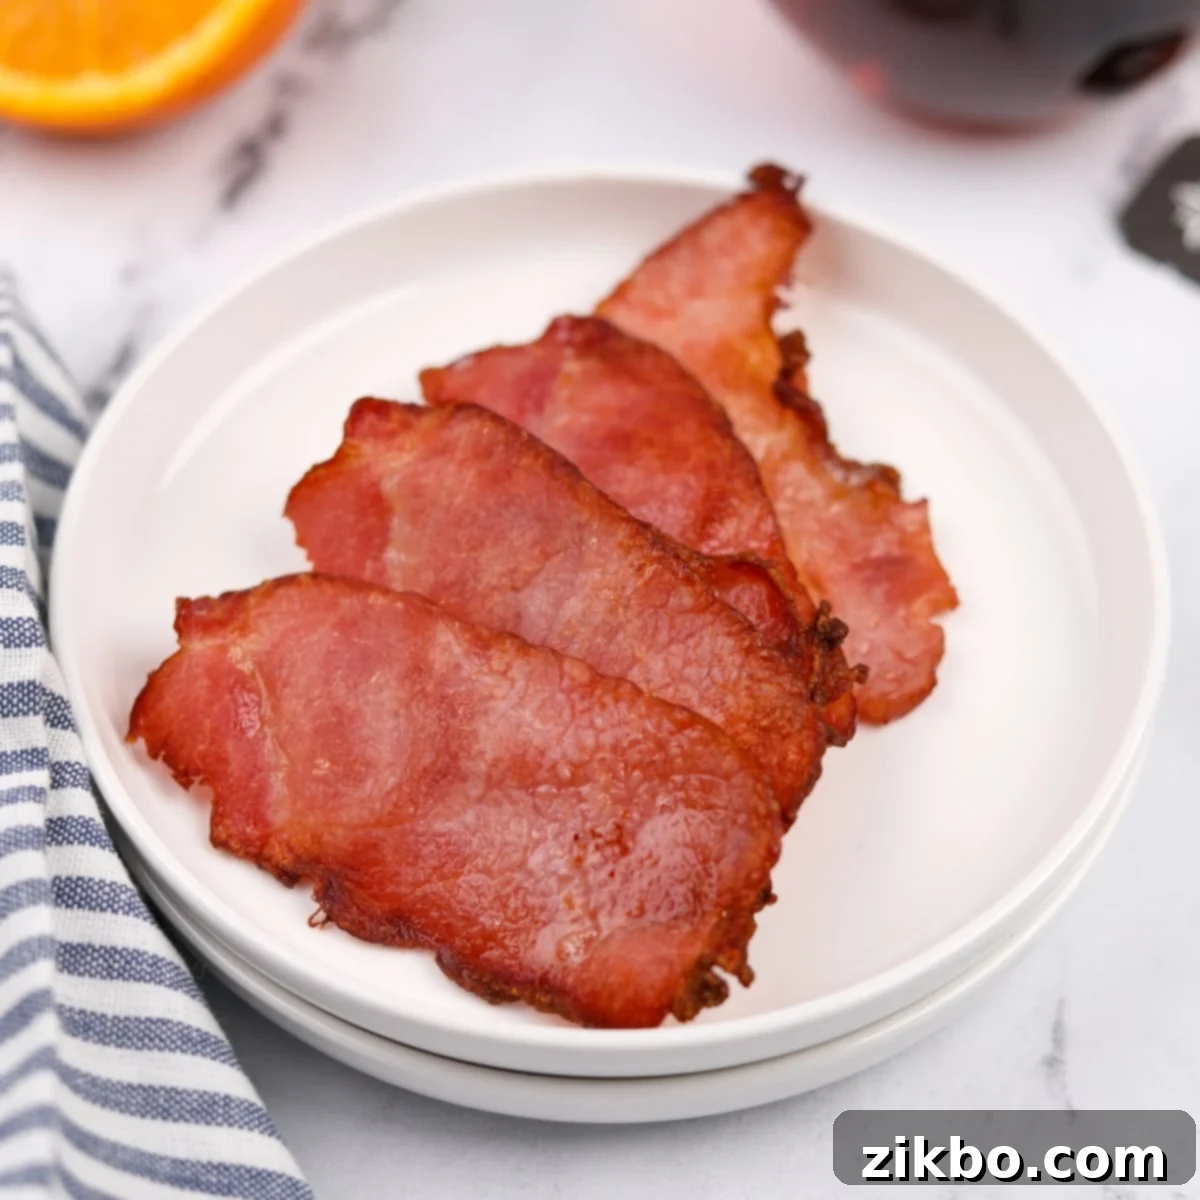
Air Fryer Canadian Bacon: The Ultimate Guide to Crispy, No-Mess Breakfast
Say goodbye to greasy stovetops and splattered counters! This incredibly easy method for preparing Air Fryer Canadian Bacon is truly the best way to achieve perfectly cooked, delightfully crispy bacon every single time – and all without the usual mess. Whether you’re working with classic back bacon, traditional peameal bacon, savory thick-cut slices, or convenient deli-style portions, your air fryer is about to become your new best friend for breakfast.
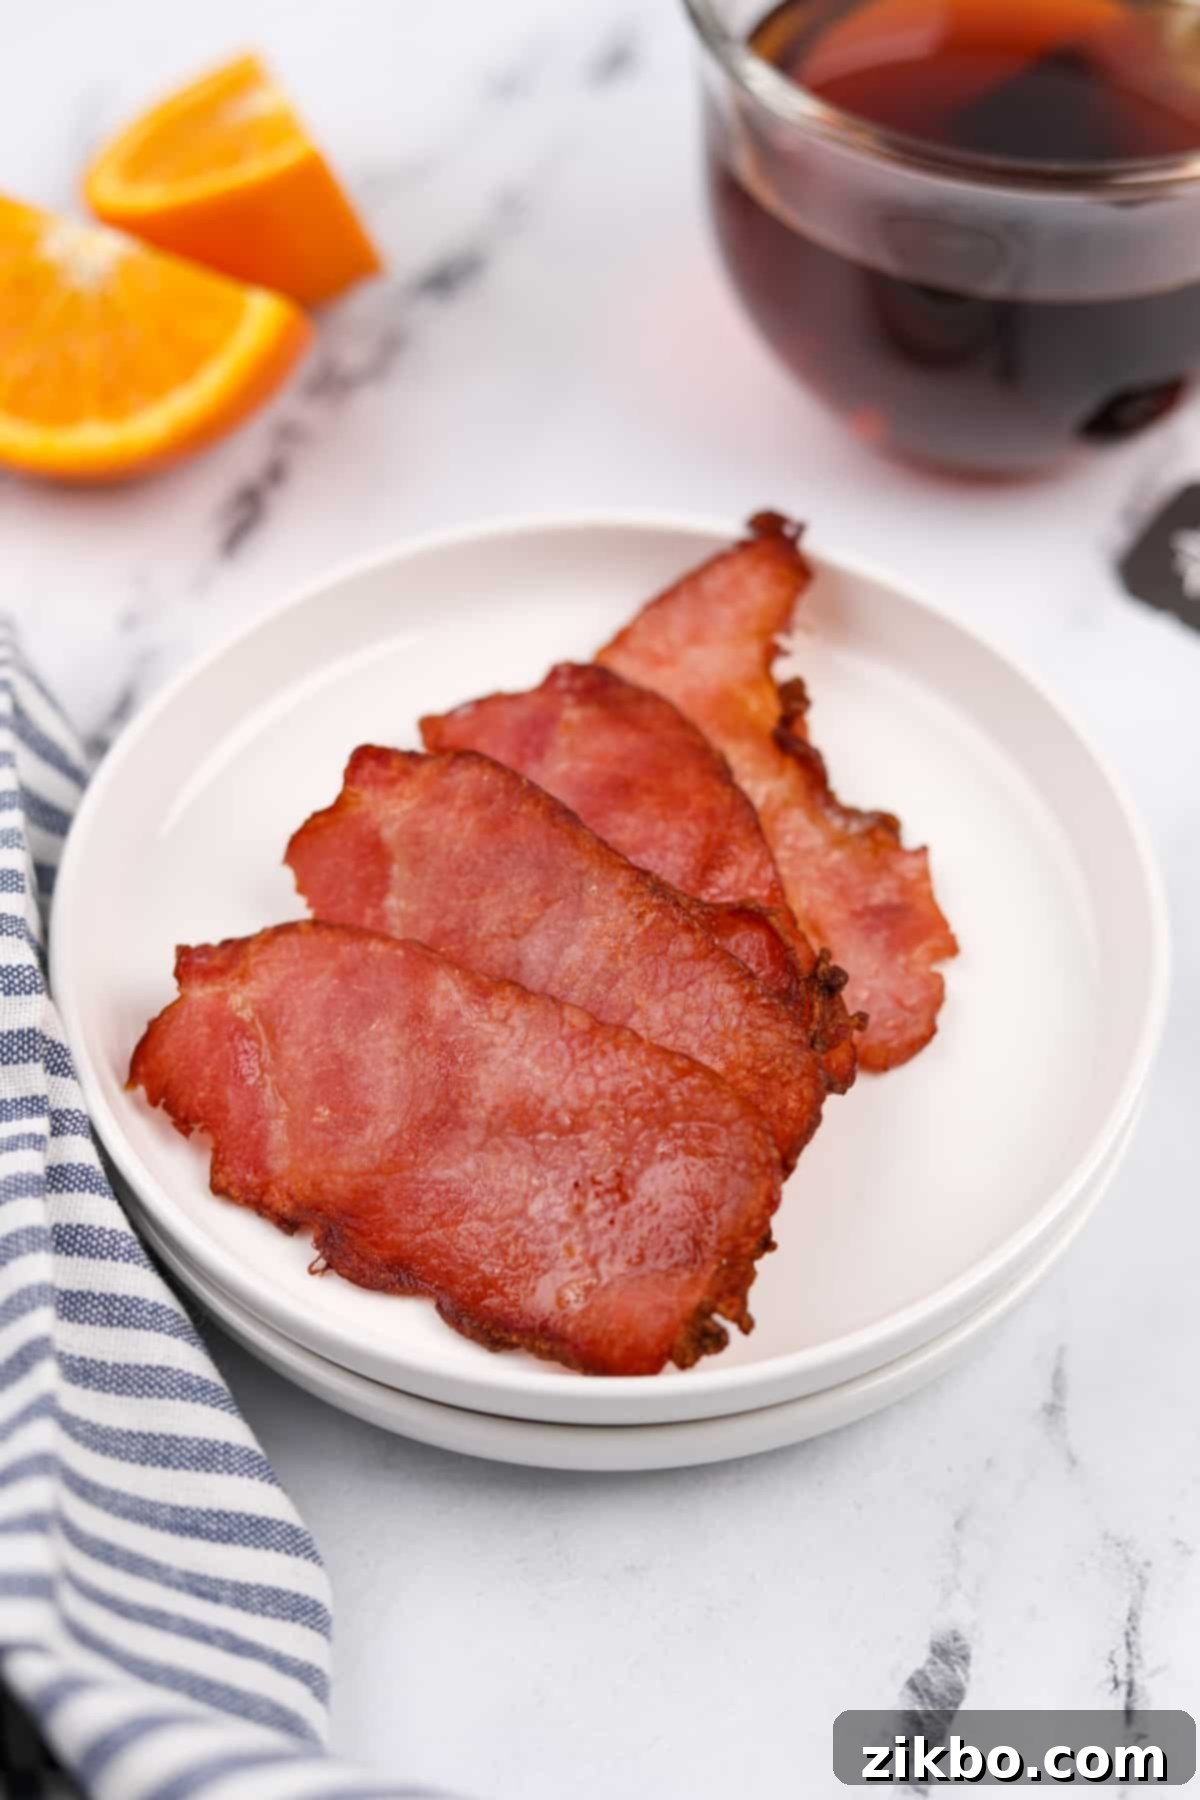
When it comes to cooking any variety of bacon, from traditional streaky bacon to healthier turkey bacon, or especially lean Canadian bacon, the air fryer method consistently stands out as my absolute favorite. It’s not just a preference; it’s a game-changer for preparing this beloved breakfast staple. This innovative kitchen appliance transforms cooking bacon into a surprisingly effortless and, crucially, mess-free experience.
The benefits extend far beyond convenience. Not only is the air fryer method significantly quicker compared to conventional skillet frying or oven baking, but it also remarkably contains all the potential mess directly within the air fryer basket. This means you can wave goodbye to frustrating grease splatters that often require a full kitchen wipe-down after cooking. Imagine enjoying perfectly cooked, crispy Canadian bacon without the dreaded post-cooking cleanup. It’s a win-win situation for busy mornings or leisurely weekend brunches.
For those seeking a healthier alternative to traditional high-fat bacon, Canadian bacon is an excellent choice. And when cooked in an air fryer, its inherent lean qualities are further enhanced, often eliminating the need for any additional cooking oil. This makes it a fantastic option for anyone looking to enjoy a delicious, high-protein breakfast that’s both quick to prepare and easy on the waistline.
Why the Air Fryer is Perfect for Canadian Bacon
If you’re still on the fence about using your air fryer for Canadian bacon, let us highlight the compelling reasons why this appliance is a true kitchen hero for this particular cut of meat. It’s not just about speed; it’s about achieving consistent, delicious results with minimal effort and maximum convenience.
- Remarkably Quick: The powerful convection heat of an air fryer drastically reduces cooking times. For Canadian bacon, you can expect a 25-50% reduction in cook time compared to conventional methods. This means your breakfast can be on the table in minutes, making it ideal for busy weekdays when every second counts.
- Effortlessly Easy: Whether you’re a novice cook or an air fryer expert, this method is incredibly straightforward. Simply place the bacon in the basket, set the time and temperature, and let the air fryer do the rest. There’s no constant flipping, monitoring for splatters, or adjusting heat levels, guaranteeing fantastic results even for first-timers.
- Perfect Texture Every Time: The circulating hot air ensures that Canadian bacon cooks evenly, achieving that sought-after balance of chewy tenderness on the inside with beautifully crispy edges. Forget dry or unevenly cooked bacon; the air fryer delivers a consistent texture that will elevate your breakfast experience.
- Cleaner Cooking: One of the biggest advantages is the containment of mess. All the minimal fat rendered from the lean Canadian bacon is collected in the air fryer’s drip tray, keeping your kitchen surfaces spotless. No more scrubbing grease off your stove or counters – cleanup is genuinely a breeze!
- Naturally Lean & No Added Oil: Canadian bacon is already a leaner alternative to traditional strip bacon, being cut from the pork loin. When cooked in an air fryer, you can often skip adding any oil entirely, further reducing fat content without sacrificing flavor or texture. This makes it a healthier choice for those mindful of their diet.
Embracing the air fryer for Canadian bacon means embracing a faster, cleaner, and healthier way to enjoy one of your favorite breakfast meats. It truly streamlines your cooking process and guarantees a delicious outcome.
Ingredients You’ll Need
The beauty of this air fryer Canadian bacon recipe lies in its simplicity. You truly only need one key ingredient to create a delightful breakfast component or a versatile addition to many dishes. There are no fancy marinades or complex spice blends required, allowing the natural savory flavor of the bacon to shine.

- Canadian Bacon (Back Bacon): This is the star of our recipe. Also widely known as back bacon, Irish bacon, or rashers in various regions, Canadian bacon is distinctly different from the streaky bacon common in the US. It’s typically a thin, lean cut of cured pork loin, offering a taste profile that is often described as a delightful cross between ham and traditional bacon. Its inherent leanness and savory flavor make it an excellent choice for a variety of meals. It’s perfect for building hearty breakfast sandwiches, adding a protein boost to wraps, or simply serving as a leaner, yet equally satisfying, alternative to more traditional fatty bacon types. When selecting your Canadian bacon, look for quality slices that are uniform in thickness for even cooking.
While the recipe calls for just Canadian bacon, feel free to add a pinch of black pepper or a dash of garlic powder if you’re feeling adventurous and want to subtly enhance its natural savory notes. However, it’s absolutely delicious as is!
Step-by-Step Instructions for Perfect Air Fryer Canadian Bacon
This incredibly easy air fryer bacon recipe is your ticket to a quick, satisfying breakfast or an efficient addition to your weekly meal prep routine. The beauty of this method is how neatly all the minimal excess grease is captured beneath the air fryer basket, ensuring clean-up is an absolute breeze. Best of all, no cooking spray or additional oil is needed, keeping it lean and simple!
Before you begin: Proper preheating is key for even cooking and optimal crispiness. Always preheat your air fryer basket to 350ºF (177ºC) for at least 3 minutes, or follow your specific air fryer manufacturer’s instructions for best results. This ensures the basket is at the ideal temperature the moment the bacon goes in.
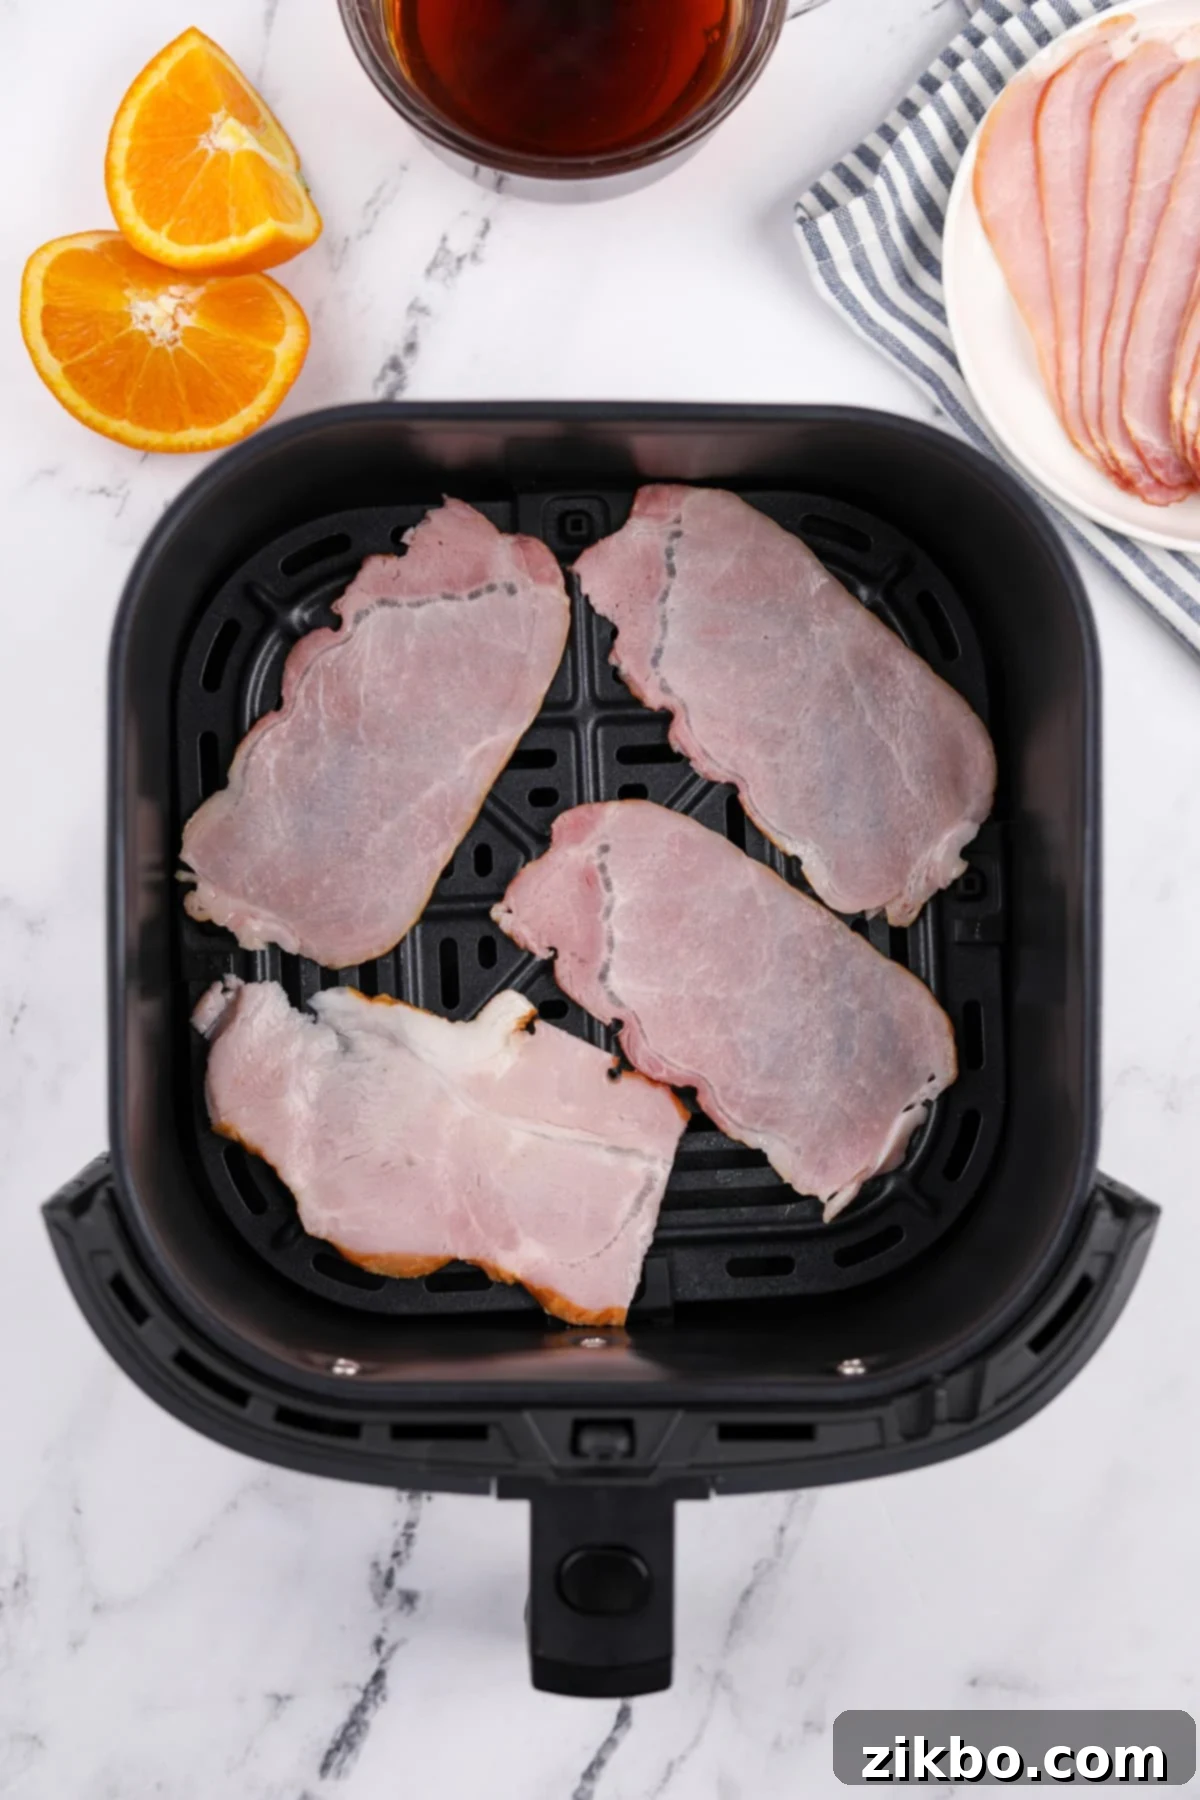
- Arrange Bacon: Carefully place the Canadian bacon slices into the preheated air fryer basket. It is crucial to arrange them in a single, even layer, ensuring that no slices are overlapping. Overlapping bacon will steam rather than crisp, leading to uneven cooking and a less desirable texture. If you have many slices, work in batches to maintain proper spacing.
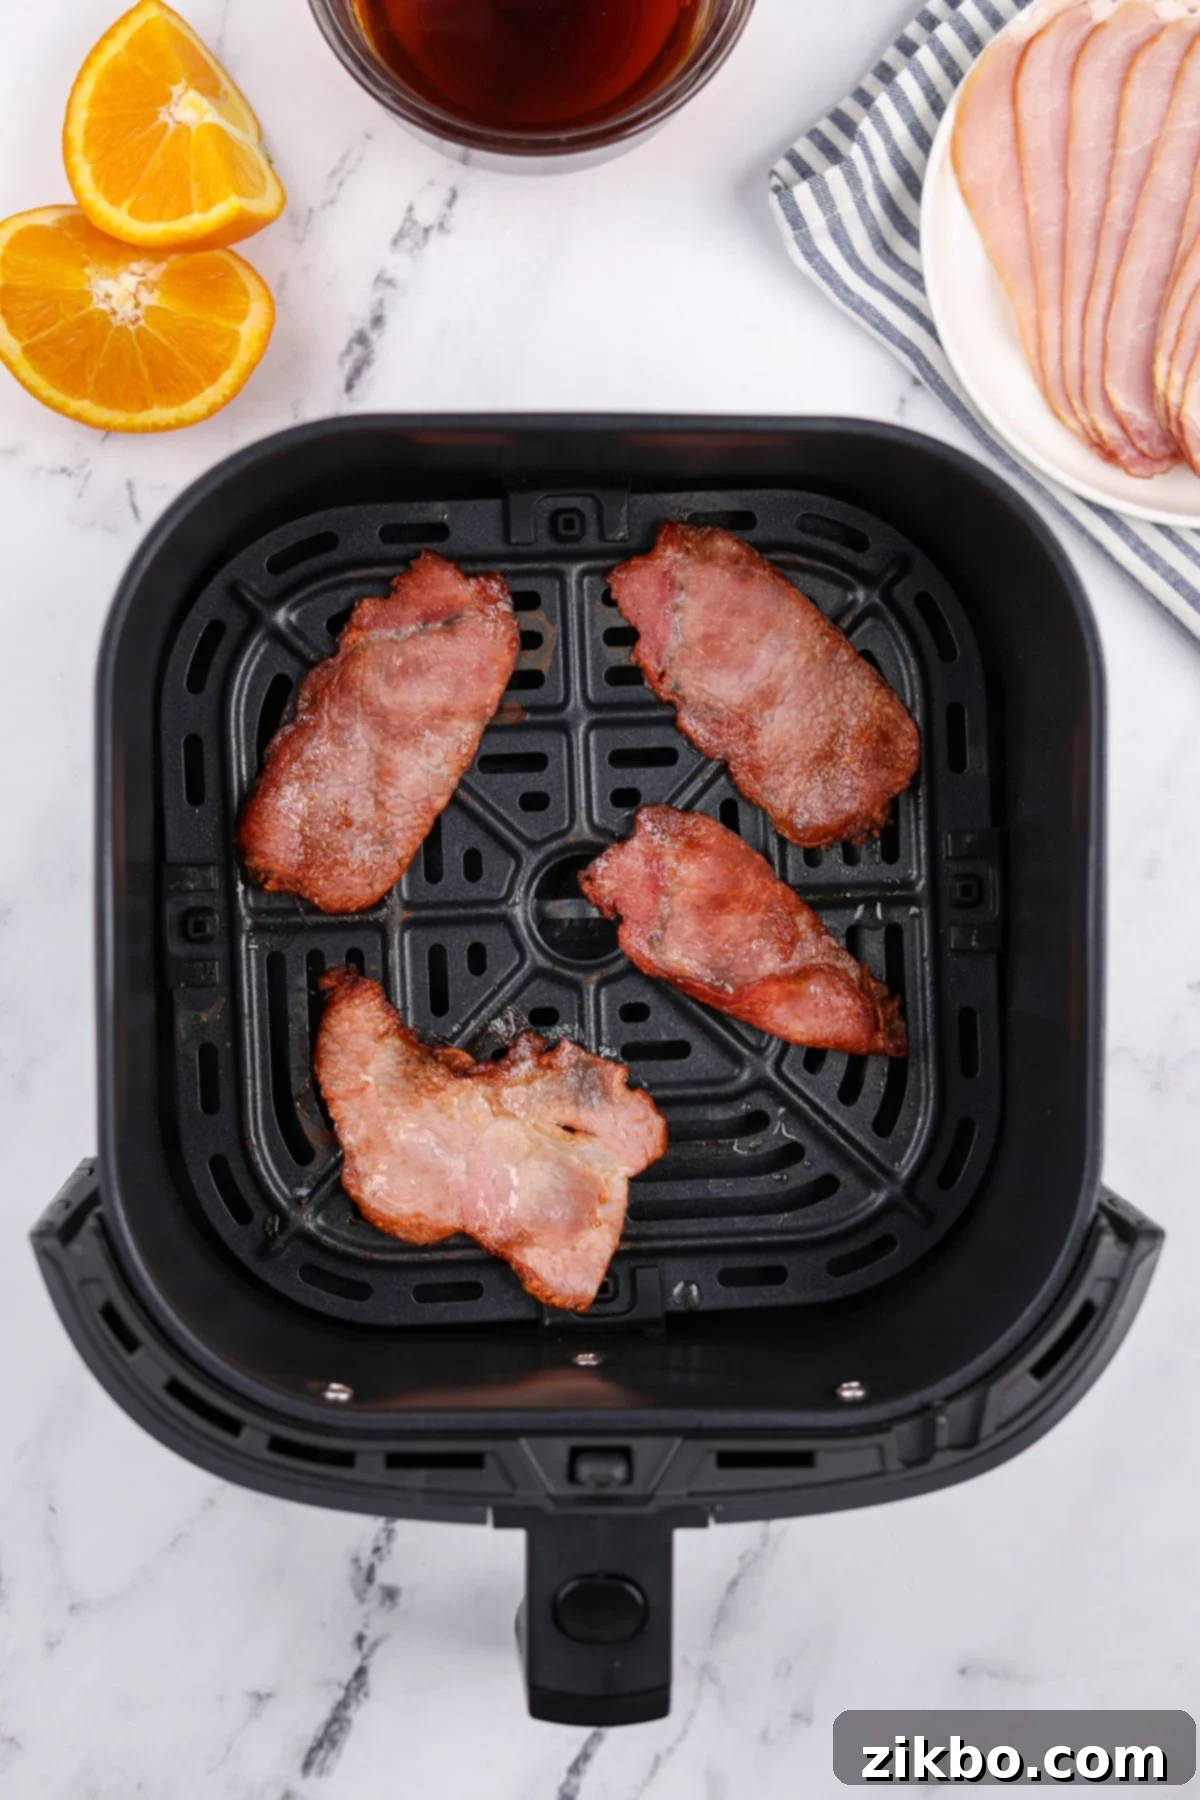
- Air Fry to Perfection: Cook the Canadian bacon in the air fryer for approximately 6-10 minutes. The exact cooking time will depend on several factors: the thickness of your bacon slices, your desired level of crispiness, and the specific wattage and model of your air fryer.
- NOTE on Timing: Thicker pieces of Canadian bacon, such as traditional rashers, will naturally require a longer cooking time to heat through and crisp up. Conversely, very thin deli slices will cook much more quickly, sometimes being done in as little as 5-6 minutes. For best results and even cooking, consider flipping the bacon slices halfway through the cooking process. Keep a close eye on them, especially during the last few minutes, to prevent overcooking.
Serving Your Delicious Canadian Bacon
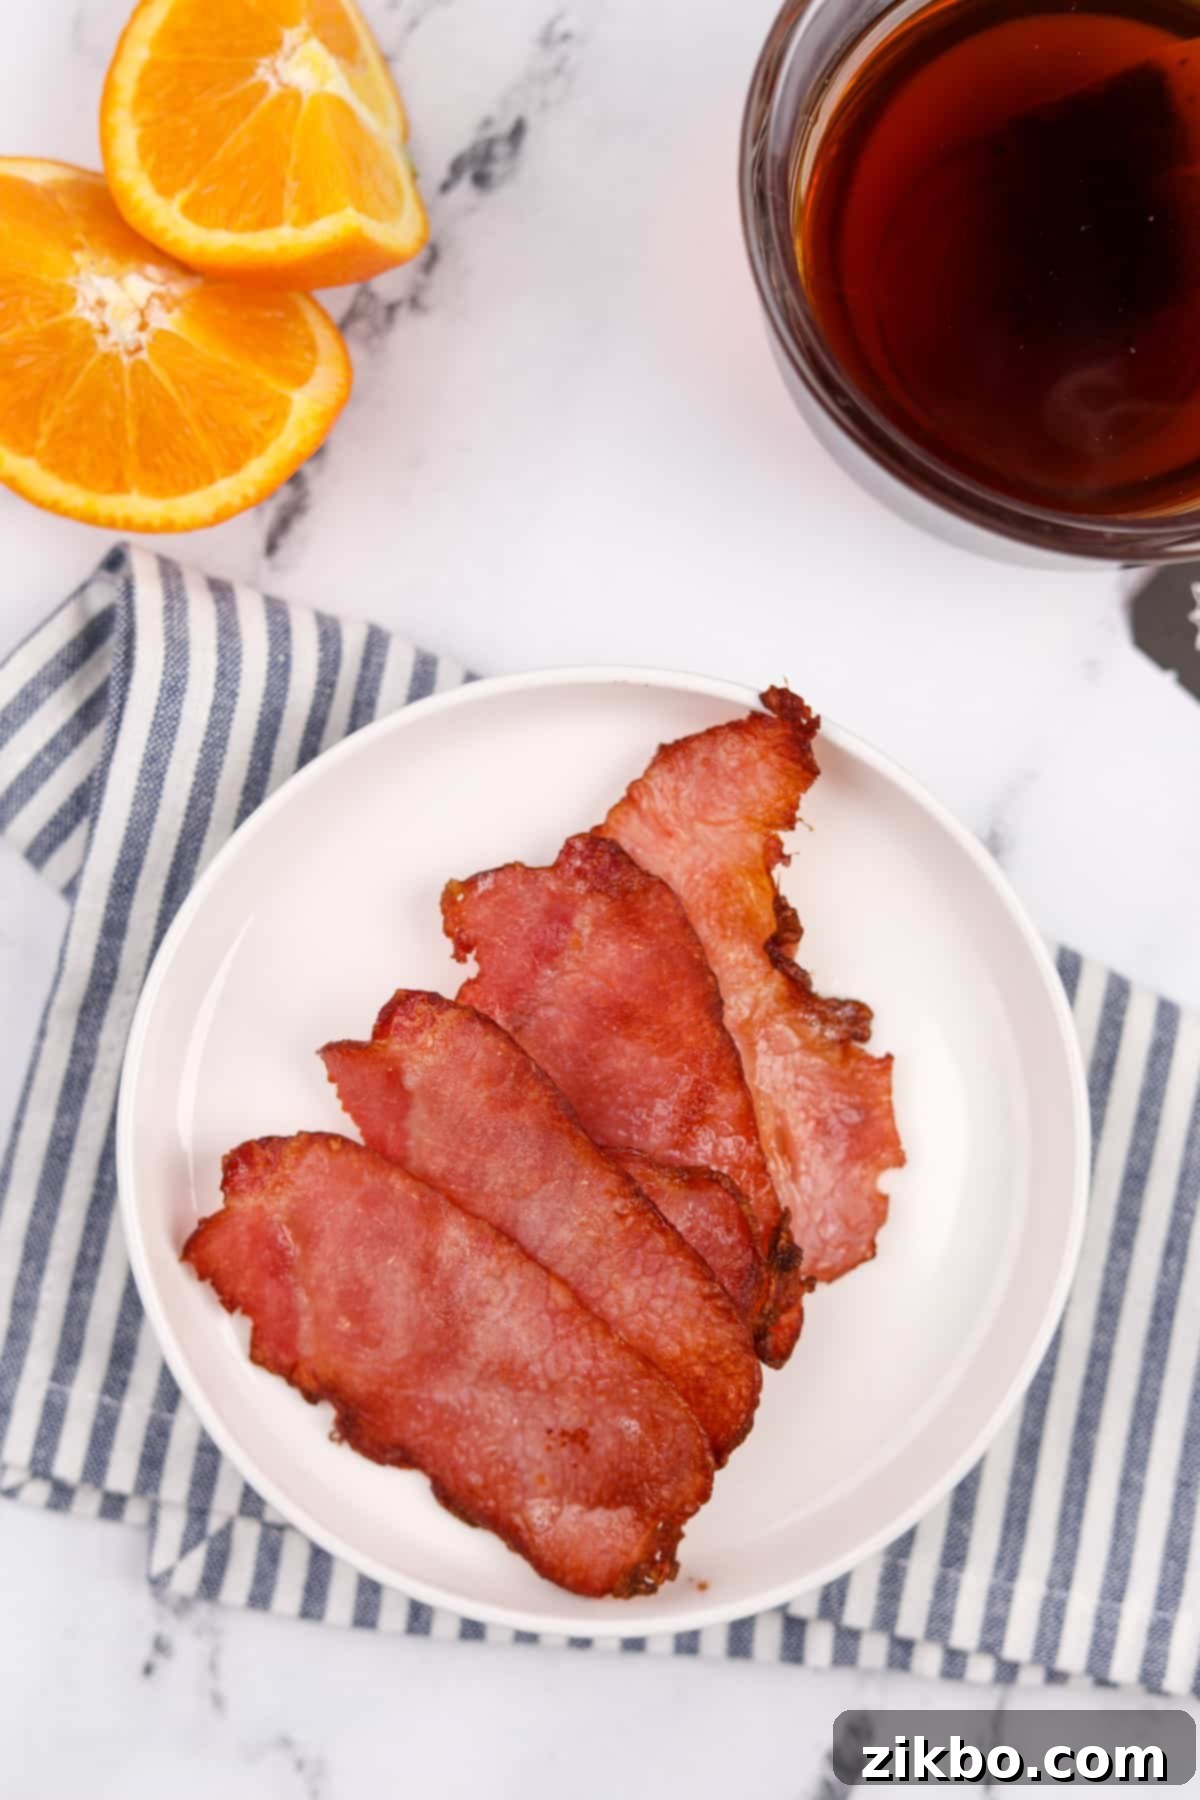
Once your Canadian bacon has reached your preferred level of crispiness and is heated through, it’s time to enjoy!
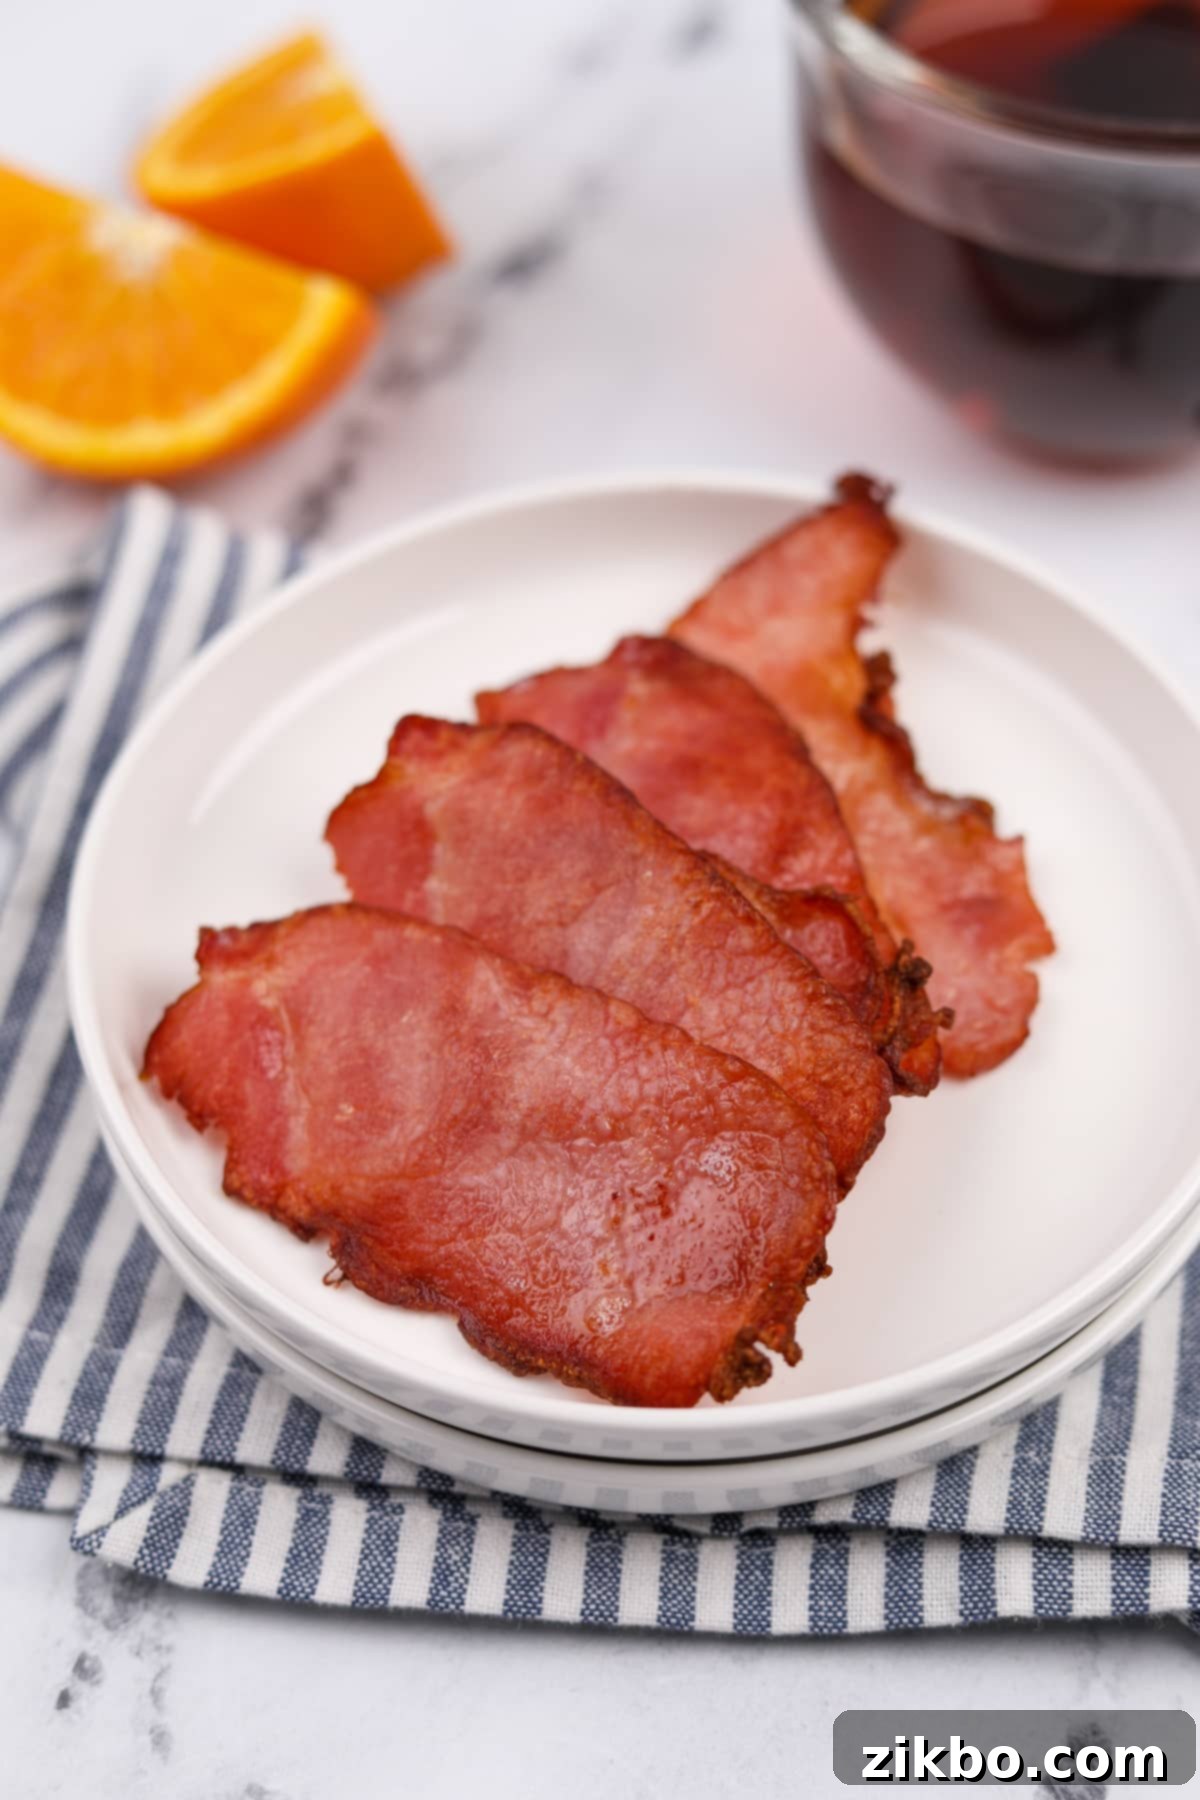
- Immediate Serving: Carefully remove the cooked slices from the air fryer basket using tongs. Serve them immediately while they are warm and at their peak crispiness.
- Optional Draining: While Canadian bacon is considerably leaner than traditional bacon and produces very little rendered fat, if you prefer, you can briefly drain the slices on a paper towel-lined plate to absorb any minuscule amounts of excess moisture or fat, ensuring maximum crispness.
- Batch Cooking: If you are cooking a larger quantity of Canadian bacon than can fit in a single layer, simply repeat the cooking process with any remaining uncooked slices, working in batches. This ensures each piece gets enough space to cook perfectly.
Your perfectly air-fried Canadian bacon is now ready to be enjoyed as a stand-alone breakfast protein, nestled in a sandwich, or as a flavorful addition to countless dishes.
Top Tip: Keeping Your Bacon Warm Between Batches
When cooking multiple batches of Canadian bacon, it’s helpful to have a strategy to keep the earlier batches warm and delicious until everything is ready to serve. A simple method is to transfer the cooked slices to a glass baking dish or a small baking sheet. Place this in a preheated oven set to its lowest temperature, typically around 200ºF (93ºC), or use a toaster oven. This gentle heat will keep the bacon perfectly warm and prevent it from getting cold or losing its desirable texture without overcooking it.
Optimizing Cooking Times for Various Back Bacon Types
While 6-10 minutes is a general guideline, the ideal cooking time for Canadian bacon in the air fryer can vary significantly depending on the specific type and thickness of the cut. Understanding these nuances will help you achieve perfect results for your preferred bacon style.
Deli Slices: These are typically the thinnest cuts of Canadian bacon you’ll find, often pre-sliced for convenience. Due to their minimal thickness, they cook very rapidly. Expect them to be perfectly heated through and lightly crispy in just 6-7 minutes. Keep a close eye on them to prevent them from drying out or becoming overly brittle.
Thick-Cut Bacon: If you opt for thick-cut Canadian bacon, you’ll need to adjust your cooking time accordingly. Depending on how substantial the slices are, they may require anywhere from 9 to 12 minutes in the air fryer. For an even crisper exterior and to ensure they are thoroughly cooked, it can be beneficial to slightly increase the heat to 375ºF (190ºC) or even 400ºF (204ºC) during the last few minutes. Remember to flip them halfway through.
Peameal Bacon: A Canadian delicacy, peameal bacon is traditionally made from lean boneless pork loin, cured, and then rolled in ground cornmeal. It usually comes in thinner slices, similar to deli cuts. Therefore, you should follow the cooking instructions for deli slices, aiming for 6-8 minutes. However, if you encounter exceptionally thick peameal bacon, lean towards the longer end of the cooking range, possibly up to 10 minutes, and consider a slightly higher temperature for the last couple of minutes if you desire extra crispiness.
Rashers: Often referring to a thicker cut of back bacon, common in British and Irish breakfasts, rashers are on the heartier side. For these substantial slices, I would highly recommend a cooking time of 9-12 minutes. To achieve a wonderfully crispy texture and accelerate the cooking process for these thicker cuts, it’s often a good idea to increase the air fryer temperature to 375ºF (190ºC) or 400ºF (204ºC), especially if you prefer them extra crispy. Flipping is essential for even browning.
Always remember that air fryer models vary. It’s always best to check on your bacon periodically and adjust cooking times based on your specific appliance and desired outcome.
Creative & Delicious: Canadian Bacon Cups
Beyond simply frying, a popular and incredibly versatile way to prepare back bacon is by forming it into delightful cups. These edible vessels are perfect for holding a variety of fillings, making them an excellent choice for an impressive yet easy breakfast or brunch item. They can be filled with everything from a simple egg mixture to diced potatoes, colorful bell peppers, or a combination of your favorite breakfast ingredients.
This method transforms simple bacon slices into an easy breakfast recipe that is not only visually appealing but also incredibly satisfying and customizable. Imagine serving individual, perfectly portioned egg and bacon cups – a gourmet touch with minimal effort!
- Form the Cups: Gently press individual slices of Canadian bacon into the wells of a small, oven-safe muffin tin or stainless muffin cups. Ensure the bacon forms a neat cup shape that can hold fillings.
- Fill with Favorites: Get creative with your fillings! Common choices include a whisked egg mixture (plain or with a splash of milk), finely diced bell peppers, shredded potatoes, crumbled feta, or grated cheddar cheese. Season generously with sea salt, freshly ground black pepper, and a pinch of garlic powder for enhanced flavor.
- Cook to Perfection: Place the muffin tin with the bacon cups into your preheated air fryer (preheat to around 350-375°F or 177-190°C). Cook as directed until the bacon is crispy and the fillings are cooked through. If making Canadian bacon egg cups, cook until the egg is fully set and slightly puffed. Cooking times will vary depending on your fillings, but typically range from 8-15 minutes.
- Serve Warm: Carefully remove the muffin tin from the air fryer. Allow the bacon cups to cool slightly in the tin for a few minutes before gently extracting them. Serve immediately and watch them disappear!
Canadian bacon cups are a fantastic way to add variety to your breakfast repertoire, ideal for entertaining or simply making everyday meals more exciting.
Storage & Reheating Tips for Leftovers
Cooked Canadian bacon is fantastic for meal prepping and enjoying throughout the week. Proper storage ensures it remains delicious and safe to eat.
- Refrigeration: Any leftover cooked Canadian bacon should be transferred to an airtight container and stored in the refrigerator. It will maintain its quality and freshness for up to 3-4 days, making it perfect for quick additions to meals.
- Reheating Methods:
- Air Fryer: For the best results and to regain that desirable crispiness, reheat in the air fryer at 350ºF (177ºC) for just 1-2 minutes.
- Microwave: If you’re in a hurry and don’t mind a softer texture, reheat in the microwave for approximately 30 seconds, or until warmed through.
- Skillet: A hot skillet over medium heat for 1-2 minutes per side can also crisp up the bacon nicely.
- Creative Uses for Leftovers: Don’t let leftover Canadian bacon go to waste! It’s incredibly versatile. Chop it up and add it to:
- Morning scrambled eggs or omelets.
- Hearty casseroles or breakfast burritos.
- Soups or stews for an extra layer of savory flavor.
- Salads or grain bowls for a lean protein boost.
- Quiches or frittatas.
It’s a great way to add flavor and protein to many of your favorite recipes.
What to Serve with Your Perfect Back Bacon
Canadian bacon, with its savory and slightly smoky flavor, pairs beautifully with a wide array of breakfast and brunch classics. Here are some popular and delicious serving suggestions to complete your meal:
- Crispy Hash Browns: The salty crispness of hash browns is a timeless match for the lean savoriness of Canadian bacon.
- Fluffy Scrambled Eggs: A simple, protein-packed duo that’s a staple on any breakfast table.
- Hearty Egg and Cheese Breakfast Sandwiches: Layer the bacon, a fried or scrambled egg, and a slice of cheese on an English muffin or toast for a satisfying meal.
- Toasted English Muffins: A classic pairing, perfect for soaking up any egg yolks or accompanying your bacon.
- Sunny-Side Up or Fried Eggs: The runny yolk adds a rich sauce that complements the bacon wonderfully.
- Roasted Breakfast Potatoes: A more substantial side than hash browns, offering a comforting and flavorful accompaniment.
- Gourmet Omelettes: Incorporate chopped Canadian bacon into your favorite omelette fillings for a lean and flavorful addition.
- Fresh Fruit Salad: For a lighter, balanced meal, a vibrant fruit salad offers a refreshing contrast.
- Pancakes or Waffles: Create a sweet and savory spread by serving bacon alongside your favorite fluffy pancakes or crispy waffles.
Recipe Frequently Asked Questions (FAQs)
For the most part, yes, many reputable brands of Canadian bacon are naturally gluten-free as their primary ingredients (pork, salt, curing agents) do not contain gluten. However, it is absolutely essential to always check the packaging labels carefully. Some lower-quality or highly processed options may contain additives like wheat crumbs, fillers, or flavorings that could contain gluten. Always look for certifications or explicit “gluten-free” labels to ensure it meets your dietary needs, especially if you have Celiac disease or severe gluten sensitivity.
Yes, Canadian bacon should always be cooked before consumption, just like regular streaky bacon. While it is typically cured and often comes “fully cooked” or “ready to eat” in the sense that it’s safe, cooking it enhances its flavor, texture, and overall appeal. Heating it thoroughly allows it to develop a delicious crispiness and a more pronounced savory taste. It can be conveniently prepared in a skillet, oven, or, as we’ve explored, in an air fryer. For food safety, it’s recommended to heat it to a minimum internal temperature of 165ºF (74ºC) for full enjoyment, although most people cook it until visibly browned and crisp.
You can certainly cook frozen Canadian bacon in the air fryer, provided you can separate the slices. Most frozen bacon will be solid and clumped together in large chunks or a block, making it difficult to achieve even cooking without thawing first. If you manage to separate individual slices, you can place them directly into the air fryer. Be sure to add some additional cooking time to account for them being frozen – typically an extra 3-6 minutes, depending on the thickness of the bacon and the efficiency of your air fryer. It’s always best to cook it in a single layer and check for doneness before serving.
More Delicious Air Fryer Breakfast Recipes to Try
If you’ve loved the ease and convenience of making Canadian bacon in your air fryer, you’re in for a treat! The air fryer is an incredibly versatile appliance for breakfast foods, transforming simple ingredients into quick, crispy, and delightful meals. Explore these other fantastic air fryer breakfast recipes to expand your culinary horizons and make your mornings even more enjoyable:
- Air Fryer Breakfast Sausages
- Air Fryer Frozen French Toast Sticks
- Air Fryer Pop Tarts {Toaster Pastries}
- Air Fryer Apple Turnovers
If you tried and loved this incredible recipe for Air Fryer Canadian Bacon, please show your appreciation by leaving a 5-star review in the printable recipe card below or sharing your thoughts in the comments section! Your feedback truly helps other home cooks. You can also tag me on Instagram @dashfordinner to share your delicious creations!
Air Fryer Canadian Bacon
Print
Pin
Rate
Equipment
-
Air Fryer
Ingredients
- 4 slices Canadian bacon
Instructions
-
Preheat the air fryer to 400ºF (204ºC) for at least 3 minutes, or according to your manufacturer’s instructions.
-
Place the Canadian bacon into the air fryer in an even layer (no overlapping)

-
Cook for 6-10 minutes, or until heated through with crispy edges. Generally you’ll use less time for thin slices, and more time for thick slices.

-
For the best results, flip halfway through the cooking time.
-
Remove from the air fryer basket and serve immediately.
-
Repeat in batches if desired.
Notes
Note: Because back bacon (Canadian bacon) is significantly lower in fat content compared to typical streaky bacon, there’s usually no need for extensive draining after cooking. You should find very little rendered fat remaining in the air fryer basket, contributing to a cleaner cooking experience.
For Thick Cut Slices or Rashers: These heartier cuts will require a longer cooking time, potentially anywhere from 6 to 12 minutes, depending on their precise thickness and your preferred level of crispiness.
For Extra Crispy Results: To achieve maximum crispiness, consider increasing the air fryer heat to 400ºF (204ºC) and cooking for a slightly shorter duration of 5-8 minutes, keeping a very close eye on the bacon to prevent burning.
Nutrition
Please note that some of my blog posts here at Dash for Dinner may contain affiliate links. If you make a purchase through these links, I will get a small commission at no additional cost to you. Please see my Disclaimer for more information.
