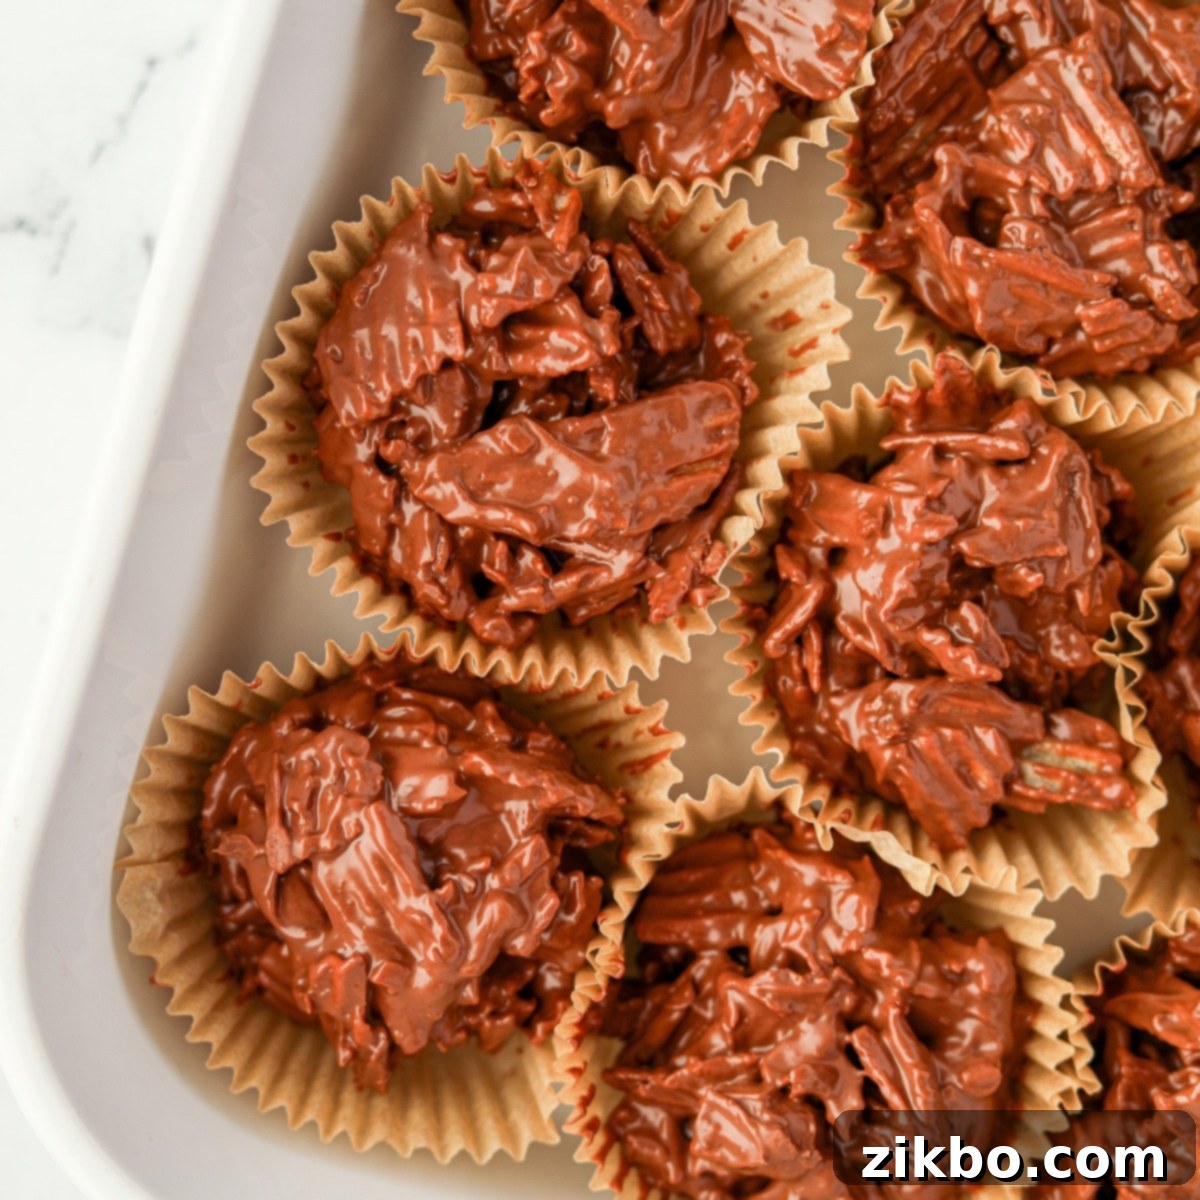
Easy Chocolate Potato Chip Clusters: The Ultimate Sweet & Salty No-Bake Treat Recipe
If you’re a true fan of that irresistible sweet and salty combination, prepare to be captivated by these incredibly simple, yet utterly addictive Chocolate Potato Chip Clusters! This ingenious no-bake recipe elegantly combines the creamy richness of melted chocolate with the satisfying crunch and savory goodness of potato chips. It creates a treat that’s perfect for virtually any occasion, but truly shines and becomes especially popular during the festive holiday season.
For another equally delicious twist on this beloved theme, be sure to explore my recipe for Chocolate Potato Chip Bark – it offers a very similar and equally delightful sweet and salty experience in a different, elegant form.
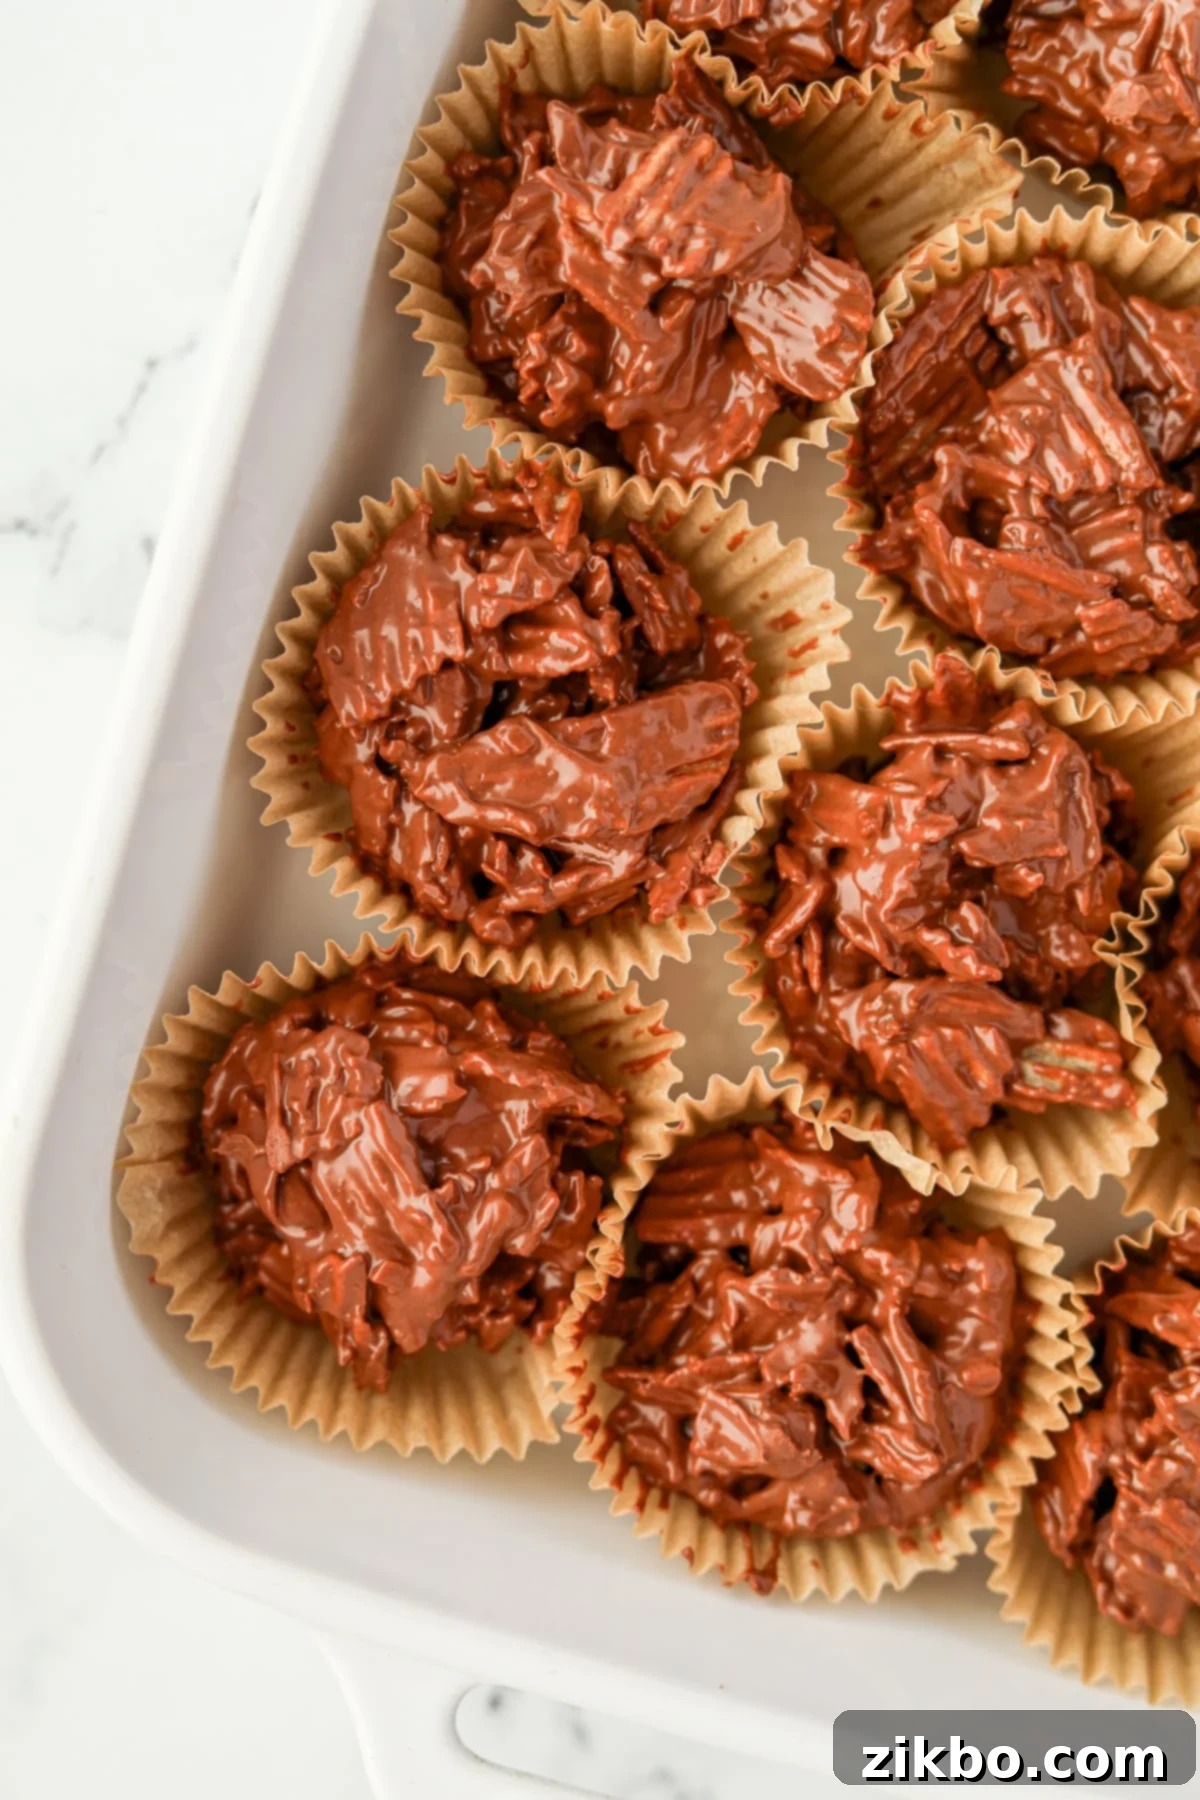
These delightful chocolate potato chip clusters, sometimes affectionately known as “potato chip candy,” are the ultimate indulgence for anyone who loves the dynamic interplay between sweet and savory flavors. They are crafted with just two fundamental ingredients – crispy potato chips and luscious chocolate – and require a mere 10 minutes of active preparation time. The best part? Absolutely no baking is necessary! This makes them an incredibly easy, stress-free dessert solution, ideal for busy individuals, impromptu gatherings, or when you simply crave a quick, impressive treat without the fuss of an oven.
I find these unique clusters to be an excellent and distinctive addition to traditional Christmas cookie boxes or holiday tins. They provide a wonderful contrast in flavor and texture compared to classic baked goods, always sparking a pleasant surprise and becoming quite the conversation starter. Their unexpected combination of familiar tastes makes them a memorable and cherished part of any festive spread.
So, whether your goal is to find an easy, crowd-pleasing treat for an upcoming event, discover a new and exciting holiday recipe that doesn’t involve baking, or simply satisfy a sudden craving for something wonderfully sweet AND salty, these delicious and crispy chocolate clusters are the perfect answer. I am absolutely certain that once you try this straightforward recipe, you’ll be making them repeatedly!
Why You’ll Fall in Love with This Easy No-Bake Recipe:
- A Delightful Holiday Cookie Tin Enhancement: If you’re looking to elevate your holiday cookie boxes beyond the usual suspects, these potato chip candy clusters are an absolute must-try! They introduce a unique, savory crunch and surprising flavor that makes your gift tins truly stand out.
- The Quintessential Sweet and Salty Experience: This recipe perfectly captures the magic of sweet and salty. Crispy, savory potato chips are generously enveloped in smooth, creamy milk chocolate, creating a sensational taste and texture that satisfies every part of your palate with each delightful bite.
- Unbelievably Simple with Just 2 Ingredients: You read that correctly – only two ingredients are needed to create these remarkable treats! This minimal requirement makes the recipe incredibly accessible, budget-friendly, and perfect for novice cooks or anyone short on time.
- Effortless No-Bake Preparation: Forget about preheating ovens, complicated baking steps, or messy cleanups. These clusters are completely no-bake, meaning you can whip them up quickly and easily, freeing up your oven for other dishes during busy times, or simply enjoying a cool kitchen.
- Quick to Prepare and Set: With just 10 minutes of active hands-on time, you can have these clusters mixed and ready for chilling. They set relatively quickly, making them an ideal last-minute dessert or snack for unexpected guests or sudden cravings.
Ingredients & Recommended Equipment for Your Potato Chip Candy:
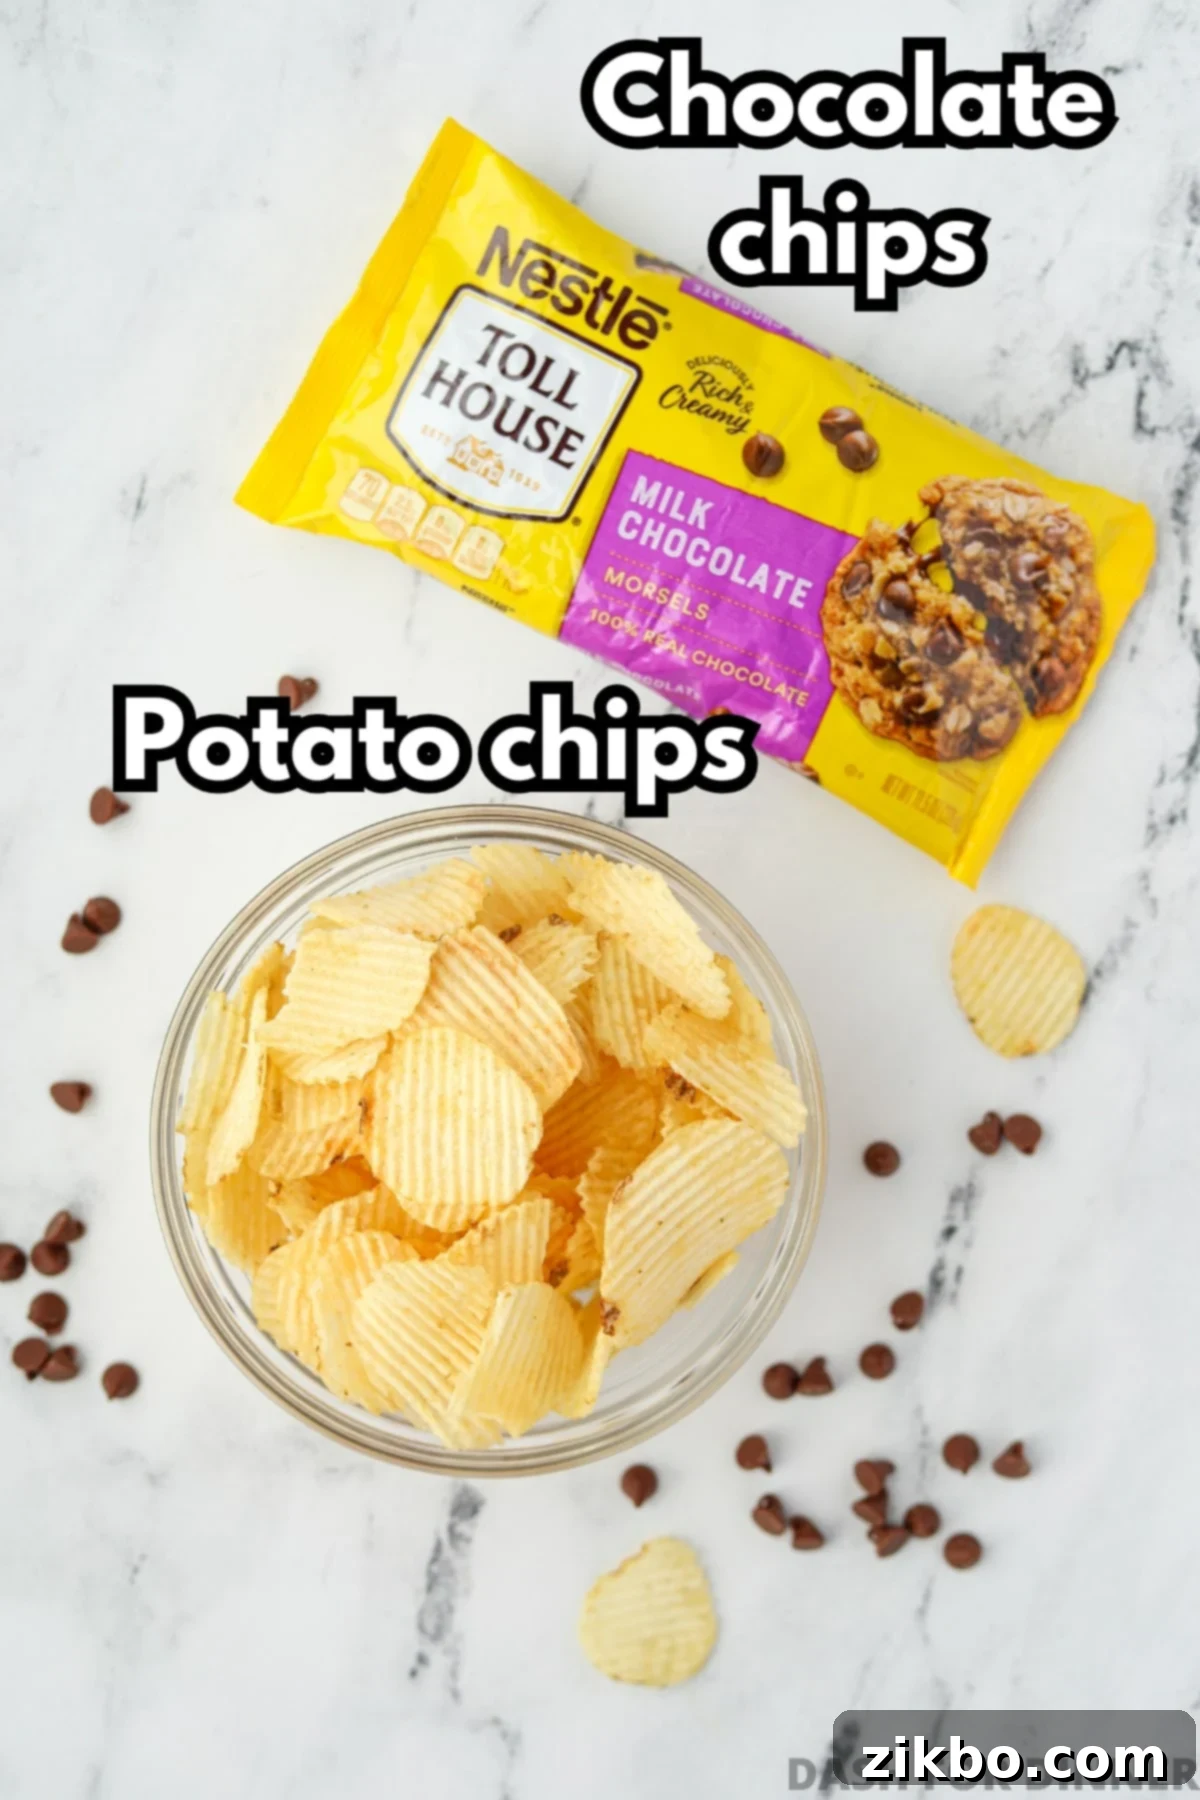
Key Ingredients:
- Potato Chips: The type of potato chip truly makes a difference in these clusters. Wavy potato chips are highly recommended because their sturdy texture and corrugated surface provide more integrity and better adhesion for the chocolate. After several tests, I found that Ruffles brand chips consistently delivered the best results, staying wonderfully crunchy and maintaining their structure once coated. Avoid very thin or heavily seasoned chips, as they might become soggy or overpower the chocolate flavor.
- Chocolate Chips: For the most balanced and universally appealing flavor, I strongly suggest using good quality milk chocolate chips. Their inherent sweetness beautifully complements and contrasts the savory saltiness of the chips, creating that addictive sweet-and-salty harmony. Nestle Tollhouse milk chocolate chips were a top performer in my trials, melting smoothly and offering a rich, classic chocolate taste. While other brands can be used, prioritize those known for good melting properties to ensure a smooth, luxurious coating.
Recommended Equipment:
- Muffin Pan: While not strictly essential, a muffin pan is a game-changer for creating perfectly shaped, uniform chocolate potato chip clusters. It helps to contain the mixture as it sets, preventing them from spreading too much. If you don’t have a muffin pan, a parchment-lined baking sheet can be used, but expect flatter, more free-form clusters.
- Measuring Cup (¼ cup): To ensure consistent sizing for each cluster, a lightly greased ¼ cup dry measuring cup is ideal for portioning. Greasing it lightly with a neutral oil or cooking spray will prevent the sticky chocolate-chip mixture from adhering, allowing for easy release and beautifully formed clusters.
- Muffin Liners (Optional, but highly beneficial): Muffin liners, particularly parchment ones, are fantastic for preventing your clusters from sticking to the pan and make cleanup incredibly easy. I often keep the clusters in their liners when storing or adding them to cookie boxes, as it adds a nice presentation and makes them simple to handle. Any type of cupcake liner will work effectively.
- Microwave-Safe Bowl or Double Boiler: Essential for melting your chocolate safely and efficiently. A sturdy silicone spatula is also indispensable for gentle stirring and folding the ingredients together without damaging the chips.
How to Make Delicious Chocolate and Potato Chip Clusters: Step-by-Step Guide
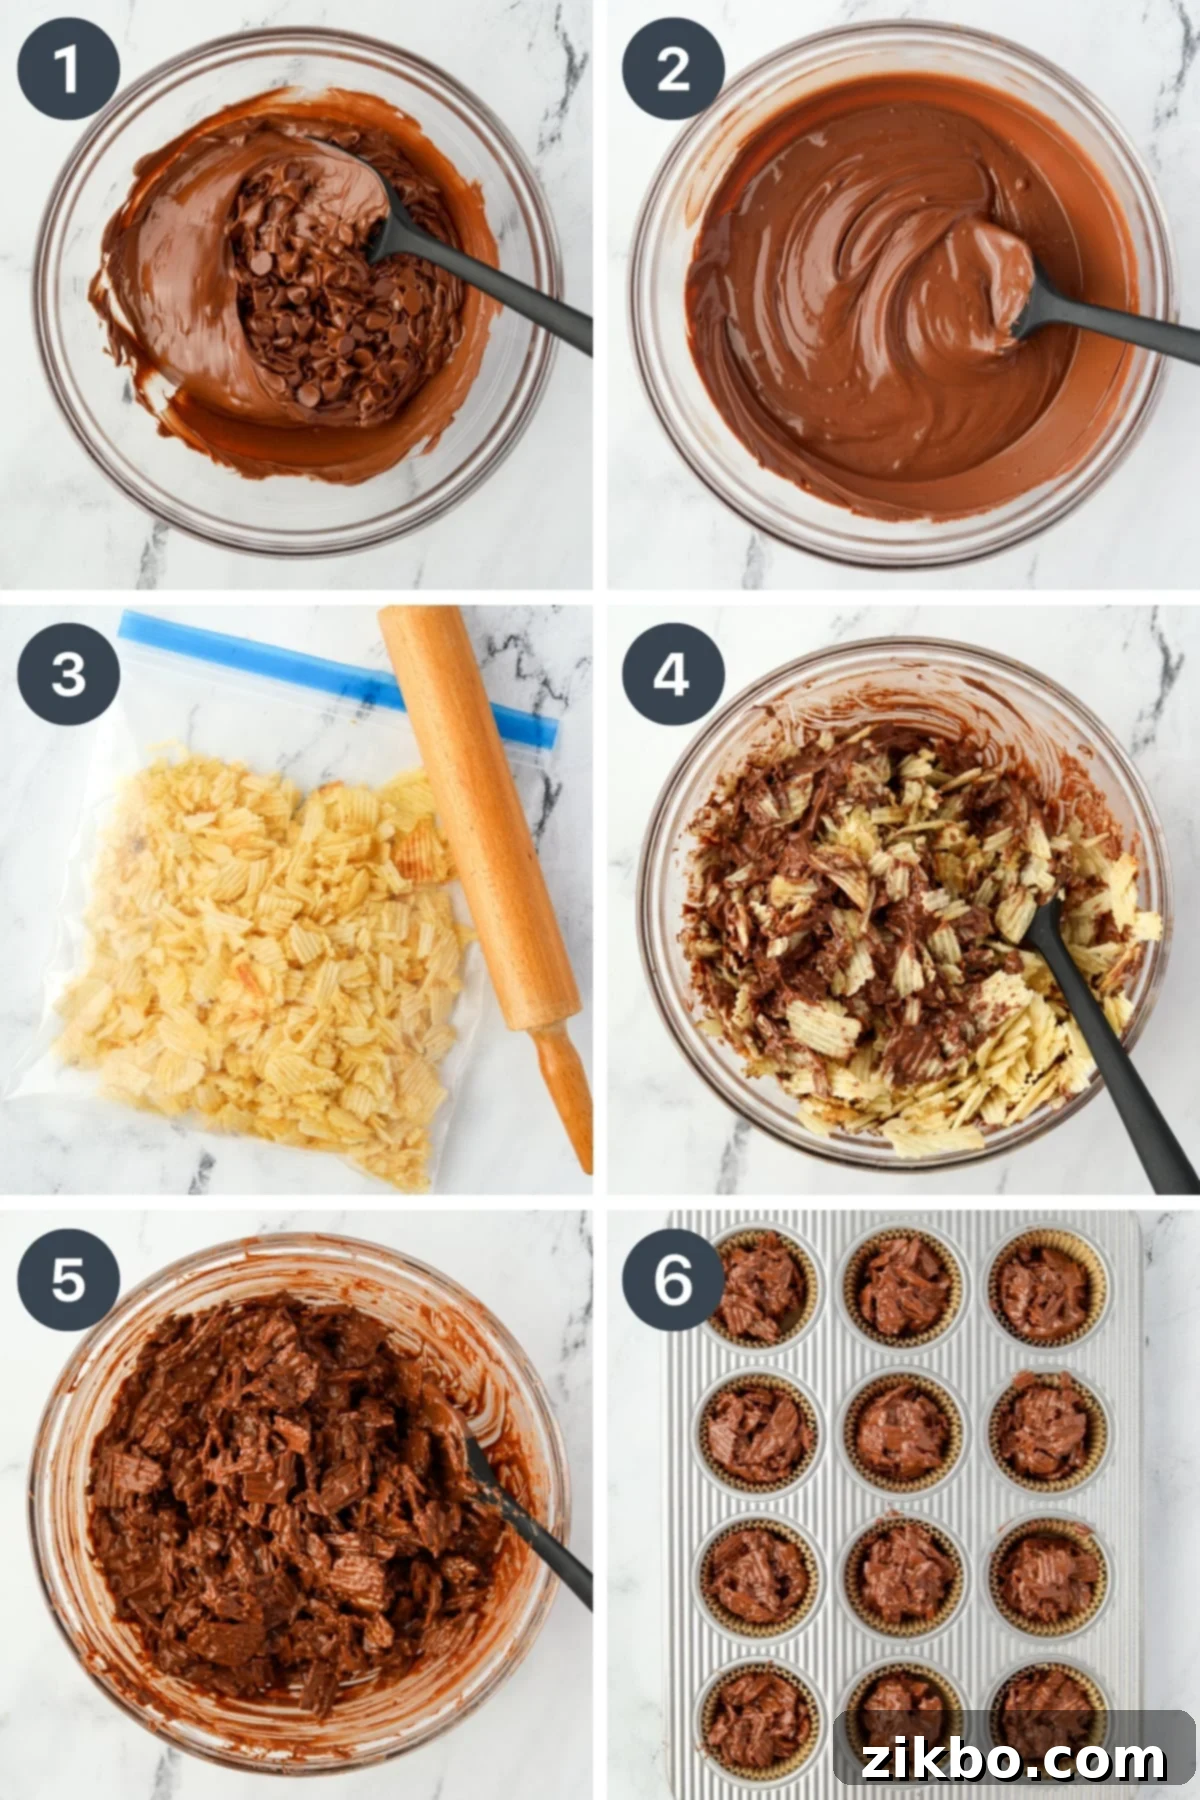
- Melt the Chocolate Chips Carefully: Place your milk chocolate chips into a large microwave-safe bowl. Alternatively, for a more controlled and gentle melting, you can use a medium-sized saucepan set over a pot of simmering water (a double boiler). If using the microwave, heat in short 30-second bursts, stirring thoroughly with a silicone spatula after each interval. This gradual approach prevents scorching and promotes even melting. If using a double boiler, stir constantly over low heat until the chocolate is smooth and fully melted.
- Achieve a Smooth Consistency: As you heat the chocolate, stirring frequently is paramount. Consistent stirring helps to distribute the heat evenly, ensuring the chocolate melts into a beautifully smooth, glossy consistency without any lumps. Chocolate is prone to overheating, which can cause it to “seize” and become stiff and grainy. Exercise patience, heat slowly, and stir often. As soon as the chocolate is perfectly smooth, immediately remove it from the heat source to prevent any seizing.
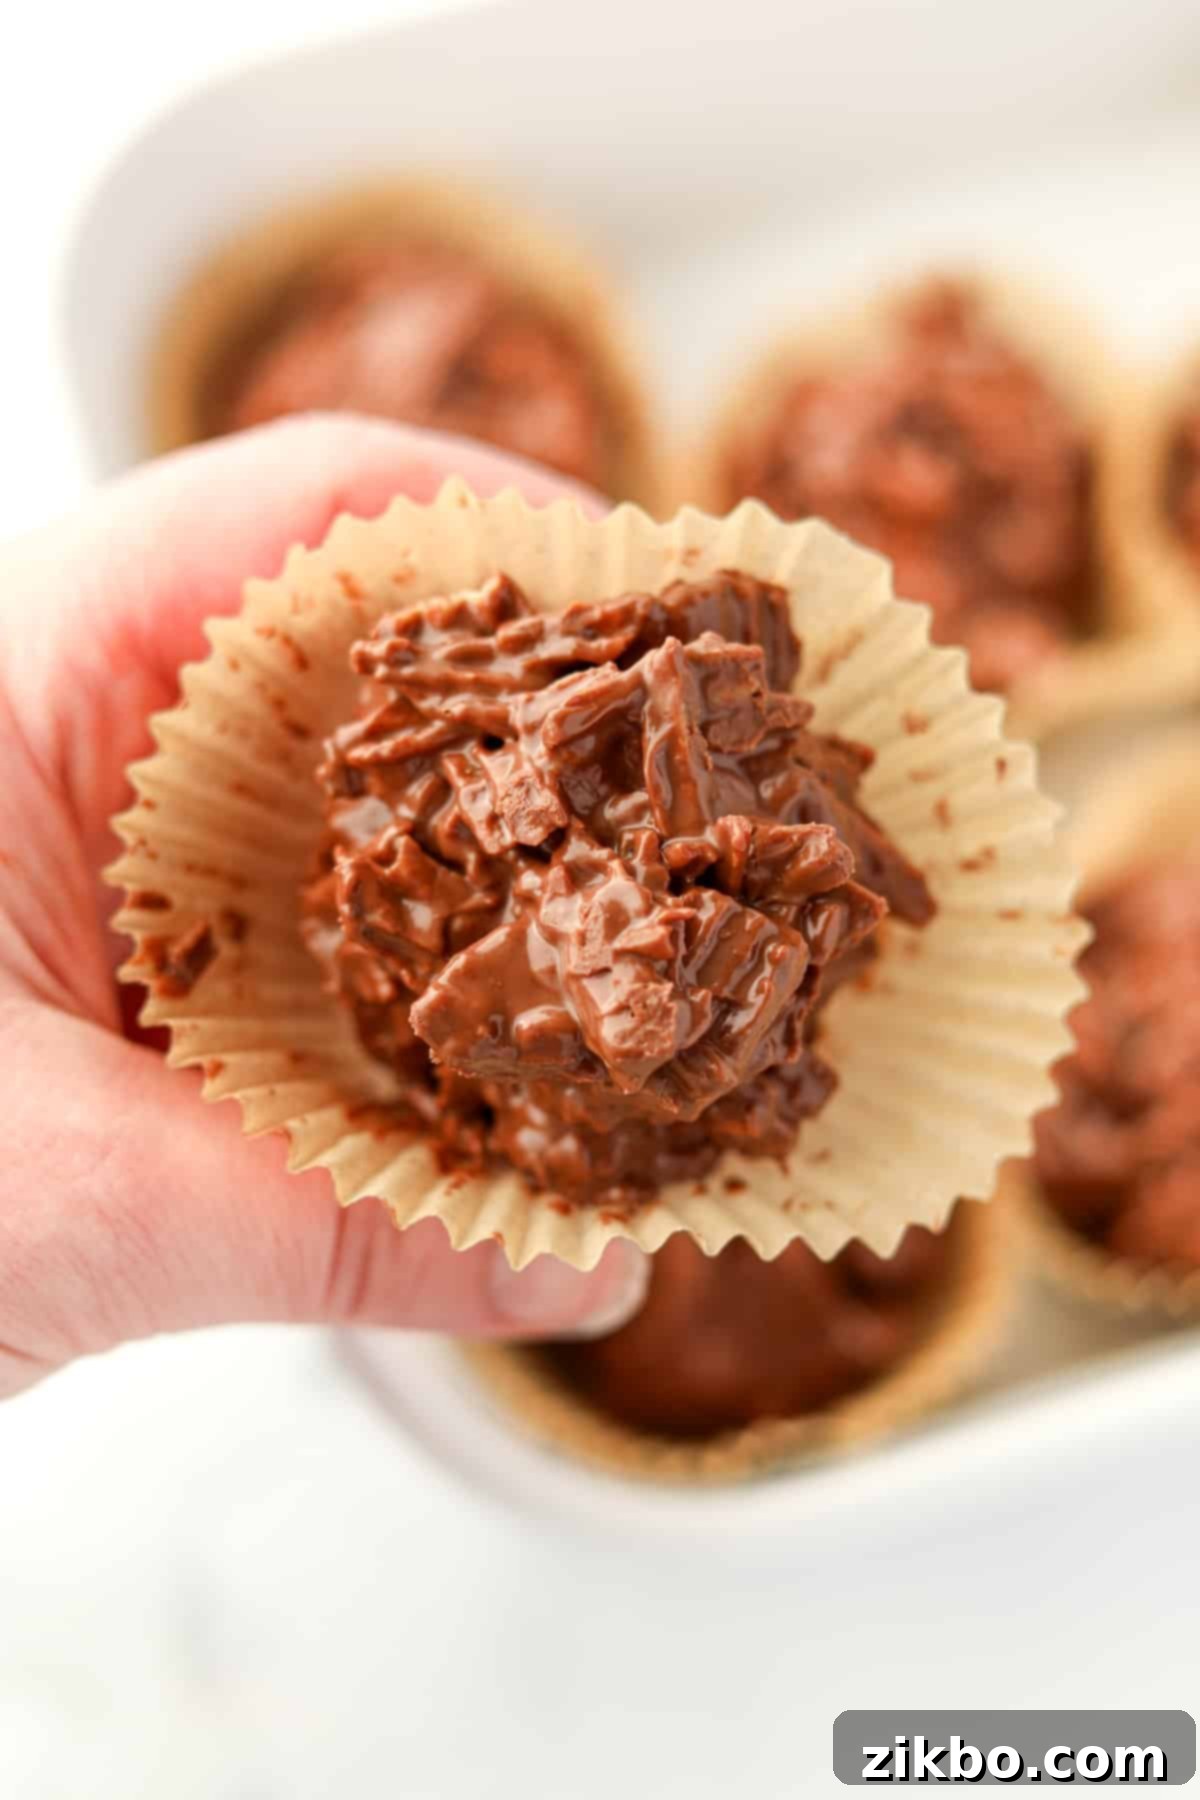
- Crush the Potato Chips: Transfer your wavy potato chips into a durable plastic storage bag. Using a rolling pin, the back of a measuring cup, or even your hands, gently crush the chips. The goal is not to pulverize them into fine crumbs, but rather to break them down into smaller, bite-sized pieces with a rustic, varied texture. You want a mix of smaller and larger crunchy fragments to ensure a delightful crunch in every single cluster.
- Combine Chips with Melted Chocolate: Once your chocolate is perfectly smooth and your potato chips are crushed to the desired consistency, carefully add the crushed chips directly into the bowl of melted chocolate.
- Gently Fold to Combine: Using your silicone spatula, gently fold the potato chips into the melted chocolate. Avoid vigorous stirring, as this could break the chips down too much. Continue to fold until every piece of potato chip is thoroughly and evenly coated in the rich, melted chocolate. This step ensures that every bite delivers that incredible sweet and salty balance.
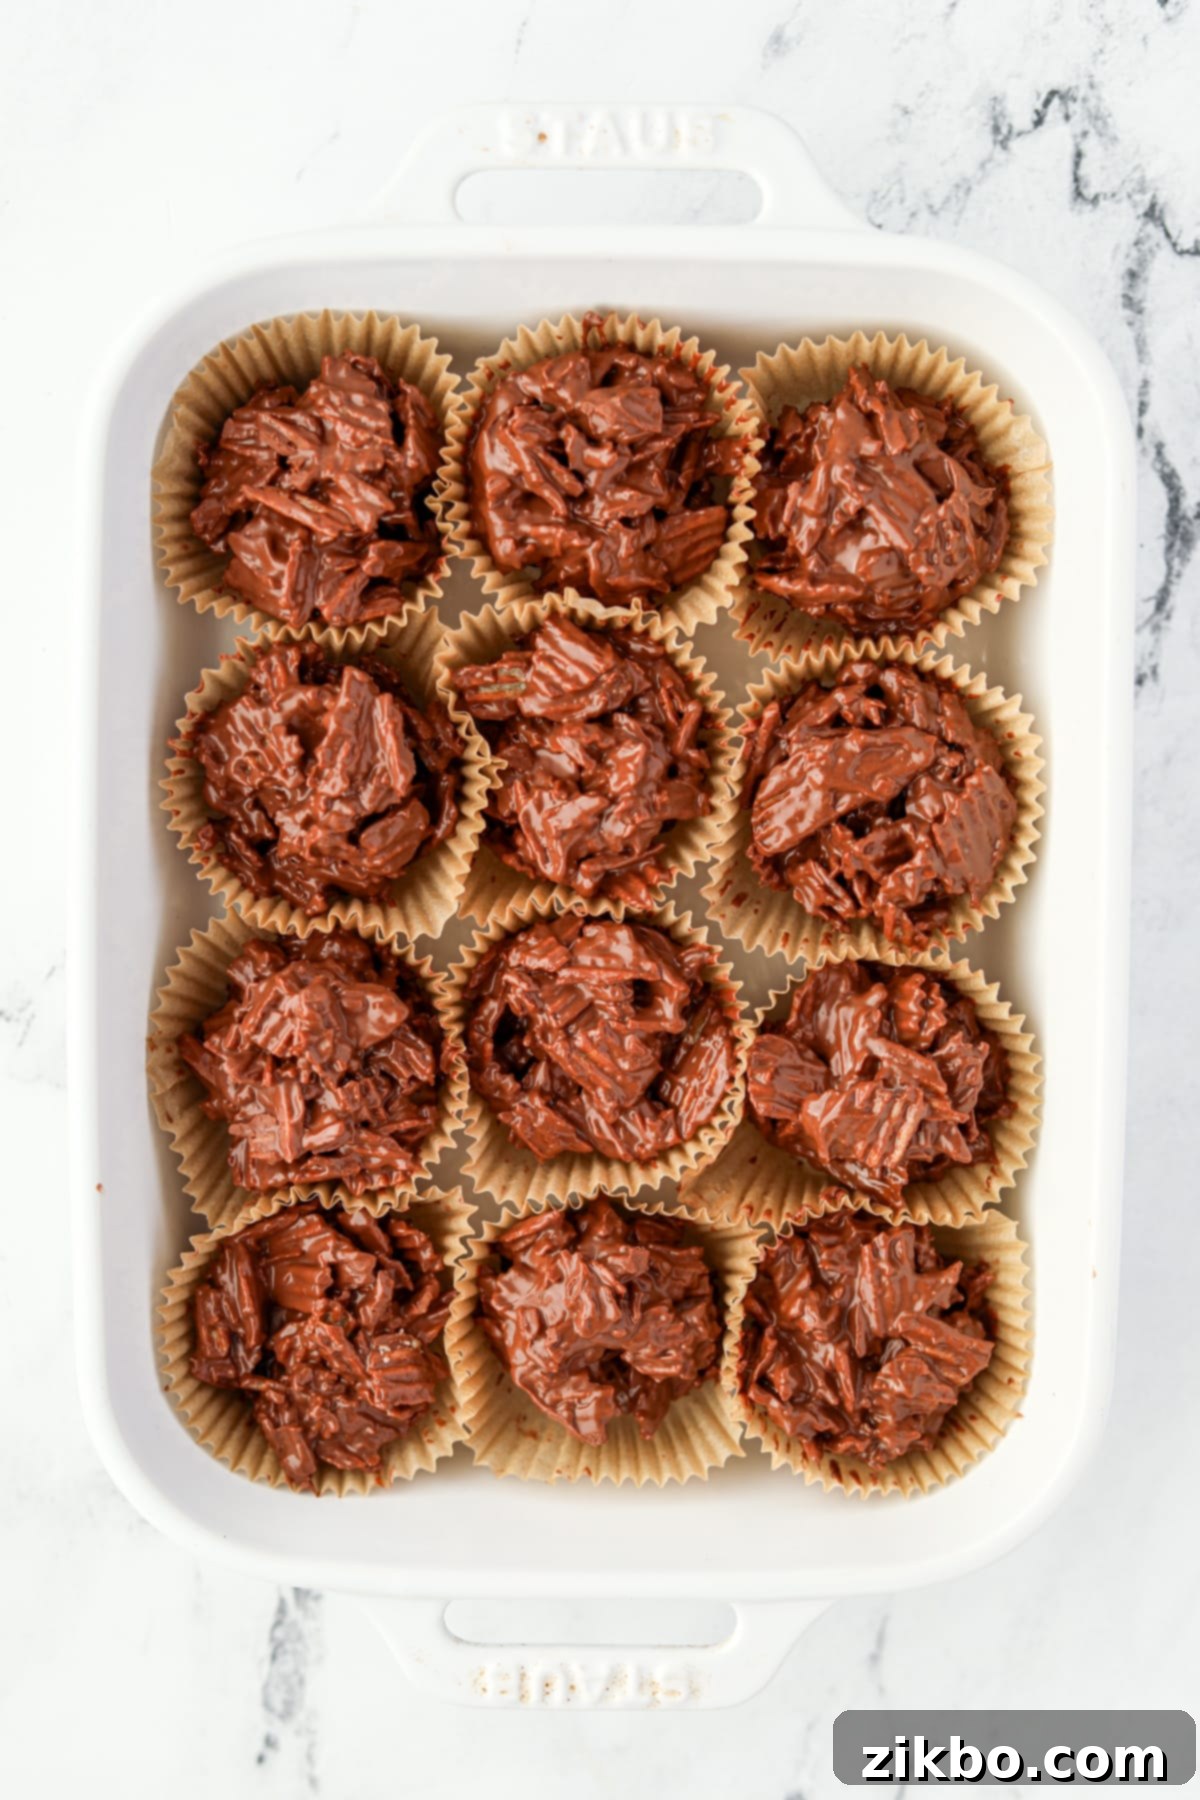
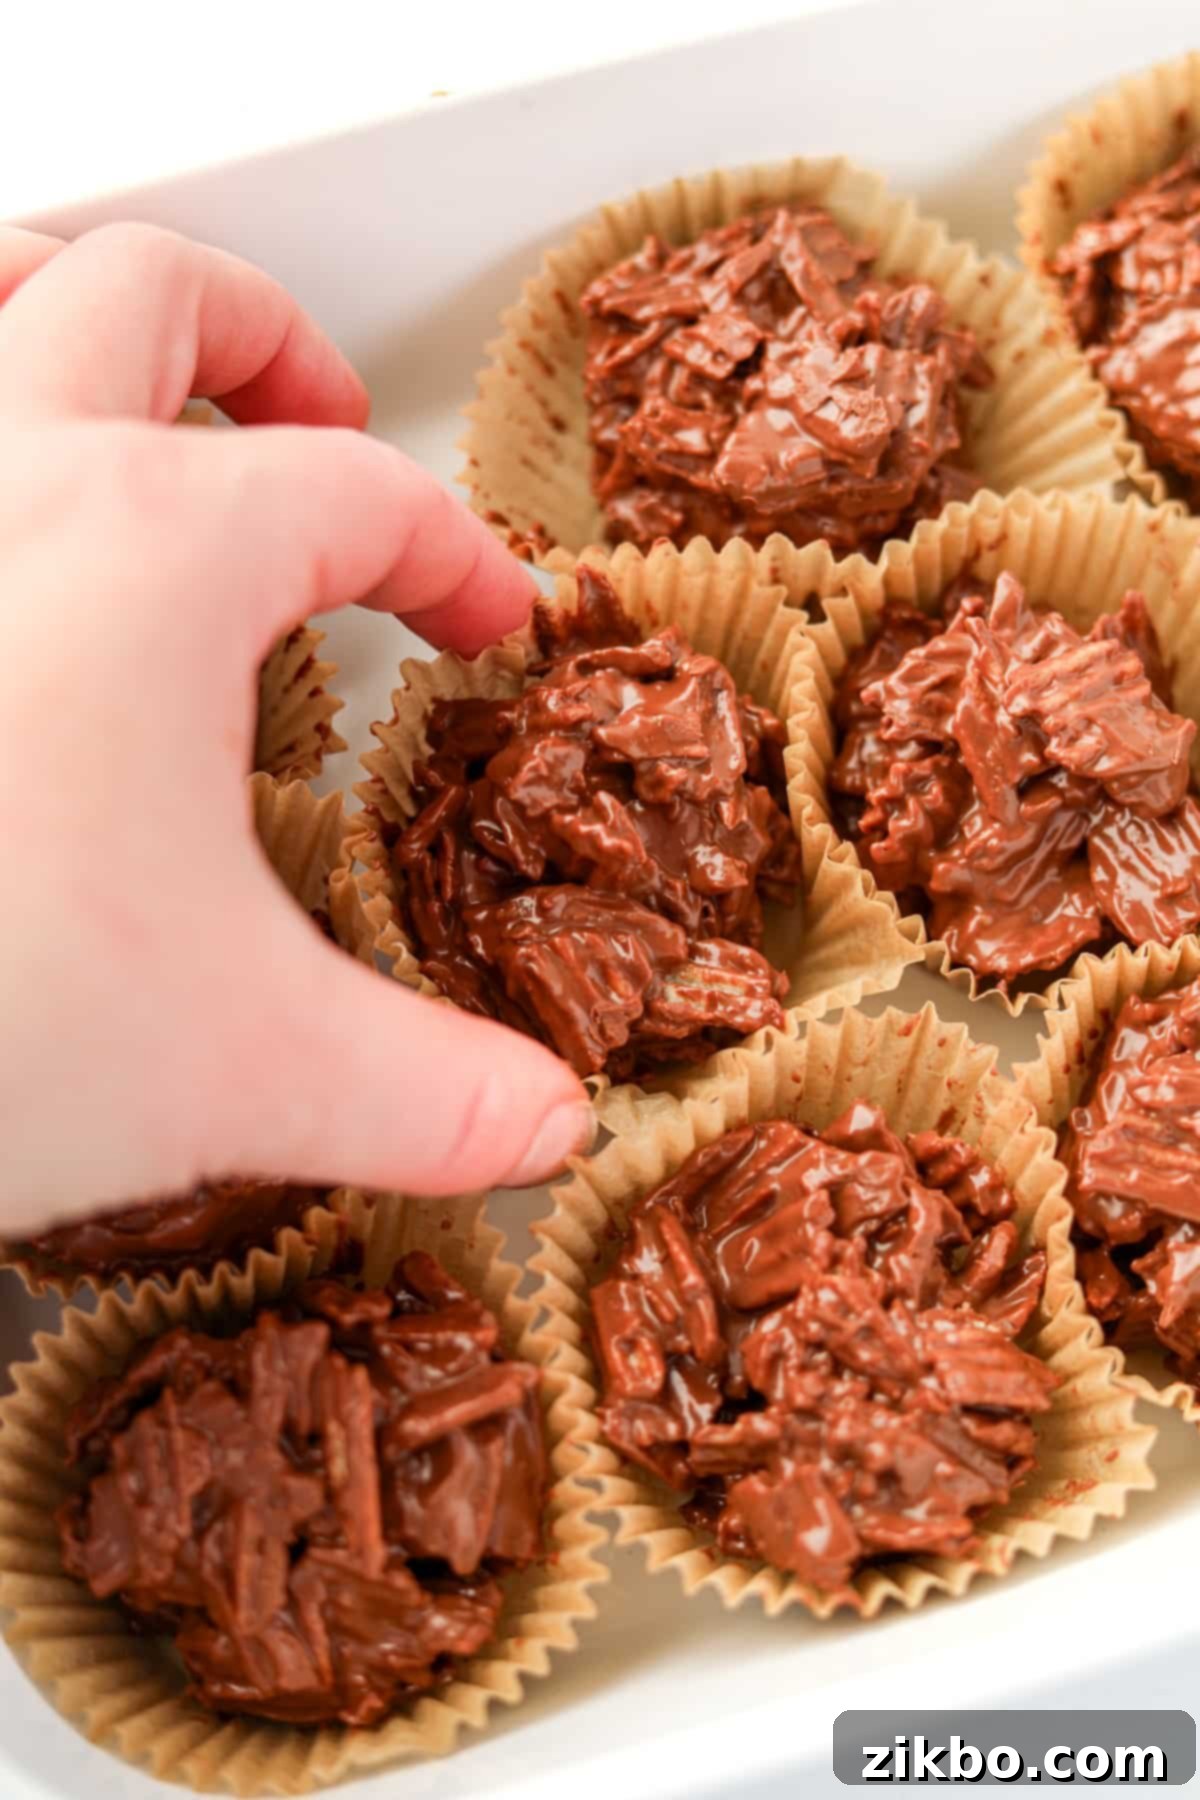
- Portion and Allow to Harden: To form uniform and appealing clusters, lightly grease a ¼ cup measuring cup. Scoop enough of the chocolate-coated chip mixture into the cup, gently packing it down with the back of your silicone spatula. Then, carefully transfer each portion into a lined muffin cup placed within a muffin pan.
- For Best Shape: Using a muffin pan with liners is highly recommended, as it helps the clusters maintain their neat, round shape during the hardening process and prevents sticking.
- Alternative Method: If you don’t have a muffin tin, you can drop spoonfuls of the mixture onto a parchment-lined baking sheet. Be aware that these clusters will spread out more and result in a flatter, more irregular shape.
- Harden at Room Temperature: Once all the mixture is portioned (this recipe typically yields about 9 large clusters), allow them to harden at room temperature for 1-2 hours. This slower setting process is often preferred for optimal texture, keeping the chips crisp and the chocolate smooth but firm.
- Quick Chill: If you’re short on time, you can place the clusters in the refrigerator for 30-40 minutes to speed up hardening. However, for the absolute best crunch and chocolate snap, room temperature hardening is usually superior.
Can I Double or Triple This Chocolate Potato Chip Cluster Recipe for a Crowd?
Absolutely! This recipe, as provided, uses approximately one standard bag of chocolate chips and makes around 9 generous clusters. If you’re preparing these highly popular treats for a large gathering, a festive party, or want to fill multiple holiday cookie tins with gifts, you can easily double, triple, or even quadruple the recipe. When working with larger quantities of chocolate, it’s particularly important to be mindful of the melting process. Using a double boiler can offer a more consistent and gentle heat distribution, significantly reducing the risk of the chocolate seizing. If you opt for the microwave, process the chocolate in smaller batches to prevent overheating and ensure a smooth, workable consistency throughout your preparation.
Storing Your Delicious Potato Chip Candy for Optimal Freshness:
Once your chocolate potato chip clusters have fully cooled and hardened, proper storage is essential to maintain their delightful crispness and extended shelf life. Transfer them to an airtight container. When stored at room temperature, they will retain their absolute best texture and flavor for 2-3 days; this is when the potato chips remain crispest and the chocolate has a perfect, satisfying snap. For longer storage, you can keep them in the refrigerator for 1-2 weeks. While refrigeration significantly extends their freshness, it can sometimes make the chocolate a bit harder and the chips slightly less crisp. For the best eating experience, allow refrigerated clusters to come back to room temperature for a few minutes before serving. However, let’s be honest, they’re so irresistible, they often disappear long before a week passes!
These versatile treats are also suitable for freezing for even longer preservation! Place the hardened clusters in a freezer-safe bag, carefully pressing out as much air as possible before sealing. Label the bag with the date and freeze for up to 2 months. When you’re ready to enjoy them, simply take them out and thaw at room temperature for approximately 15-30 minutes, and they will be just as wonderfully delicious as when they were freshly made.
Creative Ideas and Thoughtful Tips for Gifting These Sweet Treats:
- Utilize Decorative Muffin Liners: Enhance the visual appeal by using muffin liners with festive colors, patterns, or holiday themes. This instantly elevates the presentation and makes each cluster feel like a little gift.
- Prepare a Large Batch for Multiple Recipients: These clusters are incredibly popular for gifting during the holidays or for hostess gifts. Consider making a generous batch to easily distribute among friends, family, neighbors, and colleagues – everyone appreciates a thoughtful, homemade treat!
- Add Festive Holiday Sprinkles: Before the chocolate has a chance to fully set, sprinkle a few holiday-themed sprinkles (like tiny stars, Christmas trees, or colorful jimmies) on top of each cluster. This adds a beautiful burst of color and a fun, celebratory touch.
- Present in Charming Tins or Boxes: For a truly elegant gift, carefully arrange your chocolate potato chip clusters in a beautiful decorative cookie tin or a charming gift box. This not only protects them but also significantly enhances their overall appeal as a present.
- Line with Decorative Paper: To add an extra layer of visual interest and provide protection, line your chosen gift tin or box with decorative parchment paper, wax paper, or even festive tissue paper. This adds a personalized touch and prevents the clusters from sticking to the container.
Expert Tips for Crafting Perfect Chocolate Potato Chip Clusters Every Time:
- Melt Chocolate with Utmost Care: This step is perhaps the most critical. Chocolate can “seize” – meaning it suddenly becomes thick, lumpy, and unusable – if it gets too hot or if even a tiny drop of water comes into contact with it. To prevent this, always melt your chocolate slowly and gently. Whether using a microwave (in short bursts, stirring frequently) or a double boiler (over low heat, stirring constantly), remove the chocolate from the heat source as soon as it reaches a smooth, liquid consistency. Patience here ensures silky-smooth results.
- Room Temperature for Optimal Texture: While placing clusters in the refrigerator can speed up the hardening process, allowing them to set at room temperature (for 1-2 hours) yields the superior texture and flavor. The chocolate will have a satisfying “snap,” and the potato chips will maintain their peak crispness. If you must refrigerate for longer storage, remember to let them sit at room temperature for about 15 minutes before serving for the best possible experience.
- Crush Chips for Rustic Charm, Not Powder: The appeal of these clusters lies in their wonderful textural contrast. You want your potato chips to be visibly broken into various sizes – some larger, some smaller, but all bite-sized – rather than uniform crumbs. Aim for a “rustic” appearance where each piece of chip is still distinct, ensuring a delightful, varied crunch in every bite.
- Prioritize Quality Ingredients: With a recipe so simple, relying on just two main ingredients, the quality of each truly shines through. Opt for your favorite brand of wavy potato chips that offer a good, sturdy crunch. For the chocolate, choose a brand known for its smooth melting properties and rich, consistent flavor. Higher quality ingredients will undoubtedly lead to a more delicious end product.
- Lightly Grease Your Measuring Cup: This small detail makes a big difference in the ease of preparation and the final presentation. Lightly greasing your ¼ cup measuring cup (or any scoop you use) with a tiny amount of cooking spray or neutral oil will prevent the sticky chocolate-coated chips from adhering to it, ensuring clean release and beautifully shaped clusters without any fuss.
Delicious Substitutions and Exciting Flavor Variations:
- Indulge with Dark Chocolate: For those who prefer a more intense, less sweet flavor profile, you can easily substitute the milk chocolate chips with an equal amount of your favorite dark chocolate chips or finely chopped dark chocolate bar. The delightful bitterness of dark chocolate provides an even more sophisticated and robust contrast to the salty crunch of the chips.
- Explore Butterscotch Chips: While I haven’t personally tested this variation extensively, I believe butterscotch chips would work wonderfully in this recipe, offering a distinct, rich caramel-like sweetness. Be sure to melt them with extra care and slowly, as butterscotch can also be prone to seizing if overheated. A tiny sprinkle of flaky sea salt on top before the clusters set would add a perfect touch, enhancing the butterscotch flavor.
- Create White Chocolate Potato Chip Clusters: For a different aesthetic and a sweeter, creamier flavor, use white chocolate chips. White chocolate is more prone to seizing than other types, so melt it very slowly over a double boiler or in short microwave bursts, and consider adding about 1 teaspoon of coconut oil or vegetable oil per cup of white chocolate chips. This extra fat helps create a smoother, more stable melt. Once melted, stir in the crushed potato chips and proceed as directed.
- Make Mini, Bite-Sized Clusters: If you prefer smaller, more delicate treats, perfect for a party appetizer or easy snacking, simply use a small cookie scoop or even a teaspoon instead of a ¼ cup measuring cup for portioning. For the neatest mini clusters, line a mini muffin tin with mini cupcake liners and ensure your potato chips are crushed more finely to suit the smaller size.
- Add Extra Toppings for Flair: Get creative with additional garnishes! Before the chocolate fully sets, consider sprinkling on a pinch of flaky sea salt (especially if your chips aren’t super salty), a light dusting of cocoa powder, finely chopped nuts (like pecans or almonds), mini marshmallows, or even a contrasting chocolate drizzle (e.g., white chocolate drizzled over milk chocolate clusters).
Discover More Effortless No-Bake Sweet Treats:
If you’ve enjoyed the sheer simplicity and delightful taste of these no-bake chocolate potato chip clusters, you’re in for a treat! Our extensive collection of no-bake recipes is perfect for satisfying your sweet tooth without ever having to turn on the oven. These recipes are consistently quick to prepare, incredibly easy, and always a guaranteed crowd-pleaser. Explore some of our other favorite hassle-free dessert ideas below:
- Peppermint Truffles
- No Bake Chocolate Chip Cheesecake
- Rice Krispie Treats
- No Bake Peanut Butter Bars
If you absolutely loved this simple and scrumptious recipe for Chocolate Potato Chip Clusters, please let me know by leaving a 5-star review in the recipe card below or by sharing your thoughts in the comments section! Your feedback is incredibly valuable and helps other home cooks discover delicious recipes. You can also tag me on Instagram @dashfordinner to share your beautiful creations.
Chocolate Potato Chip Clusters
Print
Pin
Rate
Ingredients
- 2 ½ cups lightly crushed wavy potato chips (we like Ruffles, for optimal crunch and shape) (105g/3.7oz)
- 1 ¾ cups quality milk chocolate chips (approximately 1 standard bag, 326g or 11.5oz)
Instructions
-
Lightly crush your chosen potato chips. Place them in a durable plastic storage bag and gently hit them with the back of a measuring cup or a rolling pin. The goal is to break them into smaller, bite-sized pieces, not a fine powder, to maintain texture. Measure out 2 ½ cups (or weigh 105 grams) of the crushed chips.
-
Add the quality milk chocolate chips to a large microwave-safe bowl.
-
Heat the chocolate chips in the microwave in short 30-second intervals. After each interval, stir the chocolate thoroughly with a silicone spatula to distribute heat evenly. Continue this process until the chocolate is smoothly melted and lump-free, typically taking about 3-5 intervals.
-
Note: If desired, you can melt the chocolate on the stovetop over a double boiler set over low-medium heat, stirring frequently. This method offers more control and reduces the risk of overheating.
-
Once the chocolate is perfectly melted, add the crushed potato chips to the bowl. Gently fold them into the chocolate using your silicone spatula until all the chips are completely coated. Be gentle to avoid breaking the chips down too much.
-
Prepare your setting area: Line a 12-cup muffin pan with parchment paper liners (recommended for best shape), or alternatively, line a baking sheet with parchment paper.
-
Using a lightly greased ¼ cup measuring cup, scoop out portions of the chocolate-covered chips. Gently pack them down into the measuring cup with the back of your silicone spatula to form coherent clusters.
-
Carefully transfer each portion into a prepared muffin cup. If using a baking sheet, heap them into individual clusters. (Note: A muffin pan helps them to hold their shape and stay uniform; clusters on a baking sheet will spread out more).
-
Allow the clusters to cool and harden at room temperature for 1-2 hours. This gradual setting process is ideal for the best texture and crunch. If you’re in a hurry, you can chill them in the refrigerator for 30-40 minutes, but note that room temperature hardening often results in a superior “snap” for the chocolate and crispness for the chips.
-
Once completely cooled and hardened, gently transfer your clusters to an airtight container. Store them at room temperature for up to 3 days for peak quality, in the refrigerator for up to 1 week, or in the freezer for up to 2 months for extended freshness.
Notes
*Very important: Always melt your chocolate slowly and with great care. Stir frequently to ensure heat is evenly distributed and to prevent hot spots. Remove the chocolate from the heat source immediately as soon as it achieves a smooth, melted consistency. Overheated chocolate will “seize,” which means it will suddenly become stiff, grainy, and unusable.
Nutrition
Please note that some of my blog posts here at Dash for Dinner may contain affiliate links. If you make a purchase through these links, I will get a small commission at no additional cost to you. Please see my Disclaimer for more information.
