The BEST Gooey Homemade Rice Krispie Treats: An Easy 4-Ingredient Recipe
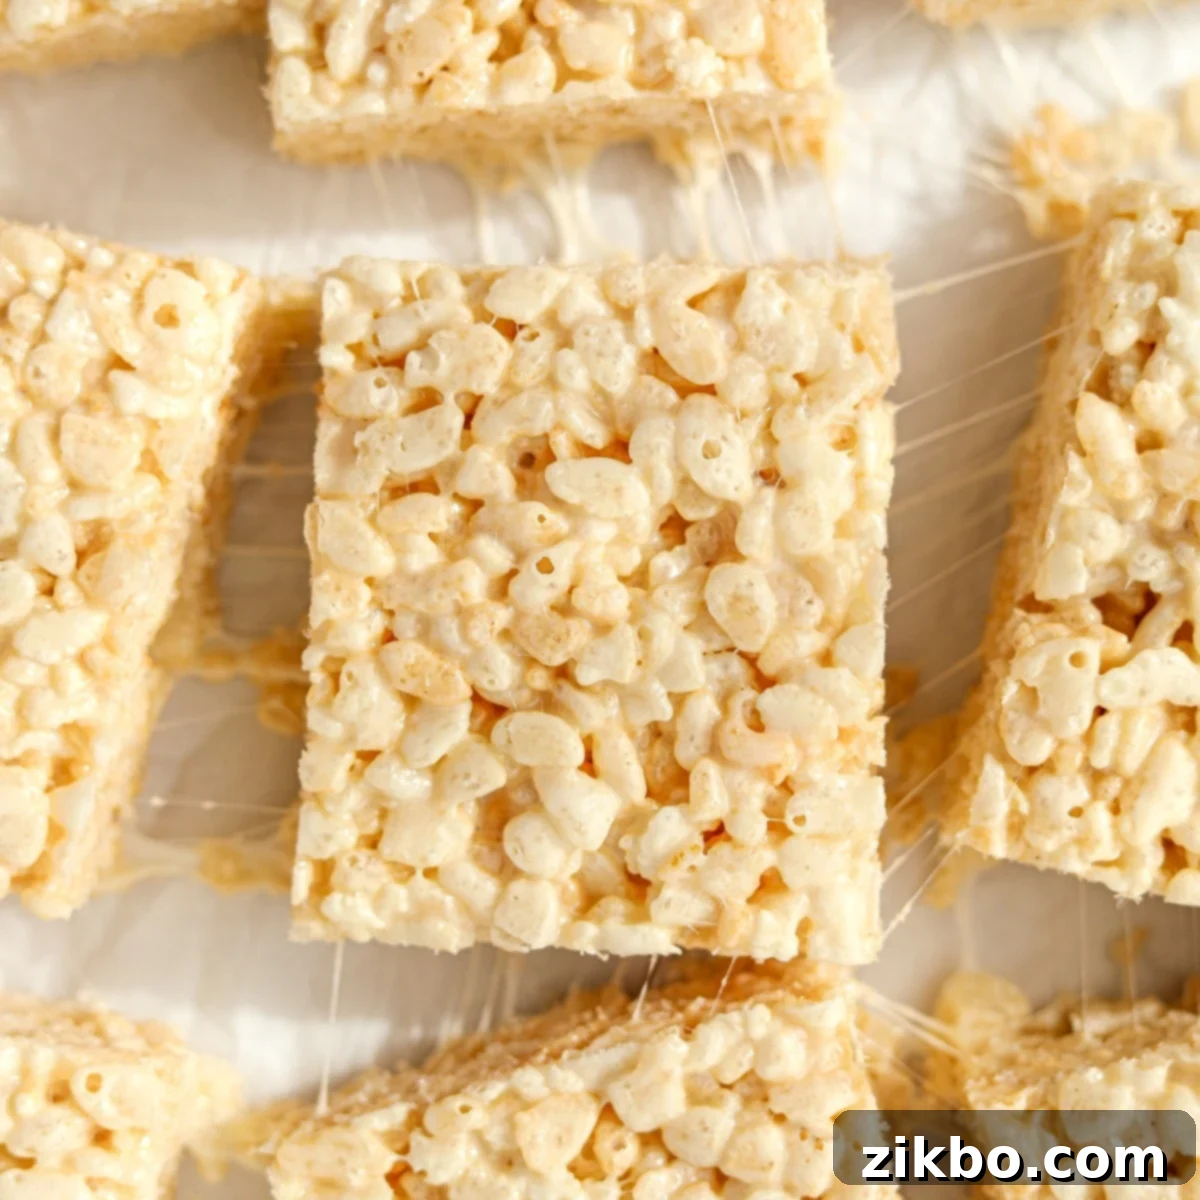
Who can resist the nostalgic charm of a classic homemade Rice Krispie Treat? While the recipe on the back of the cereal box is a good starting point, we’re here to share a version that takes this beloved dessert to an entirely new level. Prepare yourself for a treat that’s not just good, but truly extra buttery, unbelievably gooey, and quite simply: the best you’ll ever taste! This easy no-bake recipe requires just four simple ingredients and can be whipped up quickly using either your microwave or stovetop, making it perfect for last-minute cravings or special gatherings.
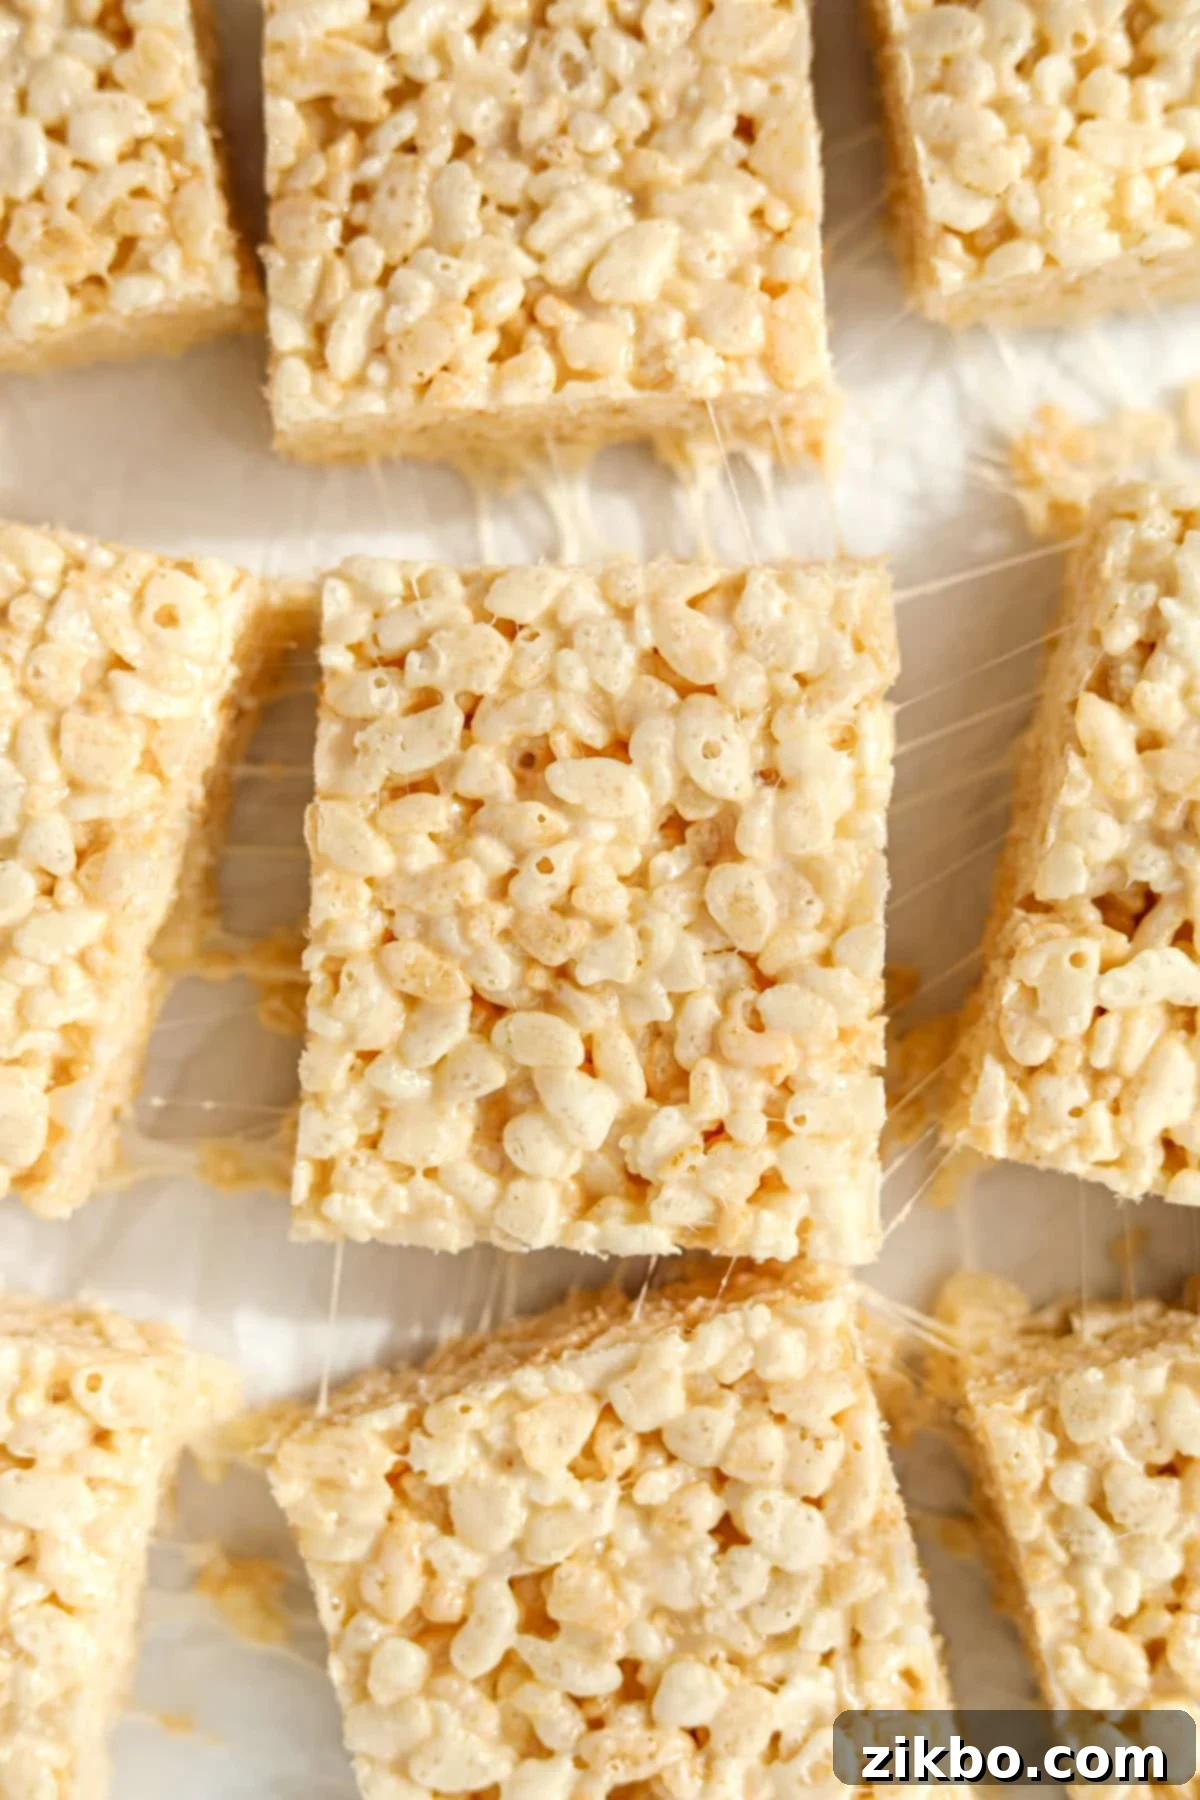
Forget dry, crumbly cereal bars. This recipe is designed to maximize that soft, chewy texture and rich flavor that makes Rice Krispie treats so addictive. Whether you’re a seasoned baker or a kitchen novice, you’ll find this process incredibly straightforward, yielding professional-quality results every time. Get ready to impress your friends and family with a dessert that truly stands out!
Why You’ll Fall in Love with This Rice Krispie Treat Recipe:
- Uncomplicated, Simple Ingredients: You only need four basic items: crispy rice cereal, butter, marshmallows, and a touch of vanilla. These are pantry staples, making this a go-to recipe for any occasion without a trip to the specialty store.
- A Timeless Classic, Elevated: Rice Krispie Treats have been a beloved part of childhoods for generations, earning their place alongside chocolate chip cookies as an iconic American dessert. This recipe honors that tradition while enhancing the texture and flavor for a truly superior experience. It’s the ultimate comfort food with a gourmet twist!
- Incredibly Versatile for Any Occasion: From casual after-school snacks to elegant bake sales and festive holiday parties, these crispy treats are always a guaranteed crowd-pleaser. Their simplicity allows for easy customization with various mix-ins, making them adaptable for any theme or taste preference.
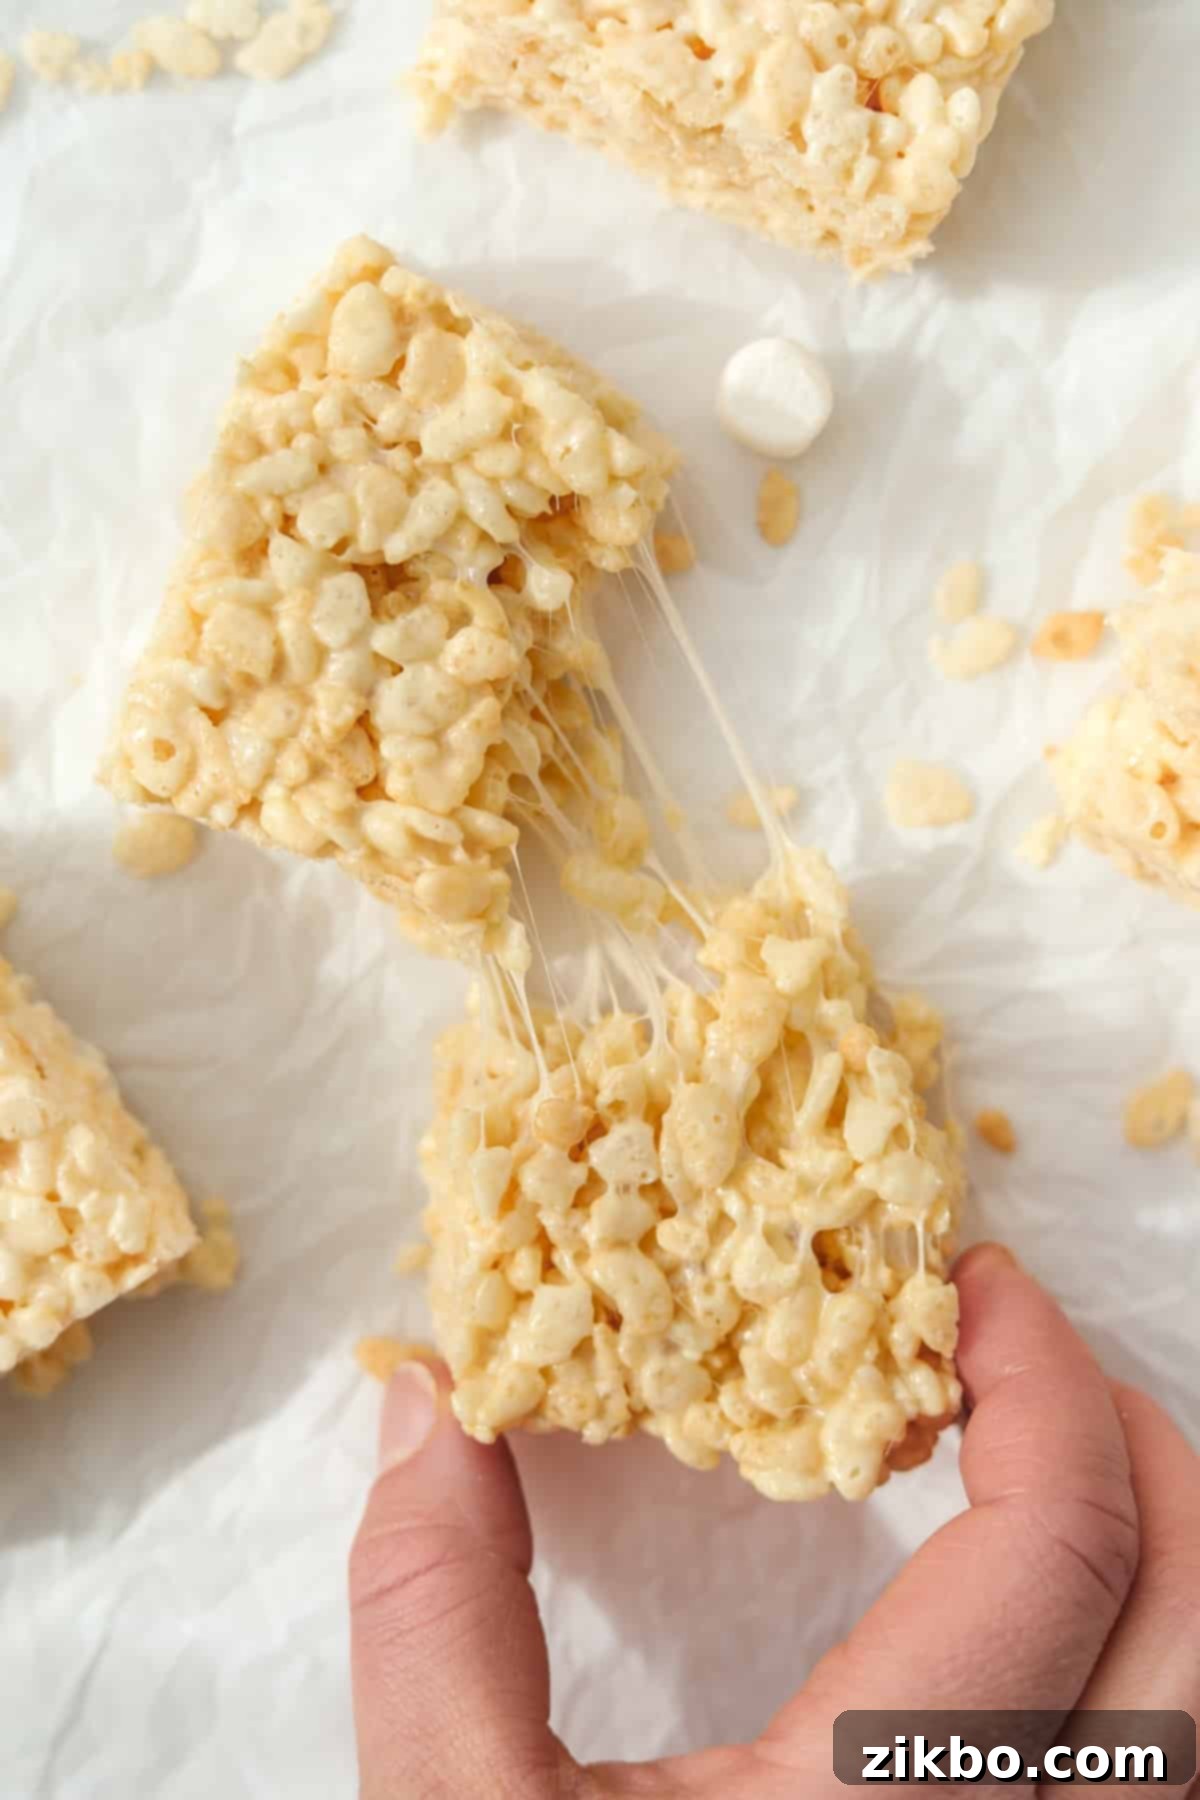
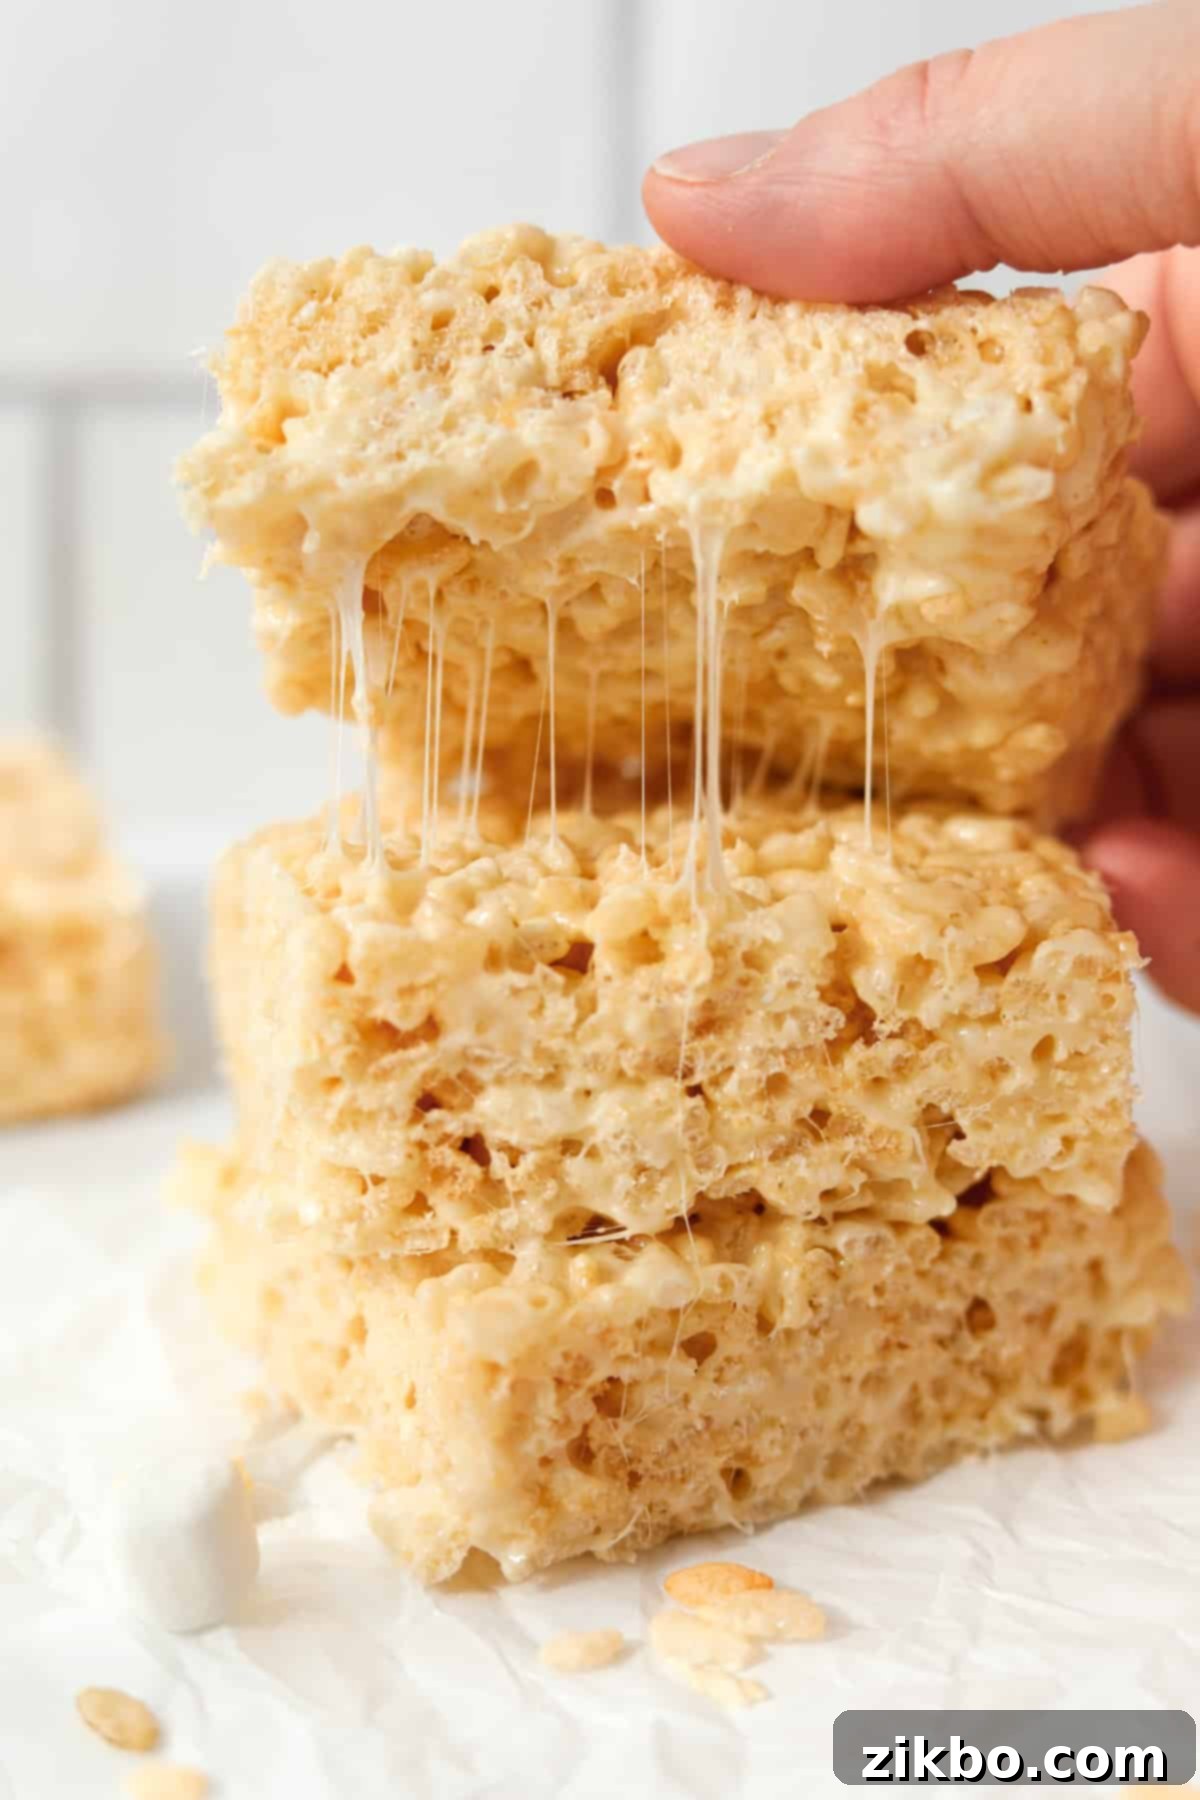
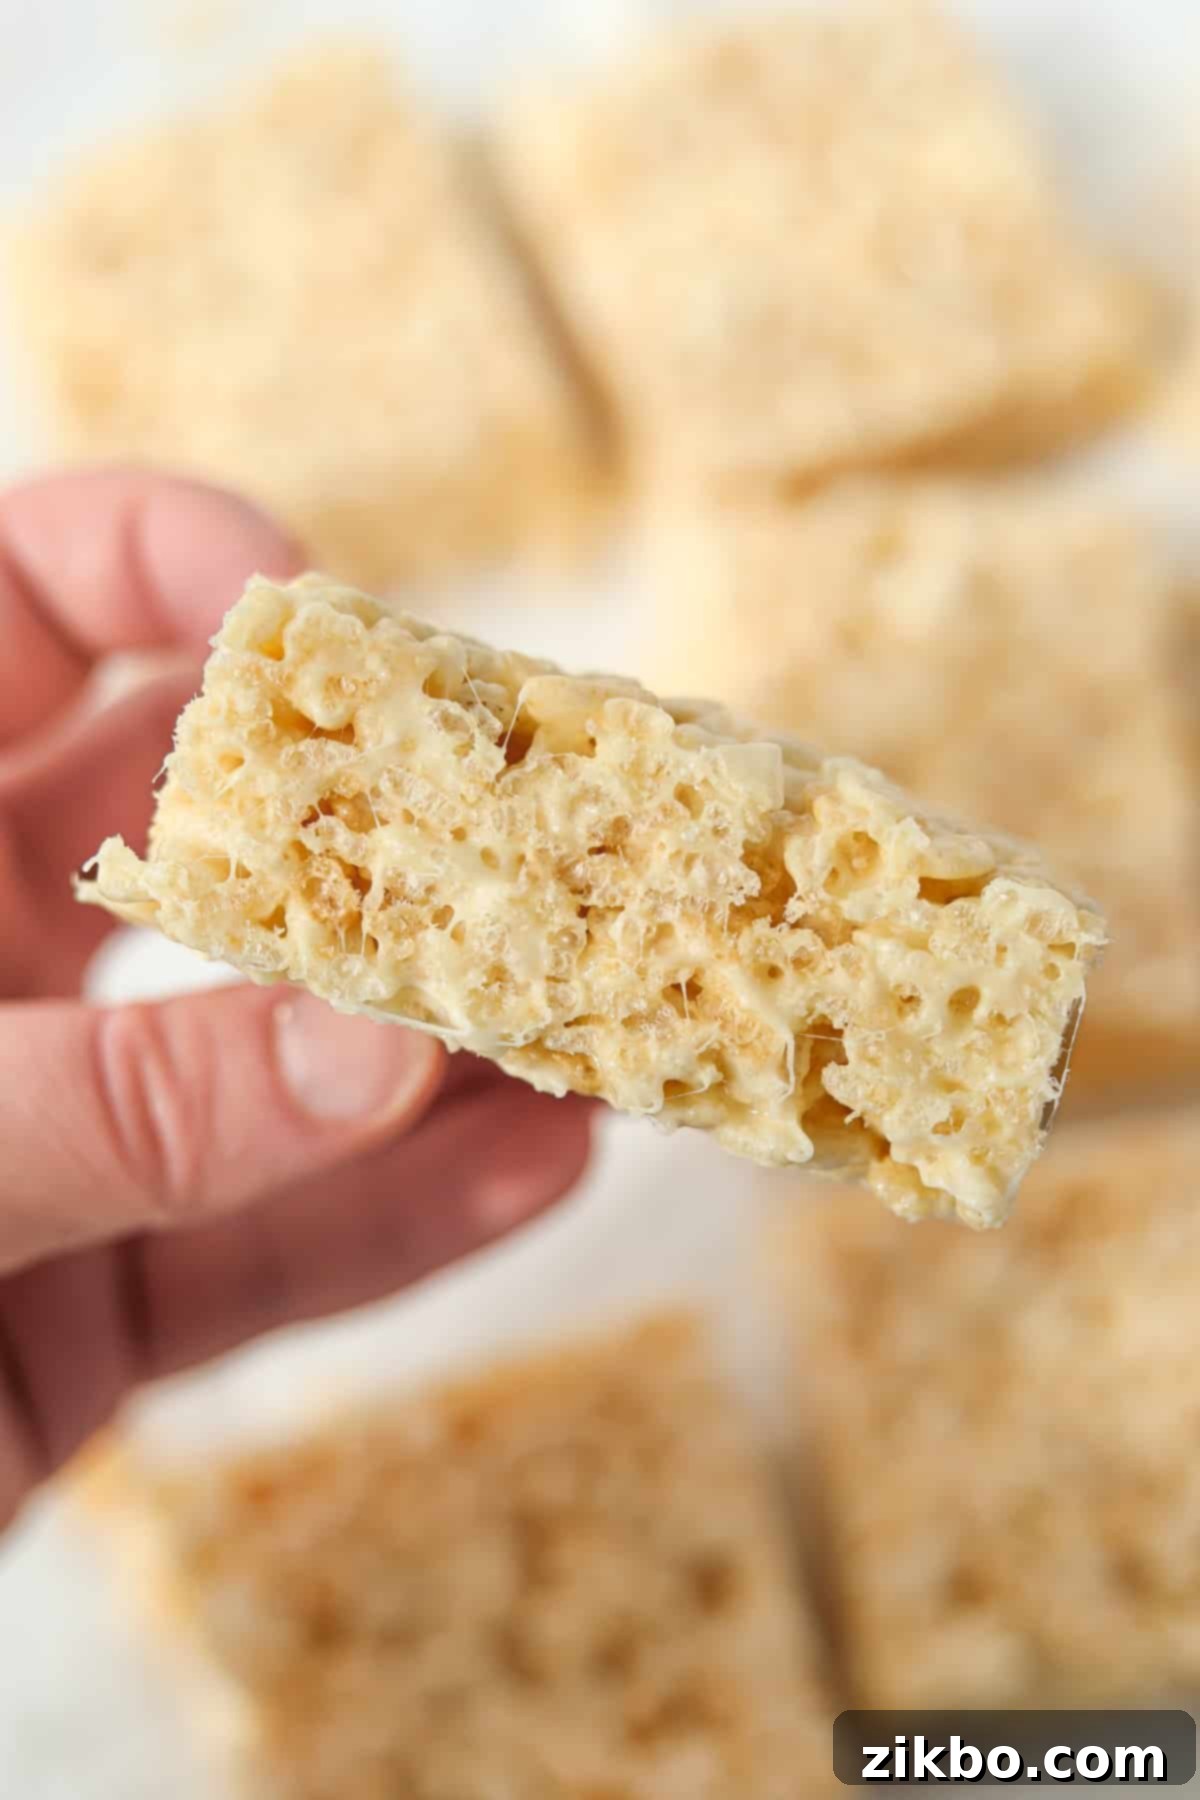
- Guaranteed Extra Gooey Perfection: Say goodbye to hard, dry, and brittle cereal bars. Our secret lies in the precise ratio of ingredients and a specific melting method that ensures every bite is wonderfully soft, chewy, and perfectly gooey. This isn’t just a claim; it’s a promise you can taste!
The Simple Ingredients You’ll Need
Crafting the perfect batch of gooey Rice Krispie Treats starts with selecting quality ingredients. Here’s a closer look at what goes into our enhanced recipe:
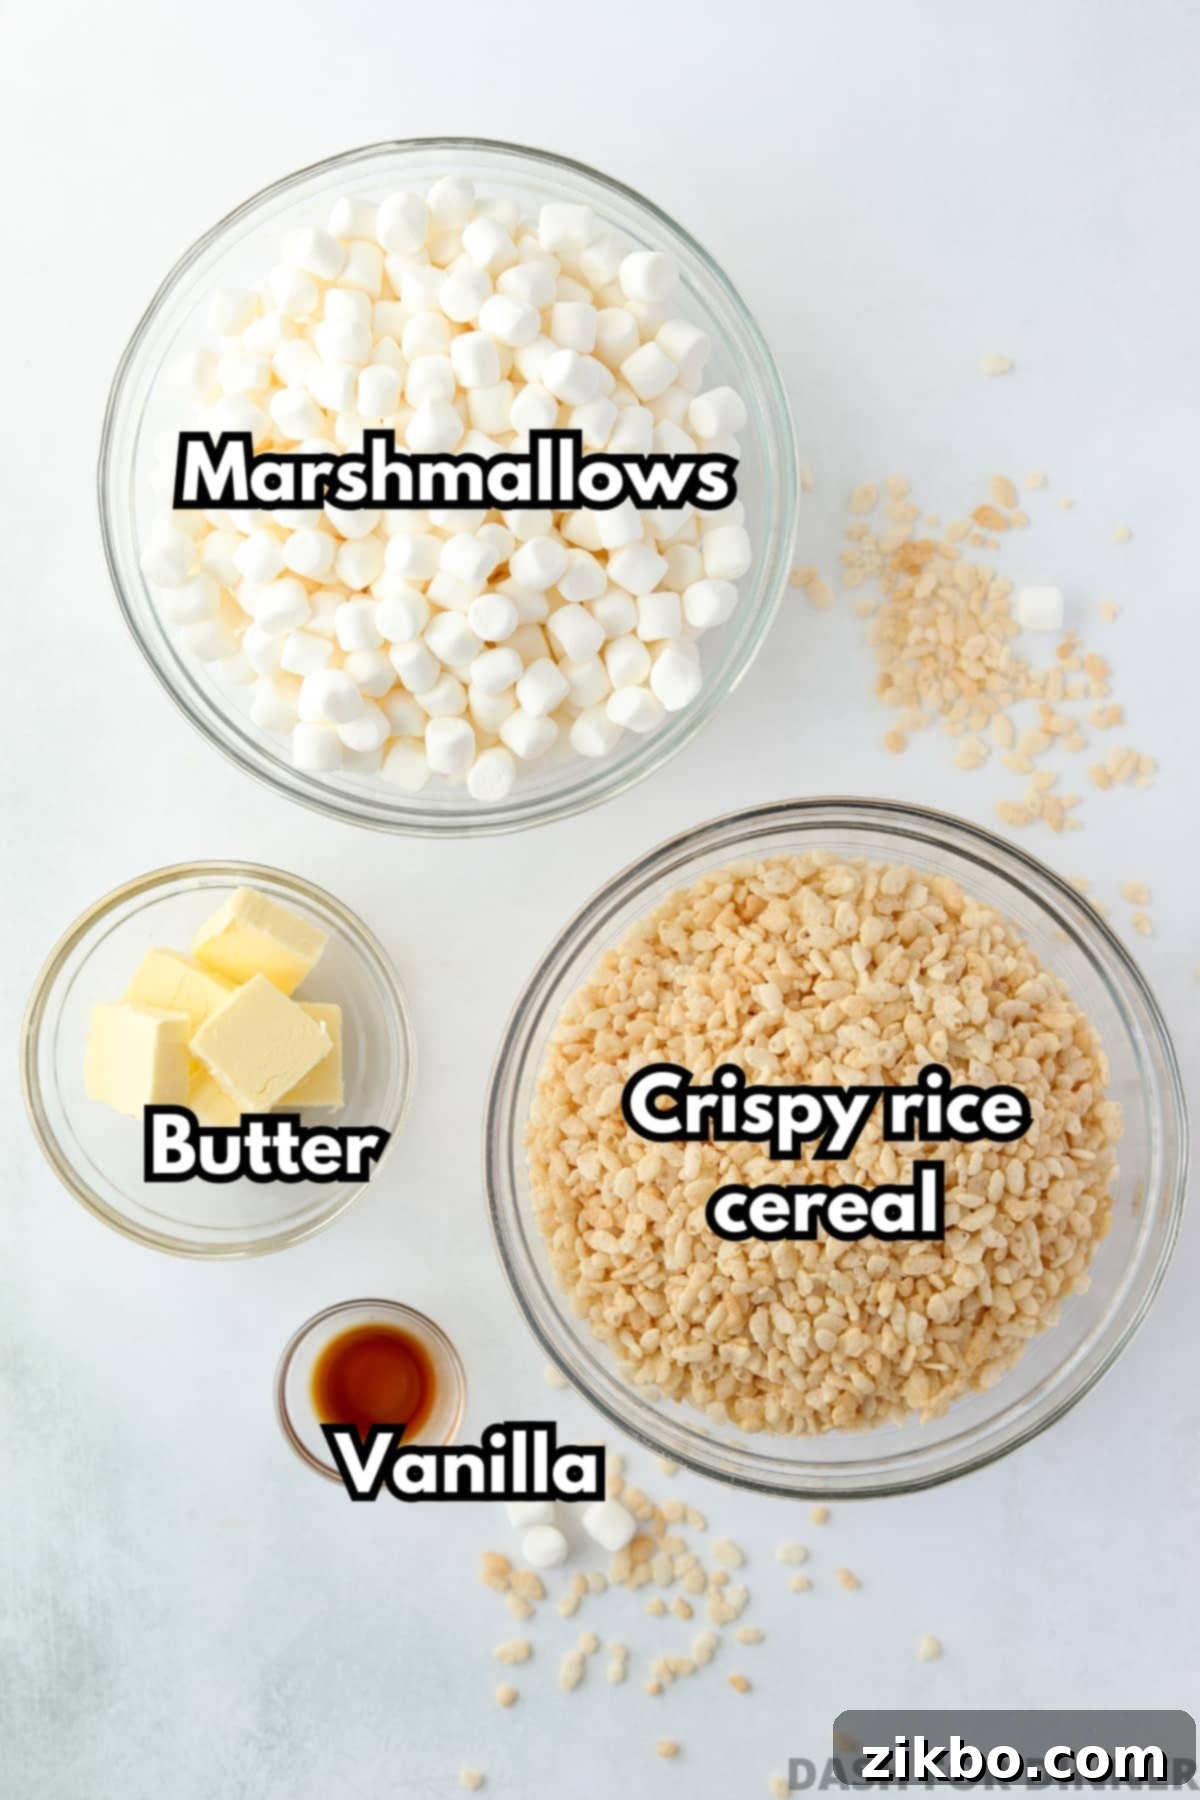
- Rice Krispies Cereal: The star of our show! While the Kellogg’s brand is classic, feel free to use a generic crispy rice cereal for a more budget-friendly option. For those with dietary restrictions, a certified gluten-free version is also readily available and works perfectly. Remember, the crispness of the cereal is key to the treat’s texture.
- Marshmallows: We highly recommend using mini marshmallows for their superior melting properties. They melt more quickly and evenly, ensuring a smoother, more uniform marshmallow coating. You’ll need one 10-ounce bag, which typically equates to about 6 cups. Fresh marshmallows yield the best gooey results!
- Butter: Opt for good quality salted butter to add a depth of flavor that complements the sweetness of the marshmallows. If you only have unsalted butter on hand, a small pinch or two of salt added to the melted marshmallow mixture will help balance the sweetness beautifully. Butter is crucial for both flavor and that signature chewy texture.
- Vanilla Extract: This is our secret weapon, often omitted from the original recipe, but it makes a significant difference! A good quality vanilla extract adds a warm, aromatic note that elevates the overall flavor profile from merely sweet to truly irresistible. Don’t skip this step!
For precise measurements and a detailed ingredient list, please refer to the comprehensive recipe card located at the end of this post.
Essential Equipment for Success
You don’t need fancy gadgets to make these treats, just a few basic kitchen tools:
- 8X8″ (20.3 x 20.3 cm) Square Baking Dish: This size is ideal for producing thick, perfectly proportioned treats. Lining it with parchment paper will make removal and cleanup a breeze.
- Large Bowl: Essential for mixing the melted marshmallow mixture with the cereal. Ensure it’s large enough to comfortably fold in the cereal without spilling.
- Silicone Spatula: This non-stick tool is perfect for stirring and folding the sticky marshmallow and cereal mixture. Its flexibility helps scrape every last bit from the bowl and gently press the treats into the pan.
- Parchment Paper: While not listed as an ingredient, parchment paper is your best friend for lining the baking dish. It prevents sticking and makes lifting the treats out for slicing incredibly easy.
How to Craft Your Perfect Rice Krispie Treats (Step-by-Step)
One of the beauties of this easy cereal treat recipe is its flexibility! You have the option to make them quickly in the microwave for ultimate convenience or traditionally on the stovetop for a classic approach.
Below, you’ll find detailed instructions for both methods. The visual tutorial images provided showcase the microwave method, but rest assured, both techniques are incredibly simple and yield equally delicious results!
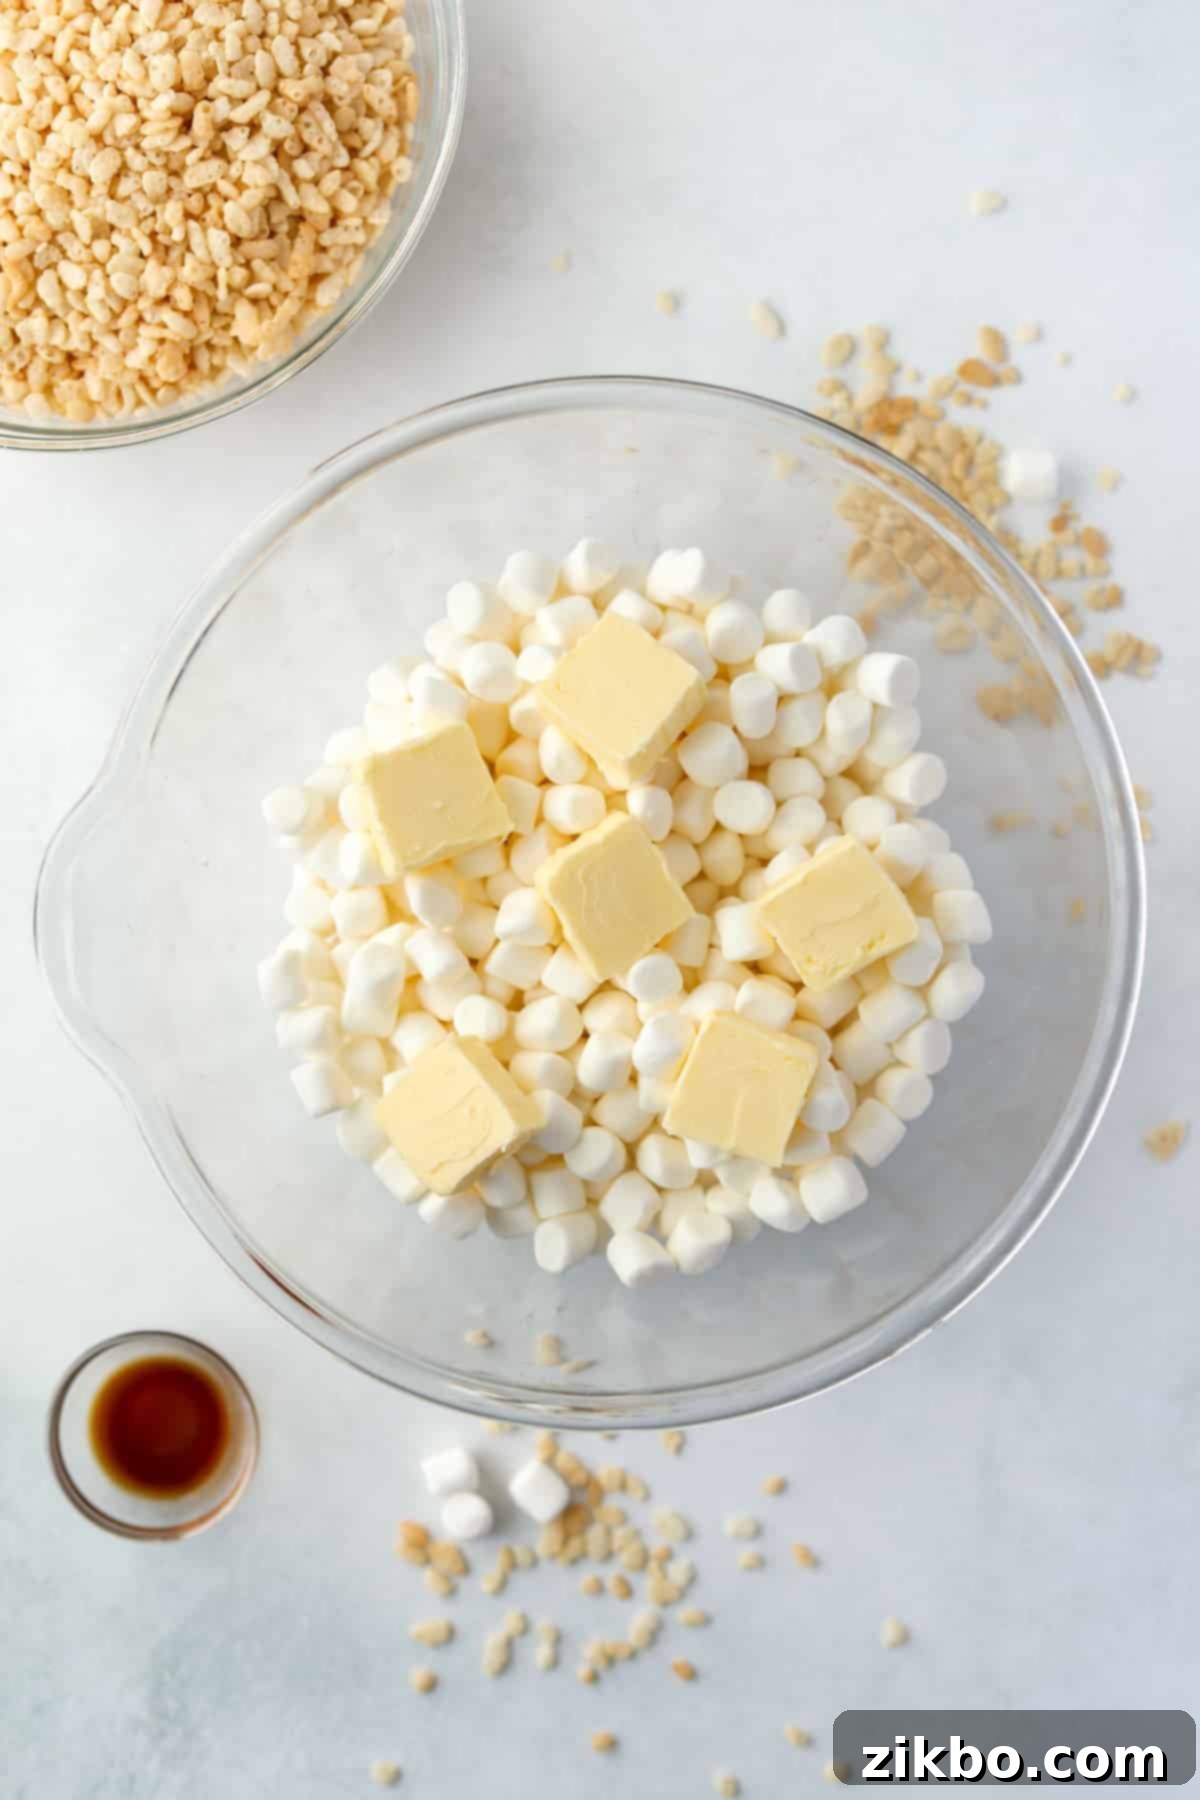
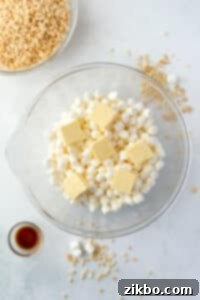
Step One: Prepare for Melting. Line your 8×8-inch baking dish with parchment paper, leaving an overhang on the sides for easy lifting later. In a large, microwave-safe bowl (or a large pot for stovetop), combine the mini marshmallows and cubed butter. Placing the butter on top of the marshmallows helps it melt more evenly.
Stovetop Tip: If using the stovetop, place your large pot over medium-low heat.
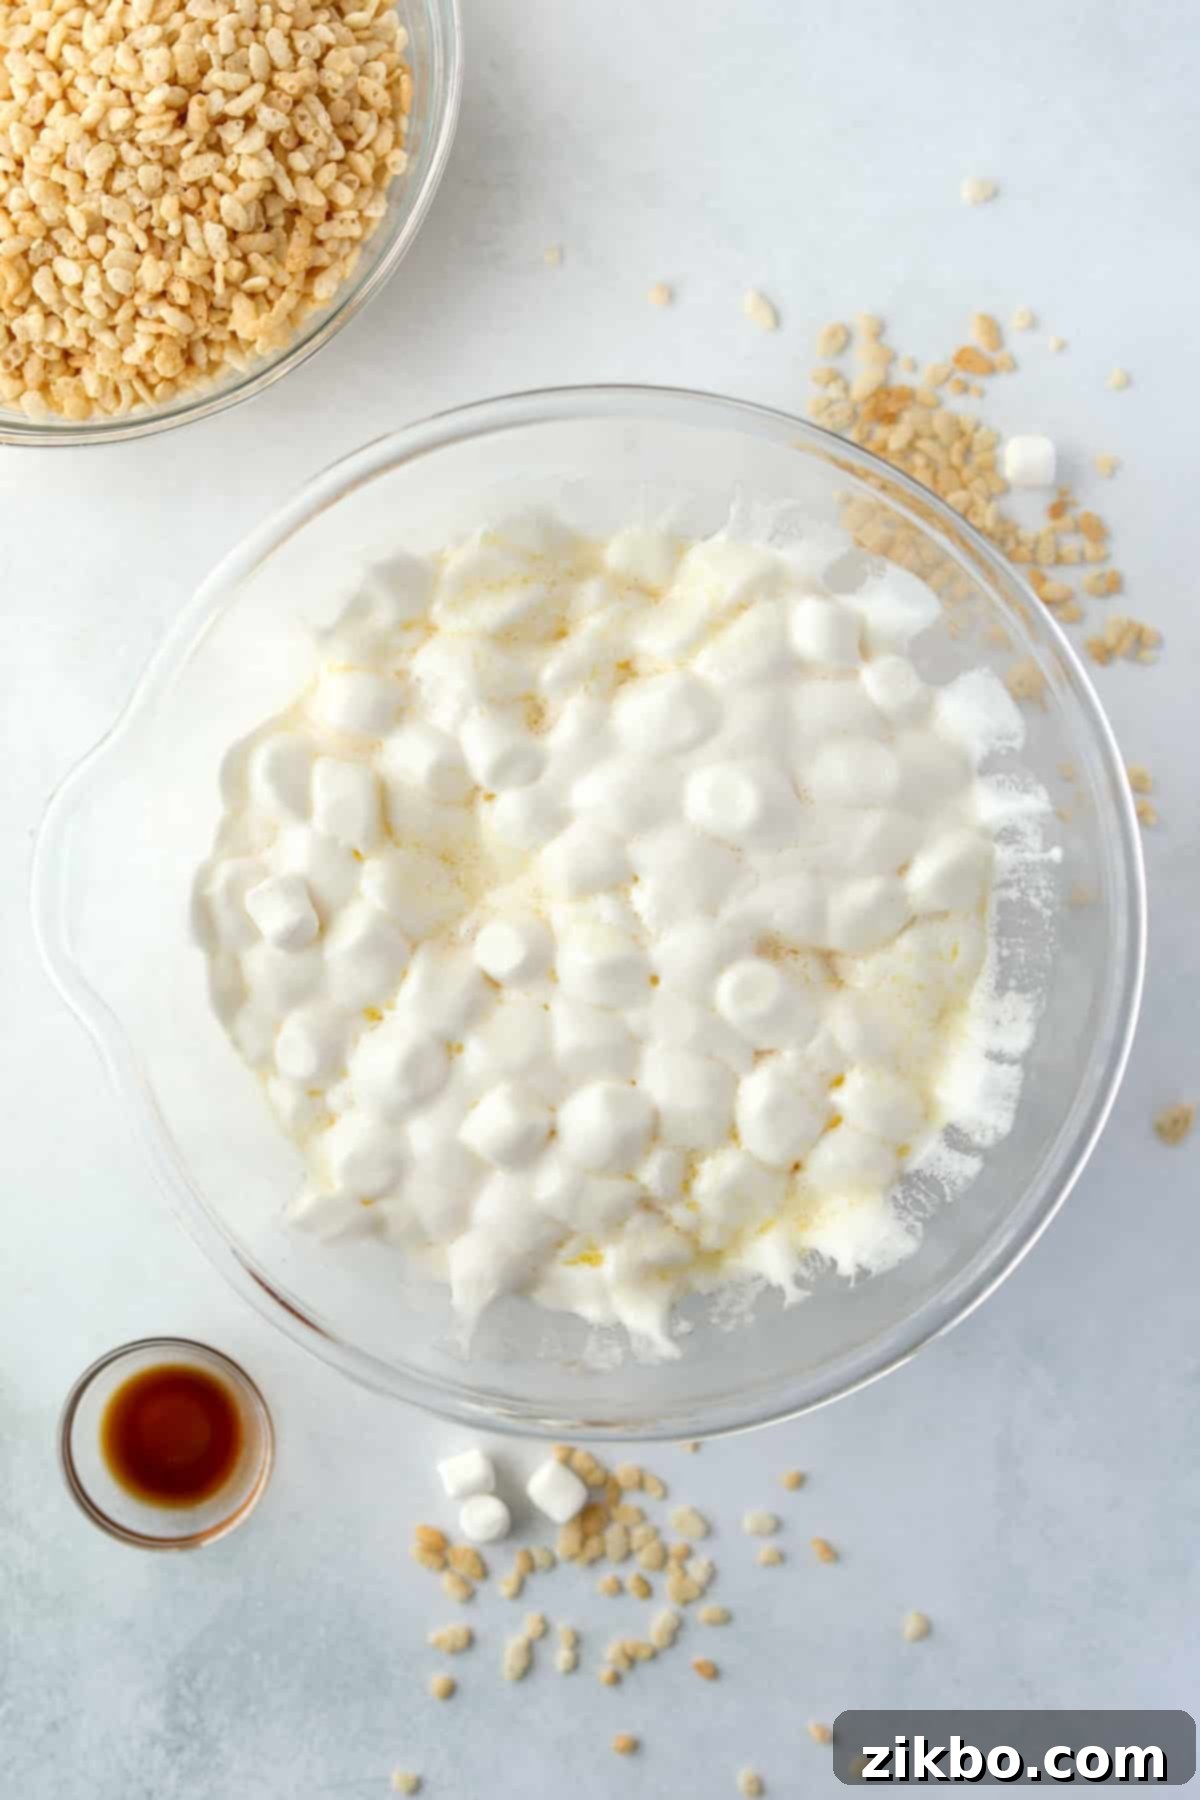
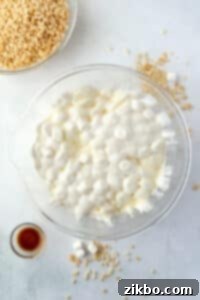
Step Two: Melt to Perfection. For the microwave method, heat the marshmallows and butter in 30-second intervals, stirring well after each interval. Continue until the butter is completely melted and the marshmallows are gloriously puffy and smooth. For the stovetop, stir constantly until the mixture is fully melted and smooth, taking care not to burn the marshmallows.
Stovetop Tip: Keep the heat low and stir consistently to prevent scorching the marshmallow mixture.
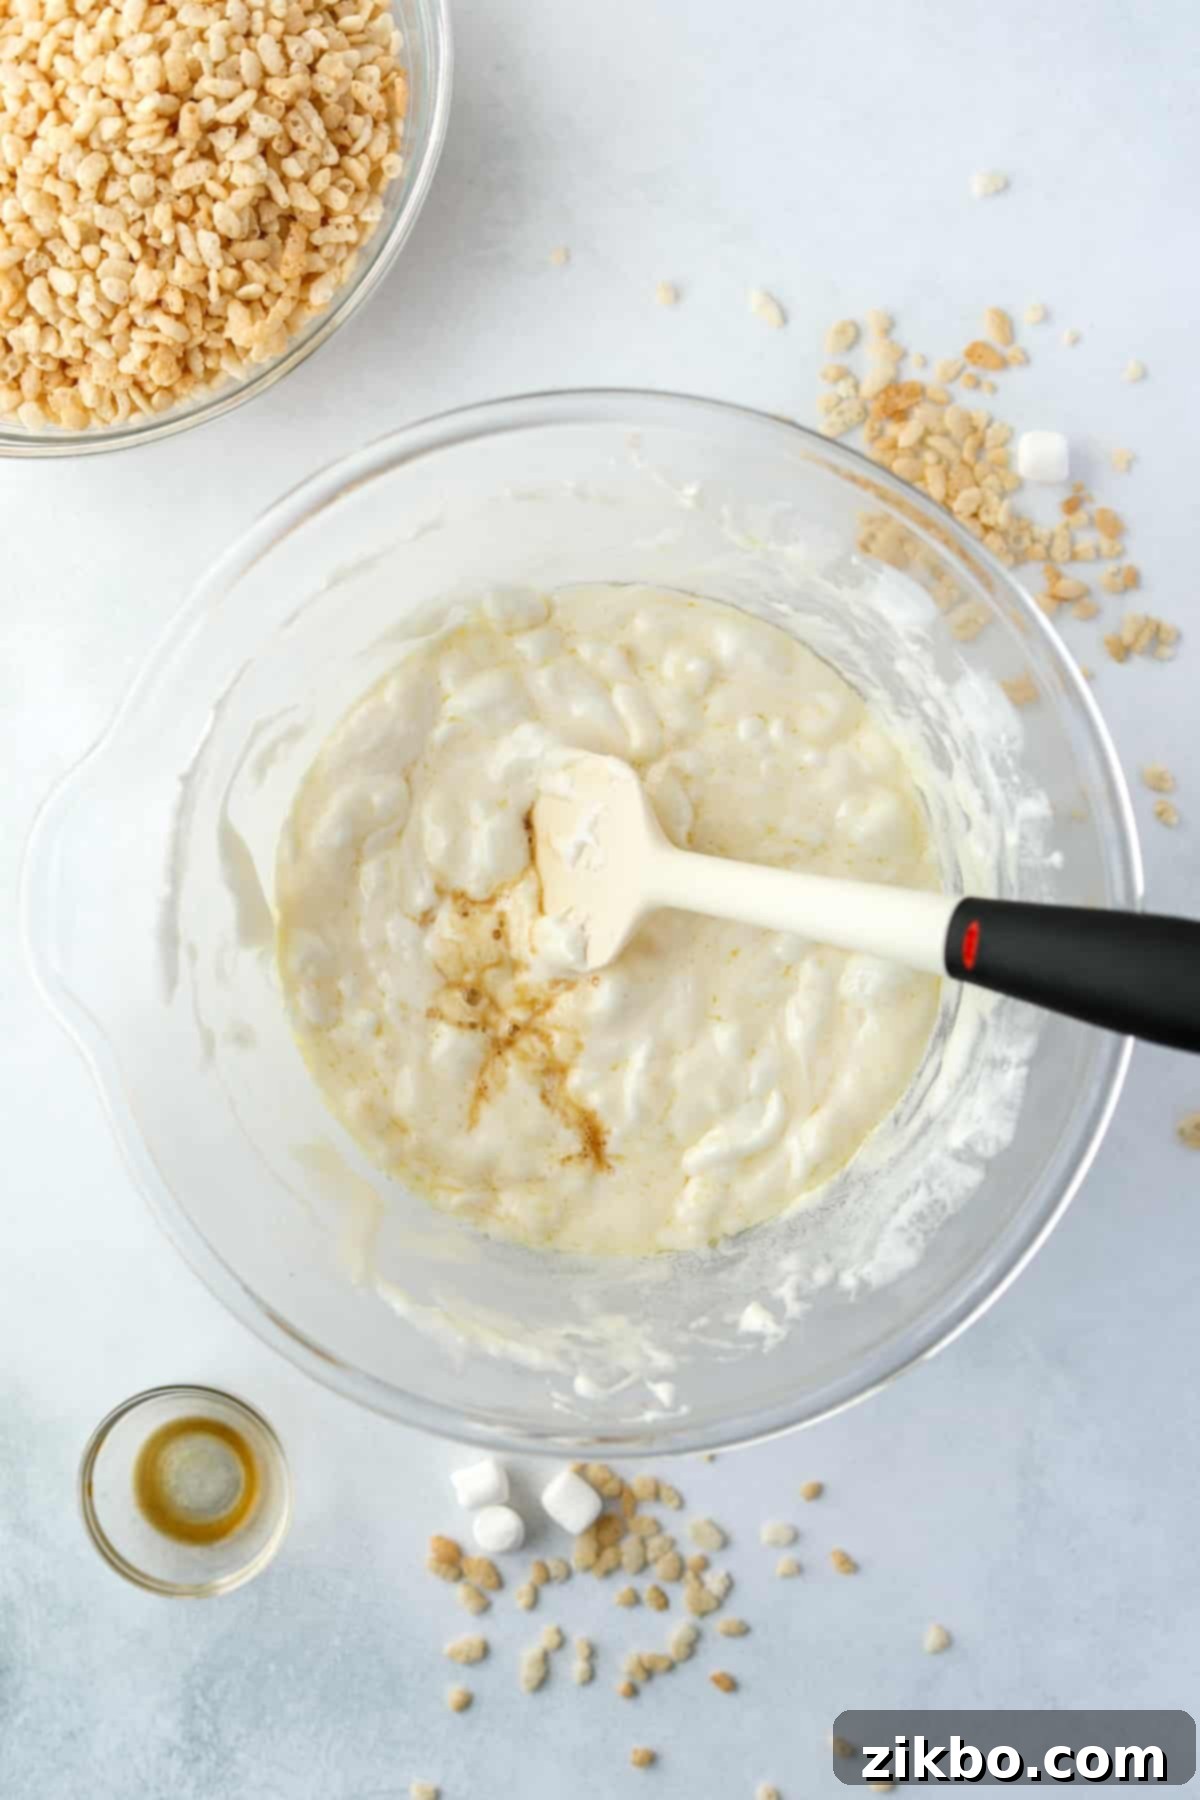
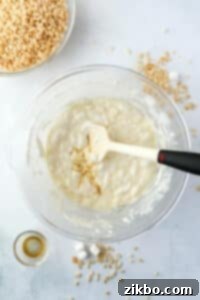
Step Three: Add the Secret Flavor. Once your marshmallow and butter mixture is completely smooth, remove it from the heat (or microwave). Stir vigorously to ensure it’s fully combined. Now, add the vanilla extract. Stir again until the vanilla is thoroughly incorporated, adding that irresistible depth of flavor to your base.
Why Vanilla? Adding vanilla off the heat preserves its delicate flavor, which can diminish with prolonged heating.
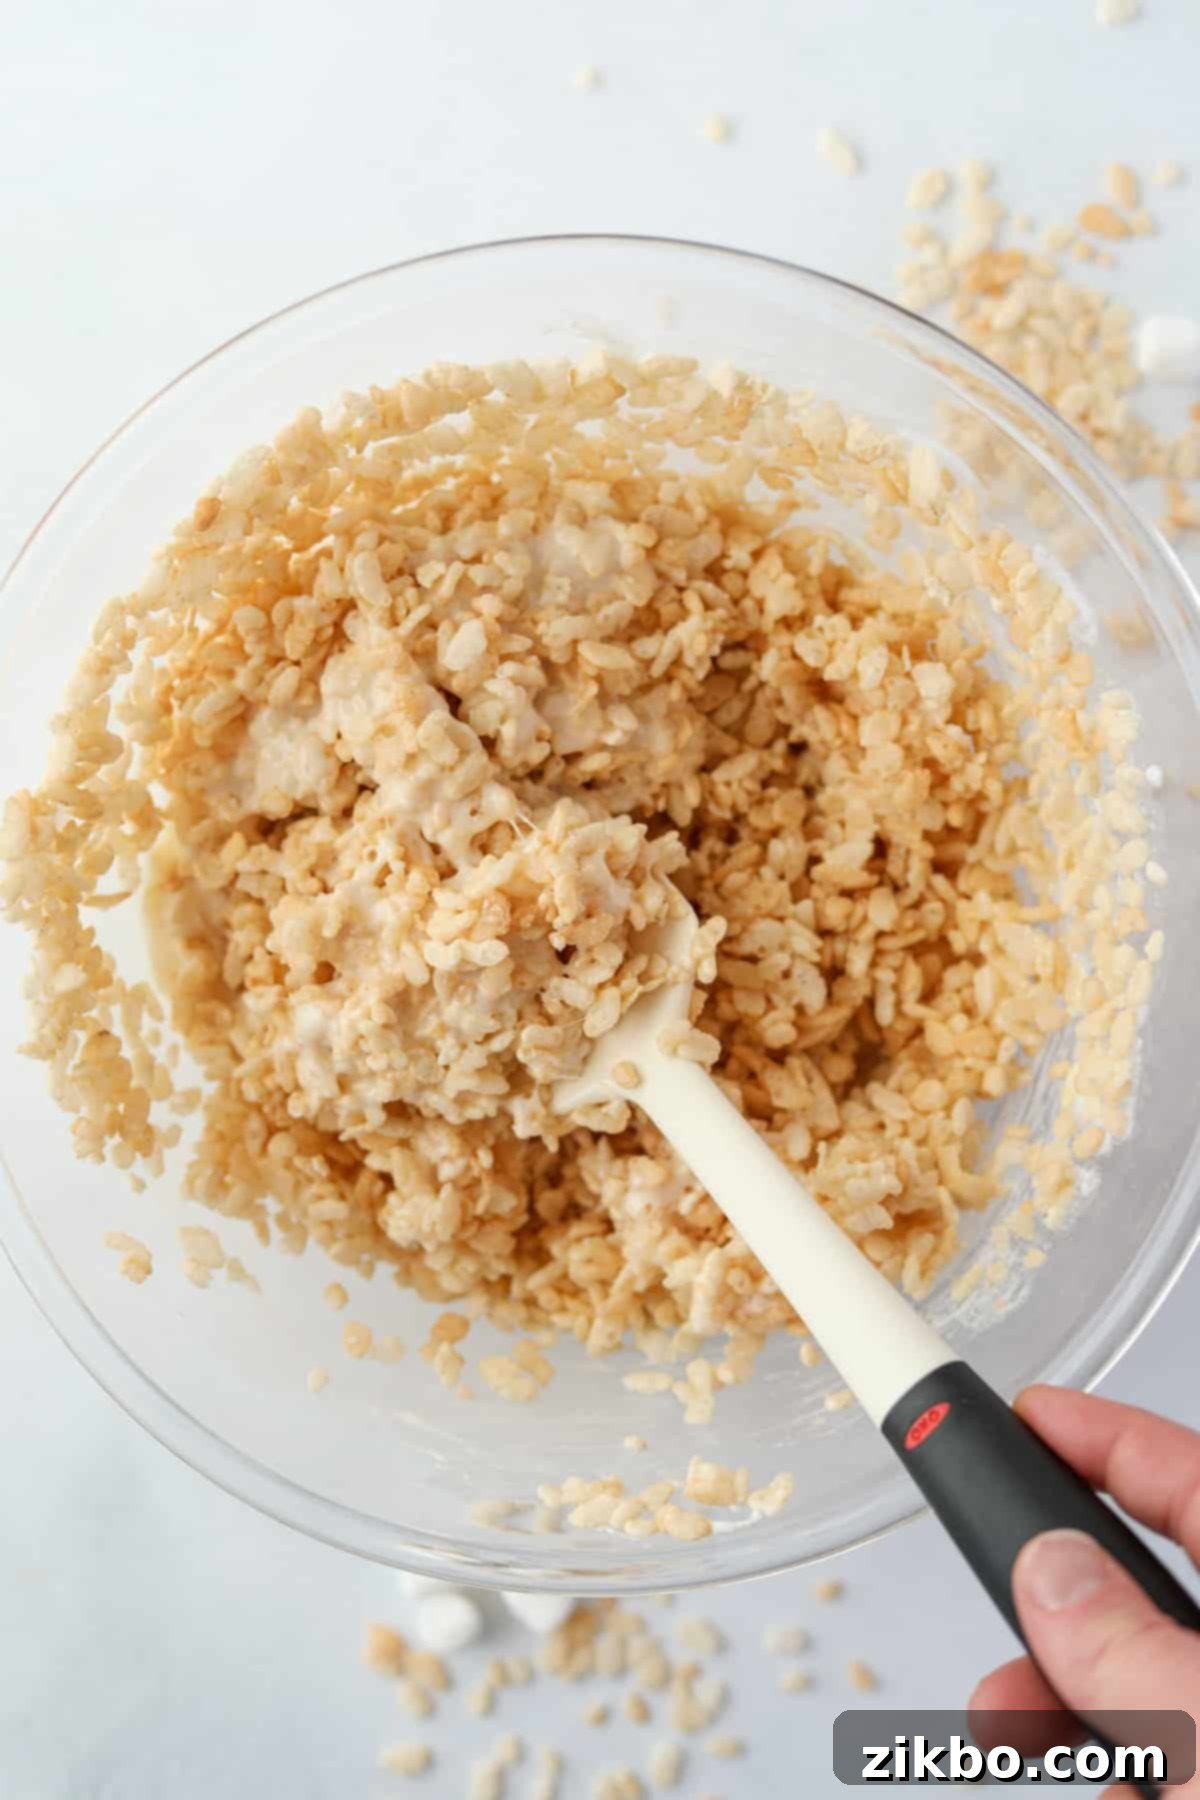
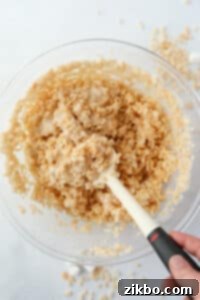
Step Four: Fold in the Cereal. Pour the crispy rice cereal into the marshmallow mixture. Using your silicone spatula, gently fold the cereal into the gooey mixture until every single piece is evenly coated. Avoid pressing or crushing the cereal, as this can lead to dense, hard treats instead of light and airy ones.
Folding Technique: The key here is gentle folding, not vigorous stirring. This preserves the cereal’s crispness.
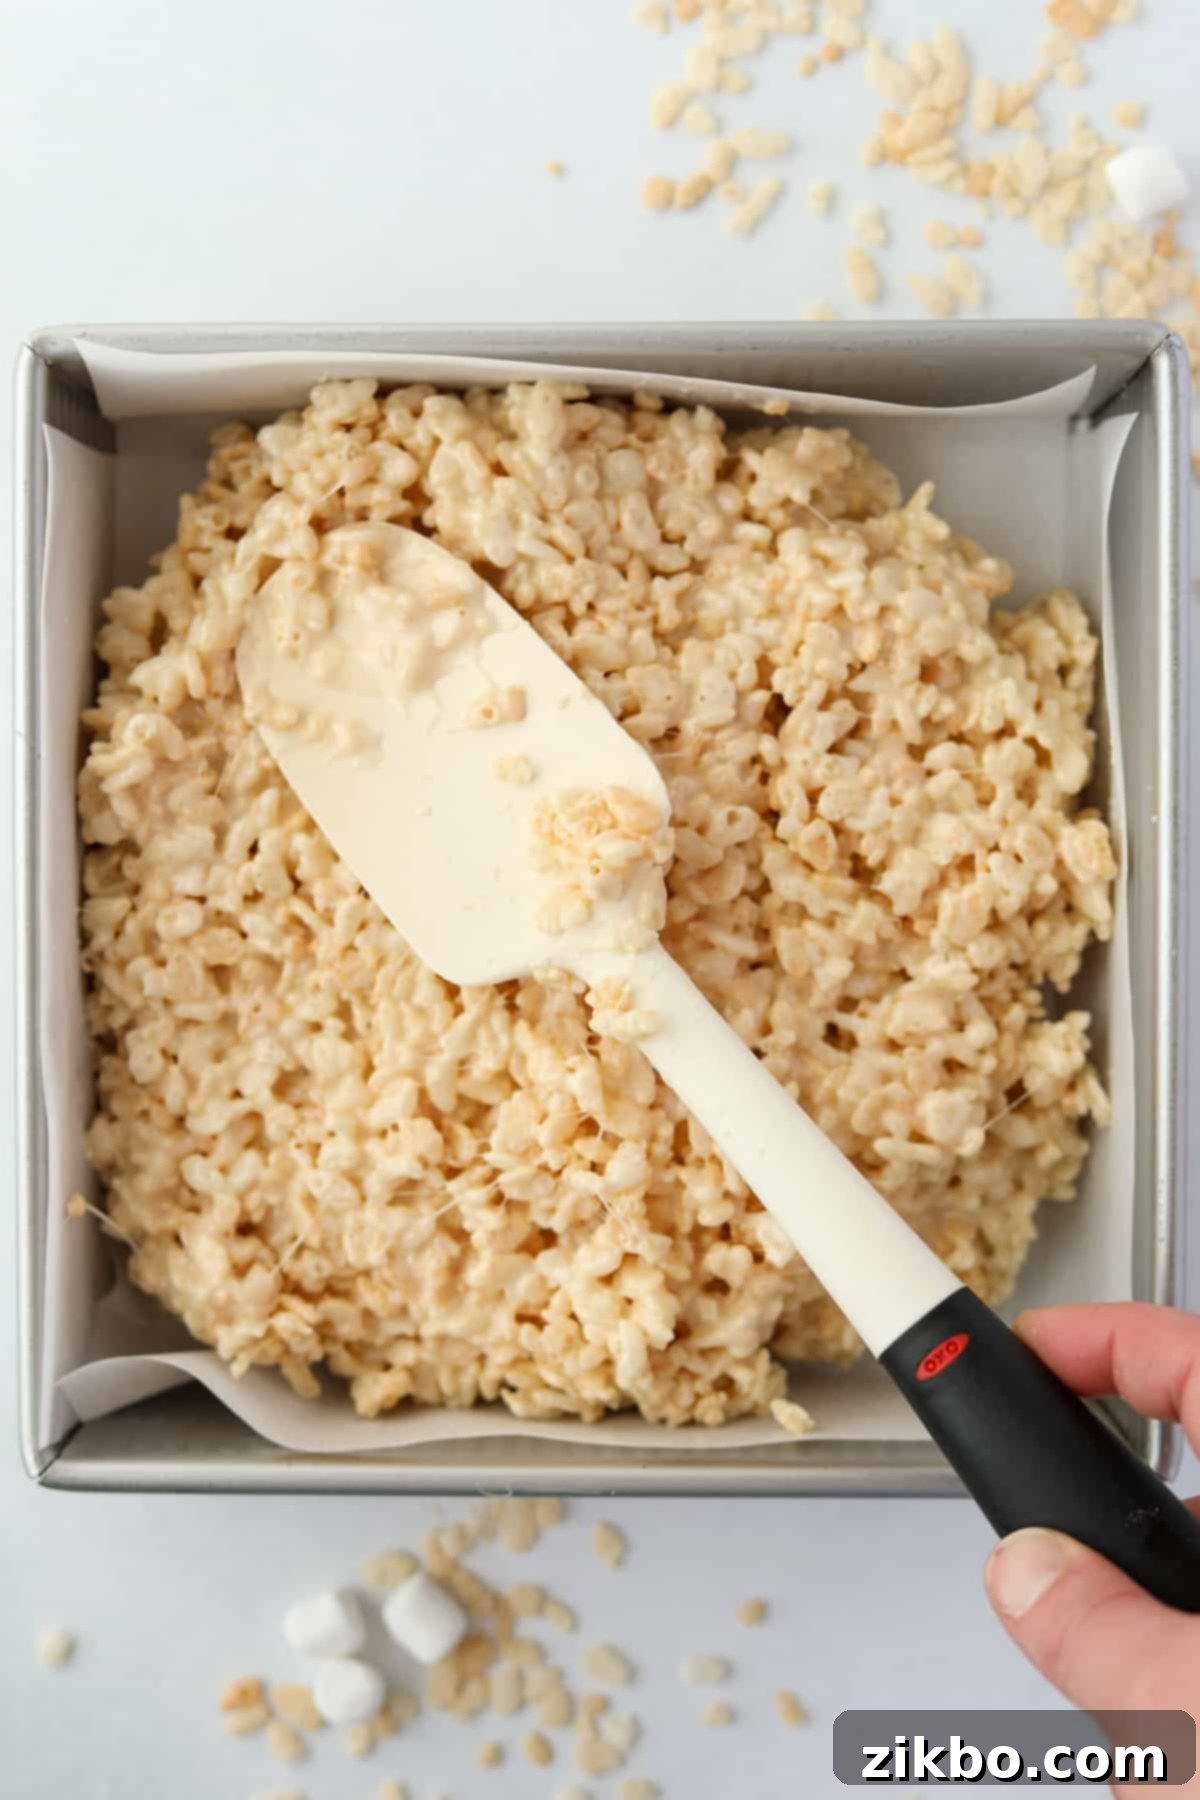
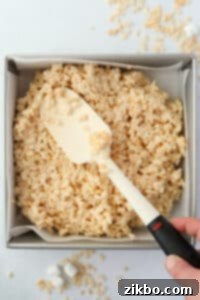
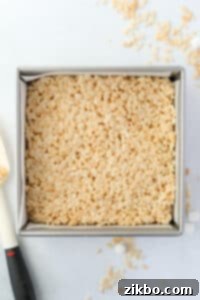
Step Five: Press into the Pan. Transfer the entire cereal and marshmallow mixture into your prepared parchment-lined square baking pan. Using your silicone spatula (lightly greased with butter or cooking spray if it’s too sticky), gently and evenly press the mixture into the pan. The goal is an even layer, not a tightly packed brick. Gentle pressure is key to maintaining that signature gooeyness.
Pro Tip: Lightly wet your fingertips with water or grease them with butter to easily press the mixture down without it sticking to your hands.
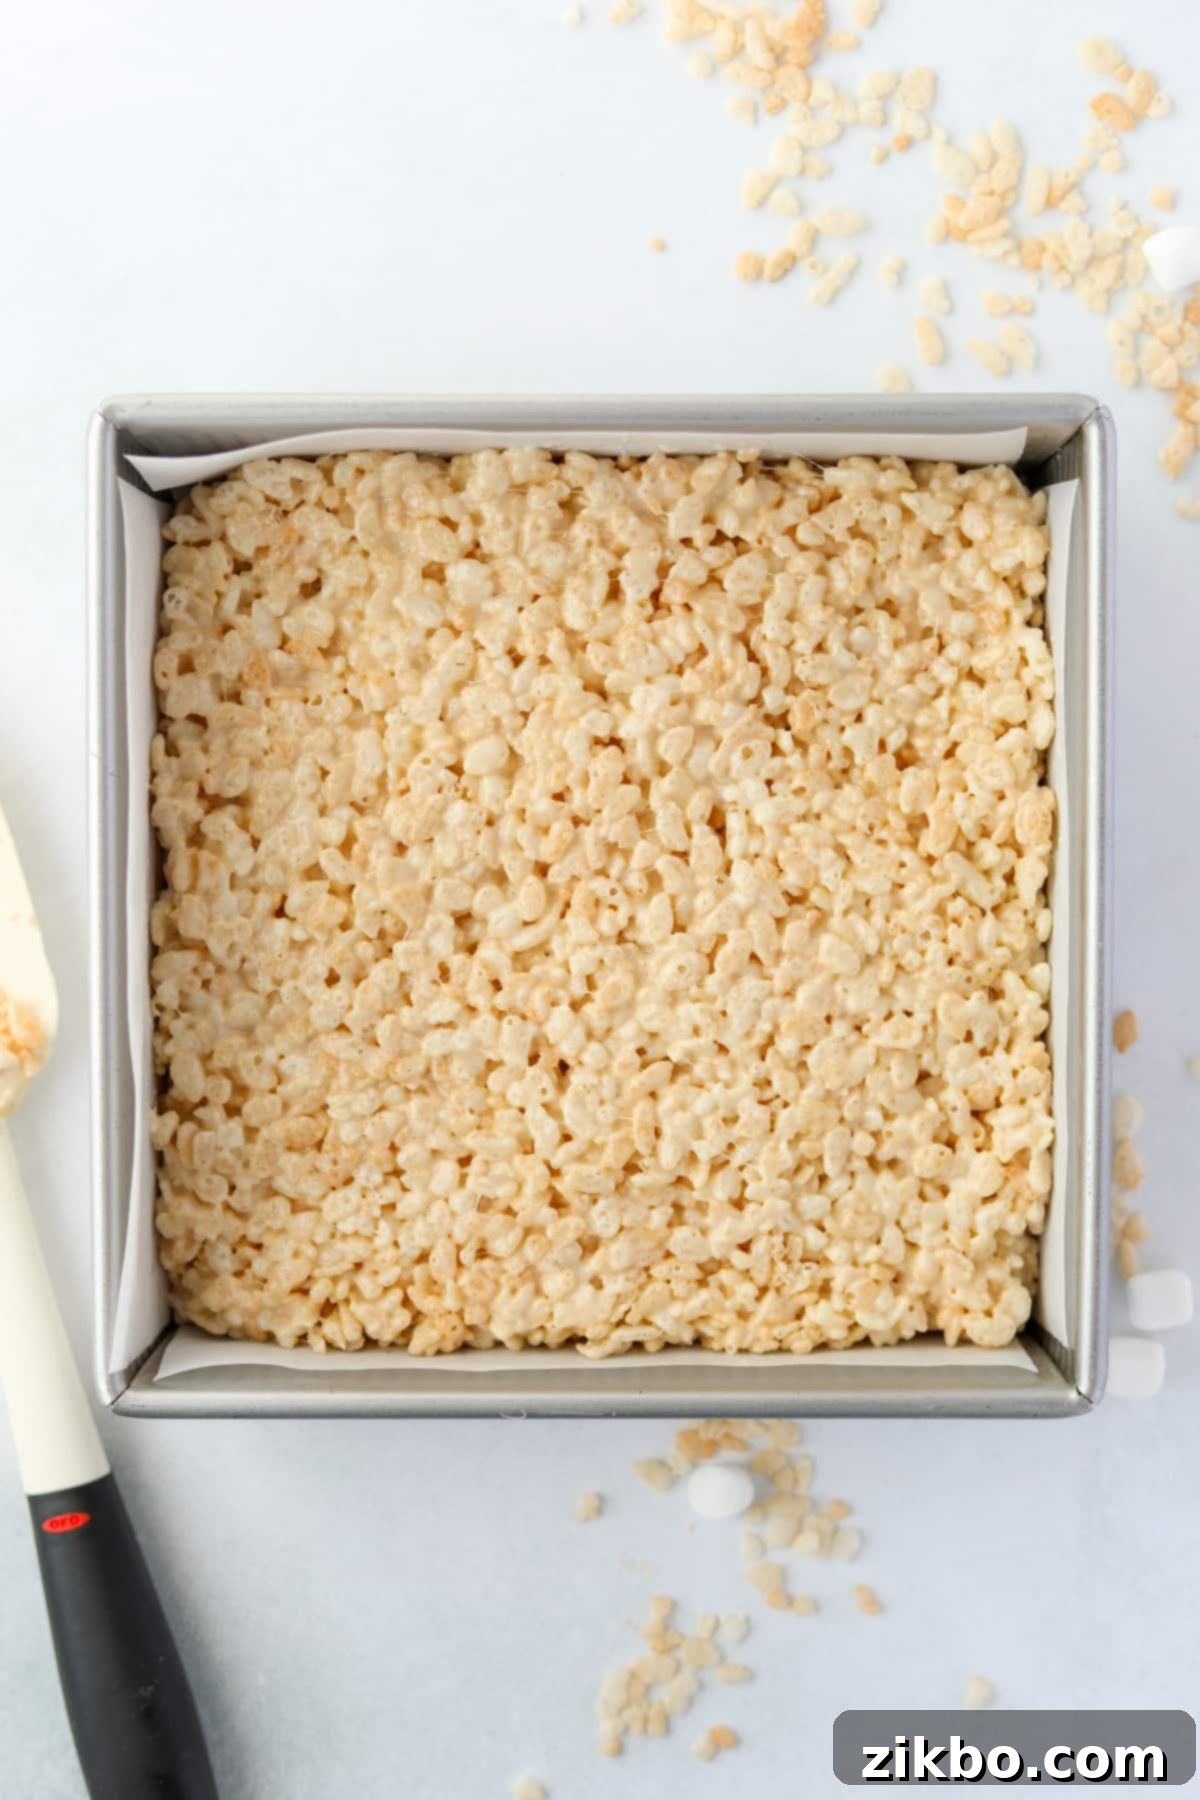
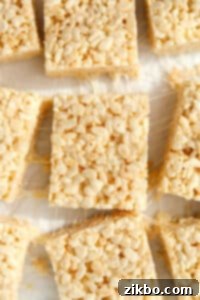
Step Six: Rest, Slice, and Serve. Allow the treats to rest undisturbed at room temperature for at least 1 hour, or until they are completely set and firm enough to slice. Resist the urge to refrigerate them, as this can make them tough. Once set, lift the treats out of the pan using the parchment paper, slice them into 9 squares, and serve! They’re perfect immediately or can be stored for later enjoyment.
Then slice and serve, or store for later!
Detailed Stovetop Method for Rice Krispie Treats
For those who prefer the traditional approach or don’t have a microwave, the stovetop method is equally effective and simple. Just follow these steps:
- Melt the Butter: Add the full amount of butter to a very large, heavy-bottomed pot. Heat it over medium-low heat until it is completely melted. This ensures an even base for your marshmallow mixture.
- Add and Melt Marshmallows: Sprinkle in the mini marshmallows over the melted butter. Stir continuously with your silicone spatula. Continue heating and stirring until the marshmallows have completely melted into a smooth, thick, and uniform liquid. Be vigilant to keep the heat low to prevent burning.
- Remove from Heat and Flavor: Once the marshmallow mixture is fully melted and smooth, remove the pot from the heat immediately. Stir in the vanilla extract until it’s thoroughly combined, infusing the mixture with its delightful aroma.
- Incorporate Cereal: Pour in the crispy rice cereal. Using your silicone spatula, gently fold the cereal into the warm, buttery marshmallow mixture until every piece of cereal is coated. Avoid mashing the cereal to maintain its light and crispy texture.
- Press into Pan: Transfer the mixture to your parchment-lined 8×8-inch (20.3 x 20.3 cm) square baking pan. Gently press it down into an even layer using a lightly greased spatula or damp fingertips.
- Set and Serve: Allow the treats to set completely at room temperature for at least 1 hour. Once firm, lift them out using the parchment paper, slice into squares, and enjoy your perfectly gooey, homemade Rice Krispie Treats!
Storing Your Homemade Rice Krispie Treats for Maximum Freshness
Proper storage is key to keeping your homemade cereal treats wonderfully soft and gooey for as long as possible. Here’s how to do it right:
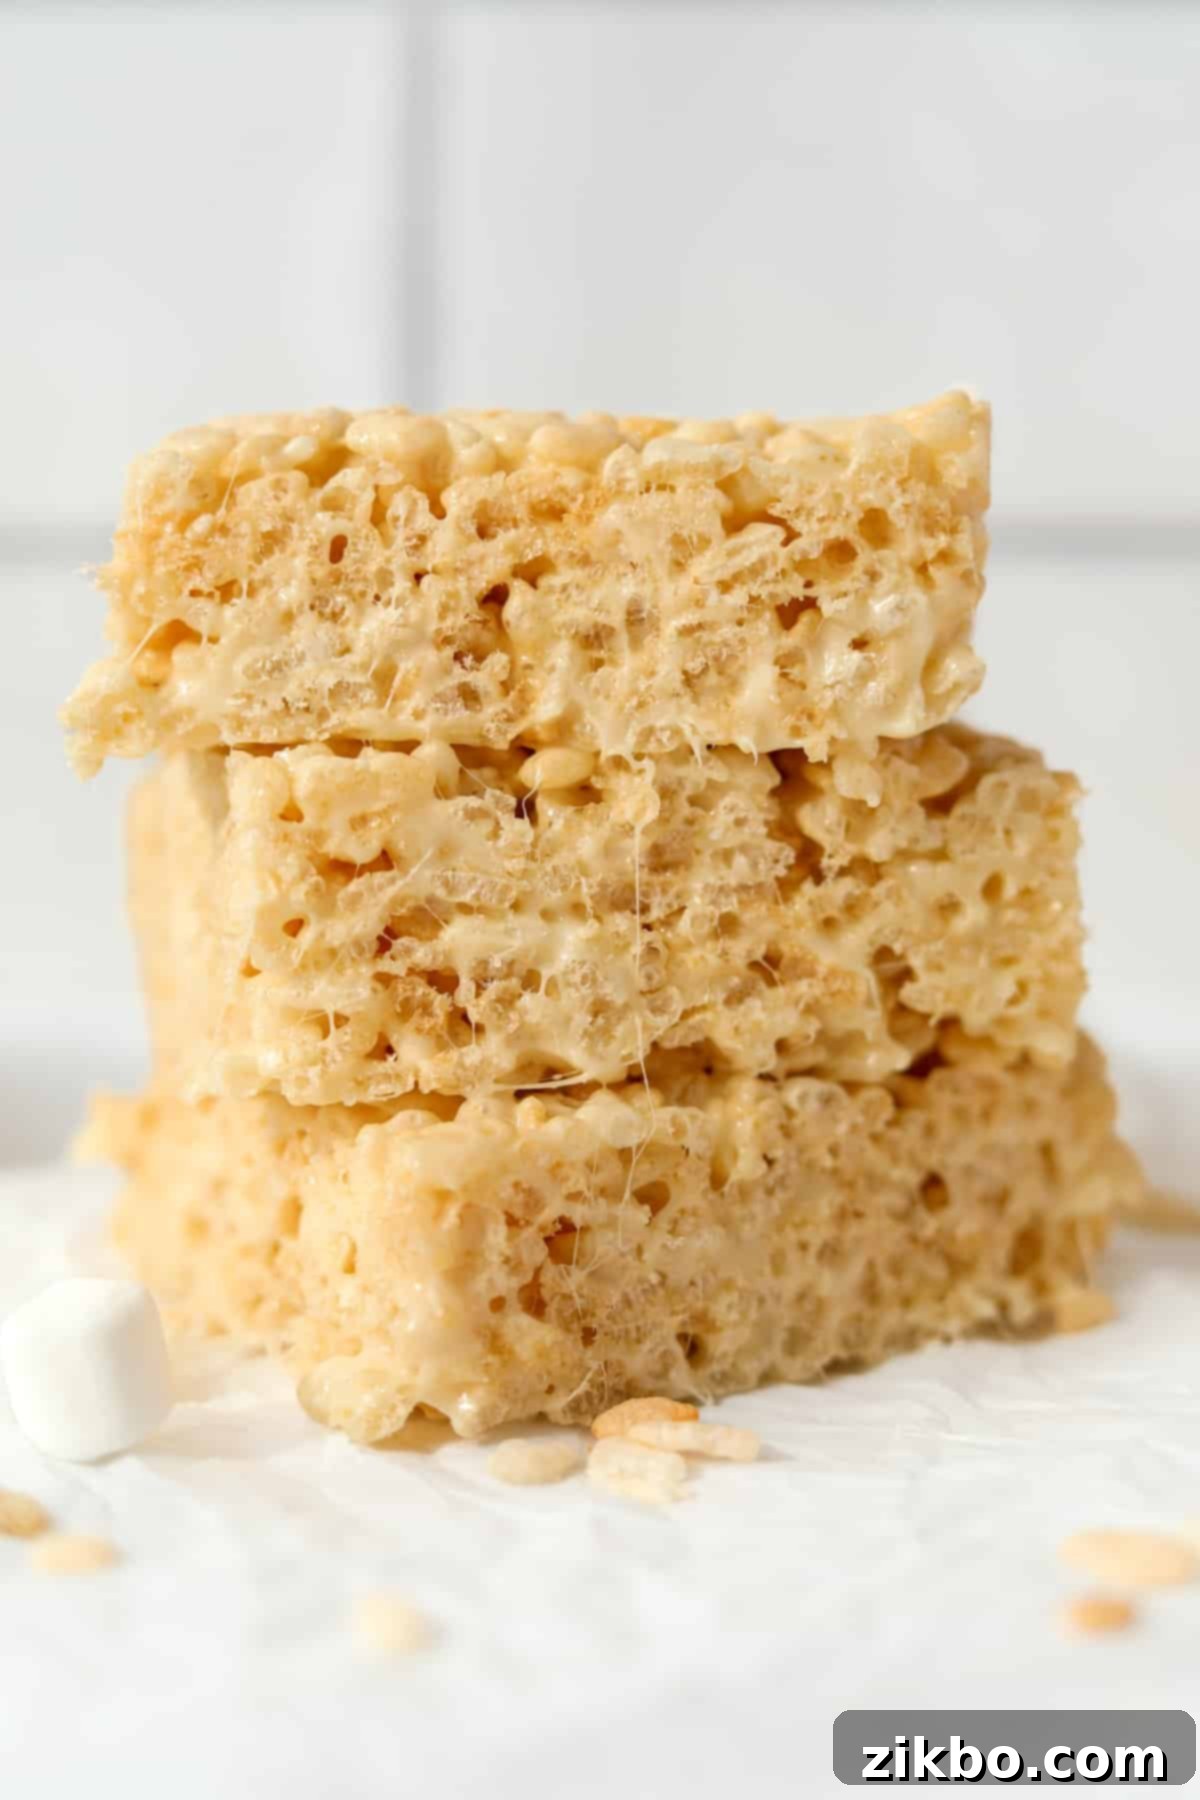
Homemade Rice Krispie Treats are best enjoyed at room temperature. They can be stored in an airtight container for up to 3 days. To achieve the best results and prevent them from sticking together, layer the treats with sheets of parchment paper or waxed paper in between. Refrigerating them is generally not recommended as the cold temperature can cause them to toughen and lose their desirable gooey texture.
Can Rice Krispie Treats Be Frozen?
Yes, Rice Krispie Treats can be frozen, although it’s important to note that freezing does alter their texture slightly, making them a bit firmer. Despite this, they still freeze well enough to be thoroughly enjoyable after thawing, making them a great make-ahead option!
For best freezing results, I recommend wrapping each individual treat tightly in plastic wrap. This prevents freezer burn and helps maintain their freshness. After wrapping, place the individually wrapped treats into a labeled freezer bag, removing as much air as possible before sealing. When you need a quick treat for a lunch box or a sweet snack, simply take one out and let it thaw at room temperature for 20 to 30 minutes before enjoying.
Top Tip: To prevent any sticking and preserve the perfect shape, always store layers of treats between sheets of parchment or waxed paper in your airtight container.
Clever Substitutions for Dietary Needs
This versatile recipe can be easily adapted to accommodate various dietary preferences without sacrificing flavor or texture:
- Gluten-Free Alternative: The traditional Rice Krispies cereal contains barley malt extract, which is not gluten-free. However, many brands now offer certified gluten-free crispy rice cereal. Look for these options in your local grocery store. My personal favorite and a reliable choice is Nature’s Path Crispy Rice Cereal, which delivers excellent results. Marshmallows and butter are naturally gluten-free, so the cereal is the only swap needed.
- Dairy-Free Option: To make these treats dairy-free, simply substitute the butter with your favorite plant-based butter spread. For the best consistency, a block-style vegan butter alternative is recommended as it closely mimics the texture of dairy butter, but a regular spread will also work effectively in a pinch.
- Marshmallow Choices: While mini marshmallows are recommended for their ease of melting, you can certainly use 10 ounces of regular-sized marshmallows – they will just take a little longer to melt. For an artisanal touch, try fresh or homemade marshmallows. If you’re looking for a vegan version, brands like Dandies Vegan Marshmallows are an excellent substitute that will still provide that desired gooey texture.
Exciting Variations to Elevate Your Treats
Once you’ve mastered the basic recipe, feel free to get creative with these delicious variations:
Brown Butter Magic. Elevate the flavor profile by using brown butter. To do this, melt the butter in a large pot over medium heat, whisking often. The butter will foam, then turn clear, and finally, small brown bits will form at the bottom, and it will smell nutty. Turn down the heat if it’s browning too quickly. Once the butter is a rich caramel color and nutty, add in the marshmallows and stir until melted. This simple step adds incredible depth and a toasted, complex flavor that is truly irresistible. Then, remove from the heat and stir in the vanilla extract and cereal as per the main recipe.
- Recommended Guide: For a detailed visual guide on how to perfect this technique, check out How to Brown Butter from Simply Recipes.
Delectable Chocolate Chip Treats. To incorporate chocolate chips, wait until the cereal has been fully folded into the marshmallow mixture. Since chocolate chips can melt easily, this timing ensures they retain their shape and provide delightful pockets of chocolate. For even better results and an even distribution of chocolate, consider adding them in layers as you spread the cereal mixture into the square pan. Dark, milk, or white chocolate chips all work wonderfully!
Marshmallow Explosion. For an even more intense marshmallow experience, fold in some additional halved (or quartered, depending on size) mini marshmallows after you’ve mixed in the rice cereal. These extra marshmallows won’t fully melt, creating pockets of soft, chewy marshmallow within the crisp treats, adding another layer of texture and gooey goodness.
Colorful Sprinkles: For a festive touch, gently fold in a handful of sprinkles (jimmie, nonpareils, or confetti) with the cereal. This is particularly fun for birthday parties or holiday-themed treats. Make sure to use quality sprinkles that won’t bleed their color.
Recipe FAQs (Frequently Asked Questions)
Absolutely, this recipe scales up wonderfully! If you’re planning to make a double batch, the most crucial thing is to ensure you have a very large bowl or pot. This will provide ample space for thoroughly stirring in all the cereal without it overflowing or becoming difficult to mix. For spreading, you’ll want to use a larger 9×13-inch (23×33 cm) baking pan, or alternatively, two 8×8-inch (20.3 x 20.3 cm) baking pans to accommodate the increased volume.
The answer depends on the type of crispy rice cereal you use. Classic Kellogg’s Rice Krispies cereal is not gluten-free, as it contains barley malt extract. However, many brands now offer certified gluten-free crispy rice cereals specifically made without this ingredient. Since marshmallows and butter are naturally free from gluten and wheat, any cereal treats made with a certified gluten-free crispy rice cereal can easily be considered gluten-free. Always check the labels to be sure!
There are a few common culprits behind hard Rice Krispie Treats. The most frequent reason is overcooking the marshmallow mixture. Heating marshmallows for too long or at too high a temperature can cause them to become brittle once cooled. Another reason is pressing the cereal mixture too firmly into the pan; gentle spreading is key to maintaining a light, chewy texture. Lastly, refrigerating the treats can also make them significantly tougher; room temperature storage is always recommended for the best gooey texture.
Explore More Irresistible Cereal Treats!
If you’re a fan of these classic Rice Krispie Treats, you’ll love exploring other delicious variations using your favorite cereals. These recipes are just as easy and fun to make, offering a colorful and flavorful twist on the traditional marshmallow treat:
- Fruity Pebbles Treats
- Cocoa Pebbles Treats
- Lucky Charms Treats
- Christmas Rice Krispie Treat Recipe
If you’ve just made and loved this ultimate recipe for Homemade Rice Krispie Treats, we’d be absolutely thrilled to hear about it! Please consider leaving a 5-star review in the recipe card below or sharing your feedback in the comments section. Your reviews help us reach more fellow treat lovers! You can also tag me on Instagram @dashfordinner to share your delicious creations!
Ultimate Gooey Rice Krispie Treats
Print
Pin
Rate
Equipment
-
Square baking pan (8×8 inch)
-
Large microwave-safe bowl (or large pot for stovetop)
-
Silicone spatula
-
Parchment paper
Ingredients
- 10 ounces mini marshmallows (approximately 6 cups, fresh for best results)
- 6 tablespoons salted butter (cut into 6 pieces, add a pinch of salt if using unsalted)
- ½ teaspoon vanilla extract (adds depth of flavor, don’t skip!)
- 4 ½ cups crispy rice cereal (like Rice Krispies, or a certified gluten-free brand for dietary needs)
Instructions
Microwave method (quick and easy!):
-
Prepare your pan: Line an 8×8-inch (20.3×20.3 cm) square baking pan with parchment paper, allowing some overhang on the sides. Lightly grease the parchment paper with butter or cooking spray for extra non-stick insurance. Set aside.
-
Combine ingredients: Add the mini marshmallows to a large, microwave-safe bowl. Distribute the cubed butter evenly over the marshmallows.

-
Microwave and melt: Heat the mixture in the microwave in 30-second intervals. After each interval, remove the bowl and stir well with a silicone spatula. Continue this process until the butter is completely melted and the marshmallows are puffy and smooth, but not overheated. This usually takes 1.5 to 2 minutes total.

-
Stir in vanilla: Once fully melted, stir the marshmallow and butter mixture thoroughly to ensure it’s well combined. Then, add the vanilla extract and stir again until the vanilla is evenly incorporated.

-
Fold in cereal: Pour the crispy rice cereal into the melted marshmallow mixture. Using your silicone spatula, gently fold the cereal until every single piece is completely coated. Be careful not to crush the cereal, as this keeps the treats light and airy.

-
Press into pan: Transfer the cereal treat mixture into the prepared baking pan. Using a lightly greased spatula or damp fingertips, gently spread and press the mixture out to the edges, forming an even layer. Avoid pressing too firmly to maintain a gooey texture.

-
Set and serve: Allow the treats to set at room temperature for at least 1 hour, or until they are firm enough to slice. Do not refrigerate, as this can make them hard.

-
Slice and enjoy: Once fully set, use the parchment paper overhang to lift the entire slab of treats out of the baking pan. Place on a cutting board and slice into 9 even squares. Serve immediately or store for later.

Notes
Freezing: These treats can indeed be frozen, though their signature gooey texture will become a bit firmer after thawing. To freeze, wrap each treat individually and tightly in plastic wrap. Then, place the wrapped treats into a labeled freezer bag, removing as much air as possible. Freeze for up to 2 months. To serve, simply remove a treat from the freezer and allow it to thaw at room temperature for 20-30 minutes.
Stovetop Method (Alternative Instructions):
- Melt the butter in a very large pot over medium-low heat.
- Add marshmallows and stir often until completely melted into a smooth mixture.
- Remove from heat, then stir in the vanilla extract.
- Pour in the crispy rice cereal and gently fold with a silicone spatula until every piece is fully coated.
- Spread the mixture into a parchment-lined 8×8-inch baking pan, pressing gently to form an even layer.
- Allow to set at room temperature for at least 1 hour before slicing into 9 squares and serving.
Please note that some of my blog posts here at Dash for Dinner may contain affiliate links. If you make a purchase through these links, I will get a small commission at no additional cost to you. Please see my Disclaimer for more information.
