Homemade Uncrustables: Easy Freezer Peanut Butter & Jelly Sandwiches for Quick Lunches
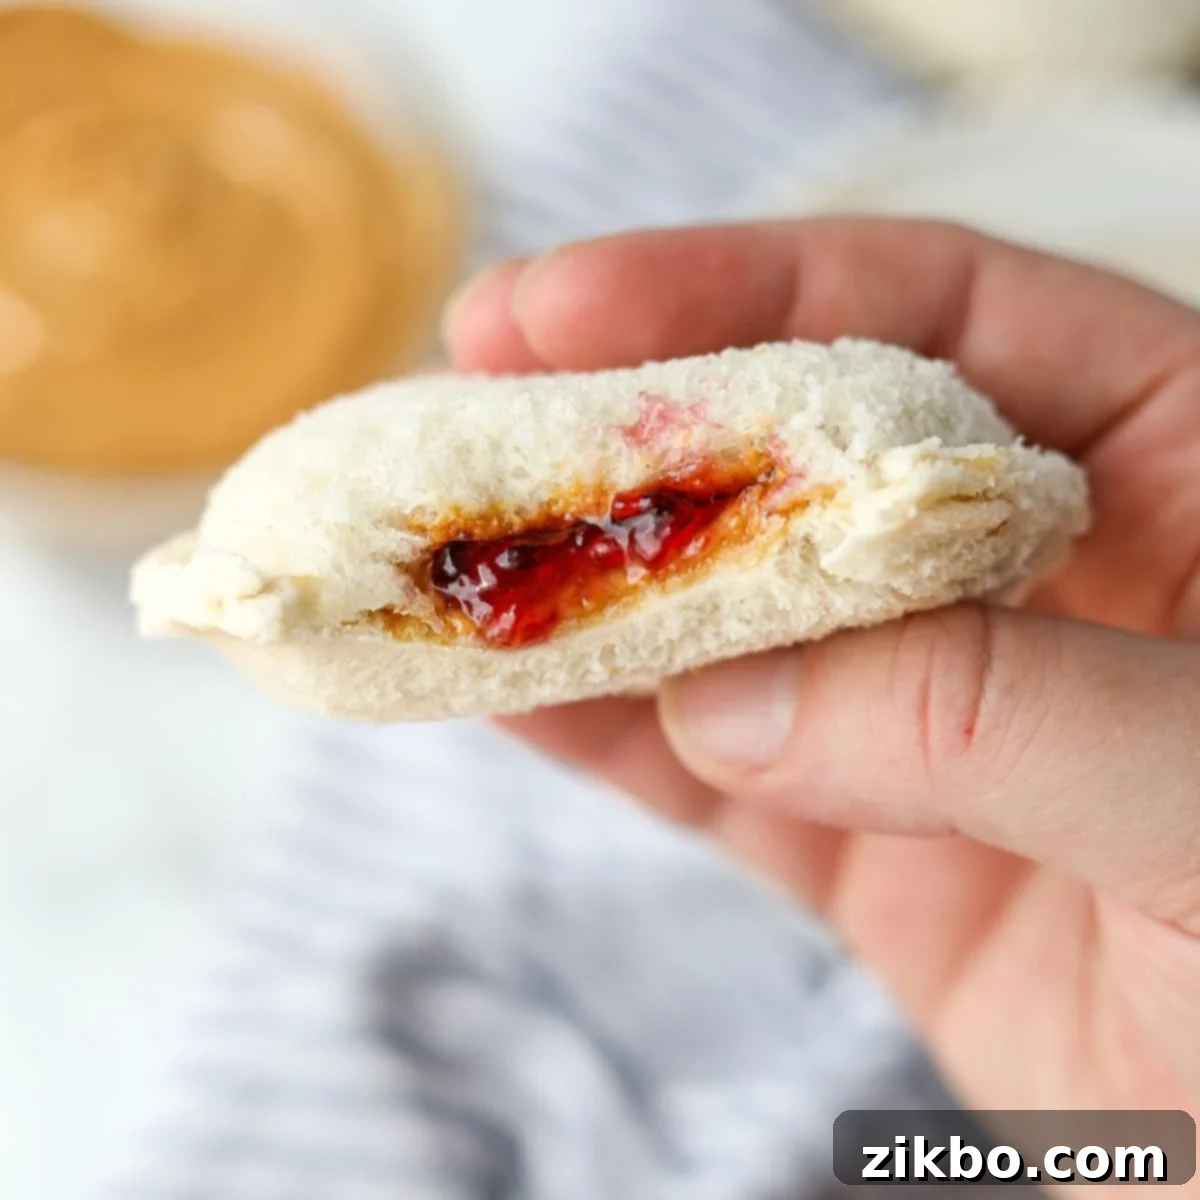
Whether you’re scrambling for quick school lunch ideas, aiming to save money on store-bought snacks, or simply love having a stash of ready-to-eat treats, this simple recipe for Homemade Uncrustables is an absolute game-changer! Forget those expensive, pre-packaged crustless sandwiches; with a little preparation, you can create your own delicious, customizable, and budget-friendly versions right at home.
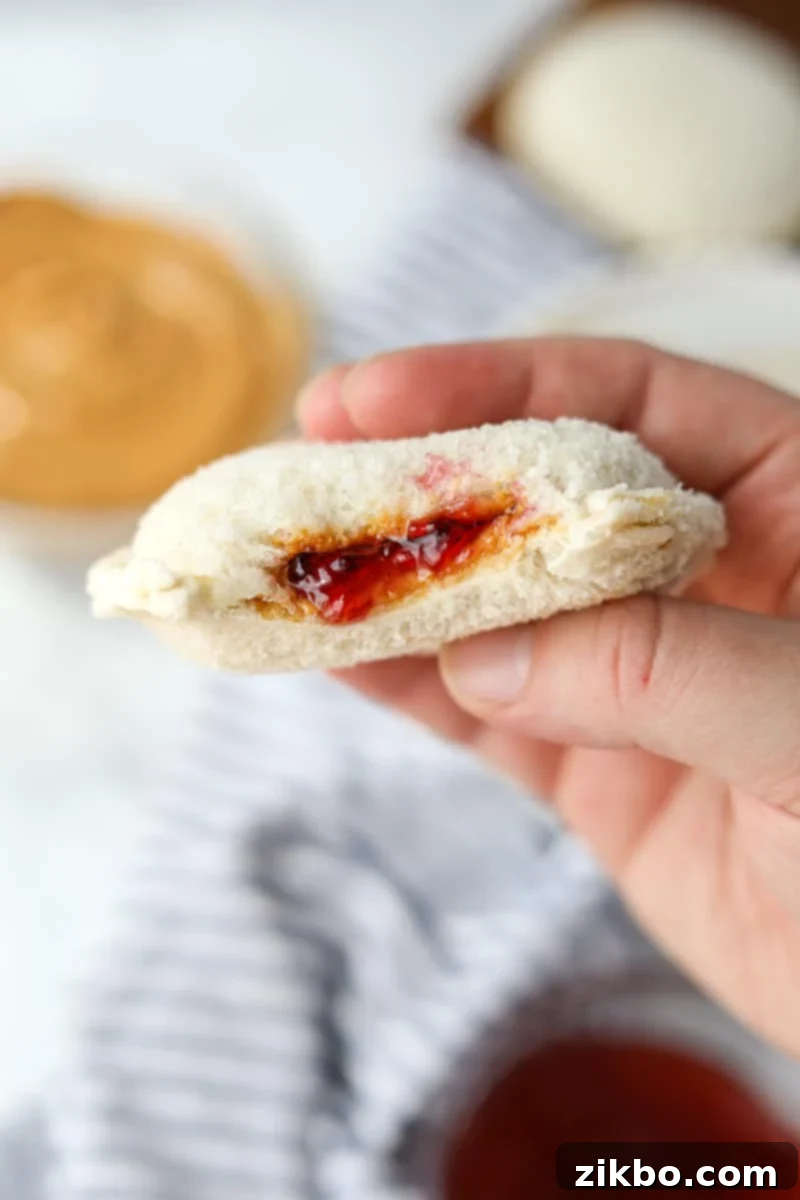
These frozen peanut butter and jelly sandwiches are incredibly simple to assemble, making them a perfect meal prep solution for busy families. Not only are they convenient, but they’re also significantly more affordable than purchasing their grocery store counterparts. They’re the ideal easy lunch for kids and a nostalgic, satisfying snack for adults too!
Why Make Your Own Homemade Uncrustables?
Making your own homemade Uncrustables isn’t just a fun kitchen project; it offers a wealth of benefits that extend beyond taste. Here’s why you should embrace the DIY approach:
- Significant Cost Savings: The freezer aisle version of crustless sandwiches can quickly add up, often costing a dollar or more per sandwich. By investing a little time and effort upfront, you can dramatically reduce your snack and lunch budget. Plus, you get to utilize those leftover crusts for other delicious recipes, ensuring nothing goes to waste. Think about saving potentially hundreds of dollars over a school year!
- Effortlessly Easy & Time-Saving: Once you master the simple method, assembling these sandwiches becomes second nature. The real magic happens when you make a large batch. This means less frequent preparation, freeing up precious time during hectic mornings. Grab a frozen PB&J from the freezer, toss it into a lunchbox, and by lunchtime, it’s perfectly thawed and ready to enjoy!
- Kid-Approved Goodness: Let’s be honest, most kids adore crustless sandwiches. While they undoubtedly love you anyway, providing them with their favorite lunchbox treat in a convenient, homemade format earns you major bonus points! You can also involve them in the process, making it a fun family activity.
- Simple & Accessible Tools: You don’t need fancy gadgets to make these. While a dedicated sandwich sealer can be purchased affordably on Amazon (and truly streamlines the process), you can easily achieve the same results with common kitchen items like a wide-mouth mason jar ring, a biscuit cutter, or even a large cookie cutter. We’ll show you how!
- Control Over Ingredients: Making them yourself gives you complete control over what goes into your sandwiches. Choose organic bread, your favorite brand of peanut butter (or a nut-free alternative), and fruit-filled jams without high fructose corn syrup. This is especially beneficial for those with dietary preferences or allergies.
Essential Ingredients for Homemade PB&J Uncrustables
You’ll only need a few basic pantry staples to create these delightful frozen sandwiches. The key is choosing the right type for optimal results and freezer longevity.
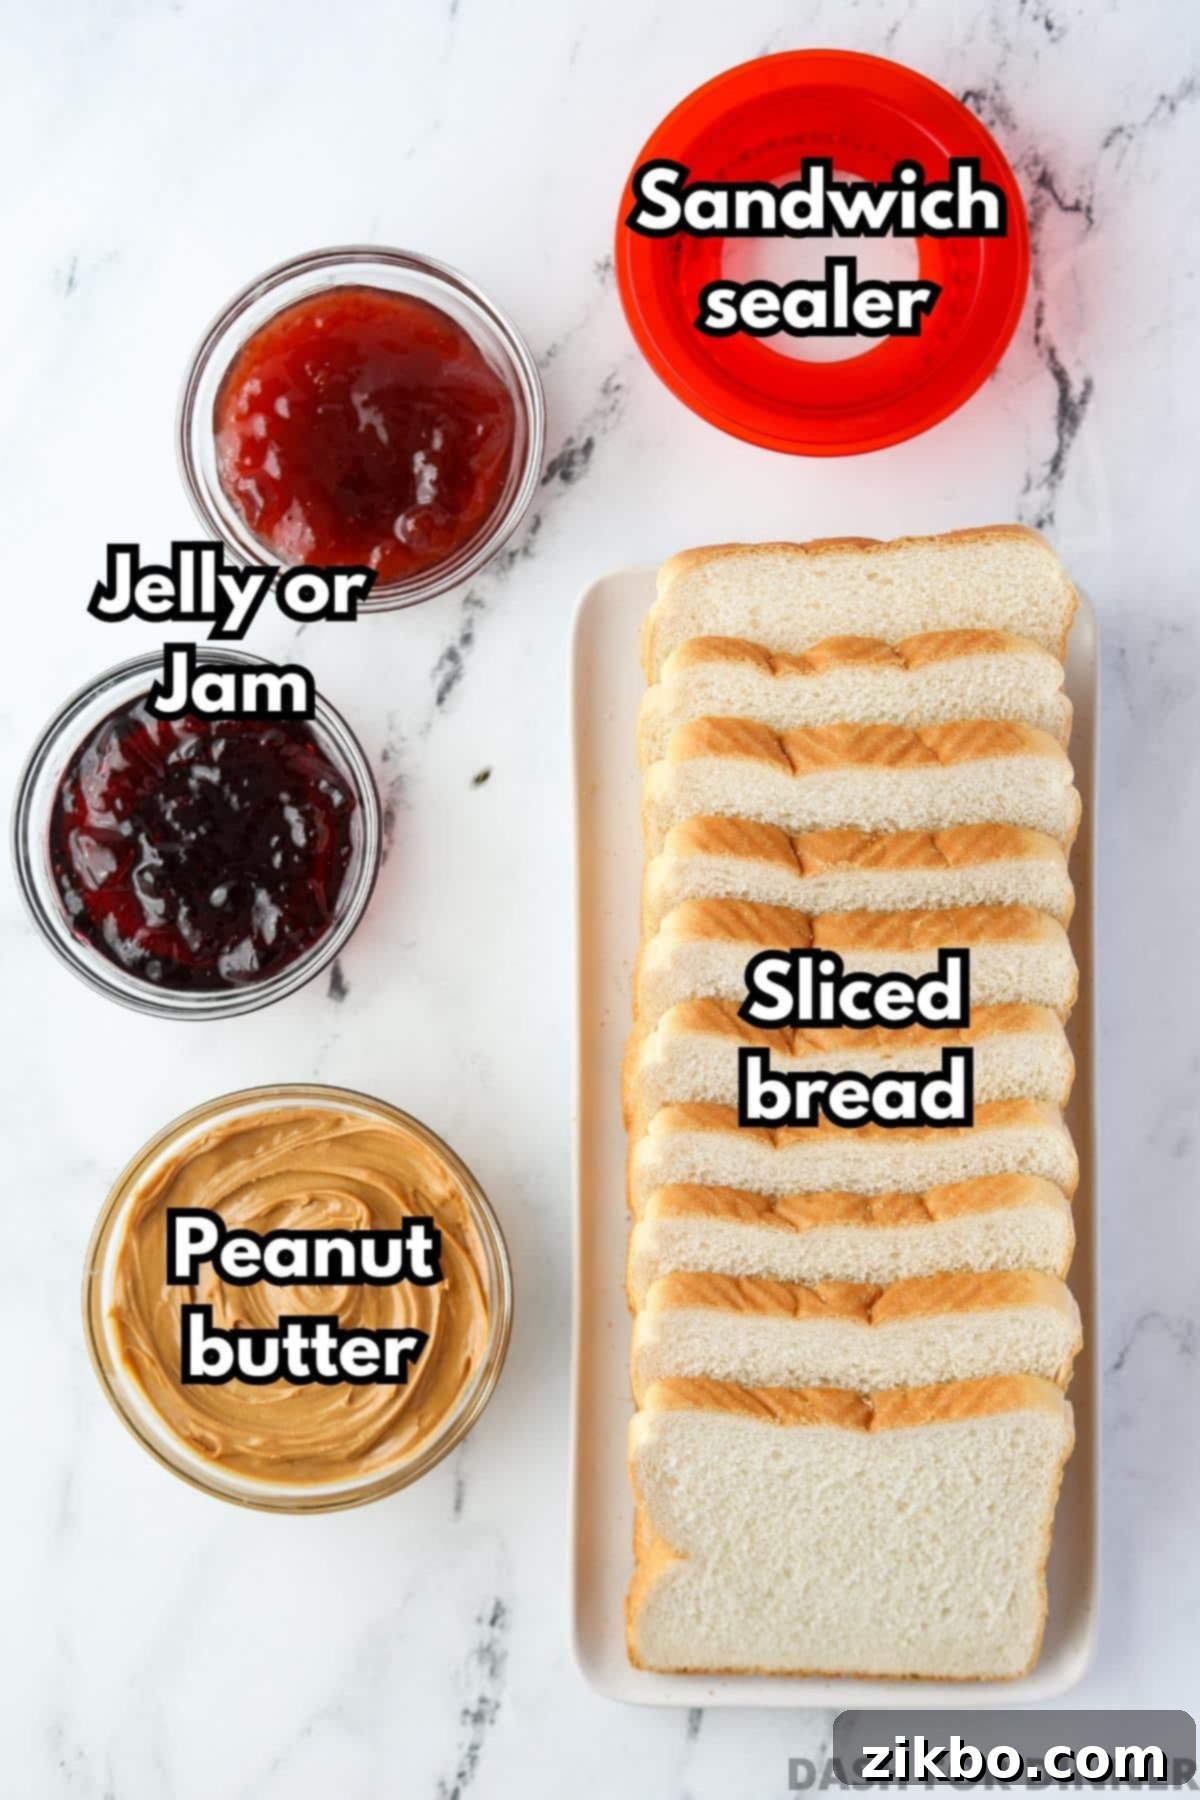
- Bread: For the best sealing and an ideal texture after thawing, I highly recommend using a thinly sliced sandwich-style loaf. White or whole wheat bread works well, but ensure it’s on the thinner side. Thicker slices tend to crack when sealed and can be more prone to sogginess. Look for brands that offer “thin-sliced” options.
- Peanut Butter: Creamy, regular peanut butter is your best friend here. Its smooth consistency makes it easy to spread evenly and create that crucial barrier against the jelly. While natural peanut butter is fantastic for other uses, its tendency for oil separation can lead to a slightly messier sandwich and may not seal as effectively. Stick to the classic for these. For allergy concerns, almond butter or a sunflower seed butter can be excellent alternatives!
- Jelly (or Jam): The “J” in your PB&J is all about personal preference! While grape jelly is a traditional favorite, I’m particularly fond of strawberry jam for its robust fruit flavor. Raspberry, apricot, or even a mixed berry preserve would also be delicious. Choose a jam or jelly that isn’t too runny, as excessive moisture can weaken the bread and compromise the seal.
Recommended Equipment
Having the right tools can make the process even smoother. Here’s what you’ll need:
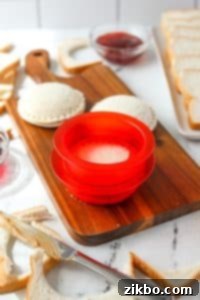
- Sandwich Sealer (or Cutter): This specialized tool is designed to cut and crimp the edges of your sandwich simultaneously, creating that iconic sealed crustless shape. You can find excellent options on Amazon (like this one I use). Pampered Chef also offers a popular version.
- Don’t have a sandwich sealer? No problem! You can still make homemade Uncrustables. Alternatives include a wide-mouth canning ring, a large biscuit cutter, or a sturdy round cookie cutter. We’ll detail how to use these further down in the post.
- Baking Sheet: Essential for flash freezing your newly assembled sandwiches. This step prevents them from sticking together, allowing you to easily store them in bags later.
- Freezer Bags: Once frozen solid, your Uncrustables need proper storage to prevent freezer burn. Regular freezer bags, reusable silicone freezer bags, or even the original bread bag can work. Ensure they are airtight.
How to Make Freezer-Friendly Homemade Uncrustables
These delicious crustless sandwiches are surprisingly easy to make with just a few simple steps. Once you establish an assembly line, you’ll be churning out these frozen PB&J sandwiches with efficiency and ease!
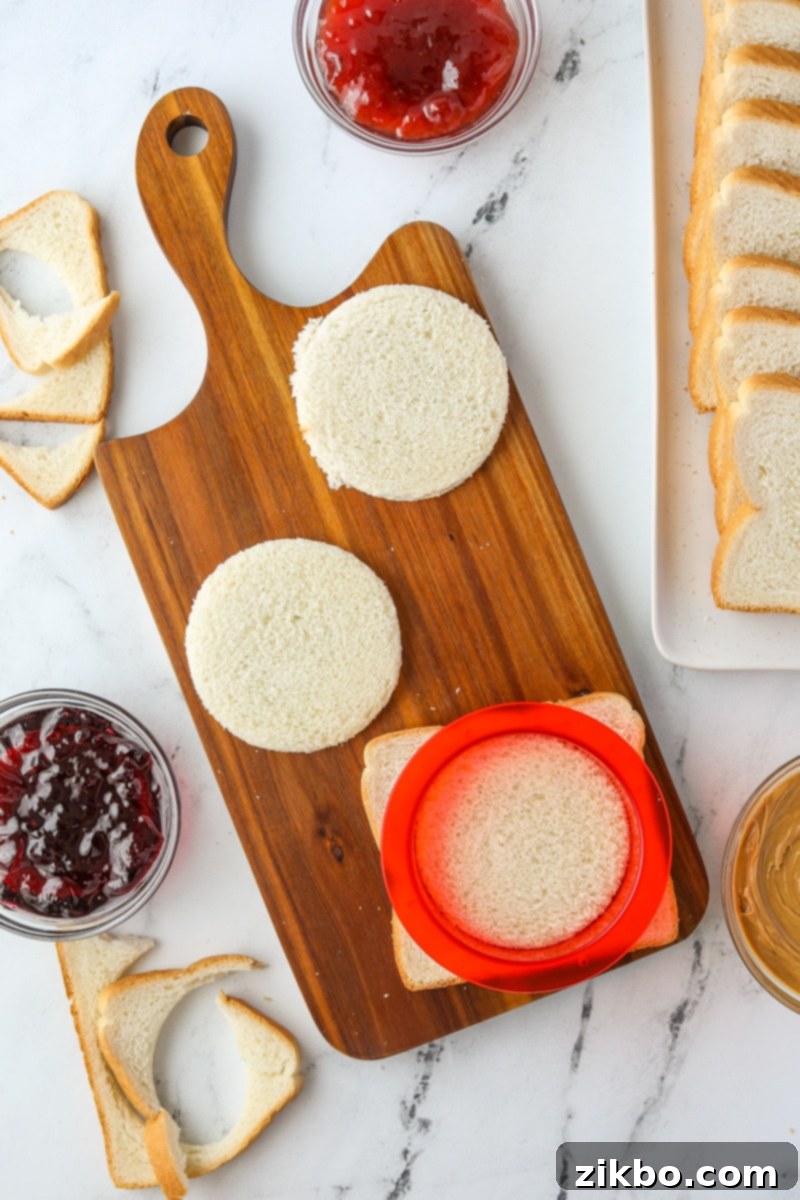
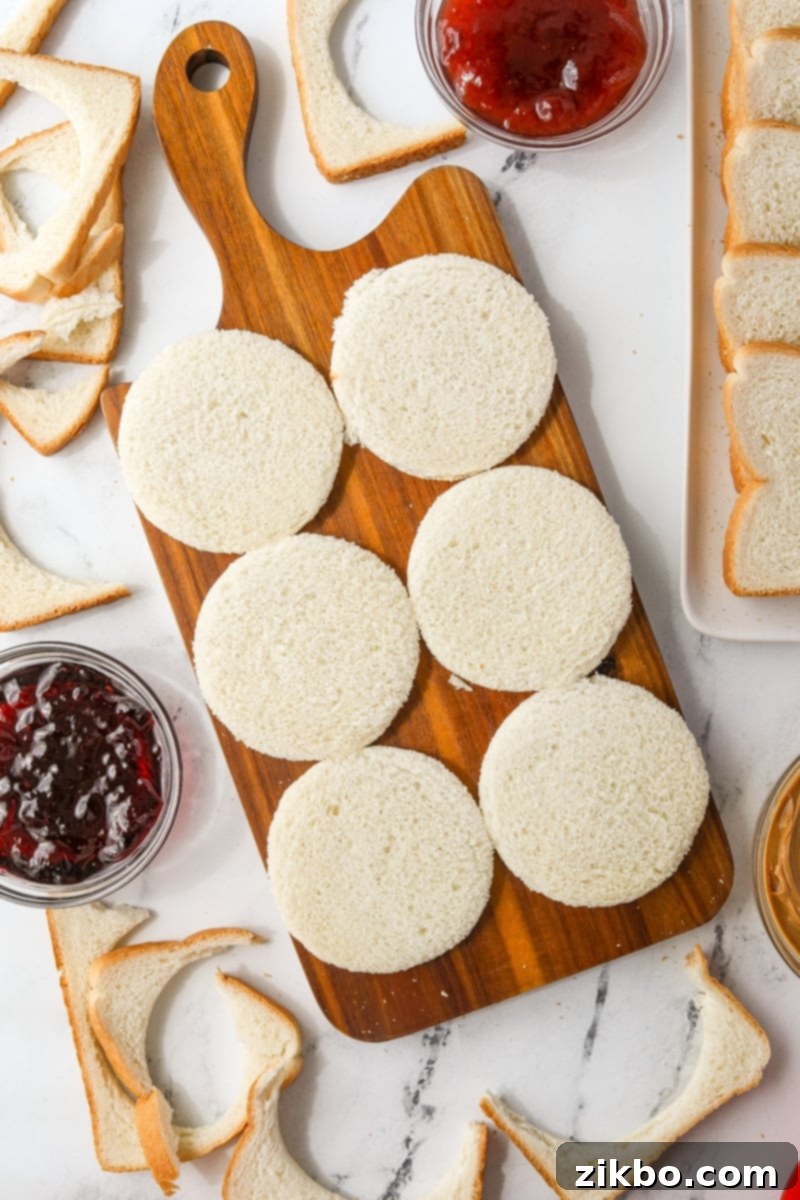
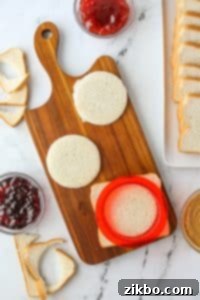
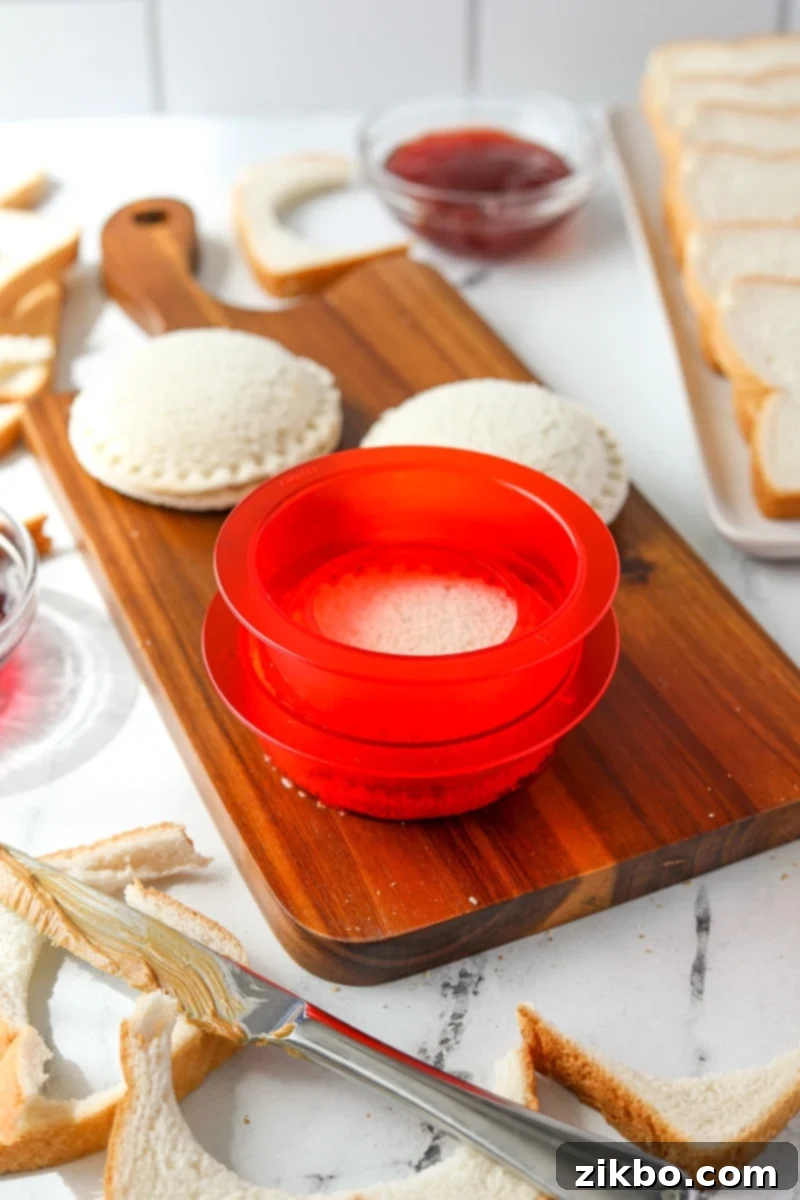
Step One: Prepare the Bread Rounds. Lay several slices of bread on a clean cutting board or flat surface. Use the outer ring of your sandwich sealer (or your chosen cutter) to firmly press down and cut the center of each bread slice into a perfect round. This removes the crusts.
Step Two: Cut All Rounds. Continue this process with the remaining slices of bread until you have an even number of rounds. For example, a standard loaf usually yields 10-12 sandwiches, so you’ll want to aim for 20-24 rounds if making 10-12 sandwiches. Set aside the leftover crusts for later use (see tips below!).
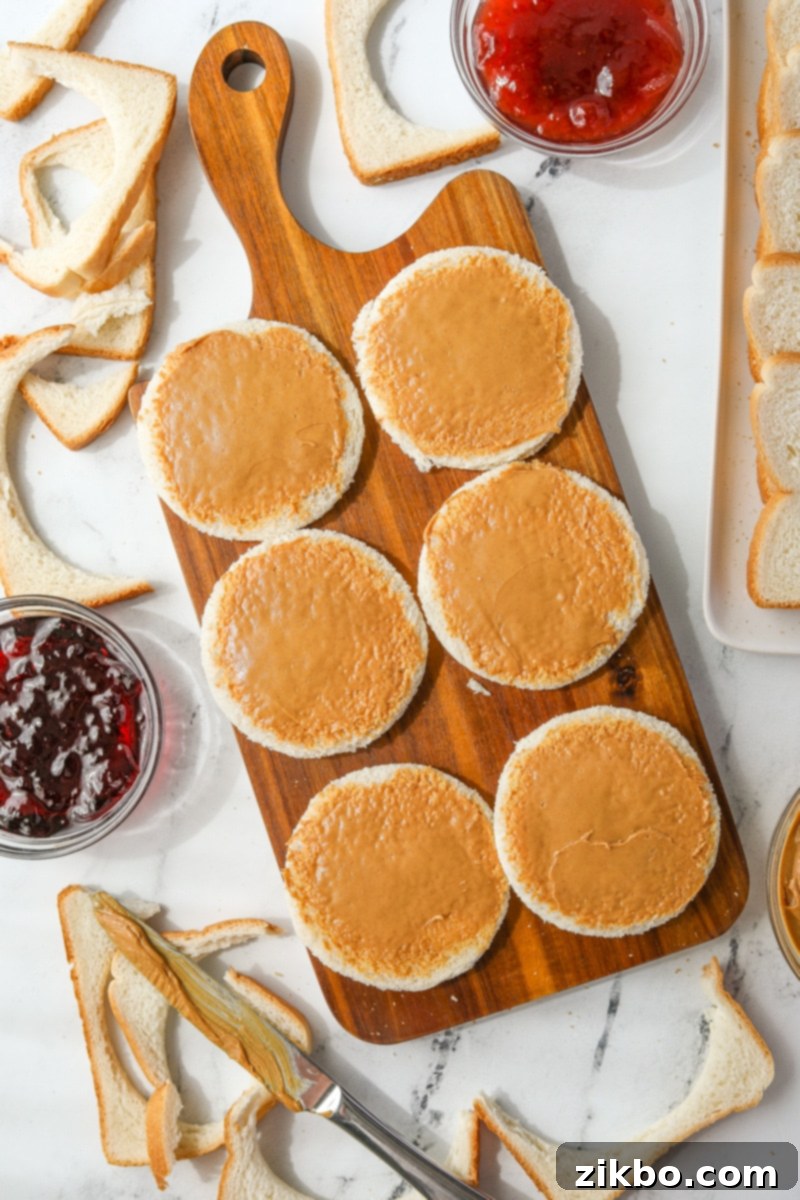
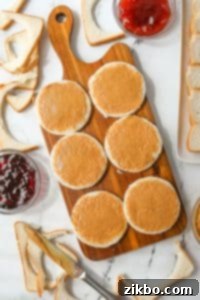
Step Three: Apply Peanut Butter (First Layer). Spread a thin, even layer of creamy peanut butter (about 1 ½ teaspoons) onto each bread round. Be sure to leave a rough ¼-inch margin around the entire edge of the bread. This margin is crucial for a clean, effective seal and prevents the filling from oozing out.
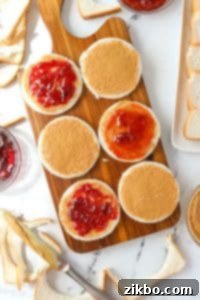
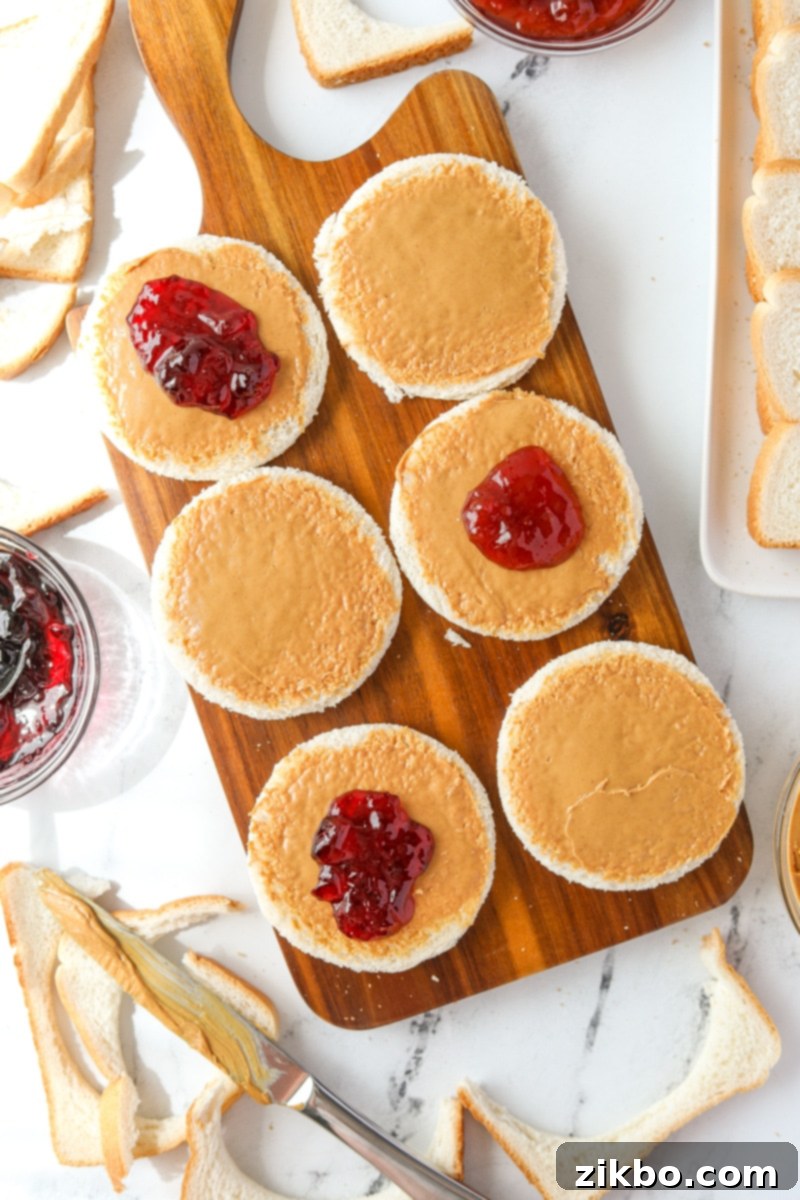
Step Four: Add the Jelly/Jam. On half of your peanut butter-coated bread rounds, spoon a small amount of your chosen jelly or jam. This should be placed directly on top of the peanut butter layer. Remember, less is more to prevent leakage!
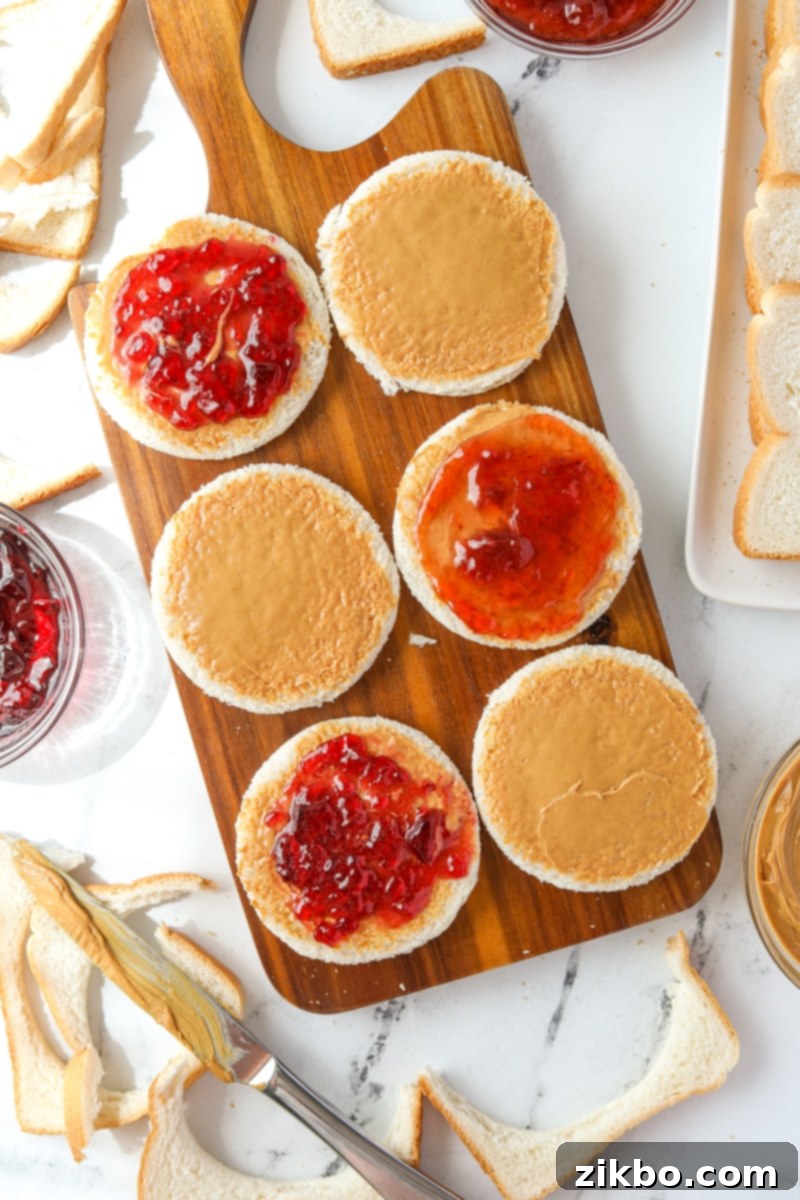
Step Five: Spread the Jelly Carefully. Gently spread the jelly over the thin layer of peanut butter on those specific rounds, still maintaining that vital ¼-inch margin around the edges. The peanut butter acts as a barrier, preventing the jelly from soaking into the bread and making it soggy.
Step Six: Assemble and Seal. Take a plain peanut butter bread round and carefully place it on top of a jelly-and-peanut-butter coated round, ensuring the peanut butter sides face inwards. Align the edges as best as possible. Now, place the circular sandwich into the inner ring of your sandwich sealer. Press down firmly with the outer ring until the edges are crimped and perfectly sealed. Gently remove the sealed sandwich. Repeat this process for all remaining sandwiches.
Freezing Your Homemade Uncrustables for Long-Lasting Freshness
Once all your homemade Uncrustables are perfectly sealed, it’s time to prepare them for the freezer. These frozen sandwiches are incredibly versatile – ideal for tossing into a lunch bag, packing for road trips, or keeping cool in a cooler for a summer camping adventure.
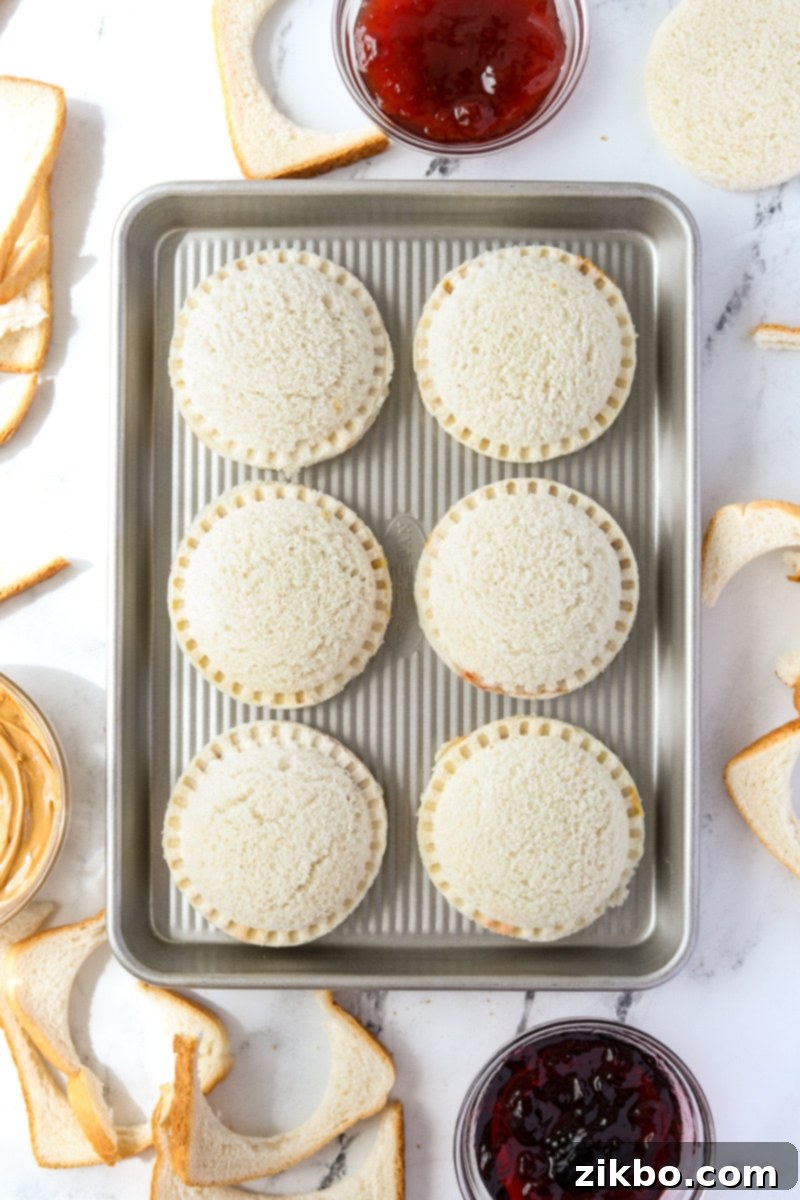
Simple Steps to Freeze PB&J Sandwiches:
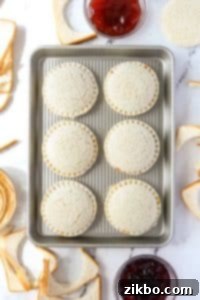
- Flash Freeze on a Baking Sheet: Arrange the sealed sandwiches in a single layer on a freezer-safe baking sheet. If you’re concerned about them sticking, you can line the baking sheet with parchment paper first. This initial freezing step is crucial as it prevents the sandwiches from sticking together when they’re later transferred to a bag.
- Initial Freeze: Place the baking sheet into the freezer, ensuring it remains as flat as possible. Allow the sandwiches to freeze for at least 2-3 hours, or until they are solid.
- Transfer to Storage: Once the sandwiches are completely frozen, remove them from the baking sheet. Transfer them to a freezer bag, a durable reusable silicone freezer bag, or even the original bread bag (if clean and sturdy).
- Label and Seal: Don’t forget to label the bag with the date. Remove as much excess air as possible from the bag before sealing it tightly. This helps prevent freezer burn and maintains freshness.
- Storage Duration: Your homemade Uncrustables can be frozen and stored for up to 2 months. For optimal quality and taste, it’s best to consume them within this timeframe.
Pro Tip: For an extra layer of protection against freezer burn and to keep sandwiches from sticking together, consider wrapping each sandwich individually in plastic wrap (or placing them in small individual snack baggies) before grouping them into a larger freezer bag. This extra step ensures they stay fresh and separated.
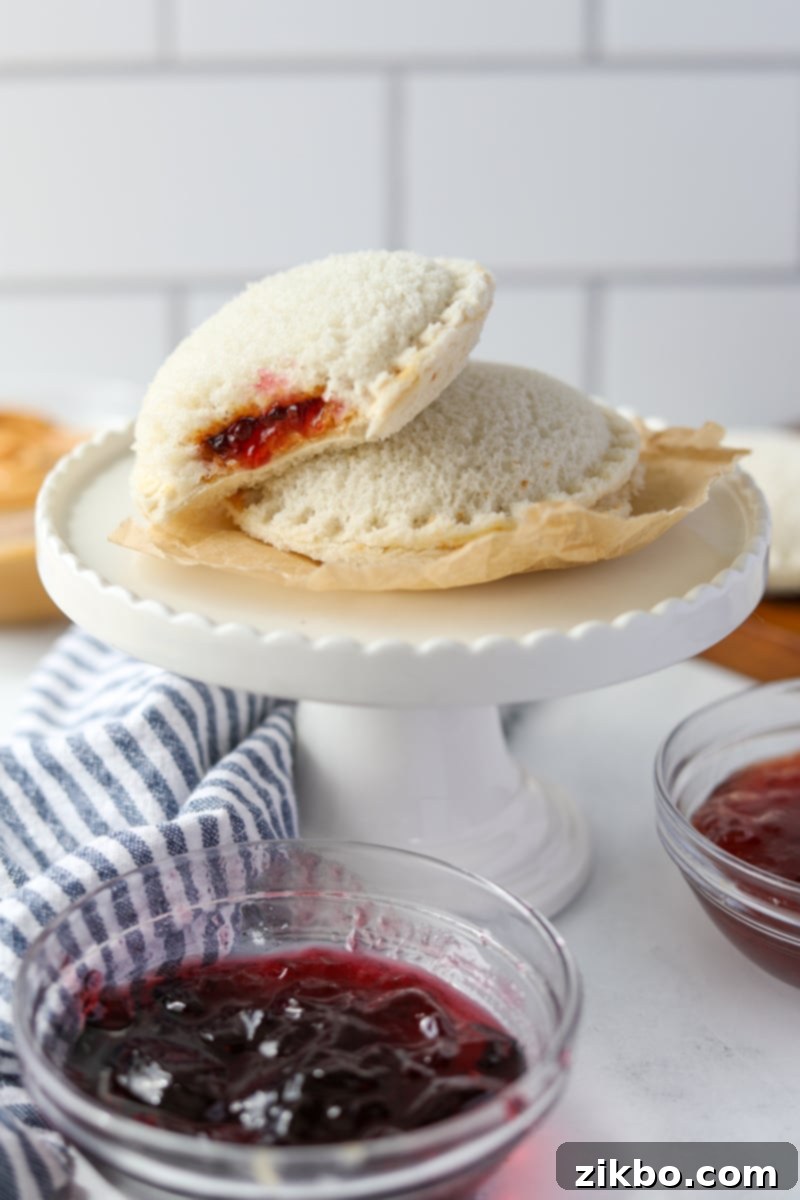
Expert Tips for Perfect Homemade Uncrustables
Achieving perfectly sealed, delicious frozen peanut butter and jelly sandwiches is easy with these insider tips:
- Always Use Thinly Sliced Bread: This is perhaps the most critical tip! I’ve experimented with both regular and thinly sliced bread, and the thinner slices consistently yield far superior results. Thicker slices are not only more prone to cracking during the sealing process, but they also tend to resist forming a tight, secure seal, which can lead to messy, leaky sandwiches upon thawing.
- Opt for Sandwich-Style Bread: While bread comes in countless shapes and sizes, for the best and most consistent results with homemade Uncrustables, choose a sandwich-style loaf. This type of bread typically has a uniform, somewhat square shape and lacks the highly mounded top found in artisan loaves. The consistent shape provides a better margin for error and ensures a more uniform round cut and seal.
- Peanut Butter on Both Sides (Crucial Barrier!): This is a game-changer! Applying a thin layer of peanut butter to *both* internal bread slices before adding the jelly creates an effective barrier. This prevents the jelly’s moisture from soaking into the bread, which is the primary cause of soggy sandwiches. I’ve thoroughly tested this, and the results are significantly better with the double peanut butter layer.
- Don’t Overfill: While it’s tempting to load up on delicious fillings, overfilling your sandwiches is the quickest way to a failed seal and a leaky mess. Stick to about 1 ½ teaspoons of peanut butter per side and a modest 1 teaspoon of jelly. The goal is a balanced flavor, not an overflowing sandwich.
- Seal Firmly, But Gently: When using a sandwich sealer, apply firm, even pressure to crimp and seal the edges. However, avoid pressing so hard that you tear the bread. A strong but controlled press is all you need for a secure seal.
- Flash Freezing Prevents Sticking: As mentioned in the freezing section, flash freezing your individual sandwiches on a baking sheet before bagging them is key. This prevents them from clumping together in the freezer, making it easy to grab just one or two as needed without any fuss.
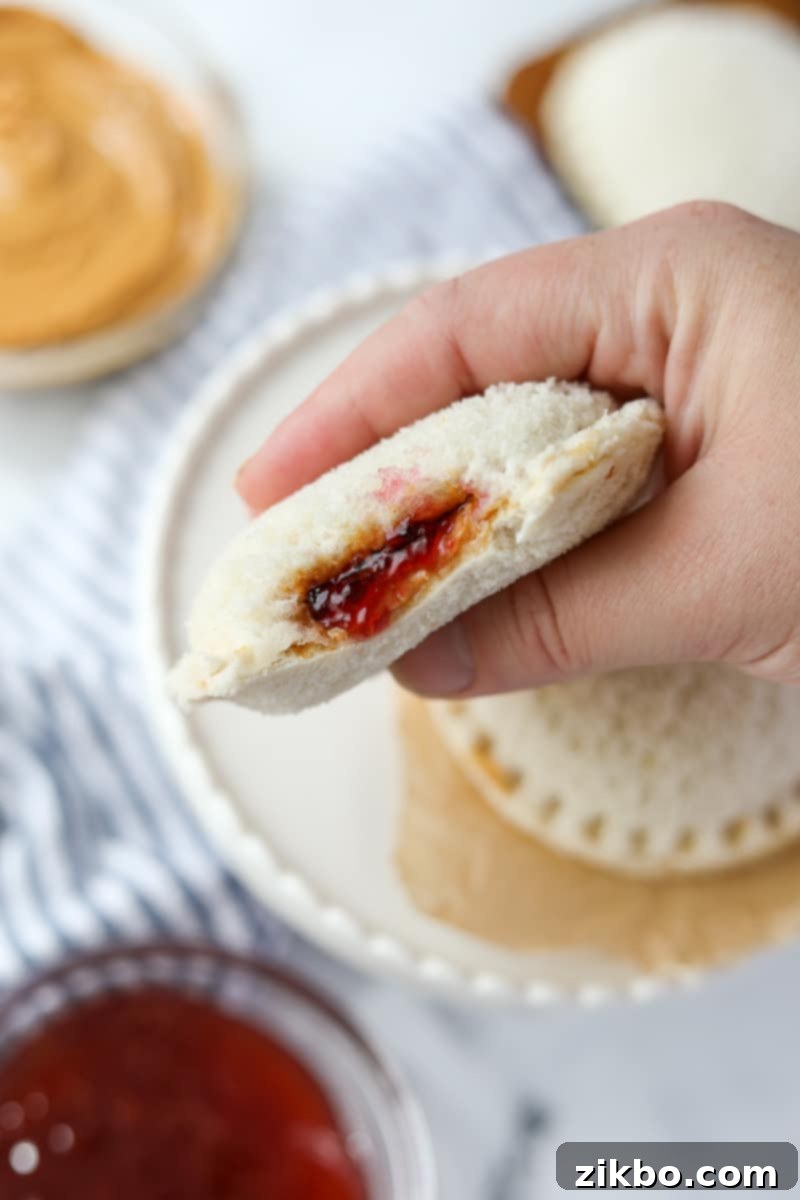
Making Homemade Uncrustables Without a Special Sealer
While a dedicated sandwich sealer offers the most consistent and effortless results, don’t let the lack of this specific tool deter you! You can absolutely make your own homemade Uncrustables using common kitchen items. Here’s how:
-
The Wide-Mouth Canning Ring Method: This is a popular and effective alternative.
- Place a slice of bread on a flat surface. Position the wide-mouth canning ring (the metal band part) over the center of the bread.
- Press down firmly to cut a perfect round shape, removing the crust. Repeat for all slices.
- Assemble your peanut butter and jelly layers as described in the main recipe, ensuring the margins are maintained.
- Place one assembled sandwich into the canning ring. Flip the ring upside down (so the wider opening is now pressing on the sandwich).
- Press down firmly and evenly around the edges of the sandwich with the ring to crimp and seal it. You may need to press down a couple of times, rotating the ring slightly.
-
The Biscuit Cutter & Fork Method: If you have a large, round biscuit cutter, you can use it.
- Use your biscuit cutter to cut rounds from your bread slices.
- Assemble the sandwich with peanut butter and jelly.
- Once the two bread rounds are placed together, use the tines of a fork to press down firmly all the way around the edge of the sandwich. This will create a crimped, sealed edge. Apply consistent pressure to ensure a good seal.
-
The Cookie Cutter & Fork Method: Similar to the biscuit cutter, a large, round cookie cutter works well.
- Use a sturdy, round cookie cutter to cut your bread into circles.
- Assemble your fillings, leaving the necessary margin.
- Place the top bread round on and then use a fork to crimp the edges, pressing firmly to seal the sandwich.
Regardless of the method, the key is to ensure the edges are pressed together securely to prevent the filling from escaping, especially during freezing and thawing.
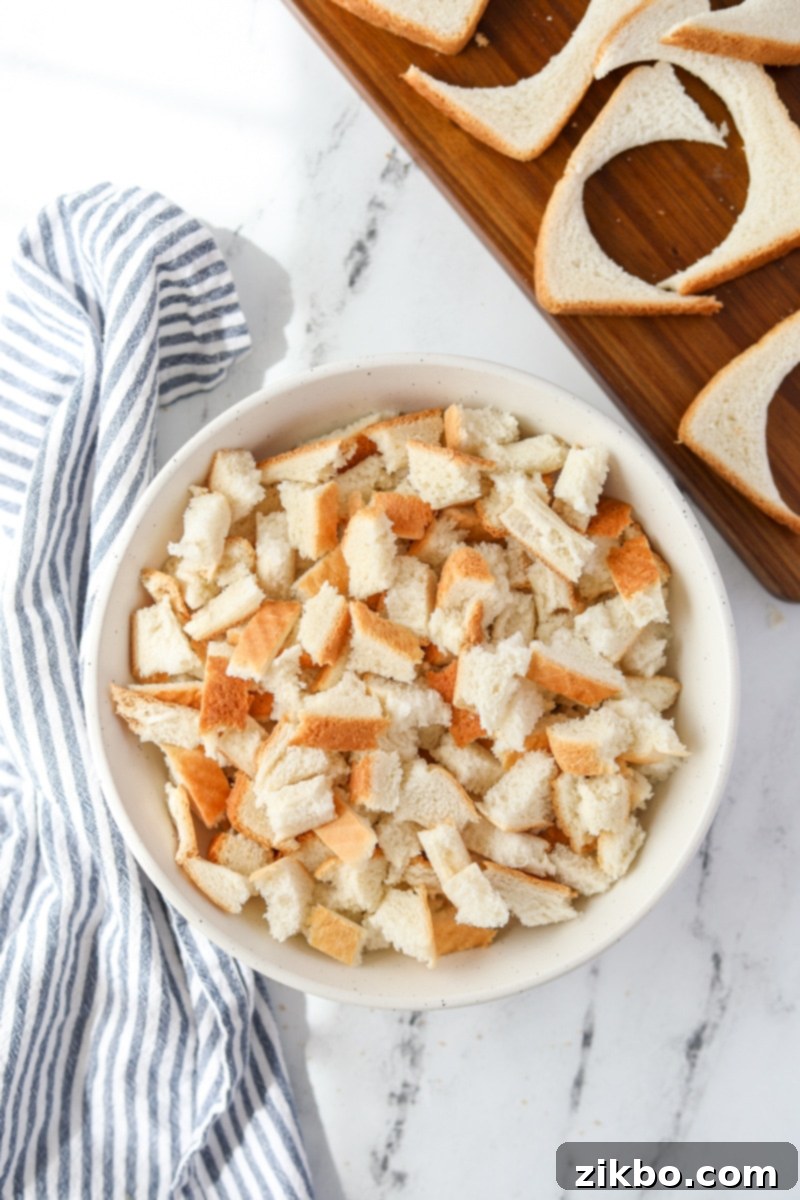
Don’t Waste the Crusts! Creative Uses for Leftover Bread Pieces
After cutting out all those lovely crustless rounds, you’ll inevitably have a pile of bread remnants. The great news is there’s absolutely no need to let them go to waste! These leftover crusts and odd-shaped pieces are perfect for a variety of culinary creations, adding to the budget-friendly appeal of making your own Uncrustables.
Here are some fantastic ideas for repurposing your leftover bread crusts and scraps:
- Homemade Croutons: A classic use! Toss the bread pieces with olive oil, your favorite herbs (like garlic powder, onion powder, oregano, or Italian seasoning), salt, and pepper. Bake at 375°F (190°C) until golden brown and crispy, or pan-fry them. Perfect for soups and salads.
-
Fresh or Dried Breadcrumbs:
- Fresh: Simply pulse the bread in a food processor until fine. Use immediately for meatballs, breading chicken, or topping casseroles.
- Dried: Spread the pieces on a baking sheet and bake at a low temperature (around 200°F/95°C) until completely dry and brittle. Then, pulse in a food processor. Store in an airtight container for future use.
- Breakfast Strata or Casserole: Bread cubes are the base for many savory or sweet breakfast stratas or casseroles. Combine them with eggs, milk, cheese, and your choice of meat or vegetables for a savory dish, or with fruit and cinnamon for a sweet morning treat.
- French Toast Casserole or Sticks: Cut the scraps into uniform “sticks,” then soak them in an egg and milk mixture, and bake or pan-fry for a fun breakfast. Alternatively, use them as the base for a baked French toast casserole.
- Stuffing/Dressing: Cube the bread and dry it out slightly. It’s an excellent base for homemade stuffing for holiday meals or everyday poultry.
- Cube and Freeze for Later: If you don’t have an immediate use, simply cube the leftover bread, flash freeze it on a tray, and then transfer to a freezer bag. You’ll have ready-to-use bread pieces for any of the above recipes whenever inspiration strikes!
If you loved this recipe for Homemade Uncrustables and found it helpful, please let me know by leaving a 5-star review in the recipe card below or sharing your thoughts in the comments! You can also tag me on Instagram @dashfordinner to show off your delicious creations.
Homemade Uncrustables (Frozen Peanut Butter and Jelly Sandwiches)
Print
Pin
Rate
Equipment
-
Sandwich sealer or wide-mouth mason jar lid
Ingredients
- 12 slices sandwich bread thinly sliced
- 6 tablespoons peanut butter
- 4 tablespoons jelly or jam
Instructions
-
Place a slice of sandwich bread on a cutting board, and use the outer ring of the sandwich sealer to cut a round circle from the middle of the slice.

-
Repeat with the remaining slices until you have 12 rounds.
-
Repurpose the bread remnants by making them into breadcrumbs, croutons, etc.
-
Spread each round with a thin layer of peanut butter (approx. 1 ½ teaspoons), leaving a ¼” edge as margin.

-
Add a small amount of jelly (or jam) to 6 of the sandwich rounds, spreading it into an even layer on top of the peanut butter (and maintaining the ¼” edge).

-
Pair each peanut butter and jelly round with a plain peanut butter one.
-
Fit the round sandwich into the outer ring, then use the inner ring to press down and seal the two slices together.

-
Repeat with the remaining sandwiches.
-
To freeze: Place the sealed sandwiches on a parchment-lined baking sheet and place them in the freezer. Freeze for 2-3 hours, or until frozen solid. Then transfer to freezer bags. Label, remove excess air, and seal.

-
To serve: thaw any frozen sandwiches at room temperature for 30-60 minutes, or add them directly to a lunch container – they will thaw by lunchtime.
Notes
Without a sandwich sealer/maker: Use a wide-mouth canning ring to cut the bread to size, then flip it upside down to seal the two sides together. Alternatively, you can cut the rounds with a biscuit or cookie cutter, then pinch the edges of the bread with the tines of a fork to seal.
Nutrition
Please note that some of my blog posts here at Dash for Dinner may contain affiliate links. If you make a purchase through these links, I will get a small commission at no additional cost to you. Please see my Disclaimer for more information.
