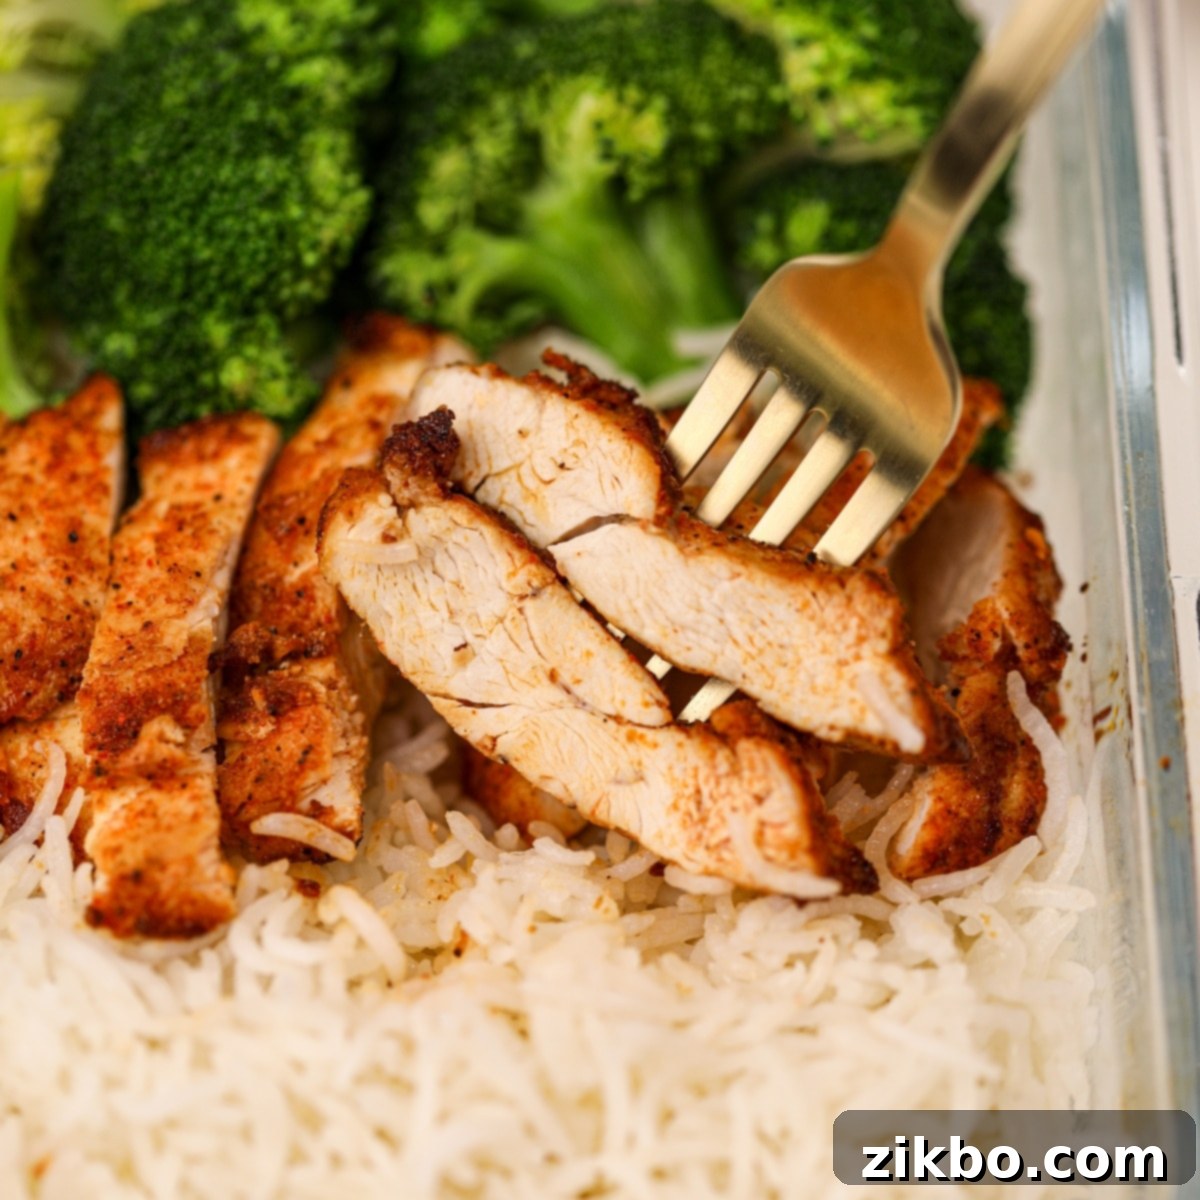
Effortless Air Fryer Meal Prep Chicken: Juicy, Flavorful & Healthy
This easy, flavorful, and simple Air Fryer Meal Prep Chicken is the ultimate solution for preparing your protein in advance! Imagine perfectly juicy chicken on the inside, with delightful crispy bits on the outside, all achieved with minimal effort. This air fryer chicken recipe is not just a dish; it’s a lifestyle hack that’s sure to become a constant staple in your kitchen rotation, making healthy eating both convenient and delicious.
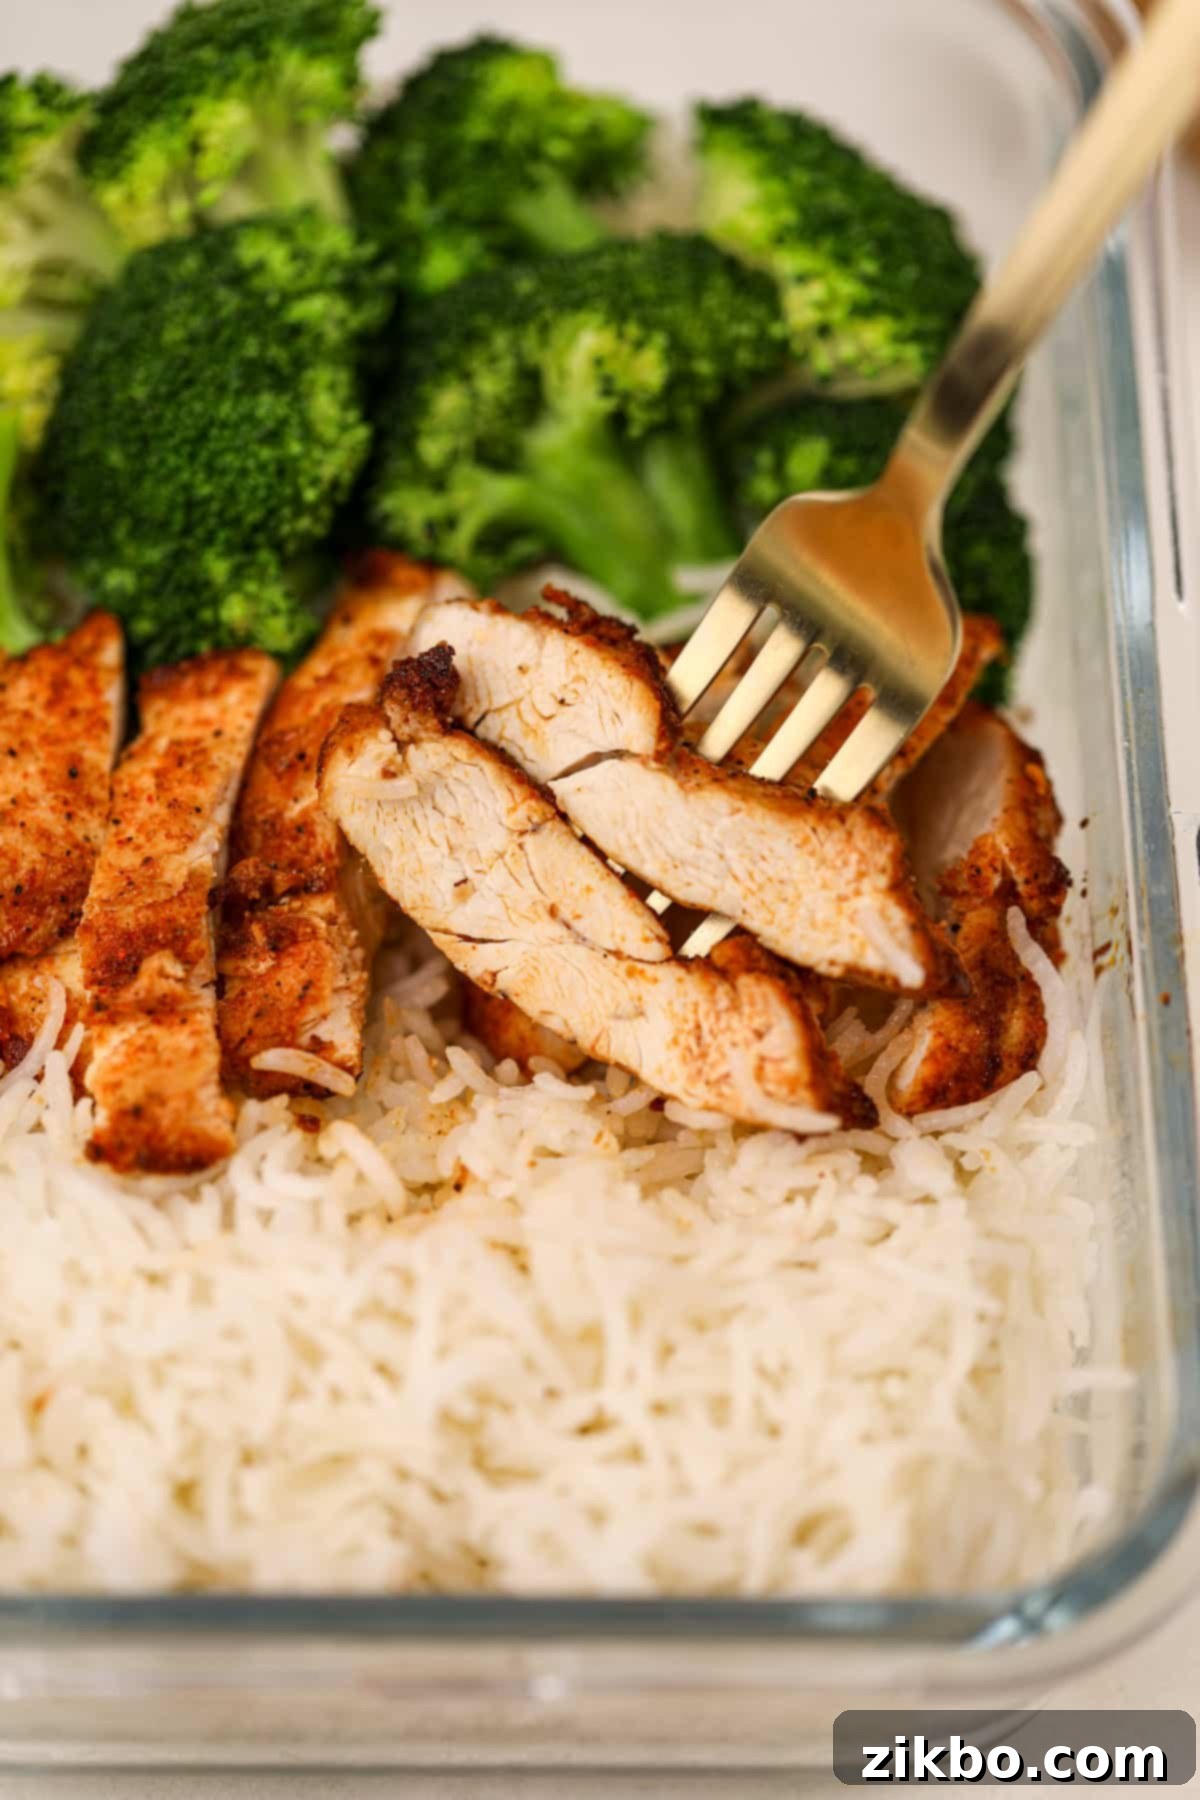
For years, this easy air fryer meal prep chicken has been a go-to in my household, consistently delivering delicious results that fit seamlessly into our busy schedule. It’s the ideal protein base for all our favorite meal prep staples, whether we’re building vibrant salads, packing flavorful wraps, or assembling satisfying rice bowls. Its versatility is unmatched, easily adapting to a wide array of dishes and flavor profiles, ensuring you never get tired of healthy eating.
This recipe builds upon the same fantastic seasoning blend I use for my air fryer chicken bites and unbreaded chicken tenders, demonstrating its proven ability to infuse so much flavor into a remarkably simple list of ingredients. The magic of the air fryer truly shines here, transforming ordinary chicken breasts into something extraordinary.
Air frying has quickly become one of our most beloved cooking methods, and for good reason. It dramatically reduces the amount of oil needed compared to traditional frying, resulting in lighter, healthier meals. The high-speed circulation of hot air ensures food comes out incredibly crispy, a texture often associated with deep-frying but without the added guilt. Plus, it’s a significant time-saver, often cutting cooking times by at least 25% or more. Utilizing an air fryer for all my meal prep proteins and sides has been a game-changer – it makes healthy eating not just easier, but infinitely tastier!
One of the greatest advantages of this recipe is its adaptability. While our recommended seasoning blend is a winner, you’re absolutely encouraged to get creative and experiment with your favorite spice mixes to explore different flavor profiles. The cooking times remain consistent, allowing you to confidently swap seasonings without adjusting the method. We’ve had fantastic success with various blends, including Kinders Buttery Steakhouse seasoning, classic Italian seasoning, zesty taco seasoning, and even creamy Ranch seasoning. Each variation offers a fresh take, keeping your meal prep exciting and far from boring.
Why You’ll Love This Air Fryer Chicken Recipe:
- Incredibly Flavorful: The simple yet potent seasoning blend works wonders, infusing the chicken with a rich, savory taste that complements a wide array of dishes and cuisines. It’s a versatile flavor base that never disappoints, ensuring your meal prep is always exciting.
- High in Protein: Boneless, skinless chicken breast is an excellent source of lean protein, making it a perfect foundation for any meal. High-protein meals help keep you feeling full and satisfied, support muscle growth and repair, and contribute to overall health and wellness.
- Perfect for Meal Prepping: This recipe is designed with convenience in mind. Cook a larger batch once, and you’ll have delicious protein ready for days. Leftover chicken remains fresh and flavorful in the fridge for up to 3 days, or you can freeze it for several months, providing a convenient grab-and-go option whenever you need a quick, healthy meal component.
- Quick & Easy: With the air fryer, prep and cook time are drastically reduced. You can have perfectly cooked, tender chicken ready in less than 20 minutes of active cooking, making it ideal for busy weeknights or efficient Sunday meal prep sessions.
- Crispy & Juicy Texture: The air fryer excels at creating a beautiful crispy exterior while keeping the chicken incredibly juicy on the inside. This desirable contrast in texture elevates the simple chicken breast to a gourmet experience without any fuss.
Essential Ingredients for Flavorful Air Fryer Chicken
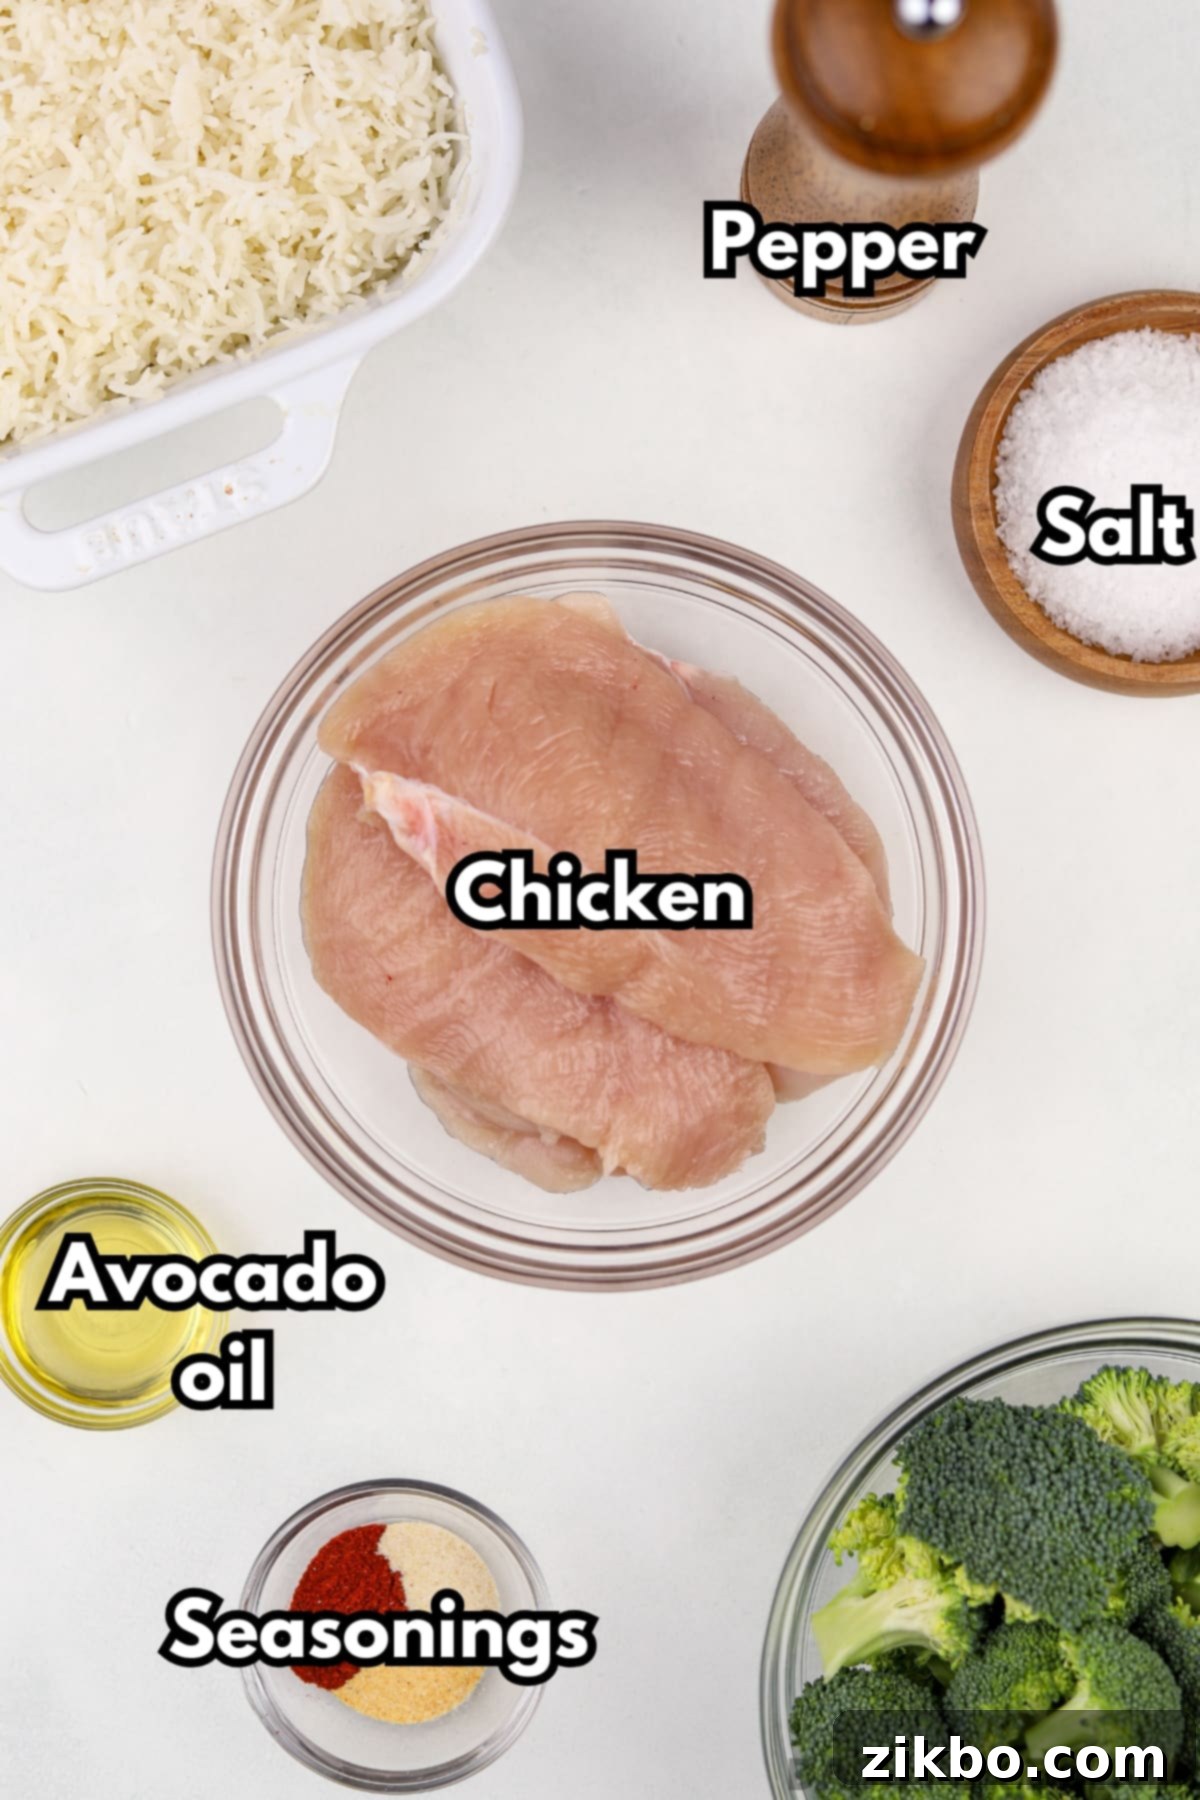
- Chicken: For optimal results, we highly recommend using boneless, skinless chicken breasts. When sliced into cutlets, they cook evenly and remain incredibly tender and juicy. We also tested chicken thighs, and while undeniably delicious with their rich flavor, their texture was a bit chewier compared to the perfectly tender breasts, which some might prefer for a different mouthfeel.
- Avocado Oil (or Olive Oil): After extensive testing, avocado oil emerged as the top performer. It not only contributes to the best flavor but also helps achieve those desirable crispy edges on the chicken. Its high smoke point makes it perfect for air frying. If avocado oil isn’t on hand, feel free to substitute with your favorite oil that has a moderate to high smoke point, such as olive oil, vegetable oil, or canola oil.
- Seasonings: Our core blend includes paprika, granulated garlic powder, and granulated onion powder. These are fantastic staple seasonings that provide a robust flavor base and a beautiful golden-brown color to the chicken. Paprika adds a mild, sweet peppery note and a vibrant hue, while garlic and onion powders deliver aromatic depth without the moisture of fresh ingredients.
- Salt and Pepper: Essential flavor enhancers. We suggest using flaky salt, like Maldon, if you have it, as it adds a delightful textural crunch and bursts of salinity. Kosher salt is also an excellent choice, providing a clean, balanced saltiness. Freshly ground black pepper adds a subtle kick and aromatic complexity that rounds out the seasoning blend beautifully.
Recommended Tools for Perfect Air Fryer Chicken
- Air Fryer: A good quality air fryer is key to crispy, evenly cooked chicken.
- Digital Meat Thermometer: Absolutely essential for ensuring your chicken is cooked to a safe internal temperature and remains perfectly juicy, avoiding overcooking.
- Tongs: For safely flipping chicken in the hot air fryer basket and transferring cooked pieces.
- Large Mixing Bowl: For easily coating the chicken with oil and seasonings.
- Sharp Knife & Cutting Board: For safely slicing chicken breasts into even cutlets.
How to Make the Best Meal Prep Chicken in the Air Fryer
You’re about to discover why this easy air fryer chicken breast recipe is our absolute favorite! It’s the perfect method for efficient meal prep, yielding chicken that cooks quicker, crisps up beautifully, and tastes simply superior. Get ready for the best way to prepare your protein for the week, or even to freeze for a month of effortless meals.
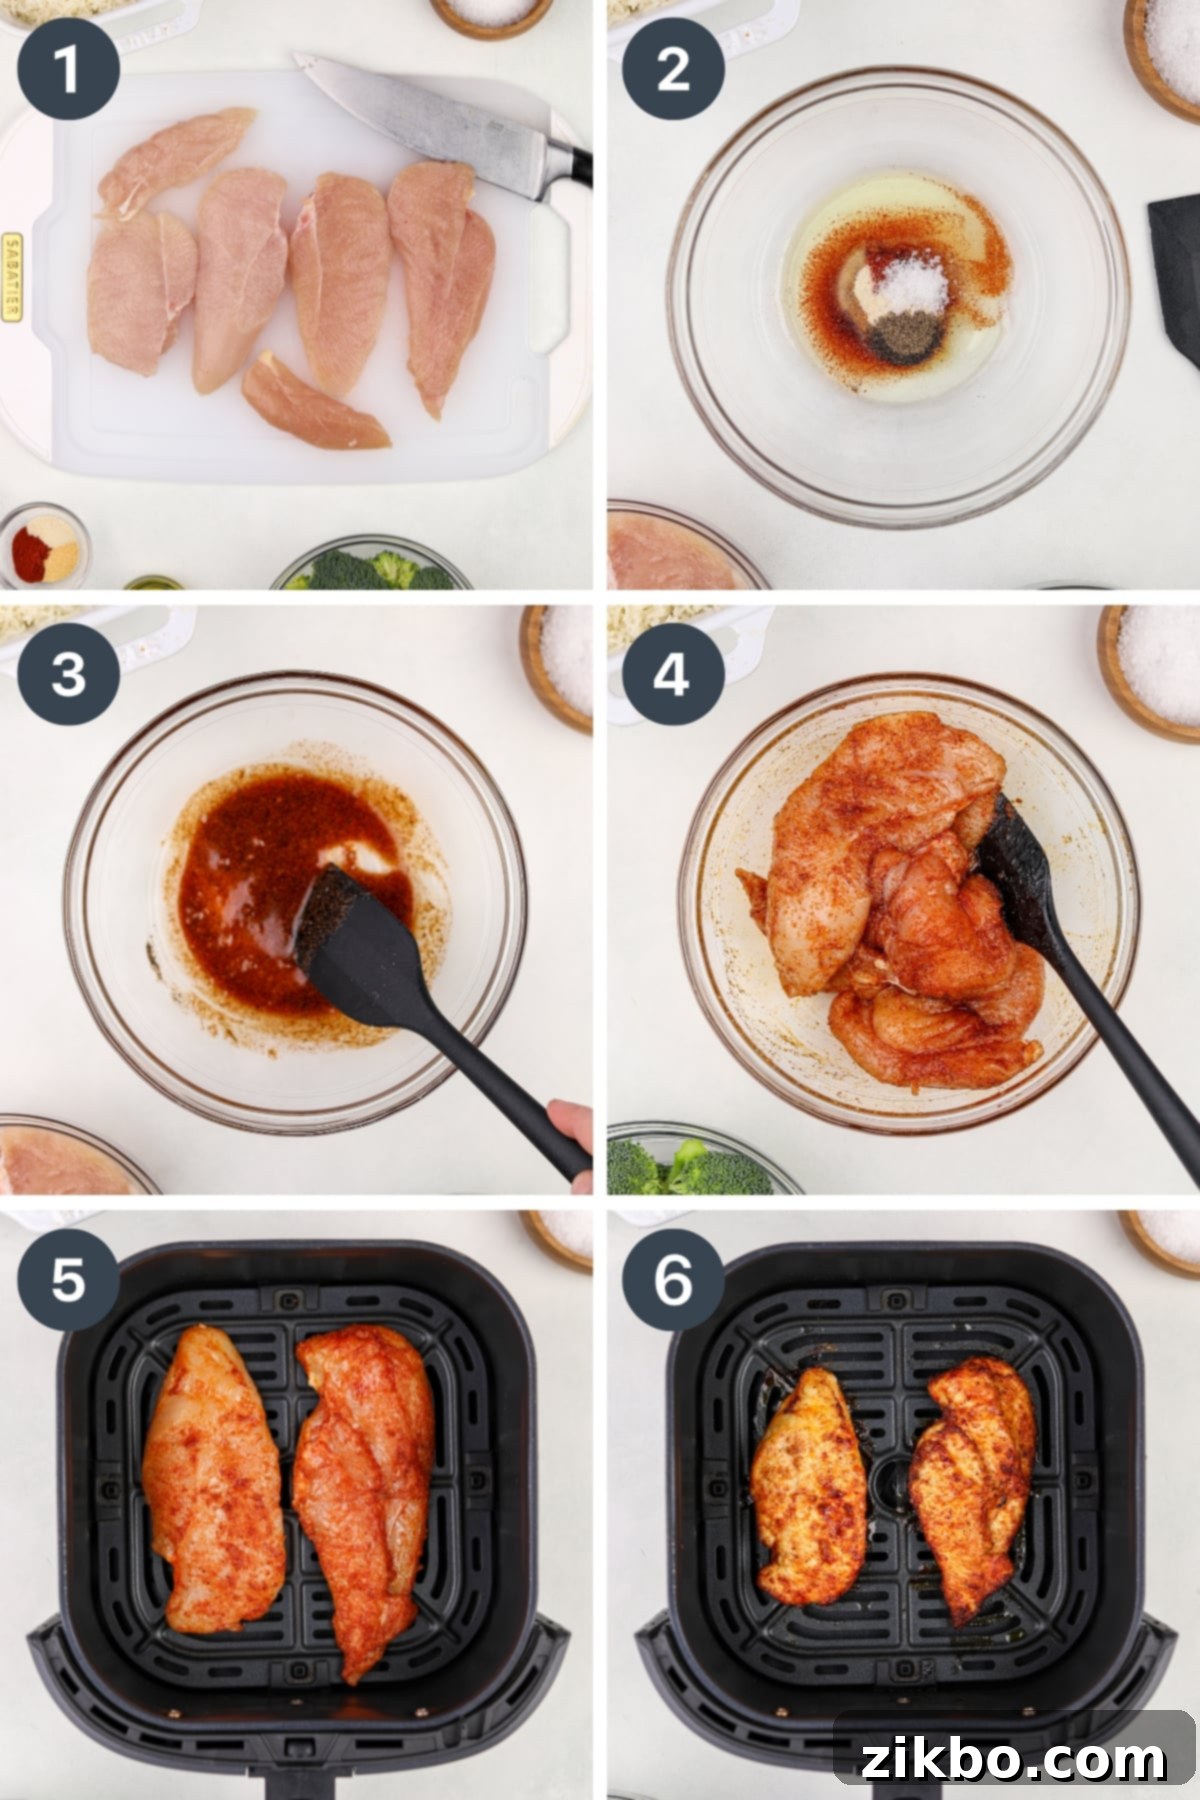
- Prepare Your Chicken: Slice into Even Cutlets. Begin by carefully dividing each boneless, skinless chicken breast in half widthwise using a sharp knife. This creates two thinner cutlets from each breast, ensuring faster and more even cooking. You can also achieve this by butterflying the breast and then cutting through the fold. If your chicken breasts have tenderloins attached, gently separate them first as they cook faster. Aim for uniform thickness to promote consistent cooking.
- Create the Flavorful Oil & Seasoning Paste. In a large mixing bowl, combine 1 tablespoon of avocado oil (or your preferred high smoke point oil like olive or vegetable oil) with the salt, pepper, paprika, garlic powder, and onion powder.
- Thoroughly Stir to Form a Paste. Using a silicone spatula or a whisk, mix these ingredients together until they form a smooth, well-combined paste. This ensures the seasonings are evenly distributed and adhere beautifully to the chicken.
- Coat the Chicken Evenly. Transfer your prepared chicken breast pieces (or chicken thighs, if using) into the bowl with the seasoned oil. Use your silicone spatula to gently fold and toss the chicken until every piece is thoroughly and uniformly coated with the seasoning mixture. This step is crucial for maximum flavor penetration and a beautiful crust.
- Preheat Your Air Fryer & Arrange Chicken. Preheat your air fryer to 375-380ºF (190ºC) for at least 3 minutes. Adequate preheating is vital for achieving that desirable crispy exterior. Once preheated, arrange the chicken pieces in a single layer in the air fryer basket. It’s important not to overcrowd the basket; air circulation is key to crispy results. Work in batches if necessary, typically cooking 2 cutlets at a time, depending on the size of your air fryer.
- Air Fry to Perfection. Place the basket into the preheated air fryer and cook for 10-14 minutes. Halfway through the cooking time (around 5-7 minutes), use tongs to flip the chicken pieces. This promotes even browning and crispiness on both sides. The chicken is perfectly done when the thickest part of each portion reaches a minimum internal temperature of 165ºF (74ºC) when checked with a digital meat thermometer. Remember, cooking times can vary based on the thickness and size of your chicken breasts and your specific air fryer model, so relying on an internal temperature is the most reliable method.
- Once cooked, remove the chicken from the air fryer and place it on a clean plate or cutting board. Repeat the cooking process with any remaining chicken pieces, ensuring each batch gets enough space.
- Allow the cooked chicken to rest for 5-10 minutes before slicing. Resting allows the juices to redistribute throughout the meat, resulting in incredibly tender and moist chicken, especially if you plan to slice it into strips or cubes.
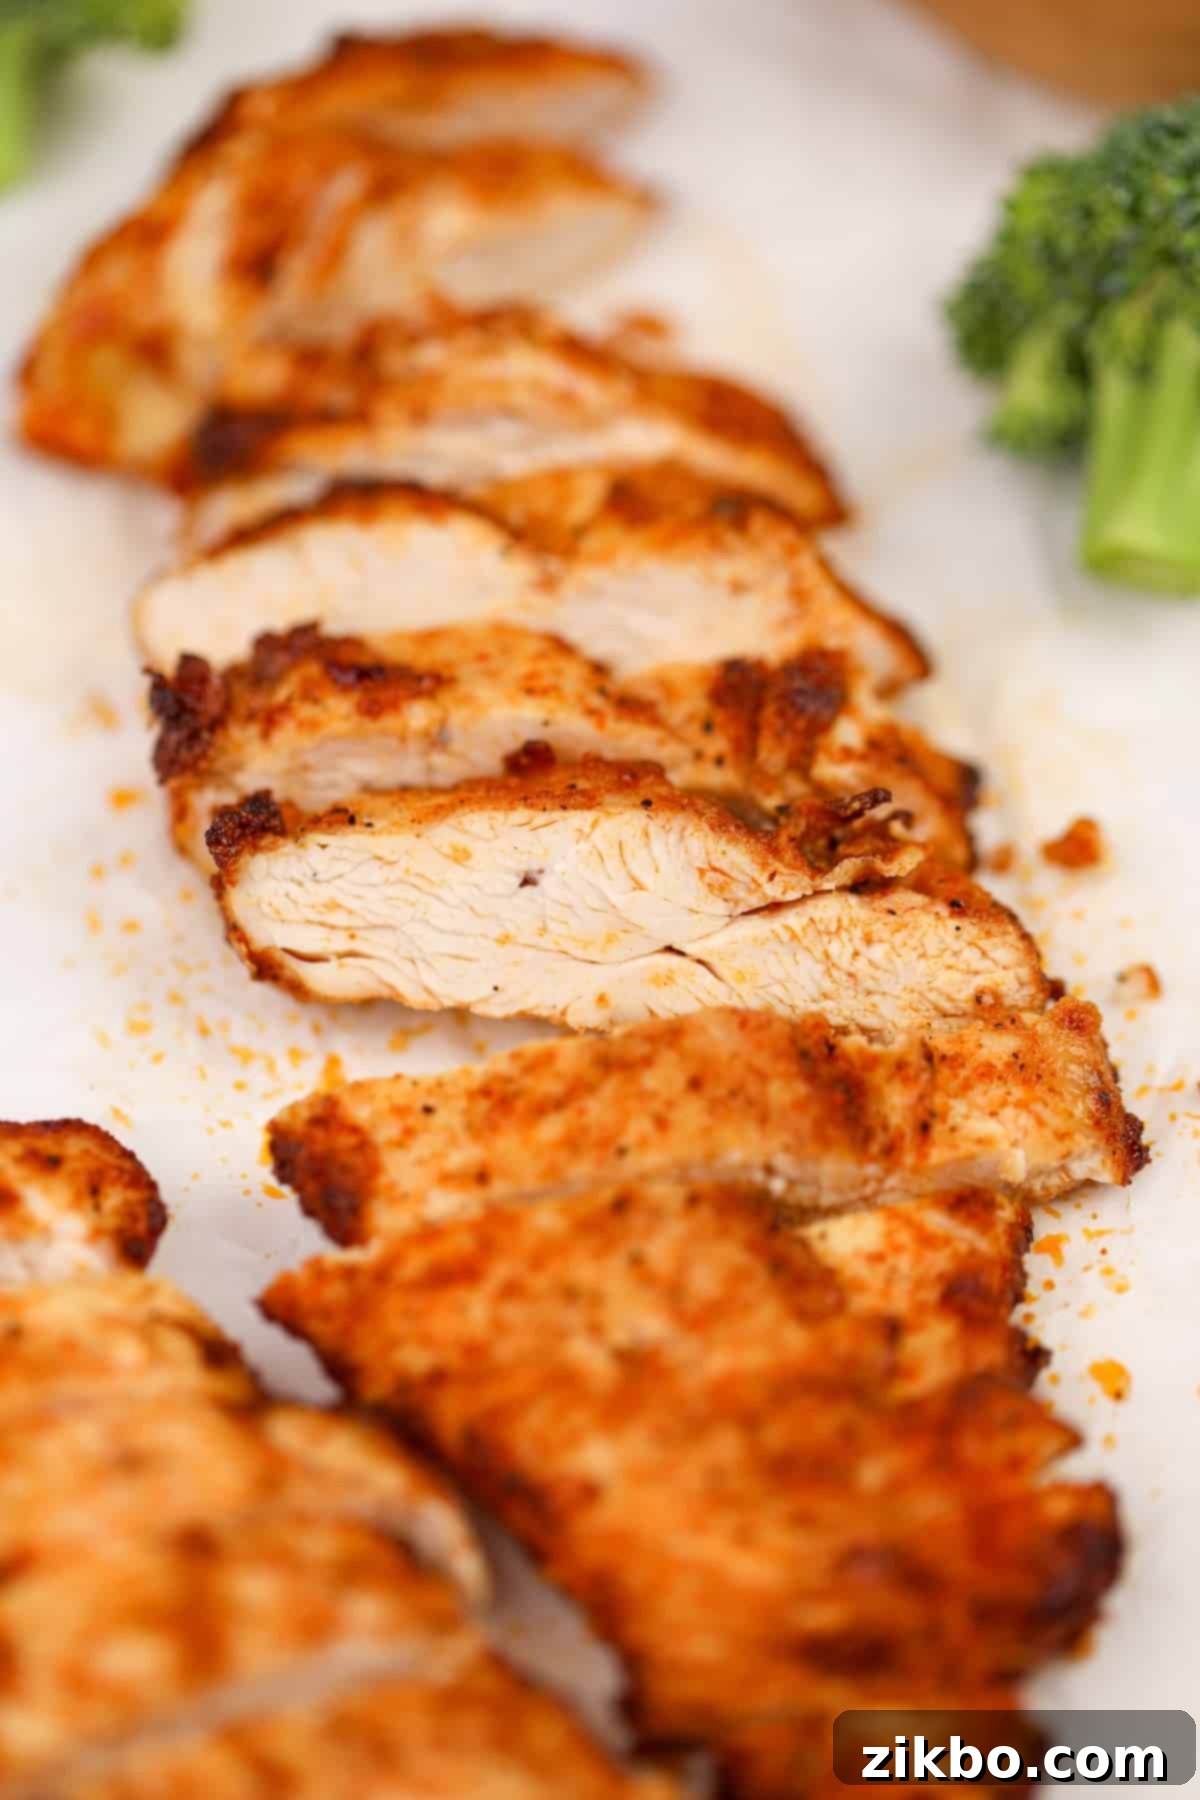
Storing & Freezing Your Meal Prep Chicken
Proper storage is essential to maximize the convenience of your meal prep chicken. Once cooled, transfer any leftovers to an airtight container. It will remain delicious and safe to eat when stored in the refrigerator for up to 3 days. To reheat, you can use a microwave for quick warming or a skillet over medium heat. If using a skillet, add a splash of water, broth, a bit of sauce, or a tiny amount of oil to prevent drying out and help the chicken rehydrate, ensuring it heats through evenly and retains its moisture.
Freezing for Longer Storage
For an even longer-lasting protein option, you can freeze your cooked air fryer chicken for up to 2 months! This is a fantastic way to stock up and have healthy protein available for instant meals whenever you need it.
If you prefer to have chicken strips or cubes readily available, you can freeze them in a specific way to prevent clumping. First, arrange the sliced chicken pieces in a single layer on a parchment-lined baking sheet. Freeze them until they are solid (this usually takes 1-2 hours). Once frozen, transfer the individual pieces to a freezer-safe bag or container. This flash-freezing method allows you to grab just the amount you need without thawing the entire batch. Reheat them from frozen as needed, or simply add them frozen to your meal prep containers in the morning – they should thaw beautifully by lunchtime, ready for a quick reheat if desired.
Top Meal Prep Tips for Air Fryer Chicken
- Customize Your Cut: After the chicken has rested and is perfectly juicy, you have the flexibility to slice it into various forms. Cut it into thin strips for wraps and fajitas, dice it into cubes for salads and stir-fries, or even shred it for sandwiches and tacos. You can also leave the cutlets whole for a heartier meal. This adaptability makes it an incredibly versatile component for any meal.
- Strategic Storage: Always keep your cooked chicken refrigerated in an airtight container until you’re ready to use it. For longer-term planning, freezing is an excellent option. Label your frozen chicken with the date to ensure optimal freshness.
- Season in Advance for Deeper Flavor: To truly maximize the flavor punch, consider seasoning your chicken 12-18 hours before cooking. Simply mix the oil and seasonings, toss it with the chicken pieces until well coated, and then transfer the seasoned chicken to a covered container or a freezer bag. Refrigerate it overnight or for up to 18 hours. This allows the spices to deeply penetrate the meat, resulting in an even more intensely flavorful and tender chicken. If you’re short on time, don’t worry – cooking immediately will still yield delicious results!
- Explore Serving Ideas: Don’t limit yourself! The beauty of this chicken is how easily it integrates into almost any meal. Check out our comprehensive list of ideas below for endless ways to incorporate this cooked chicken into your favorite healthy meals and snacks.
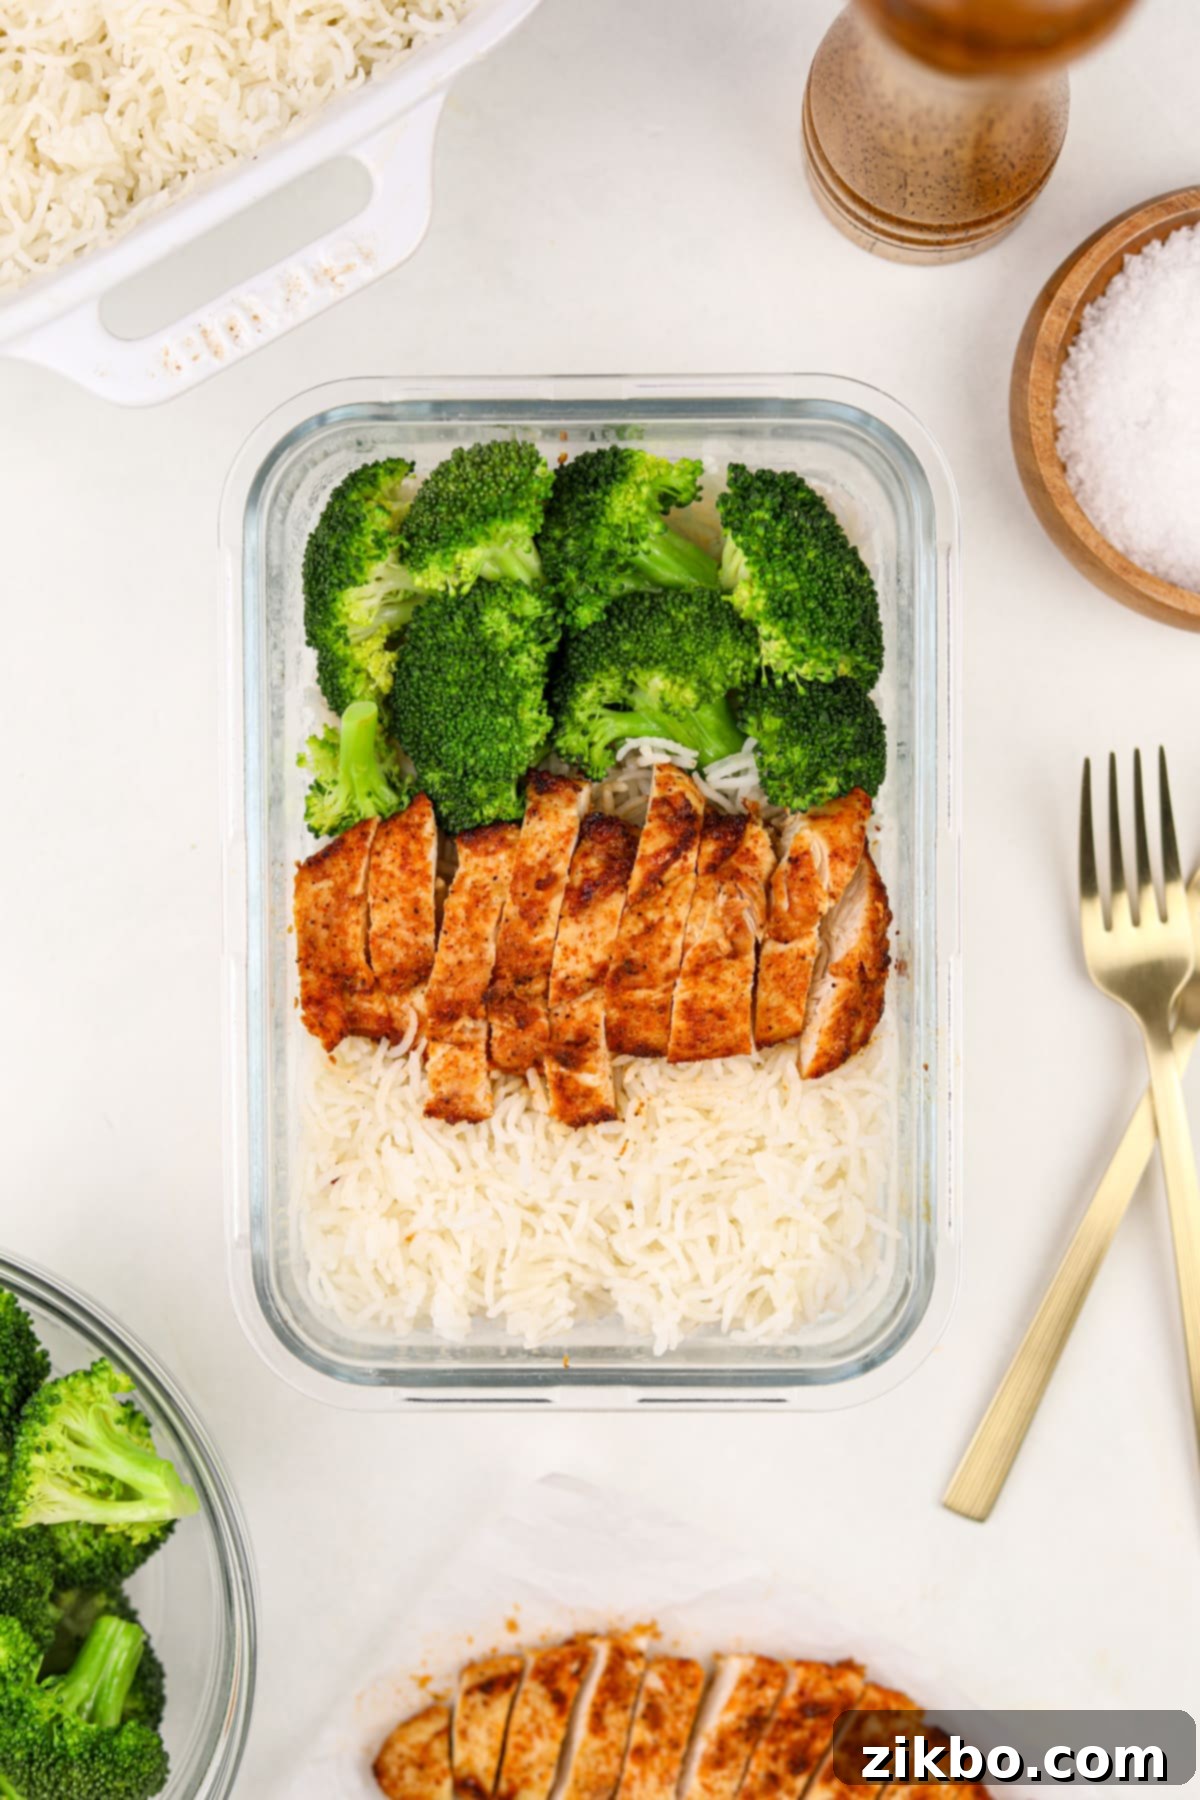
Creative Ways to Use Your Cooked Air Fryer Chicken in Meal Prep
Having perfectly seasoned and cooked chicken readily available is an absolute game-changer for effortlessly adding versatile, high-quality protein to your favorite meals and snacks throughout the week. Here are some of our top favorite ways to utilize this incredibly adaptable leftover chicken:
- Revitalize Your Salads: Slice or dice the chicken and place it generously on top of any salad for an instant protein boost, turning a light side into a satisfying main course.
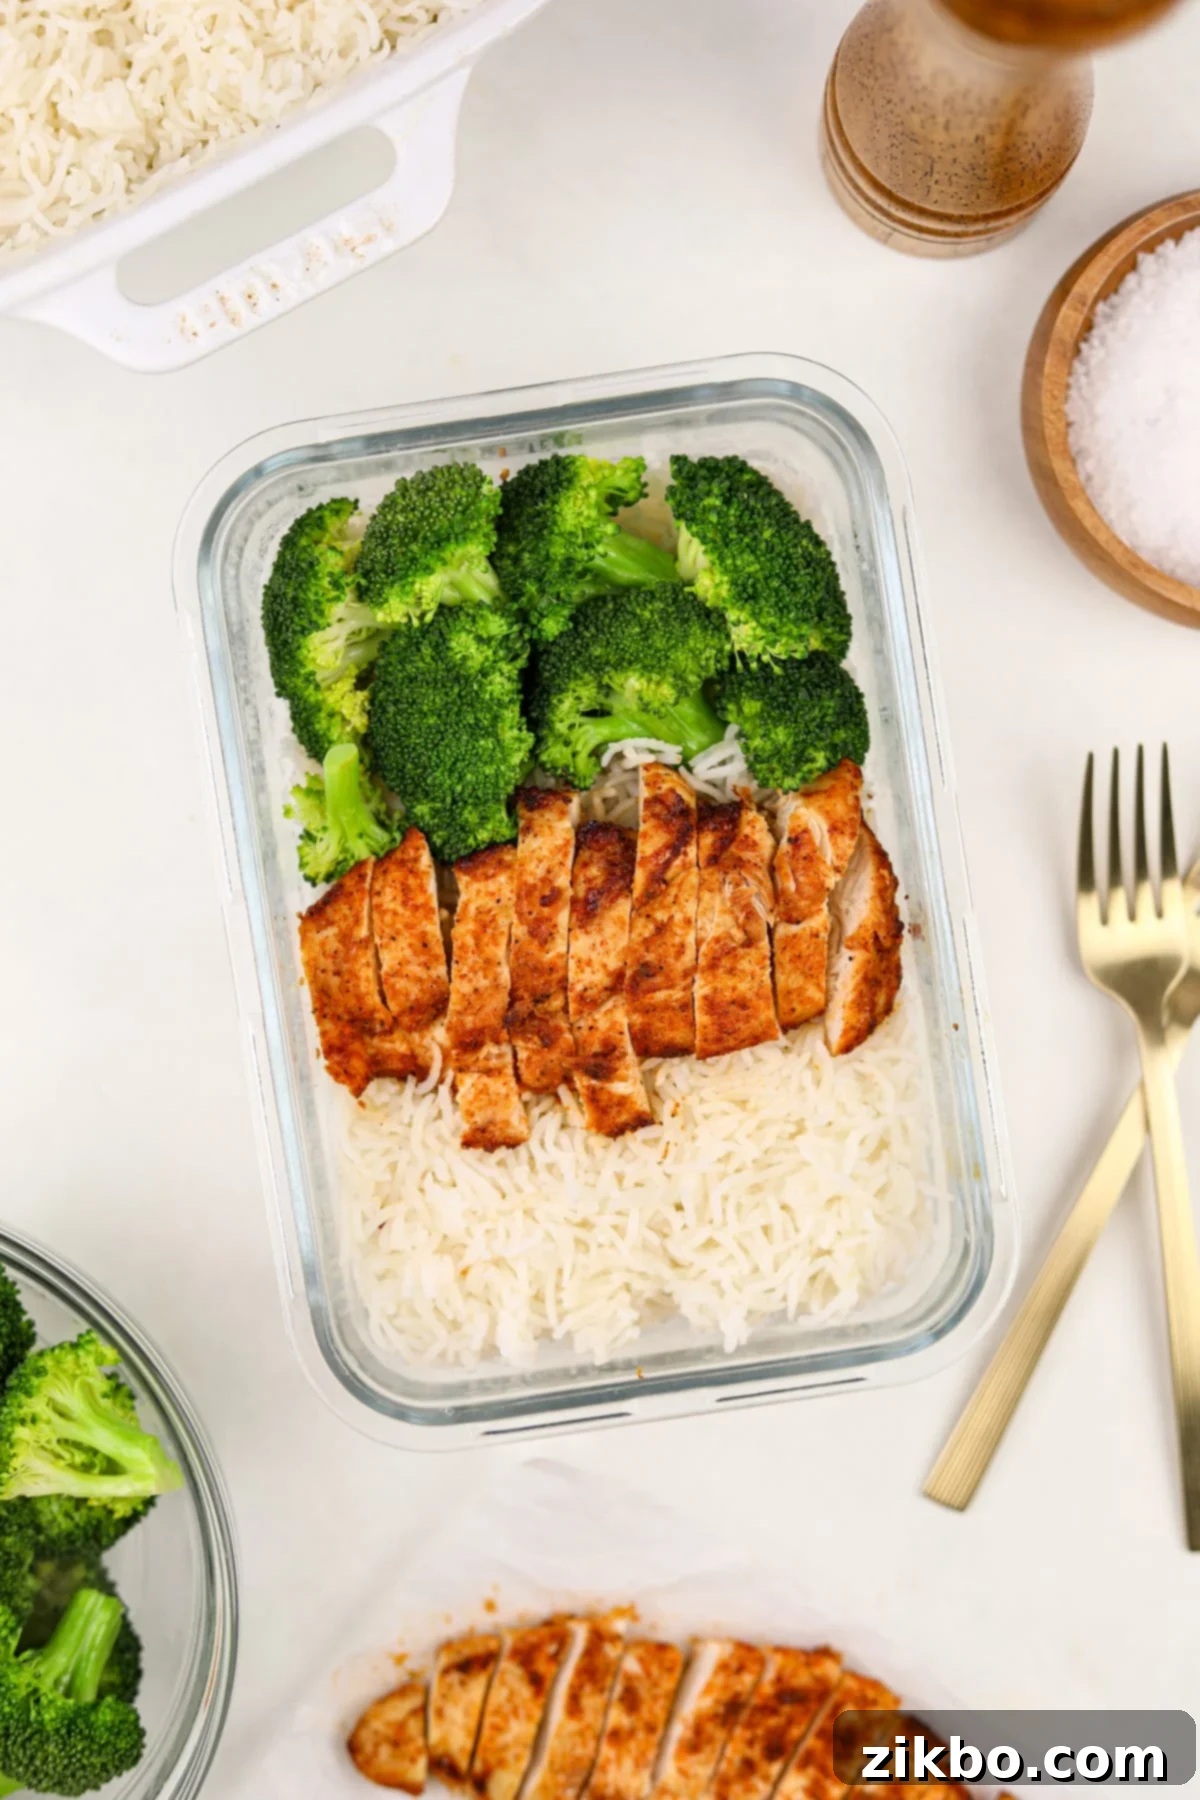
- Classic Rice Bowls: Pair it with fluffy cooked rice (or a low-carb cauliflower rice alternative) and a side of steamed broccoli or your favorite roasted vegetables for a balanced and wholesome meal.
- Flavorful Wraps & Sandwiches: Wrap strips of chicken in a flour tortilla (or a low-carb tortilla) with fresh veggies, crunchy sprouts, and a sprinkle of cheese for a quick and satisfying lunch. It’s also fantastic in grilled paninis or open-faced melts.
- Dynamic Dinner Starter: Use it as a convenient base for quick fajitas, adding sautéed peppers and onions, or toss it into pasta dishes with your favorite sauce for an instant protein upgrade.
- Boost Your Stir-Fries: Add cubed or sliced chicken to your favorite stir-fry recipes during the last few minutes of cooking for a speedy and protein-packed meal. It’s also excellent in chicken fried rice.
- High-Protein Snacks: Shred or finely chop the chicken and mix it into Greek-yogurt based dips for a high-protein, satisfying snack or light meal.
- Homemade Chicken Nuggets: Cut the cooked chicken into bite-sized cubes and serve them as delicious, unbreaded chicken nuggets. They’re perfect with your favorite creamy dipping sauce – we especially love a refreshing Greek yogurt ranch dip.
Complementary Favorite Sides to Pair with Air Fryer Chicken
These sides are not only delicious but also easy to incorporate into your meal prep routine, creating well-rounded and satisfying meals:
- Cooked Rice: Whether white, brown, or cauliflower rice, it’s a versatile and satisfying base.
- Protein Pasta: A great way to boost the protein content of your meal even further.
- Steamed or Roasted Veggies: Broccoli, asparagus, bell peppers, zucchini, or green beans are always excellent choices.
- Low Carb Tortillas or Wraps: Perfect for creating quick and easy chicken wraps or soft tacos.
- Roasted Baby Potatoes: Crispy on the outside, fluffy on the inside, they make a hearty side.
- Baked Potatoes: Prepare a large batch and reheat as needed for a simple yet fulfilling side.
- Raw Sliced Veggies: Bell peppers, mushrooms, baby carrots, and radishes offer a refreshing crunch and essential nutrients.
- Veggie-Packed Salads: A light and fresh accompaniment that adds fiber and vitamins.
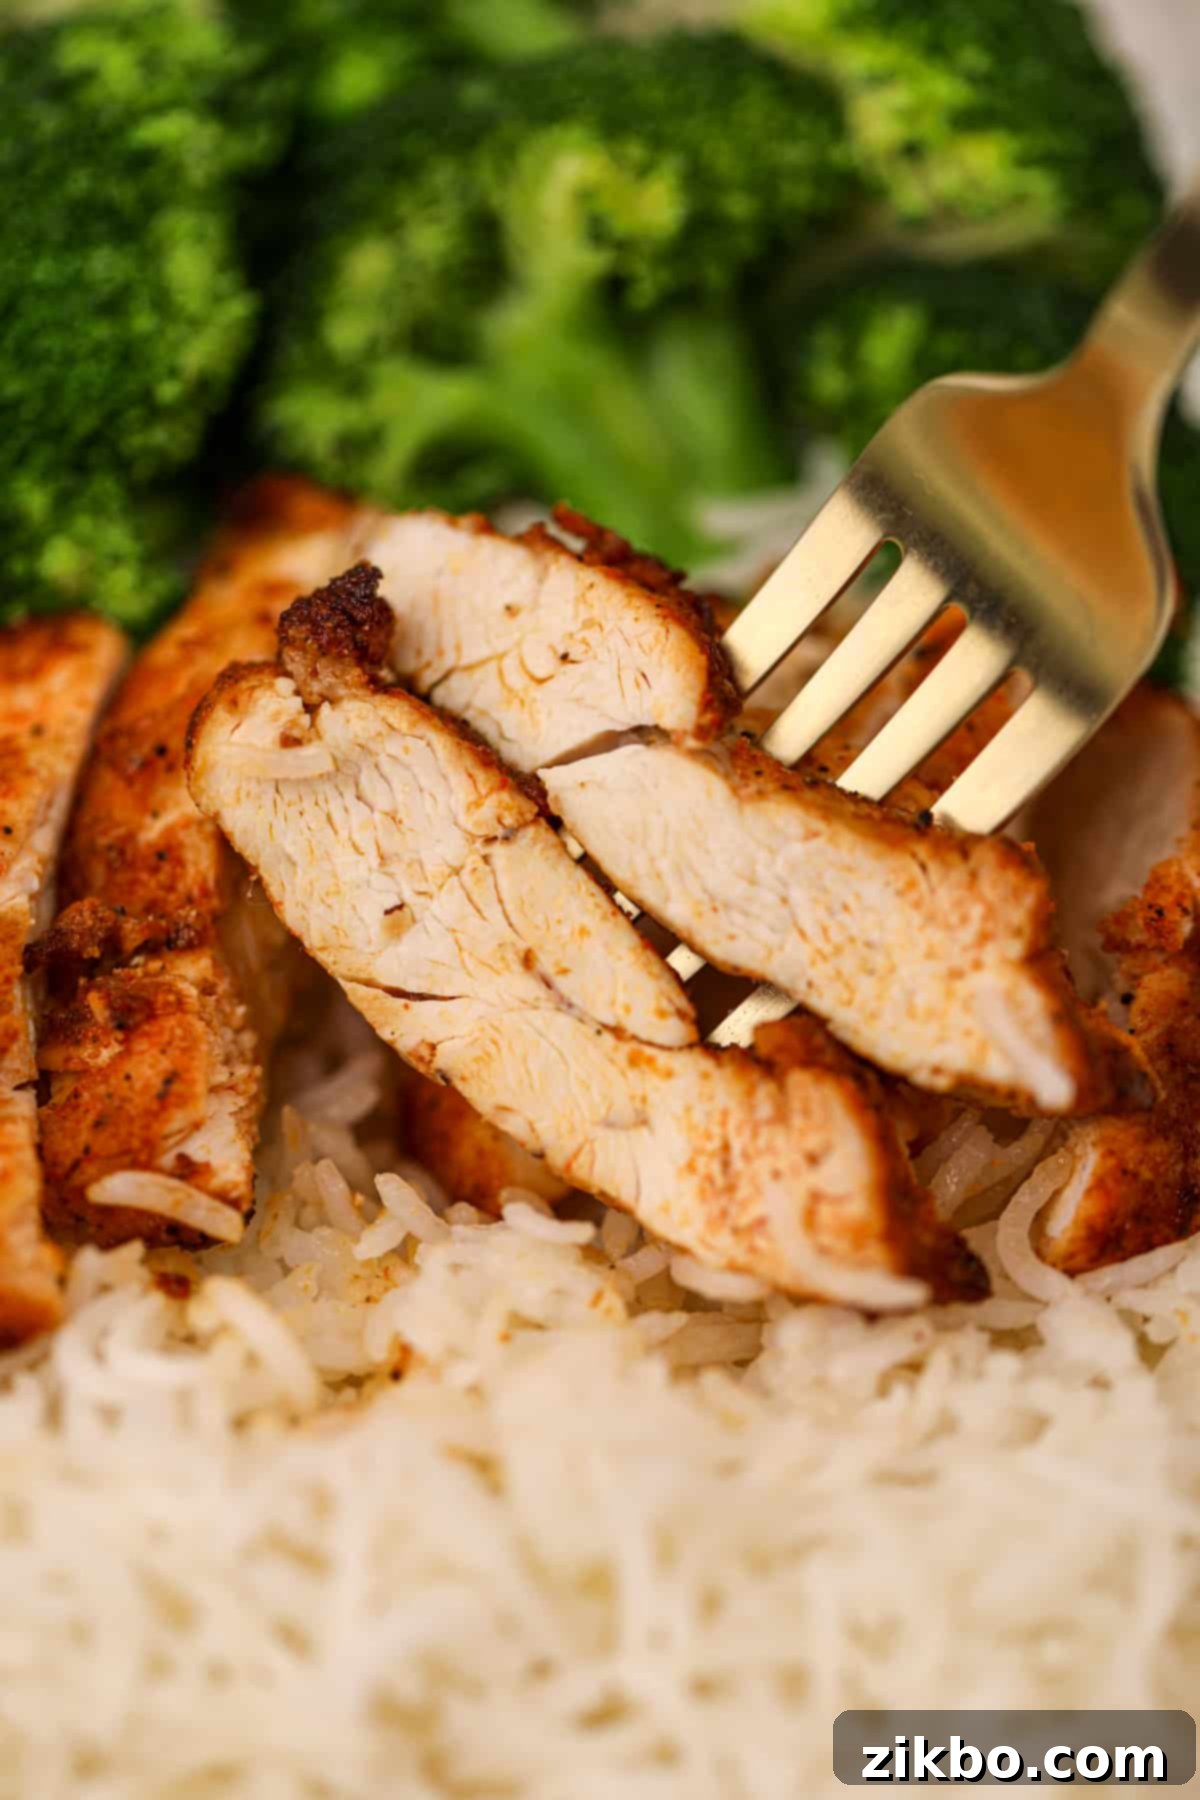
Expert Tips for Air Frying Perfect Meal Prep Chicken Every Time
- Always Cook as Cutlets First, Then Slice: Through extensive testing, I’ve found that slicing the chicken into strips or cubes before cooking often results in drier, chewier pieces, even with reduced cooking times. This is because smaller pieces have more surface area exposed to the hot air, leading to faster moisture loss. For the juiciest results, cook the chicken as whole cutlets (thinner, butterflied breasts) first, and then slice them into desired shapes after they have rested. This method locks in moisture, ensuring tender and succulent chicken.
- Thickness is Key for Even Cooking: The secret to chicken that is both crispy on the outside and perfectly cooked through on the inside lies in uniform thickness. Slicing your chicken breasts into thinner cutlets (about ¾-1 inch thick) is the ideal approach. Full-sized, thick chicken breasts require a significantly longer cooking time, which can lead to the exterior drying out before the center is fully cooked. Thin cutlets ensure quick and even heat penetration, guaranteeing a consistent texture throughout.
- Marination Boosts Flavor (If You Have Time): While this recipe is designed to be quick and flavorful without extensive marination, allowing the chicken to “marinate” in the oil and seasoning mixture for an extra 15 minutes (or even up to an hour in the refrigerator) can significantly boost the depth of flavor. The spices have more time to meld and penetrate the meat, resulting in an even more aromatic and delicious final product. However, if time is a constraint, don’t worry – the chicken will still taste fantastic cooked immediately!
- Always Use Raw, Thawed Chicken: The rapid circulation of hot air in the air fryer is fantastic for cooking raw chicken quickly and efficiently. However, I have not found a reliable way to cook frozen chicken breasts in the air fryer that cooks all the way through evenly without drying out the exterior or leaving the center undercooked. For the best and safest results with this recipe, always use raw chicken. If your chicken is frozen, ensure it is fully thawed in the refrigerator before proceeding with the recipe.
- Don’t Overcrowd the Basket: This is a golden rule for air frying. Overcrowding prevents proper air circulation, which is essential for achieving that signature crispy texture. Cook the chicken in a single layer, leaving a small space between each piece. If necessary, cook in multiple batches. Patience with this step will reward you with perfectly crispy chicken every time.
Smart Substitutions & Variations
- Chicken Thighs for a Different Texture: While our recipe highlights chicken breasts for their lean profile and tenderness, boneless, skinless chicken thighs can be used as a delicious alternative. We tested thighs, and they did taste great, offering a richer, more succulent flavor due to their higher fat content. However, the texture was indeed a bit chewier compared to the breasts, which some dark meat lovers actually prefer. If opting for thighs, use about 1 pound, flatten them slightly, and cook in batches as directed. Keep in mind that chicken thighs often benefit from being cooked to a slightly higher internal temperature (170-175ºF) for optimal texture, so you may need to add a few extra minutes to the cooking time depending on their thickness and your air fryer model.
- Unleash Your Favorite Seasoning Blends: Feel empowered to truly make this recipe your own by swapping out our recommended seasonings for your favorite commercial or homemade blends! Simply omit the paprika, garlic powder, and onion powder, and use 1-2 tablespoons of your chosen blend instead. It’s crucial, however, to ensure you still include at least 1 tablespoon of oil, and add salt and pepper if your chosen seasoning blend doesn’t already contain them. We’ve successfully experimented with Kinder’s Buttery Steakhouse, classic Italian seasoning, zesty Ranch seasoning, and spicy taco seasoning – all yielding fantastic and diverse results!
- Alternative Oils: If avocado oil isn’t available, don’t fret! You can easily use other oils with a moderate to high smoke point. Excellent substitutes include olive oil, vegetable oil, canola oil, grapeseed oil, or sunflower oil. The key is choosing an oil that can withstand the high temperatures of the air fryer without smoking or imparting an off-flavor.
More Delicious Air Fryer Recipes for Your Meal Prep Needs:
If you’re loving the convenience and delicious results of air frying, expand your meal prep repertoire with these other fantastic air fryer recipes:
- Air Fryer Chicken and Vegetables
- Air Fryer Salmon Bites
- Air Fryer Bacon
- Air Fryer Sweet Potato Cubes
If you loved this recipe for meal prep chicken in the air fryer, I’d be thrilled to hear about it! Please consider leaving a 5-star review below or tagging me on Instagram @dashfordinner to share your delicious creations. Your feedback helps others discover and enjoy these recipes too!
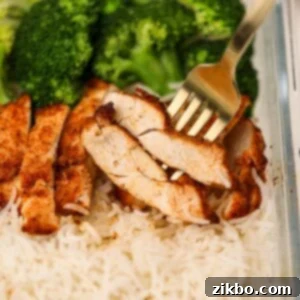
Air Fryer Meal Prep Chicken
This easy and flavorful Air Fryer Meal Prep Chicken is juicy on the inside, with crispy bits on the outside. Made with simple ingredients, it’s perfect for healthy meal planning!
5 from 1 vote
📍 Pin
⭐ Rate
Ingredients
Instructions
- Preheat your air fryer to 375ºF (190ºC) for at least 3 minutes, following your specific model’s instructions.
- Add 1 tablespoon of avocado oil (or olive oil) to a medium-sized bowl.
- Add paprika, garlic powder, onion powder, salt, and black pepper to the bowl with the oil. Stir well to combine the oil and seasonings into a thick paste.
- Place the chicken pieces into the bowl of oil and seasonings, and toss thoroughly to ensure all chicken tenders are evenly coated.
- Optional: For enhanced flavor, allow the chicken to “marinate” in the seasoning for 10-15 minutes at room temperature, or longer in the refrigerator.
- Transfer the seasoned chicken pieces into the preheated air fryer basket (or onto a parchment-lined tray) in a single layer, ensuring ample space between each piece for optimal air circulation. Cook in batches if needed to avoid overcrowding.
- Cook for 10-14 minutes total, flipping the chicken halfway through (approximately 5-7 minutes per side) to ensure even browning and crispiness.
- The chicken is fully cooked when it reaches a minimum internal temperature of 165ºF (74ºC) in its thickest part, as measured with a digital meat thermometer. Remove cooked chicken from the air fryer.
- Repeat with any remaining chicken pieces until all are cooked.
- Allow the cooked chicken to rest for 5-10 minutes before slicing or serving. This allows the juices to redistribute, keeping the chicken tender and moist.
- For meal prep, cool the chicken for 10-15 minutes, then transfer to airtight containers, or slice into bite-sized pieces and refrigerate for up to 3 days. For longer storage, freeze for up to 2 months.
Did you try this recipe?
Tag me at @dashfordinner and share your photos!
Notes
- Some air fryer models only set temperatures in intervals of 10ºF. For these models, use 380ºF (round up if needed).
- Slicing chicken breasts into cutlets: Use a sharp knife to carefully divide the chicken breasts in half widthwise, splitting each breast into two thinner pieces. Always work carefully to prevent injury. For added convenience, you can purchase pre-sliced cutlets from your grocery store.
- Serving ideas: This versatile chicken is fantastic in salads, wraps, sandwiches, served alongside rice and veggies, incorporated into stir-fries, with cauliflower rice, mixed into pasta (or protein pasta), and even in fajitas.
- Using your favorite seasoning blends: Feel free to replace the listed seasonings with 1-2 tablespoons of your preferred seasoning blend. Remember to include the specified amount of oil, and add salt and pepper if your chosen blend does not already contain them.
- Chicken thighs: This recipe works well with boneless, skinless chicken thighs, though their texture will be slightly chewier. Dark meat is often preferred when cooked to an internal temperature of 170-175ºF. You might need to add a few extra minutes to the cooking time, depending on the thickness of the thighs and your air fryer model.
Nutrition (per serving)
Carbohydrates: 1g |
Protein: 24g |
Fat: 6g |
Saturated Fat: 1g |
Polyunsaturated Fat: 1g |
Monounsaturated Fat: 3g |
Trans Fat: 0.01g |
Cholesterol: 72mg |
Sodium: 568mg |
Potassium: 435mg |
Fiber: 0.2g |
Sugar: 0.1g |
Vitamin A: 219IU |
Vitamin C: 1mg |
Calcium: 9mg |
Iron: 1mg
Please note that some of my blog posts here at Dash for Dinner may contain affiliate links. If you make a purchase through these links, I will get a small commission at no additional cost to you. Please see my Disclaimer for more information.
