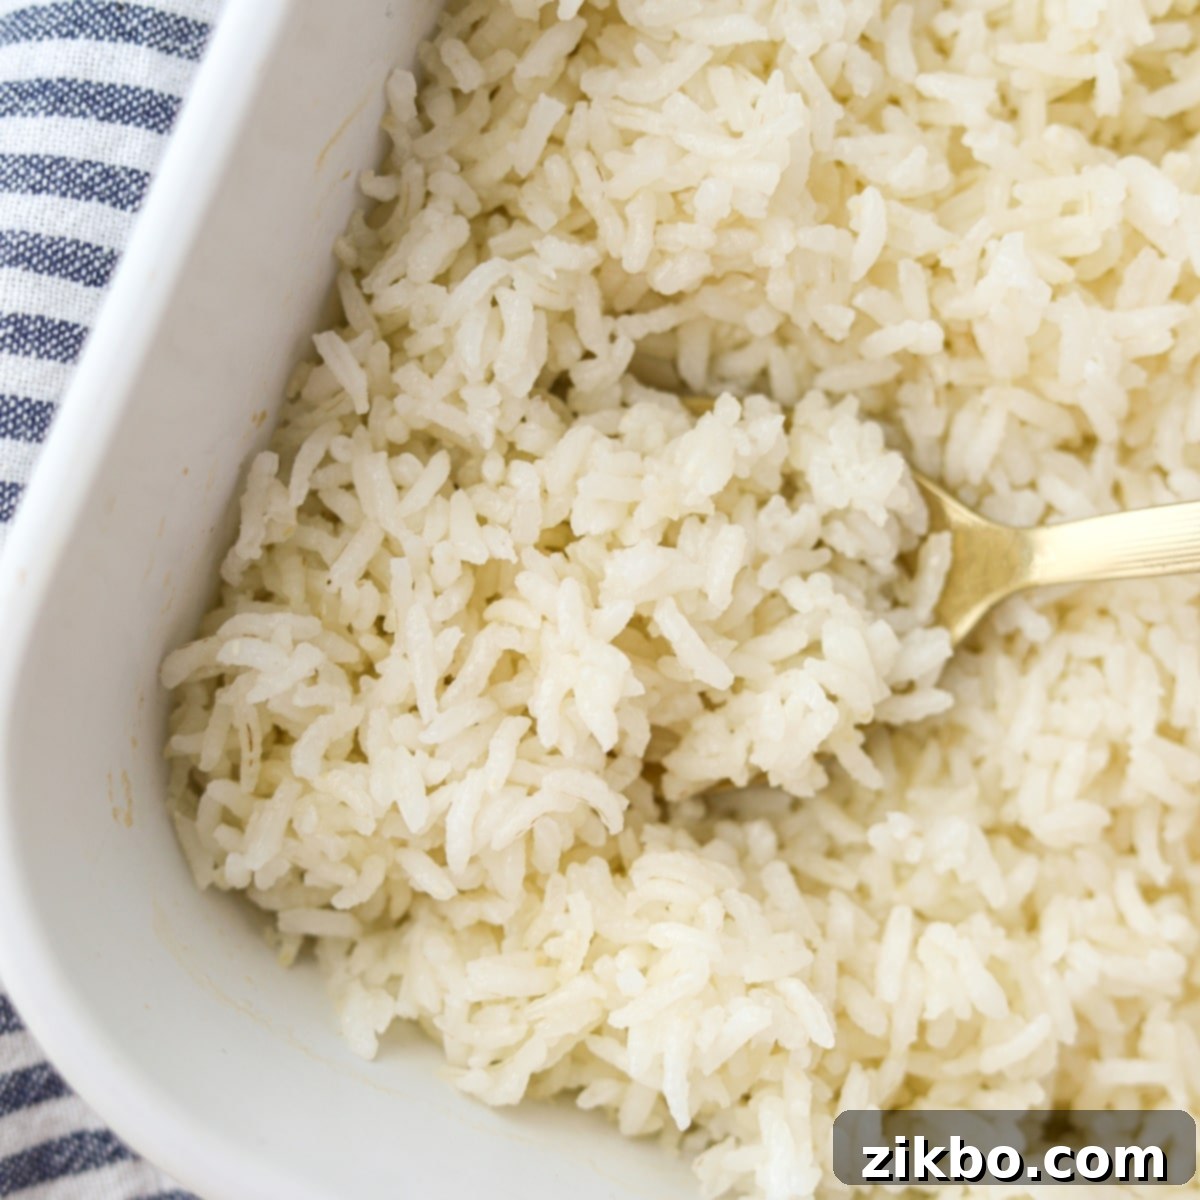
The Easiest Baked Rice Recipe: Perfectly Fluffy Grains, No Pot Watching Needed
Tired of babysitting a pot of rice on the stovetop, only to end up with a sticky, burnt mess or undercooked grains? This incredibly easy recipe for Baked Rice offers the ultimate hands-off method for preparing this essential dinnertime staple. Imagine perfectly cooked, fluffy rice without the constant stirring or fear of overflowing. Simply combine your ingredients, let the oven do its magic, then fluff and serve!
If you’re looking for a foolproof way to achieve consistently delicious rice with minimal effort, this oven-baked method is about to become your new kitchen hero. It’s time to reclaim your stovetop and simplify your meal prep, ensuring perfectly cooked grains every time.
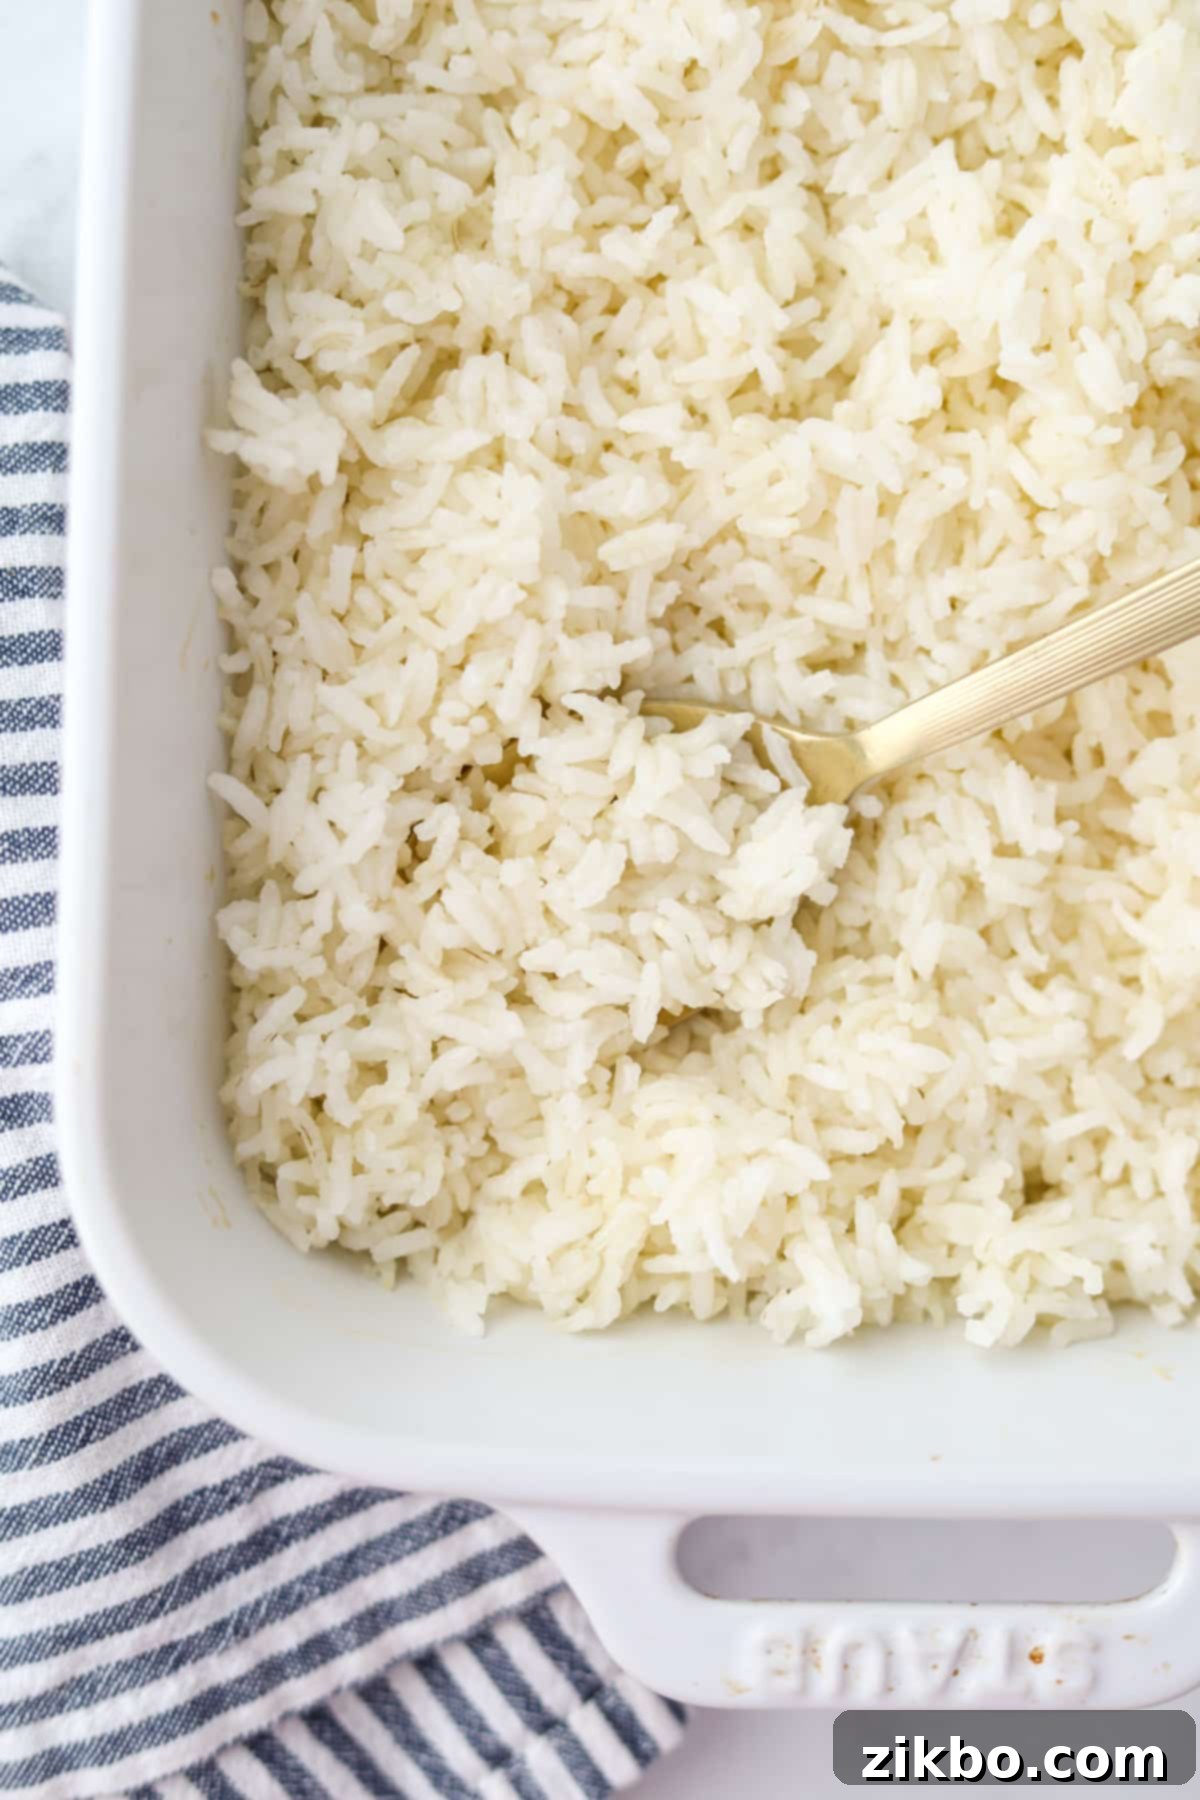
Warm, freshly cooked rice is arguably the perfect side dish for countless meals. Its neutral yet comforting flavor and satisfying texture make it incredibly versatile. Whether you’re serving up a savory stir-fry, hearty meatballs, a comforting batch of homemade chili, or even a simple grilled chicken, a mound of fluffy white rice will undoubtedly elevate the dish and provide a delightful base for soaking up delicious sauces. Learning how to make perfect rice in the oven will revolutionize your dinner routine.
This Baked Rice method is truly the easiest way to make perfect rice, eliminating the need for specialized appliances like a rice cooker or Instant Pot. It boasts a surprisingly short cook time for a hands-off approach, allowing you to focus on other aspects of your meal. Its simple base also makes it incredibly versatile for customization. You can easily infuse extra flavor by swapping water for rich chicken stock or vegetable broth, adding a splash of soy sauce, a hint of bright lemon zest, or a medley of your favorite seasonings. The possibilities are endless to match any cuisine or main course.
However, if you’re anything like me and cherish the simple pleasure of hot, buttered rice, you’ll find this recipe utterly irresistible on its own. It’s so good, you’ll want to eat it straight from the dish by the spoonful – no fancy additions required! This truly is the best way to achieve perfectly fluffy, tender grains with minimal fuss.
Why You’ll Love This Foolproof Baked Rice Recipe
Once you try baking rice in the oven, you might never go back to the stovetop! Here’s why this effortless method will quickly become a favorite in your kitchen for achieving perfect rice every time:
- So Much Easier: Effortless & Hands-Off. The biggest draw of oven-baked rice is its incredible ease and “set it and forget it” convenience. If you’ve ever found cooking rice on the stovetop a bit stressful – grappling with boil-overs, rice sticking to the bottom, or inconsistent results – you’ll adore this hands-off approach. There’s no constant stirring, no worrying about adjusting the heat, and no need for specialized pot-watching; just perfectly cooked, fluffy rice waiting for you.
- Fluffy Rice, Guaranteed Every Time. After extensive testing with various techniques, the boiling water method for baked rice consistently delivers perfectly cooked, distinct, and fluffy grains. Each batch emerges from the oven tender and separated, never mushy or clumpy. It’s a truly reliable recipe that ensures success, providing perfectly soft, separate grains, even for beginner cooks.
- A Versatile & Essential Side Dish. Having a consistently good and easy rice recipe in your culinary repertoire is absolutely essential for any home cook. Rice pairs beautifully with such a vast array of dishes, from weeknight stir-fries and curries to holiday roasts and hearty stews. This simple baked version ensures you always have a reliable, delicious foundation for your family’s favorite meals, making it a perfect side for almost anything.
- No Special Appliances Needed: Simple & Accessible. Forget about investing in a dedicated rice cooker, Instant Pot, or any other gadget. All you need for this recipe is a standard oven, a baking dish (which almost every kitchen already has), and some aluminum foil or a tight-fitting lid. It’s an accessible, no-frills method that anyone can master, proving you don’t need fancy tools for perfectly cooked rice.
Essential Ingredients & Equipment for Oven-Baked Rice
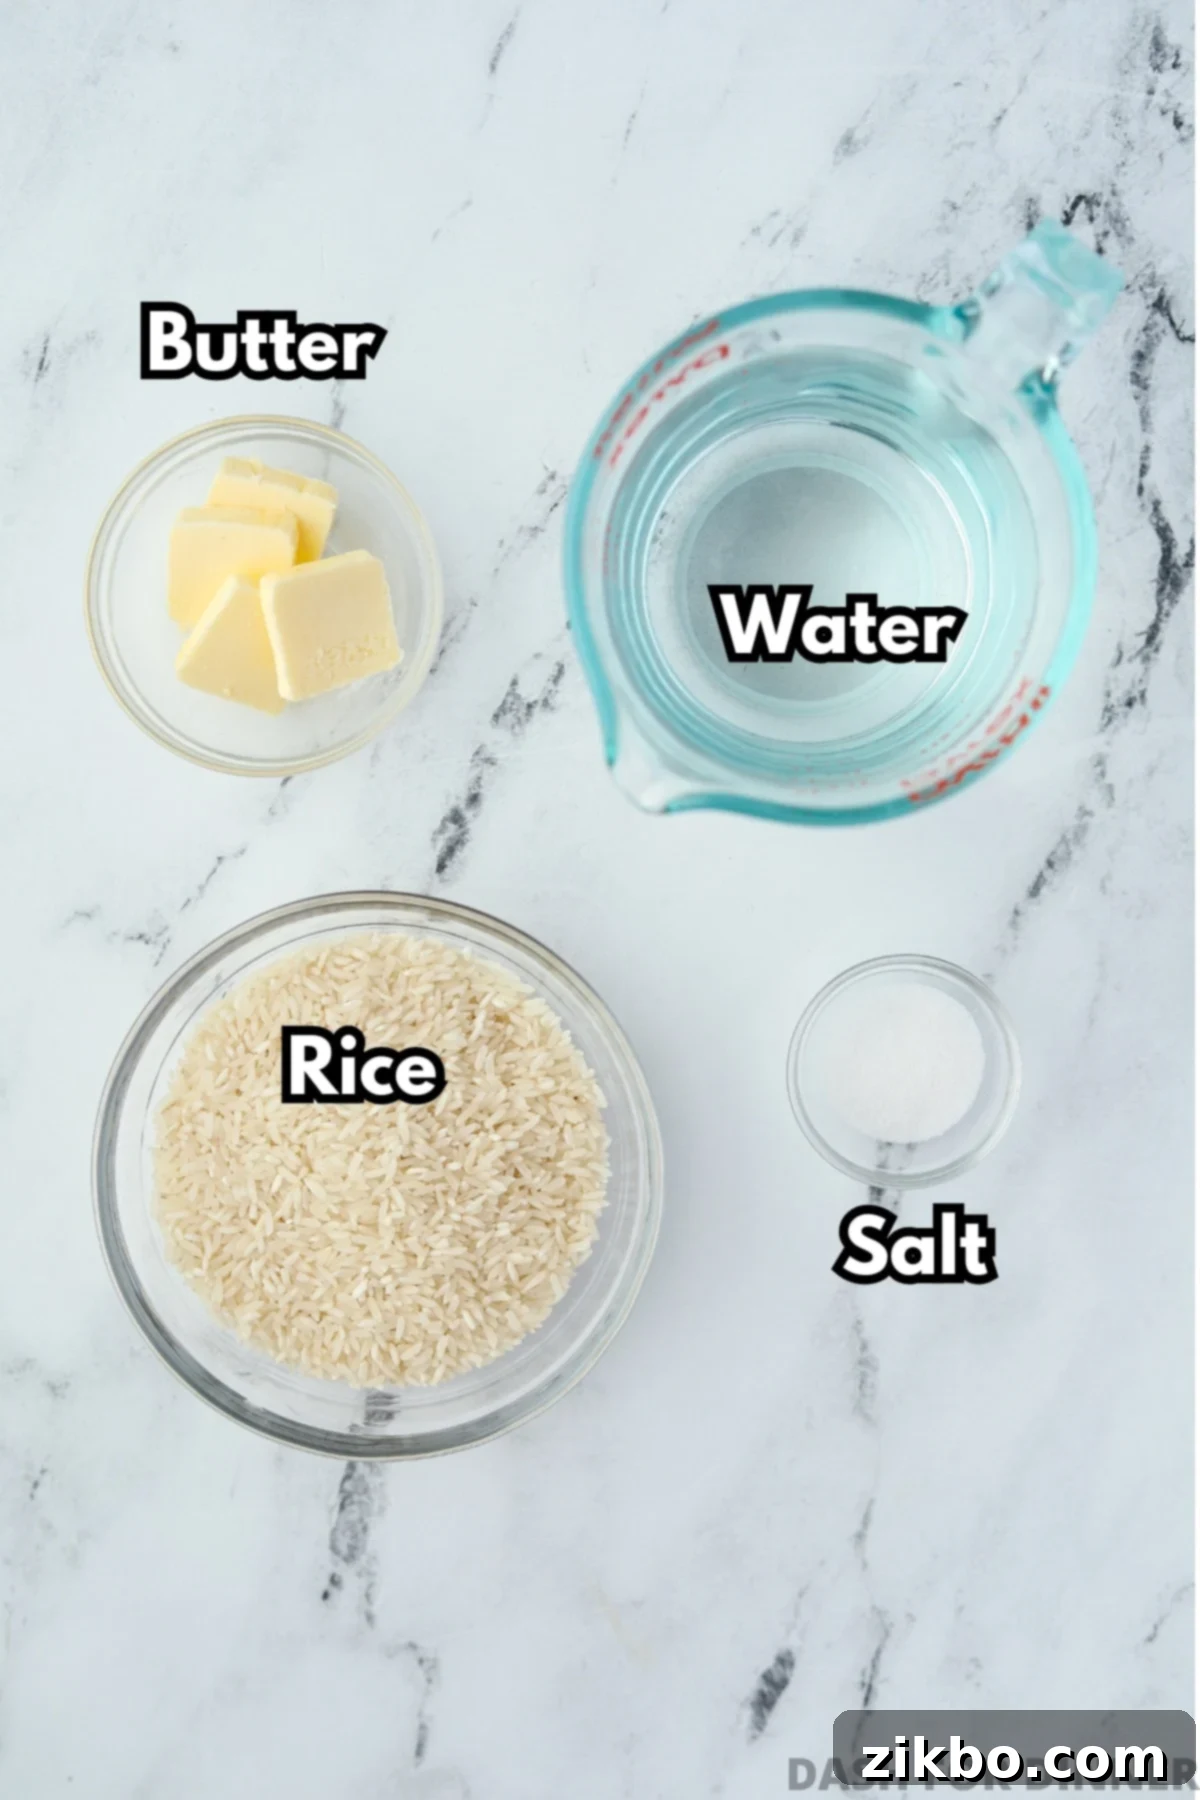
Making incredible, fluffy baked rice requires just a few basic ingredients and standard kitchen tools. Here’s a closer look at what you’ll need for this easy recipe:
- Long-Grain White Rice: The type of rice is crucial for optimal results with this oven-baked method. Always opt for a good quality, uncooked long-grain white rice. Varieties like Basmati and Jasmine rice are excellent choices due to their naturally lower starch content and tendency to cook up fluffy and separate, rather than sticky. This ensures distinct, tender grains. Avoid parboiled (converted) or minute rice, as their pre-processed nature means they require different cooking times and liquid ratios that won’t work with this specific recipe.
- Boiling Water: This is a non-negotiable step for consistently perfect baked rice. You will need a precise ratio of 2 cups of *boiling* water for every 1 cup of uncooked rice. While I experimented with cold and room-temperature water, pre-boiling the water (I typically use an electric kettle for speed and efficiency) yielded the best, most consistent results every single time. It ensures the rice starts cooking immediately at a high temperature, preventing undercooked grains and maintaining a steady temperature throughout the baking process for even absorption.
- Butter (or Olive Oil): For an extra layer of rich flavor and a beautifully improved texture, I highly recommend adding 2 tablespoons of unsalted butter. The fat helps coat the individual rice grains, preventing them from sticking together and contributing to that desirable fluffy, tender outcome. If you prefer a dairy-free or vegan option, a neutral-flavored oil like olive oil or avocado oil can be swapped in at a 1:1 ratio without compromising the texture.
- Salt: A simple yet essential ingredient that makes all the difference! For every 1 cup of rice, about 1 teaspoon of fine salt is ideal. Salt not only enhances the natural flavor of the rice, making it much more palatable, but it also tastes incredibly delicious when eaten plain with butter. Don’t skip this seasoning, as unseasoned rice can taste bland.
Recommended Equipment for Fluffy Oven Rice
You likely already own most of the equipment needed for this straightforward baked rice recipe:
- Medium Baking Dish: A 10.5 x 7.5-inch or 9 x 9-inch baking dish is perfect for a single batch (1 cup of rice). If you plan to double the recipe, a 9 x 13-inch casserole dish will provide ample space. The key is to use a dish with sufficient surface area and depth to allow the rice to spread out and cook evenly without overcrowding. Glass or ceramic dishes work best.
- Aluminum Foil: A tight seal is paramount for trapping steam and ensuring the rice cooks properly. Heavy-duty aluminum foil works wonderfully for creating this seal. Alternatively, if you have a casserole dish or a Dutch oven with a tight-fitting lid, those will also work perfectly for containing the steam.
- Electric Kettle (Optional, but Highly Recommended): While you can boil water on the stovetop, an electric kettle makes the pre-boiling step incredibly quick, safe, and convenient, saving you time and effort in the kitchen.
Choosing the Right Rice: What Kind of Rice Should I Use?
Selecting the correct type of rice is a fundamental step for successful baked rice. For this specific recipe, focused on achieving a light and fluffy texture, stick to these varieties for the best outcome:
- Long Grain White Rice: This is your standard, most reliable option for perfectly separated, non-sticky grains. It’s widely available and consistently performs well in this baked method.
- Basmati Rice: Known for its distinctive nutty aroma and slender grains that elongate and cook up beautifully distinct and fluffy. It’s a premium choice for flavor and texture.
- Jasmine Rice: Another fragrant long-grain option that provides a slightly softer, yet still wonderfully fluffy, texture with a delicate floral scent. It’s excellent for Asian-inspired dishes.
Which Types of Rice Should I Avoid for This Recipe?
While many types of rice can be cooked in the oven, their water ratios, cooking times, and desired textures vary significantly. This recipe is specifically calibrated for long-grain white rice and similar varieties. Therefore, I strongly advise against using the following types with this particular method, as the results will likely not be optimal without major adjustments to liquid and cooking time:
- Brown Rice: This whole grain rice requires significantly more water and a much longer cooking time (often double) due to its intact bran layer. It will not cook properly with the instructions provided.
- Minute Rice (Instant Rice): This rice is pre-cooked and dehydrated, designed for rapid stovetop preparation. Its quick-cooking nature means it requires entirely different liquid needs and will turn mushy in the oven.
- Parboiled Rice (Converted Rice): Also partially pre-cooked under pressure, parboiled rice has a firmer texture and different absorption properties. While it can be baked, this recipe’s ratios won’t yield the best results for it.
- Wild Rice: Botanically a grass, not a true rice, wild rice has a very long cooking time (often 45-60 minutes or more) and a distinct chewy texture. It is not suitable for this quick-bake method.
- Short-Grain Rice (e.g., Sushi Rice, Arborio Rice): These varieties are much starchier and are specifically intended to be sticky or creamy (like risotto). Using them here would result in a clumpy, undesirably sticky mess, which is the opposite of the fluffy result we’re aiming for.
- Medium-Grain Rice: Falls between long and short grain and also tends to be stickier and less fluffy than true long-grain varieties, making it less ideal for this recipe.
How to Cook Fluffy Rice in the Oven: Step-by-Step Guide
Follow these simple, easy-to-understand steps for perfectly cooked, fluffy rice every single time. It’s truly a game-changer for hassle-free meal prep!
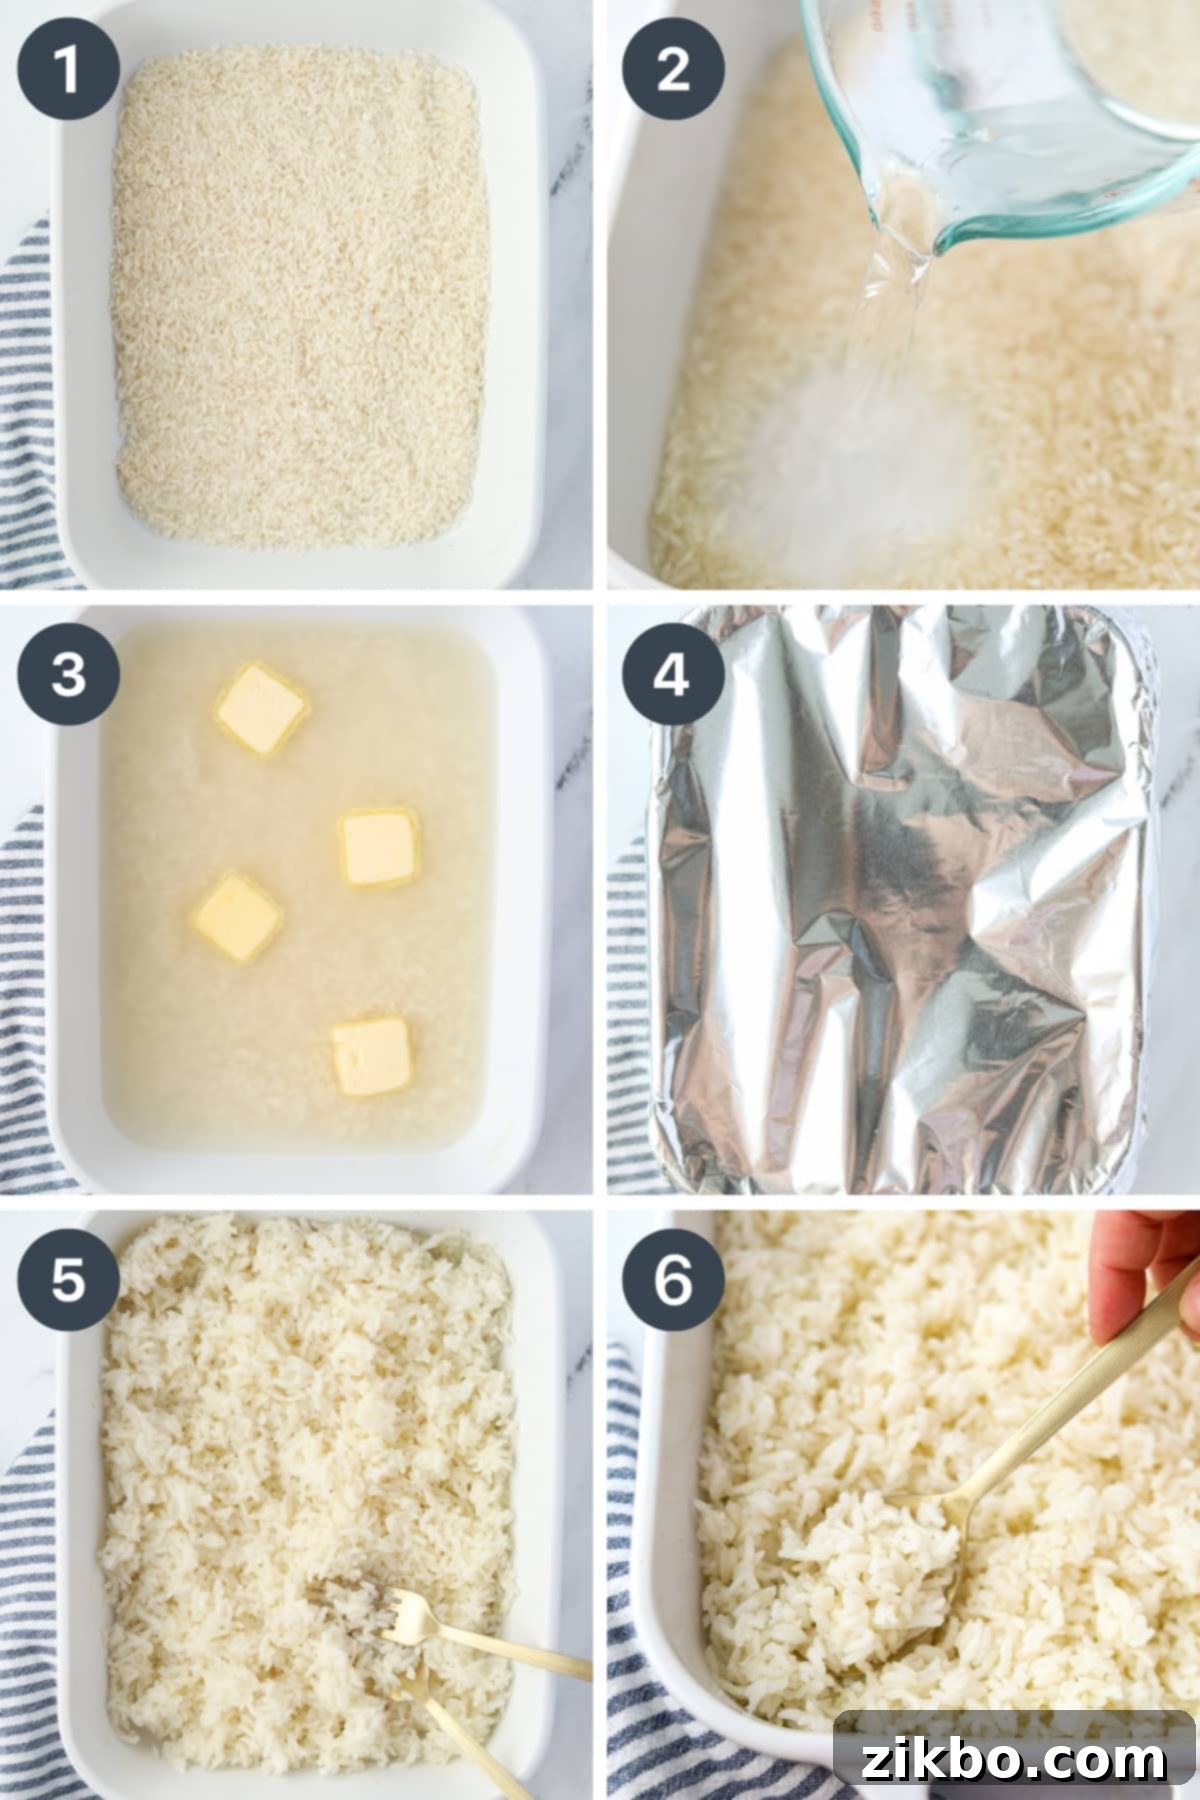
- Prepare the Oven and Baking Dish: Begin by preheating your oven to a steady 400ºF (204ºC). While the oven heats, lightly grease your chosen medium baking dish (a 9×9 inch or 10.5 x 7.5 inch dish is ideal for one cup of rice) to prevent any sticking and ensure easy serving later.
- Combine Dry Ingredients: Carefully add 1 cup of uncooked long-grain white rice (such as Basmati or Jasmine) to the prepared baking dish. Sprinkle in 1 teaspoon of fine salt. Using a spoon or fork, stir thoroughly to ensure the salt is evenly distributed among all the rice grains.
- Add Boiling Water: Bring 2 cups of water to a rolling, vigorous boil. This step is crucial for consistent results – an electric kettle makes this quick and convenient. Carefully pour the boiling water directly over the rice and salt mixture in the baking dish. Give it one more gentle stir to combine all the ingredients.
- Introduce Butter: Cut 2 tablespoons of unsalted butter into 4 small, even pieces. Distribute these butter pieces evenly across the surface of the rice and water mixture. As it bakes, the butter will melt, infusing the rice with a rich flavor and contributing to a wonderfully fluffy texture.
- Seal Tightly and Bake: This is a critical step! Cover the casserole dish *very tightly* with aluminum foil. For an extra secure seal that traps maximum steam, you can use two layers of heavy-duty foil. If you’re using a Dutch oven or a casserole dish with its own tight-fitting lid, ensure it’s securely in place. Bake in the preheated 400ºF (204ºC) oven for exactly 26-28 minutes. Resist the urge to peek!
- Check for Liquid Absorption: After the initial 26-28 minutes, carefully remove the dish from the oven. Gently lift the foil (be extremely cautious of the hot steam that will escape!) and check if all the liquid has been absorbed by the rice. The rice should look plump and the surface should appear dry. If there’s still a small amount of liquid visible, return the dish to the oven, *uncovered* this time, for an additional 2-5 minutes, or until all moisture is completely gone.
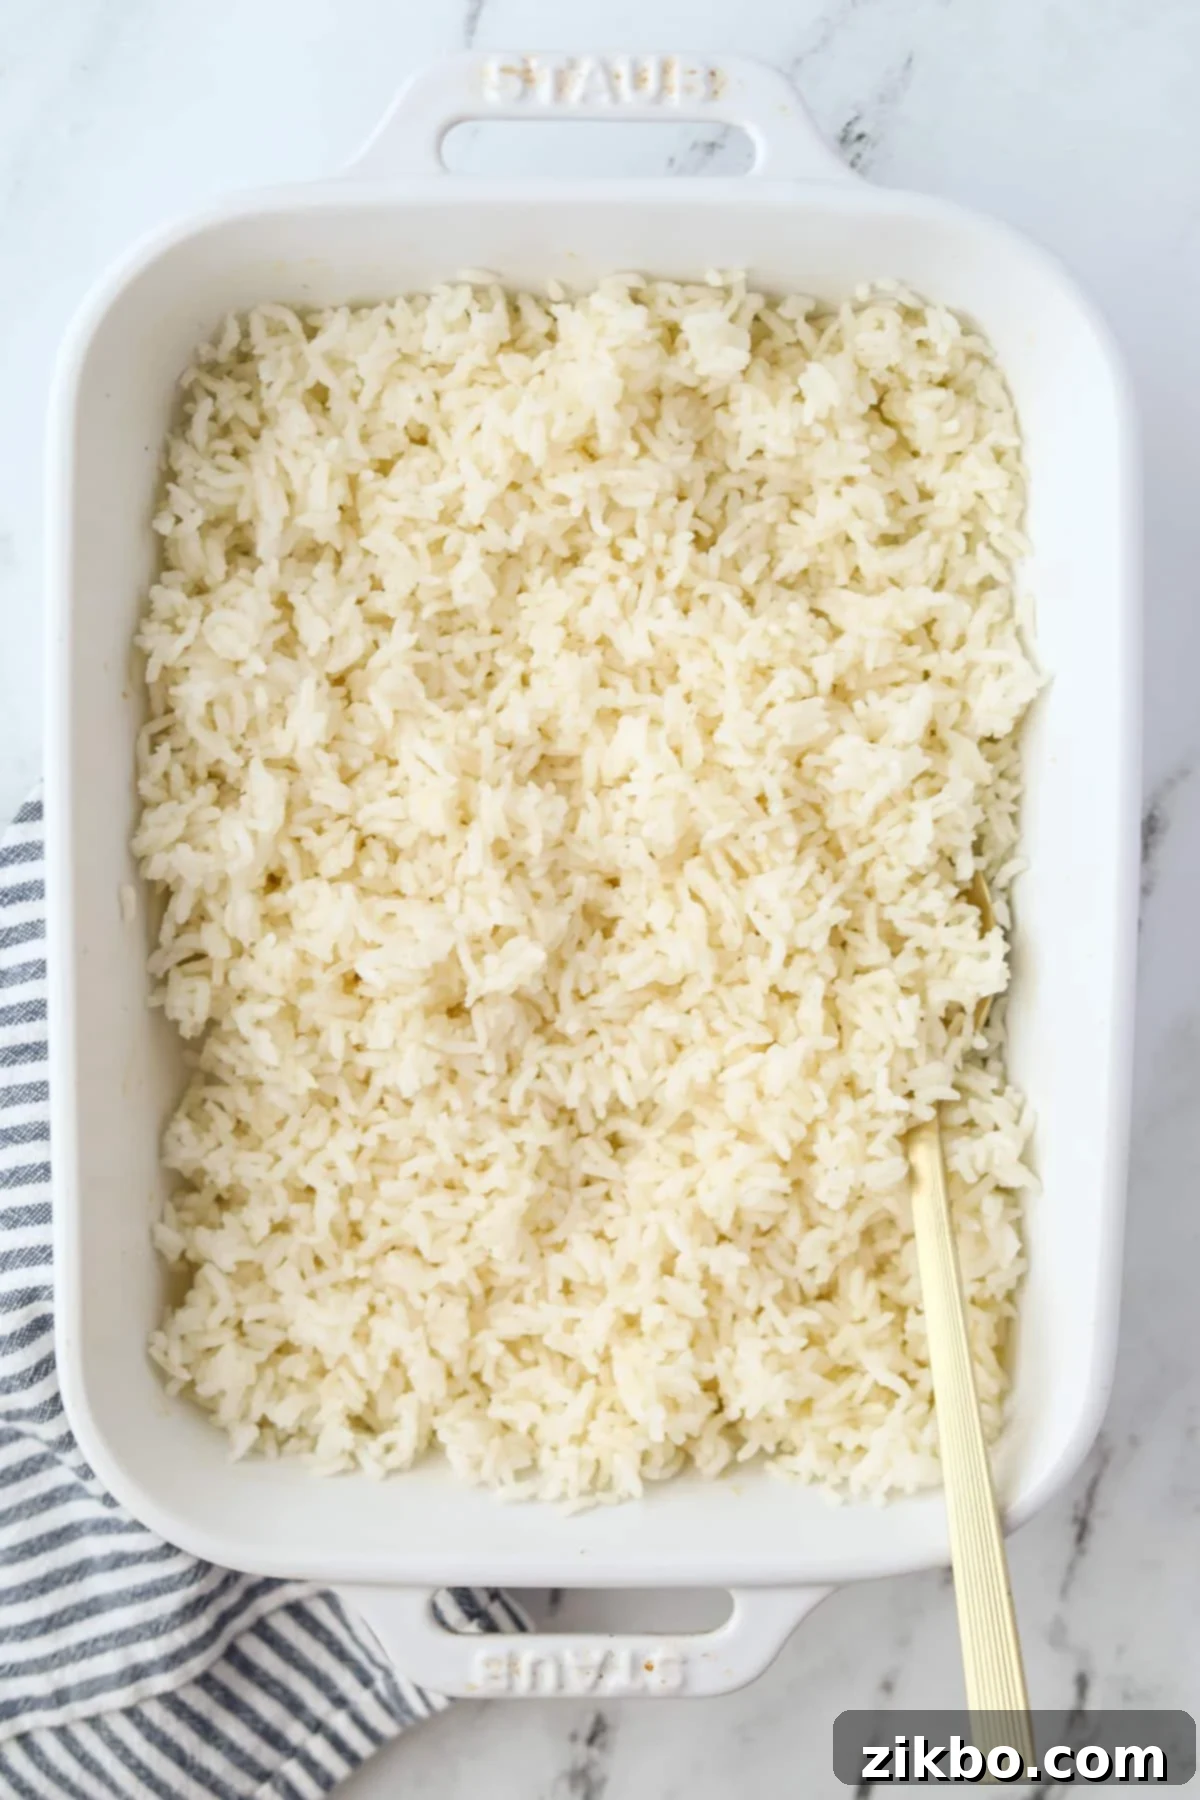
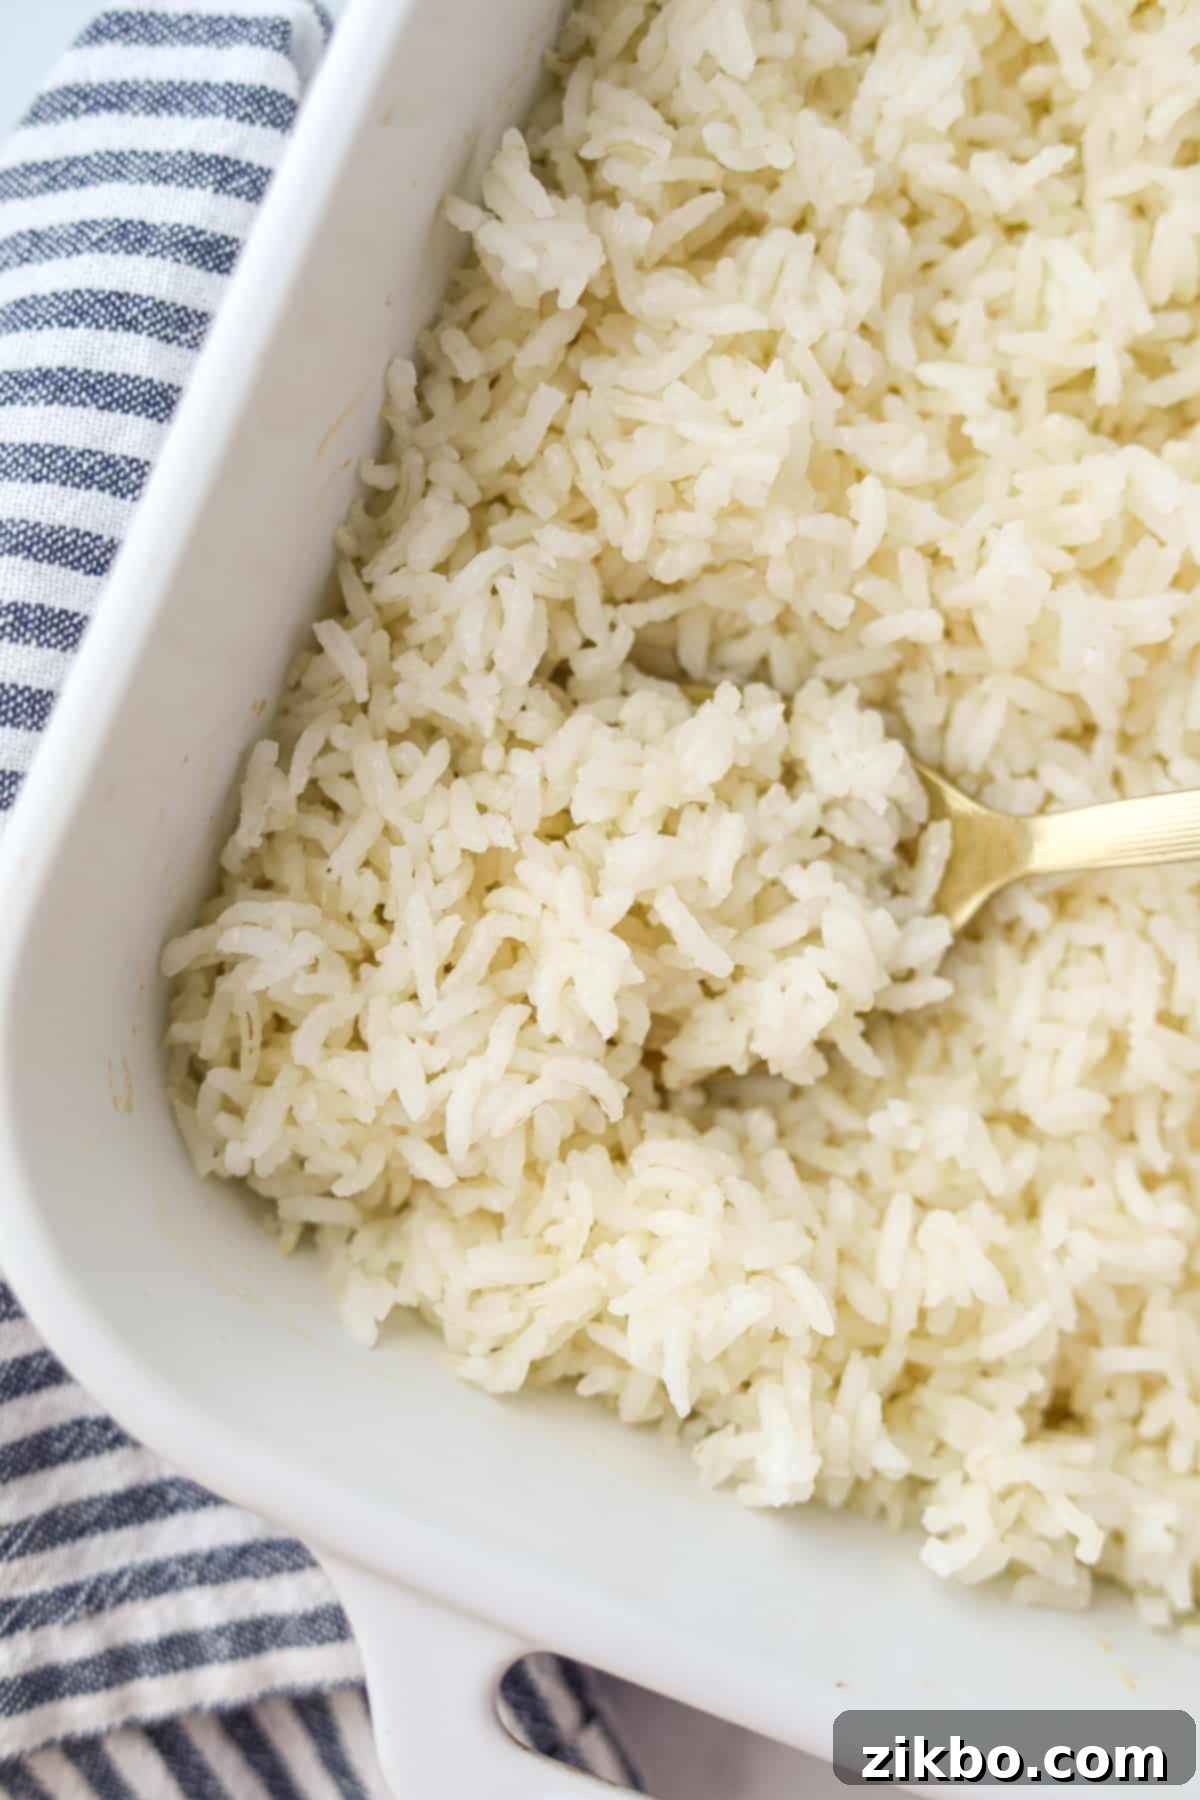
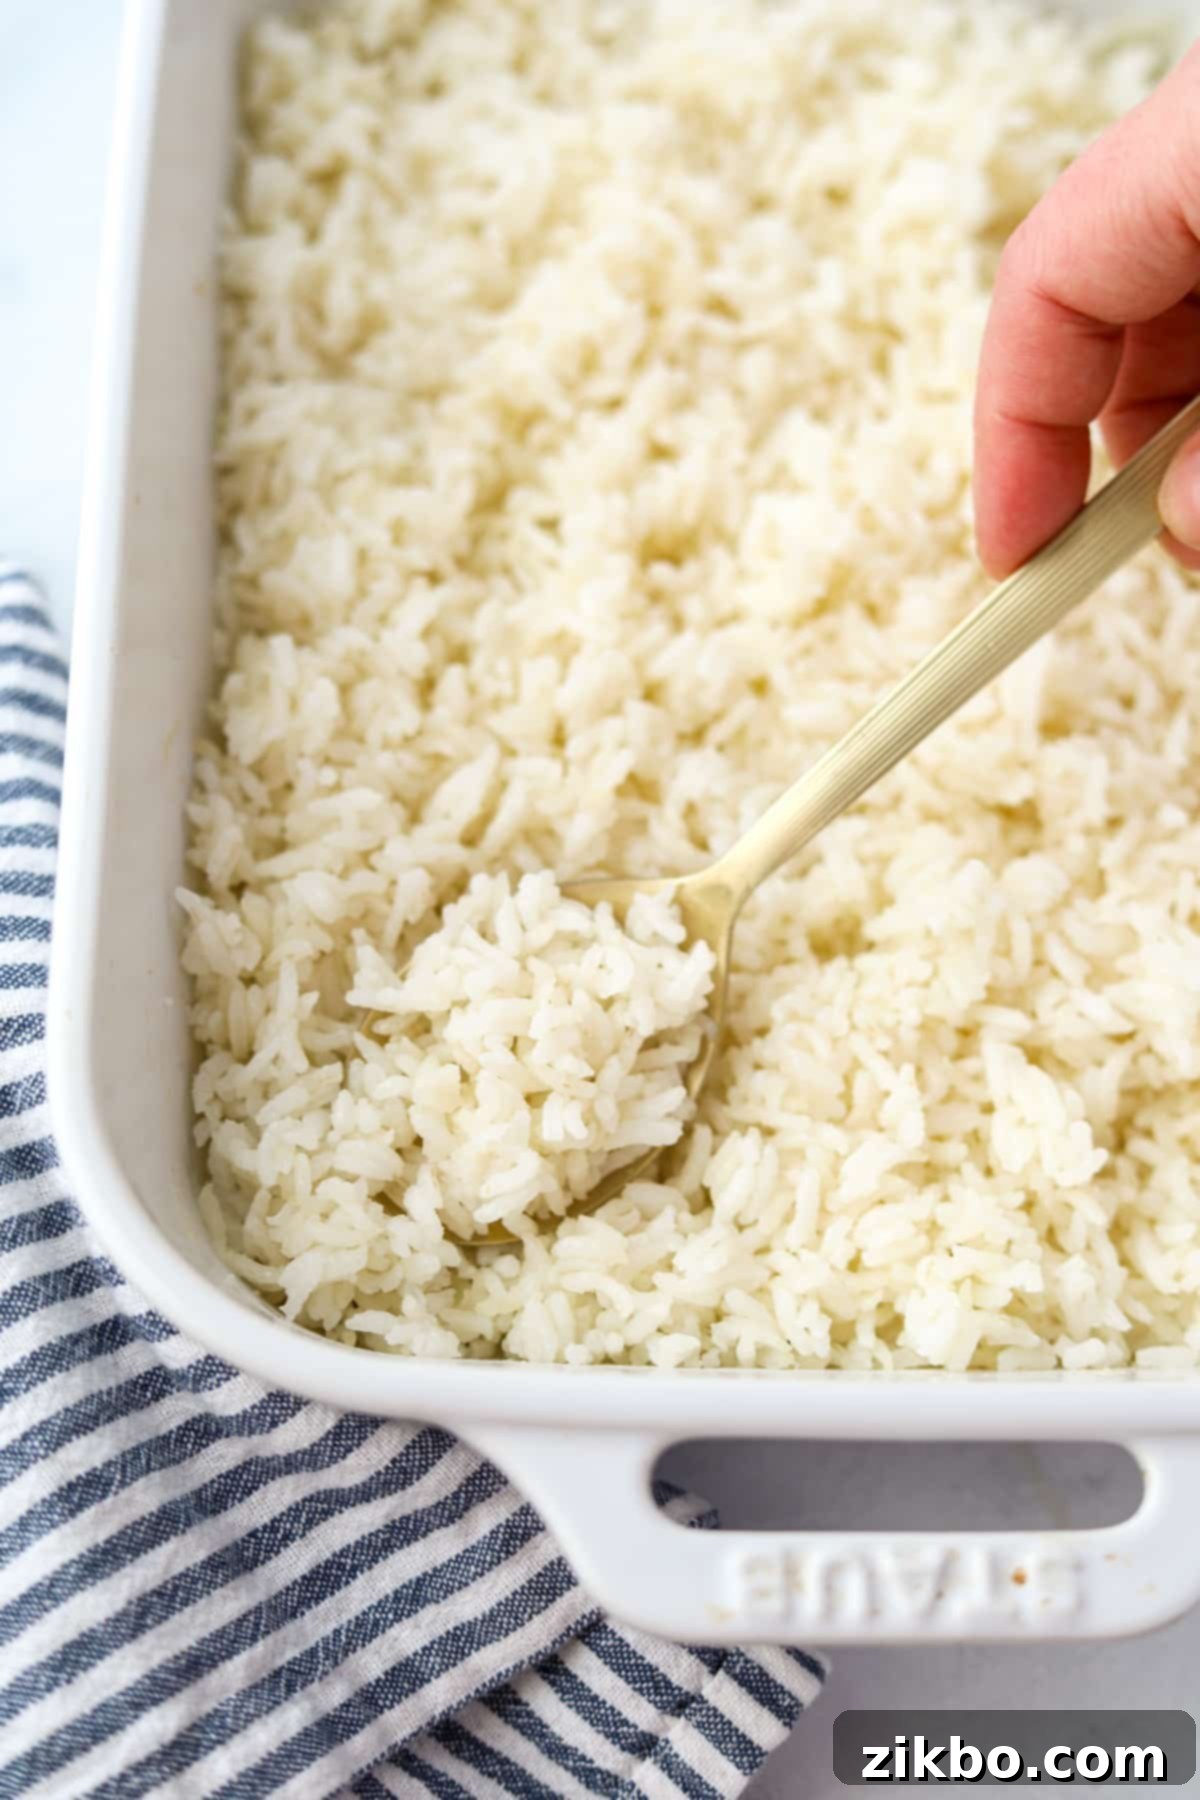
- Rest and Fluff for Perfection: Once the liquid is fully absorbed, remove the dish from the oven and allow the rice to rest, still covered (or loosely covered if you removed the foil for the final few minutes), for a full 10 minutes. This resting period is vital as it allows the steam to redistribute evenly throughout the grains and helps them firm up, preventing the rice from becoming mushy or sticky. After resting, gently fluff the rice with a fork before serving. Taste and adjust the salt to your preference, if needed. Enjoy your perfectly fluffy baked rice!
Storing & Reheating Leftover Baked Rice Safely
Properly storing and reheating cooked rice is crucial not only for maintaining its delicious flavor and texture but also for ensuring food safety. Here’s how to handle your delicious leftovers:
Storing Cooked Rice
To maintain freshness and prevent the growth of bacteria (specifically Bacillus cereus, which can multiply rapidly at room temperature), it’s crucial to cool cooked rice quickly. Immediately transfer any leftovers promptly (ideally within one hour of cooking) to a shallow, airtight container or tightly wrap the entire baking dish with plastic wrap or foil. Refrigerate immediately and consume within 3 days. Always discard if there are any signs of spoilage, unusual odors, or textures, as safety is paramount.
Reheating Leftover Rice
When it’s time to enjoy your leftovers, only warm the portion of rice you intend to eat in one sitting. To reheat, place the rice in a microwave-safe bowl, add a splash of water or broth (about a tablespoon per cup of rice), and cover loosely with a lid or damp paper towel. Microwave until it is steaming hot throughout (aim for a minimum internal temperature of 165ºF or 74ºC), stirring halfway through. Many food safety experts advise against reheating leftover rice more than once, as this can increase the risk of foodborne illness if not handled correctly. Therefore, only reheat what you will definitely eat!
For further reading on cooked rice food safety: For more detailed information and guidelines on safe storage practices, refer to reputable sources such as this article: Storing Cooked Rice – University of California Agriculture and Natural Resources
Can Cooked Rice Be Frozen?
Yes, absolutely! Cooked rice freezes beautifully and is an excellent way to extend its shelf life, making it perfect for quick future meals and meal prepping. For best results, first cool the rice completely in the refrigerator. Once chilled, transfer it to freezer-safe bags or containers, pressing out any excess air if using bags to prevent freezer burn. Label with the date and freeze for up to 2 months. You can reheat frozen rice directly from the freezer in the microwave or on the stovetop with a little added liquid, stirring frequently until heated through.
Top Tip for Leftovers: One of the absolute best ways to transform day-old or leftover baked rice is by making homemade chicken fried rice. Cold, firm, day-old rice is actually the secret ingredient for achieving perfect fried rice that isn’t clumpy or soggy, as the grains are drier and separate better!
Expert Tips for The Best Baked Rice
Achieve consistently perfect and deliciously fluffy results with these essential tips from my kitchen. These insights will ensure your oven-baked rice is always a success:
- Cover Tightly is Absolutely Key: Whether you’re using several layers of heavy-duty aluminum foil or a sturdy Dutch oven with a very snug lid, ensuring your baking dish is tightly covered during the entire baking process is paramount. This tight seal traps all the steam and liquid inside the dish, creating an ideal steamy environment that cooks the rice evenly and prevents it from drying out or evaporating too quickly. Without a tight cover, your rice may end up undercooked, crunchy, or unevenly cooked.
- Boiling Water Makes All the Difference: I cannot stress this enough – always, always use boiling water! While it might seem like an unnecessary extra step, my extensive testing has proven that starting with actively boiling water is the *only* way to guarantee perfectly cooked, fluffy, and consistent baked rice. It immediately kick-starts the cooking process, mimicking the initial vigorous boil of stovetop rice and significantly reducing the overall cooking time in the oven. An electric kettle is a fantastic tool for this; it makes the process quick, safe, and effortless.
- Elevate Flavor with Broth & Seasonings: Don’t limit yourself to just water! For an even more flavorful baked rice that complements your meal, substitute the 2 cups of boiling water with an equal amount of hot chicken broth, beef broth, or vegetable broth. You can also experiment with other clear liquids like white wine (for a more gourmet touch) or even a combination. Remember to bring any liquid you use to a boil before adding it to the rice. For additional flavor, consider stirring in a pinch of garlic powder, onion powder, a bay leaf, or a squeeze of fresh lemon juice into the mixture before baking.
- Resist the Urge to Peek!: This is a common mistake! It’s tempting to lift the lid or foil to check on the rice during baking, but please resist the urge. Every time you peek, precious steam escapes, which is vital for the rice to cook properly. This disruption can potentially lead to unevenly cooked grains, extend the baking time, or result in dry spots. Trust the oven to do its job!
- Resting is Essential for Fluffy Grains: Once the rice is done baking and all the liquid has been absorbed, don’t rush to serve it immediately. Allowing it to rest, preferably still covered, for a full 10 minutes off the heat is a critical step. This period allows the steam to redistribute throughout the grains, resulting in a more uniform texture, helping the rice firm up slightly, and preventing it from becoming mushy or sticky.
Baked Rice Recipe FAQs
Yes, absolutely! If you prefer to use olive oil or another neutral oil (like avocado oil or vegetable oil) in place of butter when preparing your baked rice, feel free to swap it out using a 1-to-1 ratio (2 tablespoons of oil). The oil will still help coat the grains, preventing sticking and contributing to a nice, separated texture, though the flavor profile will be slightly different from the rich, nutty taste of butter.
Yes, a Dutch oven is an excellent alternative and often a preferred choice for oven-baked rice! Dutch ovens typically have heavy, tight-fitting lids, which are perfect for trapping steam and ensuring even cooking without any leakage. Instead of covering the dish with aluminum foil, simply add the Dutch oven’s lid securely before baking and remove it once the cooking time is complete. The results will be just as fantastic, if not even better due to the superior heat retention.
Yes, it absolutely matters and is crucial for the success of this recipe! This baked rice recipe has been rigorously tested with various water temperatures, and the most consistent, reliable, and perfectly fluffy results consistently come from using actively boiling water. Starting with boiling water immediately brings the rice to cooking temperature, significantly reducing the overall cooking time and preserving the ideal texture of the grains. Cold or room temperature water will yield undercooked or unevenly cooked rice because the oven spends too much time bringing the water up to temperature.
While rinsing rice is often recommended for stovetop methods to remove excess starch and prevent stickiness, it’s generally less critical for this oven-baked method, especially if using quality long-grain varieties like Basmati or Jasmine. The controlled, even heat of the oven and the precise water-to-rice ratio help to prevent clumping and achieve separate grains. You can rinse it if you prefer (it won’t hurt), but it’s not a mandatory step for success with this particular recipe.
Absolutely! This baked rice recipe is a fantastic base for customization and adding extra flavor. Before baking, you can stir in finely minced garlic or onion for an aromatic base, a pinch of your favorite dried herbs (like thyme, rosemary, or oregano), a few pinches of turmeric or saffron for color and earthy notes, or a squeeze of lemon juice for brightness. For a more substantial side, you could even add a small amount of finely diced, quick-cooking vegetables like carrots or peas. However, be aware that adding a significant amount of extra ingredients might slightly alter the liquid absorption and cooking time, so proceed with caution and monitor closely during the last few minutes of baking.
More Delicious Rice Recipes to Explore
If you’ve enjoyed the simplicity and deliciousness of this easy baked rice recipe, you might love these other rice-centric dishes and cooking methods:
- Stick-of-Butter Rice: Indulgently rich and flavorful, a true comfort food side dish.
- Consomme Rice: A savory and elegant rice dish that offers a deeper umami flavor.
- Church Lady Rice (AKA Baked Mushroom Rice): A wonderfully comforting, savory baked rice with tender mushrooms.
- Instant Pot White Rice: For those who prefer a pressure cooker method for speed and consistency.
- Instant Pot Wild Rice: A quick and easy way to cook a hearty, nutritious wild rice blend.
- Benihana Chicken Fried Rice: A flavorful copycat recipe, perfect for using up leftover rice!
- Cilantro Lime Rice – Love and Lemons: A bright, zesty, and refreshing accompaniment to many meals.
More Easy Side Dishes for Any Meal:
- Roasted Ranch Potatoes
- Broccoli Salad
- Swedish Pizza Salad
- Roasted Broccoli and Potatoes
If you loved this incredibly easy and foolproof recipe for Oven Baked Rice, please let me know! Your feedback is invaluable and helps other home cooks discover delicious methods. Consider leaving a 5-star review in the recipe card below or sharing your thoughts and experiences in the comments section. You can also tag me on Instagram @dashfordinner with your perfectly fluffy baked rice creations! Happy cooking!
Baked Rice
Print
Pin
Rate
Ingredients
- 1 cup long-grain white rice (such as Basmati or Jasmine, not Instant or parboiled)
- 2 cups boiling water (or chicken/vegetable broth for extra flavor)
- 1 teaspoon fine salt
- 2 tablespoons unsalted butter (or olive oil for a dairy-free option)
Instructions
-
1. Preheat & Prepare: Preheat your oven to a precise 400ºF (204ºC). Lightly grease a medium-sized baking dish (e.g., 9×9” or 7.5 x 10”) to ensure the rice doesn’t stick and for easy cleanup.
-
2. Combine Ingredients: Add 1 cup of long-grain white rice to the prepared baking dish. Sprinkle with 1 teaspoon of fine salt and pour in 2 cups of freshly boiled water (ensure it’s at a rolling boil for optimal results). Stir gently to combine all ingredients thoroughly.
-
3. Add Butter: Cut the 2 tablespoons of butter into 4 small, even pieces. Distribute these butter pieces evenly over the surface of the rice and water mixture. This will melt and infuse the rice with richness and help prevent sticking.
-
4. Cover Tightly: Cover the baking dish very tightly with aluminum foil. For extra security against steam escape, you can use two layers of foil. If using a Dutch oven, simply place its tight-fitting lid securely on top. A tight seal is crucial for the steam to cook the rice perfectly.
-
5. Bake to Perfection: Bake in the preheated oven for 26-28 minutes. After this time, carefully remove the dish from the oven and lift the foil (be extremely cautious of hot steam). Check to see if all of the liquid has been fully absorbed by the rice. The grains should look plump and the surface should appear dry. If there’s still a small amount of liquid visible, return the dish to the oven (uncovered this time) for an additional 2-5 minutes, or until all moisture is completely gone.
-
6. Resting is Key: Once the rice is fully cooked and the liquid absorbed, remove it from the oven and allow it to rest, still covered (or loosely covered if you removed the foil for the final few minutes), for a full 10 minutes. This crucial resting period prevents the rice from becoming mushy and allows the steam to redistribute for perfectly fluffy, separated grains.
-
7. Fluff & Serve: After the 10-minute rest, gently fluff the rice with a fork. Taste and adjust the salt to your preference, if needed. Serve immediately as a delightful side dish with your favorite entrees and enjoy your perfectly fluffy baked rice!
Notes
Doubling the Recipe: If you need a larger batch of fluffy baked rice, you can easily double this recipe. For 2 cups of rice, use a spacious 9×13-inch baking dish. In my testing, the larger amount typically does not require significant additional time in the oven when cooked at the same temperature and covered tightly. Always check for full liquid absorption before serving.
Which Rice Type to Use: This recipe is specifically formulated for white long-grain rice, Basmati, or Jasmine rice. For optimal fluffy results, avoid parboiled rice, minute rice (instant), or brown rice, as their cooking requirements (liquid ratios and times) are vastly different and will not yield desirable results with this method.
The Importance of Boiling Water: Yes, the water *must* be boiling before you add it to the rice! I’ve tested this recipe many times, and initiating the cooking process with actively boiling water (and a tightly covered dish) is the most effective way to ensure perfectly tender and fluffy rice every single time. Do not skip this crucial step for consistent results.
Flavor Variations: Feel free to experiment! Instead of plain water, use chicken, beef, or vegetable broth for a richer, more complex flavor. You can also add a pinch of garlic powder, onion powder, or a bay leaf to the dish before baking for added depth and aroma.
Nutrition
Please note that some of my blog posts here at Dash for Dinner may contain affiliate links. If you make a purchase through these links, I will get a small commission at no additional cost to you. Please see my Disclaimer for more information.
