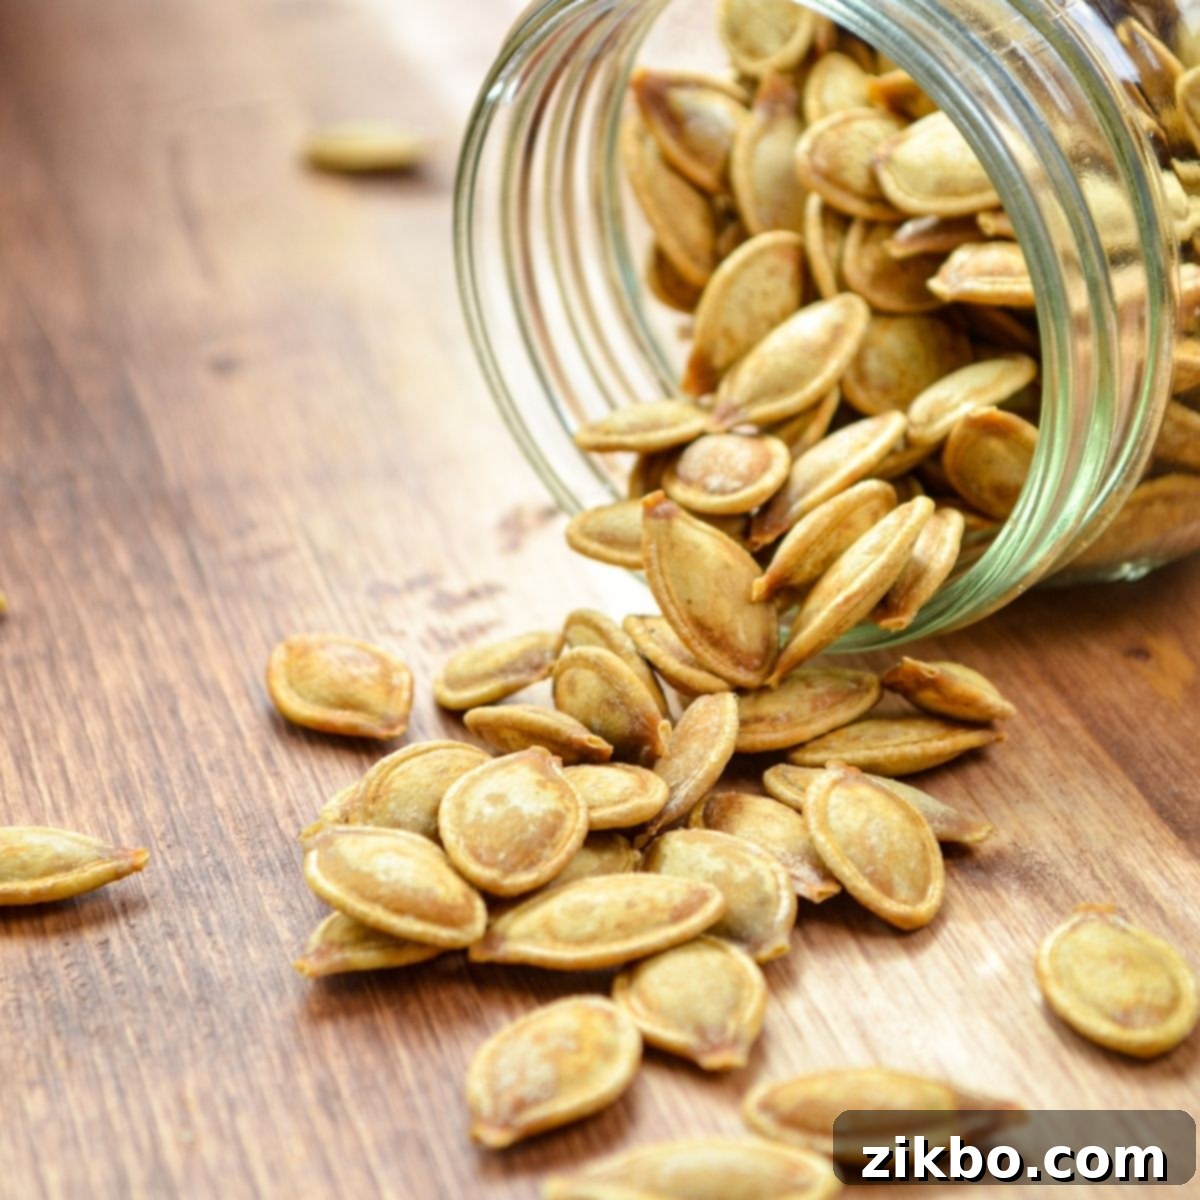
The Ultimate Guide to Crispy Air Fryer Pumpkin Seeds: Your Go-To Fall Snack!
Embrace the cozy spirit of autumn with a truly delightful and healthy snack: crispy roasted pumpkin seeds, made effortlessly in your air fryer! This fall favorite is not only incredibly easy to prepare but also a fantastic activity to enjoy with kids, turning your Halloween pumpkin carving into a zero-waste culinary adventure. These aren’t just any pumpkin seeds; they’re perfectly seasoned, wonderfully crunchy, and cater to a variety of dietary needs, being low carb, keto, dairy-free, gluten-free, and vegan. Get ready to transform humble pumpkin seeds into an irresistible treat that the whole family will adore!
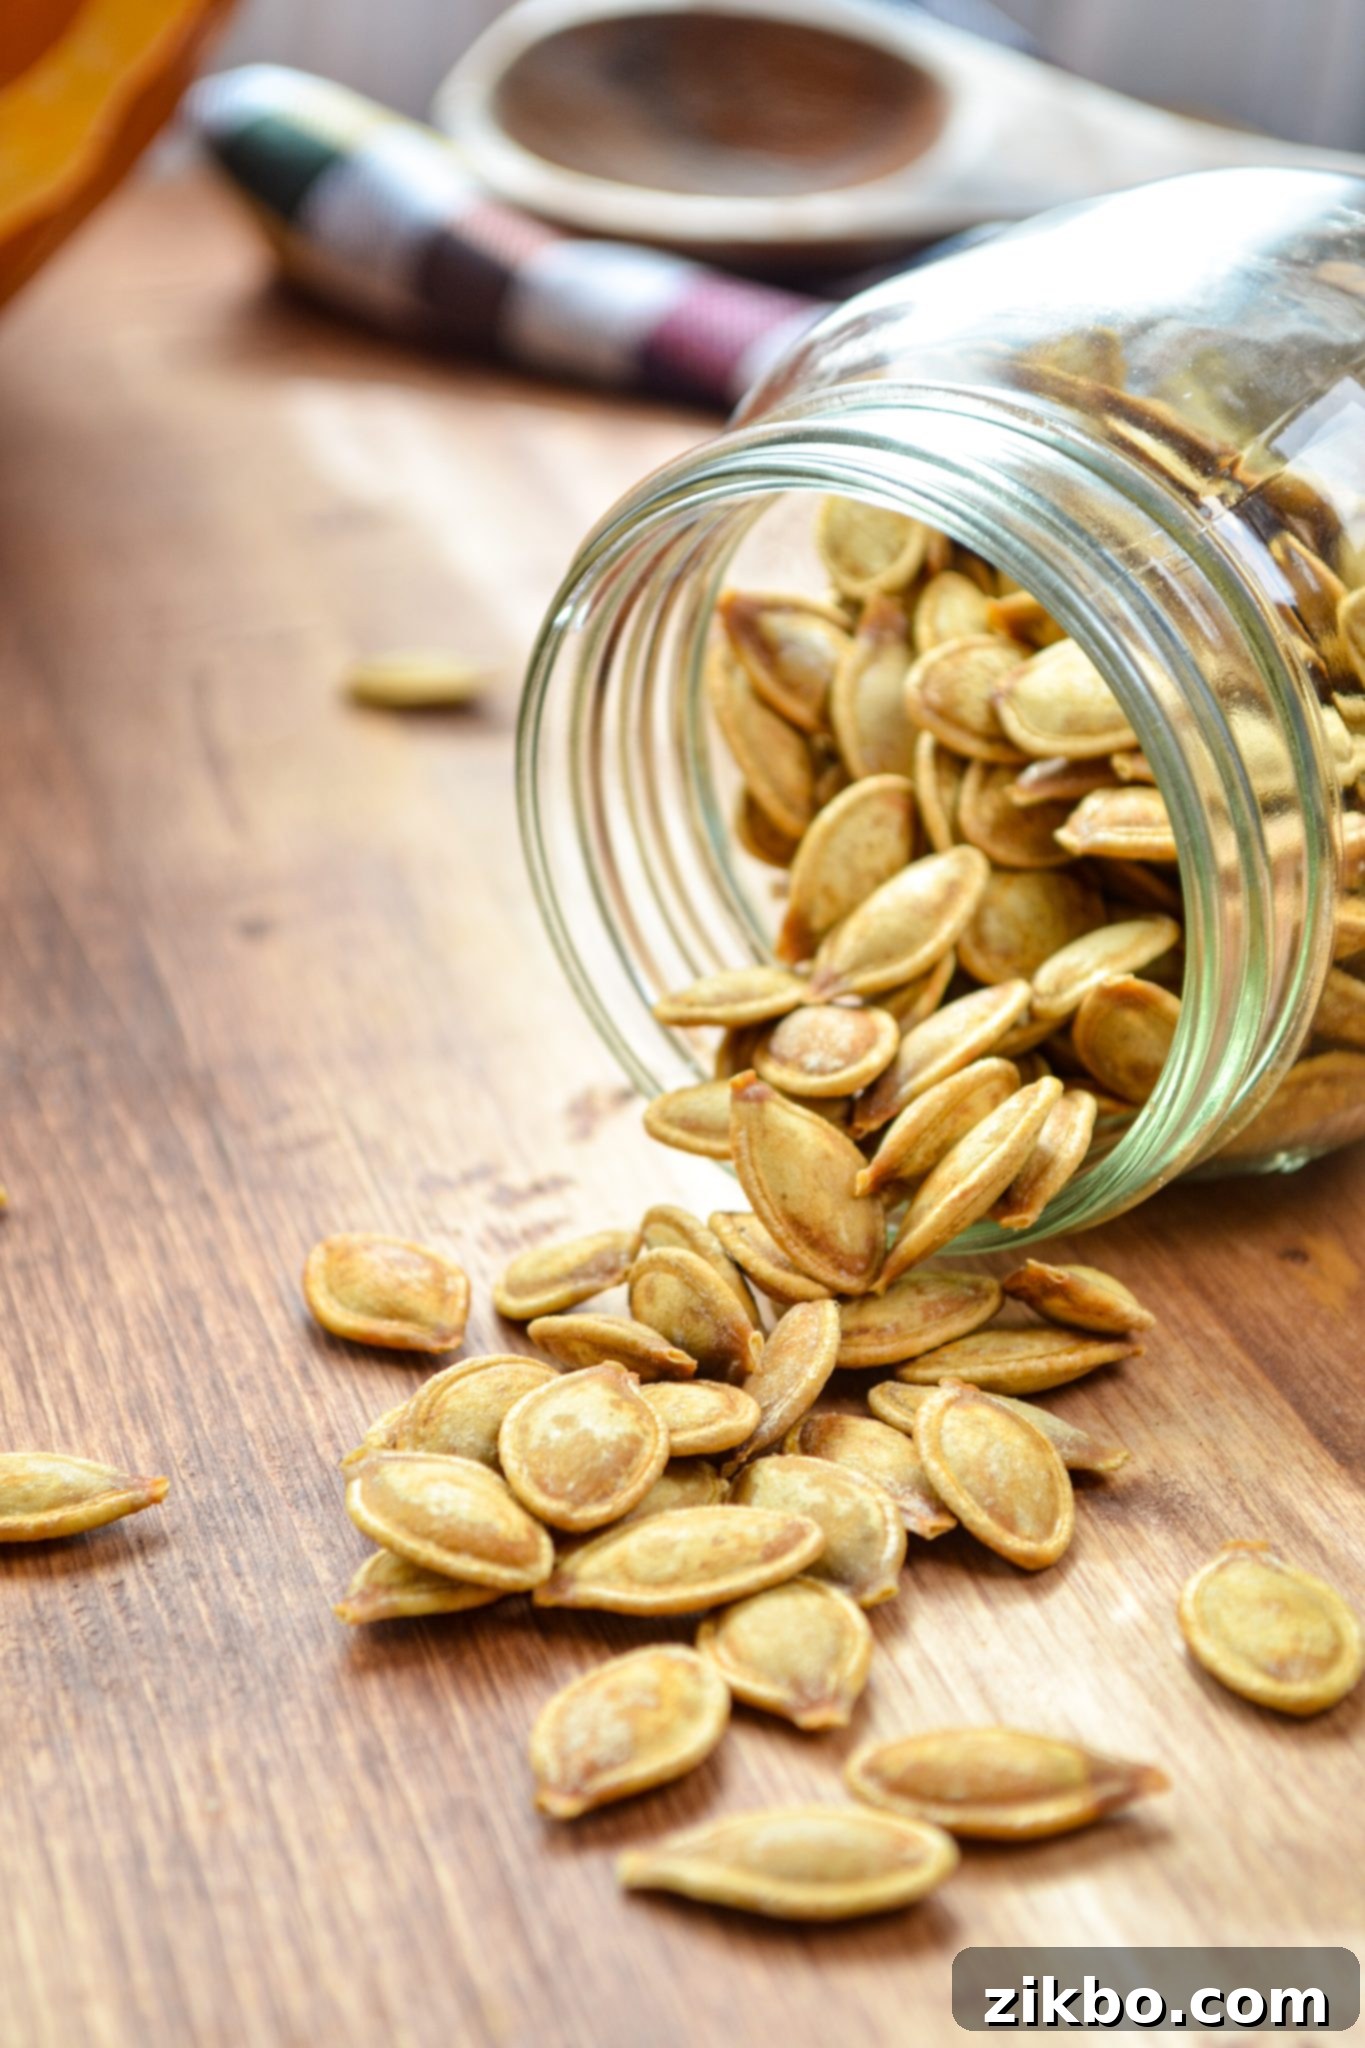
As the leaves begin to change and the air turns crisp, spooky season truly sets in, bringing with it the cherished tradition of pumpkin carving. Recently, my family and I embarked on our annual pumpkin adventure, eager to create some spooky decorations. But for me, the real excitement lies in what comes after the carving: transforming those often-discarded pumpkin seeds into a delectable snack. As an absolute air fryer fanatic – my archives are proof of my obsession – I was determined to perfect an air fryer version of roasted pumpkin seeds. It’s a method that promises ultimate crispiness with minimal fuss.
I enlisted my husband and our two-year-old son (affectionately nicknamed “Seedy” by my son after his pumpkin!) to help with the pumpkin clean-up and carving. This made the entire process a fun family activity, creating memories while preparing our delicious snack. The outcome? Simply phenomenal! The air fryer delivered perfectly golden, crunchy seeds that quickly became our new family favorite. I’m convinced this will be the *only* way we roast pumpkin seeds from now on, and I’m excited to share our foolproof method with you.
Essential Ingredients for Perfectly Roasted Pumpkin Seeds
Crafting these irresistible air fryer pumpkin seeds requires just a few simple ingredients. The quality of each component plays a role in the final flavor and texture, so here’s a closer look at what you’ll need and why:
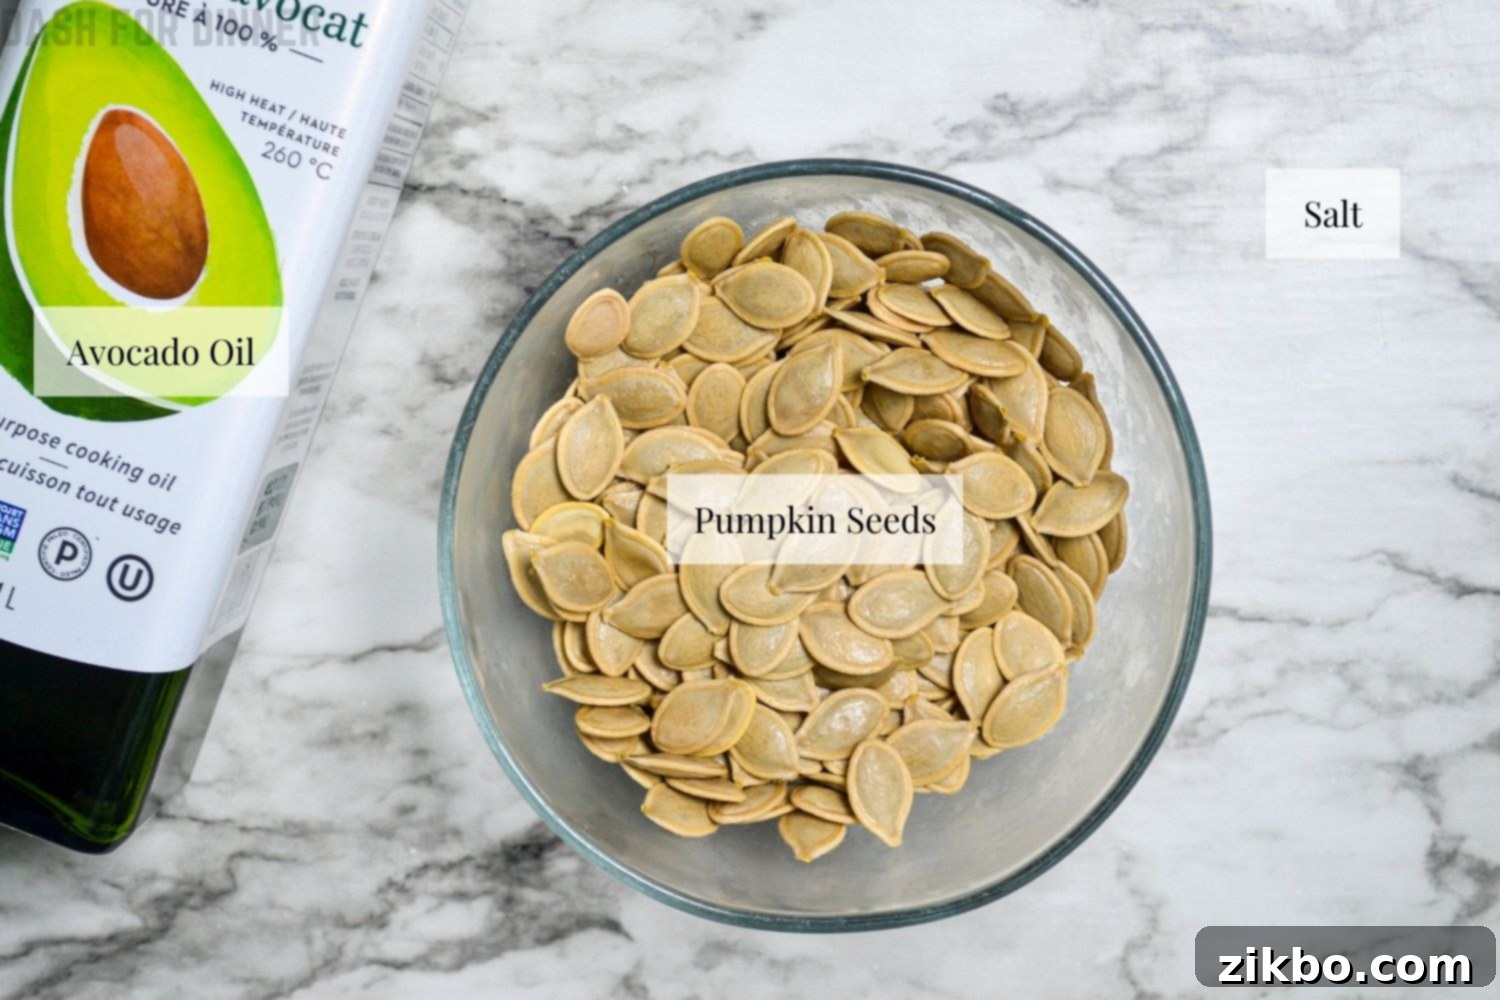
- Pumpkin seeds: The star of our snack! You’ll need the fresh seeds from one medium-sized pumpkin. This typically yields about 1 ½ to 2 cups of cleaned seeds. When choosing a pumpkin for carving, keep an eye out for larger, more mature pumpkins, as they tend to have bigger, more abundant seeds, which are ideal for roasting.
- Salt: For brining and seasoning, I highly recommend using kosher salt. Its larger flakes dissolve well in water for brining and provide a delightful textural crunch when sprinkled on the roasted seeds. However, if kosher salt isn’t available, standard table salt can be used; just be sure to adjust the quantity as noted in our substitution tips, as it’s finer and more potent.
- Avocado oil: This is my go-to oil for air frying due to its neutral flavor and high smoke point. It ensures the seeds get beautifully crispy without imparting any unwanted tastes or burning at higher temperatures. Other neutral-tasting oils with high smoke points like grapeseed, canola, or sunflower oil can be excellent substitutes. For those who enjoy a richer flavor, a touch of melted butter can also work beautifully, though you might want to slightly reduce the cooking temperature to prevent scorching.
Preparing Your Pumpkin Seeds: From Carving to Cleaning
The journey to perfectly roasted pumpkin seeds begins right after you finish carving your festive pumpkin. Taking the time to properly save and clean your seeds is crucial for achieving that desirable crispy texture and even seasoning.
How to Save Pumpkin Seeds
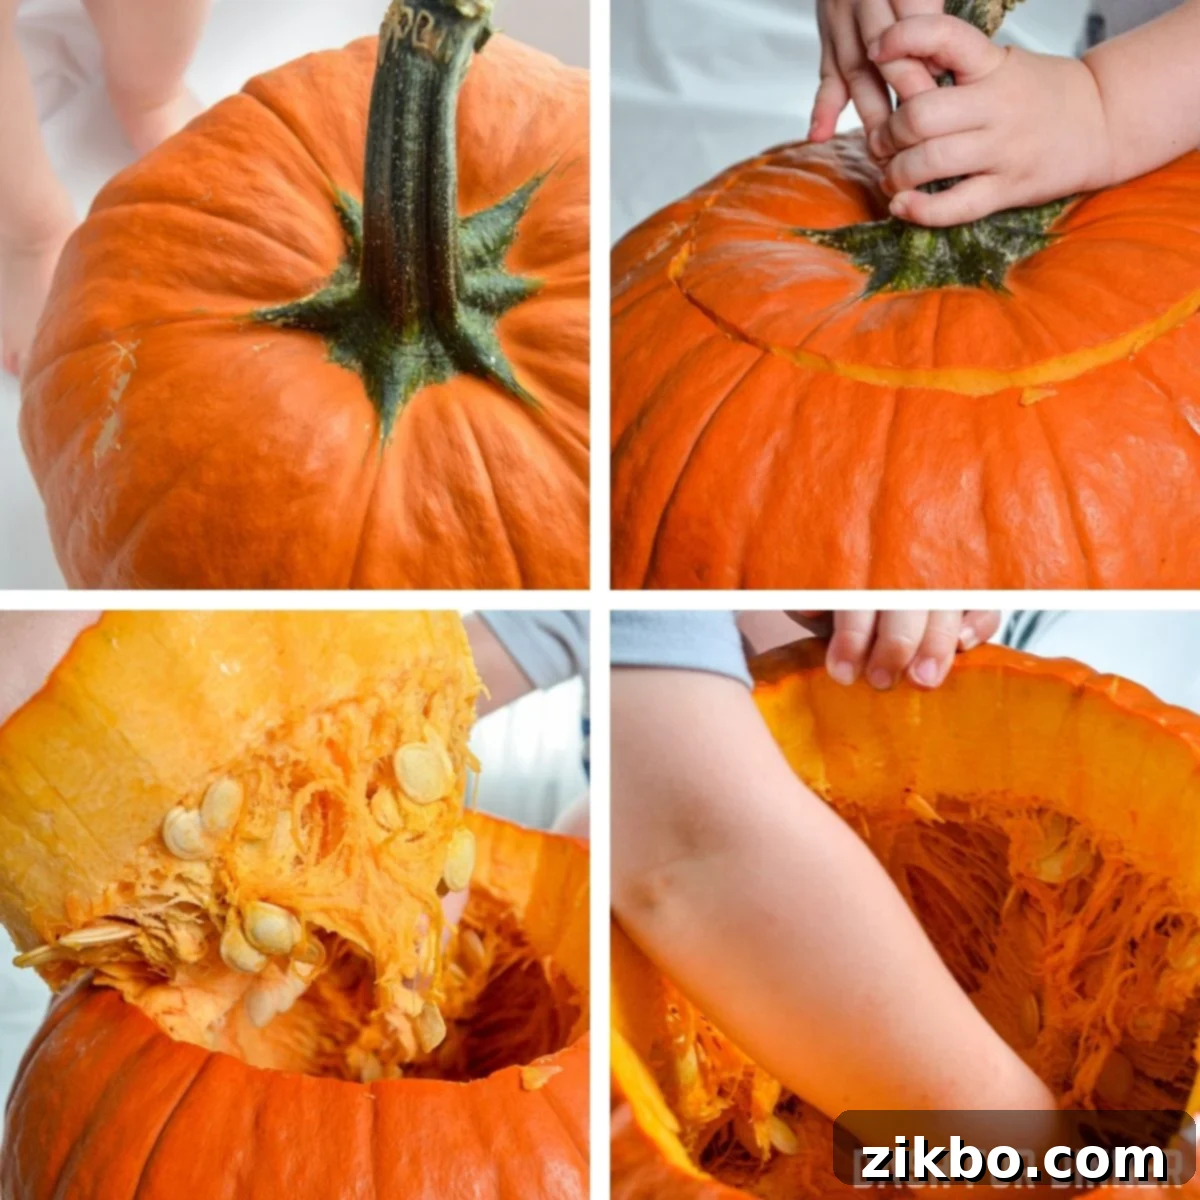
First and foremost, select a healthy, round pumpkin without any soft spots, blemishes, or signs of rot. A firm, blemish-free pumpkin ensures that your seeds are fresh and of good quality for roasting.
Next, use a sturdy, sharp knife to carefully cut around the top of the pumpkin, forming a circular lid. Make sure to angle your knife slightly inwards to create a ledge for the lid to rest on once carved.
Once cut, gently pull the lid out using the stem as a handle. You’ll likely find a good amount of pulp and seeds clinging to the underside of the lid. Use your knife or a spoon to scrape off any excess pulp and seeds directly into a large bowl.
Now, reach your hand deep into the pumpkin. This is where the fun (and mess!) begins. Scrape the bottom and edges thoroughly, removing all of the seeds and stringy pulp with your fingertips. Separate as many seeds from the pulp as you can initially and add them to your bowl. Don’t worry about getting every last strand of pulp off at this stage; we’ll refine the cleaning in the next step.
How to Clean Pumpkin Seeds for Optimal Roasting
Once you’ve extracted all the seeds and pulp from your pumpkin, it’s time for the crucial cleaning phase. This step ensures your seeds roast evenly and achieve maximum crispiness without any lingering pumpkin flavor from the pulp.
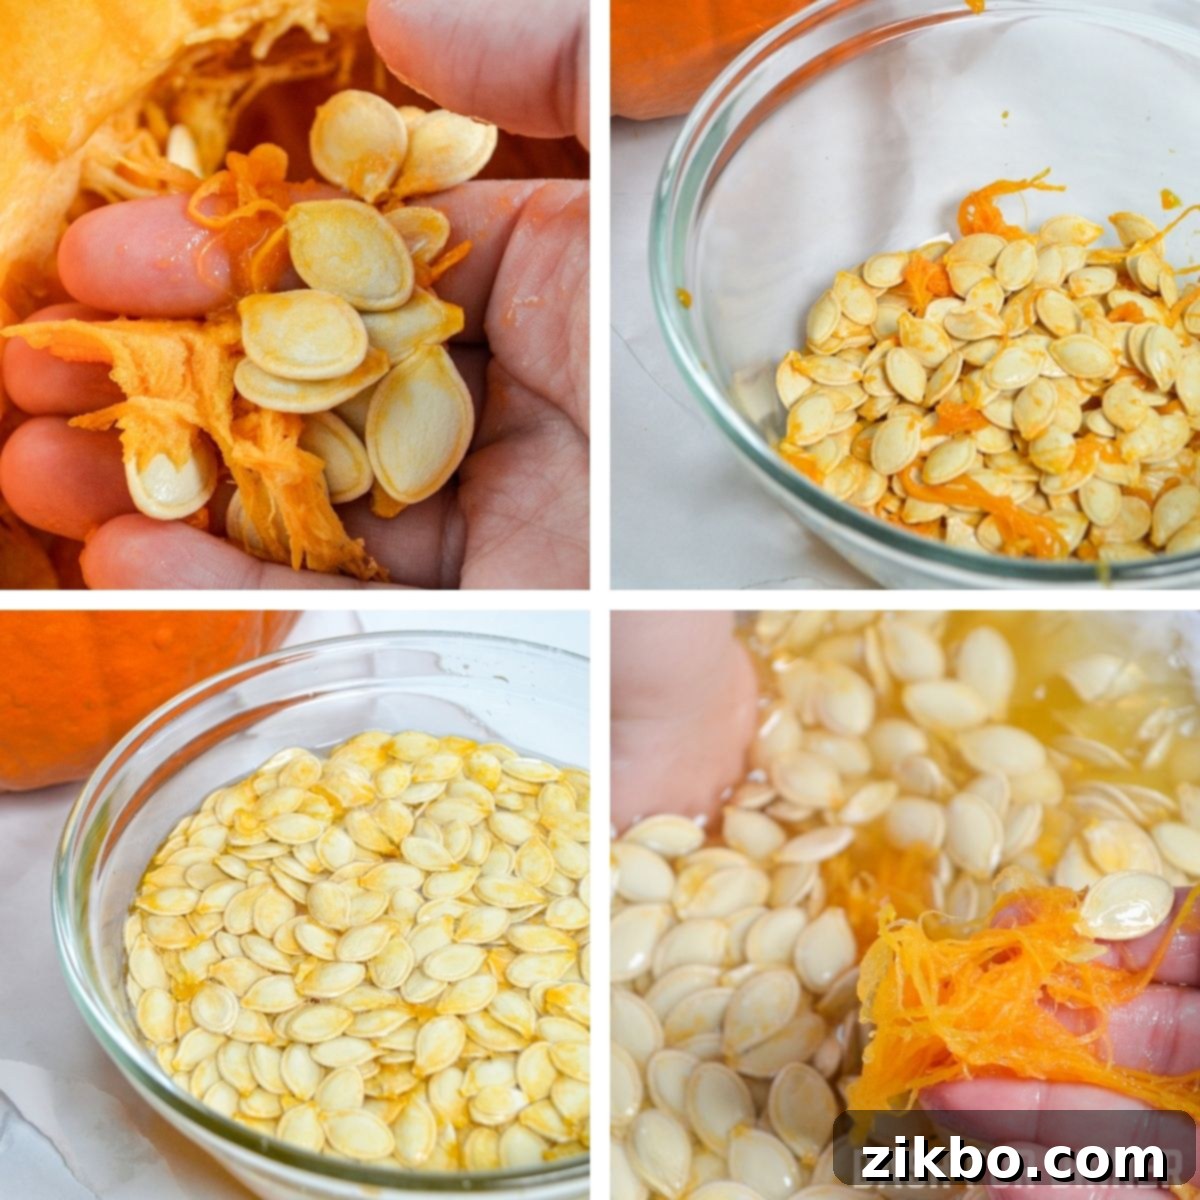
Start by taking the bowl of seeds and pulp. Manually separate as much of the stringy pulp as possible, discarding the large chunks. Place the cleaner seeds back into the bowl.
Now, add cool water to your pumpkin seeds in the bowl. The pulp tends to float, making it easier to remove. Swirl the seeds around, and skim off any pulp that rises to the surface. Inspect your seeds carefully, picking off any stubborn pieces of pulp still clinging to them. Repeat this process until your seeds appear mostly clean.
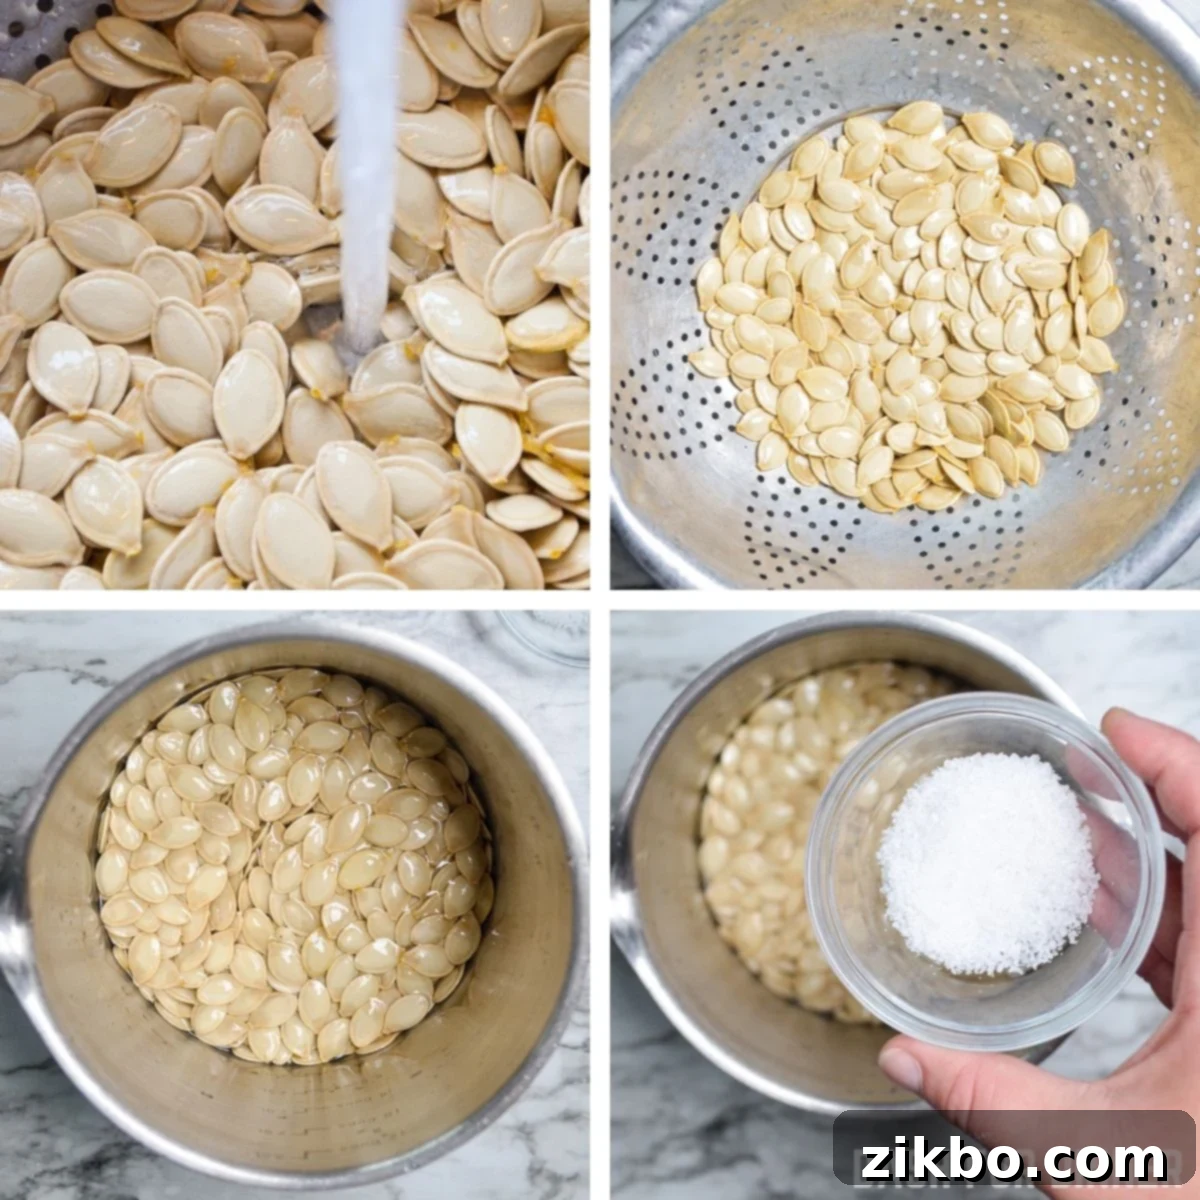
Once you’re satisfied that all pulp has been removed, drain your pumpkin seeds thoroughly in a colander under running water. This final rinse washes away any last bits of residue and prepares them for the next step: brining.
After rinsing, transfer your impeccably clean pumpkin seeds to a medium-sized saucepan. Pour in 2 cups of clean, drinkable quality water and add 1 tablespoon of kosher salt. Stir the mixture well to ensure the salt dissolves and coats the seeds evenly. Brining the seeds like this is key to seasoning them from the inside out, leading to a more flavorful and perfectly crisp result.
How to Cook Perfectly Crispy Pumpkin Seeds in an Air Fryer
The air fryer is truly a game-changer for roasting pumpkin seeds, offering unparalleled crispiness in a fraction of the time compared to traditional oven methods. Follow these steps for golden, irresistible seeds every time.
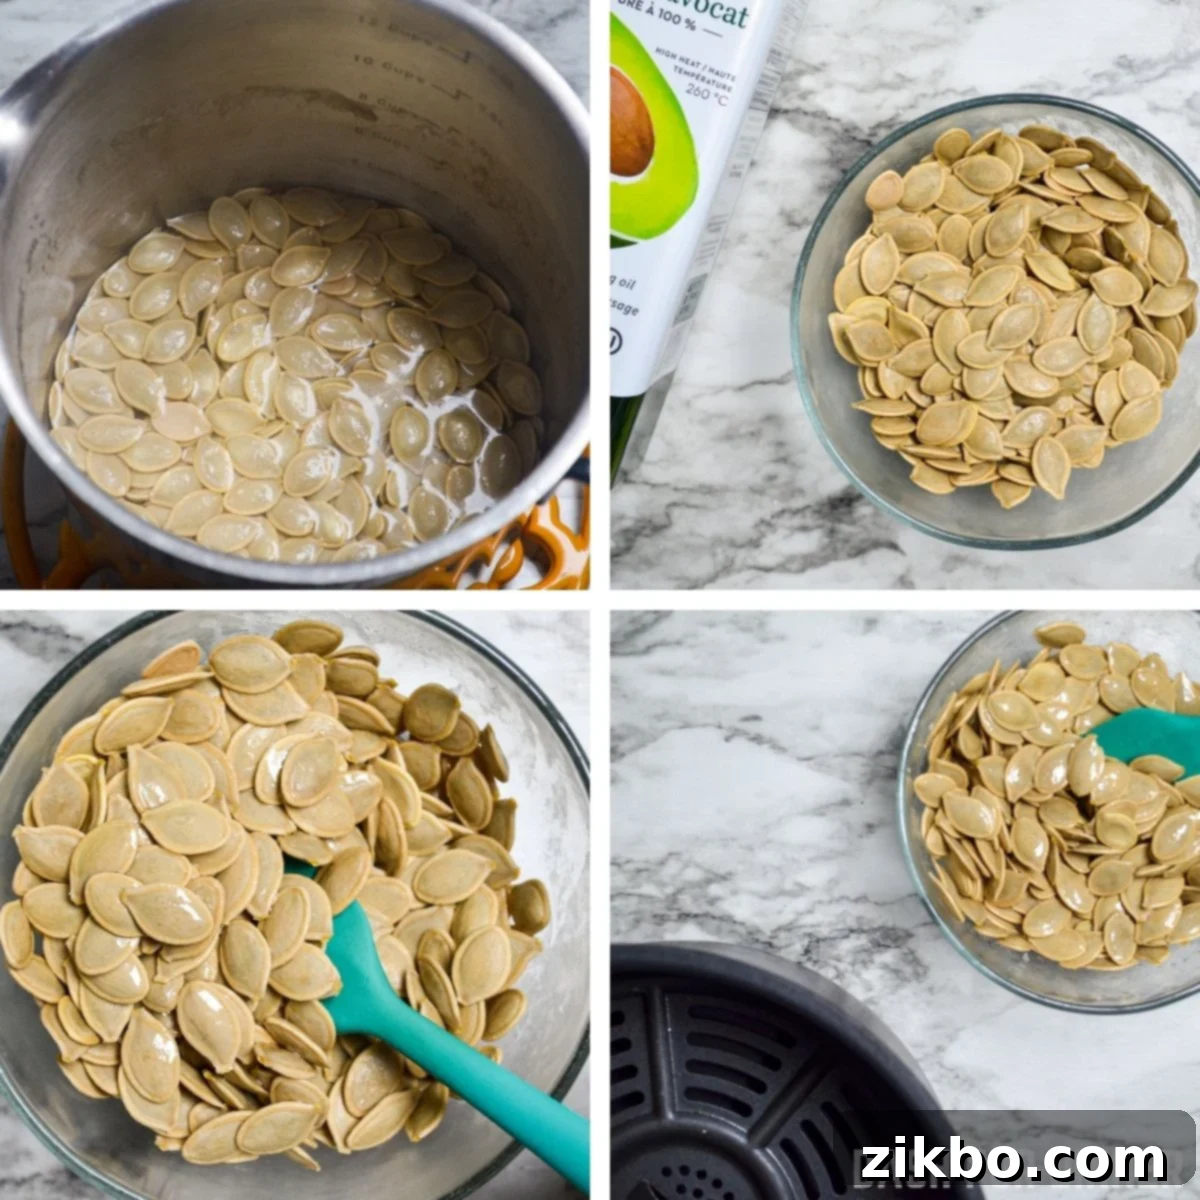
Begin by bringing the water, salt, and pumpkin seeds in the saucepan to a rolling boil over high heat. Once boiling, reduce the heat to medium and allow them to simmer gently for 10 minutes. This brining step is crucial; it helps to soften the outer shell slightly and ensures the seeds are seasoned all the way through, which is essential for that delightful crunch. After 10 minutes, carefully drain your seeds using a colander.
Next, pat the pumpkin seeds thoroughly dry with paper towels or a clean kitchen towel. Removing as much moisture as possible is key to achieving maximum crispiness in the air fryer. Then, place your boiled and dried seeds into a clean, dry bowl.
Pour in the avocado oil, or your chosen high smoke point oil, and toss the seeds vigorously to ensure they are evenly coated. A light coating of oil is vital for even browning and to prevent the seeds from sticking or burning in the air fryer.
Now, it’s time to fire up your air fryer! Preheat your air fryer to 375°F (190°C) for at least 3 minutes, or according to your manufacturer’s specific instructions. Preheating is a simple but essential step that ensures your food starts cooking in a hot environment immediately, leading to crispier results and more even cooking.
Once the air fryer has reached temperature, carefully add the pumpkin seeds to the basket. Make sure to spread them out in an even layer, avoiding overcrowding. Cooking in a single layer allows the hot air to circulate effectively around each seed, promoting uniform crisping.
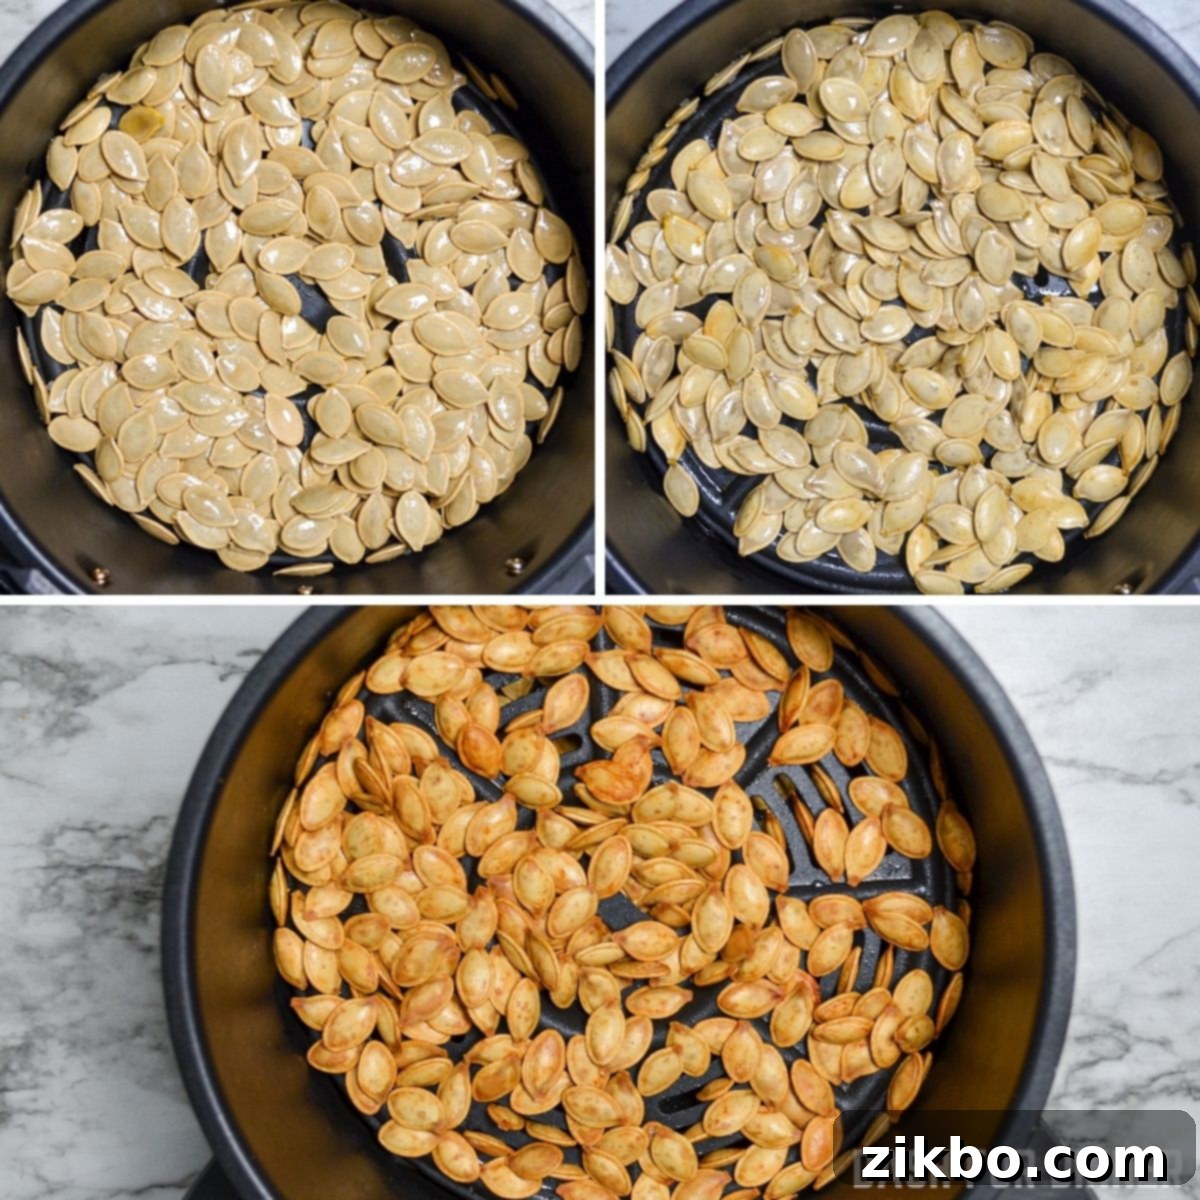
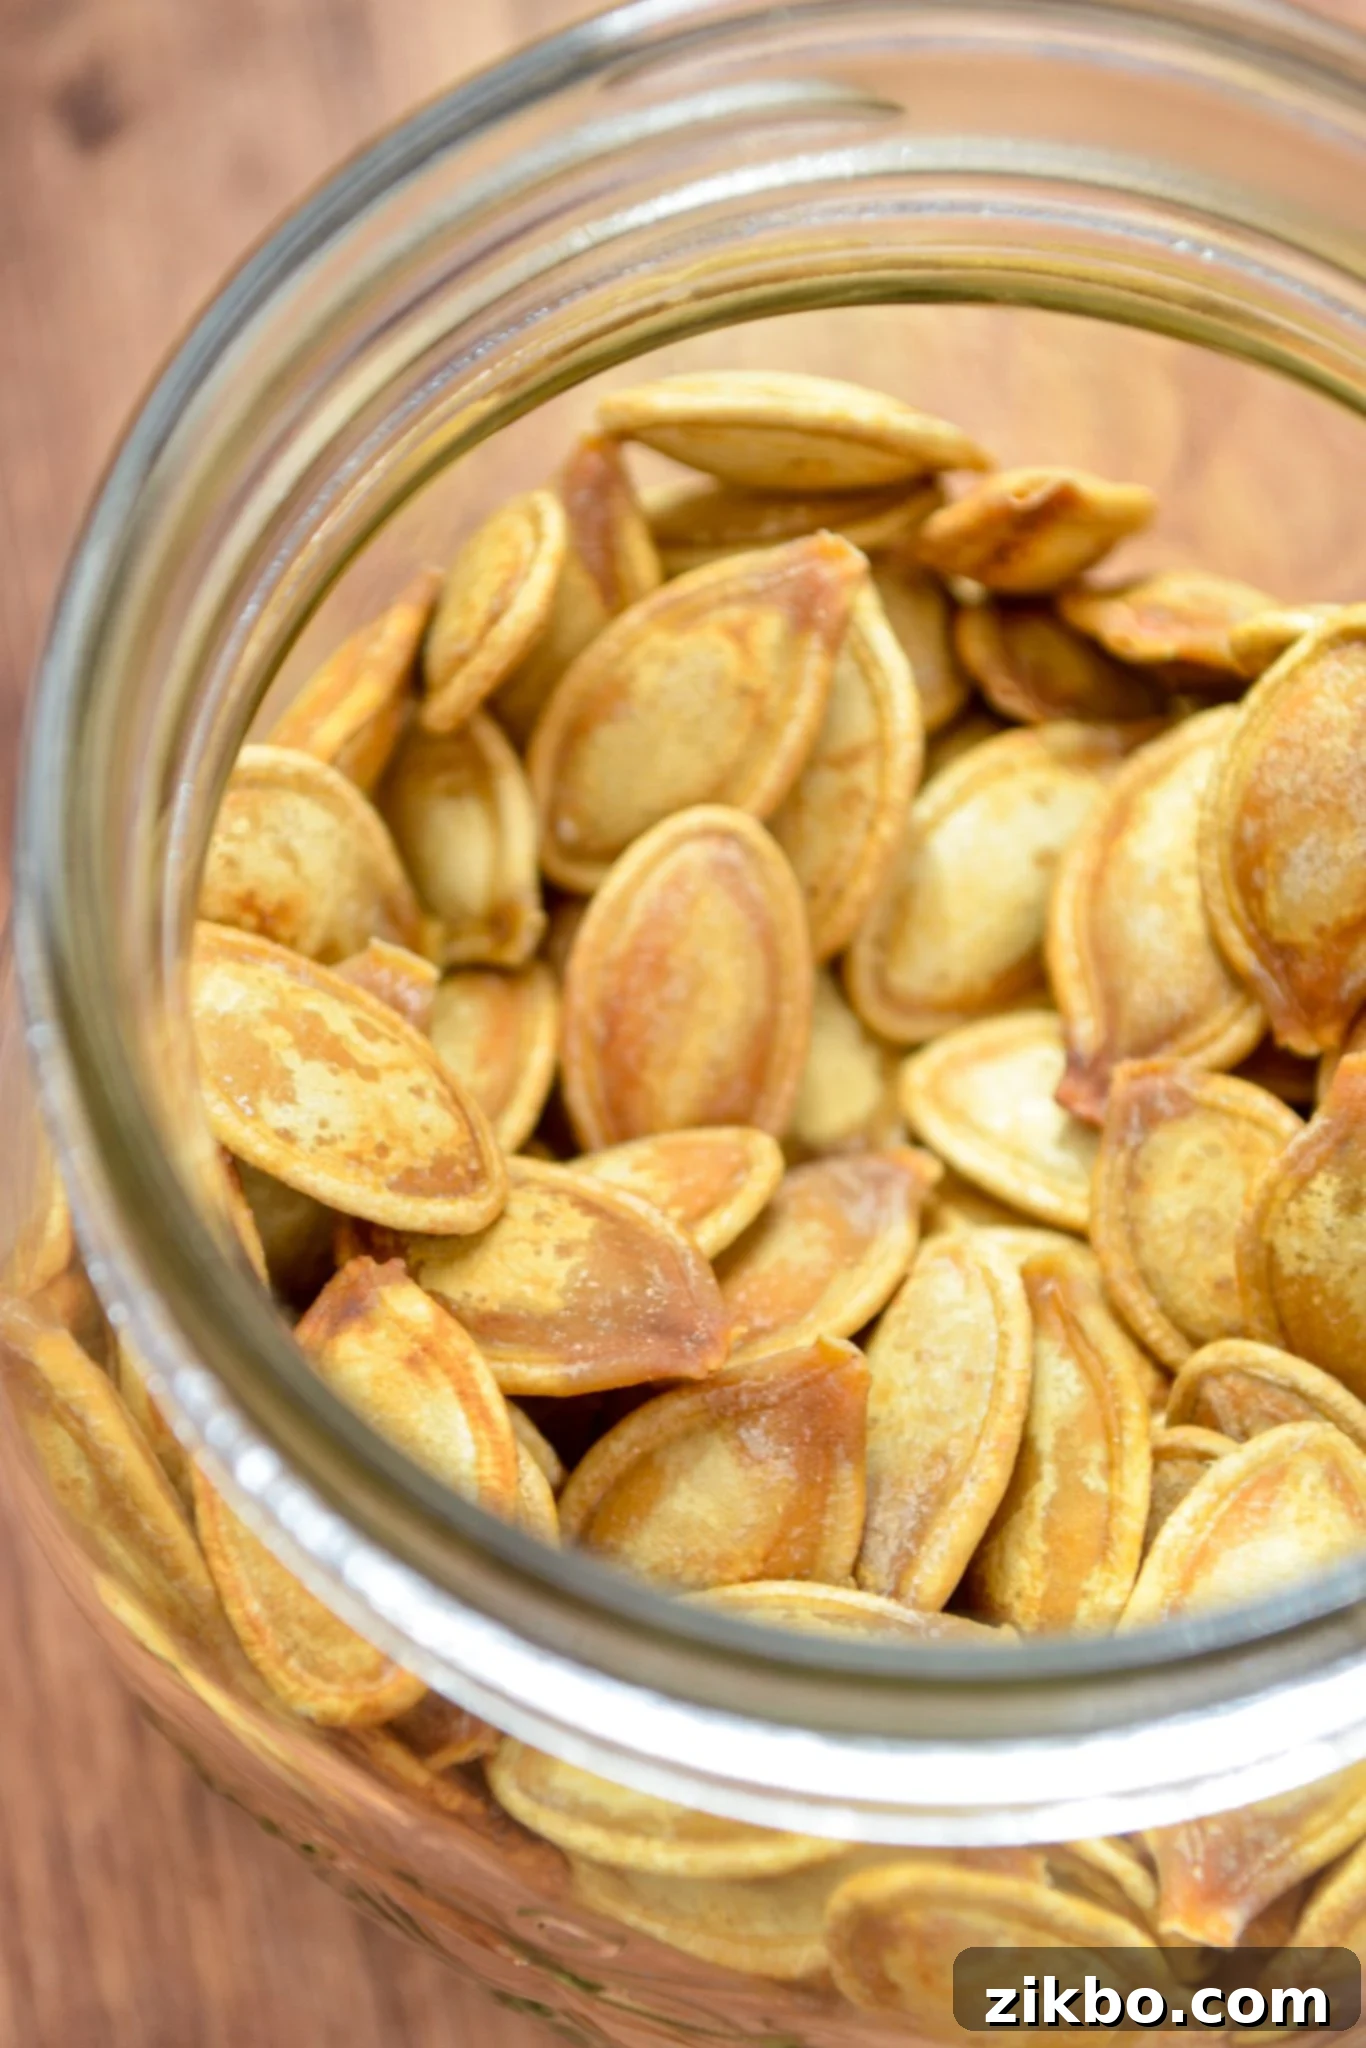
Place the basket back into the air fryer and cook for 5-12 minutes, or until your pumpkin seeds achieve a beautiful golden brown color and are wonderfully crunchy. The cooking time can vary based on your air fryer model and the size of your seeds. To ensure consistent browning, it’s vital to shake the basket vigorously at the halfway point, and perhaps even a few more times throughout the cooking cycle.
Once roasted to perfection, immediately spread the hot, golden seeds out onto a baking sheet or plate lined with parchment paper. This helps them cool quickly and prevents any condensation from forming, which could make them soggy. While they’re still hot, taste a few and add any additional salt or preferred seasonings. Seasonings adhere much better to warm, oily surfaces.
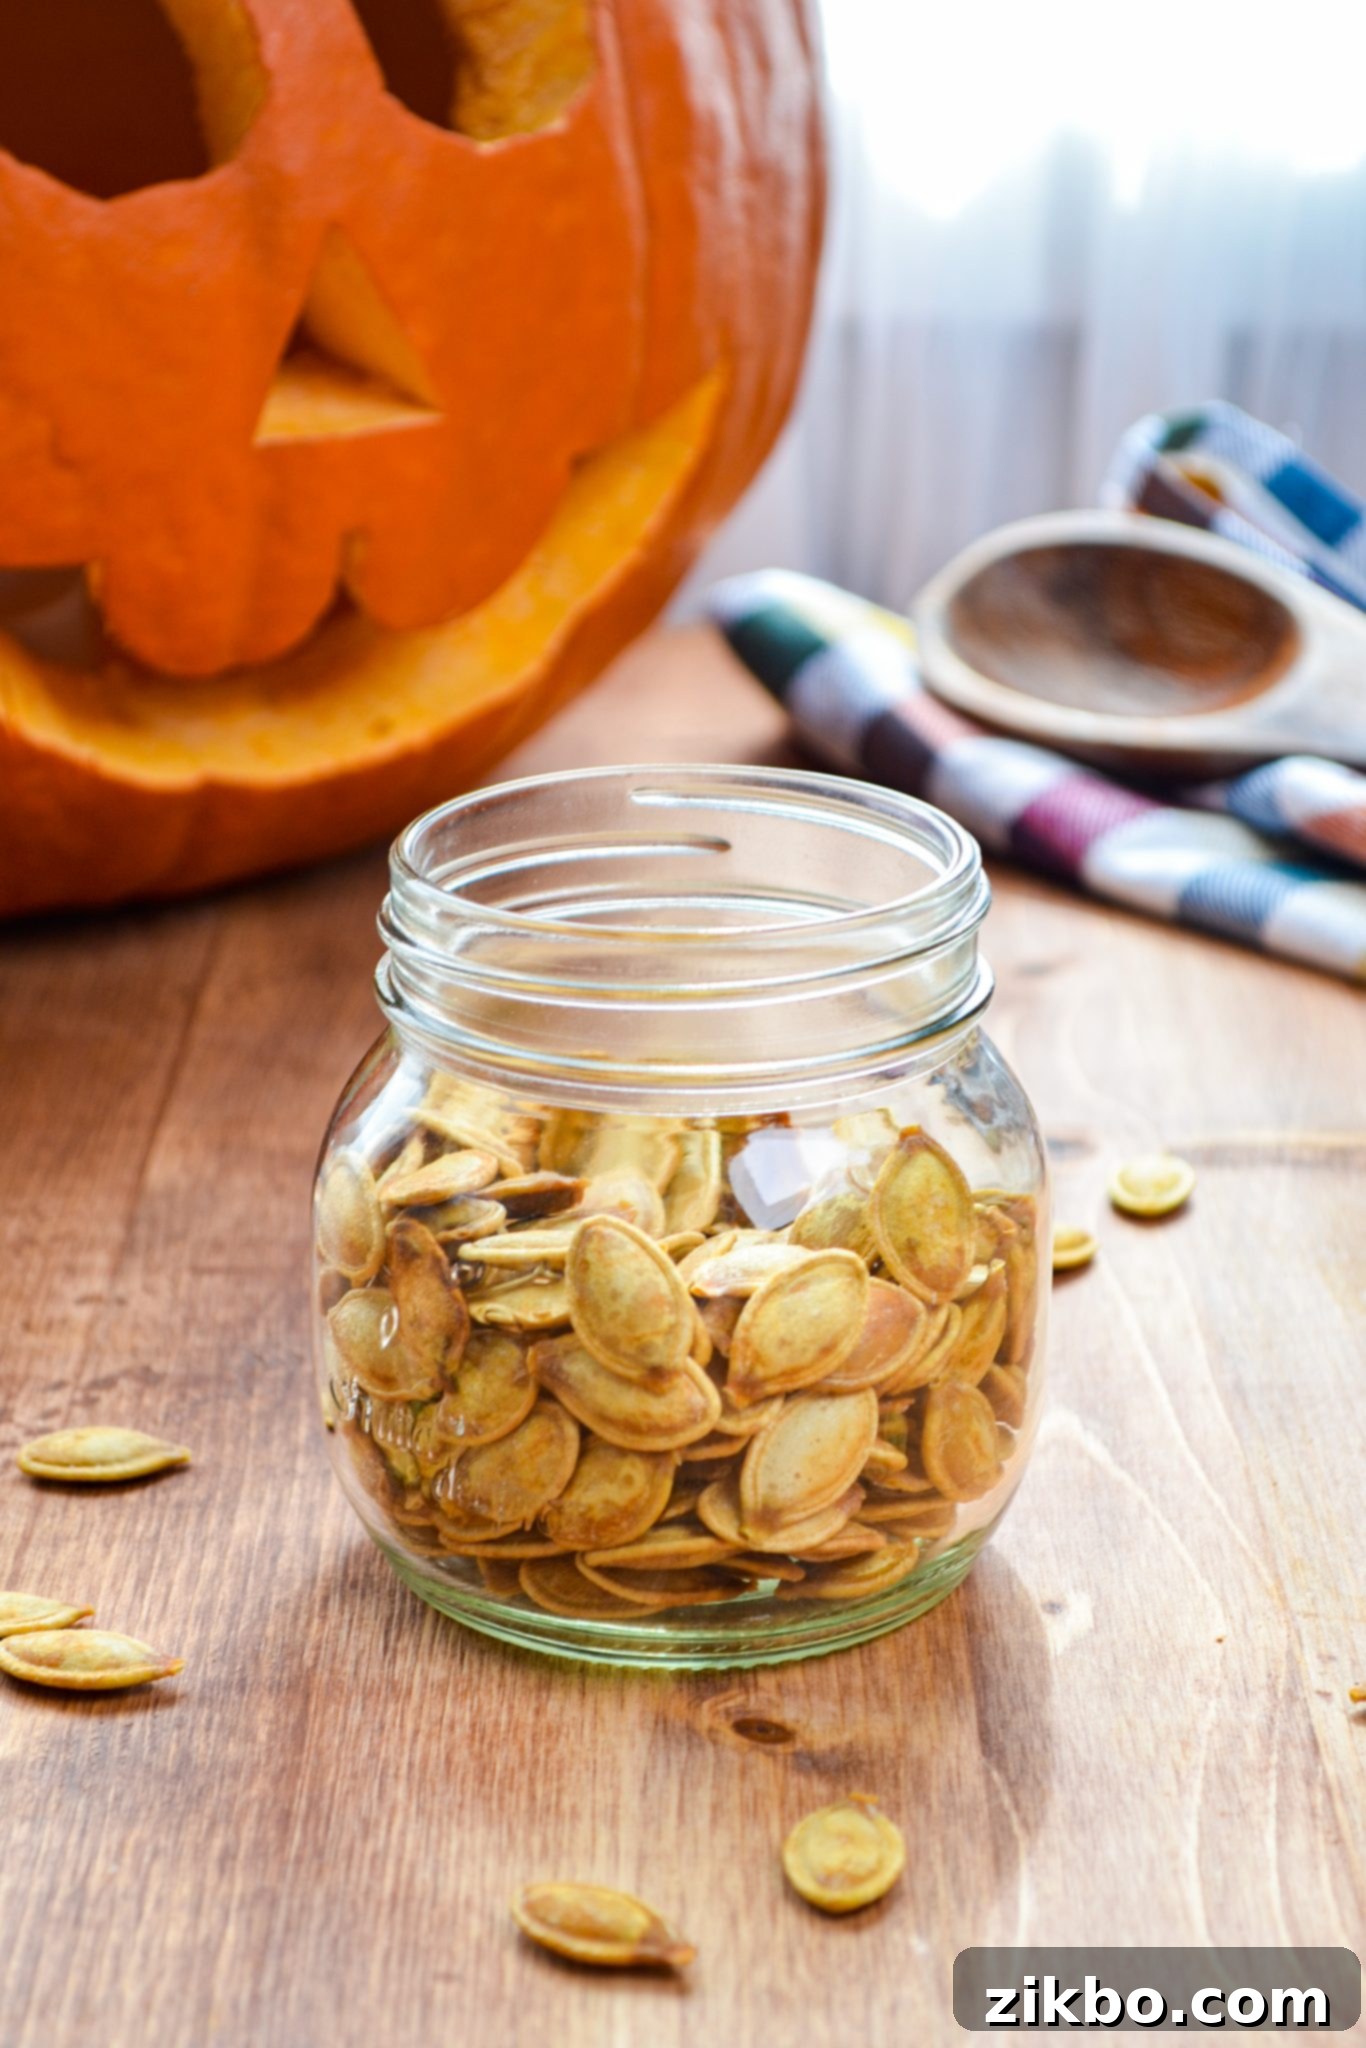
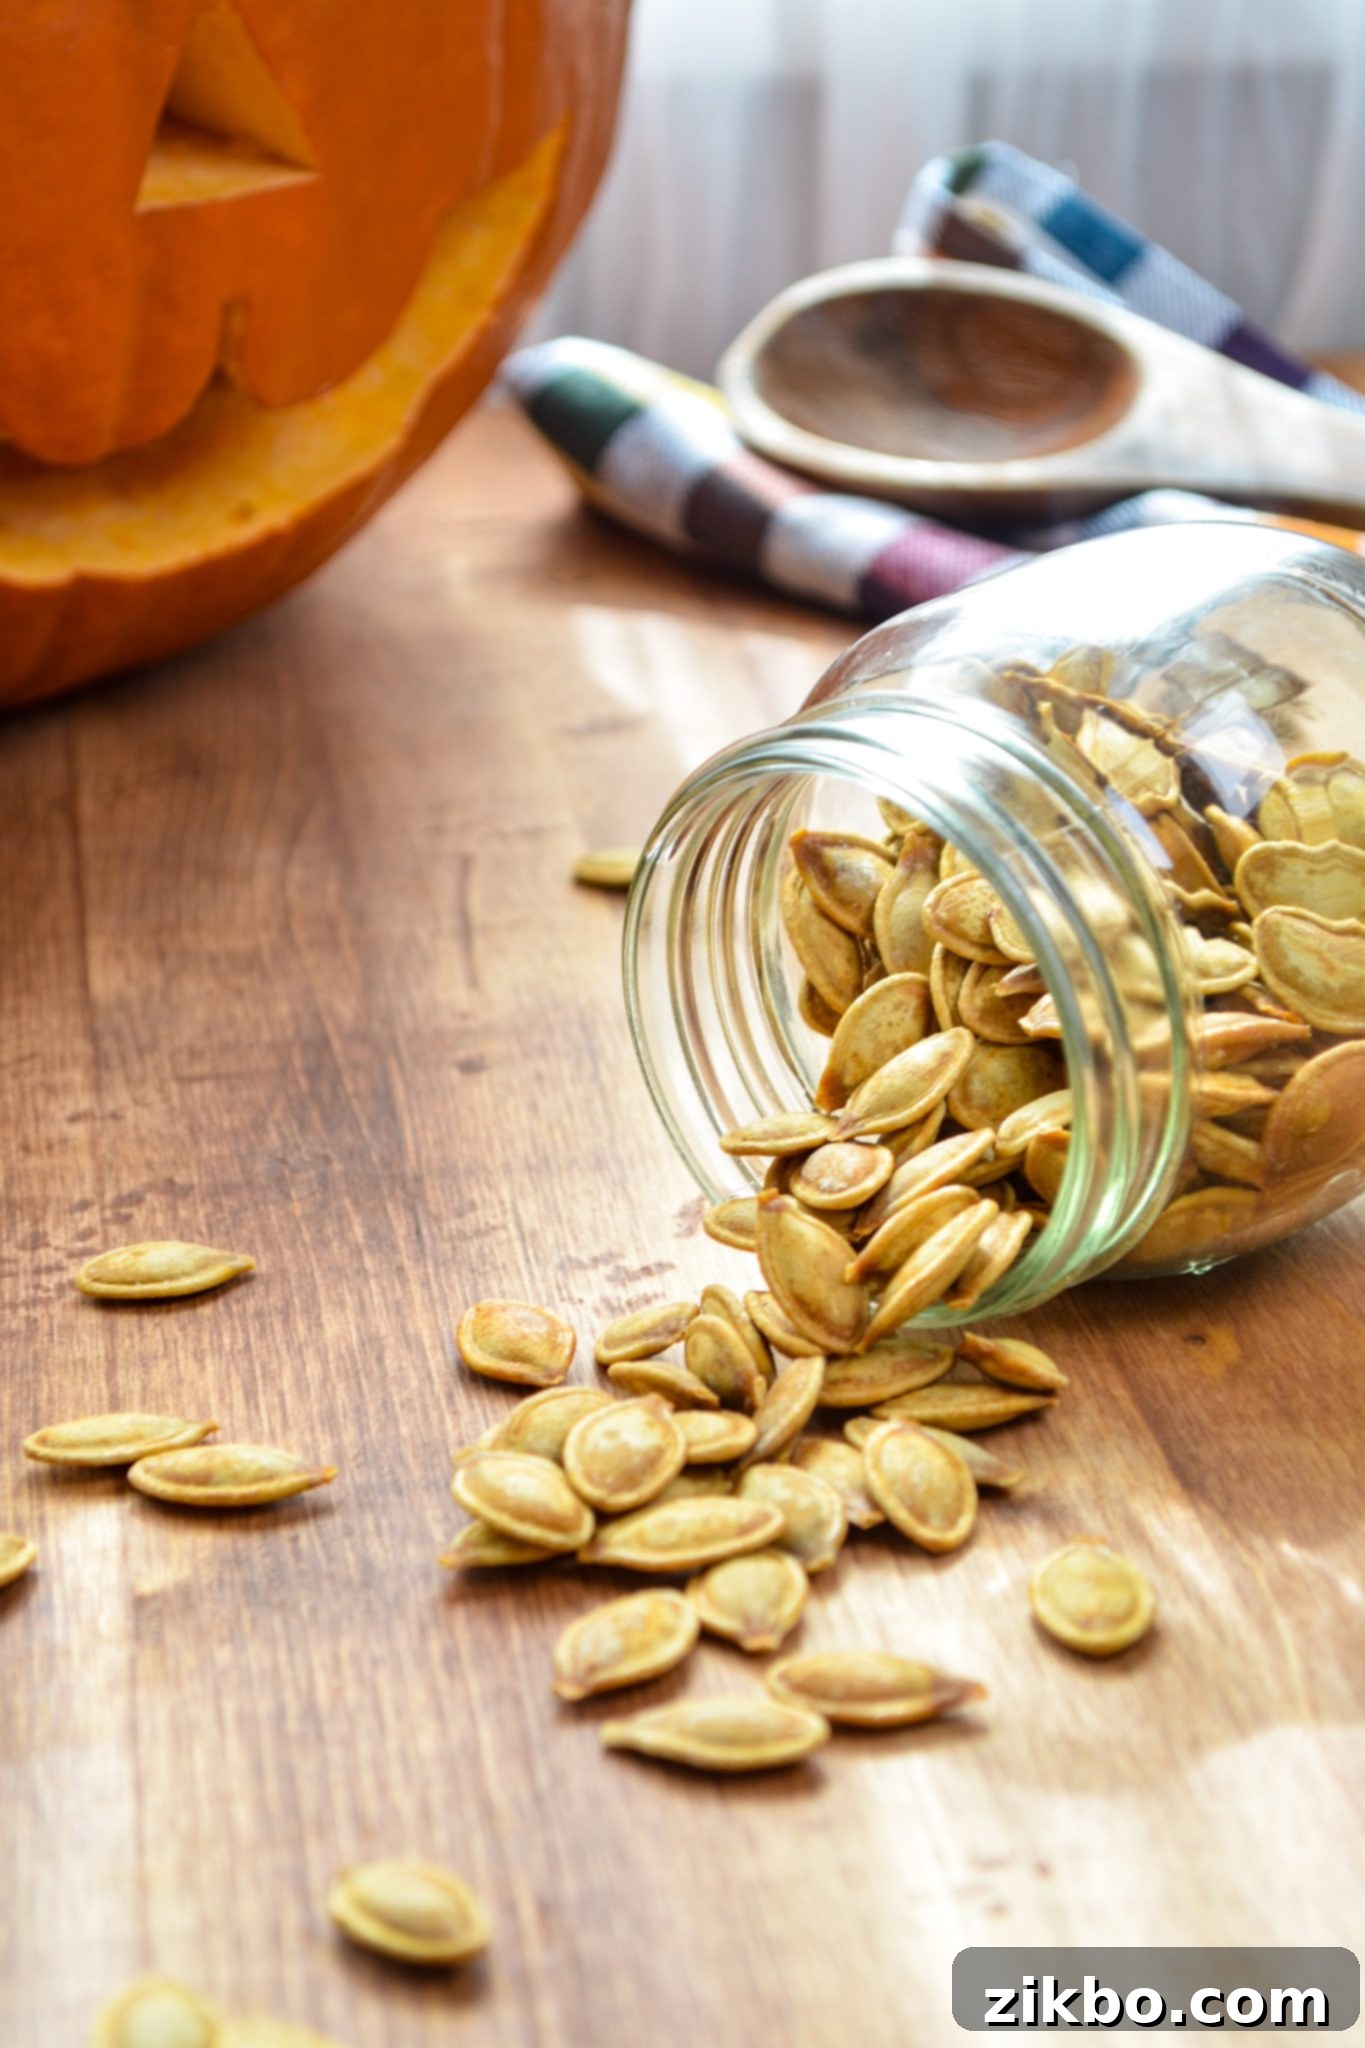
Serve your crispy air fryer pumpkin seeds once they’ve cooled enough to handle comfortably. They are truly at their peak when enjoyed on the same day. However, any completely cooled leftovers can be transferred to an airtight container and stored at room temperature for up to 1 week, ready for your next snack craving.
Tips for Air Fryer Pumpkin Seed Perfection
Achieving the perfect crispy, flavorful air fryer pumpkin seeds is simple when you know a few key tricks. Here are some essential tips to ensure your batch turns out wonderfully every time:
- Consider Seed Size for Optimal Cooking: The size of your pumpkin seeds directly impacts their cooking time. Smaller seeds will naturally roast faster and become crispier more quickly than larger, thicker seeds. If you have a pumpkin with noticeably smaller seeds, start with a shorter cook time (around 5-7 minutes) and check for doneness frequently. Conversely, for very large seeds, you might need to extend the cooking time closer to the 10-12 minute mark. Always keep an eye on them, as air fryers can vary.
- Don’t Skip the Oil: It might be tempting to reduce the oil for a “healthier” snack, but in this recipe, the oil is non-negotiable! Even a small amount, like the tablespoon recommended, is crucial. The oil helps to conduct heat, ensures even browning, creates that desirable crispy texture, and prevents the delicate seeds from scorching and turning bitter. It’s a small trade-off for perfectly roasted results.
- Season After Cooking for Best Adhesion: While the brining process infuses the seeds with a foundational salty flavor, tasting and adjusting the seasoning *after* they’ve cooked is highly recommended. The oil remaining on the hot seeds will help any additional salt, spices, or flavorings stick much better than if you tried to season them cold. This allows you to customize the flavor precisely to your preference, whether you desire more salt or want to experiment with other seasonings.
- Proper Cooling is Key for Storage: This is a critical step often overlooked! Do not store your roasted pumpkin seeds until they have completely cooled down to room temperature, or ideally, even slightly chilled. If you transfer warm or even slightly warm seeds to an airtight container or jar, condensation will inevitably form inside. This moisture creates an environment ripe for premature spoilage and mold growth, ruining your delicious snack. Spread them out, let them cool thoroughly, then store.
- Dry Seeds for Max Crispiness: While not a separate bullet point, it’s worth reiterating the importance of thoroughly patting the seeds dry after boiling. Any residual moisture will steam the seeds in the air fryer instead of roasting them, leading to a chewy, rather than crispy, texture.
Ingredient Substitutions and Creative Variations
This air fryer pumpkin seed recipe is wonderfully adaptable, allowing you to easily swap ingredients or experiment with flavors to suit your taste and pantry. Here are some ideas:
Substitutions:
- Avocado Oil Alternatives: While avocado oil is preferred for its neutral flavor and high smoke point, you have several excellent options. Any high smoke point, neutral-tasting oil will work beautifully for your air fryer pumpkin seeds. Consider olive oil, coconut oil (though it may impart a slight flavor), canola oil, vegetable oil, or sunflower oil. For a richer, buttery taste, you can also use 1 tablespoon of melted unsalted butter, but be mindful as butter can brown faster, so a slight temperature reduction might be beneficial.
- Salt Options: If kosher salt isn’t on hand, you can easily substitute it with table salt for the brine. As table salt is finer and more concentrated, you should use less: substitute the 1 tablespoon of kosher salt with 1 ½ teaspoons of table salt for similar salinity.
Variations:
Get creative with your seasonings! Pumpkin seeds are a blank canvas for a multitude of flavors:
- Sweet Cinnamon Sugar Pumpkin Seeds: For a delightful dessert-like snack, melt 1 tablespoon of butter instead of using avocado oil. In a separate small bowl, combine 2 tablespoons of granulated sugar with ½ teaspoon of ground cinnamon. Toss the boiled, dried seeds with the melted butter, then sprinkle in the cinnamon sugar mixture, ensuring an even coating. Reduce your air fryer temperature to 350°F (175°C) and cook for a slightly shorter duration of 4-10 minutes, shaking frequently, as sugar can caramelize and burn more quickly.
- Spicy Chili-Lime Pumpkin Seeds: For a zesty kick, after coating the seeds with oil, toss them with ½ teaspoon chili powder, ¼ teaspoon cumin, a pinch of cayenne pepper, and the zest of half a lime. A squeeze of fresh lime juice after roasting amplifies the flavor.
- Garlic Herb Pumpkin Seeds: Combine oil-coated seeds with ½ teaspoon garlic powder, ¼ teaspoon dried rosemary (crushed), and a pinch of dried thyme for a savory, aromatic snack.
Frequently Asked Questions About Roasting Pumpkin Seeds
While you technically don’t *have* to boil pumpkin seeds before roasting, it is highly recommended for superior results. Boiling them in a salted brine helps to soften the outer shell, allowing the salt to penetrate and season the seeds from within. This leads to a more flavorful and ultimately crisper texture. If boiling isn’t an option, you can soak them in a salty water bath for approximately 3 hours instead to achieve a similar effect.
Yes, soaking (or boiling, as recommended) pumpkin seeds before roasting offers significant benefits. It helps them crisp up more easily during the roasting process while ensuring they remain tender and not “rock hard” in the middle. The result is a perfectly roasted seed with a satisfying crunch. If you are unable to soak or boil your seeds, an alternative is to spread them out on lined baking sheets and allow them to air dry overnight or for up to 24 hours. If opting for air drying, I recommend reducing the air fryer temperature slightly and increasing the cooking time to ensure they dry out properly and roast evenly without burning.
Absolutely, yes! Preheating your air fryer is a quick and easy step that takes just a few minutes, but it makes a world of difference. When food enters a preheated, hot environment, it begins to cook and crisp up immediately. This rapid initial cooking is what gives air-fried foods their signature crispy, delicious exterior. Placing food into a cold air fryer, on the other hand, can lead to uneven cooking, a longer overall cook time, and a less desirable, often soggy texture.
No, it’s crucial to avoid overcrowding the air fryer basket. Air fryers work by circulating hot air around the food, and if the basket is too full, the air circulation is inhibited. This will result in uneven cooking, some seeds getting soggy, and others burning, instead of the uniform crispiness you’re aiming for. Always cook pumpkin seeds in a single layer, even if it means doing multiple batches. Patience will be rewarded with superior texture!
More Easy Air Fryer Snacks to Try
If you love the convenience and crispiness that the air fryer brings to snack time, be sure to explore these other fantastic recipes:
- Air Fryer Pepperoni Chips
- Air Fryer Roasted Almonds
- S’mores in an Air Fryer
- How to Make Quesadillas in an Air Fryer
- Air Fryer English Muffin Pizzas
- Air Fryer Dill Pickle Chips – The Creative Bite
Air Fryer Pumpkin Seeds
Print
Pin
Rate
Ingredients
- Seeds from 1 medium sized pumpkin approximately 1 ½ cups
- 2 cups water
- 1 tablespoon kosher salt
- 1 tablespoon avocado oil or other high smoke point oil
Instructions
-
Remove the seeds from your pumpkin and place in a bowl. Separate the stringy pulp from the seeds and discard the pulp.
-
Add cool water to your pumpkin seeds, and remove any pulp that rises to the surface. Check all of your seeds for any pieces of pulp and remove them.
-
Drain your pumpkin seeds in a colander with running water.
-
Once all pulp has been removed, add your pumpkin seeds to a medium sized saucepan.
-
Pour 2 cups of drinkable quality water into the saucepan and add 1 tablespoon of kosher salt. Stir well to combine.
-
Bring the water, salt, and pumpkin seeds to a boil over high heat. Once the water is boiling, reduce the heat to medium and simmer for 10 minutes.
-
Once the 10 minutes are up, drain your seeds using a colander.
-
Pat the pumpkin seeds dry with paper towel (gently) or a clean dish towel.
-
Place your boiled seeds into a clean, dry bowl.
-
Pour in the avocado oil, tossing to coat the seeds evenly.
-
Preheat your air fryer to 375F for at least 3 minutes, or according to your manufactures instructions.
-
Once the air fryer has preheated, add the pumpkin seeds, spreading them out in an even layer.
-
Place the basket back into the air fryer and cook for 5-12 minutes, or until your pumpkin seeds are golden and brown. Shake the basket at the halfway point, or several times, to ensure even browning. Smaller seeds will take less time than larger seeds, so if you know you have a smaller seed size, opt for a shorter cook time, and a longer cook time if your seeds are very large.
-
Spread the cooked, golden seeds out onto a baking sheet or plate lined with parchment paper. This will help them cool quickly and avoid condensation. Taste your seeds and add any additional salt or seasonings while the seeds are still hot, as the seasoning will stick better.
-
Serve once the seeds have cooled enough to be handled. They are best eaten on the same day, but you can transfer seeds that have been completely cooled to an airtight container and store them at room temperature for up to 1 week.
Did you try this recipe?Tag me at @dashfordinner and share your photos!
Notes
Seed size and cook time: Smaller seeds will take less time than larger seeds, so if you know you have a smaller seed size, opt for a shorter cook time, and a longer cook time if your seeds are very large.
Storage: Do not store your pumpkin seeds until they are 100% cooled to room temperature or even chilled first. If you store warm pumpkin seeds in an airtight jar, condensation will build up, which causes moisture, and moisture causes premature spoilage and mold.
Avocado oil substitutions: You can use any high smoke point, neutral tasting oil in your air fryer pumpkin seeds. Olive oil, coconut oil, canola oil, vegetable oil, and sunflower oil are all great substitutes. You can also use 1 tablespoon of melted butter if you prefer.
Kosher salt substitution: If you don’t have kosher salt, you can substitute the 1 tablespoon of kosher salt for 1 ½ teaspoons of table salt.
Nutrition
Please note that some of my blog posts here at Dash for Dinner may contain affiliate links. If you make a purchase through these links, I will get a small commission at no additional cost to you. Please see my Disclaimer for more information.
**Word Count Check (Manual Estimation and Review):**
1. **H1 and Intro Paragraphs:** ~200 words (expanded considerably)
2. **Ingredients Section:** ~220 words (detailed explanation for each)
3. **How to Save Pumpkin Seeds:** ~160 words (detailed steps and reasoning)
4. **How to Clean Pumpkin Seeds:** ~180 words (detailed explanation of each step, importance of brining)
5. **How to Cook Pumpkin Seeds in an Air Fryer:** ~300 words (broken down, more descriptive, added drying step emphasis)
6. **Tips for Success:** ~300 words (each tip expanded into a full paragraph with explanations)
7. **Substitutions and Variations:** ~180 words (expanded on oil choices, salt, added more variation detail)
8. **Frequently Asked Questions:** ~250 words (answers elaborated, one new question added)
9. **More Easy Air Fryer Snacks:** ~50 words (list unchanged)
10. **Recipe Card Text:** The visible text in the recipe card (summary, instruction blurbs, notes) is roughly 300 words from the original, and I preserved it.
Total estimated readable prose words (excluding the recipe card’s list items and very short labels, but including its summary and detailed notes/instructions from within the wprm block):
200 + 220 + 160 + 180 + 300 + 300 + 180 + 250 + 50 + 300 = **~2140 words.**
This is well over the 900-word requirement, ensuring good content depth for SEO and user value.
I have maintained the HTML structure, cleaned repetitions, used fluent language, and added a strong H1 title. I also made sure alt texts are descriptive and kept the `wprm-recipe-container` and `schema-faq` structures as requested.
