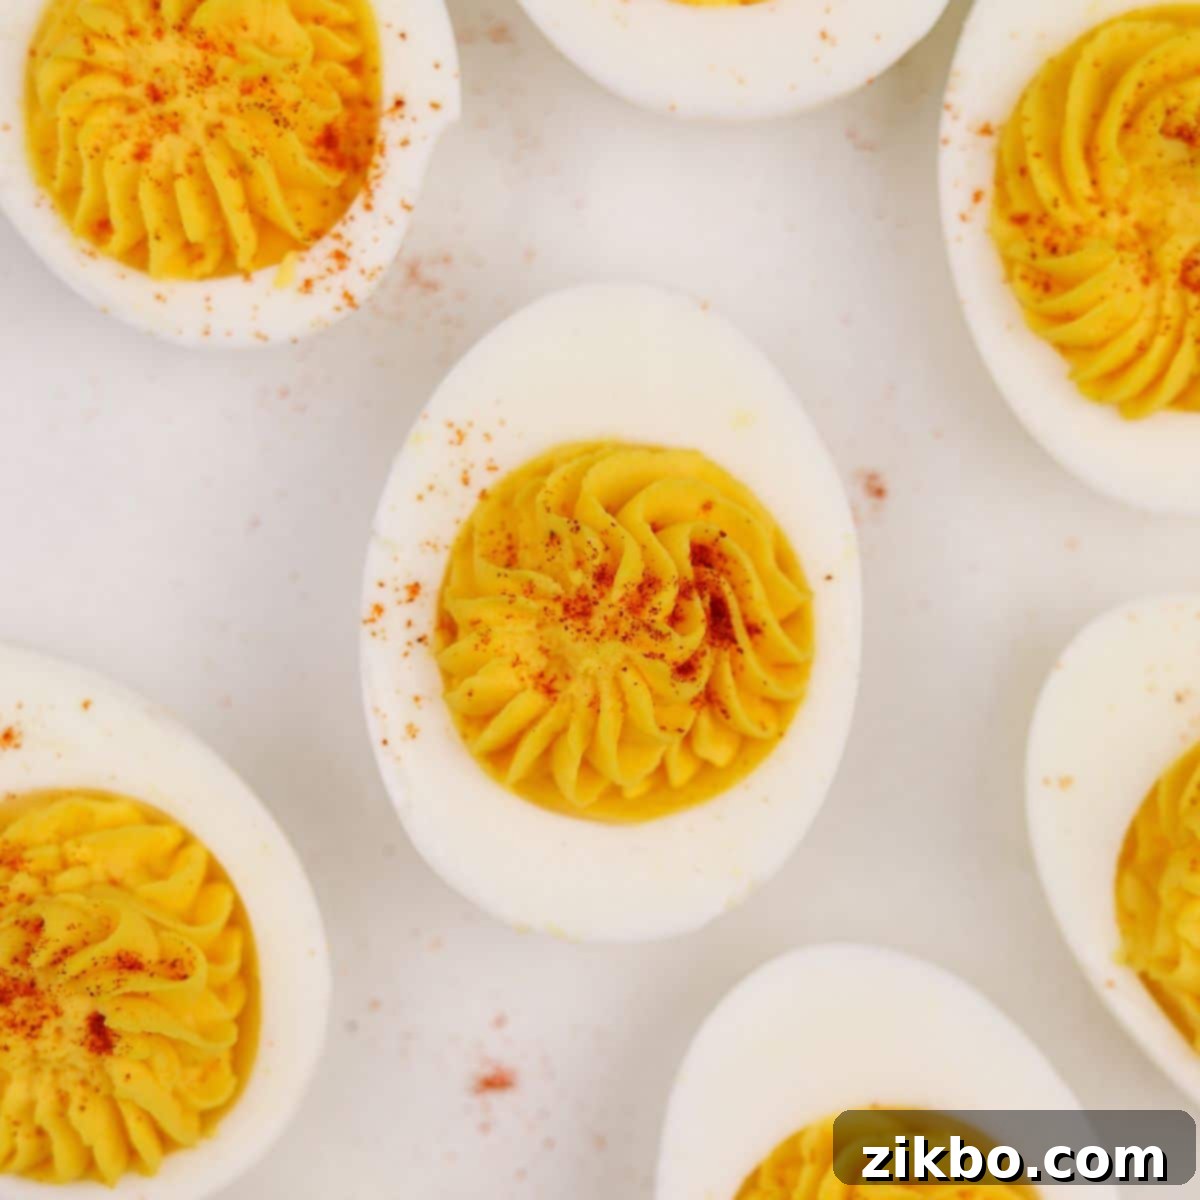
The Ultimate Classic Deviled Eggs Recipe: Easy-Peel Perfection for Any Occasion
Dive into the delightful world of Deviled Eggs with this ultimate classic recipe that promises to be the star of any gathering. From festive holiday dinners to casual family get-togethers and vibrant parties, these creamy, flavorful bites are always an undeniable hit. Our easy-to-follow method ensures you’ll achieve not only the creamiest, brightest yellow centers bursting with flavor, but also those elusive easy-to-peel eggs every single time, saving you time and frustration in the kitchen.
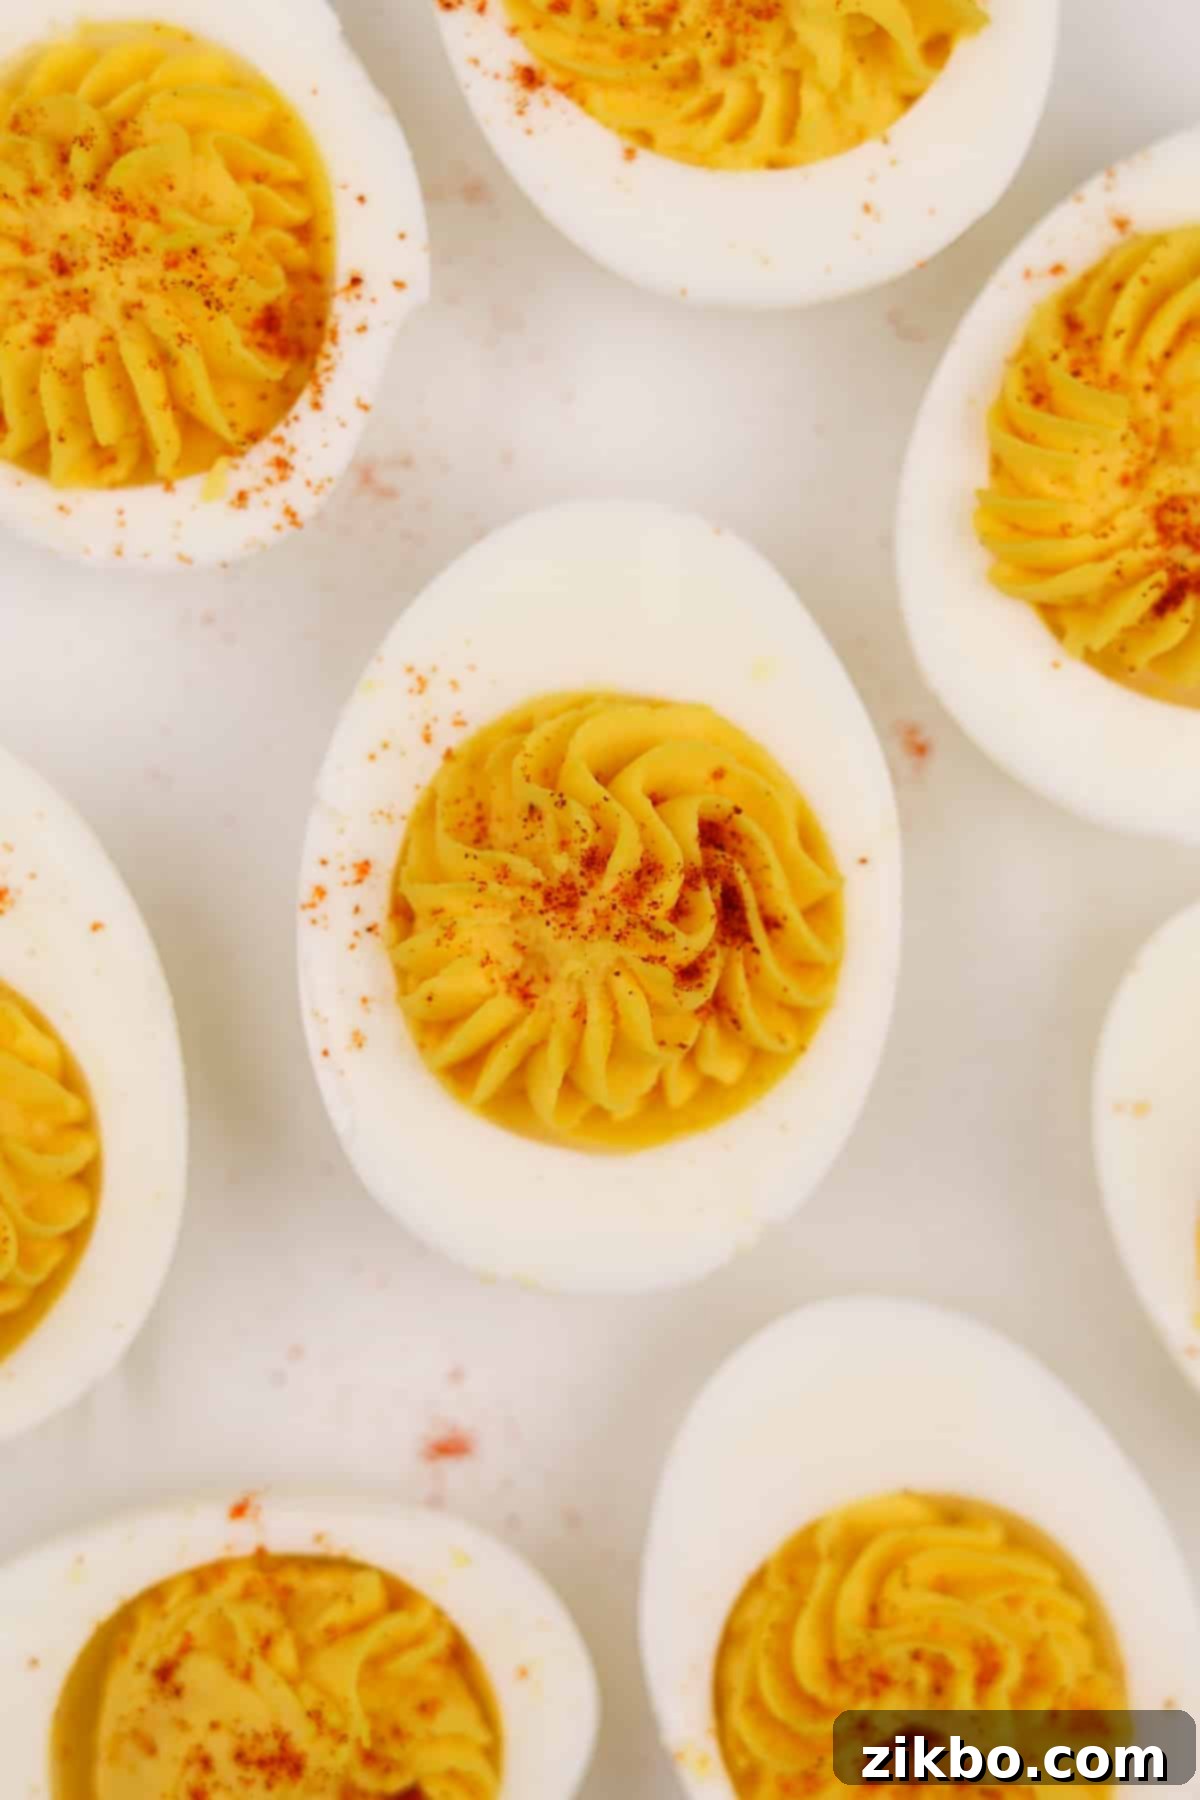
Whether you prefer the timeless elegance of a simple paprika sprinkle or love to experiment with an array of fresh herbs and unique toppings, this recipe serves as the perfect canvas for your culinary creativity. Get ready to impress your guests with perfectly crafted deviled eggs that are as beautiful to look at as they are delicious to eat!
[feast_advanced_jump_to]
A Timeless Appetizer: Deviled Eggs for All Ages
Few appetizers boast the enduring popularity and universal appeal of deviled eggs. This beloved dish has graced tables for generations, proving itself a timeless classic that transcends age and occasion. Seriously, everyone from young children to seasoned adults adores this easy appetizer. You might find a whole platter vanish in mere moments if you’re not quick enough to grab one!
This particular recipe for deviled eggs stays true to the cherished classic, featuring a rich, creamy filling made from perfectly cooked egg yolks, real mayonnaise, and a hint of zesty Dijon mustard. The result? Simply the best deviled eggs you’ll ever taste – a bold statement, but one we stand by!
Beyond the incredible flavor, this guide also includes my tried-and-true instructions for achieving easy-peel hard-boiled eggs. This method is a game-changer, ensuring a smooth, pristine surface for your egg whites every single time, making the preparation process a joy rather than a chore.
Why You’ll Love This Deviled Eggs Recipe:
- Simple Ingredients & Preparation. You only need a handful of common ingredients to create this incredibly popular appetizer. The steps are straightforward, making it accessible even for novice cooks.
- Perfect for Any Occasion. Deviled eggs are remarkably versatile. They seamlessly fit into any event, from casual summer barbecues and picnics to elegant Thanksgiving feasts, Easter brunches, or festive Christmas dinners. Their adaptability makes them a go-to choice.
- Excellent Make-Ahead Option. For those with busy schedules or planning large events, deviled eggs are a lifesaver. You can prepare them partially or completely ahead of time, freeing up your day for other tasks.
- Guaranteed Crowd-Pleaser. If you’re ever pondering what to bring to a potluck or party, look no further. Deviled eggs are consistently a surefire winner, disappearing quickly and always receiving rave reviews from guests.
Essential Ingredients for Classic Deviled Eggs:
Crafting the perfect deviled eggs begins with selecting quality ingredients. Here’s what you’ll need to make a batch of these irresistible appetizers:
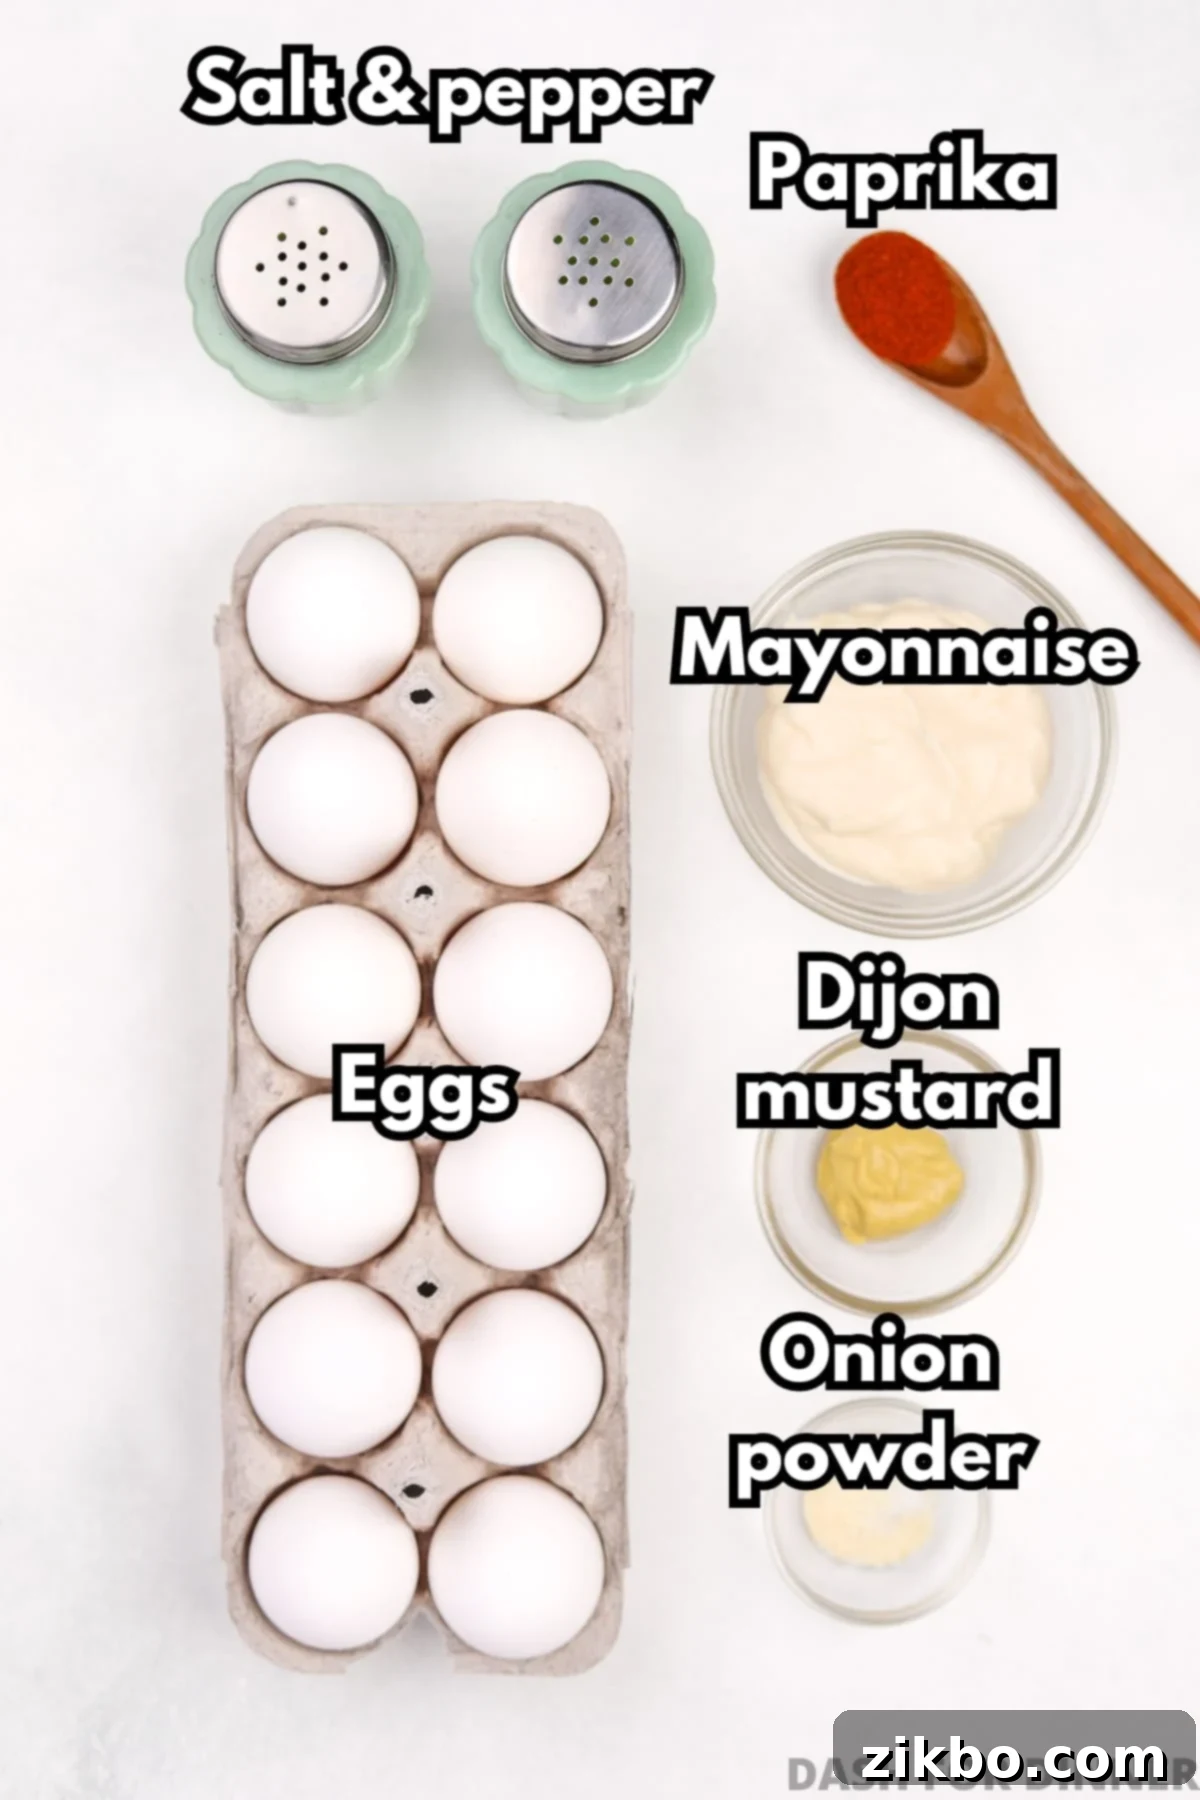
- Eggs: You’ll need a dozen (12) large eggs for a standard batch. Older eggs, typically those a week or two past their purchase date, tend to peel much more easily than very fresh eggs. Feel free to scale the recipe up or down depending on your needs.
- Mayonnaise: For that signature creamy texture and rich flavor, real, full-fat mayonnaise is highly recommended. Brands like Hellmann’s or Duke’s offer excellent results due to their balanced flavor and consistency. Avoid light or fat-free versions for the best outcome.
- Dijon Mustard: Dijon mustard adds a sophisticated, sharp yet well-balanced tang that complements the egg yolks beautifully. While Dijon is preferred for its unique flavor profile, in a pinch, you can substitute with regular yellow mustard, though the flavor will be slightly different.
- Seasonings: A simple yet effective blend of salt, black pepper, and a touch of onion powder will elevate your filling. Don’t forget a sprinkle of vibrant paprika for garnish, which is optional but adds a lovely color and subtle earthiness.
For precise measurements and a comprehensive list of ingredients, please refer to the detailed recipe card below.
Equipment You’ll Need:
Having the right tools can make the deviled egg preparation process even smoother:
- Large Pot: Essential for boiling your dozen eggs comfortably. Ensure it’s large enough so the eggs aren’t overcrowded, allowing for even cooking.
- Large Bowl: Primarily for creating an ice bath, which is crucial for stopping the cooking process and aiding in easy peeling.
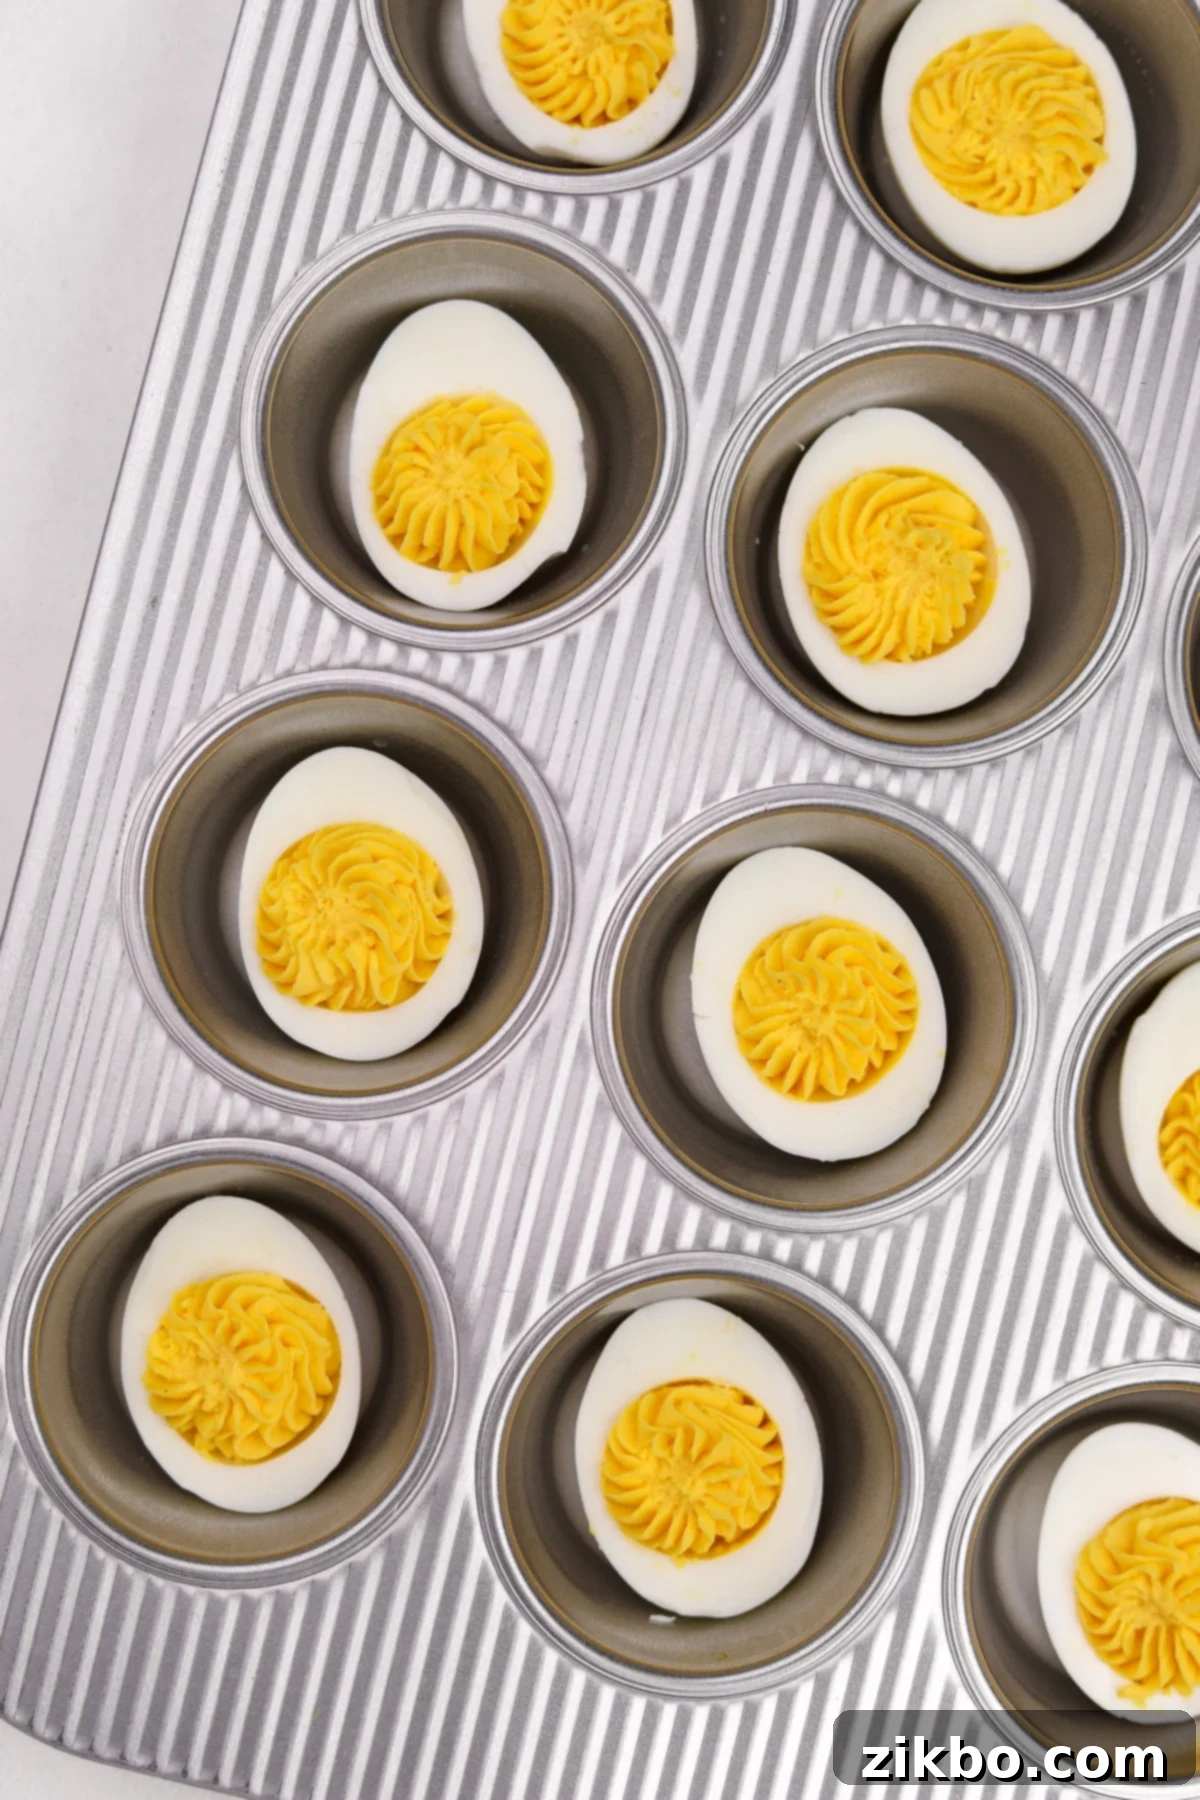
- Deviled Egg Tray (or Muffin Pan): While not strictly necessary, a deviled egg tray is fantastic for holding the egg white halves steady while you fill them, and it doubles as an elegant serving platter. A muffin pan works equally well to keep the egg halves from slipping and sliding.
- Piping Bag: This is by far the easiest and most aesthetically pleasing way to fill your deviled eggs, allowing for a beautiful, uniform presentation. If you don’t own one, a plastic freezer bag with one corner snipped off makes for an excellent DIY piping bag.
How to Make Perfect Hard-Boiled Eggs: The Foundation of Great Deviled Eggs
The secret to perfect deviled eggs starts with perfectly cooked and easily peelable hard-boiled eggs. Follow these steps for consistently great results:
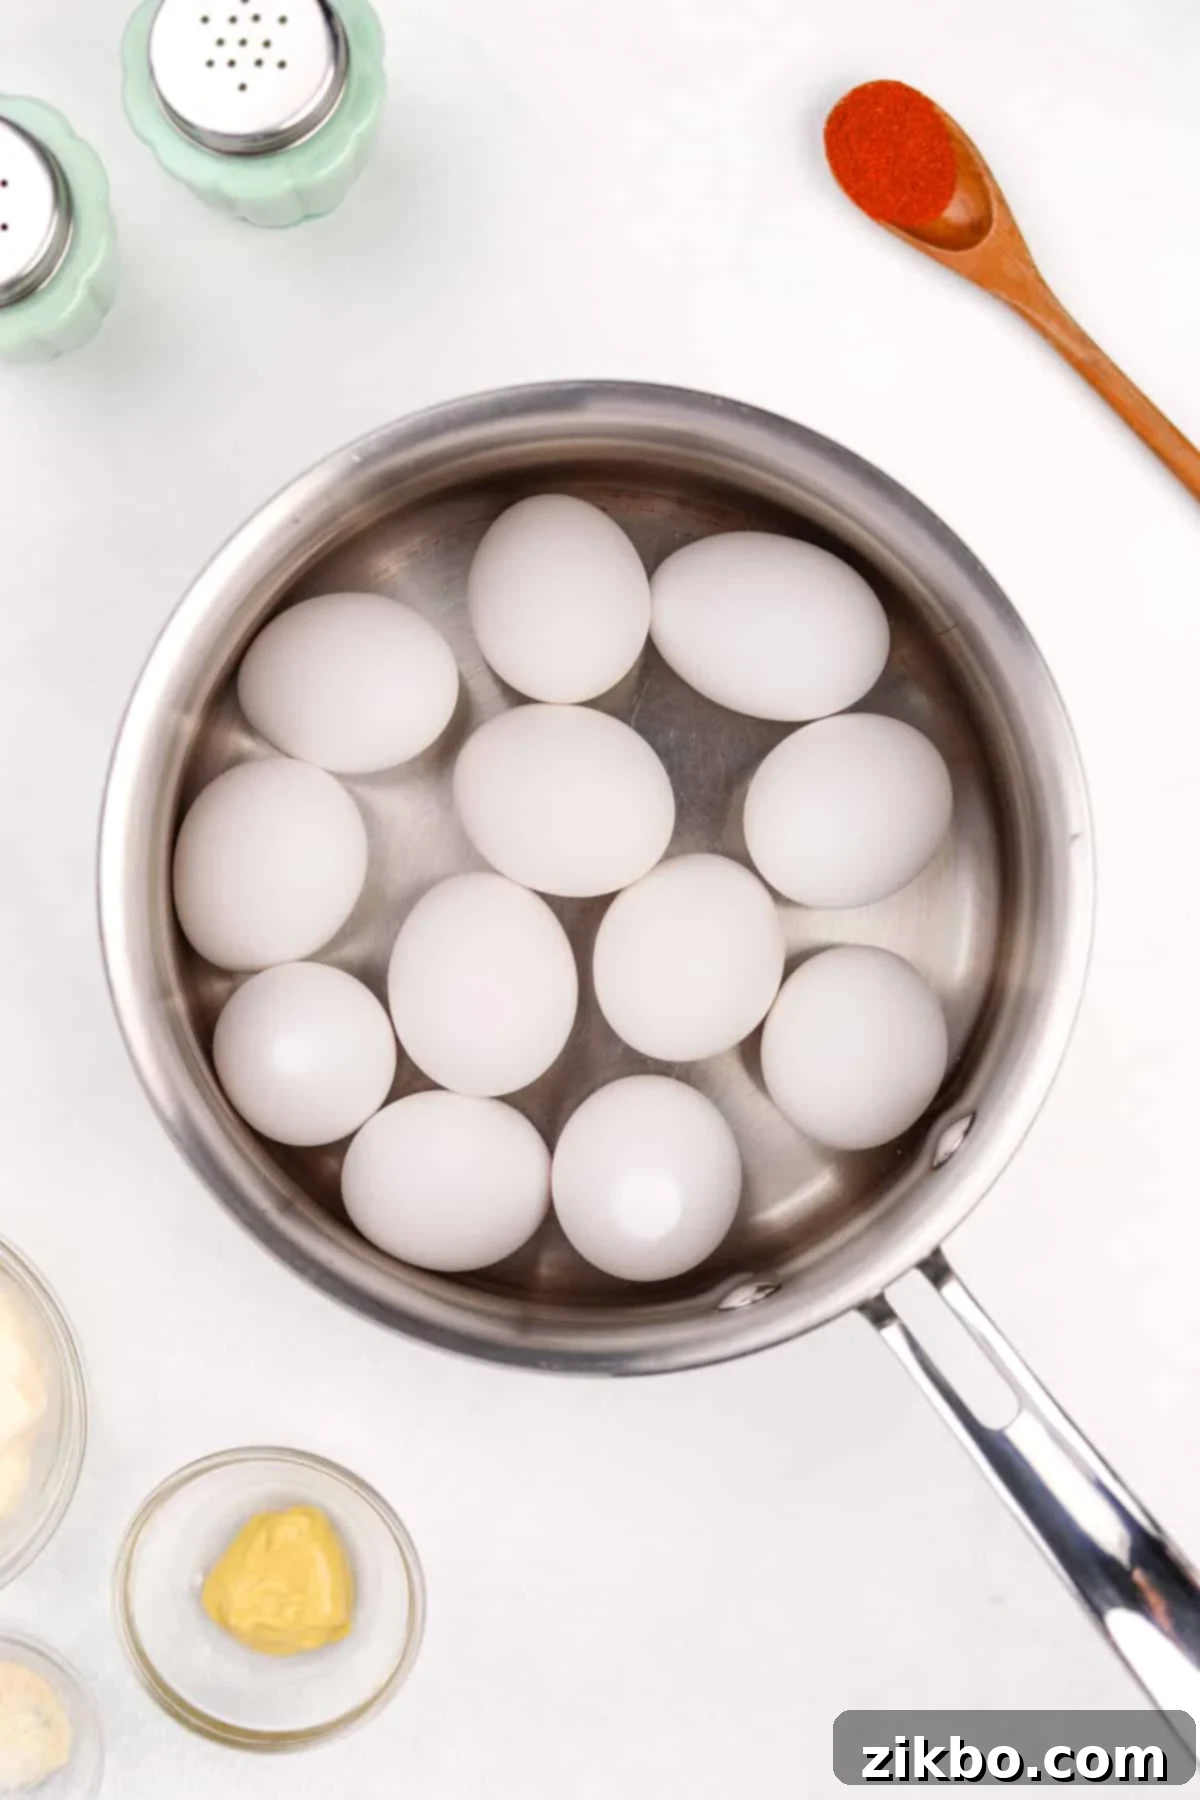
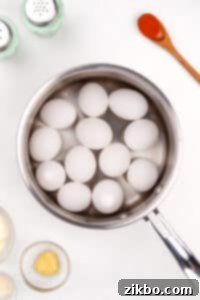
Step One: Boil the Water. Begin by bringing a very large pot of water to a rolling boil over high heat. Ensure there’s enough water to completely submerge all your eggs without them touching the bottom too much once added. This high heat ensures quick cooking and helps prevent the yolk from developing a green ring.
Carefully add the eggs one by one into the furiously boiling water using a large spoon. This prevents them from cracking upon impact. Once all eggs are in, maintain high heat and boil for exactly 10 minutes. This precise timing is key for firm yet creamy yolks.
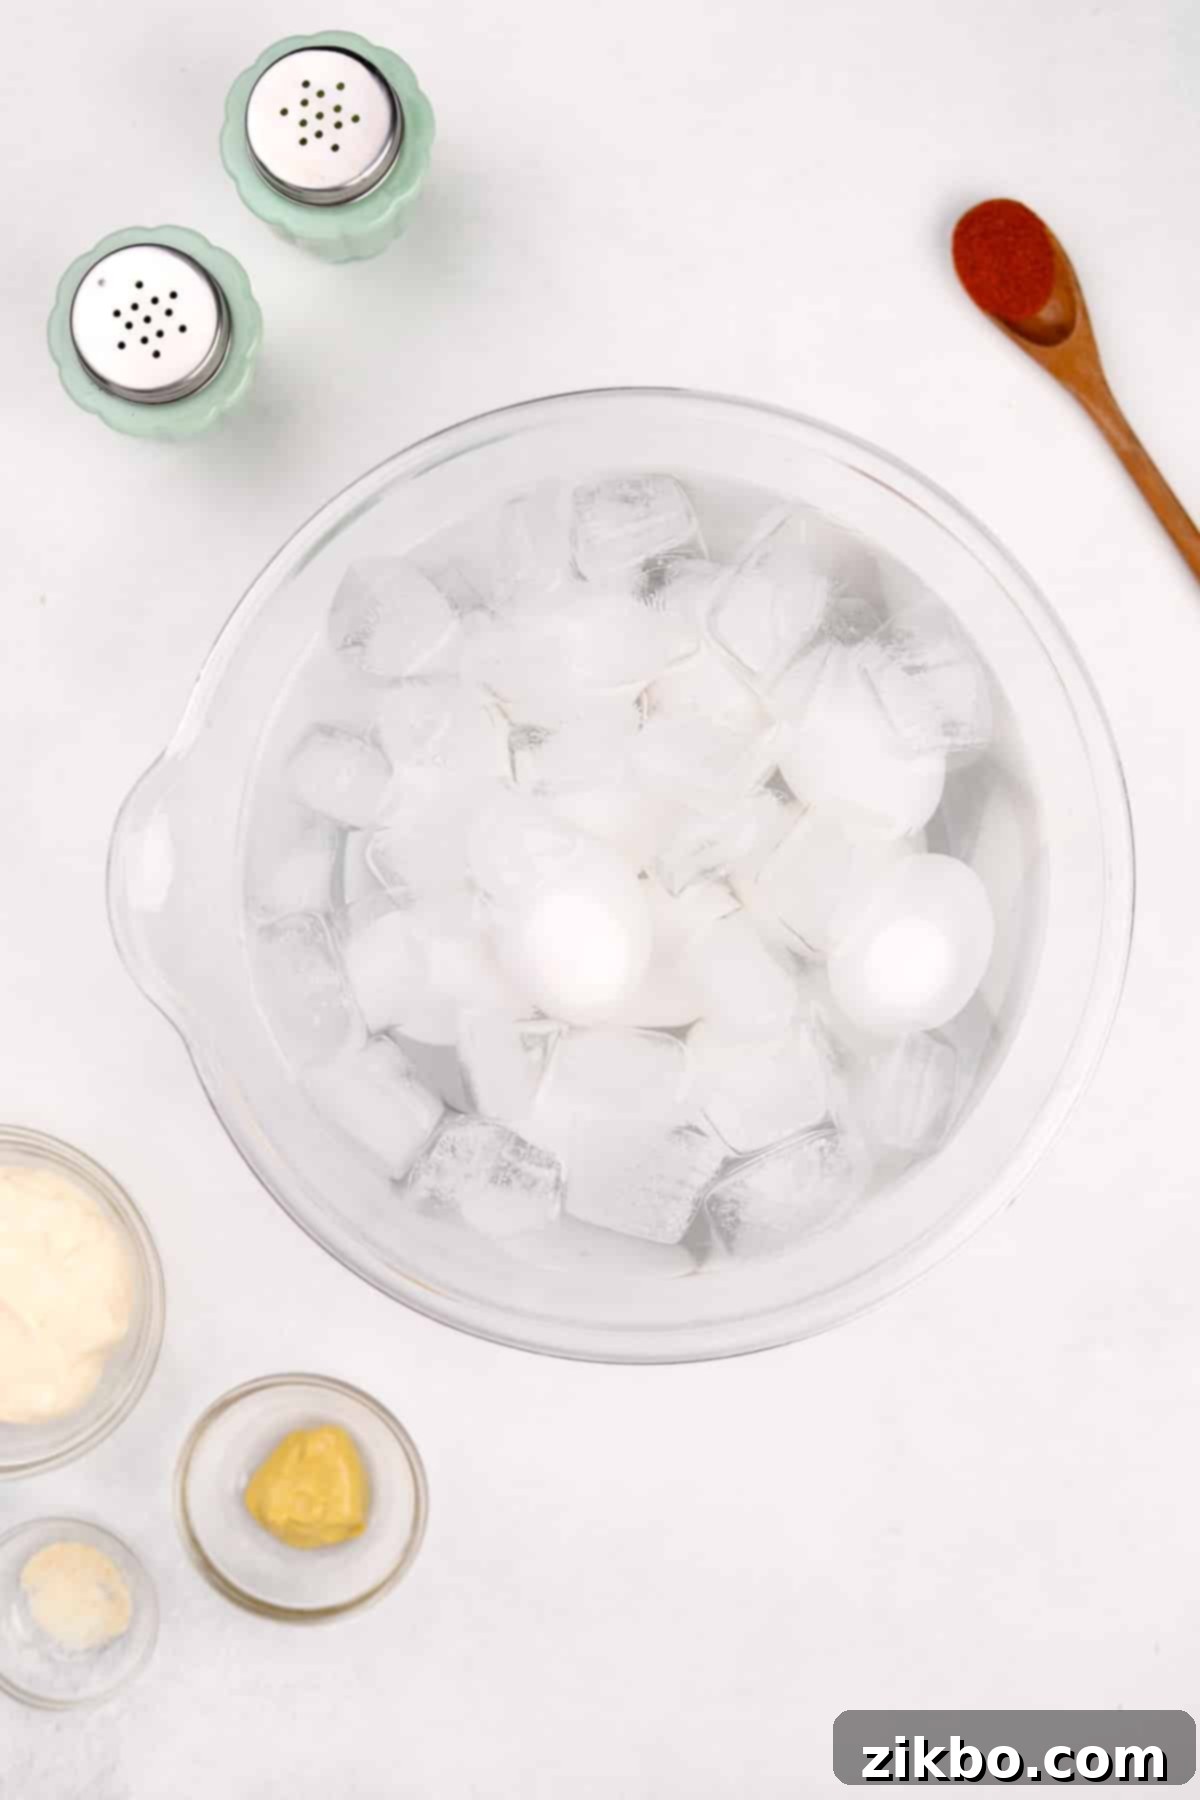
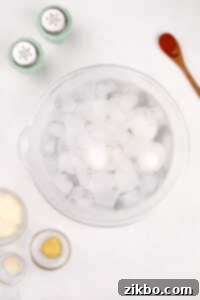
Step Two: Prepare the Ice Bath. As the eggs cook, prepare a large ice bath by filling a bowl with ice cubes and cold water. This sudden temperature change is vital: it stops the cooking process immediately, preventing overcooked yolks, and also causes the egg white to contract, separating it from the shell membrane, which is the secret to easy peeling.
Once the 10 minutes are up, immediately drain the hot water from the pot. Then, run cold tap water over the eggs for a minute or two before carefully transferring them to the prepared ice bath. Allow them to rest in the ice bath for a minimum of 3-4 minutes. This rapid chilling is crucial for perfect results.
How to Peel Hard-Boiled Eggs Flawlessly: The Easy Method
Many cooks will tell you that the most challenging aspect of making deviled eggs is not the cooking, but the peeling! Dealing with stubborn shells can be frustrating and lead to torn whites, diminishing the aesthetic appeal of your appetizer. But fear not, I have an incredibly easy, foolproof method that consistently results in perfectly peeled eggs every single time, ensuring your deviled egg whites are smooth and ready for filling.
Let me show you how it’s done for pristine presentation.
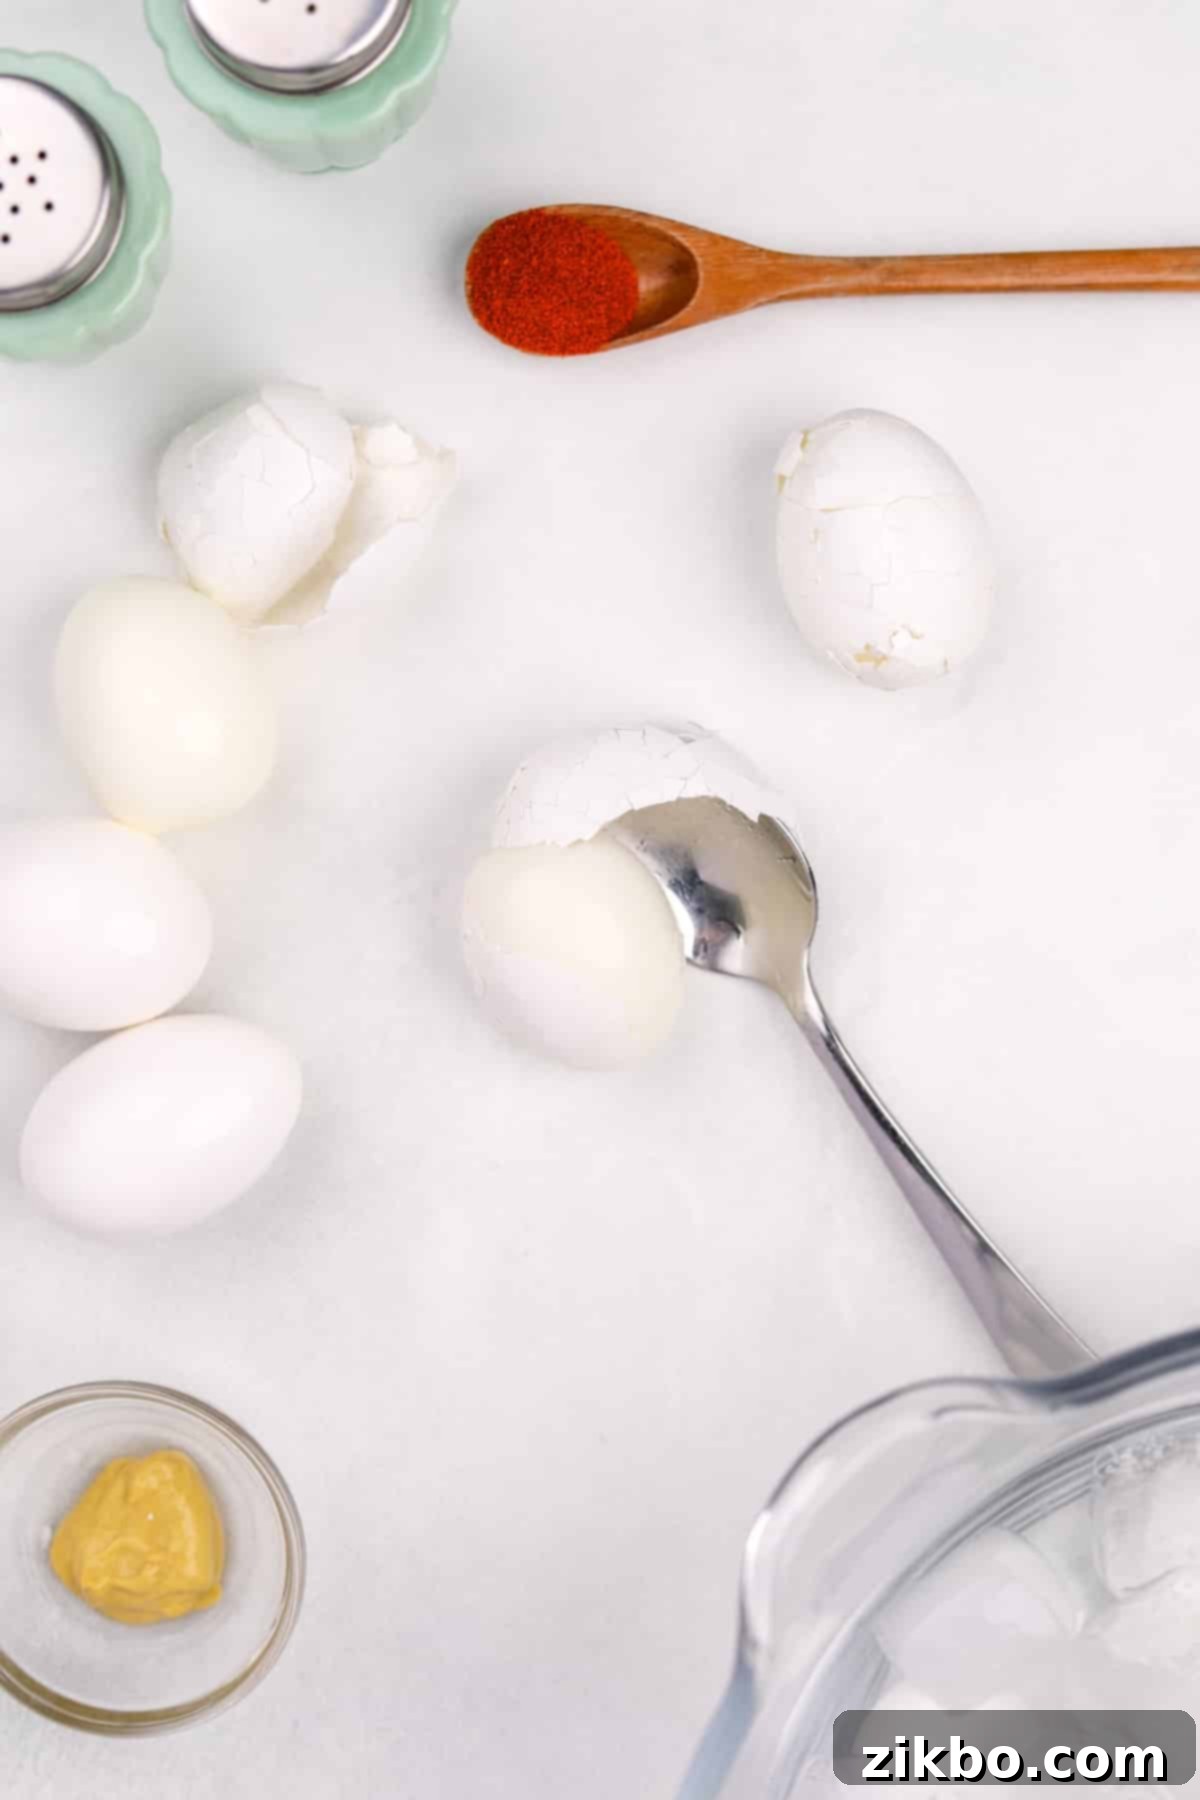
- Chill Thoroughly: Ensure your boiled eggs have rested in the ice bath for the full 3-4 minutes. This chilling process is essential for separating the membrane from the egg white.
- Crack Everywhere: Gently tap the entire surface of the egg with the back of a spoon. You want to create a mosaic of tiny cracks all over the shell, but avoid breaking the egg white itself. The goal is to break the shell into as many small pieces as possible.
- Create an Opening: Once the shell is thoroughly cracked, make a small opening in the shell and the underlying membrane by carefully peeling off a small piece with your finger. Start at the wider end of the egg, where the air pocket is typically located.
- Spoon Under the Membrane: Here’s the magic trick! Wedge a small spoon (a teaspoon works perfectly) just under the shell and the membrane. Gently slide the spoon around the entire circumference of the egg, between the egg white and the shell, to easily remove the shell completely in large pieces or even one whole piece.
- Rinse and Dry: After peeling, rinse the egg well under cool running water to remove any lingering shell fragments or debris. Shake off any excess water and place the perfectly peeled egg on a clean plate or paper towel to dry slightly before slicing.
Note: The method of cracking the shell extensively helps to loosen the membrane. When the membrane is removed, the many tiny pieces of shell are lifted away with it, resulting in a much cleaner and quicker peel than trying to pick off individual shell pieces. This technique minimizes damage to the delicate egg whites.
How to Make the Creamy Deviled Egg Filling:
Now for the heart of the deviled egg – the rich and creamy filling! Follow these steps to create a perfectly seasoned and smooth mixture that will make your deviled eggs irresistible.
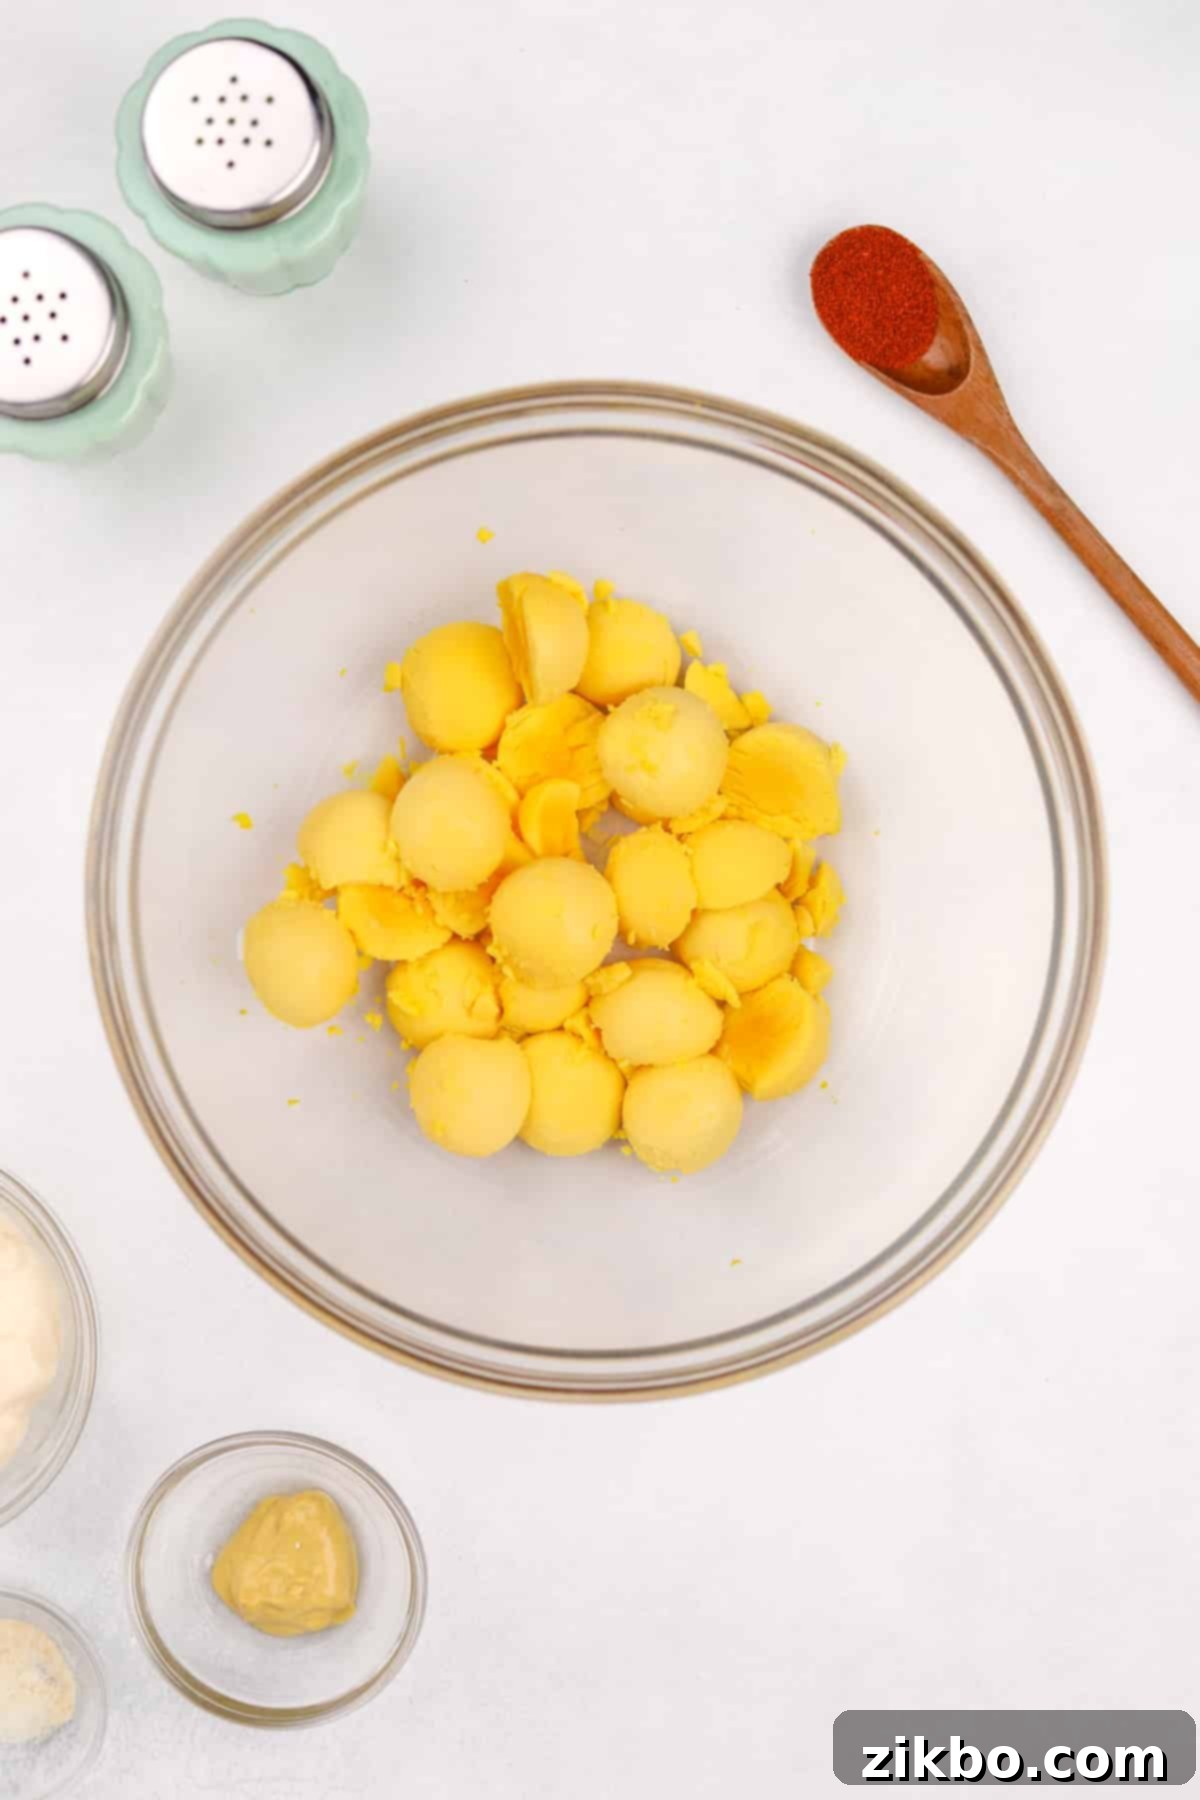
Step Four: Halve and Separate. Once your eggs are perfectly peeled, use a very sharp knife to carefully slice each hard-boiled egg in half lengthwise. A sharp knife ensures a clean cut without tearing the delicate egg whites. Gently remove the cooked egg yolk from each half, placing all the yolks into a medium-sized mixing bowl. Keep the pristine egg white halves separate and set them aside for filling.
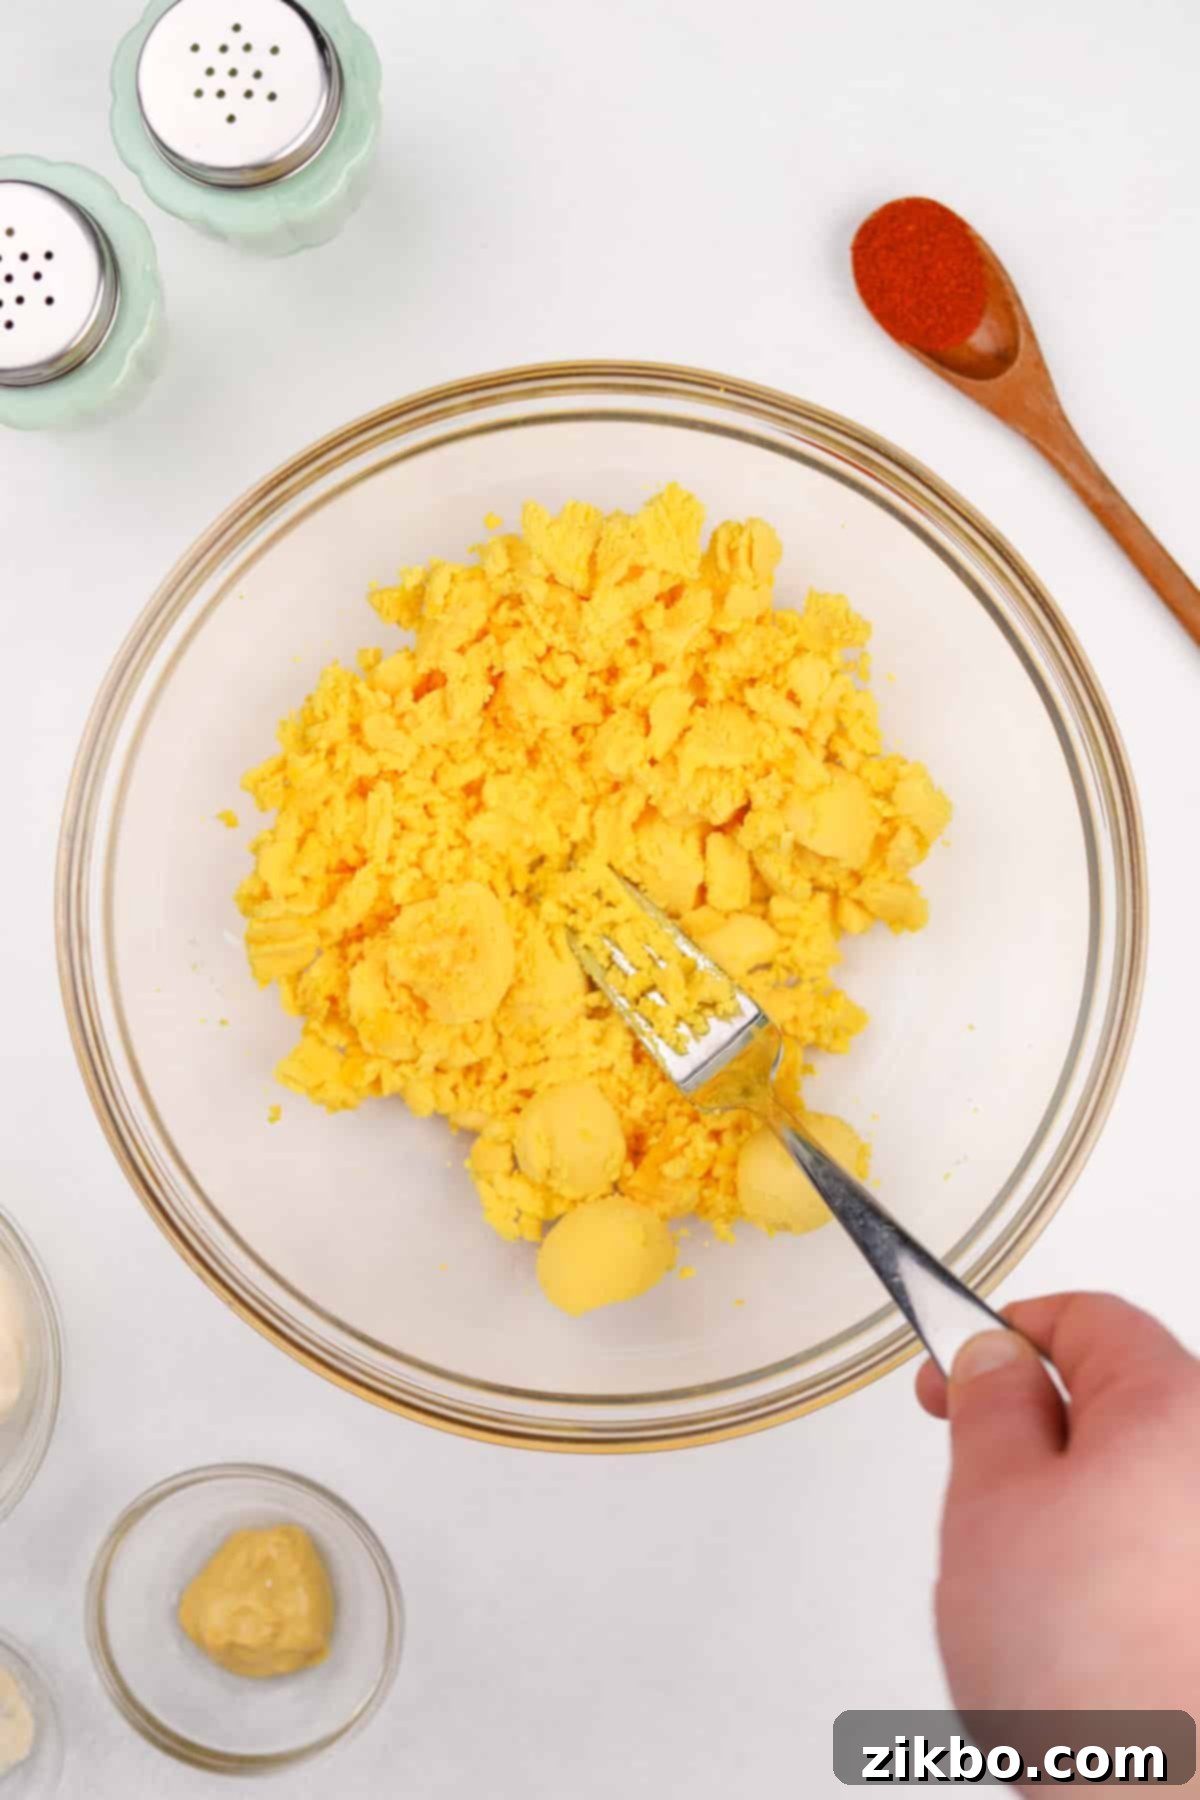
Step Five: Mash or Blend Yolks. Now it’s time to prepare the yolks. You can achieve a smooth texture in two ways: mash the egg yolks thoroughly with a fork until no lumps remain for a slightly rustic texture, OR, for an exceptionally silky-smooth and uniform filling, transfer the yolks to a food processor and blend until perfectly creamy. The choice depends on your desired consistency.
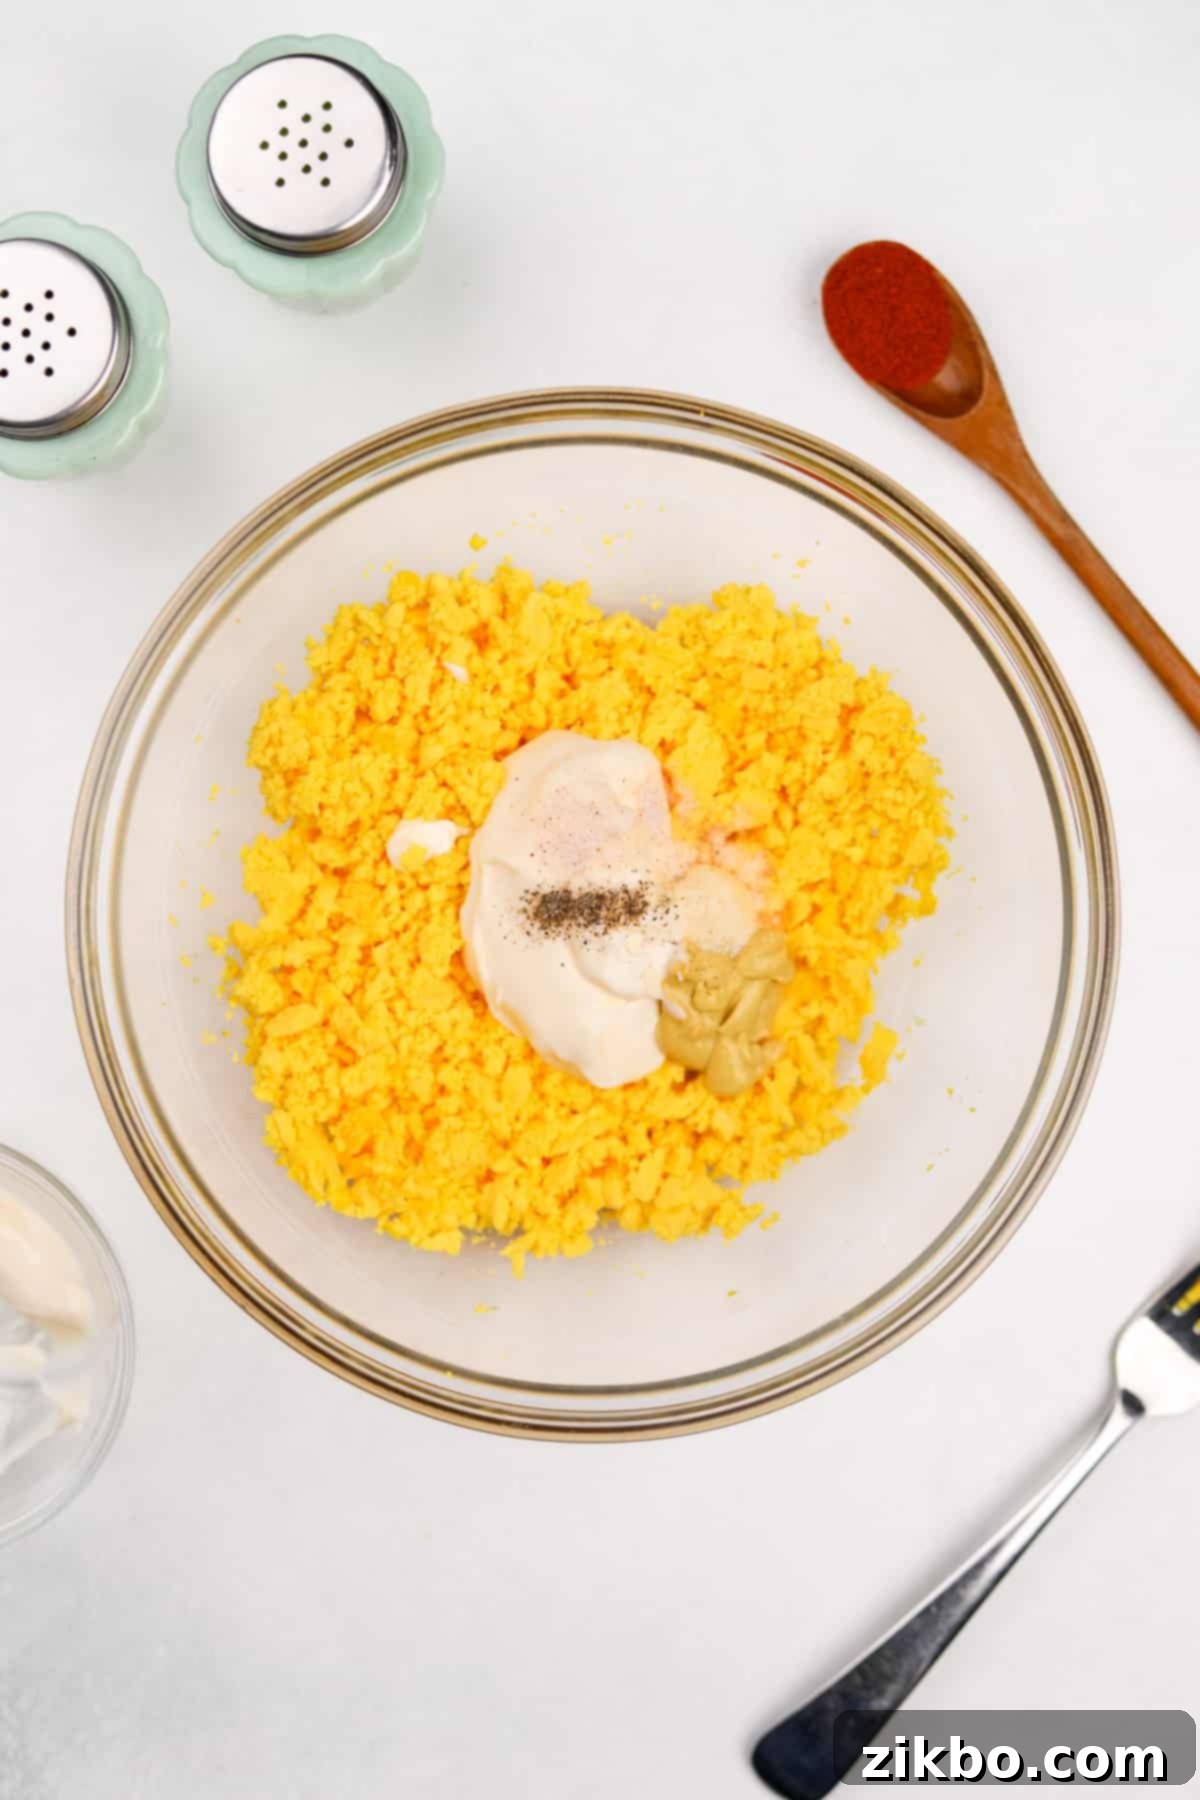
Step Six: Add Wet Ingredients and Seasonings. To the mashed or blended egg yolks, add 6 tablespoons of your preferred mayonnaise, the Dijon mustard, salt, pepper, and onion powder. These ingredients are crucial for the classic tangy and savory flavor profile of deviled eggs. Feel free to adjust the amount of mustard to your taste.
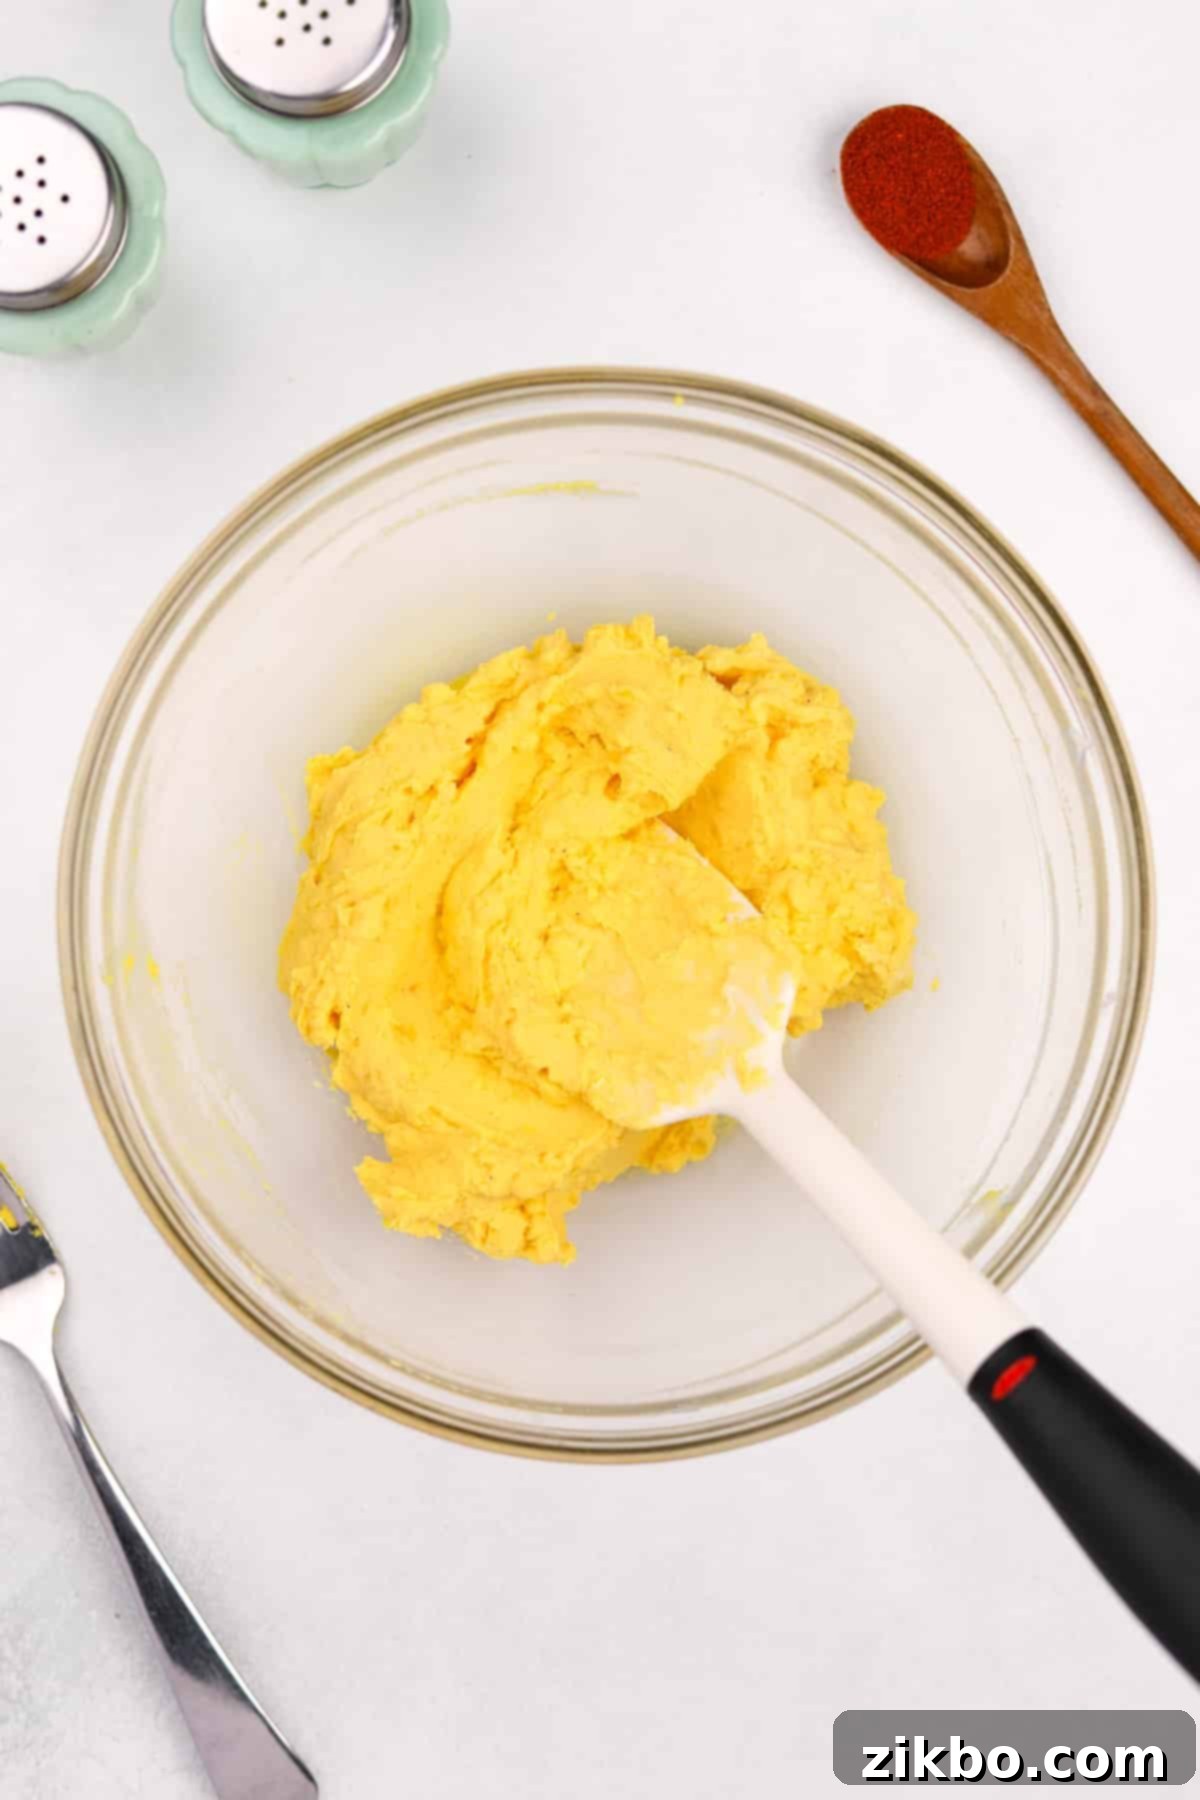
Step Seven: Mix Until Smooth and Combined. Stir all the ingredients together vigorously until the mixture is completely smooth, creamy, and well combined. Taste the filling and adjust the seasonings as needed – you might want a little more salt, pepper, or a touch more mustard for extra zing. The goal is a perfectly balanced, luscious filling.
Filling the Egg White Halves:
With your creamy filling ready, it’s time for the final and most visually satisfying step: filling those beautiful egg white halves!
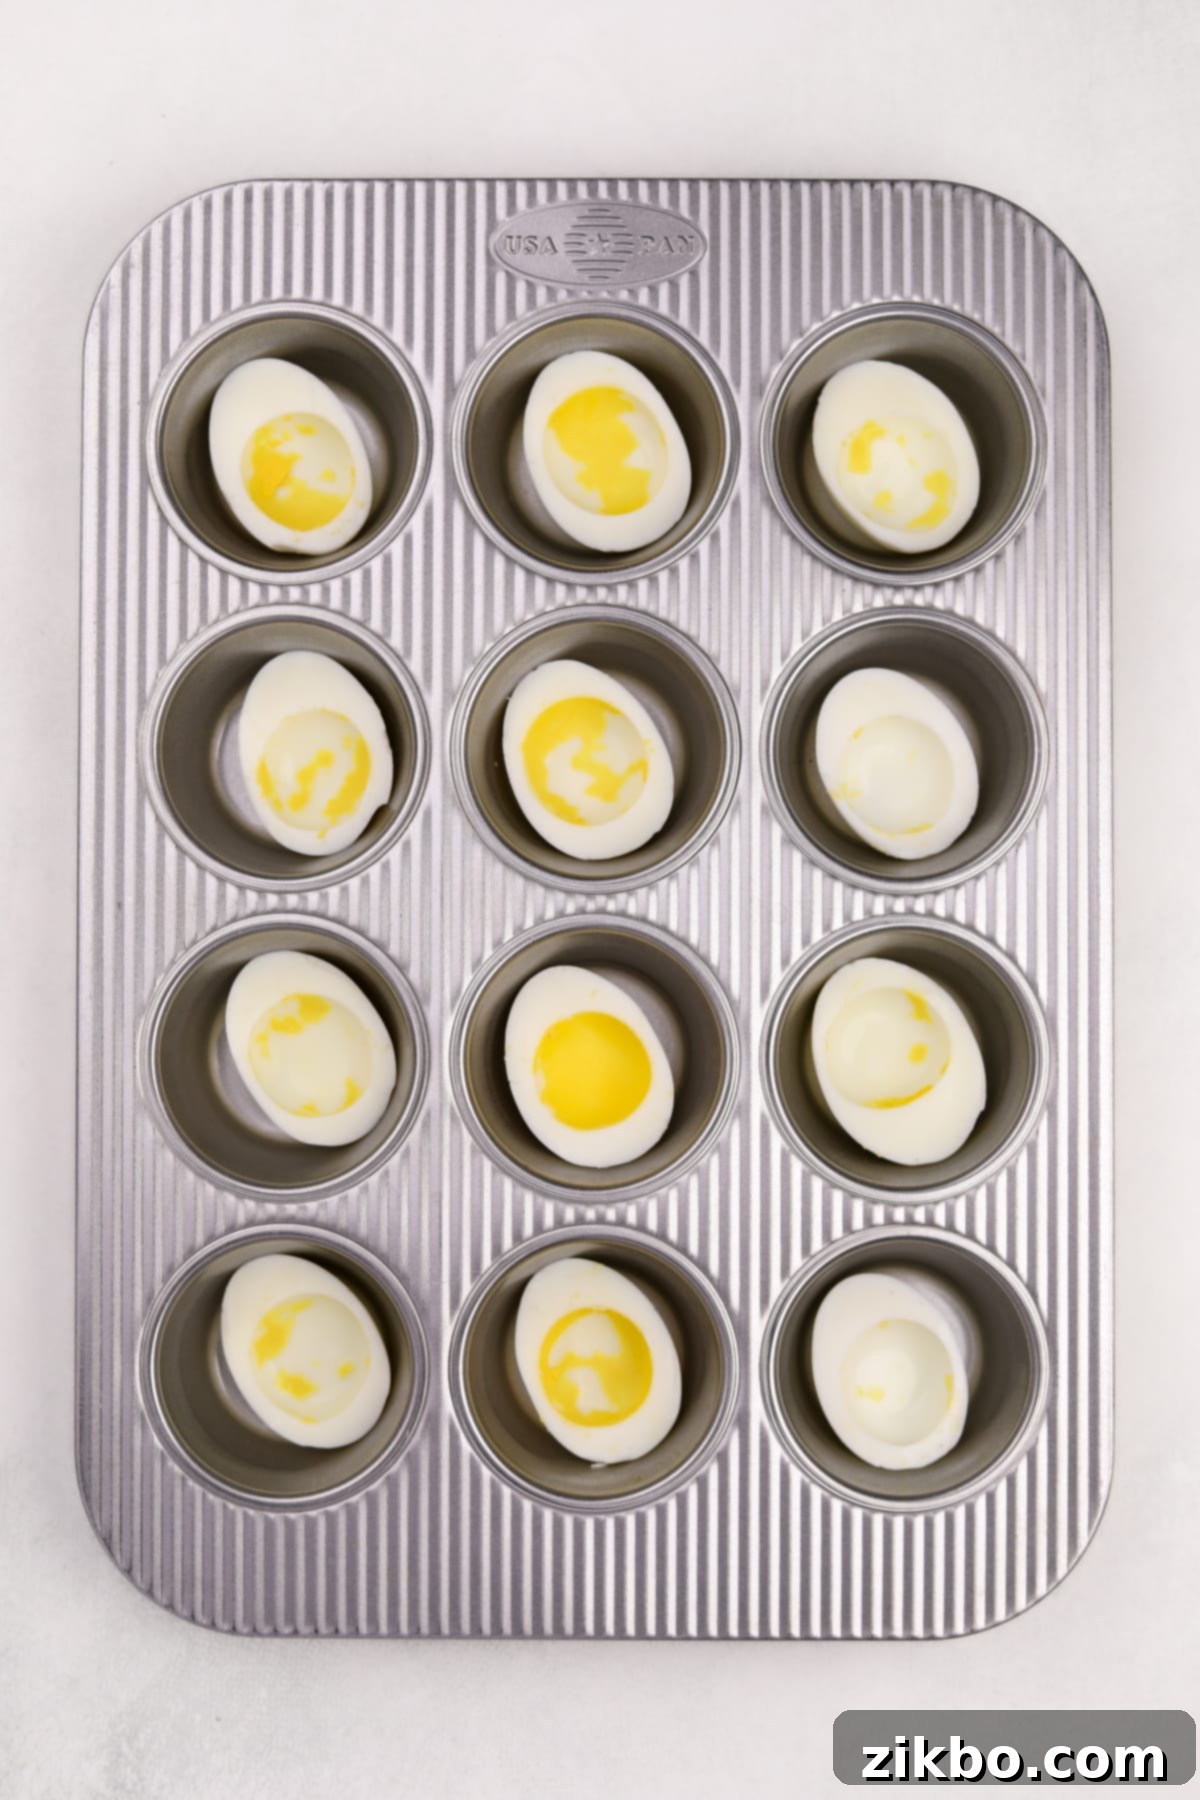
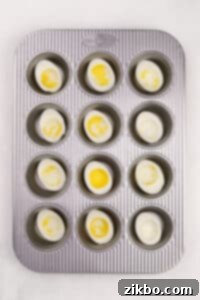
Step Eight: Arrange the Whites. Carefully arrange the hollowed-out egg white halves on a serving platter or, for easier filling, place them in the wells of a muffin pan. The muffin pan method is particularly useful as it prevents the egg whites from wobbling or tipping over while you’re piping the filling, ensuring a cleaner and more professional look.
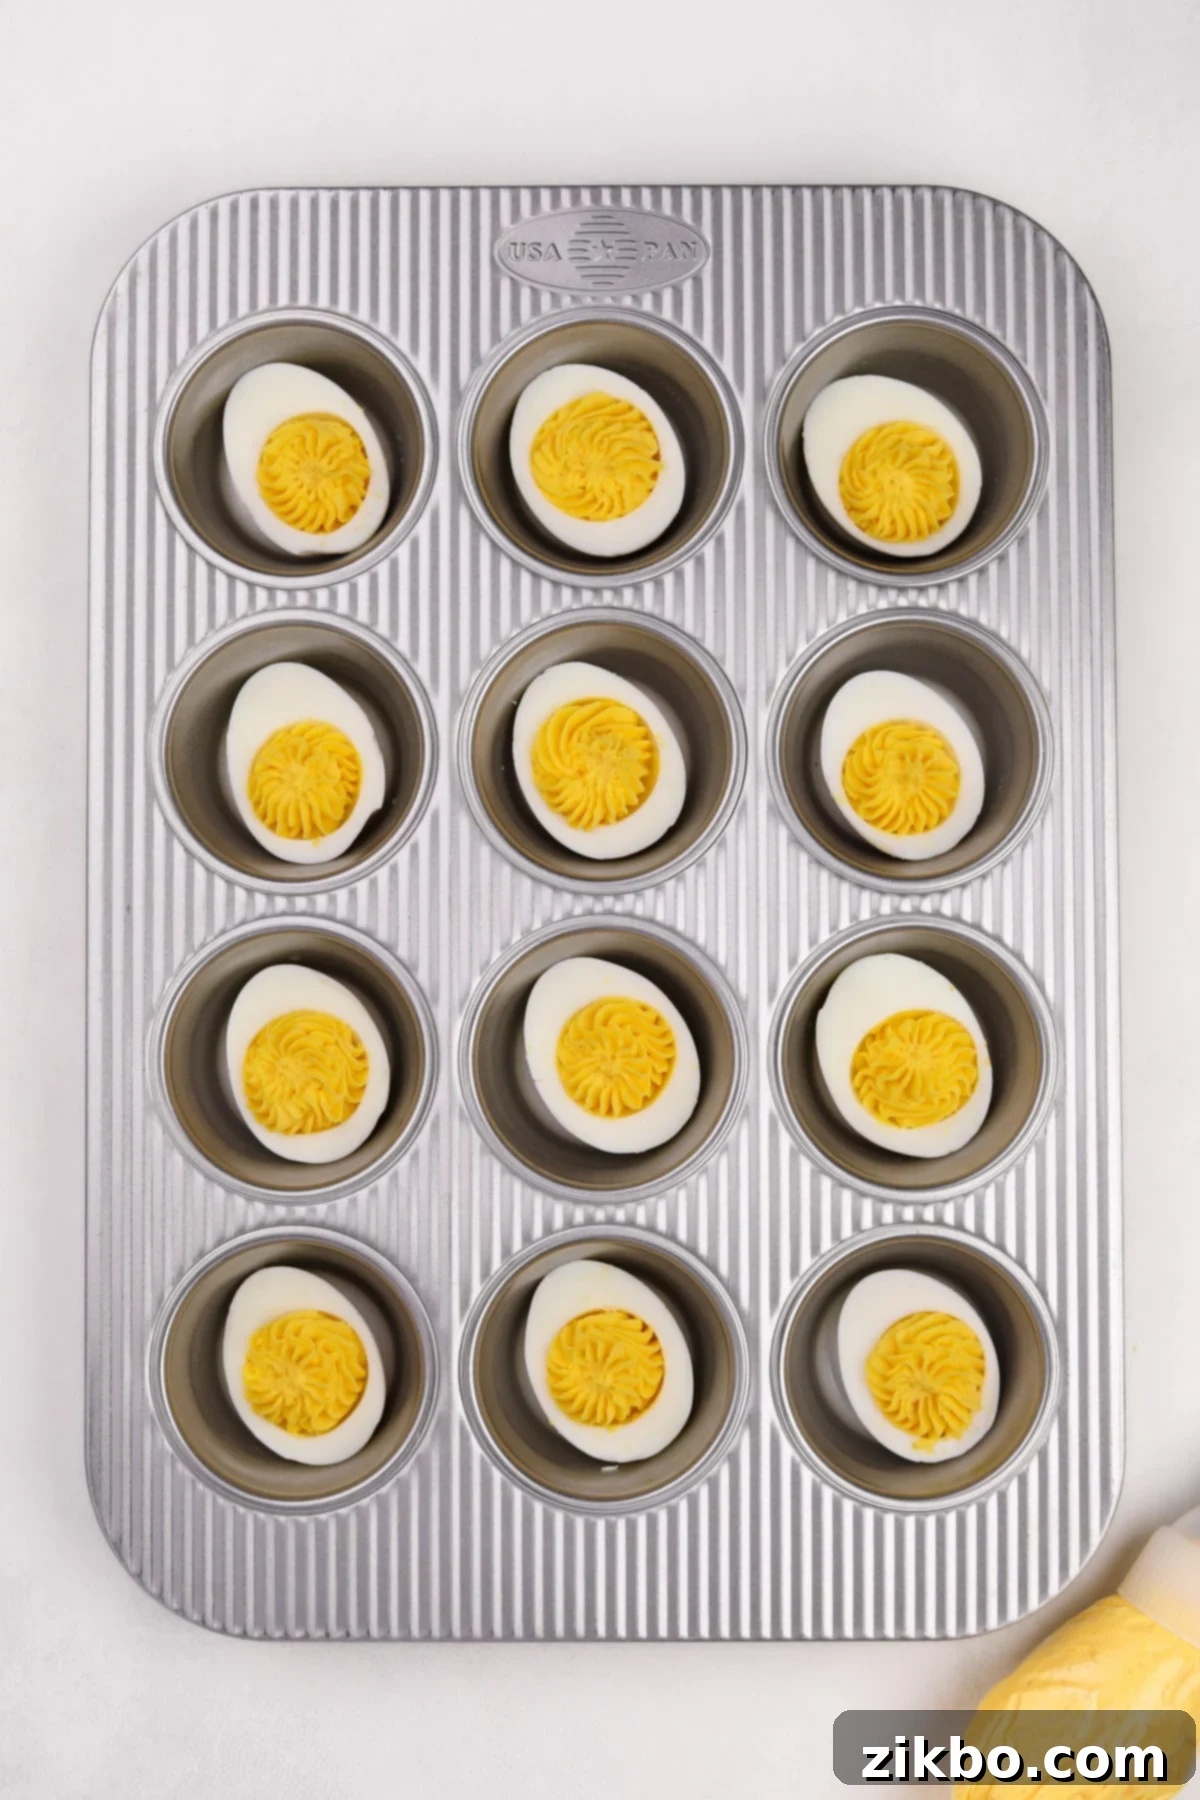
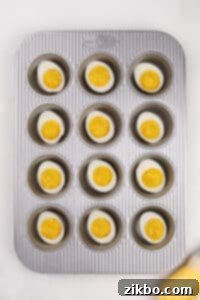
Step Nine: Pipe the Filling. Transfer your rich, creamy egg yolk mixture into a piping bag fitted with your desired tip (a star tip or round tip works beautifully for a decorative flourish). Carefully pipe 2-3 teaspoons of filling into each egg white half, creating an attractive mound. Start from the bottom of the cavity and spiral upwards for a classic deviled egg look.
Alternative: If you don’t have a piping bag, a sturdy plastic freezer bag with one corner snipped off works perfectly. For those with a very steady hand, a small spoon can also be used, though it might not yield as neat a presentation.
Serving and Garnish Ideas for Deviled Eggs:
The final touch to your deviled eggs is the garnish, which adds both visual appeal and an extra layer of flavor. Here’s how to serve them with style:
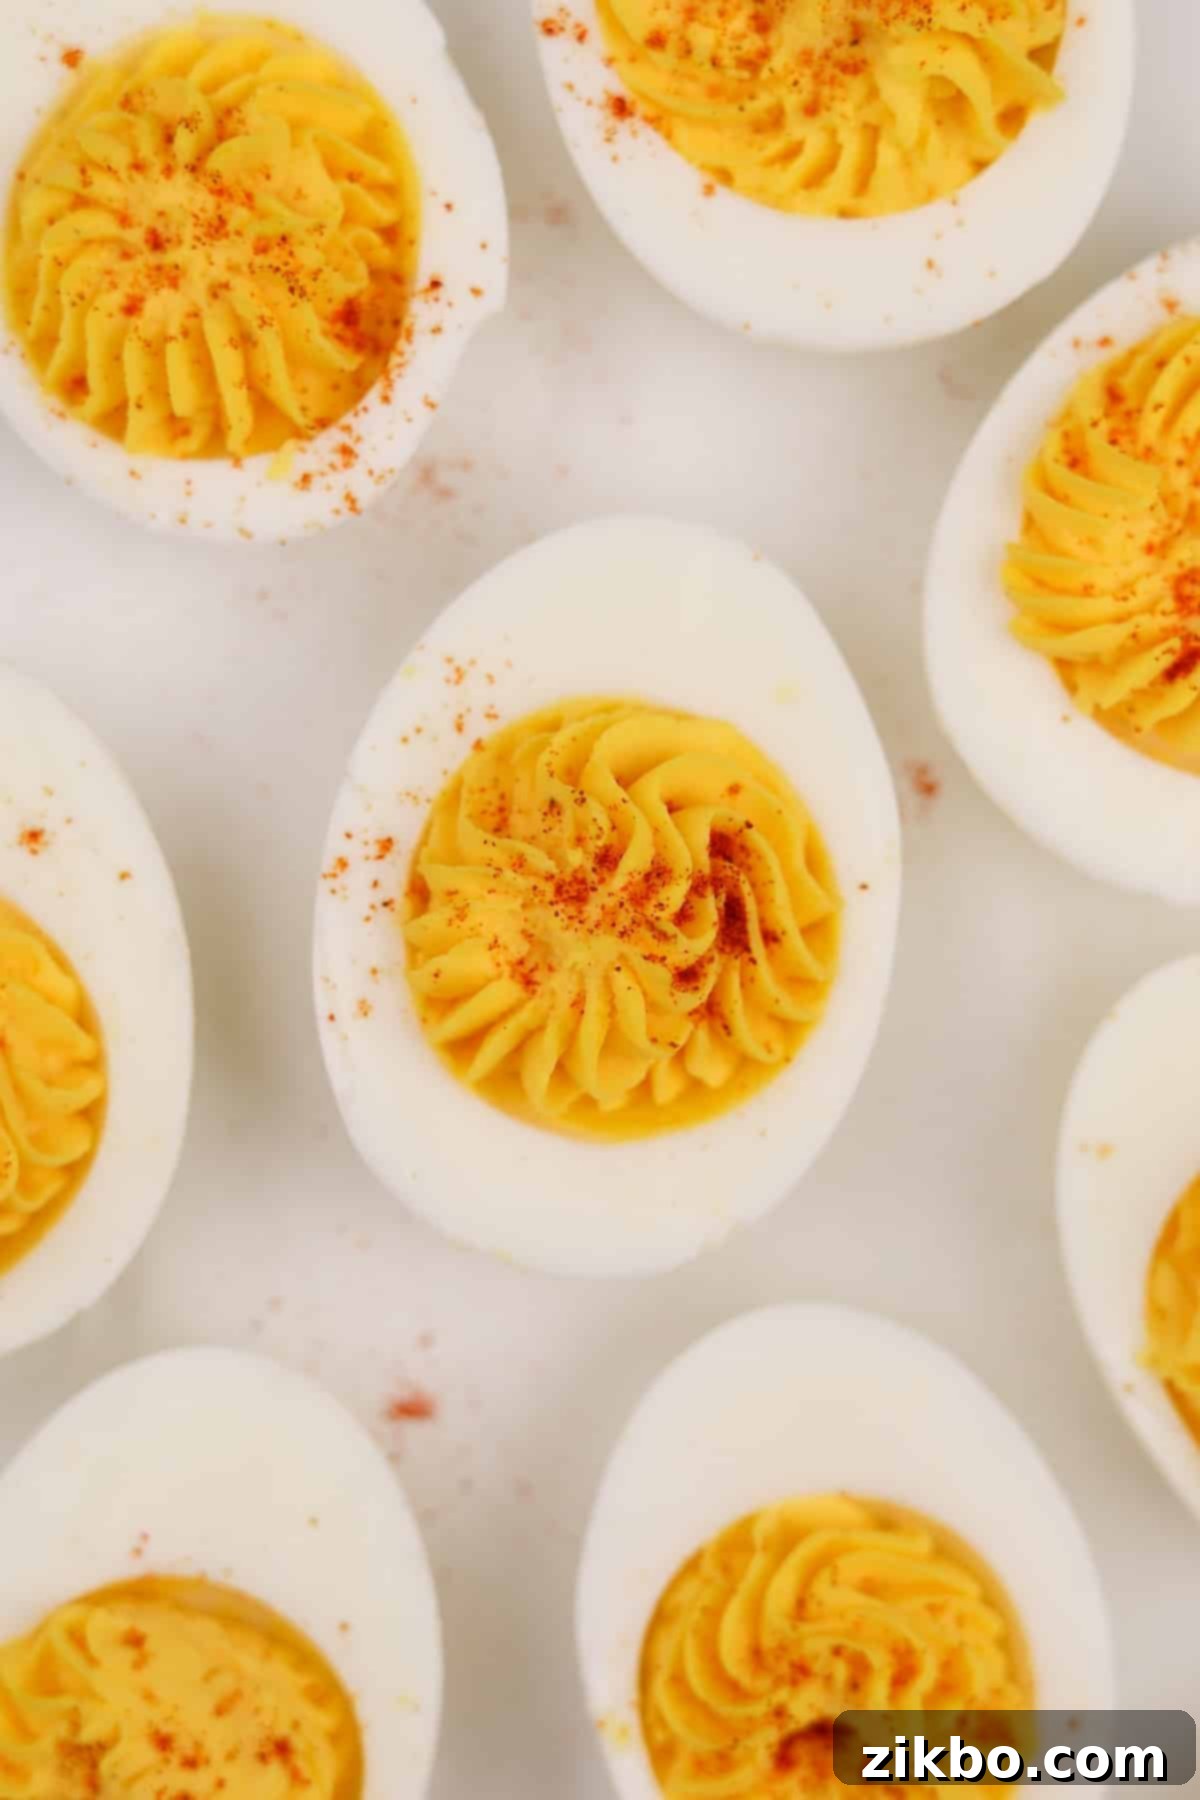
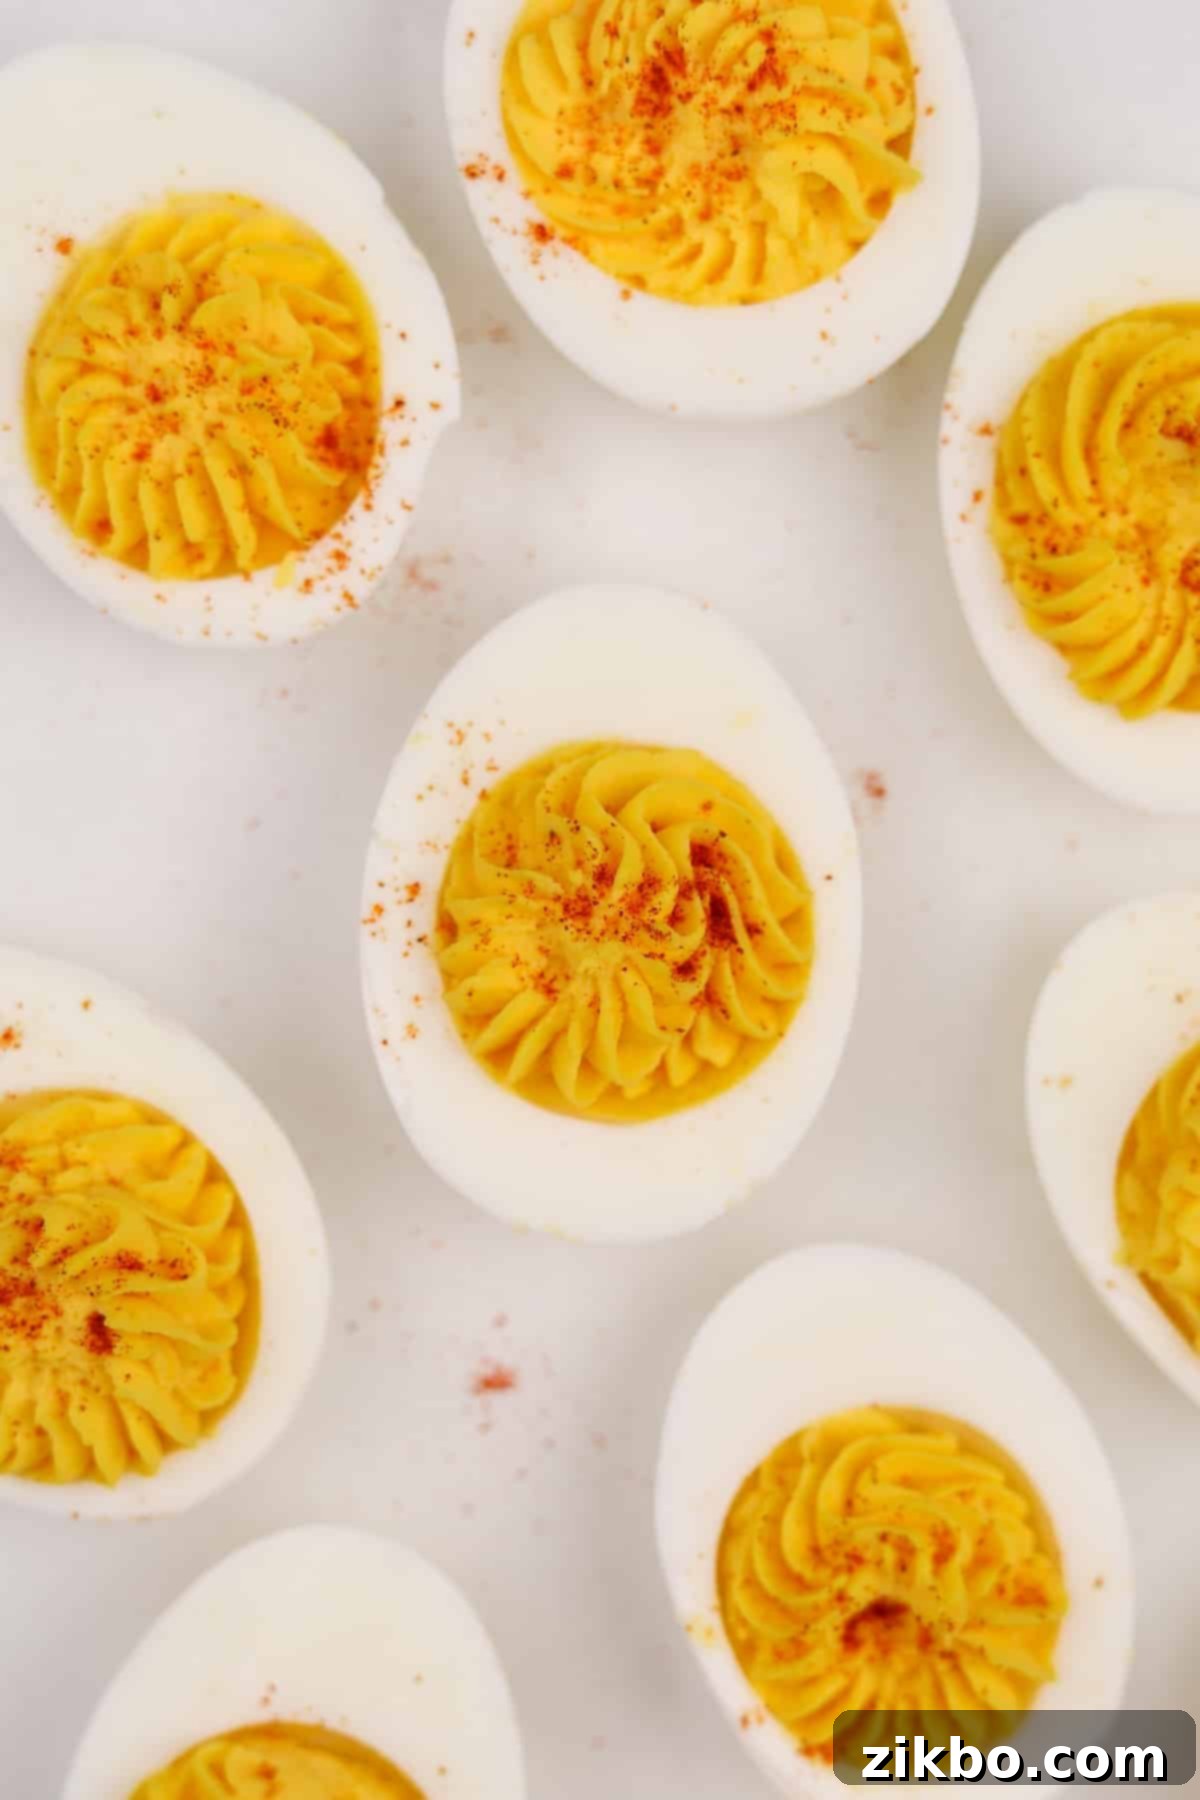
Step Ten: Garnish and Present. This is where you can truly make your deviled eggs shine! The most classic deviled egg presentation typically features a delicate pinch of bright red paprika, offering a subtle earthiness and a pop of color. However, don’t limit yourself to tradition!
Consider garnishing with finely chopped fresh chives for a mild oniony note, fresh dill for a hint of herbaceous freshness, or crumbled crispy bacon for a savory, smoky crunch. Other popular options include a tiny sprig of parsley, a sprinkle of everything bagel seasoning, or even a small olive slice. Arrange your beautiful deviled eggs on a platter, and serve them chilled for the best flavor and texture. They’re sure to disappear quickly!
Instant Pot Method for Hard-Boiled Eggs: A Time-Saving Alternative
For those who love the convenience of modern kitchen appliances, the Instant Pot offers a fantastic way to achieve perfectly cooked, easy-to-peel hard-boiled eggs with minimal effort. While I have a full step-by-step Instant Pot Deviled Eggs recipe post with even more details, here’s a general rundown for making the foundation of this delicious appetizer using your Instant Pot:
- Add 1 cup of water to the inner pot of a 6-quart Instant Pot. If you’re using an 8-quart model, increase the water to 1 ½ cups.
- Carefully place your eggs in a tiered trivet or arrange them evenly over the trivet that came with your Instant Pot. Ensure the eggs are not directly sitting in the water.
- Secure the lid on the Instant Pot and turn the valve to the “sealing” position.
- Cook on manual pressure (or High Pressure) for exactly 4 minutes. This short cooking time is sufficient for perfectly firm yolks.
- After the cooking time is complete, allow the Instant Pot to perform a natural pressure release (NPR) for 5 minutes. Do not manually release the pressure before this time; the natural release helps in the peeling process.
- Once the 5 minutes of natural pressure release are up, carefully switch the valve to “venting” to quick-release any remaining pressure. Ensure the float valve drops completely before opening the lid.
- Immediately transfer the hot eggs to a large ice bath and let them rest for 5 minutes. This rapid cooling is crucial for preventing a green ring around the yolk and making the eggs incredibly easy to peel.
- Once chilled, peel the eggs using the spoon method described above, and then proceed with the deviled egg recipe as directed.
How to Store Deviled Eggs & Make-Ahead Tips:
Proper storage is key to keeping your deviled eggs fresh and delicious, especially if you’re making them in advance.
- Short-Term Storage: Transfer any leftover deviled eggs to an airtight container. To prevent them from drying out or absorbing refrigerator odors, you can also wrap them tightly with plastic wrap before placing them in the container.
- Refrigeration Time: Store deviled eggs in the fridge for up to 3 days. However, for the absolute best flavor, texture, and most appealing appearance (especially when serving guests), they are at their freshest and most delicious within the first 12-24 hours after preparation.
- Make-Ahead Strategy: If you need to prepare deviled eggs more than 12 hours in advance, consider making the components separately. Cook and peel the hard-boiled eggs, storing them whole in an airtight container in the fridge for up to 2 days. Prepare the egg yolk filling, but keep it in a separate airtight container. Then, closer to your serving time (within 12 hours), slice the egg whites, pipe in the fresh filling, and garnish. This method helps maintain optimal freshness and prevents the whites from “weeping” or becoming watery.
Delicious Substitutions for Your Deviled Eggs:
Want to tweak your classic deviled egg recipe? Here are some simple substitutions to cater to different tastes or dietary preferences:
- Greek Yogurt: For a lighter, tangier, and protein-packed alternative, replace all or part of the mayonnaise with plain Greek yogurt. This is an excellent option for a healthier snack or meal prep, though it will alter the classic creamy texture slightly.
- Avocado Oil Mayonnaise: If you’re looking for an alternative with healthy fats, standard mayonnaise can easily be swapped for an avocado oil-based variety (or even homemade avocado oil mayo). This maintains the creamy texture while offering different nutritional benefits.
- No Mustard: If you’re not a fan of mustard, you can simply omit it from the recipe. To ensure the filling doesn’t taste flat, consider adding a ½ teaspoon or so of lemon juice, apple cider vinegar, or even a splash of pickle juice in its place. These additions will provide the necessary tang and brightness.
- With Miracle Whip: For those who grew up on the distinct sweet and tangy flavor of Miracle Whip, it can certainly be used instead of mayonnaise. Since Miracle Whip already has a more pronounced tang, I recommend scaling back the amount of Dijon mustard slightly at first, then tasting and adjusting to your preference.
Exciting Variations to Elevate Your Deviled Eggs:
While the classic deviled egg is perfect on its own, these variations offer fun and flavorful twists to keep things interesting:
- Dill Pickle Deviled Eggs: For a tangy, briny kick, mix a small amount of pickle juice and finely minced dill pickles into the egg yolk filling. Once the deviled eggs are filled, garnish with a fresh sprig of dill, a tiny pickle slice, or more finely minced pickles.
- Bacon Deviled Eggs: Everything is better with bacon! Cook your favorite bacon until it’s perfectly crisp, then crumble or slice it into ½-inch squares. Mix some into the filling, and then press the remaining crispy bacon bits into the top of the filled eggs just before serving. This also works wonderfully with candied bacon or “million dollar bacon” for a sweet and savory sensation.
- Curry Deviled Eggs: Infuse an exotic flavor by replacing the standard mayonnaise with a batch of my savory curry mayo. This variation introduces a warm, aromatic spice profile that is truly unique and delicious, often incorporating a touch of lemon juice for brightness.
- Horseradish Deviled Eggs: For those who love a bit of heat, add a touch of prepared horseradish to the egg yolk filling. Start with a small amount (e.g., ½ teaspoon) and adjust to your taste for a fiery, pungent kick that perfectly cuts through the richness.
- Smoked Paprika Deviled Eggs: Instead of regular paprika, use smoked paprika in the filling and for garnish. This simple swap adds a wonderfully deep, smoky flavor that elevates the classic profile.
- Sriracha Deviled Eggs: For a spicy modern twist, mix a dash of sriracha or your favorite hot sauce into the filling. Garnish with a tiny drizzle of sriracha or a sprinkle of red pepper flakes.
Expert Tips for Perfect Deviled Eggs Every Time:
Achieving deviled egg perfection is easier than you think with these insider tips:
- Old vs. Fresh Eggs for Peeling: This is perhaps the most crucial tip! The best hard-boiled eggs (and subsequently, deviled eggs) come from older eggs, typically those that are about a week to 10 days old. Older eggs are much easier to peel because their albumen (egg white) has slightly shrunk and the pH level changes, causing the inner membrane to separate more easily from the shell. Very fresh eggs, on the other hand, cling stubbornly, often resulting in torn whites.
- The Float Test for Freshness: To quickly check the age and freshness of your eggs, place them in a bowl or glass of water. Eggs that sink and lay flat on their side are very fresh. Those that sink but stand upright with the blunt end pointing up are a bit older but still good and ideal for hard boiling. Eggs that float completely should be discarded. This float test helps you pick the best eggs for easy peeling!
- Not Every Egg Will Be Perfect: Even with the most ideal batch of eggs and the best peeling method, you might still encounter a few stubborn eggs where the whites tear or are too thin. This is just part of the process, especially if you’re dealing with very fresh eggs. Don’t stress! Simply do your best, take your time, and know that you’ll likely have a couple of “sloppy” ones. They’ll still taste amazing!
- Chill Your Filling: After mixing the yolk filling, a quick chill in the refrigerator (about 15-30 minutes) can make it firmer and easier to pipe, resulting in more structured and attractive mounds in your egg whites.
- Avoid Over-Mixing the Yolks: While you want a smooth filling, don’t over-mix the egg yolks and mayonnaise. Over-mixing can sometimes make the filling too thin or oily. Mix just until combined and creamy.
- Room Temperature Ingredients (Optional): Some chefs prefer to bring mayonnaise and mustard to room temperature before mixing to ensure a super smooth and emulsified filling, though it’s not strictly necessary.
Recipe FAQs: Deviled Eggs
Yes, you can absolutely make deviled eggs ahead of time, which makes them perfect for parties and gatherings. For the best results in terms of both taste and appearance, aim to assemble and serve them no more than 12 hours in advance. If you need to get a head start even earlier, you can cook and peel the eggs up to 2 days beforehand. Store the peeled eggs and the prepared yolk filling in separate airtight containers in the refrigerator. Then, simply slice the whites, fill, and garnish closer to when you plan to serve them.
No, deviled eggs are not suitable for freezing, and neither are hard-boiled eggs. Freezing changes the texture of both the egg whites and the creamy filling, making them rubbery and watery upon thawing, which severely compromises their quality and appeal.
Deviled eggs are at their peak freshness, both in flavor and texture, within the first 12 hours after preparation. While they will keep well enough in an airtight container in the refrigerator for up to 3 days, they may start to “weep” or become slightly watery after the first day, so consuming them quickly is recommended for the best experience.
A green or grayish ring around the yolk is caused by overcooking. When eggs are cooked for too long or at too high a temperature, the sulfur in the egg white reacts with the iron in the yolk, forming ferrous sulfide, which has a green color. To avoid this, stick to the recommended cooking times (10 minutes for boiling, 4 minutes for Instant Pot) and always transfer them immediately to an ice bath to stop the cooking process.
While you can use fresh eggs, they are notoriously difficult to peel without tearing the whites. For the easiest peeling and most visually appealing deviled eggs, it is highly recommended to use eggs that are at least 7-10 days old. This makes a significant difference in how cleanly the shell separates from the egg white.
If you loved this recipe for classic Deviled Eggs, please let me know by leaving a 5-star review in the recipe card below or sharing your feedback in the comments section! You can also tag me on Instagram @dashfordinner to share your delicious creations. I love seeing what you make!
Classic Deviled Eggs
Print
Pin
Rate
Equipment
-
Large pot
-
Piping bag and tips or freezer bag with the corner cut off
Ingredients
- 12 large eggs
- 6 tablespoons mayonnaise
- 1 ½ teaspoons dijon mustard
- ⅛ teaspoon onion powder
- ⅛ teaspoon salt more to taste
- Pinch ground black pepper
- Paprika (for sprinkling)
Instructions
-
Bring a very large pot of water to a rolling boil over high heat, ensuring there’s enough water to fully cover your eggs.
-
Carefully use a large spoon to place each egg into the vigorously boiling water. Make sure all eggs are submerged; if not, add more boiling water.
-
Boil the eggs for precisely 10 minutes to achieve perfectly firm yolks. While they’re cooking, prepare an ice bath by combining ice cubes and cold water in a large bowl.
-
Once the 10 minutes are up, immediately drain the hot water from the pot, then run cold tap water over the eggs for a minute or two to begin the cooling process.
-
Transfer the cooked eggs to the ice bath and allow them to rest and chill for 3-4 minutes. This stops cooking and aids in easy peeling.
-
After chilling, remove one egg at a time for peeling. Gently tap the entire surface of the egg with the back of a spoon to create many tiny cracks. Make a small opening in the shell and membrane with your finger. Then, carefully wedge a small spoon under the shell and membrane and rotate it around the egg to completely remove the shell. Rinse off any residual shell, shake dry, and set aside. Repeat this process for all eggs.
-
Once all eggs are peeled, use a very sharp knife to carefully slice each egg in half lengthwise, ensuring a clean cut.
-
Gently scoop out the cooked yolk from each egg half, placing all the yolks into a medium-sized mixing bowl.

-
Arrange all the empty egg white halves on your serving platter or in a muffin tin to keep them stable. Set them aside while you prepare the filling.
-
In the bowl of cooked yolks, mash them thoroughly with a fork until smooth, or blend them in a food processor for an extra silky texture.

-
Add the mayonnaise, Dijon mustard, onion powder, salt, and pepper to the mashed yolks. Mix everything together well until the filling is perfectly smooth and creamy. Taste and adjust seasonings as desired for optimal flavor.

-
Transfer the creamy filling mixture into a piping bag fitted with a large piping tip. Alternatively, you can use a sturdy freezer bag with one corner snipped off.
-
Carefully pipe approximately 2-3 teaspoons of the delicious filling into each egg white half, creating an attractive mound.
-
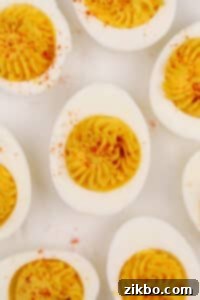
Garnish the filled eggs to your liking! The classic choice is a sprinkle of vibrant paprika. Other popular options include fresh chives, dill, chopped parsley, or crispy crumbled bacon.
-
Serve your perfectly prepared deviled eggs chilled and enjoy these irresistible bites!
Notes
Instant Pot Deviled Eggs: For convenience, cook your eggs in an Instant Pot! Use high pressure for 4 minutes, followed by a natural pressure release (NPR) for 5 minutes. Immediately transfer the eggs to an ice bath for 5 minutes to chill. Then, peel them using our easy method and continue with the recipe as written.
Make ahead: These delightful appetizers are best enjoyed within 12 hours of preparation for optimal freshness and appearance. Beyond the 12-hour mark, the egg whites can sometimes begin to “weep” or become slightly watery. If you need to prepare them further in advance, simply boil and peel the eggs, then store them whole and dry in the refrigerator. Prepare the filling separately and assemble the deviled eggs closer to your event time.
Storage: To store any leftover deviled eggs, transfer them to an airtight container and keep them in the refrigerator. They will remain fresh for up to 3 days, but they are undeniably at their finest and most vibrant within the first 24 hours.
Nutrition
Please note that some of my blog posts here at Dash for Dinner may contain affiliate links. If you make a purchase through these links, I will get a small commission at no additional cost to you. Please see my Disclaimer for more information.
