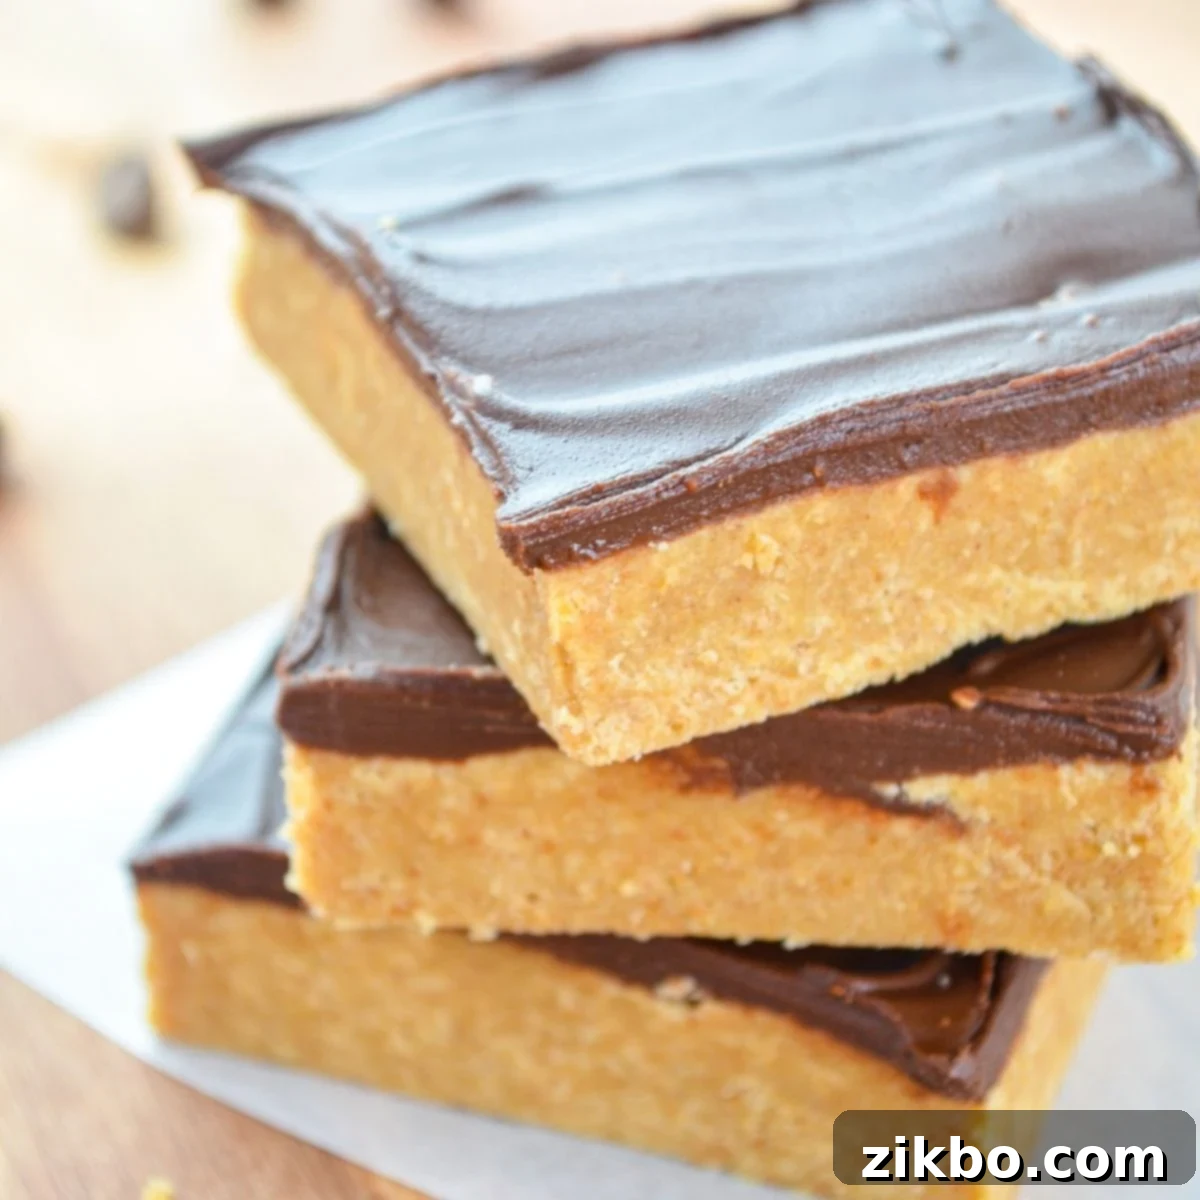
Easy No Bake Peanut Butter Bars with Chocolate: The 5-Ingredient Dream Dessert
Indulge in the perfect harmony of rich chocolate and creamy peanut butter with these incredibly easy No Bake Peanut Butter Bars. Requiring just 5 simple ingredients and minimal effort, this dessert is a true family favorite that’s guaranteed to impress every single time. Get ready to fall in love with a treat that tastes just like your favorite candy bar – without ever needing to turn on your oven!
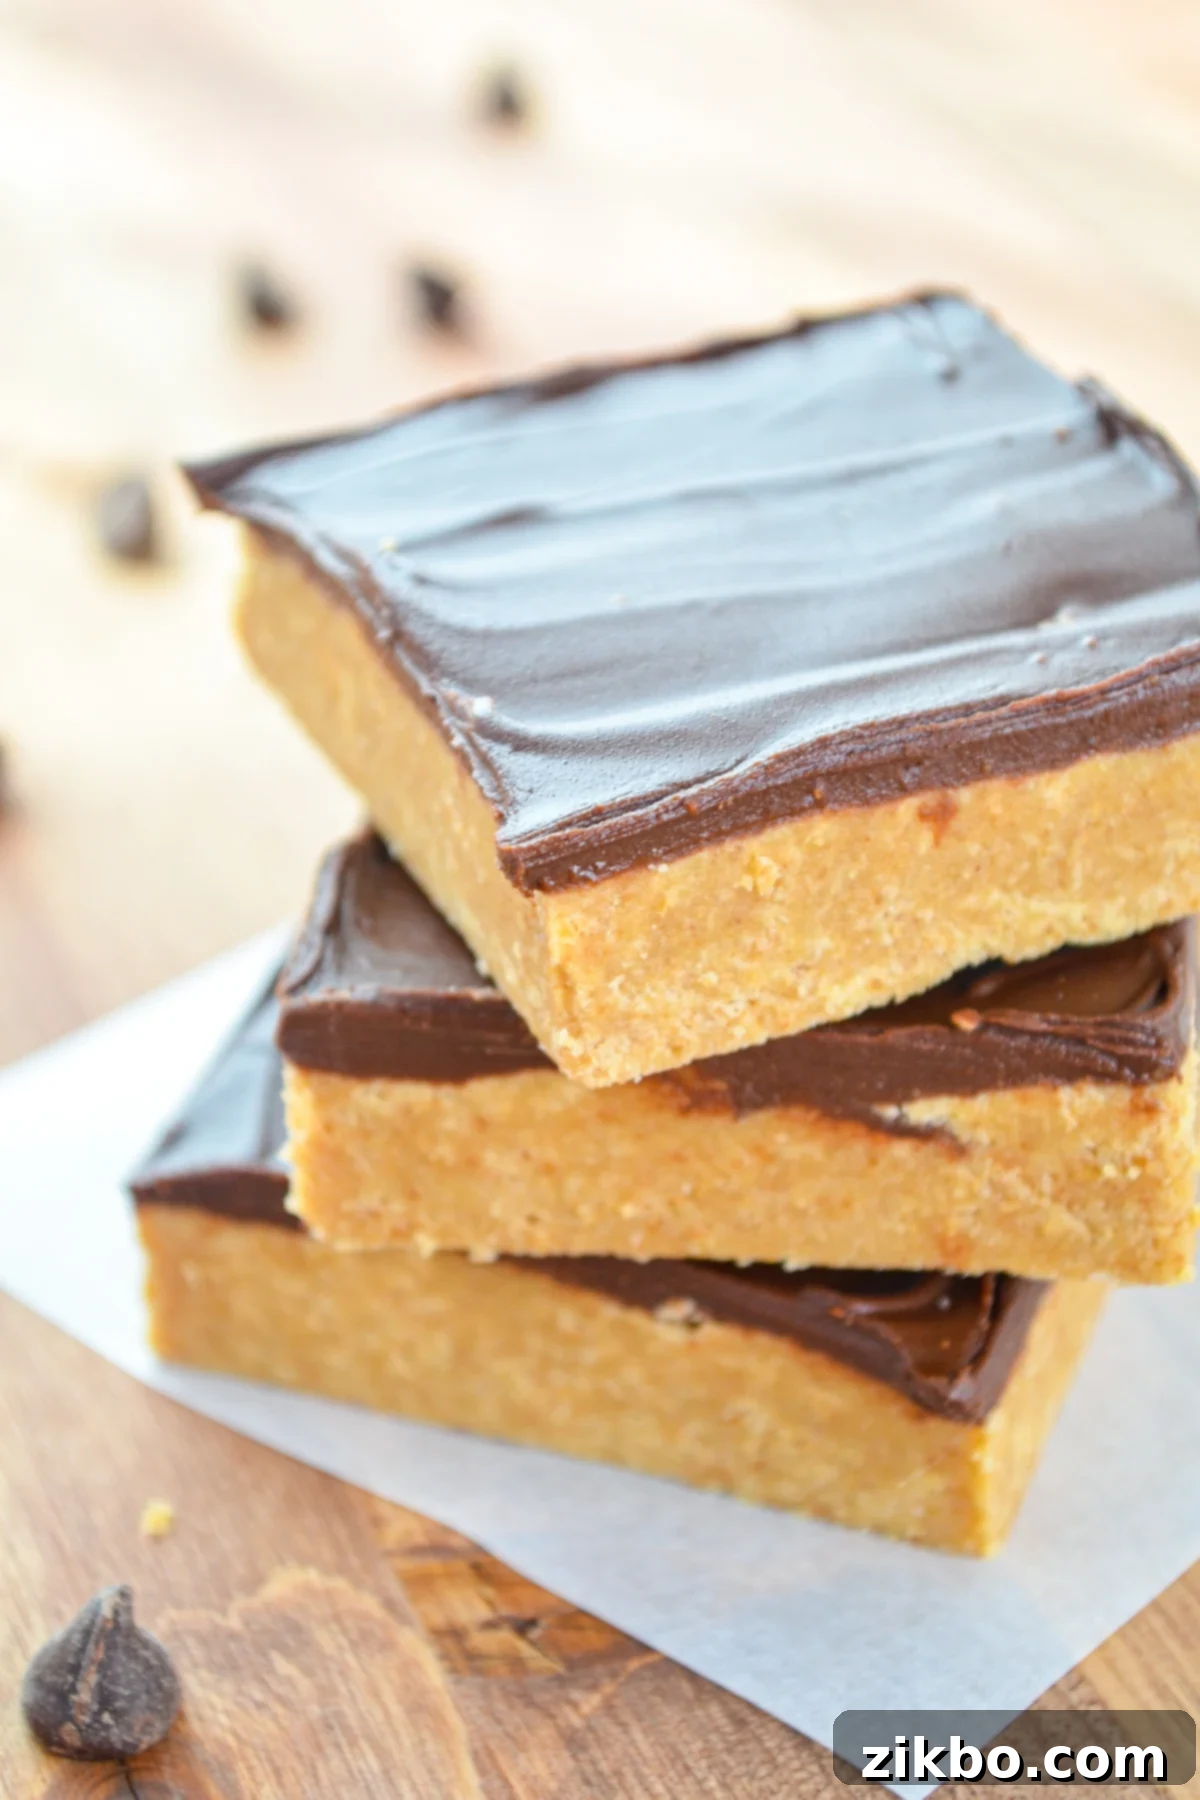
There’s something uniquely satisfying about no-bake desserts, especially when the weather warms up or you’re simply short on time. They eliminate the need for an oven, keep your kitchen cool, and often require very few tools, making cleanup an absolute breeze. That’s precisely why these amazing chocolate peanut butter bars have become a staple in my home. After whipping up a batch of these delectable treats, I usually only have a couple of mixing bowls to rinse, which can easily go into the dishwasher. Exceptional taste with minimal fuss and cleanup – what more could a dessert lover ask for?
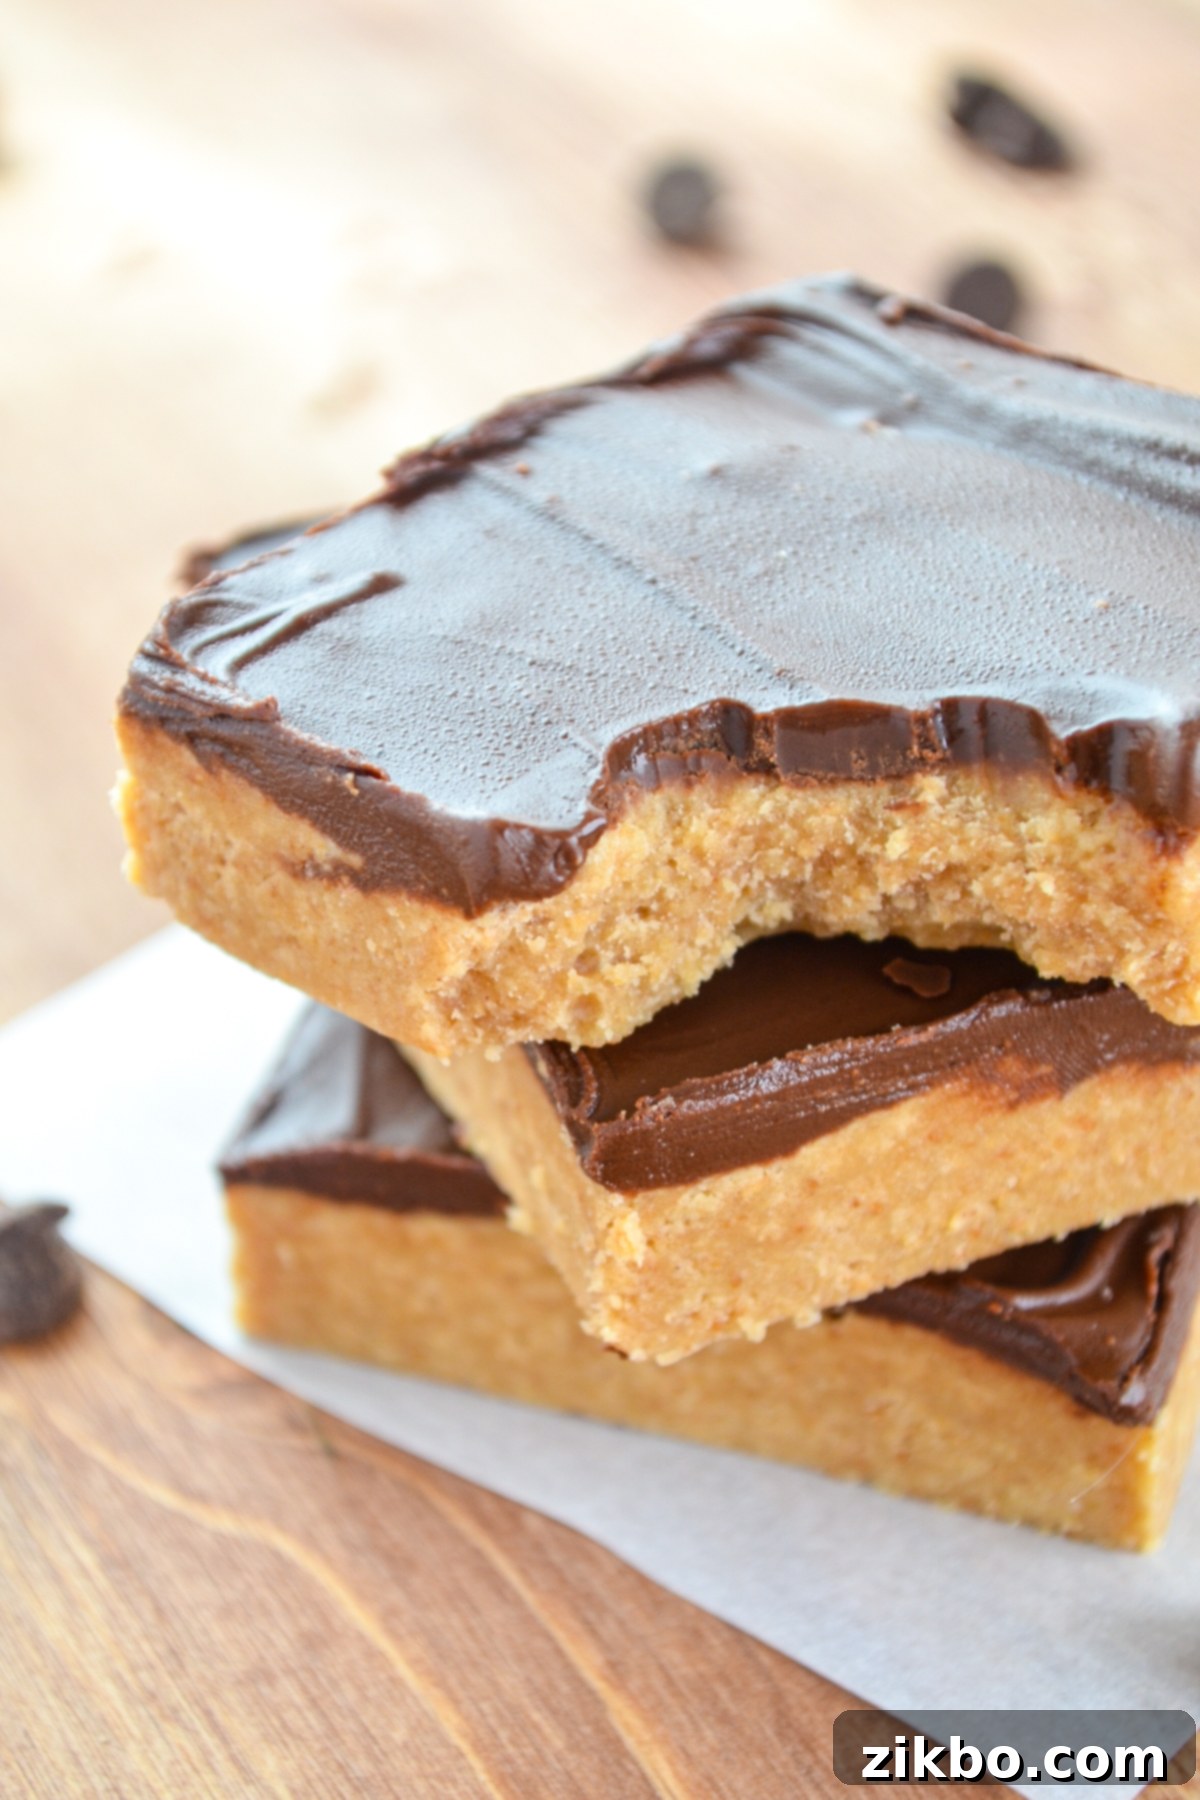
My household, particularly my husband and son, have a serious devotion to peanut butter. So, any dessert that features this creamy, nutty delight is always met with enthusiastic approval. When you combine that rich peanut butter goodness with a smooth, luxurious layer of silky chocolate, you’ve created an undeniable winner. These peanut butter bars aren’t just good; they taste remarkably similar to those iconic, popular peanut butter cup candies we all know and love (you know, the ones that rhyme with ‘nieces’). They strike that perfect balance of sweet and salty, chewy and smooth, making them utterly addictive.
The best part? This recipe truly is incredibly simple, calling for just 5 basic ingredients that you likely already have on hand or can easily pick up. Peanut butter is a constant in my pantry, so all I usually need to remember is to add graham crackers to my grocery list. While this recipe only requires one sleeve, I find myself stocking up because leftover graham crackers are never a problem! They’re perfect for other delicious no-bake treats like my No Bake Chocolate Chip Cheesecake or my indulgent No Bake Nutella Pie. And if all else fails, a simple dip into some pumpkin fluff dip is always a delightful option. These bars are not only easy to make but also incredibly versatile and guaranteed to satisfy any sweet craving.
Key Ingredients for Your No Bake Peanut Butter Bars
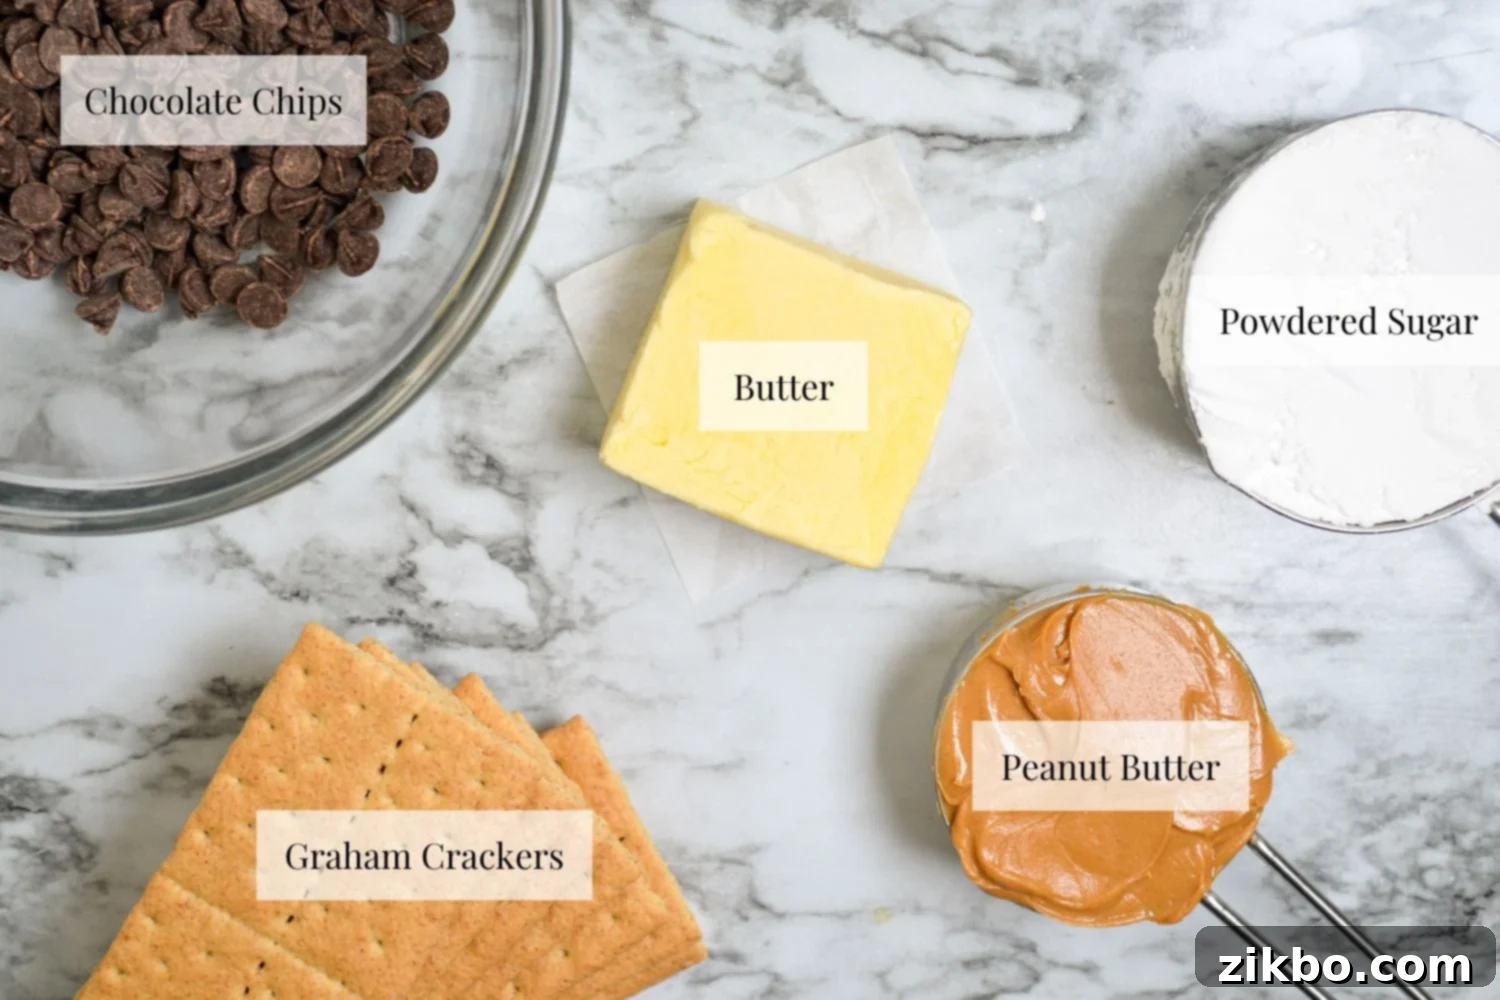
This recipe prides itself on its simplicity, using a handful of common pantry staples to create something truly extraordinary. Here’s a closer look at the essential ingredients and why they’re important:
- Graham Crackers: These form the delightful, slightly crumbly base of our bars. You’ll need about 1 sleeve (approximately 9 sheets) of conventional graham crackers. They’ll be crushed into fine crumbs, so if you happen to have a box of pre-crushed graham cracker crumbs, you can use about 1 cup. The subtle honey and cinnamon notes of graham crackers pair wonderfully with peanut butter and chocolate.
- Peanut Butter: The star of the show! For this recipe, you will need ½ cup plus 2 tablespoons of creamy, conventional peanut butter. Brands like Jif or Skippy work best because their smooth, consistent texture is crucial for achieving a uniform, lump-free base. Natural-style peanut butter, which tends to separate and have a grittier texture, is not recommended as it can make the bars oily and harder to set.
- Butter: Butter is essential for binding the base ingredients together and adding a rich flavor. I typically opt for salted butter as it enhances the “sweet and salty” profile that makes these bars so irresistible, especially when combined with peanut butter. If your peanut butter is already quite salty, or if you prefer a less salty taste, unsalted butter can be used. Just ensure it’s melted properly for easy incorporation.
- Chocolate Chips: This is for our luscious top layer. You’ll need approximately ¾ cup of semisweet chocolate chips. Semisweet offers a balanced chocolate flavor that isn’t overly sweet, creating a perfect contrast to the peanut butter. However, feel free to experiment with milk chocolate chips for a sweeter bar or dark chocolate chips for a more intense chocolate experience.
- Powdered Sugar: Also known as confectioners’ sugar or icing sugar, powdered sugar is crucial for sweetening the peanut butter base without introducing any grainy texture, which granulated sugar would. Its fine consistency dissolves easily, resulting in a smooth and creamy filling. You cannot substitute this with regular white granulated sugar. If you find yourself without powdered sugar, you can actually make your own at home using granulated sugar and a touch of cornstarch in a food processor. Check out this recipe from Bigger Bolder Baking for instructions.
These five ingredients, when combined with a little love and patience, transform into a dessert that’s far greater than the sum of its parts. The interplay between the sweet graham cracker base, the rich and savory peanut butter, the buttery goodness, and the luxurious chocolate topping is what makes these bars an unforgettable treat.
Step-by-Step Instructions for Perfect Peanut Butter Bars
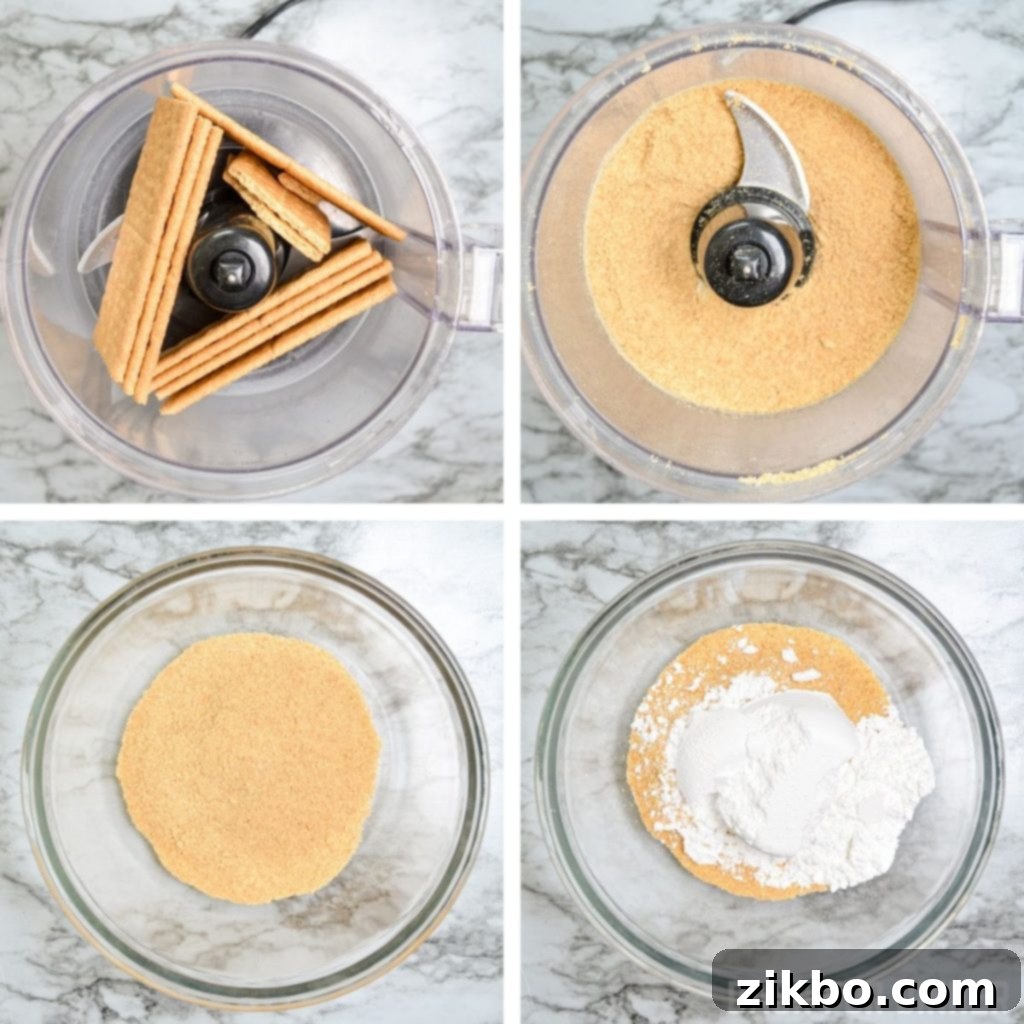
Creating the Irresistible Peanut Butter Base
1. Prepare Your Baking Dish: Begin by lining an 8×8-inch glass baking dish with two overlapping pieces of parchment paper. Make sure the parchment extends up the sides, creating “handles” that will allow you to easily lift the finished bars out later. Set this prepared dish aside.
2. Crush the Graham Crackers: Take your graham crackers and place them into the bowl of a food processor. Process on high speed until they are transformed into fine, uniform crumbs. If you don’t have a food processor, you can place the crackers in a large Ziploc bag and crush them with a rolling pin until finely ground. Transfer these crumbs to a medium-sized mixing bowl.
3. Combine Dry Ingredients: Add the powdered sugar to the bowl containing the graham cracker crumbs. Use a whisk or a fork to thoroughly stir these dry ingredients together, ensuring the sugar is evenly distributed among the crumbs. This prevents lumps in your base.
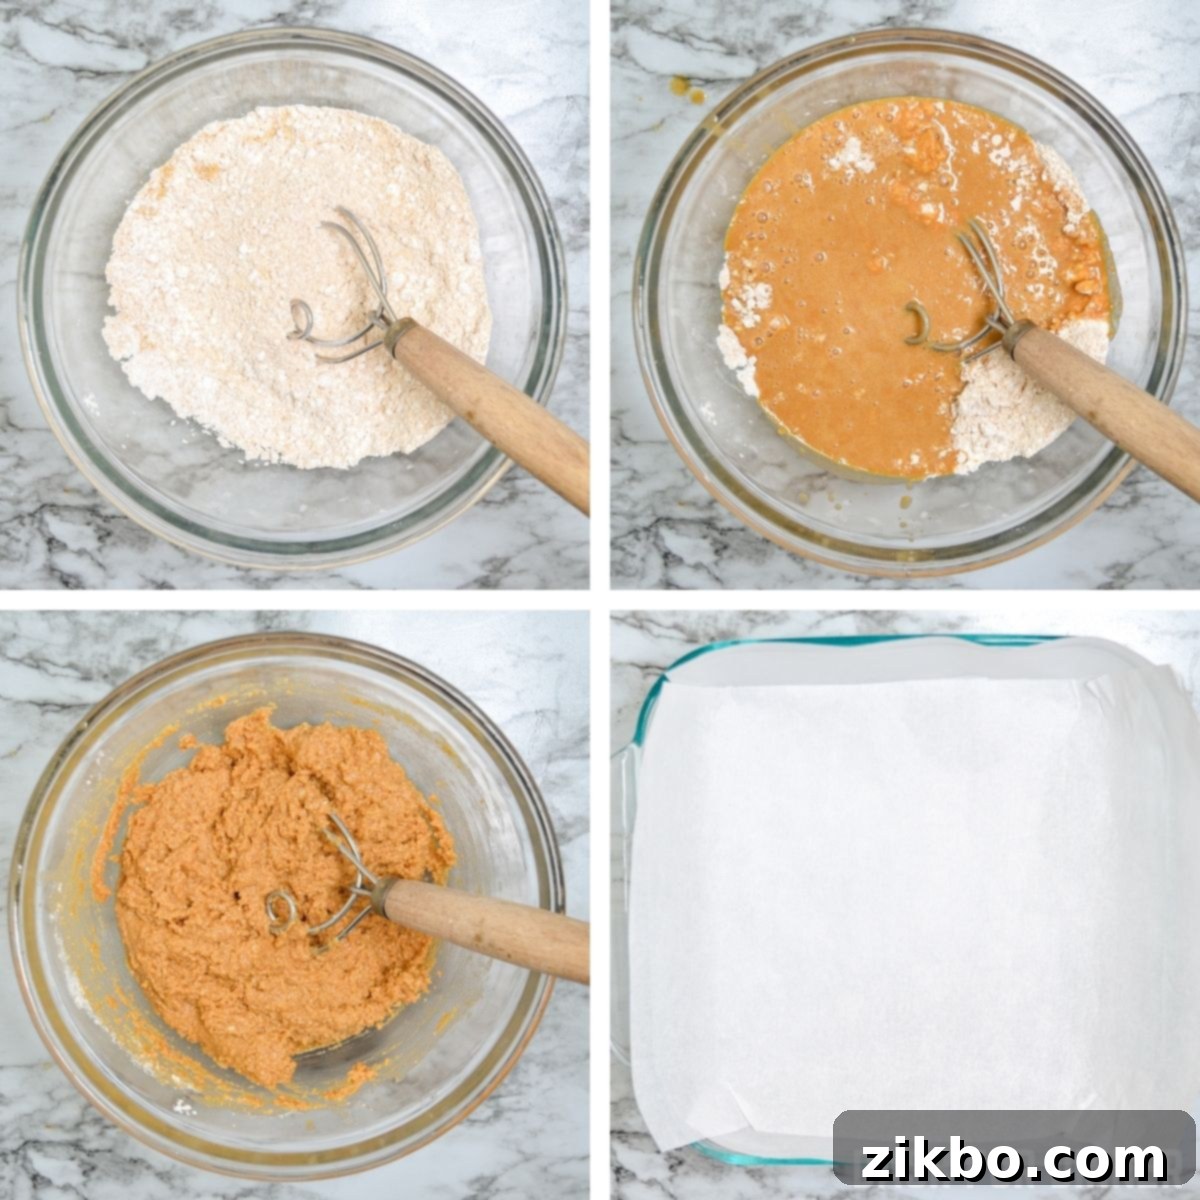
4. Melt Butter and Peanut Butter: In a separate microwave-safe bowl, combine the butter and peanut butter. Microwave this mixture in short 30-second increments, stirring well after each interval, until the butter is completely melted and the peanut butter is smooth and pourable. Alternatively, you can melt them together gently in a small saucepan over medium-low heat on your stovetop, stirring constantly until smooth and uniform. This gentle melting process ensures a perfectly incorporated, silky mixture.
5. Form the Peanut Butter Mixture: Pour the melted peanut butter and butter mixture into the bowl with the graham cracker crumbs and powdered sugar. Using a sturdy rubber spatula, carefully fold the mixture together. Continue to mix until all the crumbs are moistened and the ingredients are thoroughly combined, forming a cohesive, slightly sticky dough-like consistency.
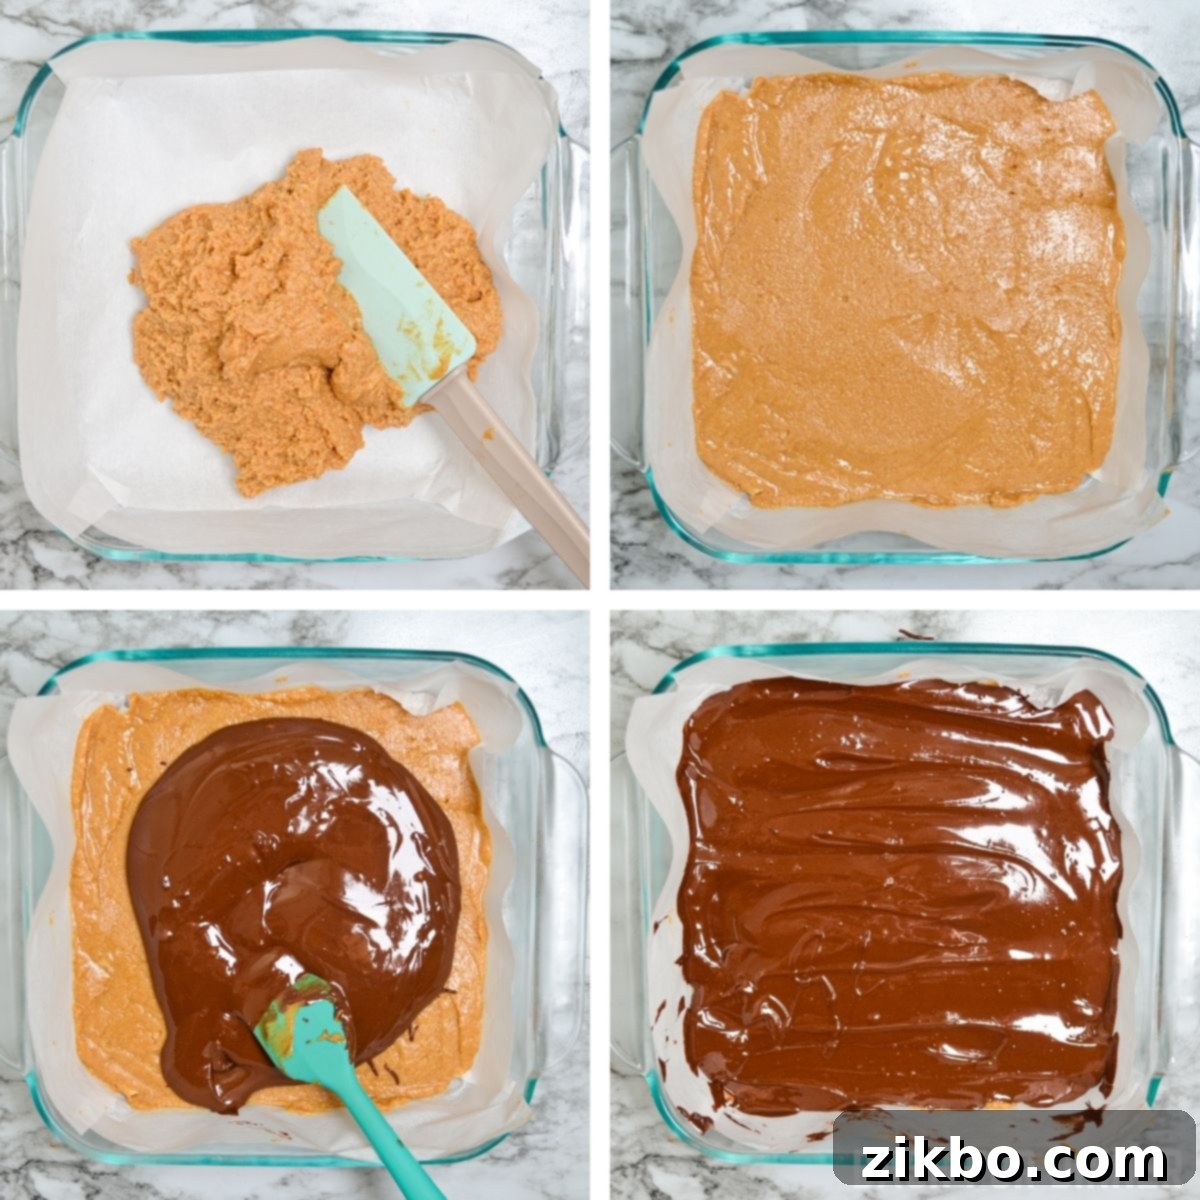
6. Press into the Pan: Transfer the combined mixture to your prepared 8×8-inch baking dish. Use the back of your silicone spatula, or even your clean fingers, to firmly and evenly press the mixture into the bottom of the pan. Make sure it’s spread from edge to edge and has a smooth, compact surface. A well-pressed base will ensure your bars hold their shape.
7. Chill the Base: Cover the dish with plastic wrap and place it in the fridge to chill for 15-20 minutes. This chilling period is crucial as it helps the base firm up, creating a stable foundation for the chocolate layer and ensuring clean, distinct layers.
Adding the Decadent Chocolate Layer
8. Prepare the Chocolate Topping: Once your peanut butter base is sufficiently chilled and firm, it’s time for the glorious chocolate layer. In a microwave-safe bowl, combine the chocolate chips and the remaining 2 tablespoons of creamy peanut butter. Heat this mixture in 30-second increments in the microwave, stirring thoroughly in between each interval. Continue until the mixture is completely melted and beautifully smooth. The addition of a little peanut butter helps create a softer, more pliable chocolate topping that won’t crack when cut. If you prefer, you can also melt this mixture using a double boiler on the stovetop for a more controlled melting process.
9. Pour and Spread the Chocolate: Carefully pour the warm, melted chocolate and peanut butter mixture evenly over the chilled peanut butter base. Use your silicone spatula to gently spread it out, ensuring it covers the entire surface right to the edges. Strive for a smooth, uniform layer.
10. Final Chill: Return the dish to the fridge and allow it to chill for an additional 15 minutes. This quick chill helps the chocolate set just enough for cutting.
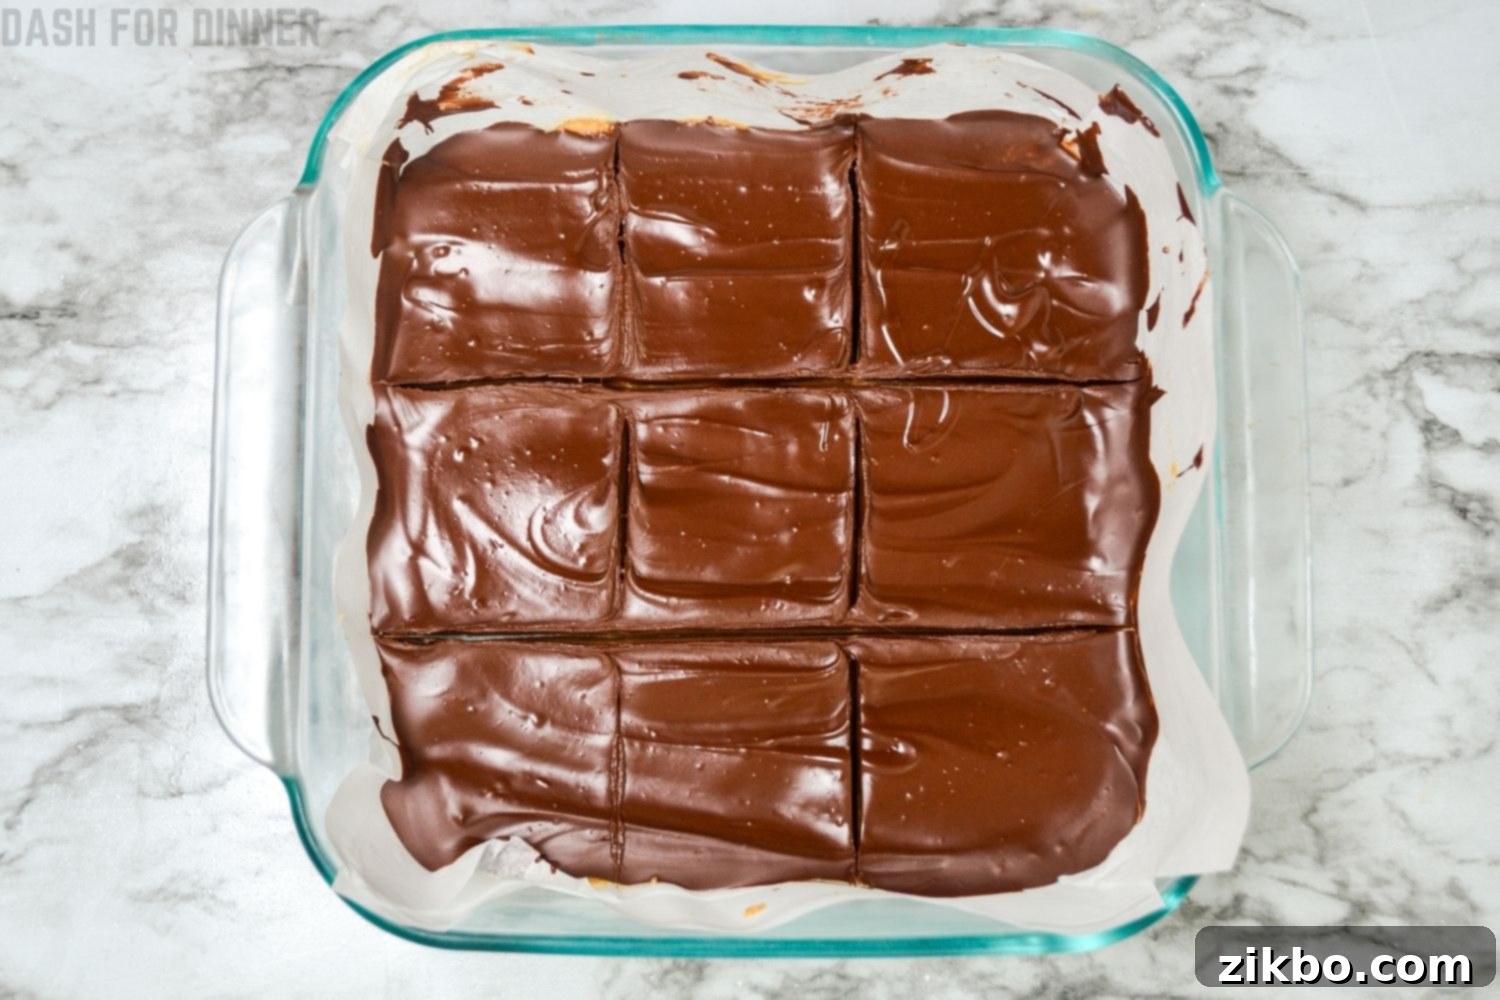
11. Cut the Bars: Remove the dish from the fridge. At this point, the chocolate will be firm but not rock-hard, making it the ideal time to cut. Using a sharp knife, cut the entire slab into 9 bars (three cuts lengthwise and three cuts widthwise). Pro tip: If you wait until the chocolate is completely set and hardened, it will be much more difficult to cut cleanly, and the chocolate layer might crack. Cut them while the chocolate is firm but slightly pliable.
12. Fully Chill and Serve: Once cut, cover the dish once more and return it to the fridge. Chill until the bars are completely firm, which will take approximately 3-4 hours. This final chill is essential for the bars to fully set and achieve their optimal texture.
Serve your magnificent no-bake peanut butter bars and enjoy! Remember to keep any uneaten bars stored in the fridge until you’re ready to serve them, as they can melt quite easily at room temperature, especially on a warm day.
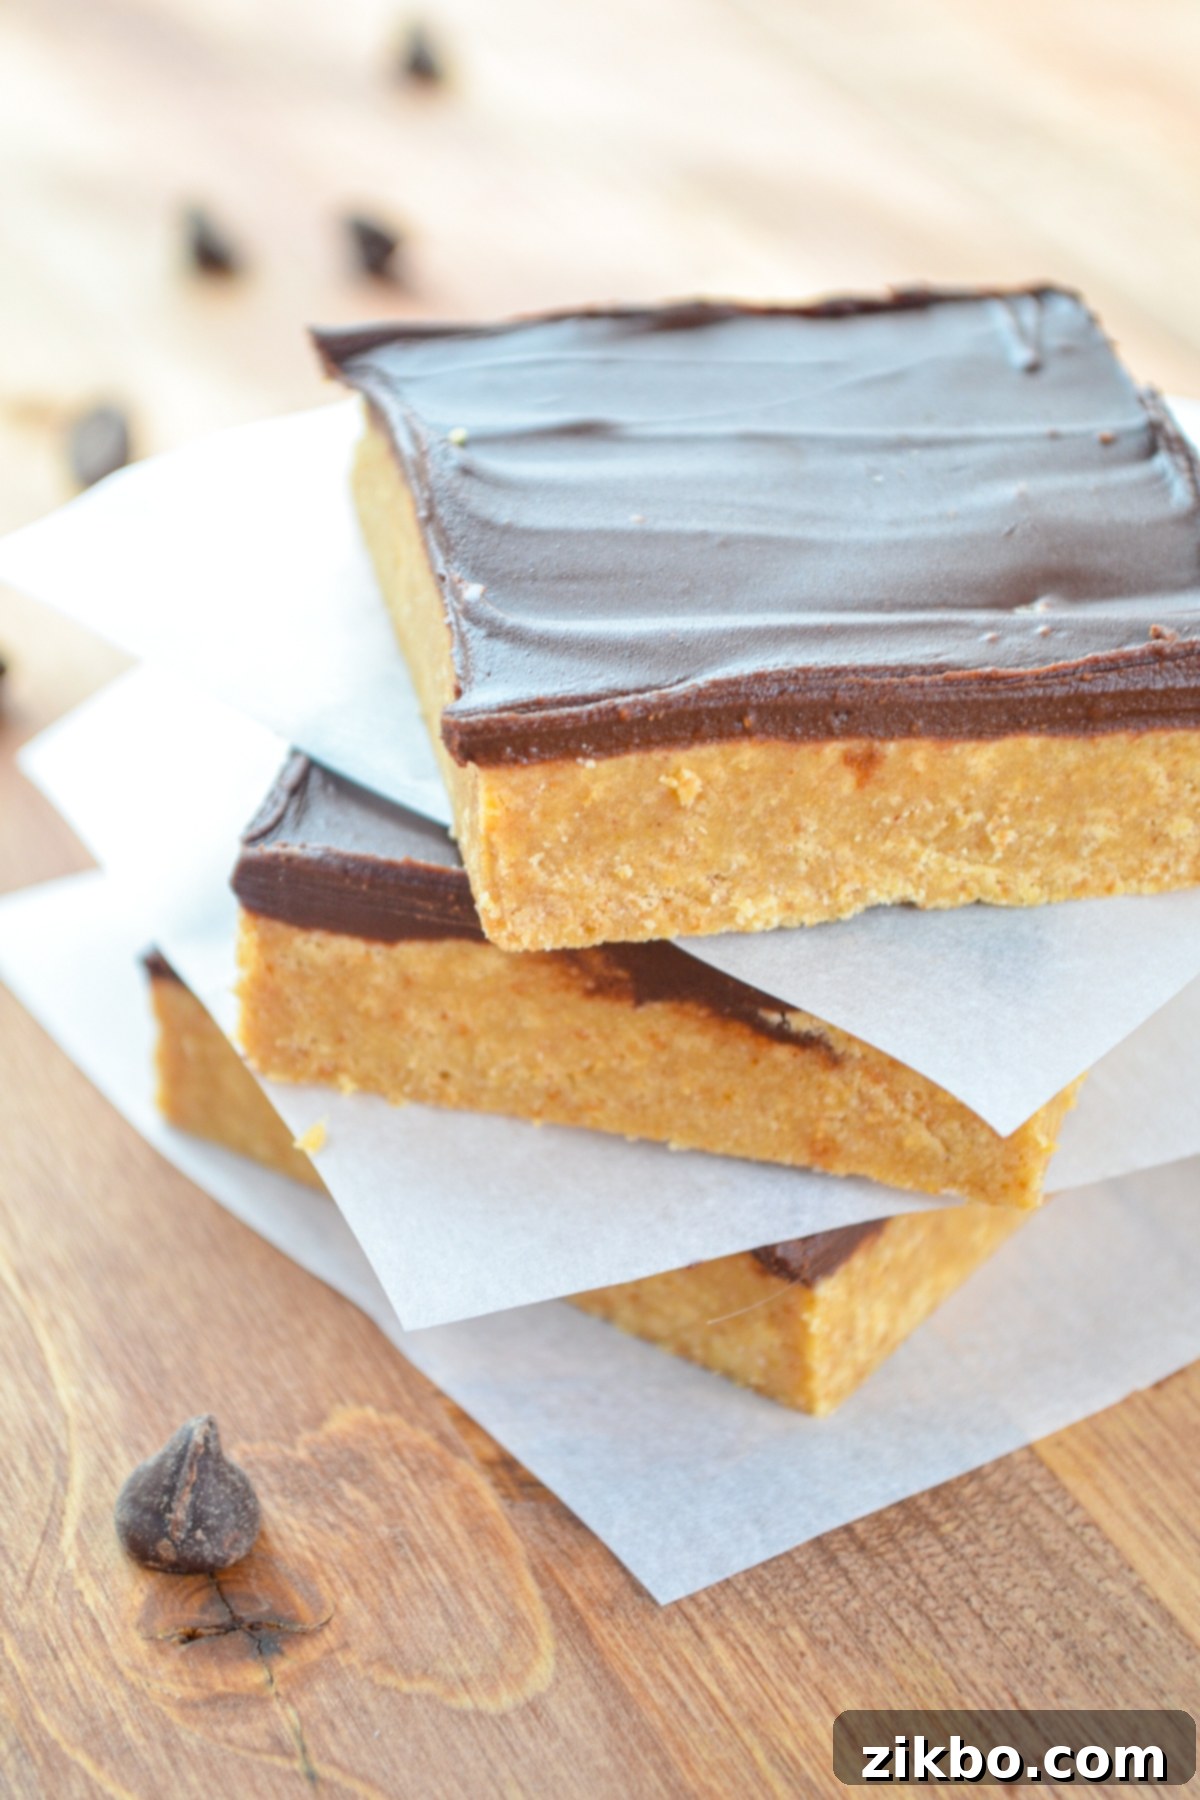
Expert Tips for No-Fail No Bake Peanut Butter Bars
Achieving perfect no-bake peanut butter bars is simple, but a few key tips can elevate your results from good to absolutely phenomenal:
- Parchment Paper is Your Best Friend: Always line your baking pan with two overlapping pieces of parchment paper, leaving an overhang on all sides. This creates convenient “slings” that allow you to effortlessly lift the entire slab of bars out of the pan once chilled, making cutting and serving a breeze.
- Chill Between Layers: Don’t rush the chilling process! Allowing at least 15 minutes of refrigeration between adding the peanut butter base and the chocolate layer is crucial. This ensures each layer sets properly, preventing them from bleeding into one another and resulting in crisp, clean, and distinct layers in your finished bars.
- Melt Peanut Butter and Butter Together: When preparing the base, melting the peanut butter along with the butter is key. This helps keep the peanut butter soft and silky, ensuring it combines smoothly and evenly with the crushed graham crackers and powdered sugar, creating a uniform and easy-to-press base.
- Timing is Everything for Cutting: For the cleanest cuts and to prevent cracking the chocolate, cut your bars when the chocolate layer is firm but not completely rock-hard (typically after about 10-15 minutes of chilling). If you wait too long, the fully set chocolate can be brittle and difficult to slice without breaking. A warm, sharp knife can also aid in clean cuts.
- Proper Storage is Essential: These bars contain butter and chocolate, which can soften quickly at room temperature. Always store your finished no-bake peanut butter bars in an airtight container in the fridge. This maintains their firm texture and extends their freshness. They can stay fresh for up to a week in the refrigerator.
- Achieve Ultra-Fine Crumbs: Whether using a food processor or a Ziploc bag and rolling pin, make sure your graham cracker crumbs are as fine as possible. Large crumbs can make the base less cohesive and more prone to crumbling apart.
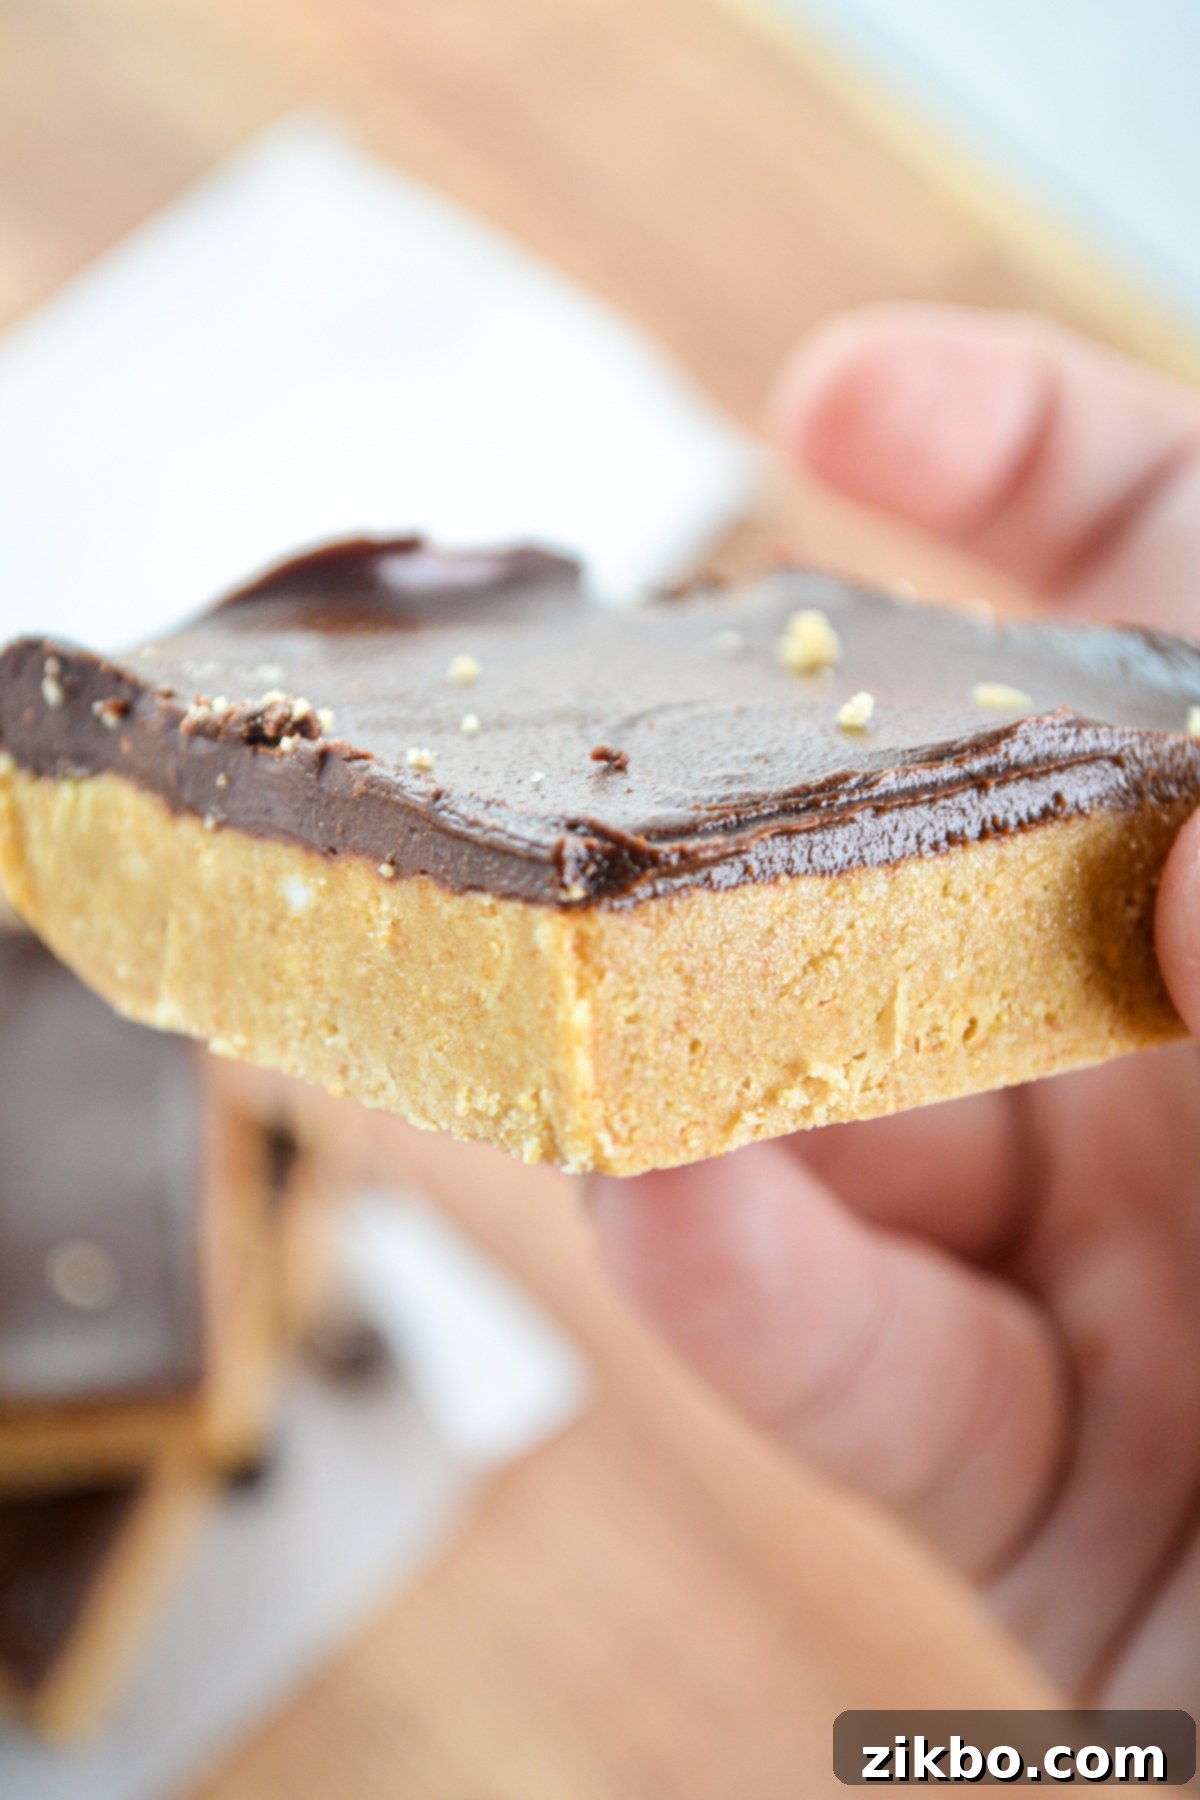
Customizing Your Peanut Butter Bars: Substitutions & Variations
While the classic combination is undeniably delicious, these no bake peanut butter bars are wonderfully adaptable. Don’t be afraid to experiment with these simple substitutions and exciting variations:
Substitutions:
- Chocolate Alternatives: If semisweet chocolate isn’t your preference, or you’re looking for a different flavor profile, you have options!
- Milk Chocolate Chips: For a sweeter, creamier chocolate layer.
- Dark Chocolate Chips: For a more intense, less sweet chocolate experience, which pairs beautifully with the rich peanut butter.
- Peanut Butter Chips: If you’re a true peanut butter devotee and want to double down on the flavor, substitute the chocolate chips with ¾ cup of peanut butter chips for an all-peanut butter topping.
- White Chocolate Chips: For a lighter, sweeter, and visually striking contrast.
- Gluten-Free Option: Making these bars gluten-free is simple! Just replace conventional graham crackers with an equal amount (about 1 cup) of gluten-free graham cracker crumbs. Ensure all other ingredients are also certified gluten-free if strict adherence is required.
- Dairy-Free Option: Use a high-quality plant-based butter substitute (ensure it melts well) and dairy-free chocolate chips.
Variations:
- Peanut Butter Bars Without Chocolate (or with a Twist!): If chocolate isn’t your thing, or you want a pure peanut butter experience, use peanut butter chips for the topping as mentioned above. For added crunch and visual appeal, sprinkle the top with crushed peanuts, mini chocolate chips, or even a drizzle of white chocolate before chilling.
- Individual Peanut Butter Cups: Turn these bars into delightful individual treats!
- Line a muffin tin with silicone muffin liners or paper cupcake liners.
- Spoon a small amount of the melted chocolate mixture into the bottom of each liner, just enough to cover the base. Chill briefly until hard (about 5-10 minutes).
- Next, add a spoonful of the peanut butter and graham cracker mixture, pressing it down gently into the mold to form a firm layer over the chocolate. Chill for another 15 minutes.
- Finally, top with an additional spoonful of the melted chocolate mixture, spreading it to cover the peanut butter layer. Chill until completely hard.
- Once set, simply pop them out of the silicone liners (or peel paper liners) and keep refrigerated until ready to serve. This makes for an elegant and portion-controlled treat!
- Add a Touch of Vanilla: A teaspoon of vanilla extract added to the melted butter and peanut butter mixture for the base can enhance the overall flavor and add an extra layer of warmth.
- Crunchy Delights: For added texture, consider folding in a handful of mini chocolate chips or finely chopped peanuts into the peanut butter base before pressing it into the pan.
- Decorative Finish: Before the chocolate layer sets completely, sprinkle with sea salt flakes for an elevated sweet and salty crunch, colorful sprinkles for a festive touch, or a dusting of cocoa powder.
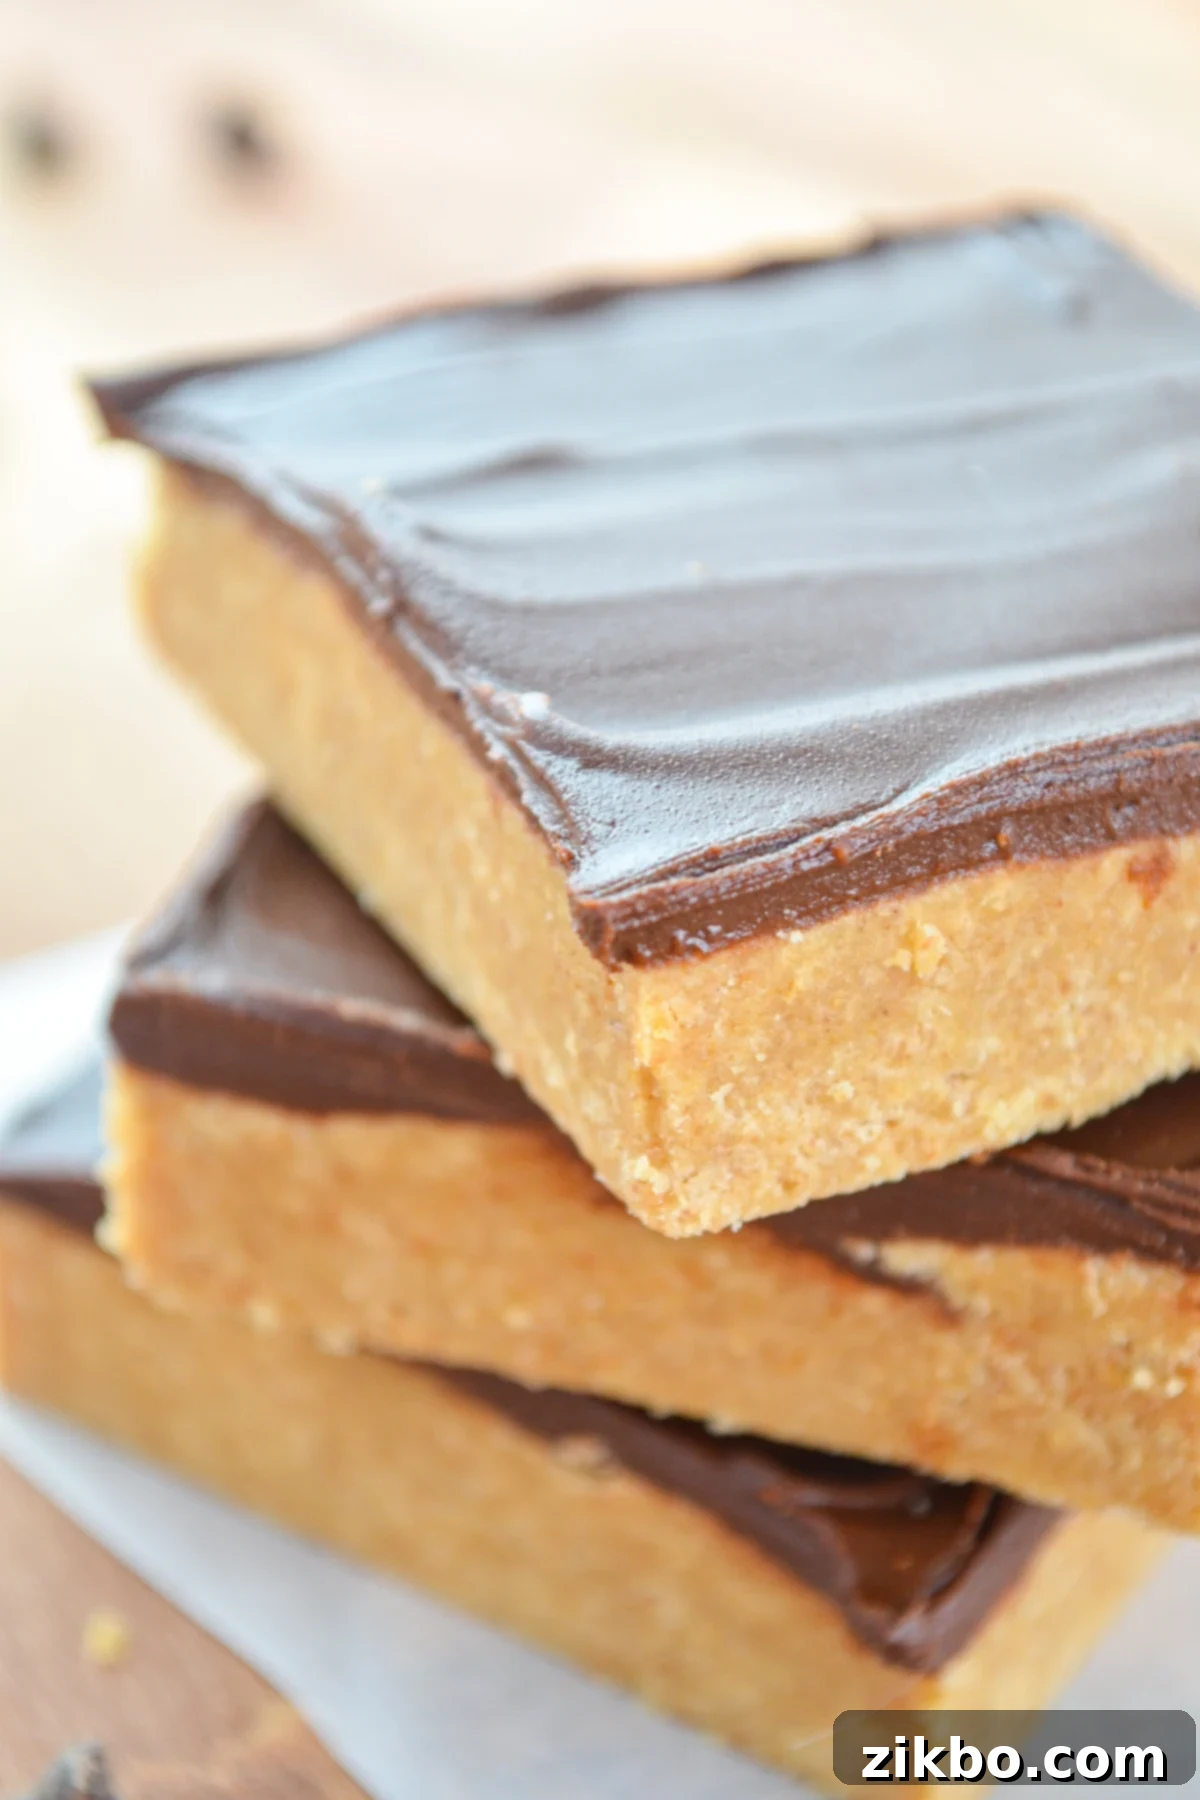
Frequently Asked Questions About No Bake Peanut Butter Bars
Absolutely! No bake peanut butter bars freeze exceptionally well, making them perfect for meal prep or enjoying later. Once they are fully chilled and firm, you can wrap them individually in plastic wrap to prevent freezer burn and then place them in an airtight freezer bag or container. Alternatively, freeze them in an airtight container with layers separated by waxed paper. Thaw them in the refrigerator for a few hours or at room temperature for about 30 minutes before enjoying. They retain their delicious taste and texture for up to 2 months in the freezer.
For the best results and a smooth, consistent base, you’ll want to use a creamy, conventional peanut butter. Brands like Jif, Skippy, or Peter Pan are ideal because they have a stable, emulsified texture that mixes well with other ingredients. Natural-style peanut butter, which often separates and can be oilier and grittier, is not recommended for this recipe as it can result in an oily, less firm base that doesn’t set properly.
Yes, this recipe is incredibly easy to double! If you’d like to make a larger batch for a party, potluck, or just more treats, simply double all of the ingredients. When doubling, you’ll need to use a larger 9×13-inch baking dish or pan instead of the 8×8-inch dish to accommodate the increased volume.
Several factors can contribute to bars not firming up. The most common reasons include: not chilling long enough between layers or for the final set, using natural peanut butter (which has more oil and can prevent setting), or incorrect ingredient ratios (too much butter or not enough powdered sugar/graham crackers). Ensure you use creamy conventional peanut butter and follow the chilling times exactly. If still too soft, a bit more powdered sugar can sometimes help bind the base.
For pristine, clean cuts, timing is essential. As mentioned in the tips, cut the bars when the chocolate layer is firm but still slightly pliable (about 10-15 minutes after the chocolate layer has been added to the fridge). Also, use a sharp, thin-bladed knife. For even cleaner cuts, run your knife under hot water, wipe it dry, and then make each cut, cleaning the knife between slices. This prevents the chocolate from dragging and cracking.
More Easy No Bake Desserts You’ll Love
If you’re a fan of fuss-free desserts, be sure to check out these other incredibly easy no-bake recipes from my kitchen:
- No Bake Chocolate Chip Cheesecake: A creamy, dreamy cheesecake with delightful chocolate chips, no oven required!
- No Bake Nutella Pie: Indulge in a rich, hazelnut-chocolate pie that comes together in minutes.
- Butterscotch Haystacks: A classic, crunchy, and irresistible treat made with just a few simple ingredients.
No Bake Peanut Butter Bars
Print
Pin
Rate
Desserts
American
20 minutes
4 hours 30 minutes
4 hours 50 minutes
9 Bars
353kcal
Dorothy Bigelow
Equipment
-
8X8 Baking Dish
-
Food Processor (or Ziploc bag and rolling pin)
-
Microwave-safe bowls
-
Rubber spatula
Ingredients
Peanut Butter Base
- ½ cup salted butter
- ½ cup creamy peanut butter
- 1 cup crushed graham cracker crumbs approximately 1 sleeve or 9 sheets
- 1 cup powdered sugar
Chocolate Layer
- ¾ cup semisweet chocolate chips
- 2 tablespoons creamy peanut butter
Instructions
-
Line an 8×8-inch glass baking dish with two overlapping pieces of parchment paper, ensuring it extends up the sides to form “handles”. Set aside.
-
Prepare the graham cracker crumbs by placing them in the bowl of a food processor. Process on high speed until they are fine crumbs. Transfer to a medium-sized mixing bowl.
-
Add the powdered sugar to the bowl with the graham cracker crumbs. Stir or whisk together until well combined.
-
In a separate microwave-safe bowl, add the butter and ½ cup of peanut butter. Microwave in 30-second increments, stirring in between each time, until the butter is completely melted and the peanut butter is smooth and pourable. (Alternatively, melt in a small saucepan over medium-low heat.)
-
Add the melted peanut butter and butter mixture to the graham cracker and powdered sugar mixture. Use a rubber spatula to fold the ingredients together until all crumbs are moistened and thoroughly combined.
-
Transfer the mixture to the prepared baking dish. Use the back of the silicone spatula or your fingers to press the mixture firmly and evenly into the pan, forming a compact base.
-
Cover the dish with plastic wrap and place it in the fridge to chill for 15-20 minutes. This allows the base to firm up.
-
While the base chills, prepare the chocolate layer: In another microwave-safe bowl, combine the chocolate chips and the remaining 2 tablespoons of creamy peanut butter. Heat in 30-second increments in the microwave, stirring well after each time, until the mixture is melted and smooth. (Alternatively, use a double boiler on the stovetop.)
-
Pour the melted chocolate and peanut butter mixture evenly over the chilled peanut butter base. Spread it out smoothly with a silicone spatula.
-
Return the dish to the fridge and chill for an additional 15 minutes. This will allow the chocolate to firm up slightly, making it easier to cut.
-
Remove the dish from the fridge and, using a sharp knife, cut into 9 bars by making three cuts lengthwise and three cuts widthwise. Cut while the chocolate is firm but not completely hard to prevent cracking.
-
Cover the dish and place it back in the fridge. Chill until the bars are completely firm, approximately 3-4 hours, or overnight for best results.
-
Serve and enjoy! Keep your delicious no-bake peanut butter bars stored in an airtight container in the fridge until ready to serve, as they can melt easily at room temperature.
Video
Did you try this recipe?Tag me at @dashfordinner and share your photos!
Notes
Keep your No Bake Peanut Butter Bars in an airtight container in the fridge for up to 1 week. It is crucial not to store them at room temperature, as the bars melt very easily and will lose their firm texture.
Freezing:
For longer-term storage, these peanut butter bars freeze beautifully. Once completely chilled and firm, wrap each bar individually in plastic wrap, then place them in an airtight freezer bag or a freezer-safe container with waxed paper between layers. Thaw in the refrigerator or at room temperature until ready to enjoy, within 2 months.
Double the Recipe:
To double this recipe, simply multiply all listed ingredients by two. When doing so, you will need to prepare and chill the bars in a larger 9×13-inch baking dish or pan.
Nutrition
Please note that some of my blog posts here at Dash for Dinner may contain affiliate links. If you make a purchase through these links, I will get a small commission at no additional cost to you. Please see my Disclaimer for more information.
