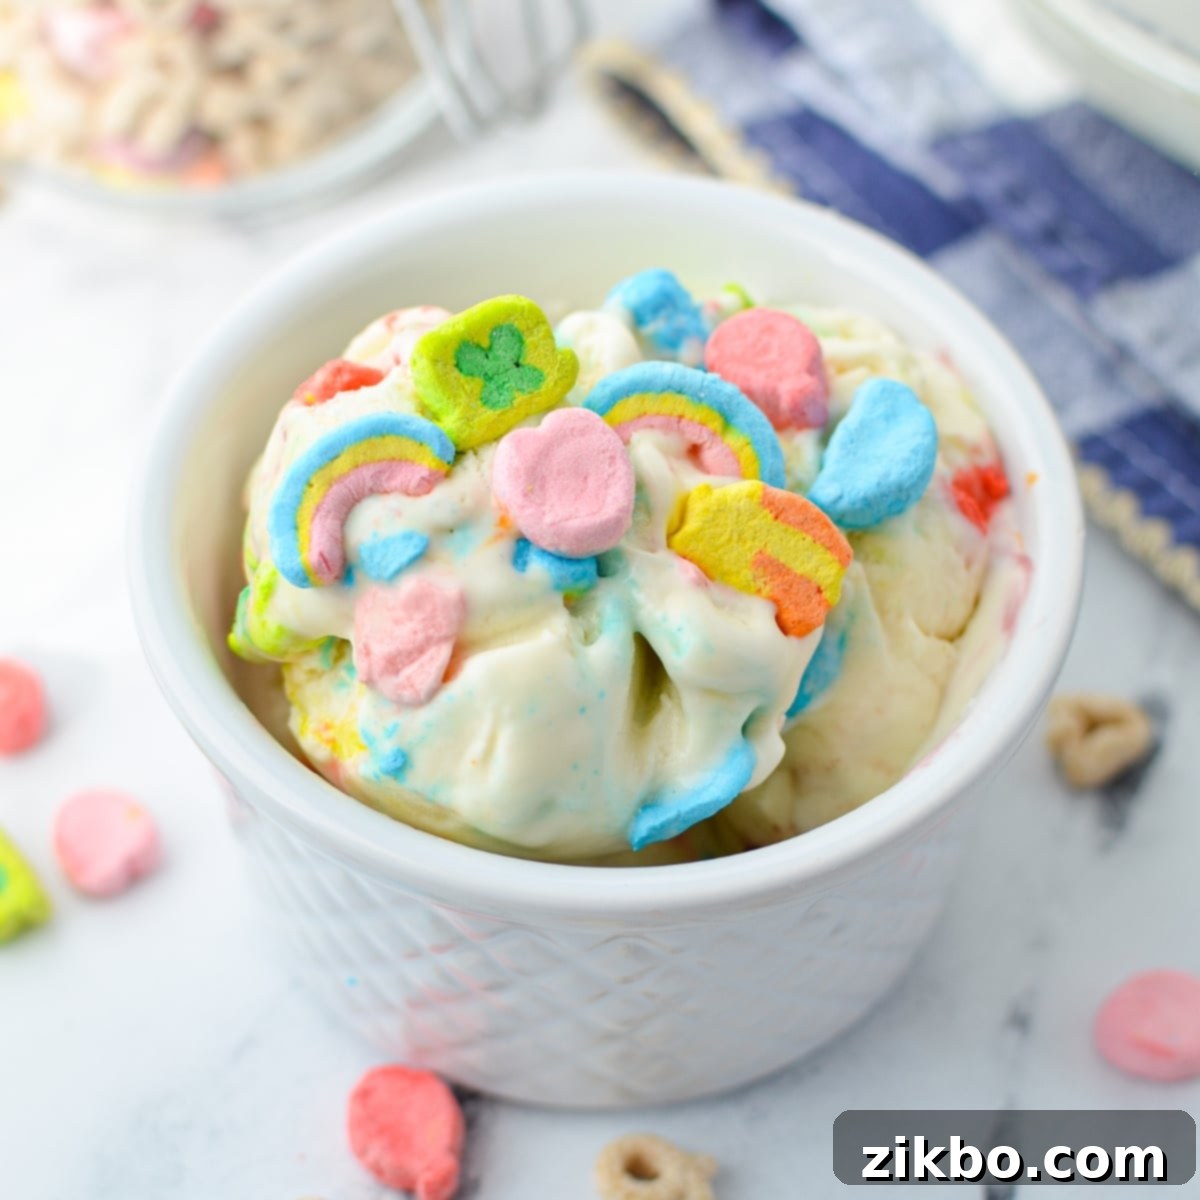
Magically Delicious: Easy No-Churn Lucky Charms Ice Cream Recipe
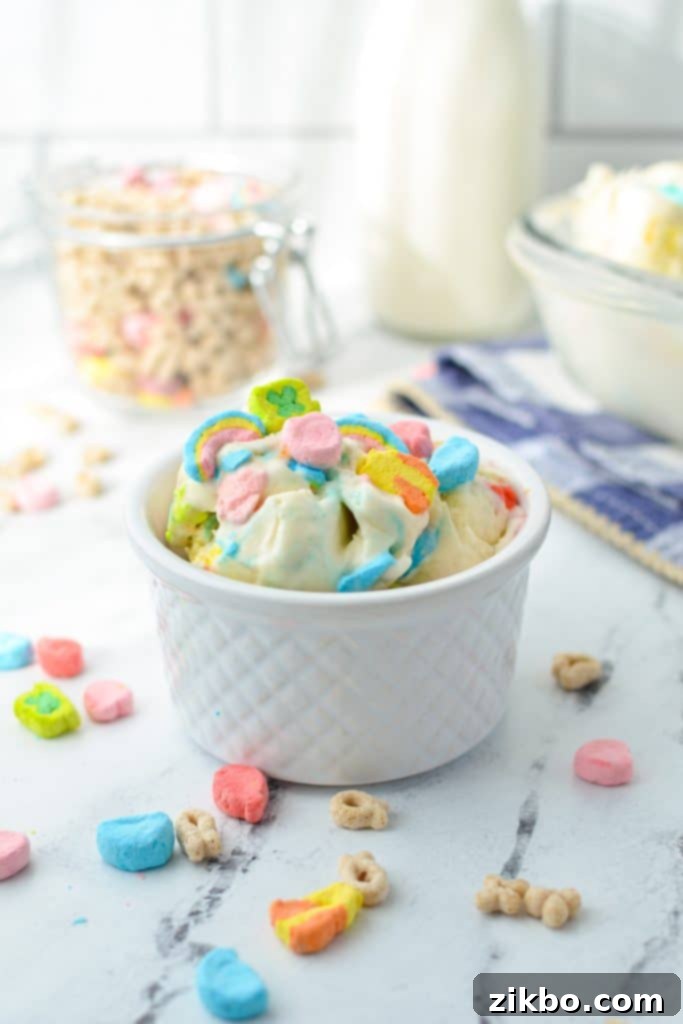
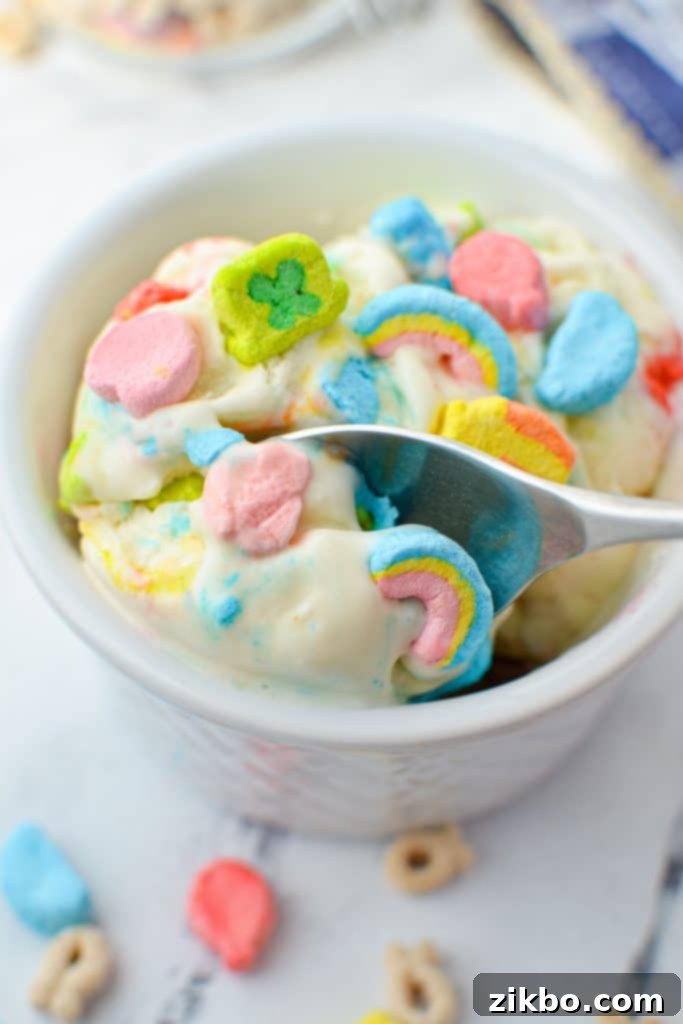
Prepare to be enchanted by this incredibly easy recipe for Lucky Charms Ice Cream, a delightful treat that requires absolutely no ice cream maker! This magical dessert comes together with just 4 simple ingredients, creating a luscious, creamy base infused with the nostalgic flavor of cereal milk. Swirled throughout are those iconic, colorful Lucky Charms marshmallows, making every scoop a moment of pure joy and a feast for the eyes!
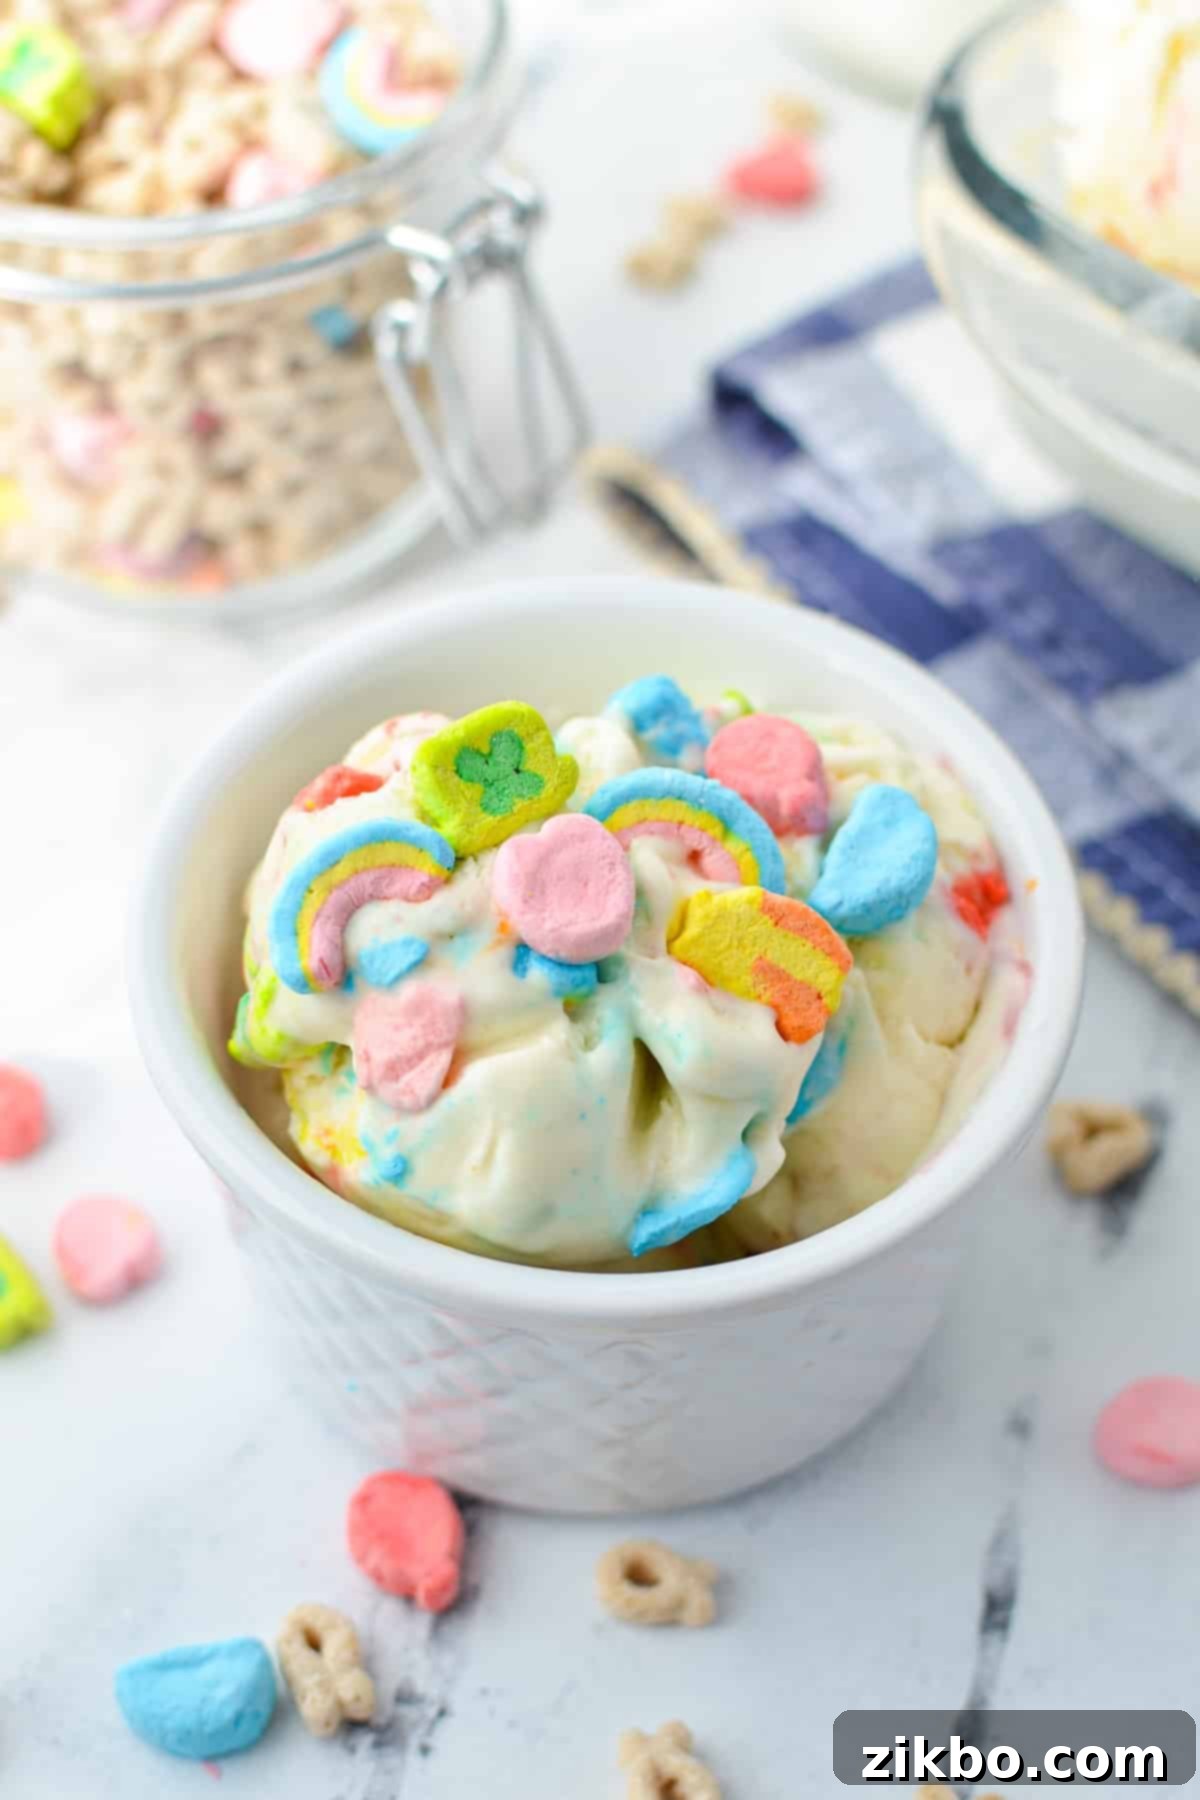
While Lucky Charms cereal is a beloved classic enjoyed year-round, there’s something extra special about them as St. Patrick’s Day approaches. Perhaps it’s the whimsical connection to the Irish folklore of leprechauns, pots of gold at the end of rainbows, and the universal wish for the “luck of the Irish.” The very name “Lucky Charms” just seems to fit perfectly with the festive spirit of the holiday. Whatever the reason, this vibrant cereal often finds its way into my family’s kitchen for special St. Patrick’s Day treats, turning ordinary days into celebrations.
In previous years, I’ve shared popular recipes like my homemade Lucky Charms Treats and a delightful copycat Shamrock Shake, both of which have been constant favorites. This year, I craved something wonderfully cool, perfectly sweet, and a delicious reminder that warmer days are on their way. Naturally, the idea of creating a homemade Lucky Charms ice cream recipe was born, promising to be a highlight of our seasonal festivities!
This unique ice cream creation takes a delightful twist on a classic no-churn vanilla ice cream base. The secret to its incredible flavor lies in infusing the rich cream with the cereal itself, creating a distinct “cereal milk” essence that’s utterly irresistible. Then, it’s generously studded with those vibrant, chewy Lucky Charms marshmallows, ensuring a burst of color and sweetness in every bite. What’s not to love about an easy, magical dessert that tastes like your favorite breakfast cereal?
Top Reasons to Make This Easy No-Churn Lucky Charms Ice Cream:
- Effortless Preparation: This recipe calls for only 4 simple ingredients and, best of all, requires no specialized ice cream maker. You can achieve rich, creamy homemade ice cream with minimal fuss!
- Authentic Cereal Milk Flavor: The innovative technique of infusing the heavy cream with Lucky Charms cereal creates an ice cream base that tastes exactly like the sweet, milky goodness left at the bottom of your cereal bowl! It’s pure nostalgia in every spoonful.
- Quick & Convenient No-Churn Method: Being a no-churn ice cream recipe means you won’t need to babysit a machine. The base is quickly prepared and ready for the freezer in a fraction of the time compared to traditional methods.
- Perfect for Any Occasion: It’s the ideal festive dessert for St. Patrick’s Day, adding a touch of Irish luck and vibrant color to your celebration. However, it’s also a fantastic way to make any ordinary day feel special with a unique, whimsical treat.
- No Eggs Required: For those looking for a simpler recipe or avoiding eggs, this no-churn ice cream base is completely egg-free, making it accessible and easy to prepare without tempering or extra steps.
Essential Ingredients for Your Magical Ice Cream
Creating this enchanting Lucky Charms ice cream is surprisingly simple, thanks to its short ingredient list. Each component plays a crucial role in achieving that perfect creamy texture and unforgettable cereal milk flavor.
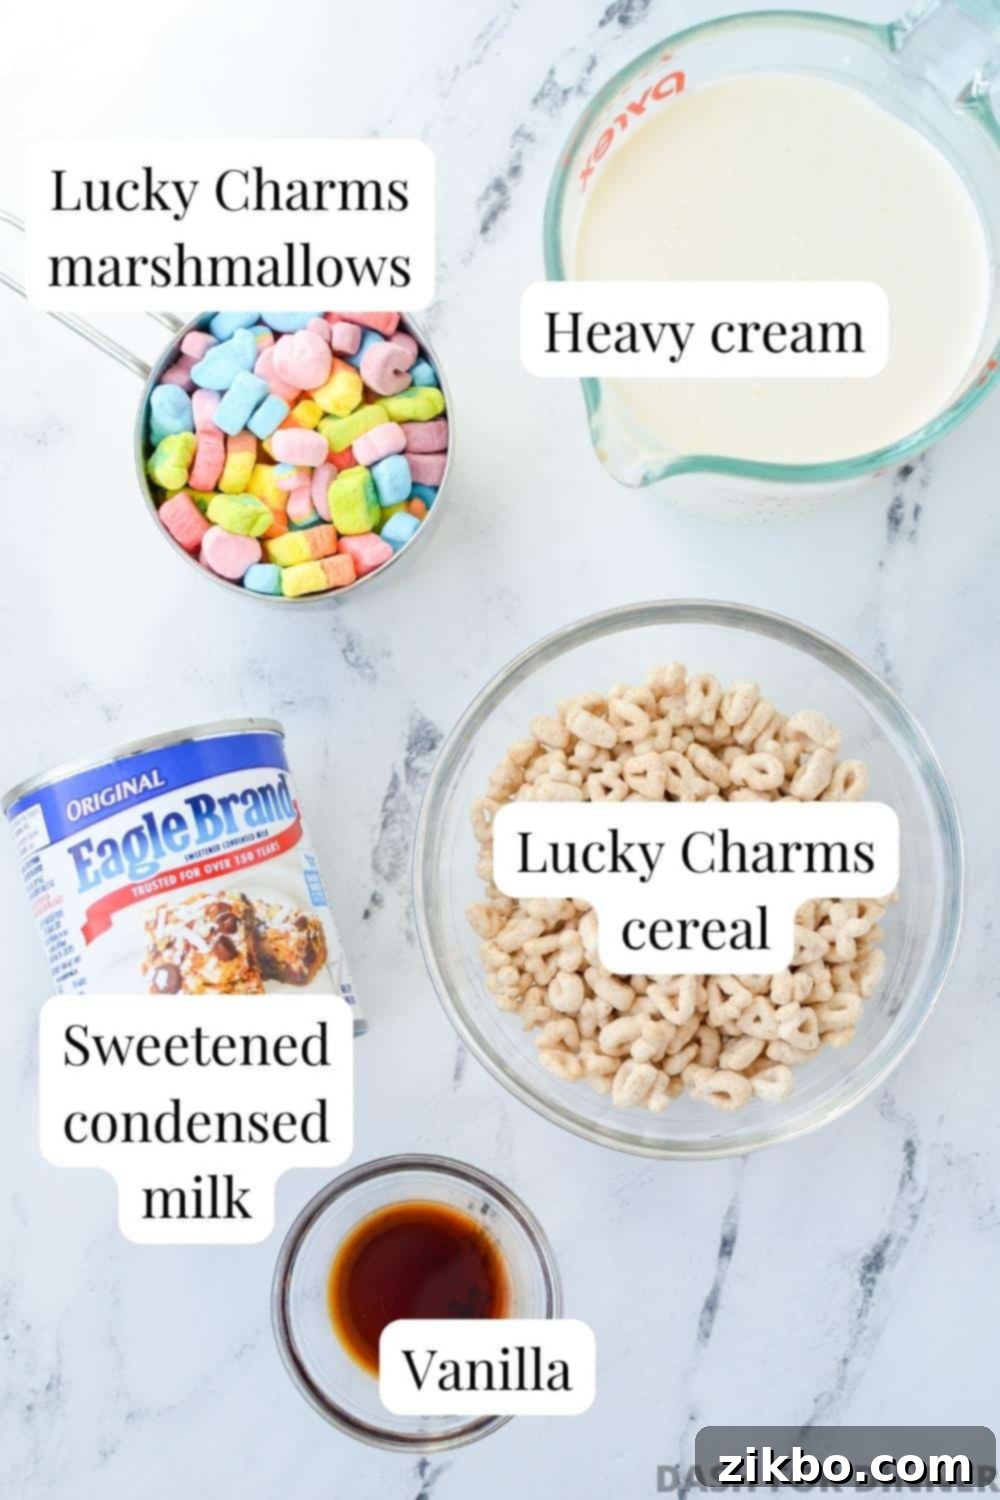
- Lucky Charms Cereal: You’ll need one standard-sized box of Lucky Charms. For this recipe, you’ll use approximately 2 cups total: 1 full cup of the iconic colorful marshmallows and 1 cup of the oat cereal pieces. Since the marshmallow-to-cereal ratio in a typical box isn’t 1:1, you’ll likely use a good portion of the marshmallows from a standard box to get your full cup. Separating them is a fun (and often delegated!) task.
- Heavy Cream: Also commonly known as heavy whipping cream, this ingredient is absolutely essential for achieving the incredibly light, airy, and super creamy consistency that we all adore in no-churn ice cream. When whipped, it creates the perfect fluffy base.
- Sweetened Condensed Milk: This is truly the “secret ingredient” for virtually all no-churn ice cream recipes. It contributes both sweetness and a thick, creamy texture, eliminating the need for an ice cream maker by preventing large ice crystal formation and creating that smooth, dreamy mouthfeel.
- Vanilla Extract: A touch of pure vanilla extract enhances the overall flavor profile, adding a warm, subtle note that perfectly complements and elevates the unique taste of the Lucky Charms cereal milk. Don’t skip this!
Recommended Equipment for Success:
While this recipe is wonderfully simple, having the right tools can make the process even smoother and ensure the best results for your homemade ice cream.
- Loaf Pan: An 8×8-inch or 9×5-inch loaf pan is ideal for freezing your homemade ice cream. Its depth allows the ice cream to freeze evenly and maintain that perfectly scoopable consistency characteristic of no-churn recipes. While you *can* use an 8×8 baking dish that is freezer-safe, be aware that your ice cream might end up a bit firmer due to the shallower depth. For easy removal and cleanup, consider lining your pan with parchment paper or giving it a light spray with cooking spray. A loaf pan is truly perfect.
- Stand or Hand Mixer: Since you’ll need to whip the heavy cream into beautiful, stiff peaks, a mechanical mixer is highly recommended. An electric stand mixer fitted with a whisk attachment or an electric hand mixer will make this step quick and effortless, typically taking only 2-3 minutes. While a large food processor *could* potentially whip cream, it’s generally less efficient and might require multiple batches, so stick to a dedicated mixer for best results.
How to Make Lucky Charms Ice Cream: Step-by-Step Magic
Once you discover just how simple it is to make this unbelievably delicious Lucky Charms ice cream at home, you’ll wonder why you ever bought store-bought! The rich cereal-infused milk flavor is absolutely divine, and the resulting taste and creamy texture rival, or even surpass, many premium ice cream brands. Get ready for a truly enchanting dessert experience!
Step 1: Making the Cereal Milk Infusion
To begin creating that signature cereal milk flavor, pour all of your chilled heavy whipping cream into a large measuring cup or a medium-sized bowl. Next, add 1 cup of the Lucky Charms cereal pieces (ensure you’re only using the oat pieces, not the marshmallows at this stage). Gently press the cereal down to fully submerge it in the cream.
Cover the bowl containing the cereal and heavy cream tightly with plastic wrap and place it in the fridge. Allow it to chill and infuse for approximately 30 minutes. This crucial step allows the cream to absorb all the wonderful, sweet, and toasty notes from the cereal, creating that authentic “cereal milk” taste.
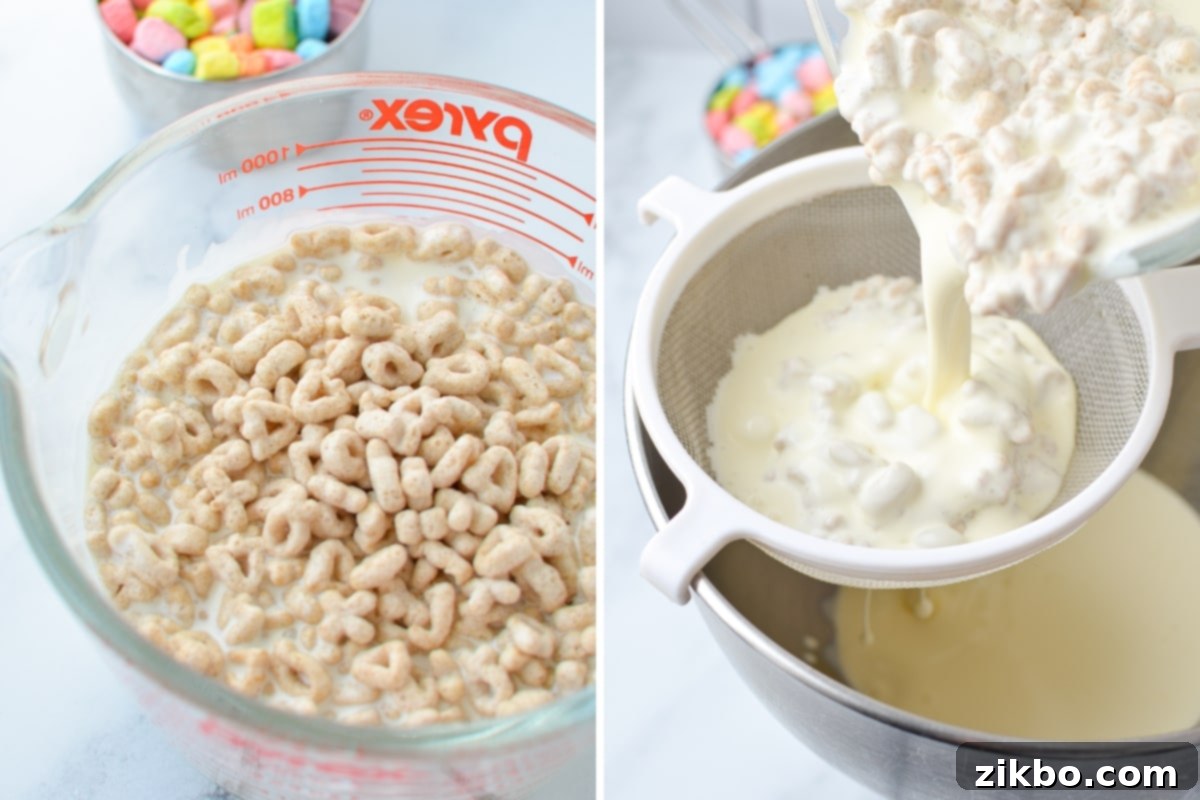
After the 30 minutes of infusion are complete, retrieve the bowl from the fridge. Set a fine-mesh strainer over a large, clean bowl (or directly over the bowl of your stand mixer, if using). Carefully pour the cereal and heavy cream mixture through the strainer. The strainer will effectively catch all the cereal pieces, allowing the now beautifully infused heavy cream to collect in the bowl below. For maximum flavor extraction, gently press on the soaked cereal in the strainer with a spoon or spatula to release any remaining absorbed cream. You can then discard the soaked cereal (or, if you’re like me, enjoy a little snack!).
Step 2: Preparing the Sweetened Condensed Milk Base
In a separate large bowl, add the full can of sweetened condensed milk. Pour in the vanilla extract. Using a whisk or spatula, stir these two ingredients together thoroughly until they are well combined and smooth. This mixture will form the sweet, rich foundation of your no-churn ice cream base. Set this bowl aside for a moment.
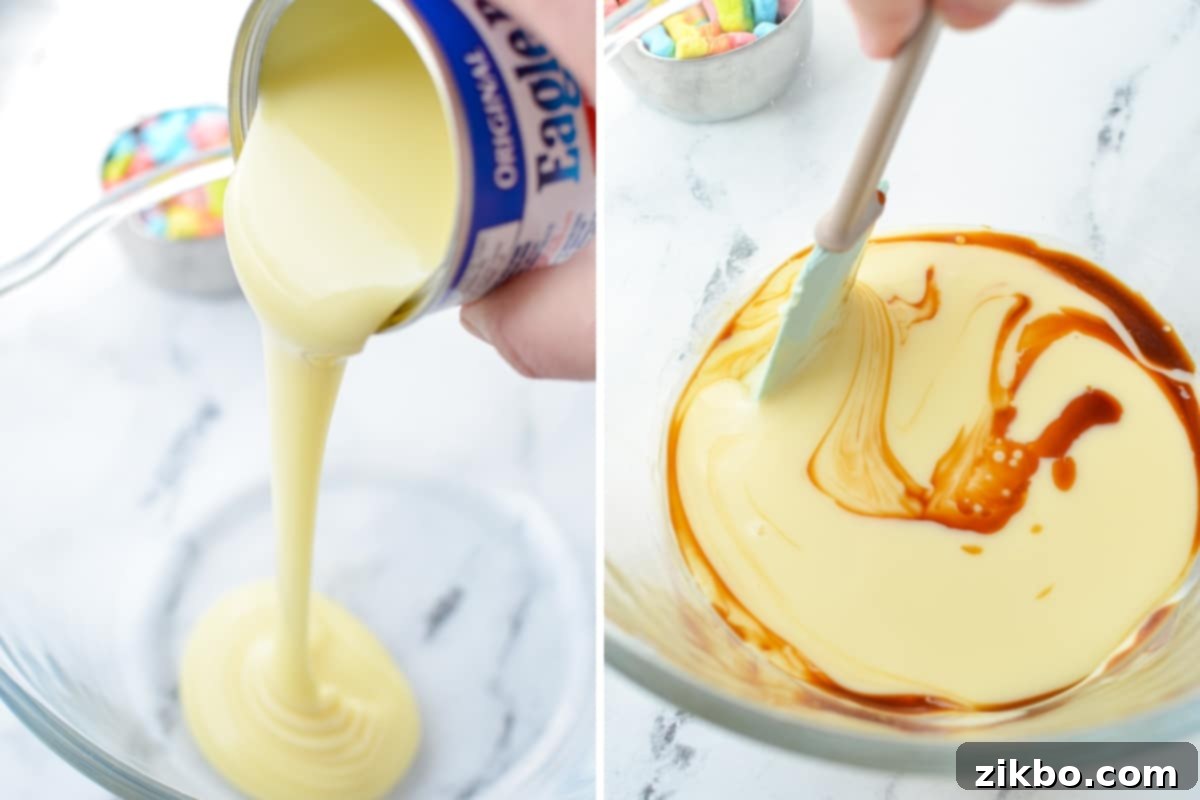
Step 3: Whipping the Infused Cream
If you haven’t already, transfer the cereal-infused heavy cream to the bowl of a stand mixer fitted with the whisk attachment, or into a large bowl if you’re using an electric hand mixer.
Whip the heavy cream on medium-high to high speed until stiff peaks form. This process typically takes about 2-3 minutes. You’ll know the cream is ready when it holds its shape firmly and doesn’t collapse when you lift the whisk. Be careful not to over-whip, as it can turn grainy.
Once the cream has been perfectly whipped and is holding its fluffy shape, carefully transfer it to the bowl containing the sweetened condensed milk and vanilla mixture. Using a silicone spatula, gently fold the whipped cream into the condensed milk mixture until it is completely combined. The key here is to fold gently to maintain as much of the air in the whipped cream as possible, which contributes to the ice cream’s light and airy texture.
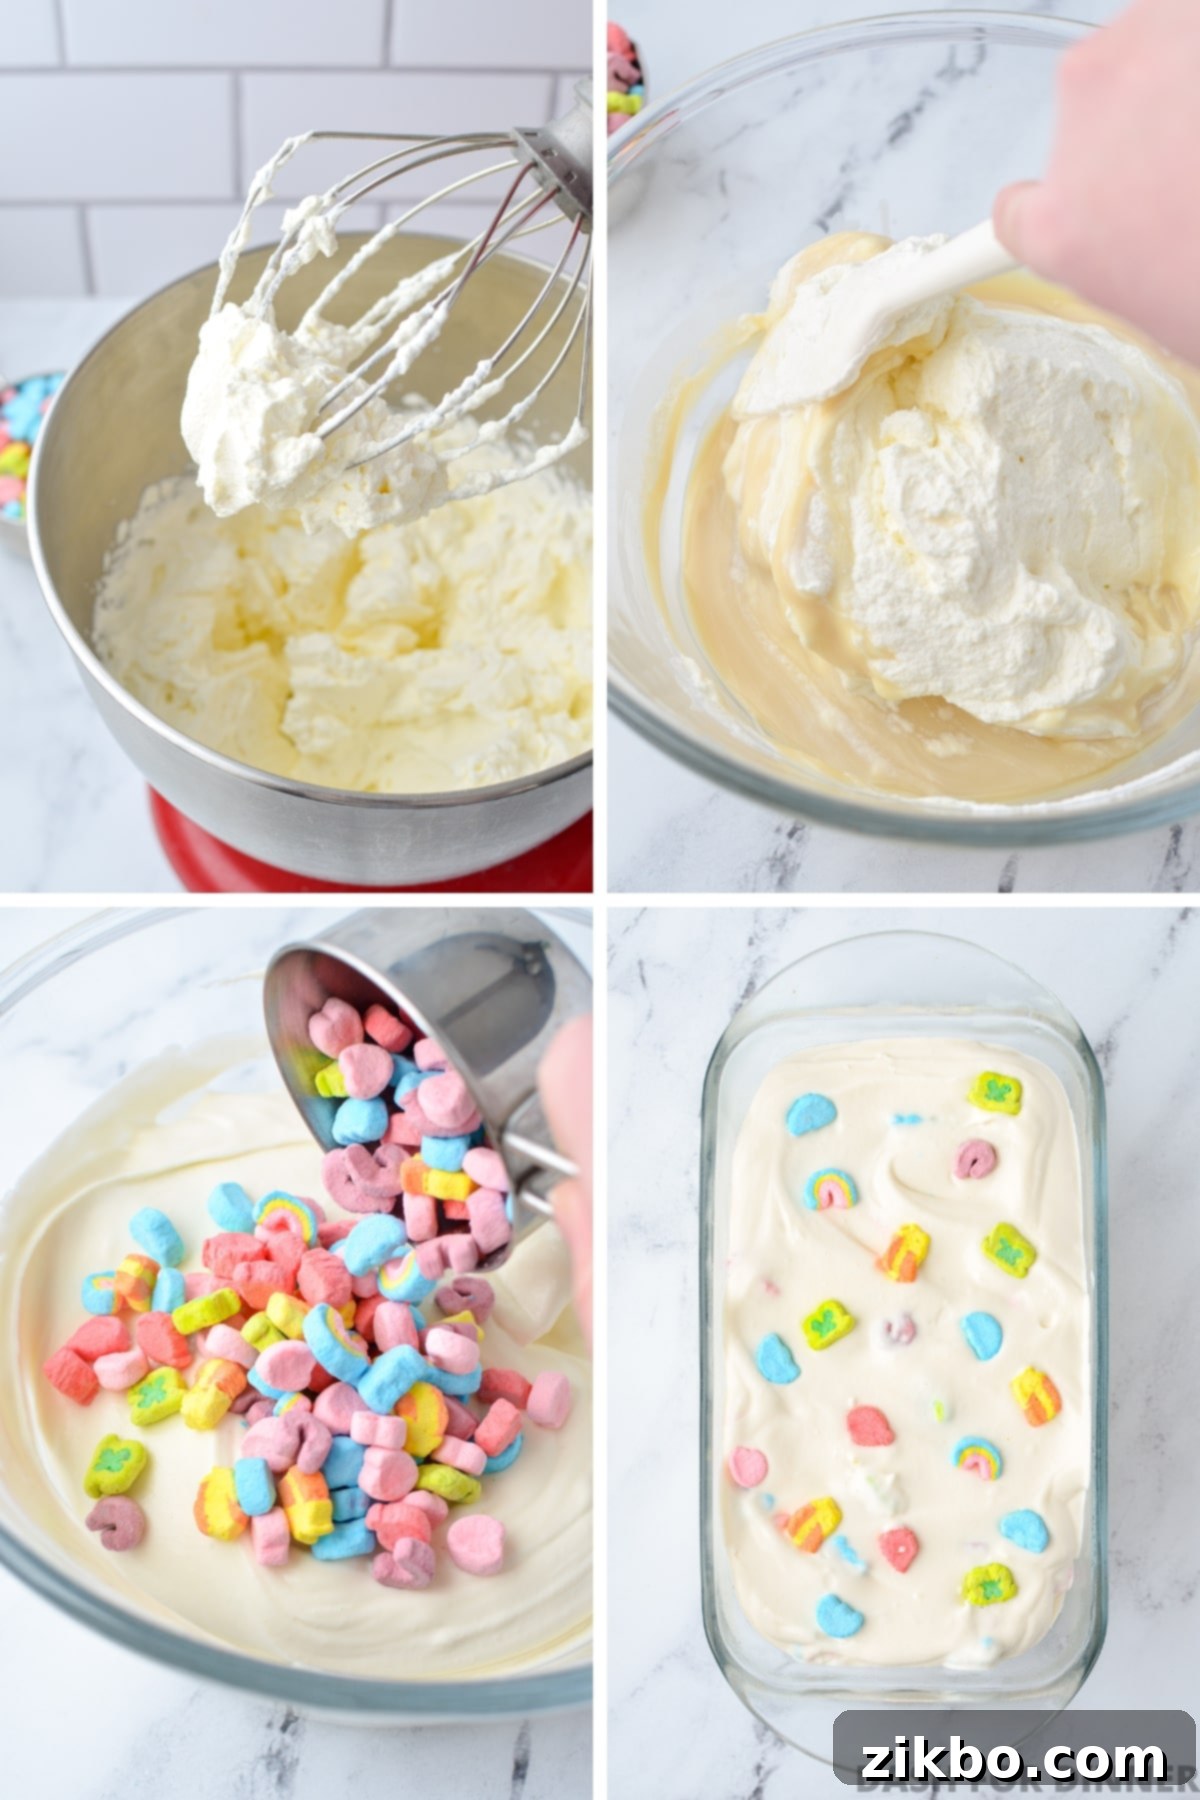
Step 4: Adding the Lucky Charms Marshmallows
Once your ice cream base is smooth, uniform, and beautifully airy, it’s time for the star attraction: the Lucky Charms marshmallows! Add a full cup of these vibrant, colorful marshmallows to the ice cream base. Again, use a silicone spatula to fold them in very gently. It’s important to use a light hand at this stage to prevent the colors from bleeding into the delicate ice cream base, which could affect its aesthetic appeal. You want those distinct, colorful marshmallow shapes to remain intact.
Carefully transfer the marshmallow-studded ice cream mixture into your prepared, freezer-safe loaf pan. Make sure the pan has been lined with parchment paper or lightly sprayed with cooking spray for easy removal later. Smooth the top with your spatula.
Step 5: Freezing for Perfection
Once the ice cream is in the loaf pan, cover it securely with plastic wrap. Ensure the plastic wrap touches the surface of the ice cream to help prevent ice crystals from forming. Place the covered loaf pan in the freezer. Allow it to chill for at least 4 hours before attempting to serve. However, for the absolute best texture and firmness, 8-12 hours is truly the sweet spot. Patience is a virtue when making homemade ice cream!
Keep in mind that this no-churn style of ice cream is designed to be wonderfully scoopable and slightly softer than traditional churned ice creams, which tend to be very dense. So, it won’t become rock-hard after freezing, but it should achieve a deliciously firm and creamy consistency that’s easy to scoop and enjoy.
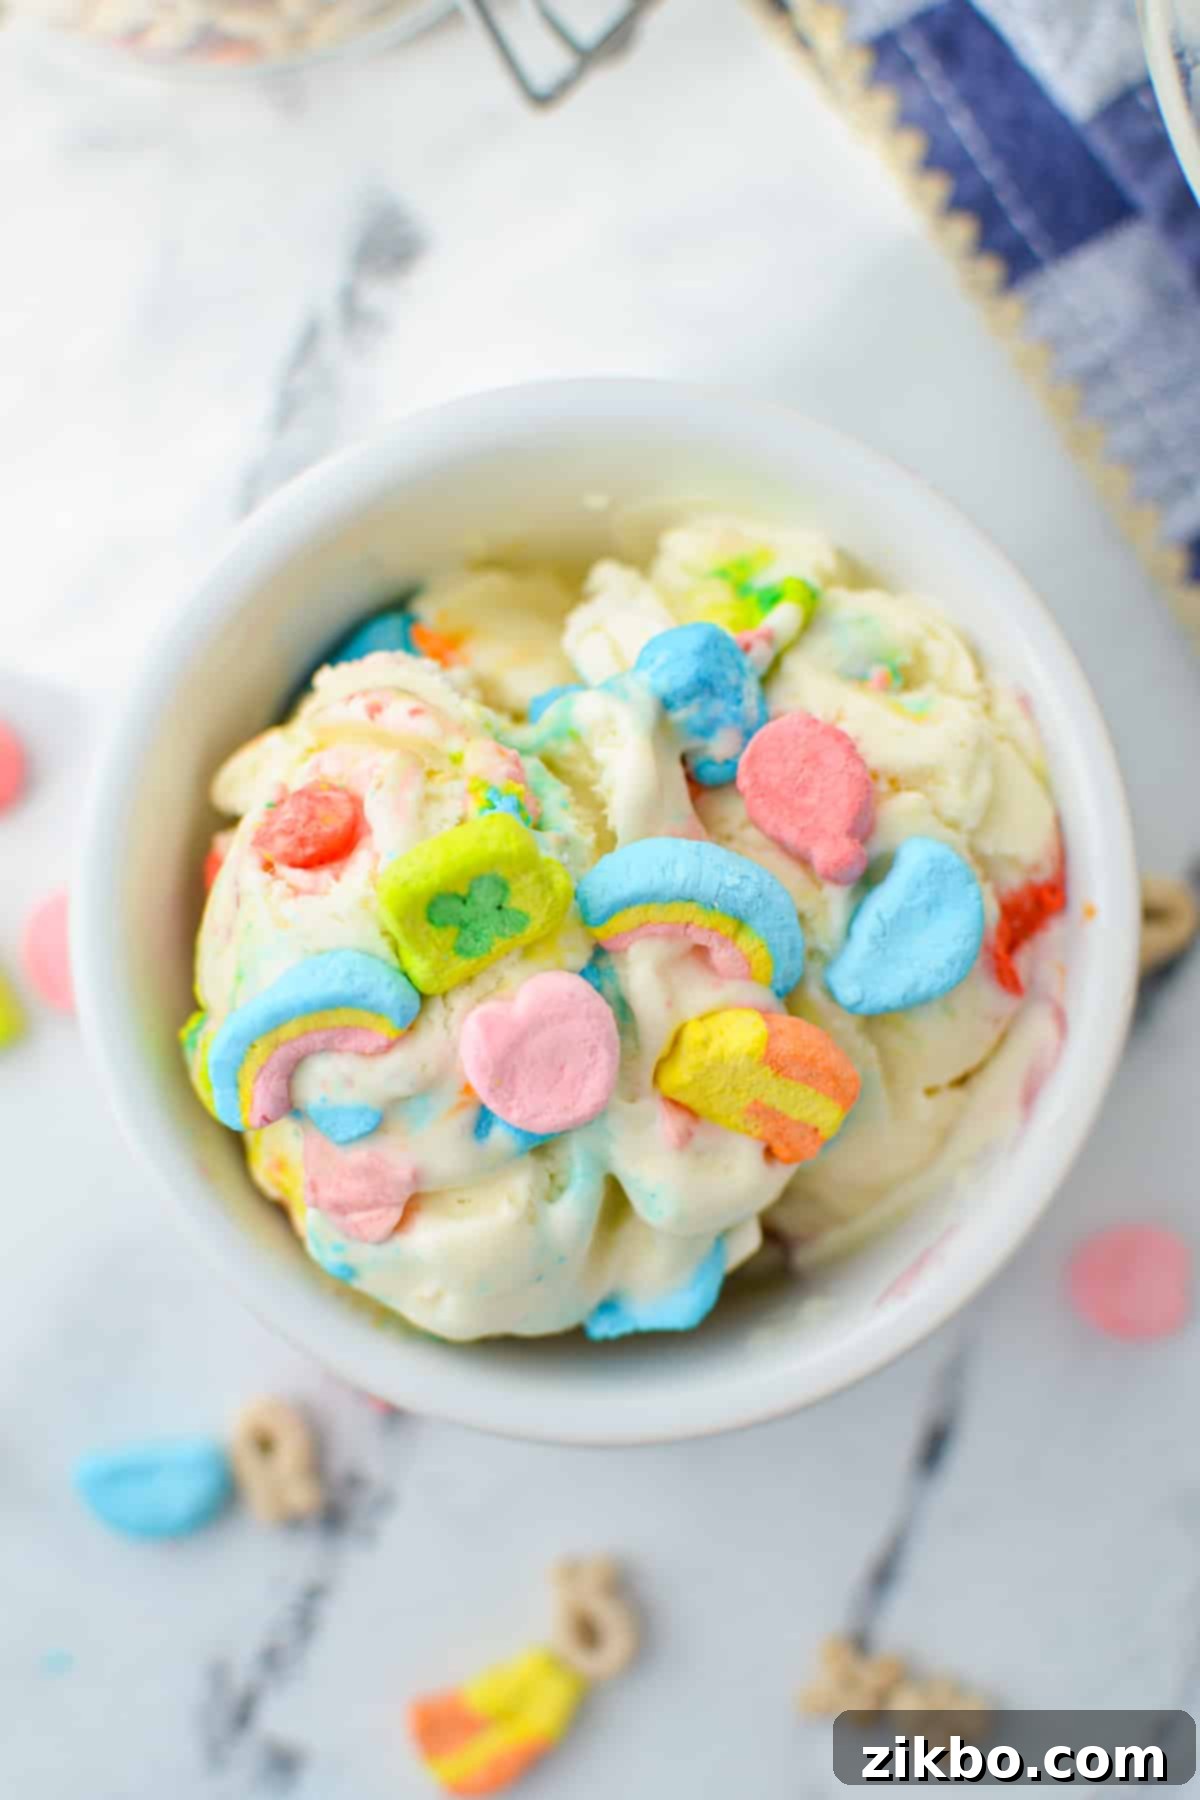
Serving Your Magical Lucky Charms Ice Cream
Once your homemade ice cream has chilled sufficiently to be perfectly scoopable and firm, you are officially ready to indulge and enjoy! This cereal-bowl-inspired treat is inherently special, but there are countless ways to elevate it even further and make it an unforgettable dessert experience. Get creative and have fun!
- Extra Marshmallow Magic: Generously sprinkle additional Lucky Charms marshmallows on top of each serving for an extra pop of color and sweetness.
- Golden Sparkle: For a touch of whimsy, especially for St. Patrick’s Day, top your scoops with a dusting of edible gold glitter.
- Classic Cone: Serve it in crisp waffle cones or traditional sugar cones for a delightful crunch with every lick.
- Shake It Up: Transform a few scoops into a luxurious Lucky Charms milkshake by blending with a splash of milk.
- Festive Cones: For St. Patrick’s Day, find or make green waffle cones to match the theme!
- Go Green: Tint the cereal milk base a vibrant green by adding a few drops of green food coloring when you combine the whipped cream with the sweetened condensed milk.
- Pot of Gold Presentation: Serve individual portions in small, decorative mini “pots of gold” bowls for a charming and thematic touch.
- Ice Cream Sandwich Deluxe: Create incredible ice cream sandwiches by scooping a generous amount of ice cream between two chocolate wafer cookies or soft, homemade sugar cookies.
- Marshmallow Swirl: For an even more intense marshmallow experience, gently fold a ribbon of marshmallow fluff into the soft-serve consistency ice cream base before freezing.
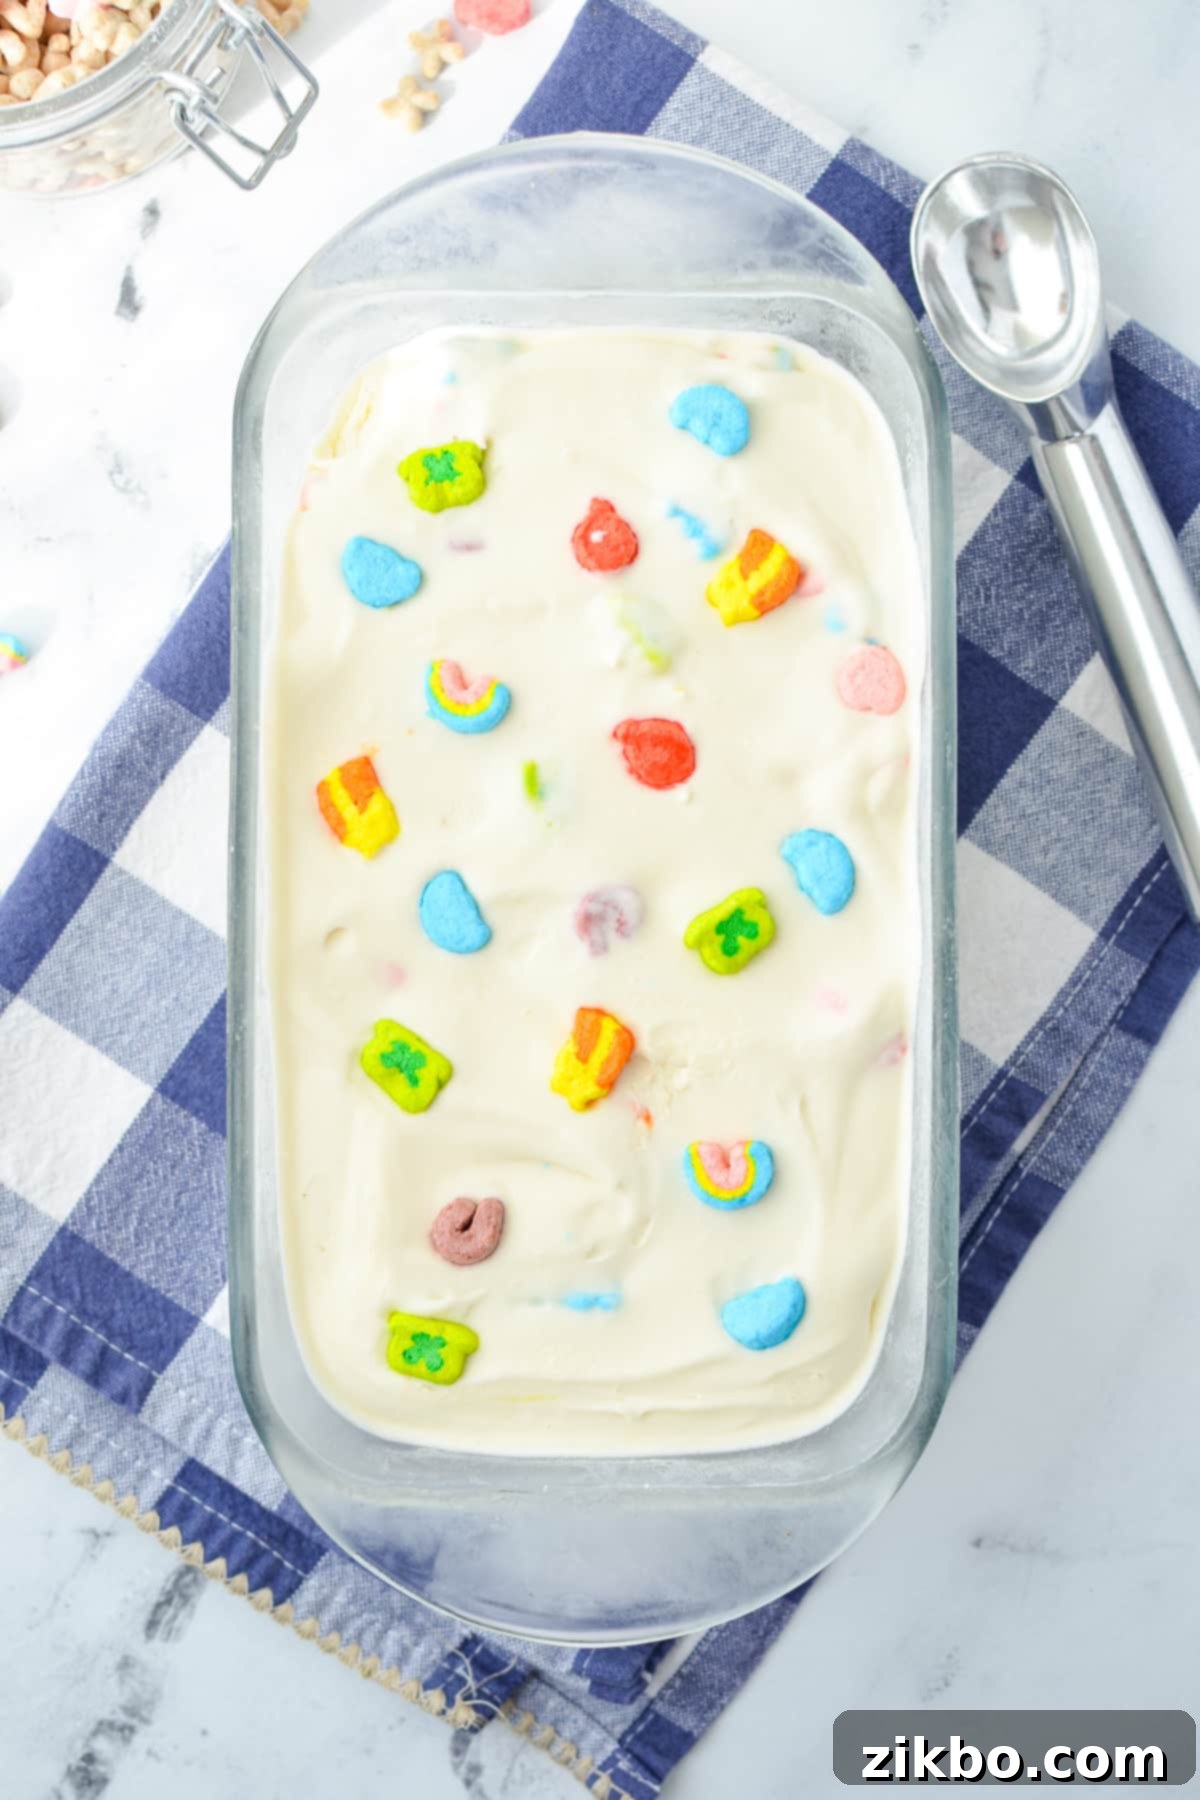
Storing Leftovers for Future Enjoyment
While this Lucky Charms ice cream is so delicious it might disappear quickly, it’s good to know how to properly store any leftovers to maintain its quality and freshness. Your ice cream will generally maintain its best quality when stored directly in the loaf pan for up to 1 week. After that, you risk encountering some freezer burn, which can affect both the texture and the delicious cereal milk flavor.
For longer-term storage beyond a week, I highly recommend transferring any leftover ice cream to a specialized ice cream container designed for homemade treats. These containers are often made with materials that help prevent freezer burn and keep your ice cream tasting fresh for longer. You can easily find various sizes, including convenient quart-sized containers, adorable mini-size (6oz) options, or even large containers if you’re making big batches of homemade ice cream. When stored in airtight freezer containers, your homemade Lucky Charms ice cream can remain fresh and delicious for up to 1 month!
Expert Tips for the BEST Homemade Lucky Charms Ice Cream
To ensure your no-churn Lucky Charms ice cream turns out perfectly creamy, flavorful, and truly magical, keep these expert tips in mind:
- Just Chill Everything: If you have the time and freezer space, a crucial step for optimal results is to chill your mixing bowls and the loaf pan before you even begin preparing the whipped cream and ice cream base. This helps keep all ingredients as cold as possible, which is vital for proper whipping and faster freezing. Always ensure your heavy whipping cream is thoroughly chilled in the fridge for several hours beforehand – cold cream whips up much better!
- Give it Ample Time: While it might be tempting to start sampling your delicious creation around the 4-hour mark, you will undoubtedly achieve the best possible texture and firmness if you allow your ice cream to freeze for a full 8-12 hours before serving. This extended freezing time allows the flavors to meld beautifully and the ice cream to set perfectly.
- Delegate the Separation Task: Separating the Lucky Charms cereal into marshmallows and cereal pieces can be a bit tedious, but it’s a necessary step. Why not make a fun deal with a kitchen helper (especially kids!)? If they meticulously separate the cereal components, they get to enjoy the “leftover” cereal pieces or even some of the excess marshmallows. It’s a win-win strategy that works every time!
More Easy & Delightful Desserts to Try
If you loved making this easy no-churn ice cream, you’ll surely enjoy these other simple and delicious dessert recipes:
- Lucky Charms Treats
- No Bake Chocolate Chip Cheesecake
- Berry Cheesecake Salad
- No Bake Peanut Butter Bars
- Nutella Pie
Lucky Charms Ice Cream (No Churn Recipe)
Print
Pin
Rate
Equipment
-
Loaf pan
-
Stand mixer or electric hand mixer
Ingredients
- 2 cups Lucky Charms cereal separated into 1 cup of cereal and 1 cup of marshmallows*
- 2 ¼ cups heavy cream
- 14 ounce can sweetened condensed milk
- 1 ½ teaspoons vanilla extract
Instructions
-
Line a 9X5 loaf pan with parchment paper or lightly spray it with cooking spray. Place the loaf pan in the freezer to chill while you prepare the ice cream base.
-
Add the heavy cream to a medium-sized bowl, along with 1 cup of just the cereal (not the marshmallows). Stir well to combine, then cover and allow to infuse in the fridge for 30 minutes.
-
Once the cereal has infused the heavy cream for 30 minutes, place a fine mesh strainer over a large bowl and pour the mixture through. The cereal will catch in the strainer, with the heavy cream collecting in the bowl. Discard (or enjoy) the soaked cereal.
-
Add the sweetened condensed milk and vanilla extract to a large bowl and stir to combine. Set aside.
-
Add the infused heavy cream to the bowl of a stand mixer fitted with the whisk attachment (or using a large bowl and an electric hand mixer).
-
Mix the heavy cream on medium-high speed until stiff peaks form.
-
Add the whipped cream to the bowl of sweetened condensed milk and vanilla, and gently fold them together.
-
Add the marshmallows to the ice cream base, and fold them in very gently.
-
Pour the ice cream base into the prepared loaf pan and cover it with plastic wrap. Top it with additional marshmallows if desired.
-
Freeze for at least 4 hours before serving. 8-12 hours yields the best results.
Notes
Chilling the bowls: If you have time, it’s a best practice to chill the bowls in the freezer (if freezer-safe) beforehand. This helps the ice cream freeze more quickly.
The calories and nutritional info for this recipe include the full value of the Lucky Charms cereal, although a portion is discarded.
Nutrition
Please note that some of my blog posts here at Dash for Dinner may contain affiliate links. If you make a purchase through these links, I will get a small commission at no additional cost to you. Please see my Disclaimer for more information.
