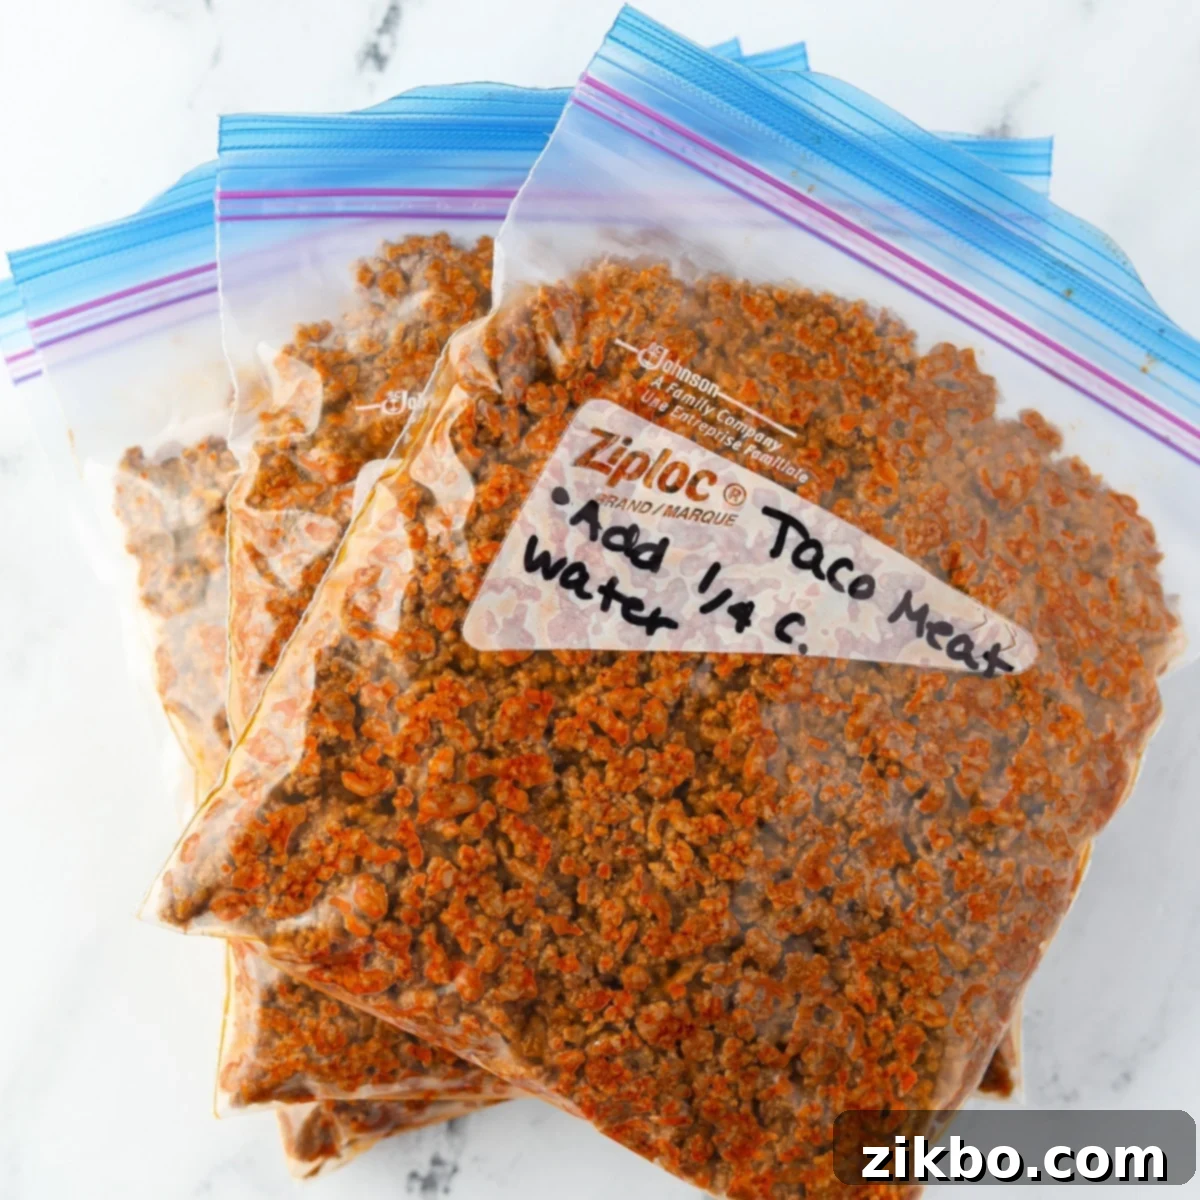
The Ultimate Guide to Freezing Taco Meat: Your Secret for Quick & Easy Meals
Imagine a world where delicious, homemade taco night is just minutes away, even on your busiest weeknights. No more dinnertime rush, no more frantic meal planning. This isn’t a dream – it’s the reality you unlock when you **learn how to prep and freeze taco meat.** This smart meal prep strategy transforms your weekly routine, keeping a stash of easy freezer meals on hand, ready to be reheated and enjoyed in countless ways. From classic tacos and vibrant taco salads to cheesy quesadillas and hearty nachos, perfectly seasoned ground meat awaits to elevate your culinary creations.
Even for those who genuinely enjoy cooking, the daily dinner-time hustle can be exhausting. While the allure of takeout is strong, the cumulative cost and calorie count can quickly add up. That’s where smart meal prepping, like freezing taco meat, truly shines. Taco meat is not only **incredibly simple to prepare**, but its universally appealing flavors also make it a **guaranteed winner, even with the pickiest eaters** – a true victory in any household!
What if we told you there was a simple way to streamline your meal prep and make taco night *even easier* and more efficient? The secret lies in batch cooking and freezing.
Can You Freeze Cooked Taco Meat? Absolutely!
Yes, it’s absolutely true! Cooked taco meat is an excellent candidate for freezing, offering unparalleled convenience for future meals. **Not only does it freeze exceptionally well, but often, it doesn’t even require thawing before use.** Since cooked and seasoned ground meat typically remains loose and crumbly in the freezer rather than solidifying into a dense block, it reheats quickly and efficiently directly from its frozen state. A little splash of water during reheating helps to rehydrate the meat and prevent it from sticking to the pan, ensuring a perfectly tender and flavorful result every time.
Why Freezing Taco Meat Will Transform Your Weeknights:
Embracing the habit of freezing taco meat offers a multitude of benefits that extend far beyond just having a quick meal. Here’s why this method will become your new favorite kitchen hack:
- It’s **the ultimate strategy for prepping effortless meals for demanding weeknights.** The best part? No laborious thawing is necessary. Simply grab a bag from the freezer, reheat, and serve with your favorite taco fixings. This drastically cuts down on active cooking time.
- Batch-prepared ground beef taco meat serves as **a fantastic, healthy foundation for a variety of meals.** Think beyond just tacos! Pair it with crisp chopped tomatoes, fresh shredded lettuce, colorful bell peppers, black olives, and thinly sliced onions for a satisfying and nutritious taco salad.
- This recipe is incredibly **flexible and scalable.** Whether you have one pound of raw meat or several, you can easily adjust the ingredient quantities to match your needs, making it perfect for both small households and larger families.
- **Versatility is key! Any type of ground meat can be used** to create this freezer-friendly staple. Experiment with ground chicken, lean ground turkey, classic ground beef, or even ground pork to suit your taste and dietary preferences.
- **Reduces food waste:** By cooking and freezing meat in advance, you’re less likely to let raw ingredients expire, ensuring you get the most out of your grocery purchases.
- **Saves money:** Preparing meals at home is almost always more cost-effective than eating out or ordering takeout. Having frozen options means you’re less tempted by expensive last-minute solutions.
- **Healthier eating:** You control the ingredients, allowing you to choose leaner meats, low-sodium seasonings, and fresh vegetables for healthier meals.
Essential Ingredients for Perfect Freezer-Friendly Taco Meat
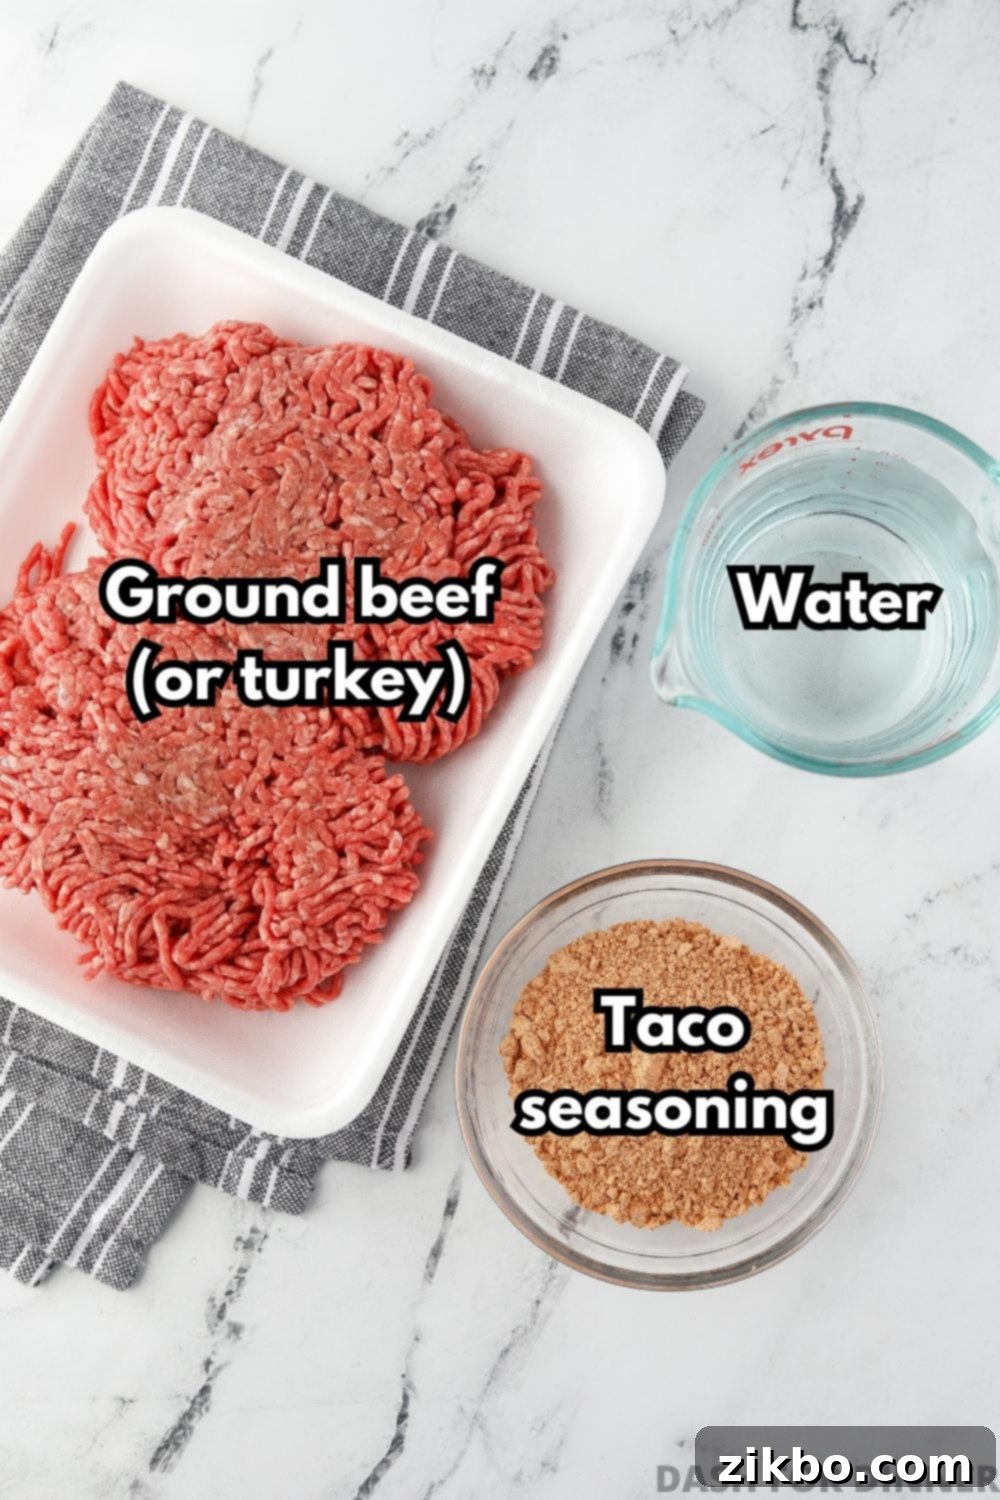
The beauty of homemade taco meat lies in its simplicity and the ability to customize it to your liking. Here are the key ingredients you’ll need:
- Ground Beef: Your choice of ground beef will largely determine the flavor and fat content of your taco meat. I highly recommend using lean ground beef (e.g., 90/10 or 93/7) or grass-fed beef, which is naturally leaner and often more flavorful. Leaner meats result in less fat to drain, making the process quicker and the final product lighter. If you prefer to use ground turkey or chicken, that’s perfectly fine – just remember to add a tablespoon or two of oil to the pan when browning to prevent sticking, as these meats render very little natural fat.
- Taco Seasoning: This is where the magic happens! You can use your favorite store-bought brand for convenience, or for superior flavor and control over ingredients, try my homemade taco seasoning recipe. You’ll typically need about 2-3 tablespoons of seasoning per pound of meat used, but always adjust to your taste. If preparing for children or those sensitive to spice, opt for a “mild” taco seasoning blend.
- Water: More than just a liquid, water plays a crucial role in creating that rich, flavorful “sauce” that perfectly coats the meat. It helps to dissolve the taco seasoning, distribute the spices evenly, and prevent the meat from becoming dry during cooking and reheating. It ensures your taco meat is moist and succulent, ready for your favorite fillings.
Essential Equipment:
Having the right tools makes batch cooking and freezing taco meat a breeze. Here’s what you’ll need:
- Freezer Bags or Containers: You’ll need reliable, freezer-safe options for storing your cooked taco meat. Standard gallon or quart-sized freezer bags are excellent for laying flat and saving space. Alternatively, consider reusable silicone freezer bags, Souper Cubes (ideal for freezing perfect individual portions), or sturdy freezer-safe soup containers. The key is to ensure they are airtight to prevent freezer burn.
- Deep Skillet or Pot: Since the goal is to batch-prepare a larger quantity of taco meat, you’ll need a skillet or pot spacious enough to handle at least 3-4 pounds of ground meat comfortably. A large, deep skillet or a Dutch oven or stockpot will work perfectly, allowing for even browning without overcrowding.
For a precise breakdown of quantities, always refer to the detailed recipe card below.
How to Batch Prep the Best Freezer-Friendly Taco Meat
The beauty of batch cooking is its flexibility. You can prepare as much taco meat as your largest skillet or pot can comfortably hold. I typically use an extra-large skillet for 4 pounds, but a spacious stockpot can easily accommodate up to 8 pounds.
Remember to scale the ingredients up or down according to the amount of meat you’re cooking!
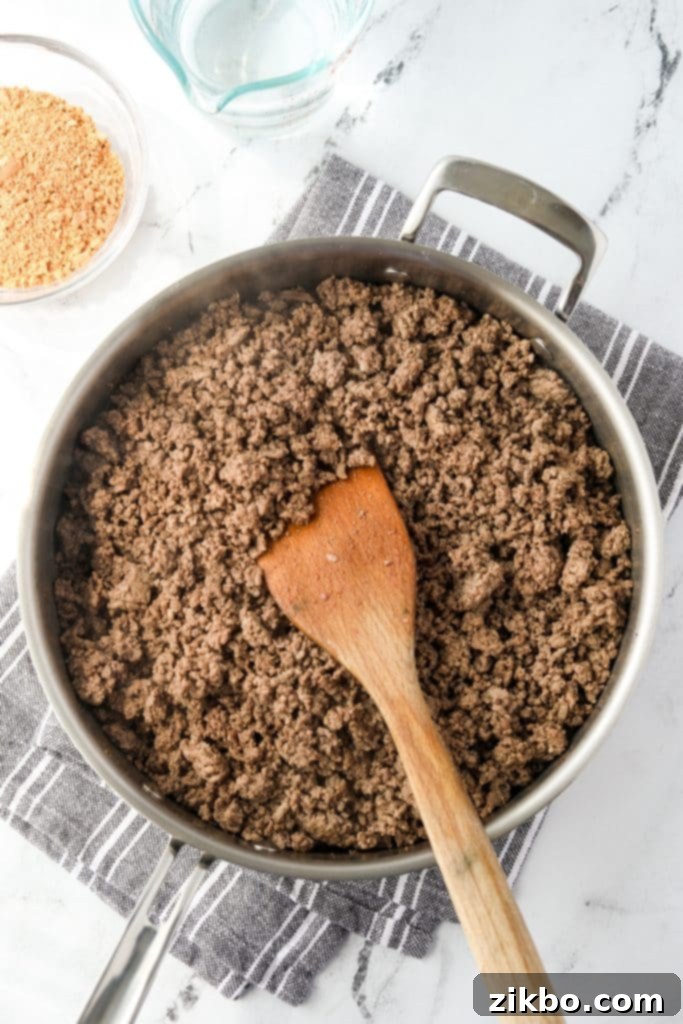

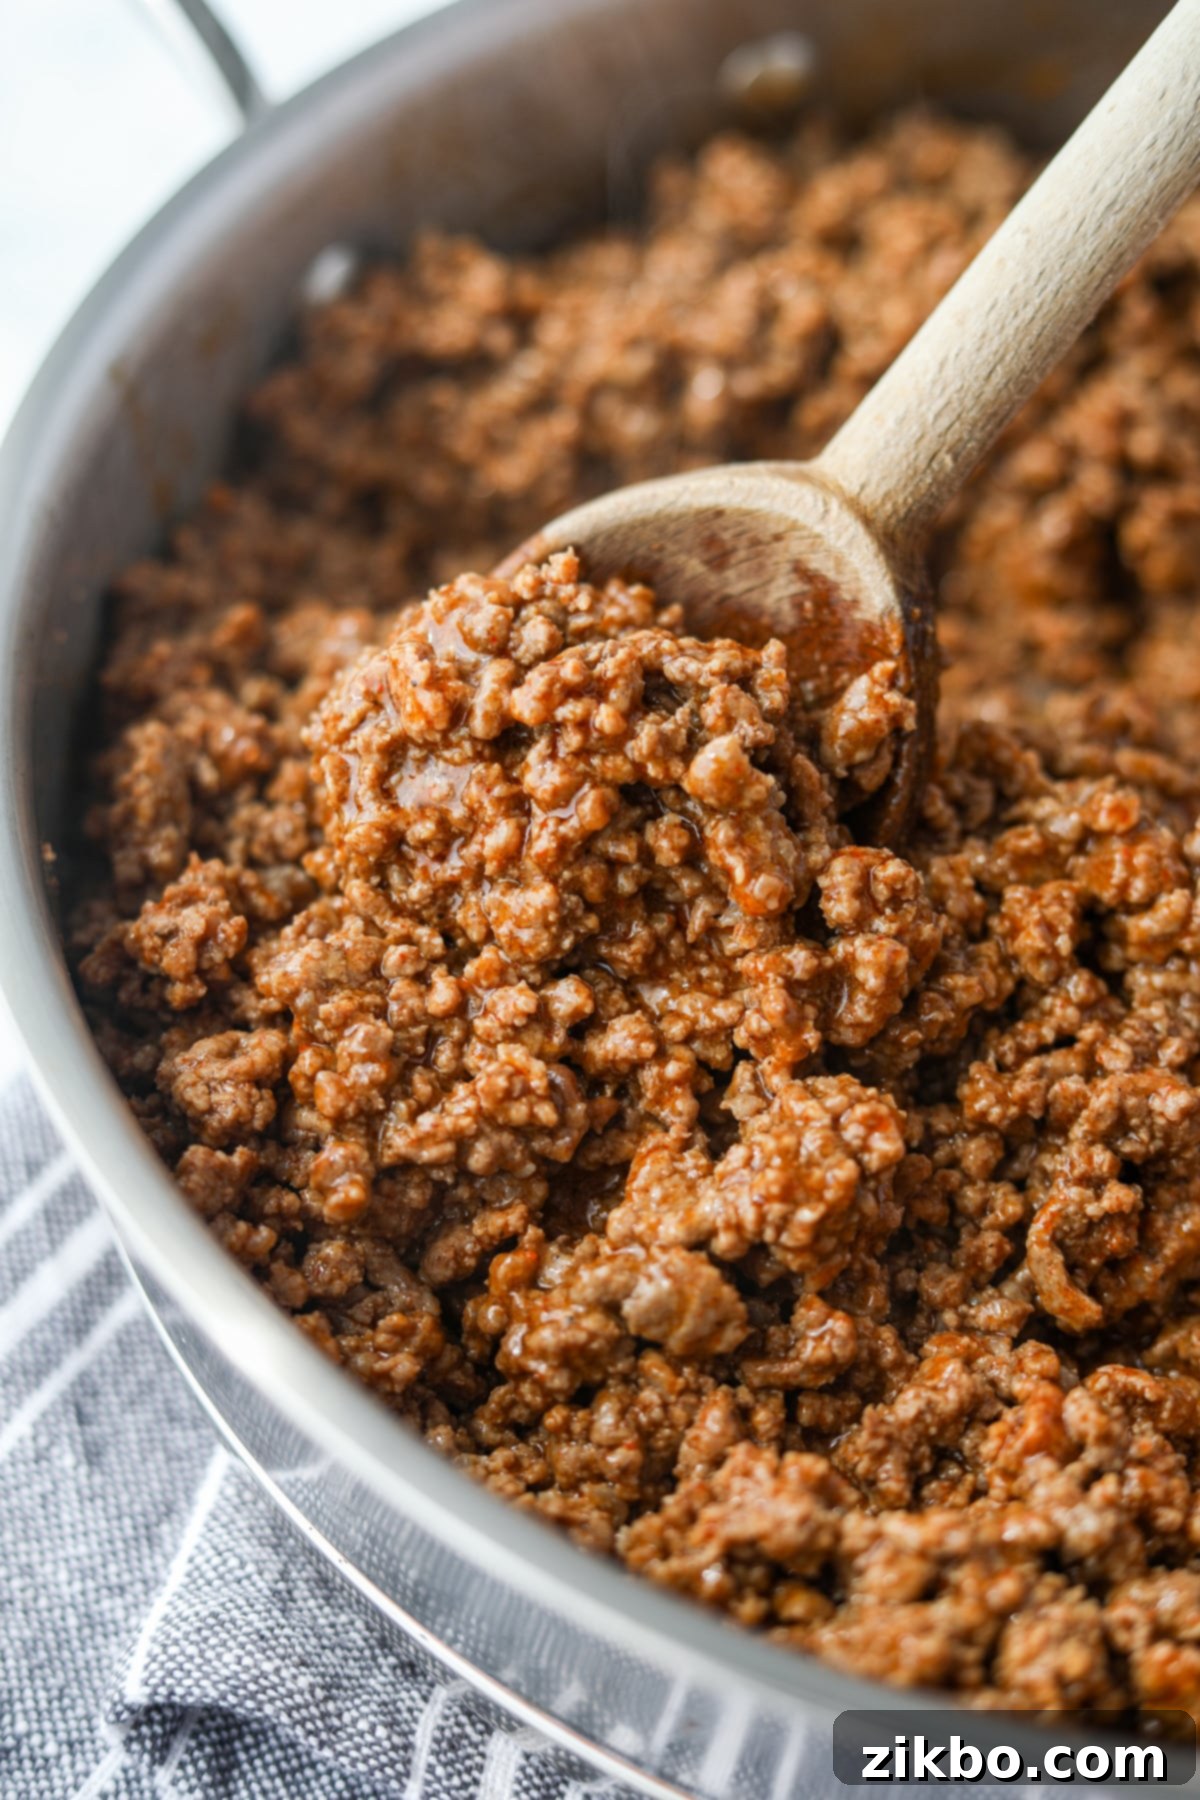
Step One: Brown the Ground Meat. Place your ground meat in a large, deep skillet or Dutch oven over medium heat. Use a wooden spoon or meat chopper to break it up into small, even pieces. Cook thoroughly until no pink remains. This typically takes 8-10 minutes for 2-4 pounds of meat. Once cooked, carefully drain any excess fat and liquid from the pan. This step is crucial for preventing greasy taco meat and helps it freeze better.
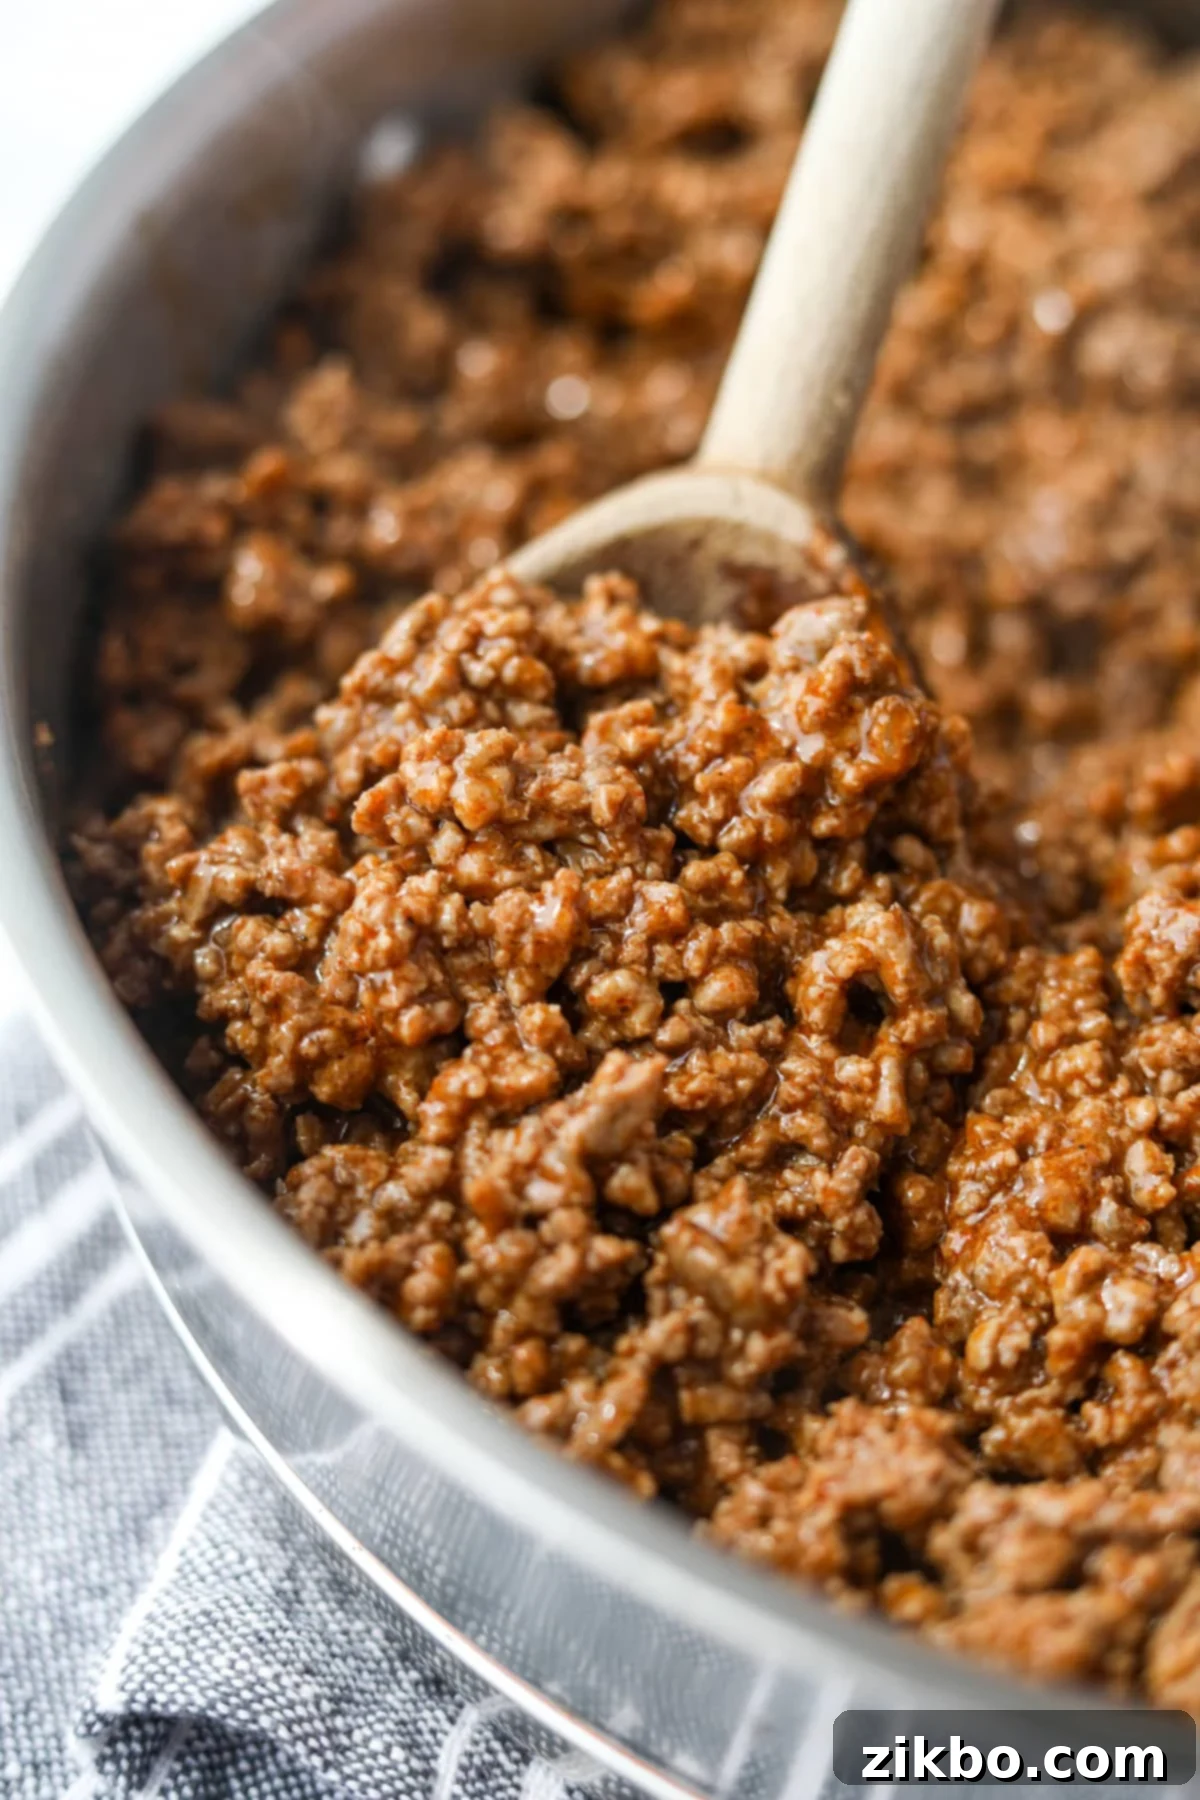
Step Two: Season and Hydrate. With the cooked and drained ground meat still in the skillet, sprinkle in your chosen taco seasoning. For every pound of meat, use approximately 2-3 tablespoons of seasoning. Then, pour in the required amount of water (typically ½ cup per pound of meat). The water helps the seasoning to dissolve and evenly coat the meat, creating a rich and savory mixture.
A Note on Using Ground Chicken or Turkey: If opting for leaner meats like ground chicken or turkey, you’ll notice they render very little fat. To prevent them from sticking and drying out during the browning process, add 1-2 tablespoons of a neutral oil (like olive oil or avocado oil) to the skillet before adding the meat.
Making it Kid-Friendly: When preparing taco meat for children, it’s a good idea to select a “mild” taco seasoning blend. Alternatively, if using a homemade blend, significantly reduce or omit spicier ingredients like cayenne pepper or excessive chili powder.
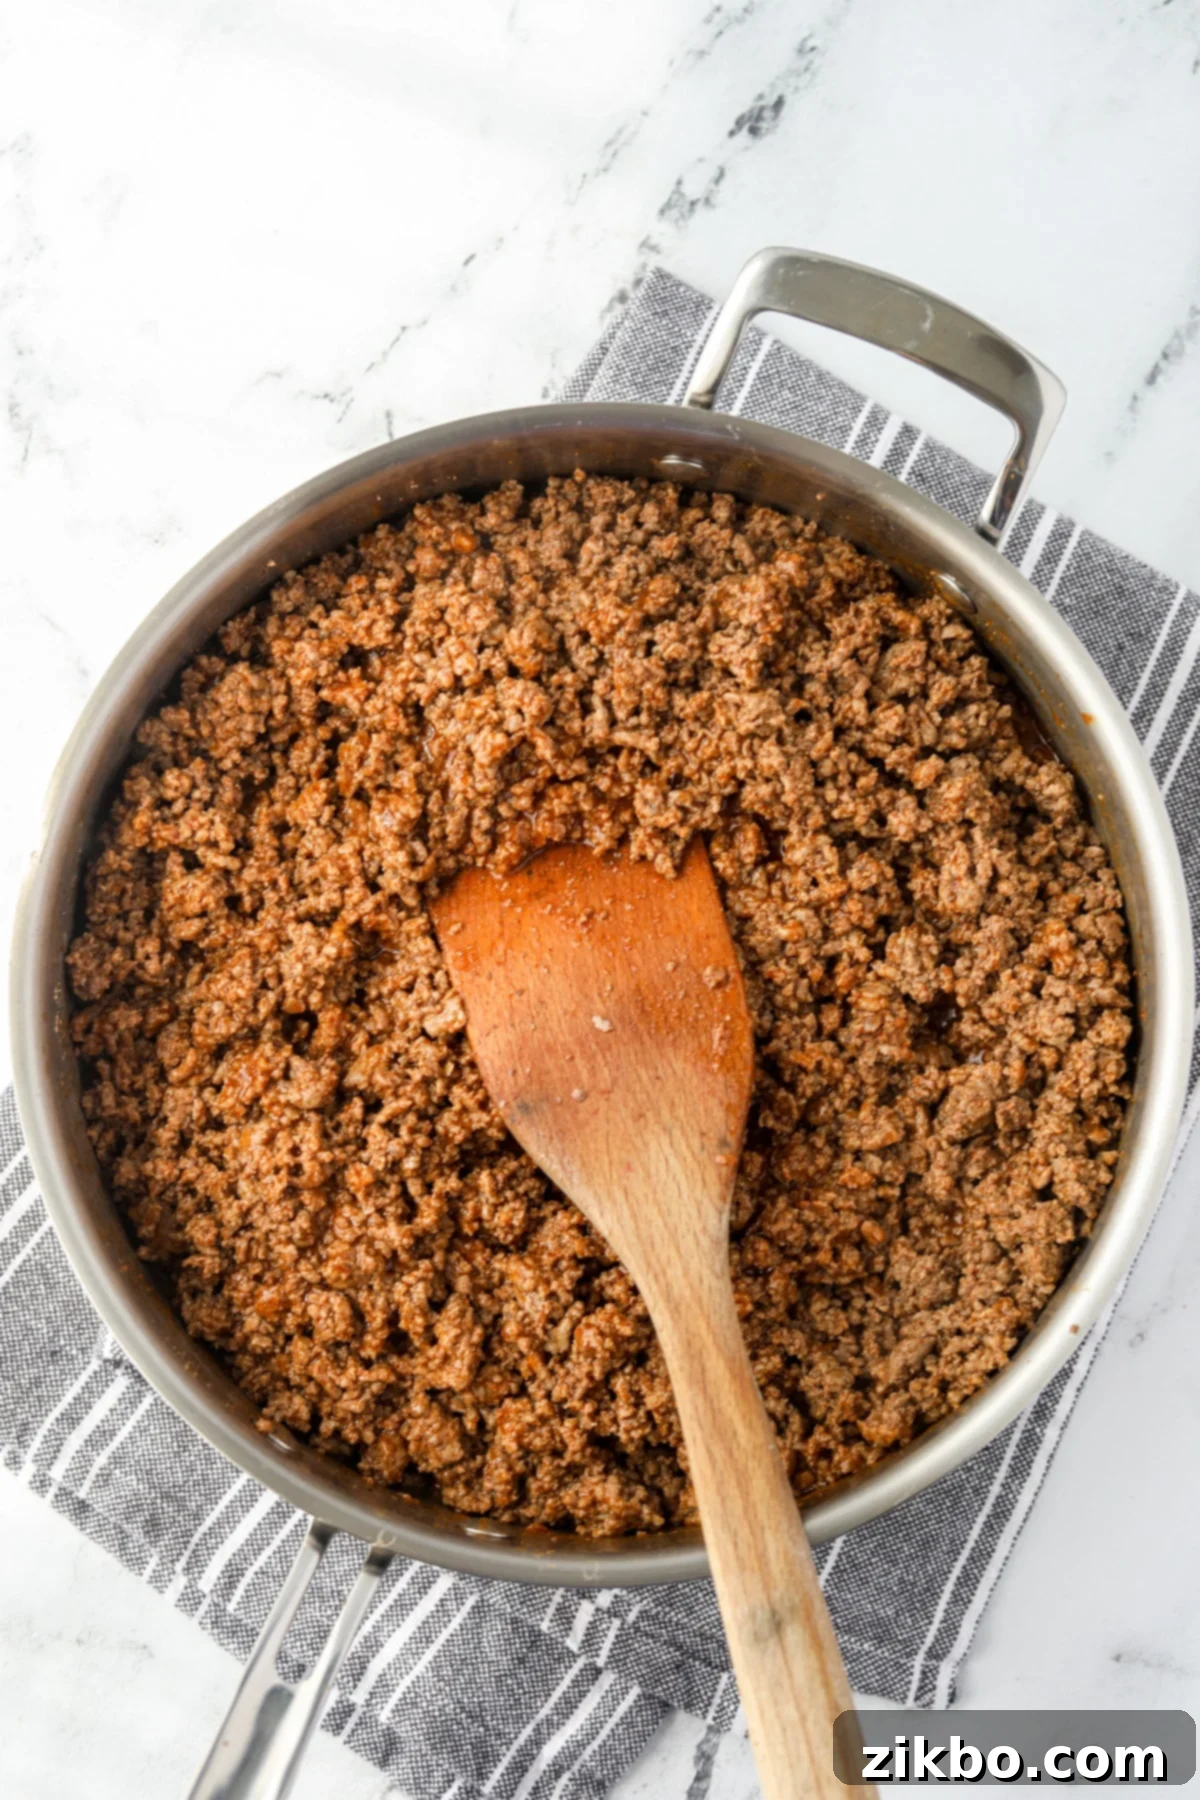
Step Three: Simmer to Perfection. Stir the taco seasoning and water thoroughly into the ground beef until every piece of meat is well coated and the mixture is uniform. Bring the mixture to a gentle simmer and let it cook for 2-3 minutes, or until most of the water has evaporated and the sauce has thickened, clinging beautifully to the meat. This simmering time allows the flavors to meld and intensify, creating that irresistible taco taste.
Alternative: Slow Cooker Method for Batch Prep: For a more hands-off approach to cooking your taco meat, consider using a slow cooker. Break your ground beef into large chunks and place it in a large slow cooker. Add 1 cup of water for every 4 pounds of meat (or ½ cup for 2 pounds). Cook on “high” for 2-4 hours, stirring occasionally, until no pink color remains. Once cooked, drain off all the liquid and rendered fat. Return the cooked meat to the slow cooker, then add the water and taco seasoning as specified in the recipe. Stir well to combine. Continue to cook on “high” for another 30 minutes to allow the flavors to fully blend and the sauce to thicken. This method is great for large batches!
The Freezing Process: How to Freeze Taco Meat Effectively
Before you portion your perfectly cooked taco meat into freezer bags or containers, a critical first step is to **allow it to cool completely to room temperature.** This prevents condensation from forming inside the freezer bag, which is a major culprit for dreaded freezer burn and helps preserve the texture and flavor of your meat.
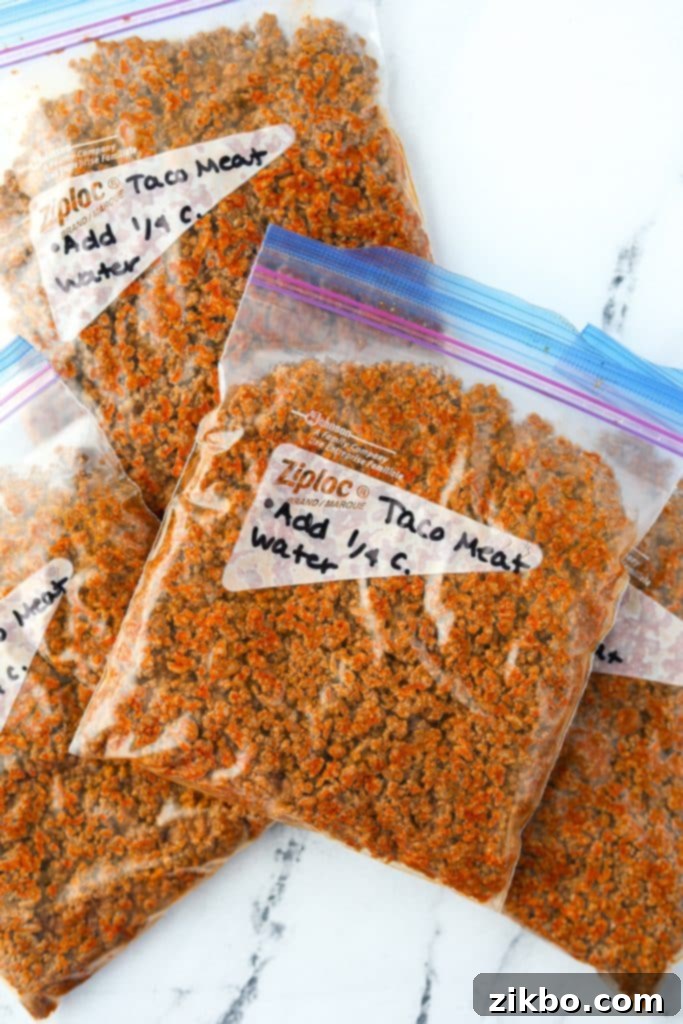
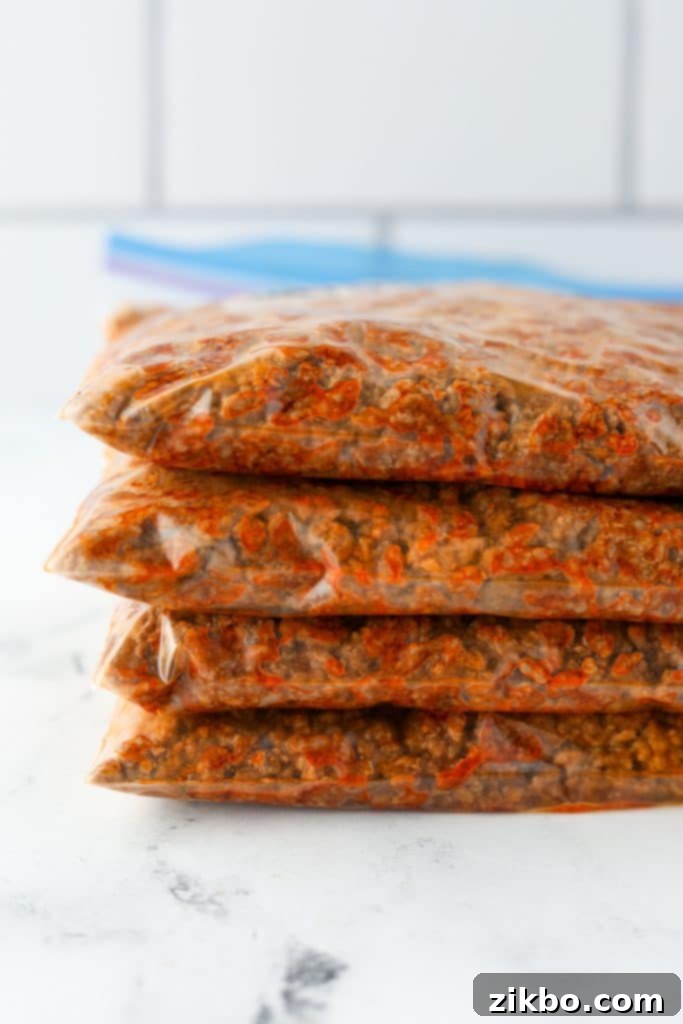
Step-by-Step Guide to Freezing Taco Meat:
- Cook the Meat: Begin by browning your ground meat (beef, turkey, chicken, or pork) in a large skillet or Dutch oven. Drain any excess fat thoroughly.
- Season and Simmer: Add your chosen taco seasoning and the specified amount of water to the cooked meat. Stir well and simmer for a few minutes until the liquid has mostly evaporated and the meat is fully coated with a rich sauce.
- Cool Completely: This is a crucial step! Remove the skillet from the heat and allow the taco meat to cool down to room temperature. This can take about 1 hour. Stirring occasionally helps release steam and speed up the cooling process. Cooling properly prevents freezer burn.
- Portioning: Divide the cooled taco meat into individual serving portions. A good guideline is approximately 1 pound per quart-sized freezer bag, which typically serves 3-4 people. Consider your family’s needs for future meals.
- Package in Freezer Bags: Scoop each portion of cooled taco meat into a quart-sized or gallon-sized freezer bag.
- Remove Air and Seal: The key to preventing freezer burn is to remove as much air as possible from the bag before sealing. You can do this by pressing the bag flat with your hands, or by using a straw to suck out the air just before sealing.
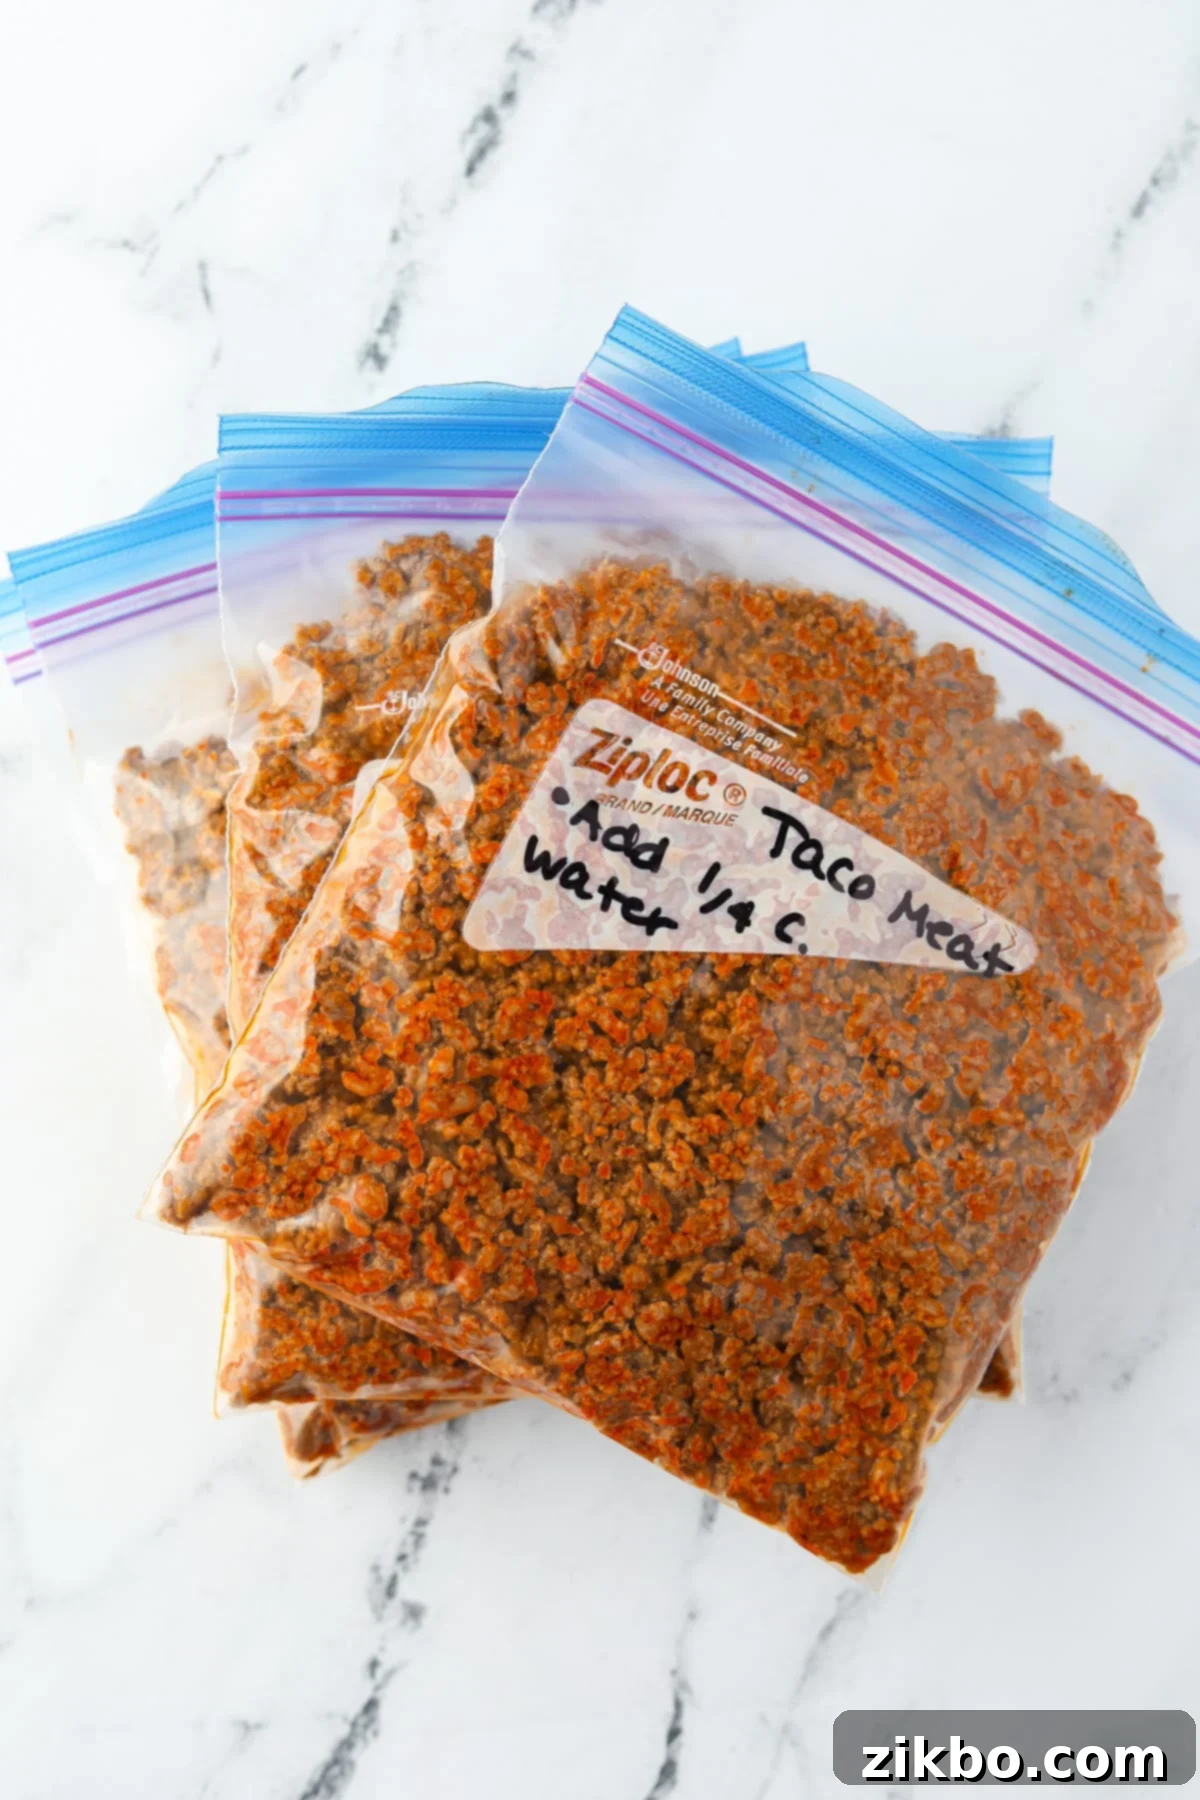
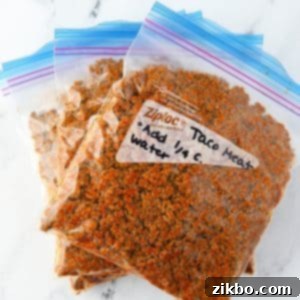
- Label Clearly: Label each freezer bag with the contents (“Taco Meat”), simple reheating instructions (e.g., “Add ¼ cup water, reheat on stovetop”), and the date it was frozen. This makes future meal planning much easier.
- Flatten for Efficiency: Once sealed, use your palm to flatten the meat into a single, even layer within the bag. This not only speeds up freezing and thawing but also makes the bags stackable, saving valuable freezer space.
- Freeze for Storage: Place the flattened, labeled bags in the freezer. For best quality, **freeze for up to 3 months.** While safe beyond this, flavor and texture may degrade over time.
- Reheat and Serve: When ready to enjoy, simply reheat the taco meat (details below!) and serve with all your favorite toppings like sour cream, shredded cheese, crisp lettuce, diced tomatoes, and fresh salsa.
Storing Leftover Taco Meat in the Fridge
If your goal isn’t long-term freezer storage but rather advanced preparation for meals within the week, you can certainly store cooked taco meat in the refrigerator. Once cooled, transfer the meat to an airtight container and place it in the fridge. It will stay fresh and delicious for up to 3-4 days, making it perfect for quick lunches or easy dinners throughout your busy week.
Frequently Asked Questions About Freezing & Reheating Taco Meat
Cooked taco meat will last in an airtight container in the refrigerator for 3-4 days. For longer storage, it can be safely kept in the freezer for at least 3 months, maintaining optimal flavor and texture. Beyond 3 months, it remains safe to eat but may gradually lose some quality. To reheat frozen taco meat, you can thaw it in the fridge overnight first (though it’s not strictly required). Then, add the thawed or frozen meat to a skillet or saucepan with about ¼ cup of water or broth per pound of meat. Cook over medium-low heat, stirring occasionally, until it’s thoroughly warmed through and steaming. This method helps rehydrate the meat and prevent it from drying out.
The ideal amount of taco meat per person can vary based on appetites and whether you’re serving accompanying side dishes. A good general estimate is ¼ pound (or approximately 4 ounces) of cooked taco meat per person. This means that 1 pound of prepared taco meat will typically serve 4 people comfortably, especially when served with a few delicious side dishes or ample toppings.
No, one of the best advantages of freezing taco meat is that thawing beforehand is often not necessary! Because the cooked meat usually freezes in loose crumbles (especially if flattened in bags), it can be reheated directly from frozen. Just be sure to add a small amount of water or broth to the pan to help it rehydrate and prevent sticking while warming up.
- Stovetop (Recommended): Transfer the frozen taco meat to a medium-sized skillet. Add ¼ cup of water or beef broth for every pound of meat. Cover the skillet and cook over medium-low heat, stirring occasionally, for 10-15 minutes, or until the meat is heated through and steaming. The liquid helps to rehydrate and prevent dryness.
- Microwave: Place the frozen taco meat in a microwave-safe bowl. Add 1-2 tablespoons of water or broth. Cover loosely and microwave on high for 2-3 minutes, stir, then continue microwaving in 1-minute intervals, stirring in between, until heated through.
While you technically *can* freeze raw ground beef seasoned with taco spices, it’s generally not recommended. The flavors of the seasoning don’t meld as effectively as they do when cooked, and the texture can sometimes be affected. For best results and flavor, always cook your taco meat completely and then freeze it. This also makes reheating much faster and safer.
Expert Tips and Delicious Variations
Elevate your freezer-friendly taco meat with these helpful tips and exciting variations:
- Choosing the Best Taco Seasoning: The market offers a wide array of taco seasonings, from mild to extra spicy. For ultimate flavor and ingredient control, consider making your own homemade taco seasoning. If serving young children or those with sensitive palates, always opt for a mild store-bought blend, or significantly reduce potent spices like cayenne, chili powder, and cumin in your homemade mixture.
- Adding a Tomato Boost: For a richer, more robust tomato-infused flavor, feel free to add a bit of tomato sauce or tomato paste to your skillet during the simmering stage. Start with about ½ cup of tomato sauce or 2 tablespoons of paste per pound of meat, then taste and adjust to achieve your desired depth of flavor.
- Explore Different Ground Meats: While lean ground beef is a classic and popular choice, don’t limit yourself! Taco seasoning works wonderfully with virtually any ground meat. Experiment with ground turkey, ground chicken, or even ground pork to find your favorite. Just remember that leaner meats like turkey and chicken benefit from a tablespoon or two of oil added to the pan during browning to prevent sticking and maintain moisture.
- Spice It Up (or Down): Customize the heat level! For extra kick, add a pinch of red pepper flakes or a dash of hot sauce during the simmering stage. For a milder version, stick to a gentle seasoning blend and avoid any extra heat.
- Introduce Veggies: For added nutrients and flavor, sauté finely diced onions, bell peppers, or even grated zucchini with your ground meat before adding the seasoning. This is a great way to sneak in extra vegetables!
- Add Beans: Stir in a can of drained and rinsed black beans or pinto beans along with the seasoning and water for a heartier, fiber-rich taco filling.
Inspiring Taco Meat Meal Ideas Beyond the Shell
This freezer-friendly taco meat isn’t just for traditional tacos! Its versatility makes it a fantastic base for a wide range of quick and satisfying meals:
- Classic Tacos: Serve in warm corn or flour tortillas, crunchy hard taco shells, or even low-carb lettuce wraps for a lighter option.
- Loaded Taco Salad: Create a vibrant salad with a base of mixed greens, topped with warm taco meat, cheese, salsa, sour cream, avocado, and crunchy tortilla strips.
- Hearty Casseroles: Integrate your taco meat into various Mexican-inspired casseroles, layering with rice, beans, cheese, and vegetables.
- Quick Burritos: Roll it up in large flour tortillas with rice, beans, and cheese for delicious, portable burritos.
- Cheesy Quesadillas: Sandwich the taco meat between two tortillas with plenty of shredded cheese, then grill until golden and melted.
- Deconstructed Tostadas: Pile the meat onto crispy tostada shells with a layer of creamy refried beans, then add your favorite fresh toppings.
- Nacho Perfection: Spread tortilla chips on a baking sheet, top with taco meat and cheese, then bake until bubbly for ultimate nachos.
- Stuffed Bell Peppers: Mix with rice and stuff into bell peppers, then bake until tender.
- Taco Bowls: Serve over a bed of cilantro lime rice or quinoa, topped with corn, black beans, and avocado for a healthy bowl.
- With a Good Amount of Healthy Vegetables: Combine with sautéed fajita veggies, roasted sweet potatoes, or a colorful corn and black bean salsa for a complete and nutritious meal.
More Easy Dinner Recipes to Streamline Your Life
If you love the concept of easy, delicious meals, be sure to check out these other fantastic dinner recipes:
- Sheet Pan Sausage and Peppers
- Air Fryer Chicken Fajitas
- Homemade Cheeseburger Macaroni
- Inside Out Egg Roll in a Bowl
If you found this guide for freezer-friendly taco meat helpful and delicious, please let me know! Leave a 5-star review in the recipe card below or drop a comment to share your experience. You can also tag me on Instagram @dashfordinner with your meal prep creations!
Easy Freezer Taco Meat Recipe
Print Recipe
Pin Recipe
Equipment
-
Large Deep Skillet or Dutch Oven
-
Quart-sized Freezer Bags
Ingredients
- 4 pounds ground beef (lean recommended)
- 8-12 tablespoons taco seasoning (homemade or store-bought mild/regular)
- 2 cups water
- 1-2 tablespoons oil (if using ground chicken or turkey)
Instructions
-
Heat a large skillet or Dutch oven over medium heat. If using ground chicken or turkey, add 1-2 tablespoons of oil to the pan.
-
Add the ground meat to the hot pan, using a wooden spoon to break it up into small, even pieces.
-
Cook the ground meat, continuing to crumble it, until it is fully browned and no pink color remains. This typically takes 8-10 minutes for 4 pounds of meat.
-
Carefully drain off any excess fat and liquid from the cooked meat. This is especially important for ground beef to prevent greasiness.
-
Return the skillet to medium heat. Sprinkle in 8-12 tablespoons of your favorite taco seasoning (adjusting for taste and desired spice level), and pour in 2 cups of water.
-
Stir thoroughly to ensure all the ground meat is well coated in the seasoning mixture and the spices are fully dissolved.
-
Bring the mixture to a gentle simmer. **Simmer for 2-3 minutes,** or until most of the water has evaporated and the sauce has thickened, clinging to the meat. This allows the flavors to deepen.
-
Remove the skillet from the heat and allow the taco meat to **cool completely to room temperature.** This is essential for preventing freezer burn and typically takes about 1 hour. Stir occasionally to release steam and speed cooling.
-
While the meat is cooling, prepare your freezer bags. Label 4 medium-sized (quart-sized) freezer bags with the following information: “Taco Meat – Reheat with ¼ cup water” and the current date. This makes for easy identification later.
-
Divide the cooled taco meat evenly into 4 sections (approximately 1 pound per bag). Scoop each section into a labeled freezer bag. Push out any excess air from the bag before sealing tightly. Removing air is crucial for preventing freezer burn.
-
Use your hand or a rolling pin to press the ground beef into a single, flat layer within each bag. This thin, flat shape allows for quicker freezing, faster reheating, and efficient stacking in your freezer. Repeat with the remaining bags.
-
Place the flattened bags in the freezer. For best quality and flavor, store them for up to 3 months.
Notes
Recommended Freezer Storage Options:
- Quart-sized or gallon-sized freezer bags (flattened for best results)
- Souper Cubes (great for perfect individual portions)
- Freezer-safe reusable containers (ensure airtight seal)
- Reusable silicone freezer bags (eco-friendly and durable)
Slow Cooker Method (for initial cooking): To cook your taco meat in a slow cooker: Break raw ground meat into pieces and place it in a large slow cooker. Add 1 cup of water for every 4 pounds of meat (or ½ cup for 2 pounds). Cook on “high” for 2-4 hours, or until no pink color remains. Drain off all the liquid and rendered fat. Return the cooked beef to the crock pot, then add the water and seasoning called for in the recipe and stir well to combine. Cook on “high” for an additional 30 minutes to allow the flavors to fully blend. Let cool completely before freezing.
Nutrition
Please note that some of my blog posts here at Dash for Dinner may contain affiliate links. If you make a purchase through these links, I will get a small commission at no additional cost to you. Please see my Disclaimer for more information.
