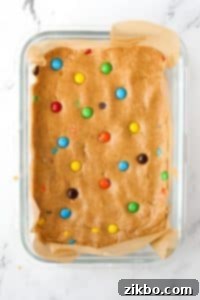
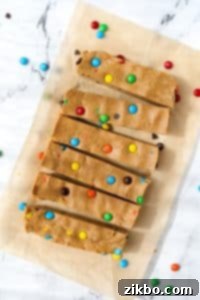
Homemade Monster Cookie Protein Bars: Your Go-To Easy No-Bake High-Protein Snack
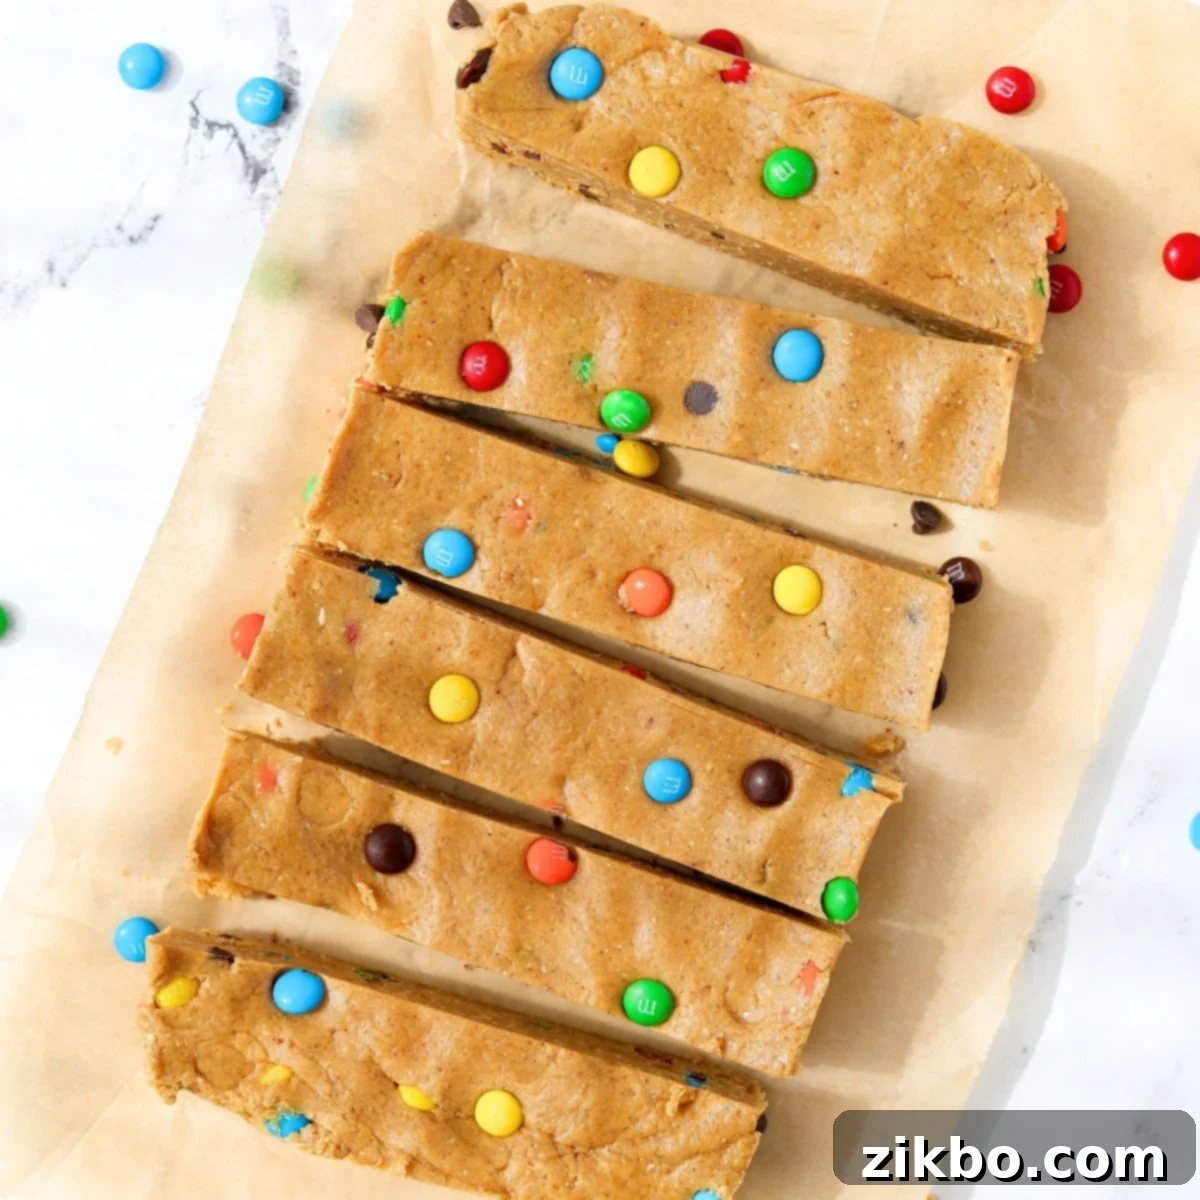
Craving the deliciousness of a monster cookie but looking for a healthier, protein-packed option? Look no further! This incredibly easy recipe for homemade Monster Cookie Protein Bars brings all the classic flavors you love into a convenient, no-bake bar. Made with simple, wholesome ingredients like natural peanut butter, your favorite protein powder, and hearty oat flour, these bars are a game-changer for anyone seeking a satisfying, high-protein snack. They’re perfect for fueling your day, making meal prep a breeze, and can even be frozen for later, ensuring you always have a healthy treat on hand!
[feast_advanced_jump_to]
Why Choose Homemade Protein Bars Over Store-Bought?
One of my favorite culinary adventures is transforming everyday store-bought items into delicious homemade versions. There’s a profound satisfaction that comes with creating something from scratch, especially when it saves you money and gives you complete control over the quality of ingredients. For years, my husband relied on commercial protein bars as an easy way to meet his daily protein goals. While convenient, I often found these bars to be disappointingly dry, chalky, and frankly, overpriced.
That frustration led to the creation of these Monster Cookie Protein Bars – a truly delightful homemade solution that far surpasses anything you’ll find on store shelves. These no-bake wonders capture all the irresistible flavors of a classic monster cookie, but with a significant nutritional boost. Crafted with nutrient-dense oat flour, your preferred protein powder, and natural maple syrup, they’ve quickly become our family’s favorite grab-and-go snack, proving that healthy eating doesn’t have to sacrifice taste or texture.
Why You’ll Fall in Love with This Monster Cookie Protein Bar Recipe:
- Effortlessly Easy to Make: Forget complicated baking or specialized equipment! These chewy monster cookie bars come together with minimal fuss. Simply combine your ingredients in a bowl, press the mixture into a pan, and let them chill. In about an hour, you’ll have perfectly firm, delicious protein bars ready to enjoy. It’s truly a beginner-friendly recipe!
- The Ultimate Meal Prep Solution: Life gets busy, but staying on track with your nutrition doesn’t have to be hard. Prepare a batch of these protein bars at the beginning of the week, and you’ll have a wholesome, high-protein snack readily available whenever hunger strikes. Their fantastic freezing capability means you can make a double batch and stash them away for even longer-term convenience, ensuring you’re always prepared.
- A Guilt-Free Sweet Indulgence: Who says healthy can’t be delicious? Just because you’re aiming to increase your protein intake doesn’t mean you have to sacrifice flavor. This recipe perfectly balances the indulgent taste of your favorite monster cookies with a satisfying 15-20g of protein per serving. It’s the ideal way to curb sweet cravings while supporting your fitness goals.
- Packed with Wholesome, Simple Ingredients: We believe in nourishing your body with real food. This recipe is naturally gluten-free (just ensure you use certified gluten-free oats if needed) and features whole-food ingredients like creamy natural nut butter, pure maple syrup, and wholesome oats. You’ll love knowing exactly what goes into every delicious bite.
Key Ingredients for Your Homemade Monster Cookie Protein Bars
Gathering your ingredients is the first step to creating these incredible protein bars. Here’s a detailed look at what you’ll need and why each component is essential for that perfect Monster Cookie flavor and texture:
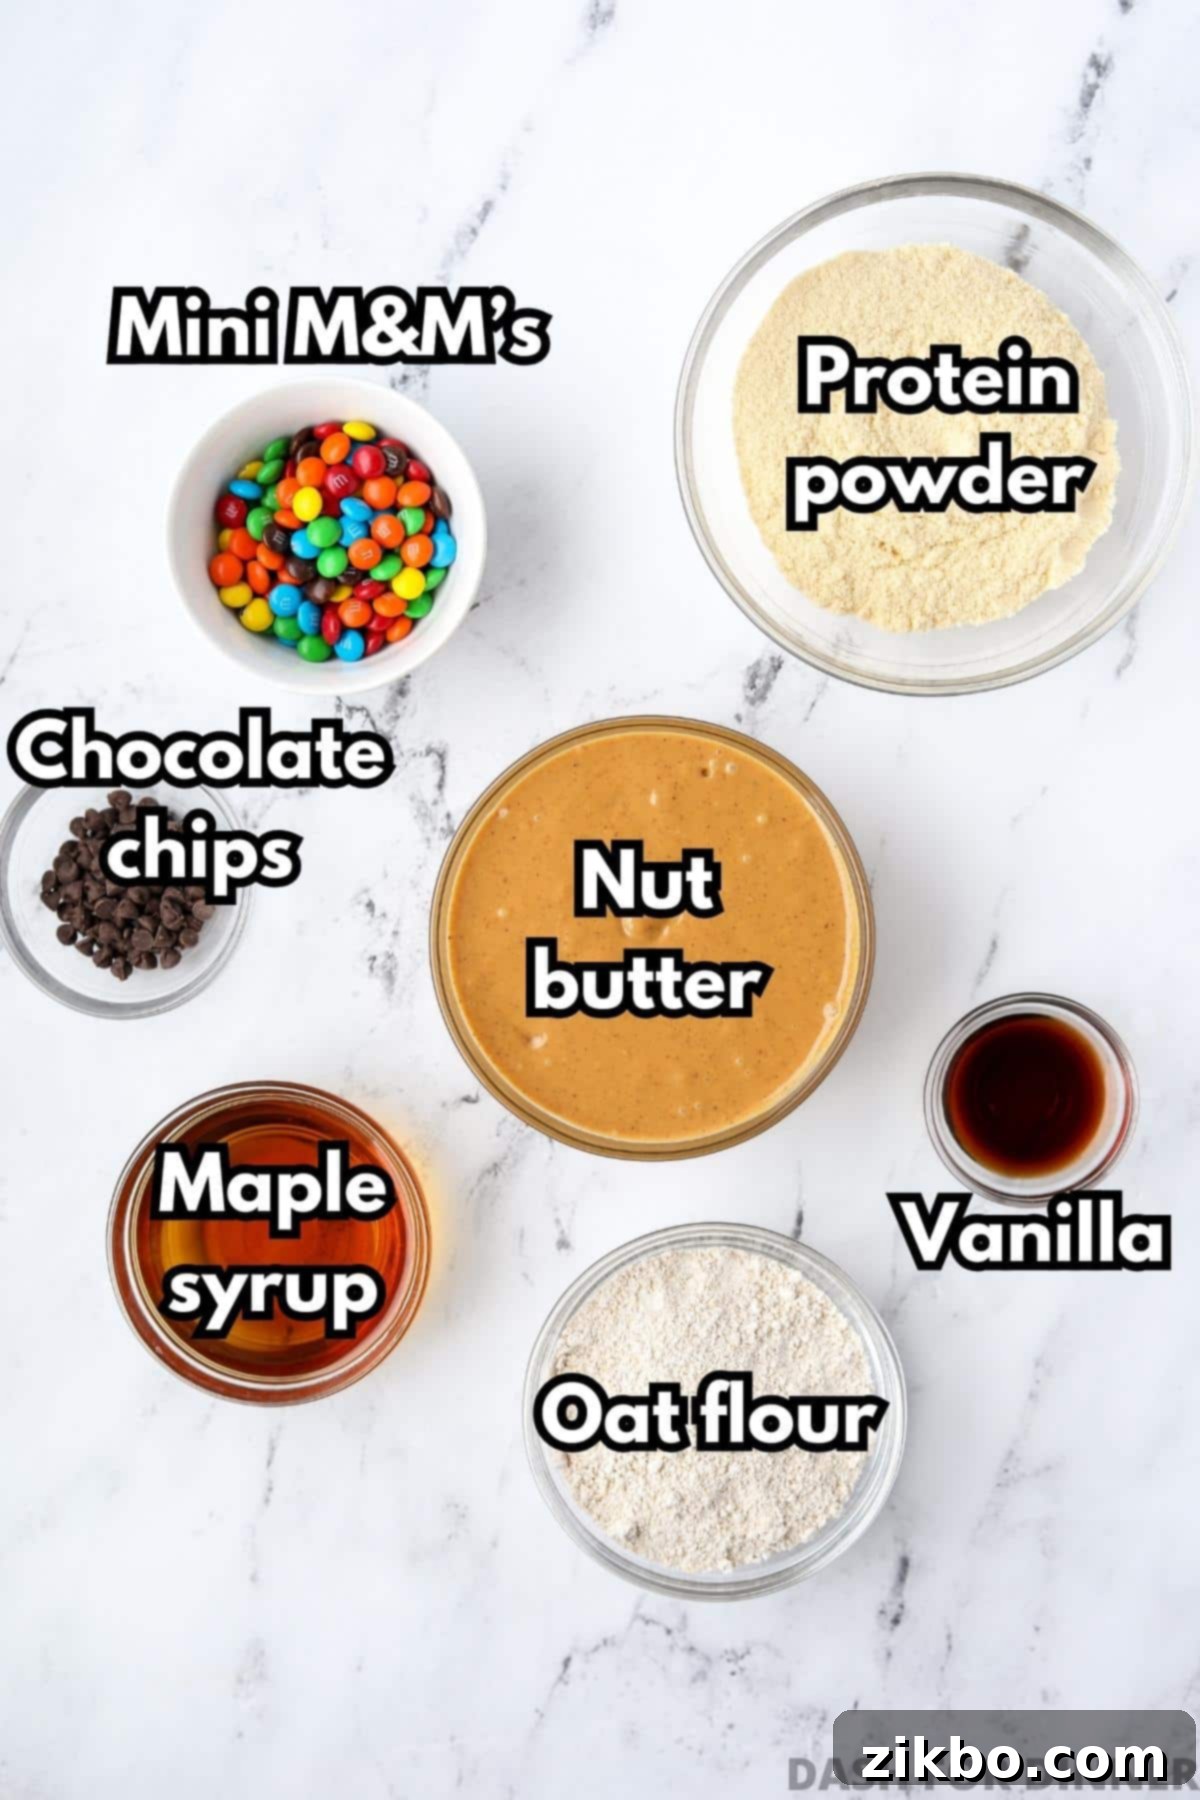
- Natural Nut Butter: The foundation of our monster cookie flavor! I highly recommend using natural creamy peanut butter. The key here is “natural” – meaning the kind where the oil separates, requiring a good stir. This thinner, oilier texture is crucial for binding the bars together beautifully. Avoid commercial peanut butter brands (like Jif or Kraft) as their thicker, hydrogenated oil content won’t yield the same results. If peanut allergies are a concern, natural almond butter or cashew butter can be excellent alternatives, though they will slightly alter the classic monster cookie taste.
- Vanilla Protein Powder: This is where the protein punch comes in! Choose a high-quality vanilla whey protein powder that you genuinely enjoy the taste of, as its flavor will shine through. Different protein powders vary significantly in density and absorption. You’ll need 60 grams, which is often about ½ cup plus 2 tablespoons, but using a kitchen scale for accuracy is always best. If you prefer a plant-based option, ensure it blends well and doesn’t have a strong aftertaste.
- Oat Flour: A fantastic gluten-free whole grain option that adds structure and a subtle chewiness to the bars. You can easily purchase oat flour from most grocery stores. Alternatively, it’s incredibly simple and cost-effective to make your own at home: just blend old-fashioned or quick oats in a high-speed blender or food processor until it reaches a fine flour consistency. If you need the recipe to be strictly gluten-free, opt for certified gluten-free oats.
- Pure Maple Syrup: Our natural sweetener of choice! Always use real maple syrup for its distinct flavor and ideal liquid consistency, which helps bind the ingredients. If genuine maple syrup isn’t available, agave nectar can be a suitable substitute. However, I advise against using honey, as its flavor can be quite strong and potentially overpower the delicate monster cookie notes.
- Vanilla Extract: A staple in almost all monster cookie recipes, vanilla extract enhances the overall flavor profile, adding warmth and depth to our bars. Don’t skip this!
- Mini M&M’s: Essential for that classic monster cookie look and delightful candy crunch! These colorful candies bring a fun visual appeal and a burst of chocolatey sweetness. You’ll typically find them in the candy aisle or with ice cream toppings. We use about ¼ cup for a batch of 6-8 bars, but feel free to adjust to your preference.
- Mini Chocolate Chips: A classic addition to any monster cookie dough, mini semi-sweet chocolate chips provide another layer of rich chocolate flavor without being overwhelming. Just a tablespoon for the entire batch is usually enough to get that perfect balance.
Essential Equipment
You won’t need an array of fancy kitchen gadgets for this recipe, just a few basic items:
- Small Baking Dish or Meal Prep Container: An 8×8 inch square baking pan, a loaf pan, or even a sturdy meal prep container will work perfectly. This is essential for pressing the dough into a uniform shape, forming your bars.
- Parchment Paper: Crucial for lining your chosen dish. It prevents sticking and makes lifting the chilled bars out and slicing them incredibly easy.
- Large Mixing Bowl: For combining all your delicious ingredients.
- Silicone Spatula or Electric Mixer: To ensure everything is thoroughly mixed until smooth.
How to Make Your No-Bake Monster Cookie Protein Bars
Creating these high-protein delights is a straightforward process. Follow these simple steps for perfectly chewy and flavorful bars every time!
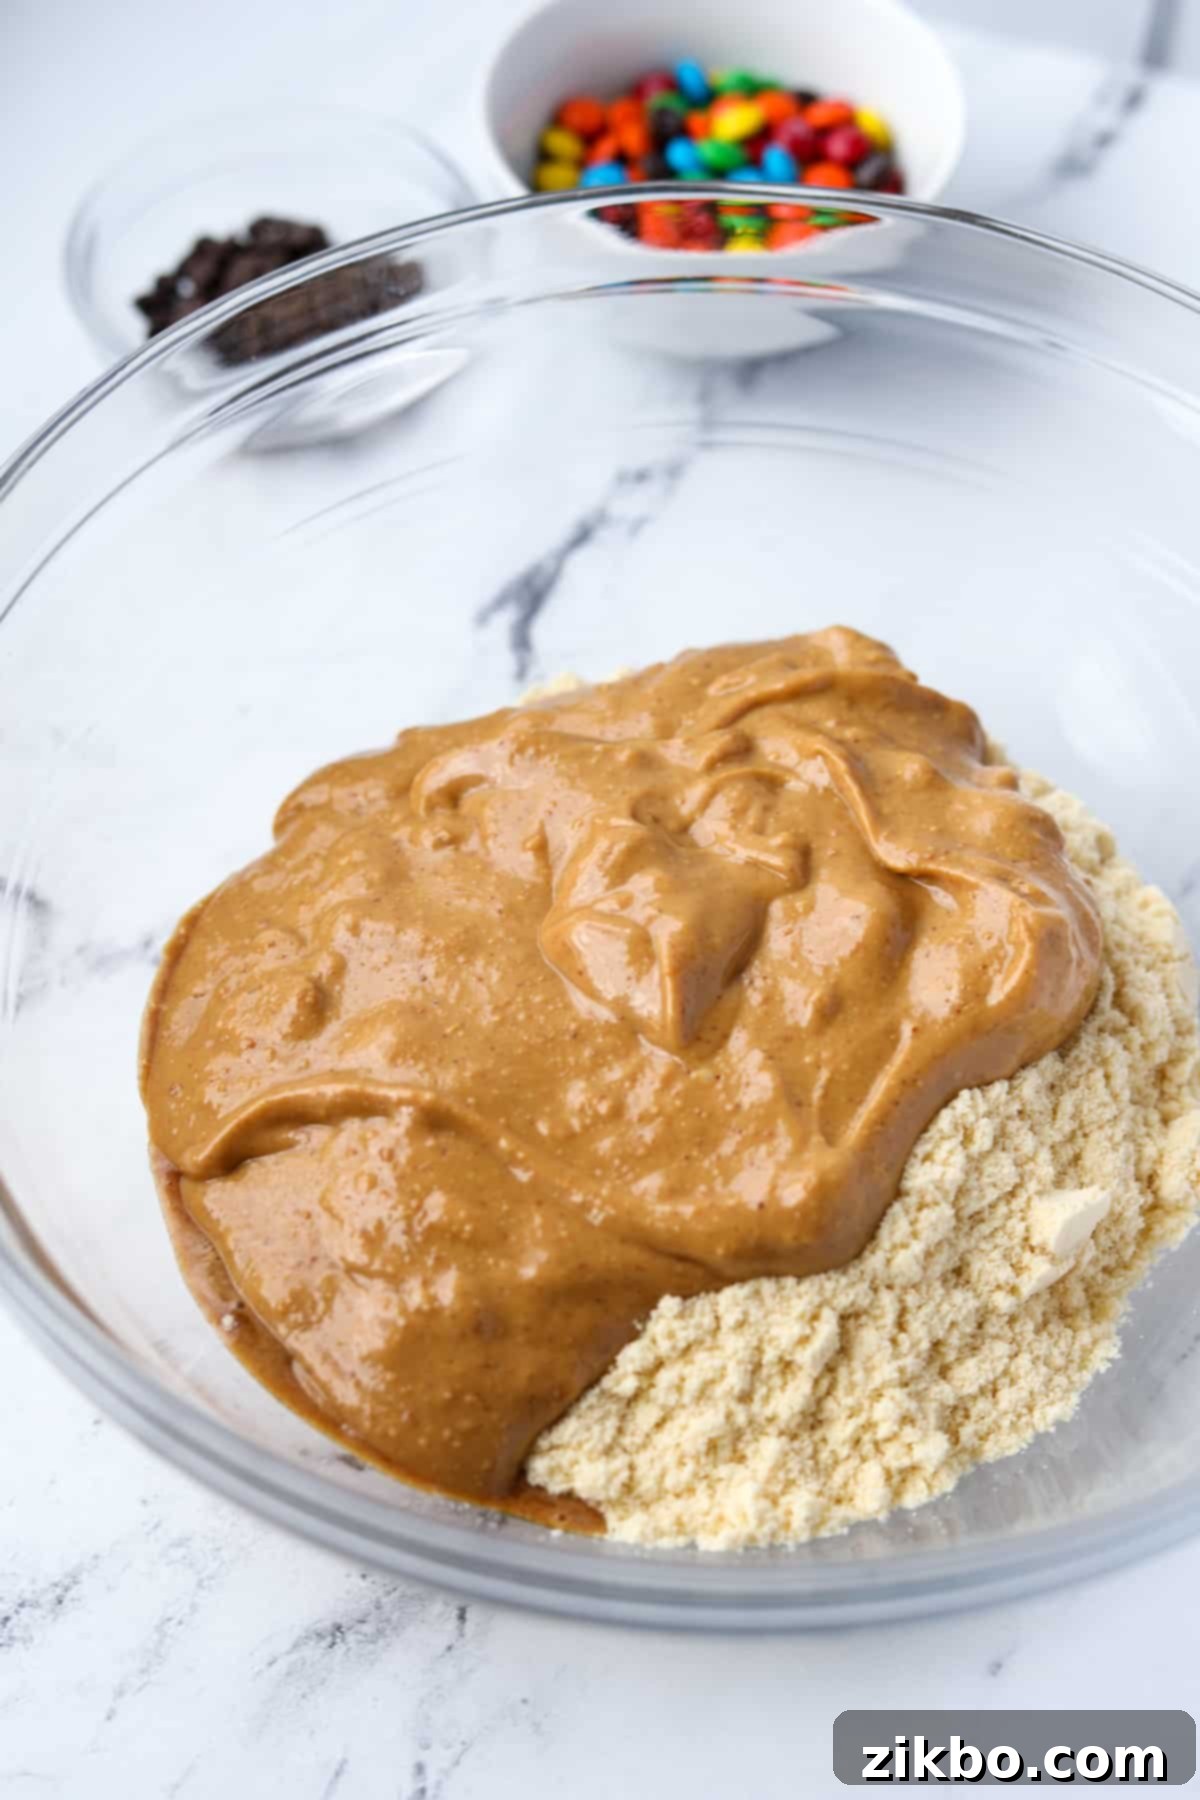
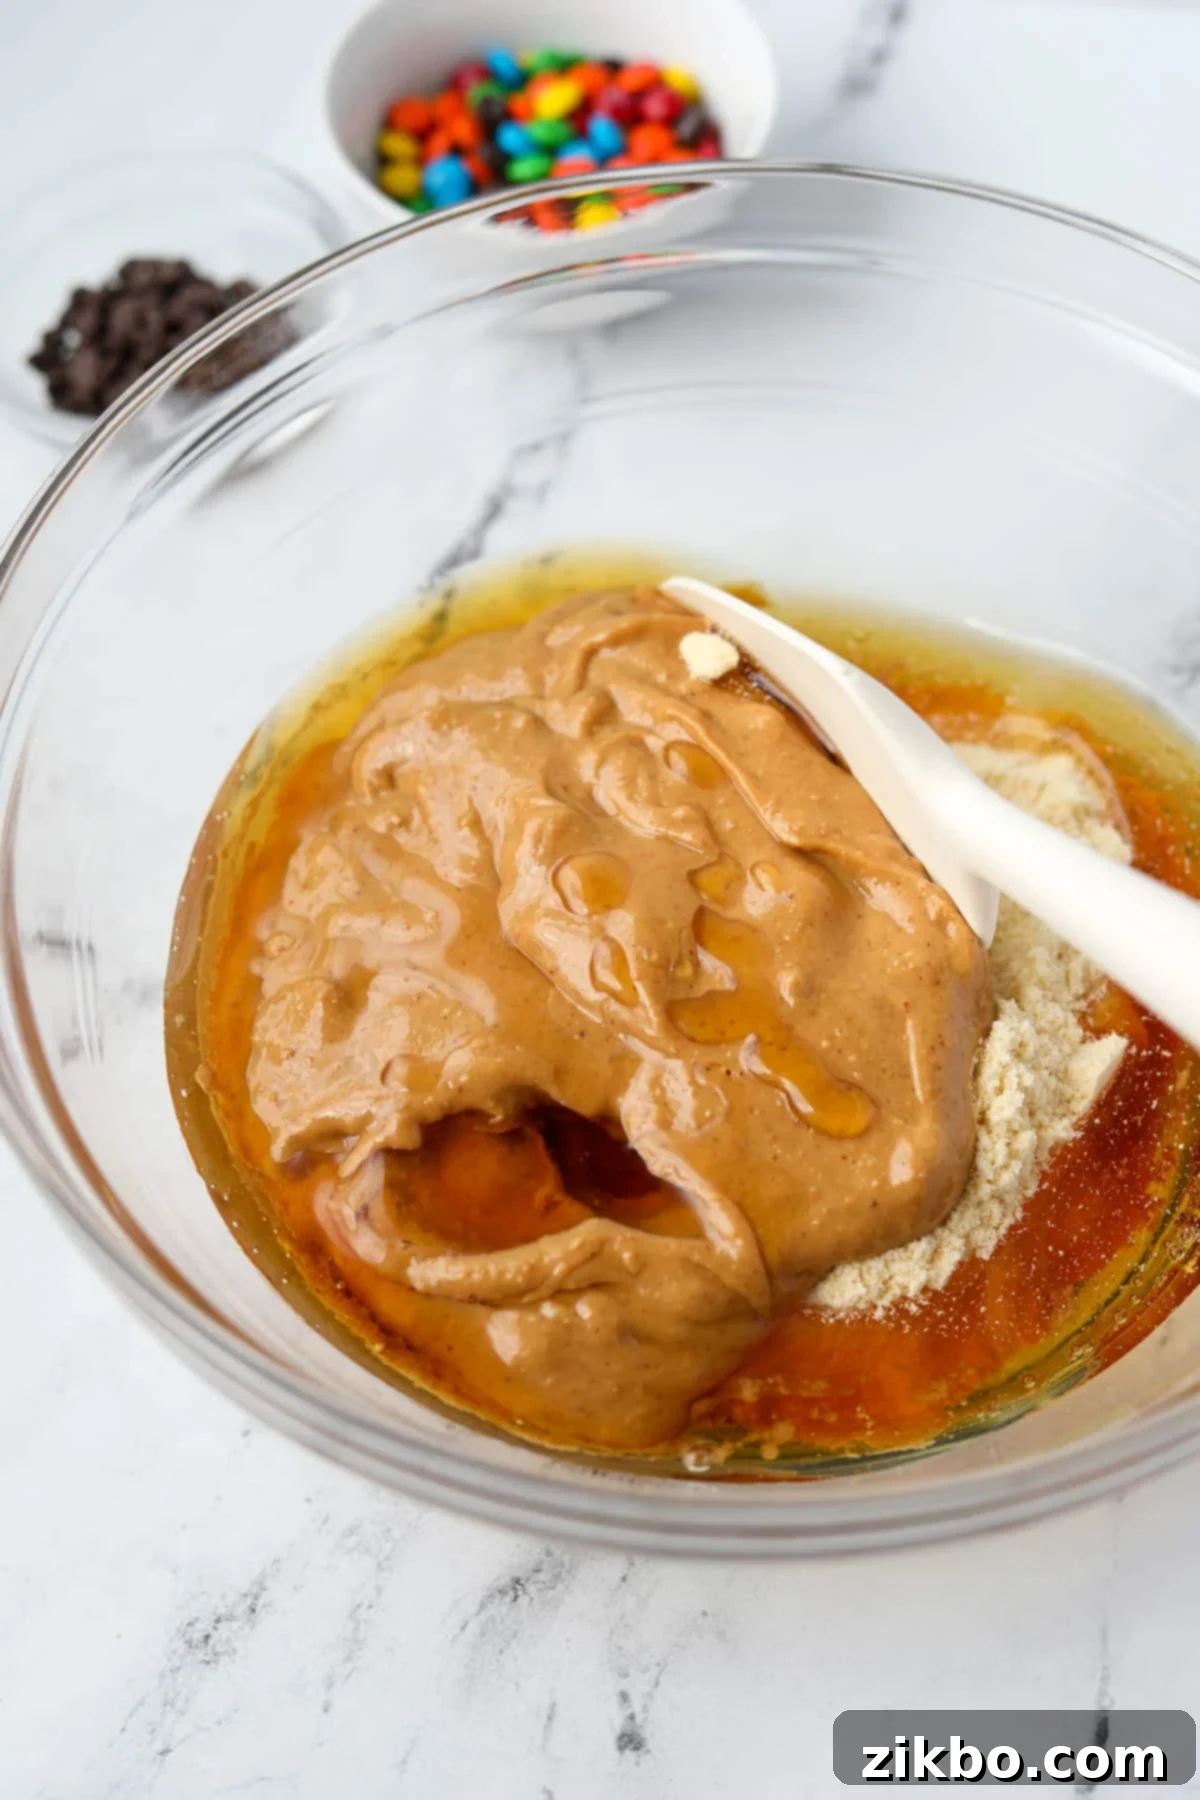
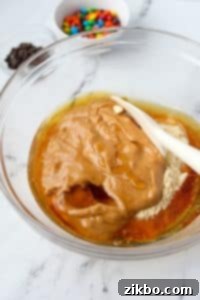
Step One: Combine Base Ingredients. In a medium-sized mixing bowl (or the bowl of a stand mixer fitted with a paddle attachment), add the protein powder, oat flour, and natural nut butter. This forms the essential base of your protein bars.
Step Two: Add Liquids. Pour in the maple syrup and vanilla extract. These wet ingredients will help bind everything together and provide that signature sweetness and aroma.
Incorporating the M&M’s and Chocolate Chips
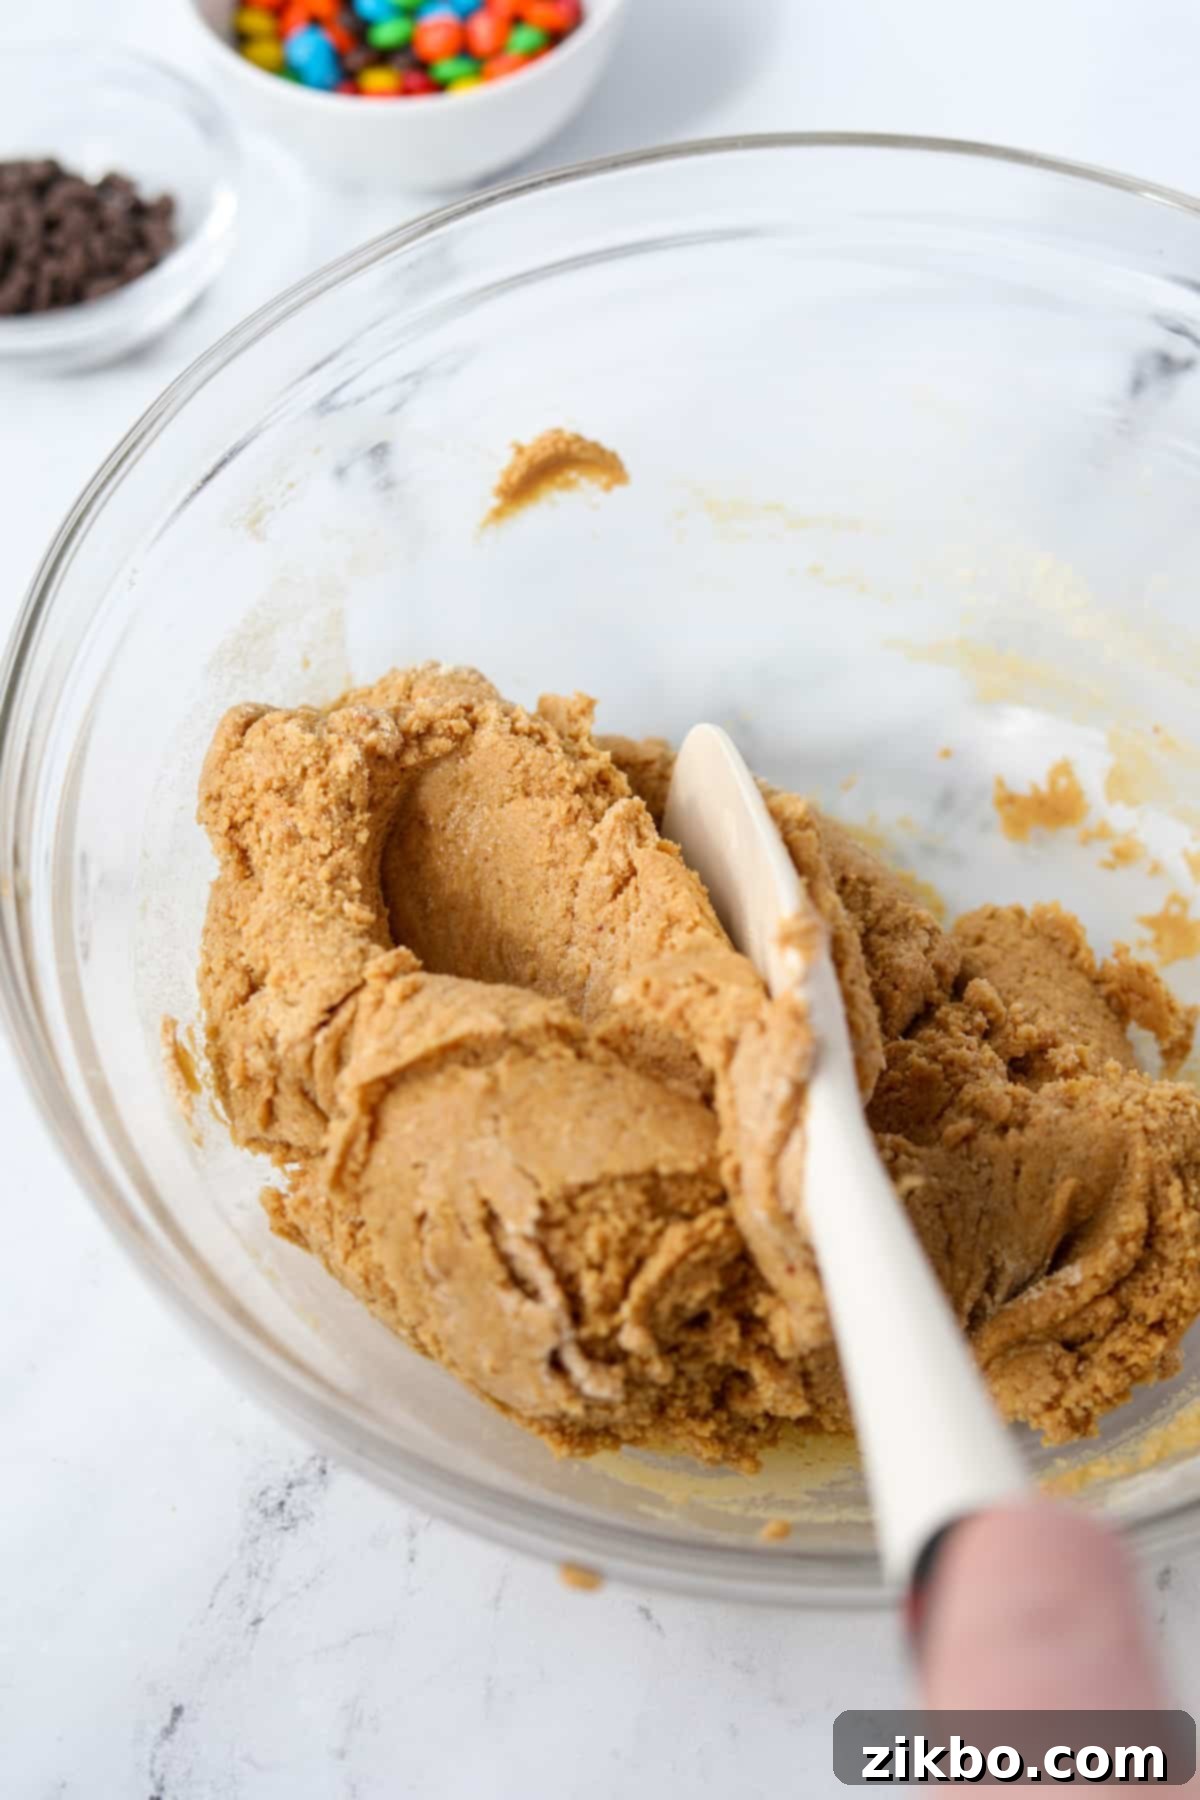
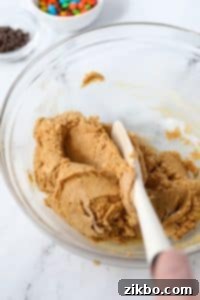
Step Three: Mix Until Smooth. Use a sturdy silicone spatula or your electric mixer to thoroughly combine all the ingredients. Continue mixing until the mixture forms a smooth, cohesive dough. You want to ensure there are no dry pockets of protein powder or oat flour.
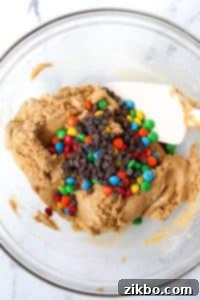
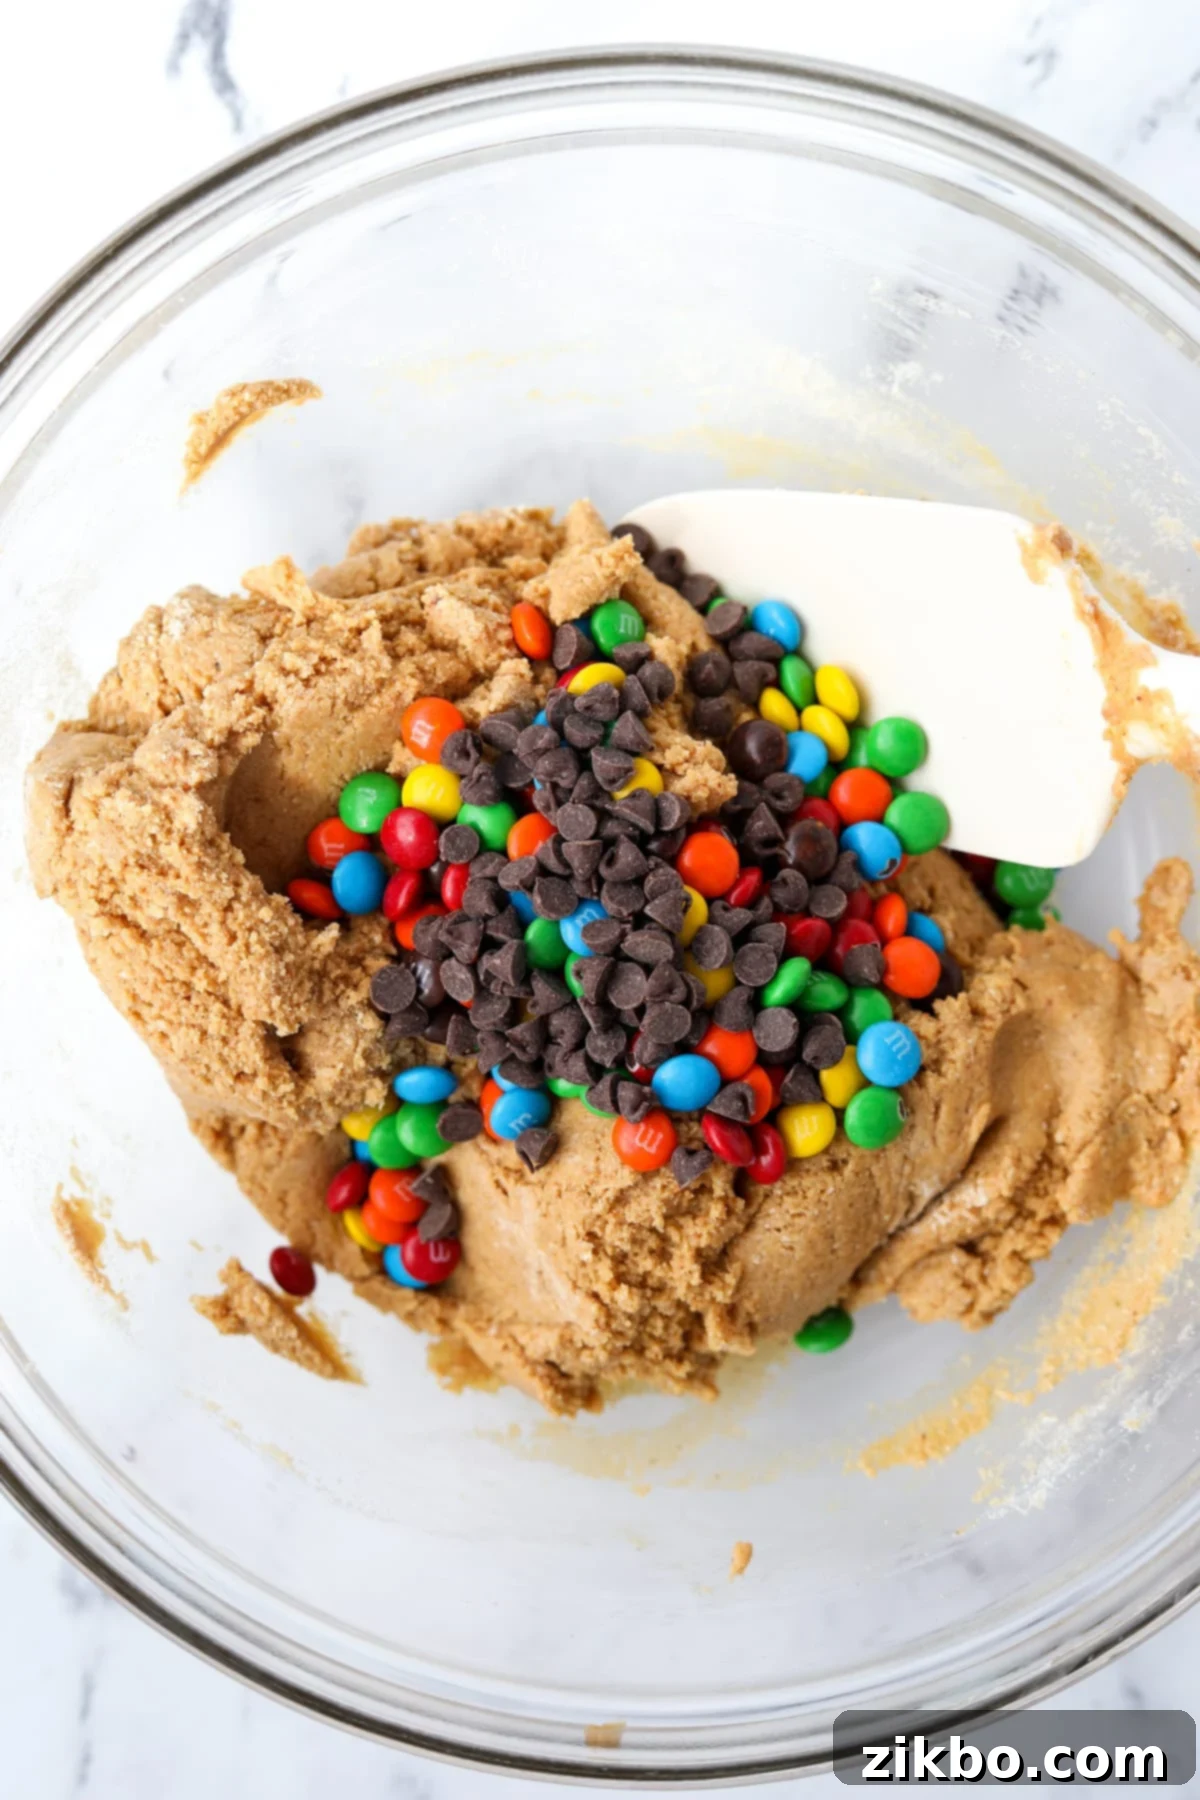
Step Four: Fold in Mix-Ins. Now for the “monster” part! Add the mini M&M candies and mini chocolate chips to the dough. Gently fold them in until they are evenly distributed throughout the mixture. Avoid overmixing once these are added to prevent crushing the candies.
Forming into Bars and Chilling
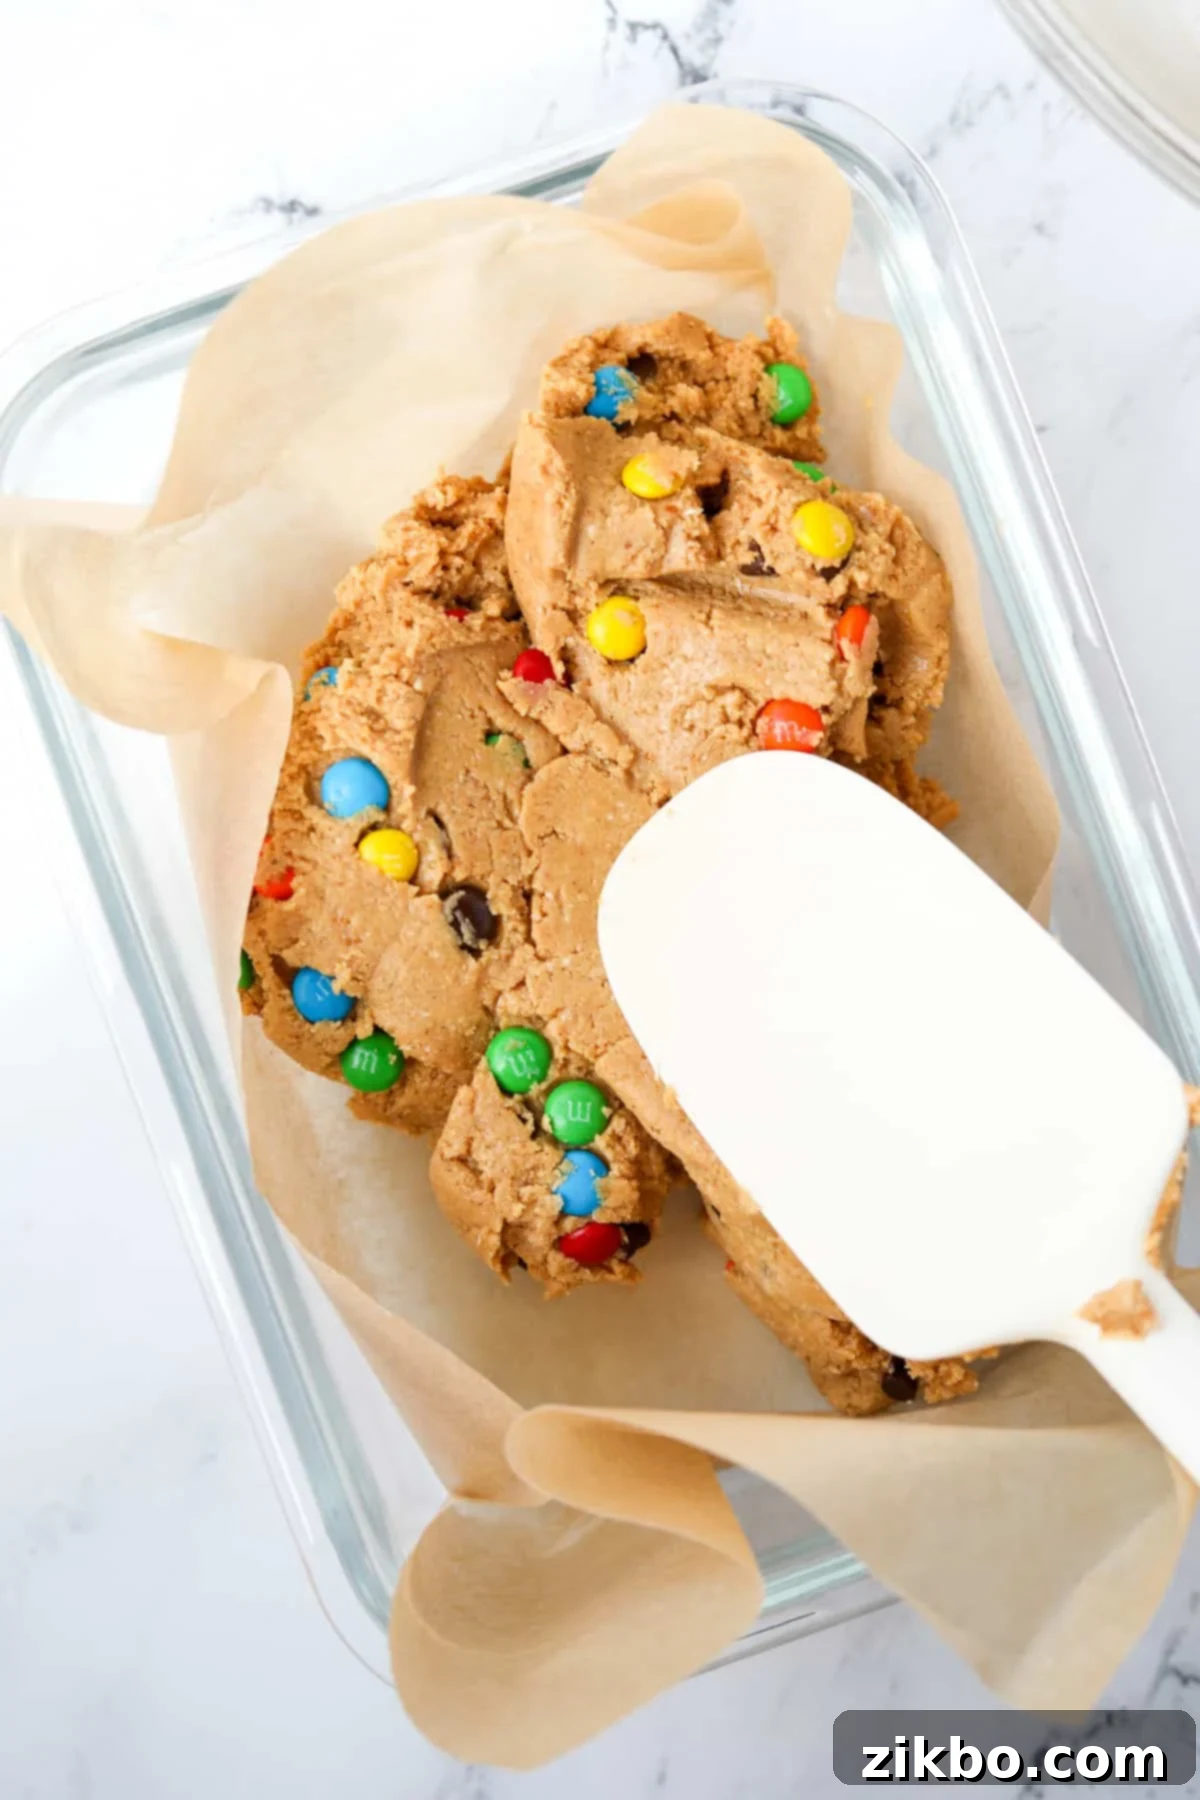
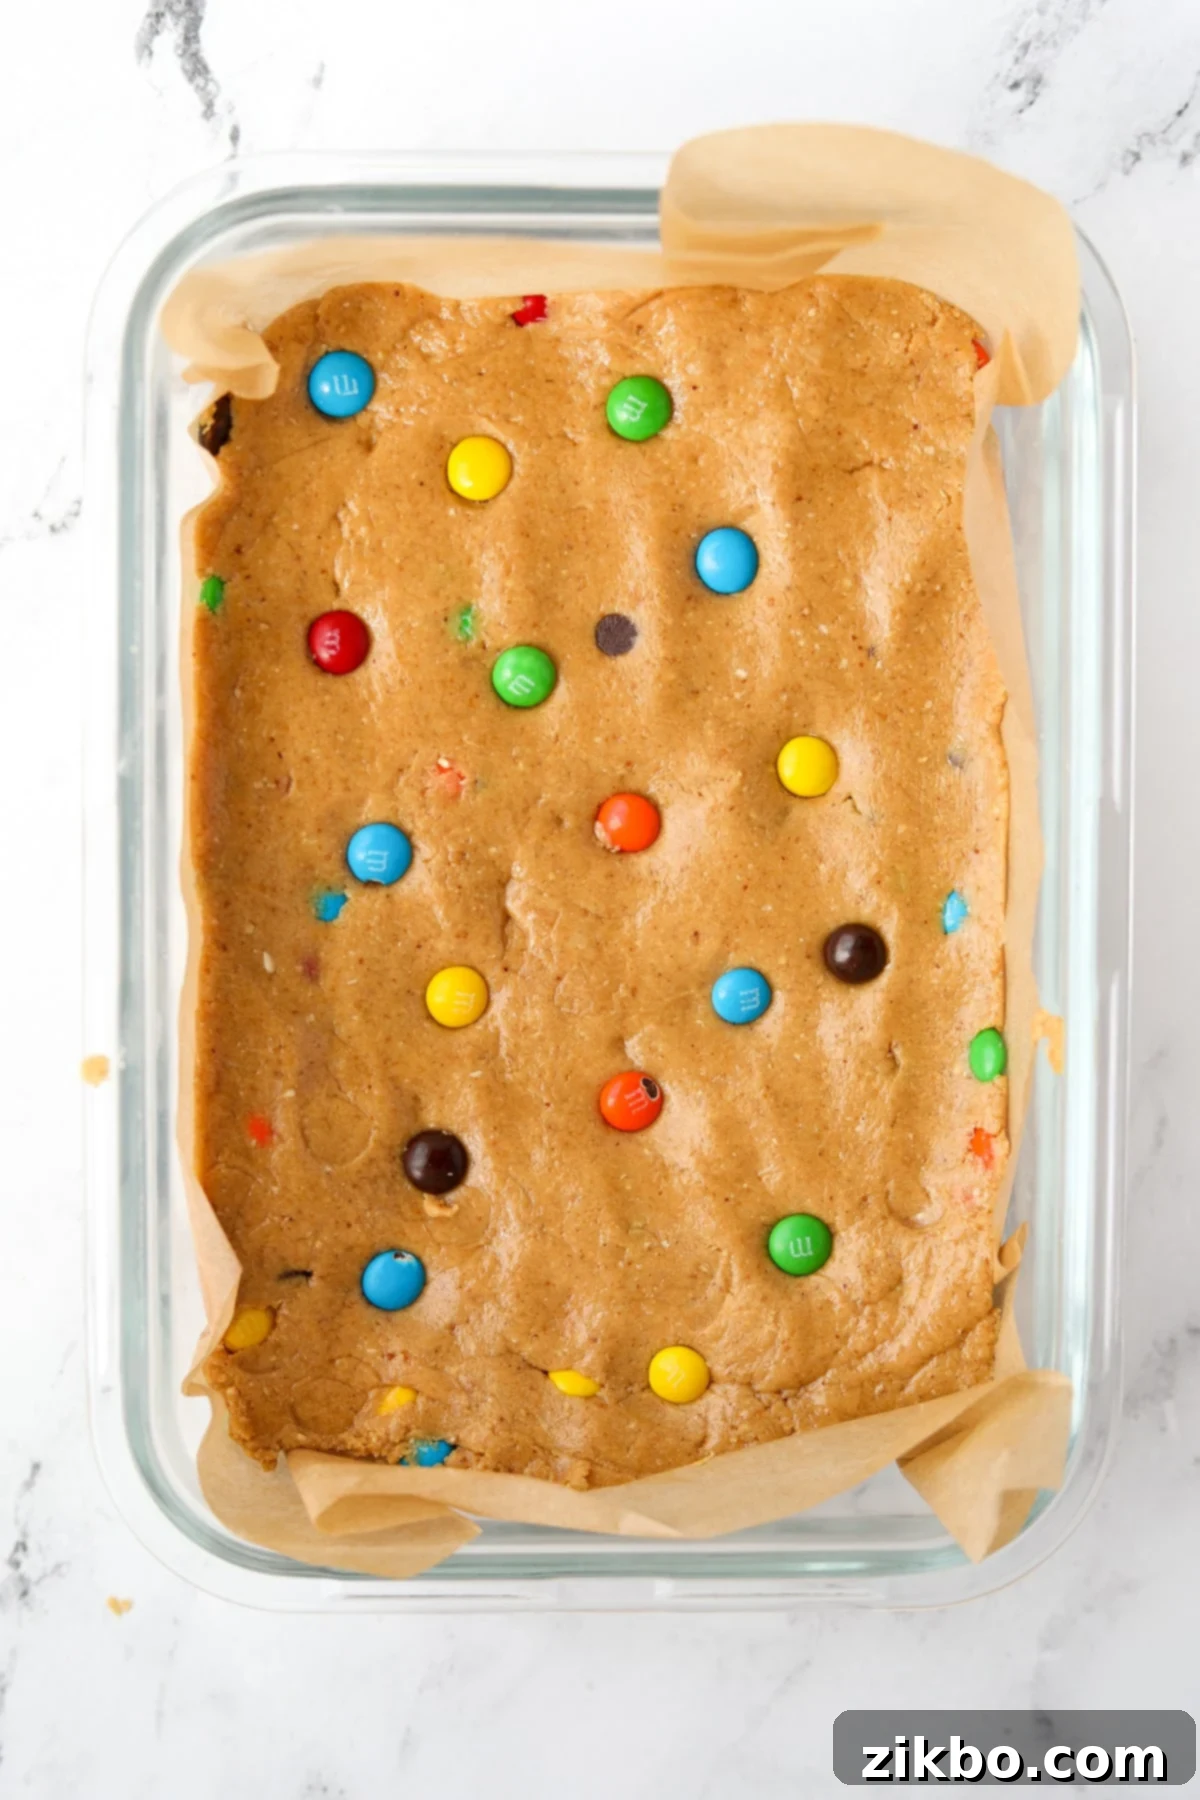
Step Five: Prepare Your Pan. Line a small baking dish or loaf pan with parchment paper or wax paper, leaving an overhang on the sides for easy removal. Transfer the Monster cookie dough into the center of the prepared pan.
Step Six: Press and Chill. Use your hands or the back of a spoon to firmly and evenly press the dough into the pan. Ensure it’s packed tightly into all corners, creating a thick, uniform layer. If desired, you can press a few extra mini M&M’s on top for an extra pop of color. Cover the pan with plastic wrap and place it in the freezer to chill for at least 1 hour, or until the bars are firm enough to slice.
Slicing into Bars and Serving
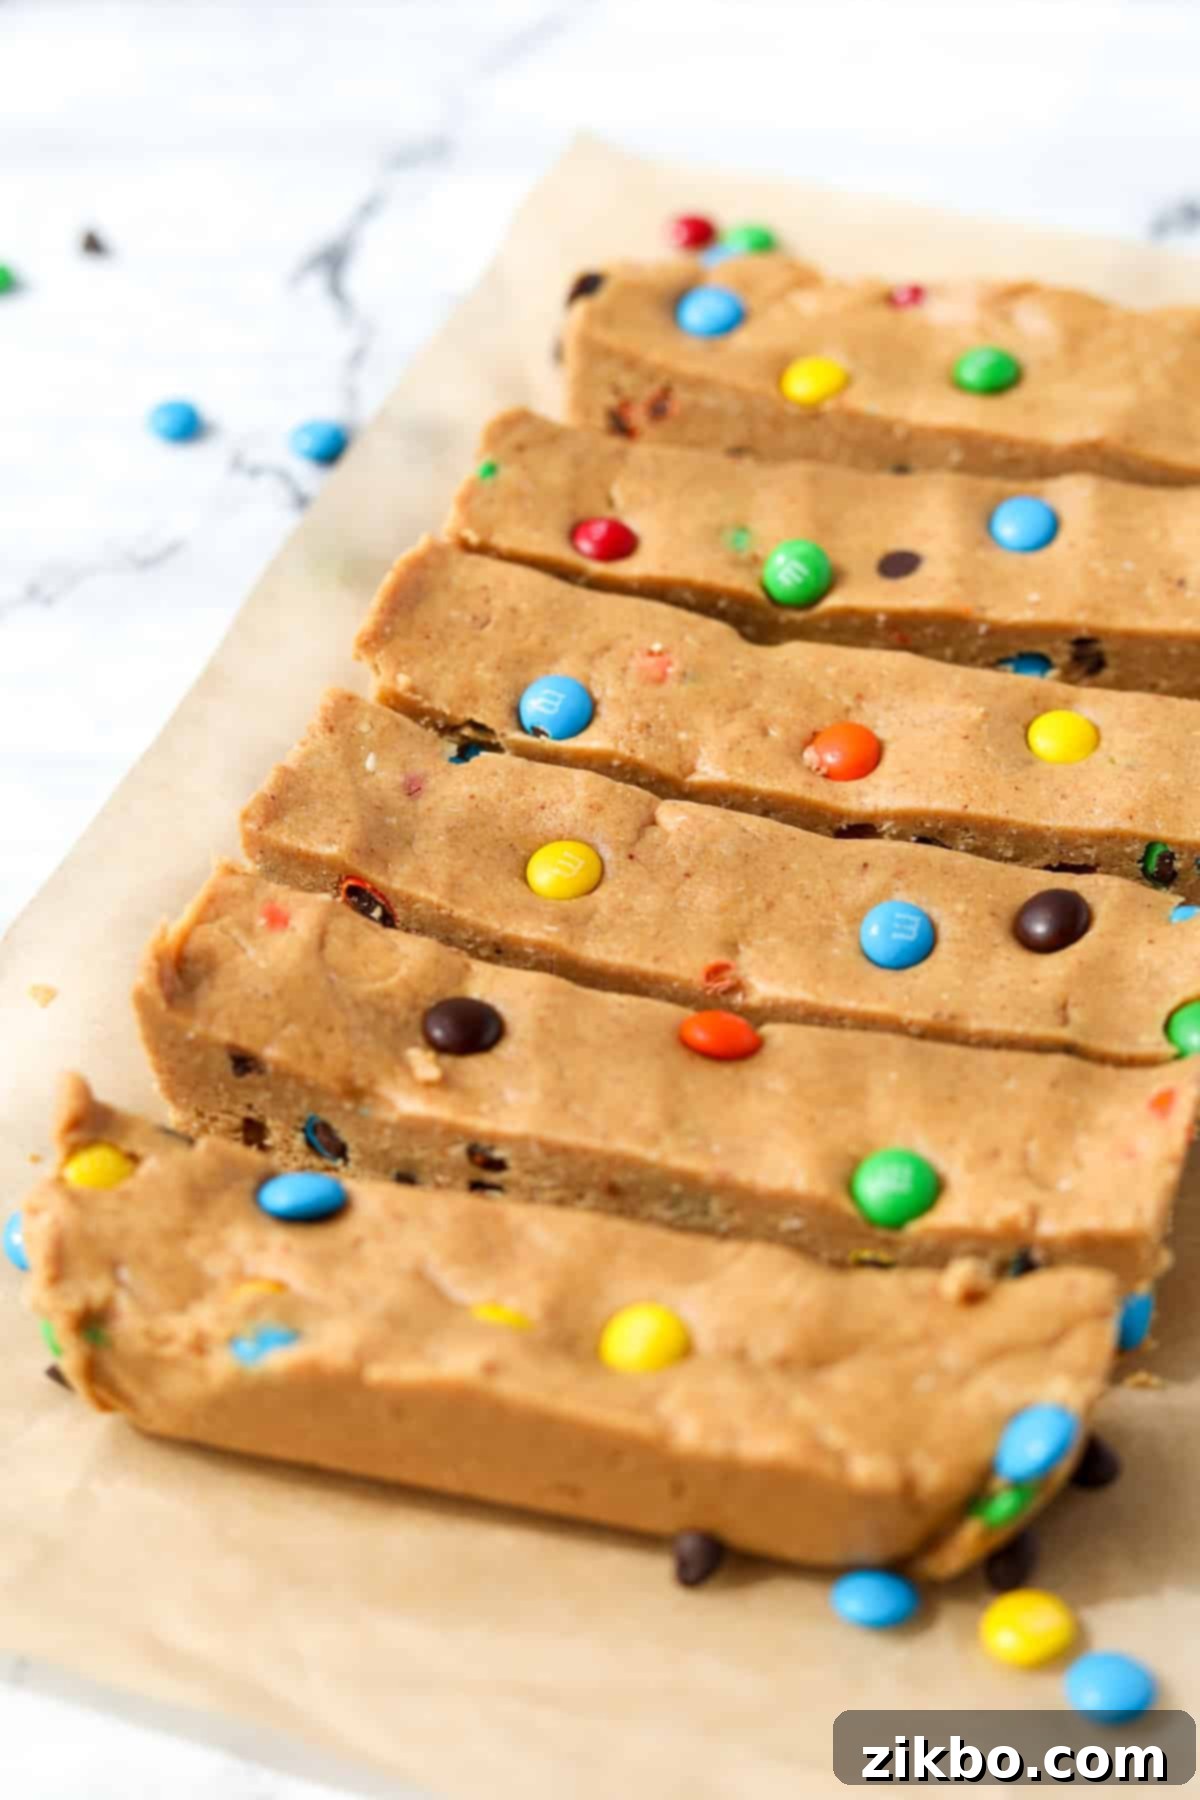
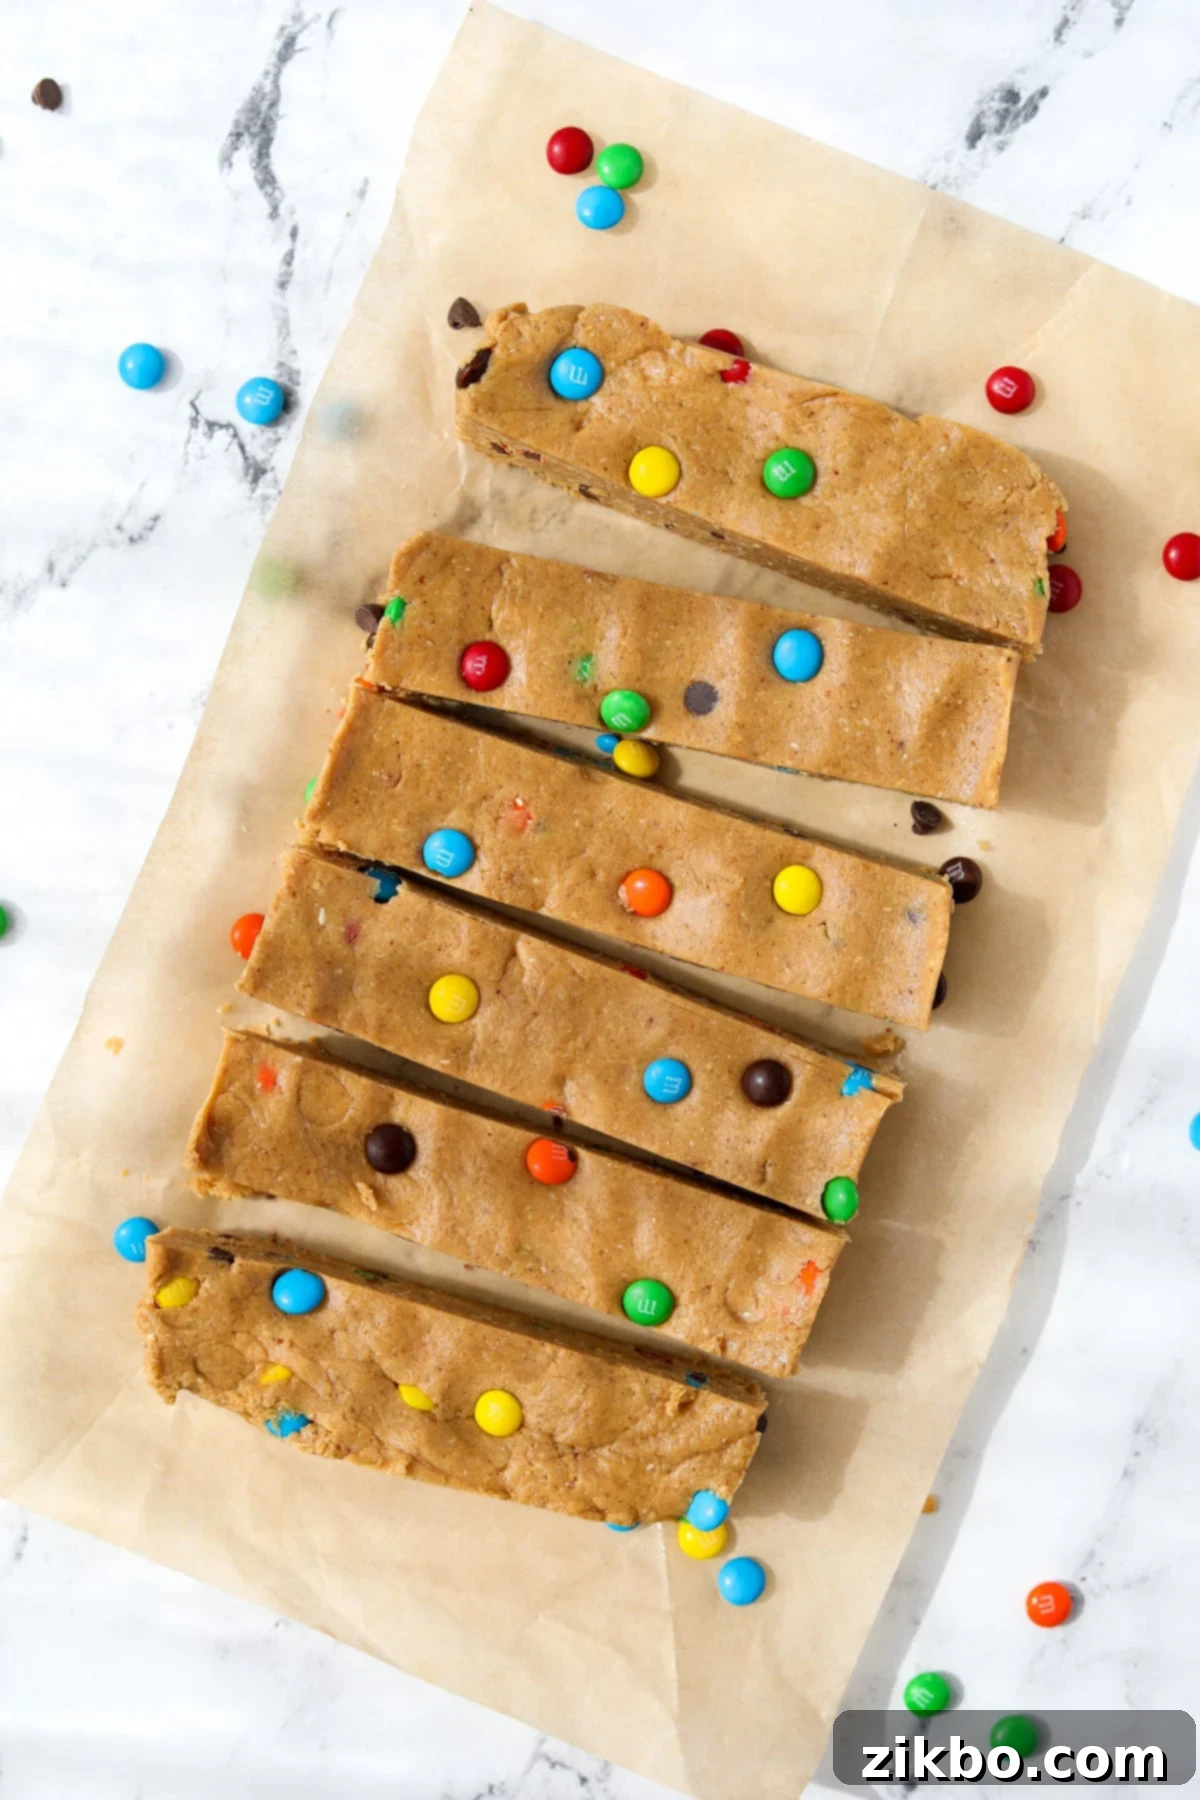
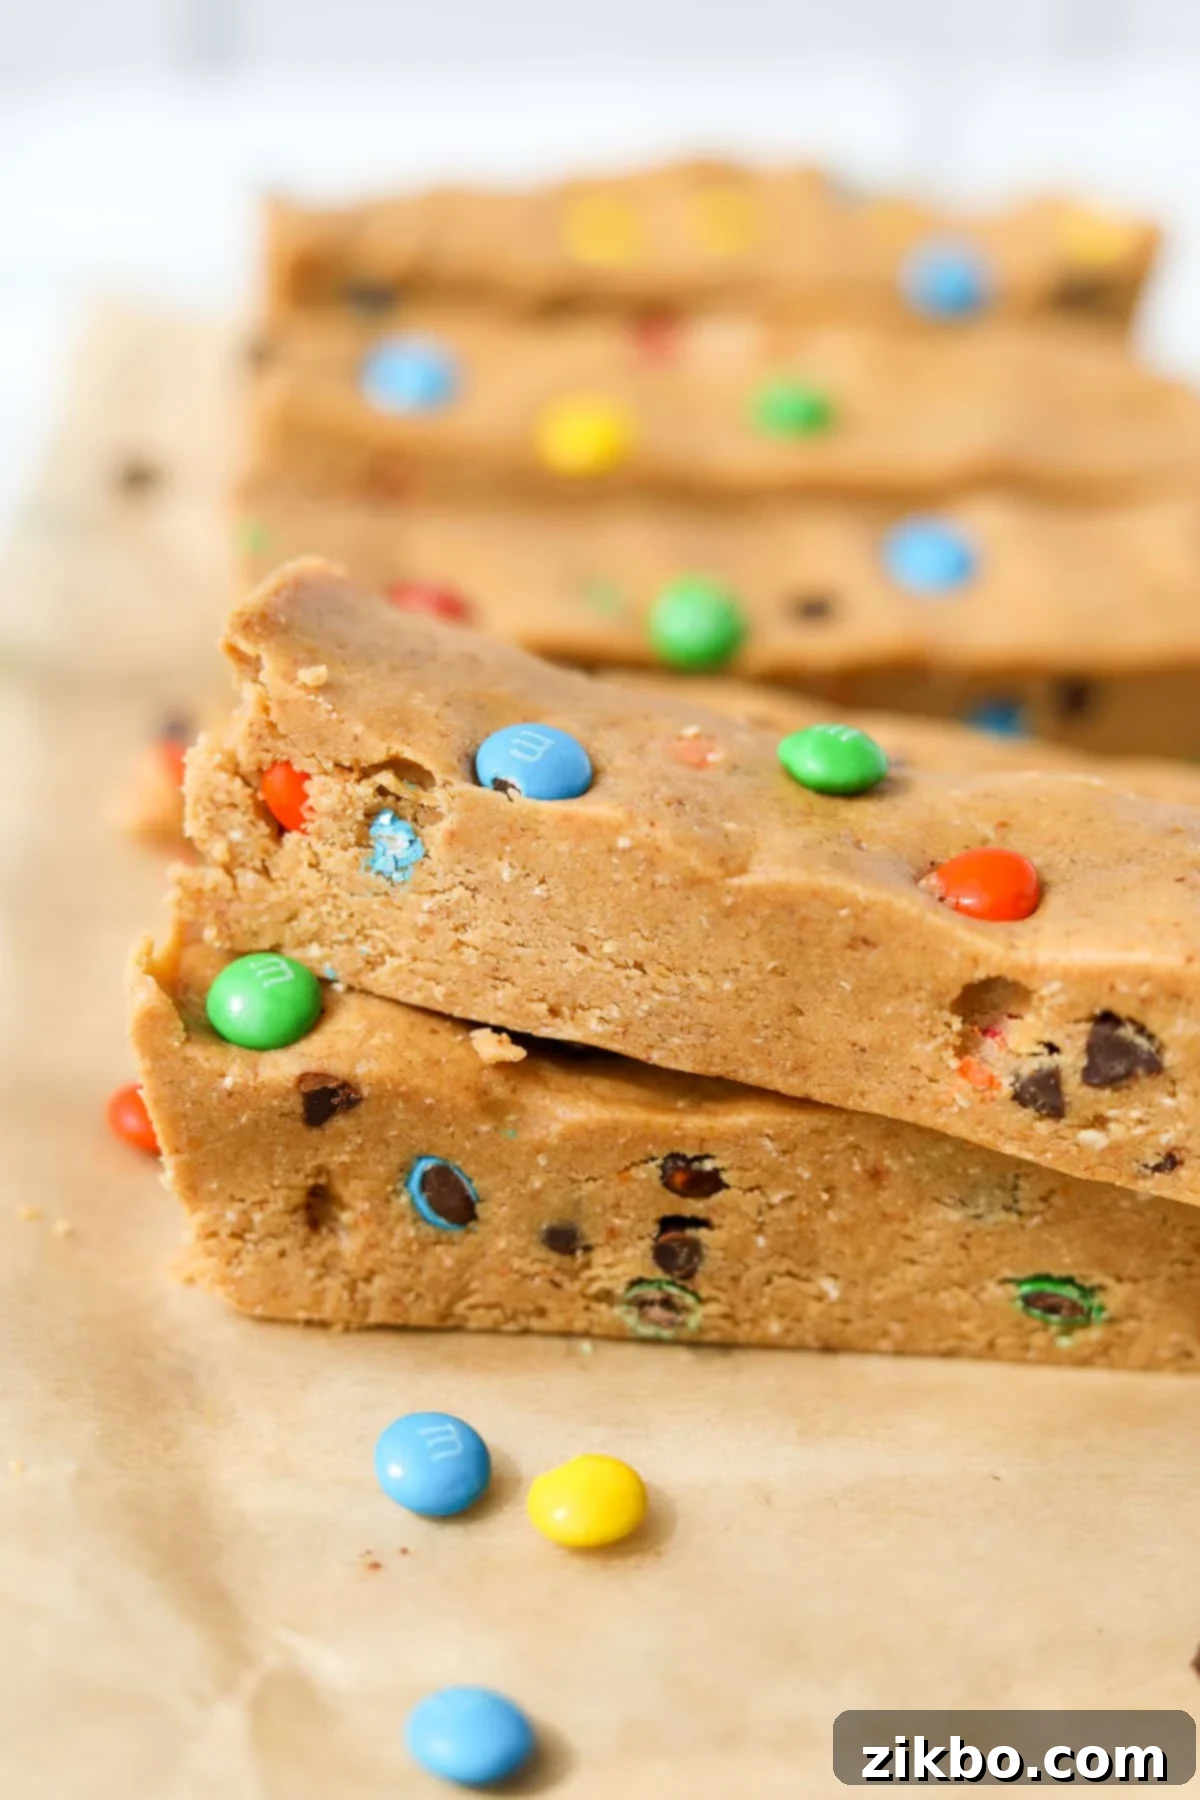
Step Seven: Slice and Serve. Once the chilling time is complete and the dough is firm, carefully lift the entire slab out of the pan using the parchment paper overhangs. Place it on a cutting board and use a sharp knife to slice it into 6 or 8 individual bars, depending on your desired portion size. You can then wrap them individually for easy grab-and-go access, store them in an airtight container, or serve immediately!
Storing and Freezing Your Monster Cookie Protein Bars
Proper storage is key to maintaining the freshness, texture, and longevity of your homemade protein bars. They’re excellent for meal prep, so knowing how to keep them is essential:
- Refrigeration: After slicing, individually wrap each bar tightly in plastic wrap. This prevents them from drying out and sticking together. Then, place the wrapped bars in an airtight container or a freezer bag. Store them in the refrigerator for up to 1 week. The cold temperature helps maintain their chewy texture and prevents spoilage.
- Freezing for Longer Storage: For extended freshness, these bars freeze exceptionally well! After individually wrapping each bar in plastic, transfer them to a freezer-safe airtight container or a heavy-duty freezer bag. They can be stored in the freezer for up to 2 months.
Top Tip: If you’re planning to take these Monster Cookie Protein Bars with you for a quick snack at work or school, simply toss a frozen bar into your lunch bag in the morning. By the time afternoon hunger hits, it will be perfectly thawed and ready to enjoy! This is a fantastic way to ensure a cold, fresh snack.
Expert Tips for Crafting the Perfect Protein Bars
Achieving delicious and consistent results with your homemade protein bars is easy with these insider tips:
- Accurate Protein Powder Measurement: Protein powders can vary significantly in density. For the most accurate results, especially if you’re tracking macros, I highly recommend using a kitchen scale to weigh out 60 grams of protein powder. While a measurement of ½ cup + 2 tablespoons works for many brands, weighing eliminates any guesswork and ensures the perfect texture for your bars.
- Embrace Experimentation Beyond Bars: This versatile dough isn’t just for bars! Feel free to get creative. You can scoop portions of the dough to create delicious protein cookie dough balls (perfect for a quick bite), or even press it into a round pan for a protein “cookie cake.” The base recipe is incredibly adaptable, inviting you to experiment with different shapes and serving styles.
- Thorough Mixing for Optimal Texture: For the smoothest, chewiest consistency, it’s often best to first combine your dry ingredients (oat flour, protein powder) in a bowl, and then separately mix your wet ingredients (nut butter, maple syrup, vanilla extract). Once both are well combined, gradually add the wet to the dry. While these ingredients are forgiving and will mix together fairly easily either way, this method ensures a more uniform dough, leading to superior chewy bars that aren’t crumbly.
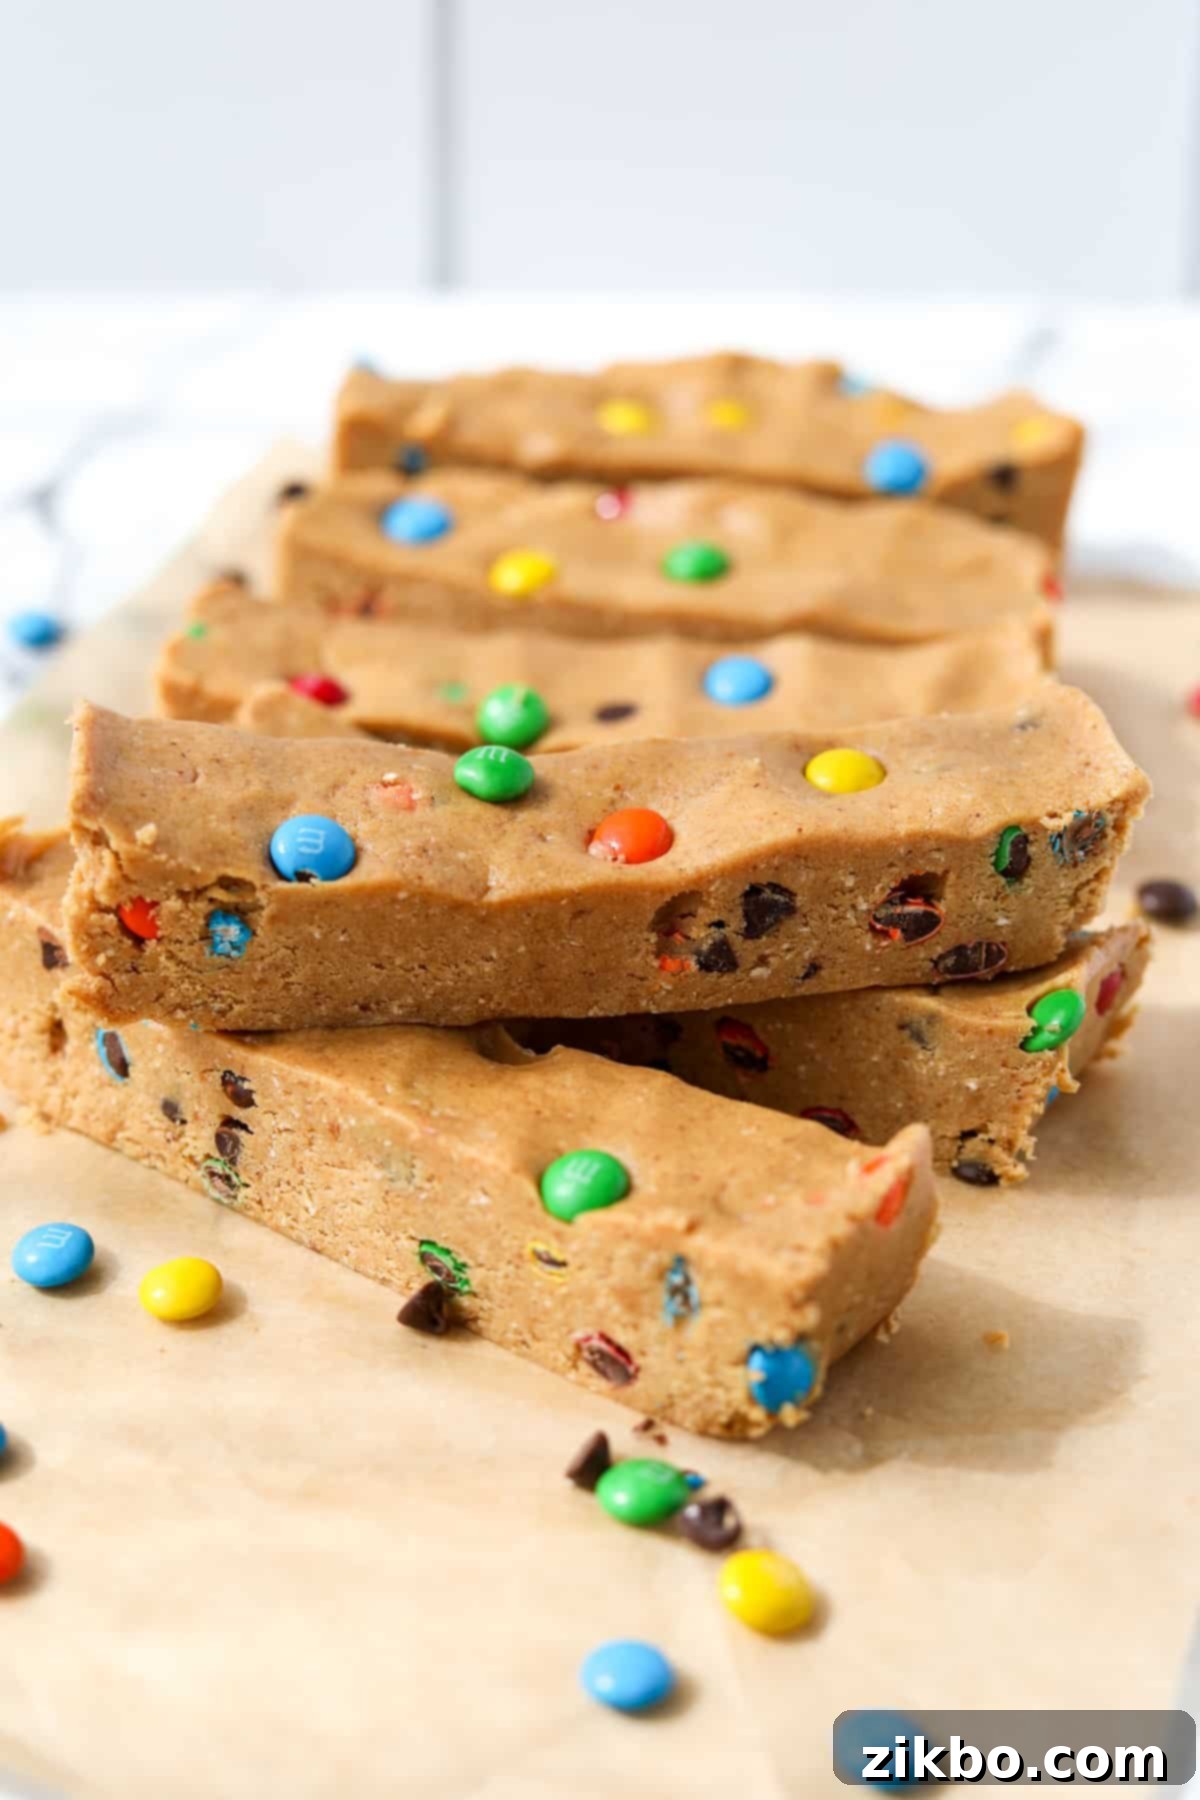
Exciting Variations to Try
While the classic Monster Cookie Protein Bar is incredibly satisfying, this base recipe is a fantastic canvas for creativity. Here are a few delicious variations to keep things exciting:
- Birthday Cake Protein Bars: Transform your bars into a festive treat! Use creamy cashew butter as your base nut butter. Add ½ teaspoon of butter extract and ¼ teaspoon of almond extract for that distinct birthday cake flavor. Stir in colorful sprinkles to your liking, and don’t forget to top with a few extra sprinkles for a celebratory finish!
- Chocolate Chip Cookie Dough Protein Bars: For the ultimate cookie dough lover! Again, opt for creamy cashew butter. Enhance the classic cookie flavor with ½ teaspoon of butter extract. Instead of M&M’s, let mini chocolate chips be the star – use ¼ cup as your primary mix-in for an irresistible chocolate chip experience.
- Peanut Butter Oatmeal Cookie Bars: If you love the hearty simplicity of an oatmeal cookie, this variation is for you. Follow the base recipe as written, but omit the mini chocolate chips and mini M&M’s. For added texture, leave 1-2 tablespoons of the oats whole before making the flour, or add a handful of chopped roasted peanuts or Reese’s Pieces for extra peanut butter goodness.
I’ve also explored other delicious takes on this versatile base recipe, including Protein Cookie Dough and Protein Cookie Dough Balls, which are equally satisfying and easy to make!
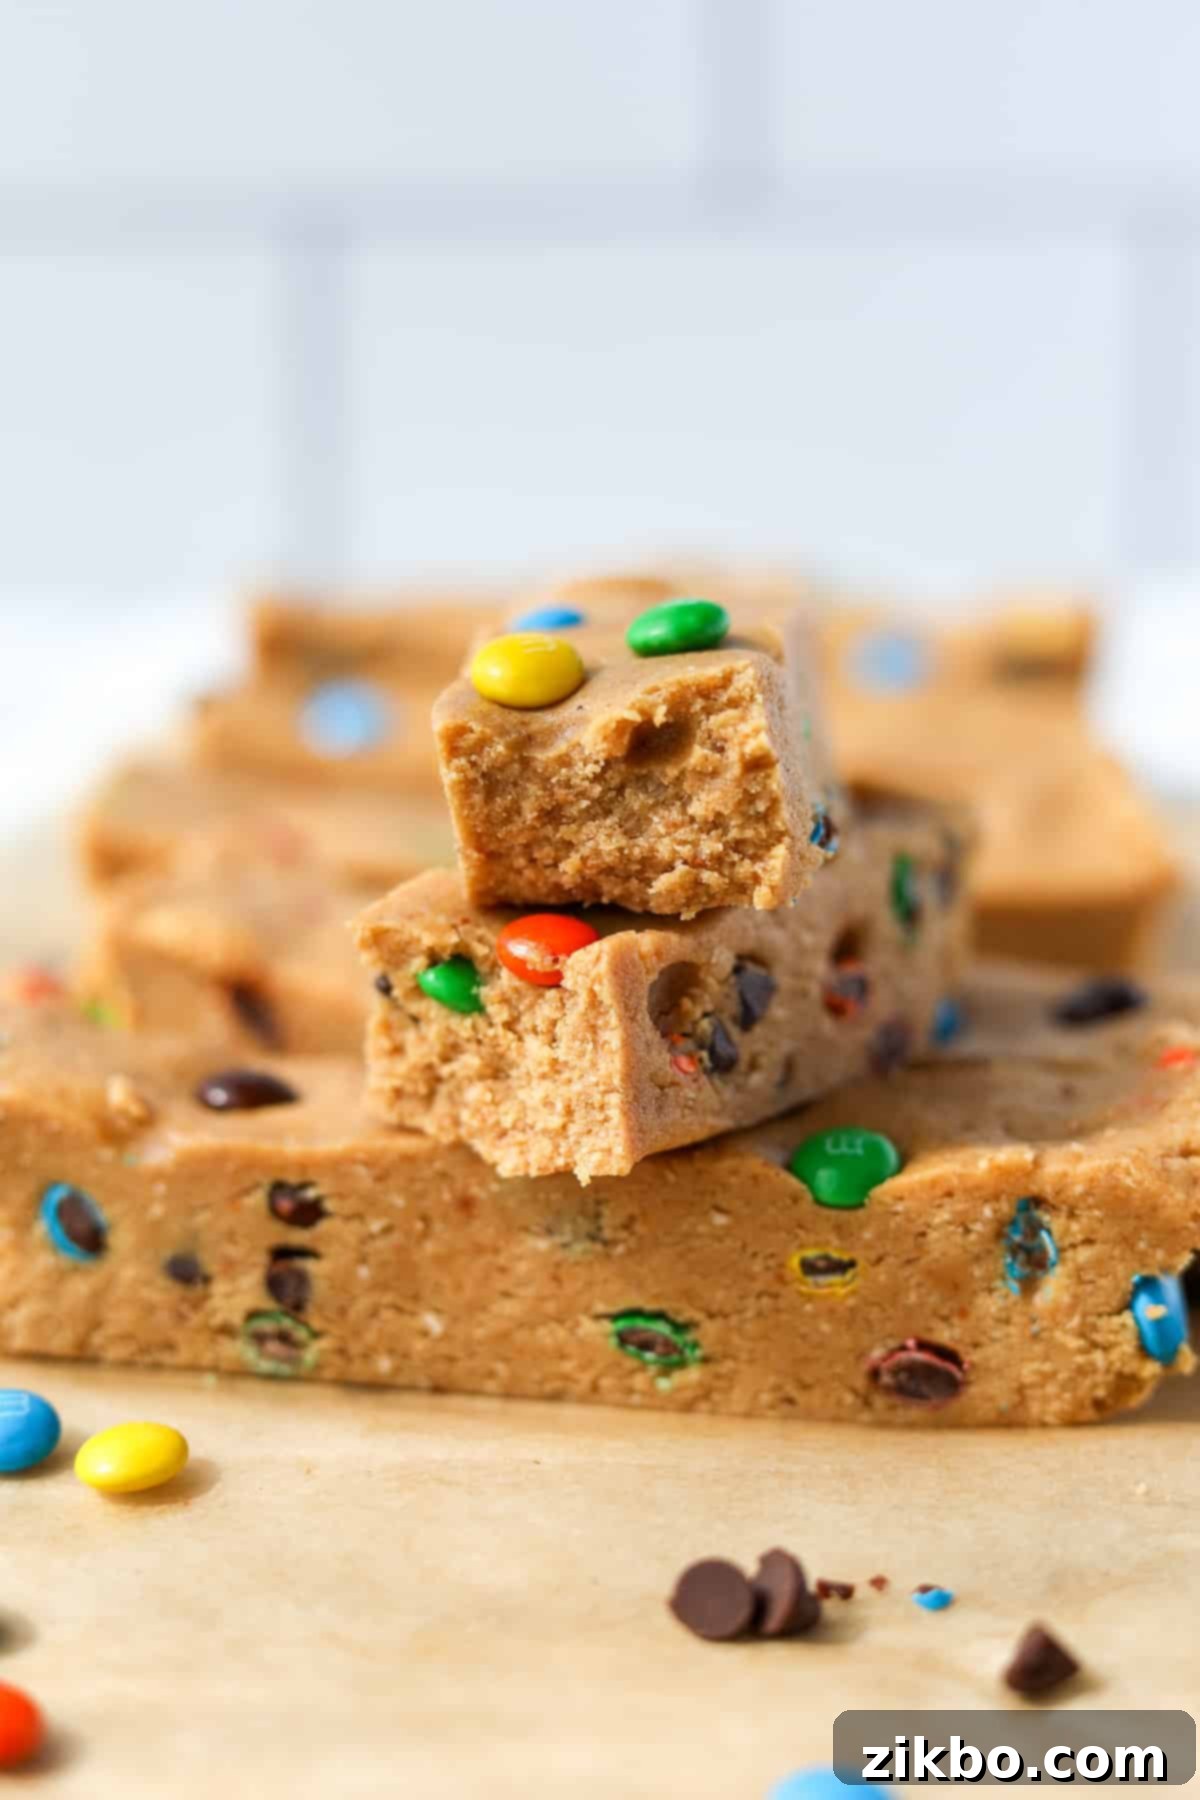
Common Questions About Monster Cookie Protein Bars
While tempting for convenience, it’s generally not recommended to store these homemade protein bars at room temperature for extended periods. Due to their high moisture content from ingredients like nut butter and maple syrup, they tend to keep their best texture and freshness when refrigerated or frozen. Storing them in a cool environment also significantly slows down spoilage, ensuring they remain safe and delicious to eat for longer.
Absolutely! Making your own oat flour is incredibly simple if you don’t have any on hand. Just add either quick oats or old-fashioned rolled oats to a high-speed blender or food processor. Pulse the oats for about 30-60 seconds, or until they are ground into a fine, powdery flour-like consistency. It’s a quick and cost-effective way to ensure you always have fresh oat flour for your baking and cooking needs!
If you’ve enjoyed making and tasting this delightful recipe for Monster Cookie Protein Bars, please let me know! Leaving a 5-star review in the recipe card below or sharing your thoughts in the comments section would be greatly appreciated. You can also share your creations and tag me on Instagram @dashfordinner – I love seeing your delicious results!
Monster Cookie Protein Bars
Print
Pin
Rate
Equipment
-
Small baking dish or meal prep container
-
Parchment paper
Ingredients
- 1 cup creamy natural peanut butter *must be natural, the kind with oil separating out
- 5 tablespoons maple syrup
- 1 teaspoon vanilla extract
- ½ cup oat flour **see notes
- 60 grams vanilla whey protein powder about ½ cup + 2 tablespoons
- 1 tablespoon mini chocolate chips
- ¼ cup mini M&M’s
Instructions
-
Add the peanut butter, maple syrup, vanilla extract, oat flour, and protein powder to a large bowl.

-
Mix everything together with an electric mixer – or vigorously by hand with a silicone spatula – until the mixture is completely smooth and well combined, forming a cohesive dough.

-
Add the mini chocolate chips and the mini M&M’s to the dough. Gently fold them into the mixture until they are evenly distributed, making sure not to crush the candies.

-
Line a loaf pan or meal prep container with parchment paper, leaving an overhang on the sides. Press the Monster cookie dough firmly and evenly into the prepared container. Use your hands or a spoon to compact it into a thick, flat base.

-
Cover the container or loaf pan with plastic wrap and place it in the freezer for a minimum of 1 hour, or until the dough is firm enough to slice cleanly.
-
Once firm, carefully lift the entire chilled dough slab out of the container using the parchment paper overhang. Transfer it to a cutting board and use a sharp knife to cut it into 6-8 individual bars, or your preferred portion size.

-
Wrap the bars individually in plastic wrap. Store them in an airtight container in the fridge for up to 1 week, or place them in freezer-safe bags and keep in the freezer for up to 2 months for longer storage.
Notes
*Important Nut Butter Note: For the best results and ideal binding consistency, it is crucial to use natural peanut butter. Look for brands where the oil naturally separates, requiring you to stir it before use. This type of thinner, oilier peanut butter is essential for holding these no-bake protein bars together. Do not substitute with commercial peanut butters like Kraft or Jif, as their thicker, hydrogenated texture will not work in this recipe.
**Making Your Own Oat Flour: If you don’t have oat flour on hand, you can easily create it at home! Simply add old-fashioned rolled oats (or quick oats) to a high-speed blender or food processor. Pulse until the oats are ground into a fine, powdery flour-like consistency.
Gluten-Free Option: To ensure this recipe is entirely gluten-free, make sure to use certified gluten-free oat flour. If you’re making your own, use certified gluten-free oats to begin with.
Nutrition
Please note that some of my blog posts here at Dash for Dinner may contain affiliate links. If you make a purchase through these links, I will get a small commission at no additional cost to you. Please see my Disclaimer for more information.
