The Easiest 5-Ingredient No-Bake Cheesecake: Creamy, Fluffy & Foolproof!
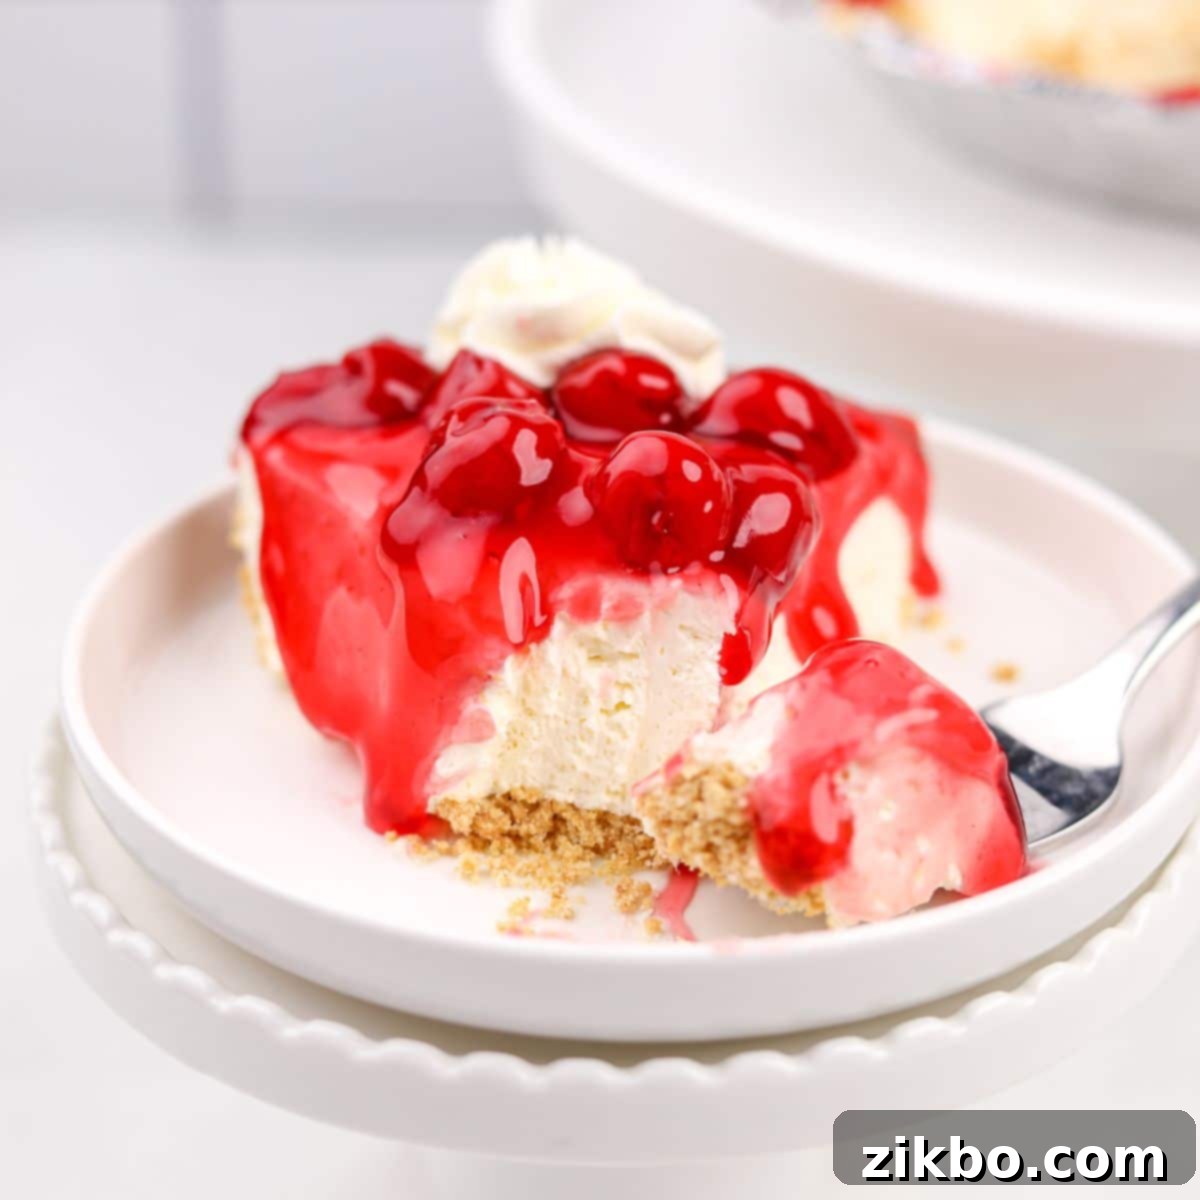
Prepare to fall in love with the ultimate easy dessert: our **5-ingredient no-bake cheesecake recipe**! This simple, yet incredibly decadent treat comes together with minimal effort, making it the perfect choice for any occasion, from casual weeknight dinners to festive holiday gatherings. With its irresistibly creamy and fluffy texture, this cheesecake is guaranteed to impress your guests and earn you endless compliments. The best part? There’s no oven required, keeping your kitchen cool and your stress levels low!
Whether you prefer classic cherry, vibrant strawberry, or a unique flavor combination, this recipe serves as a versatile canvas. Top it with your favorite store-bought pie filling or fresh seasonal fruit, or let your culinary creativity shine by inventing your own bespoke toppings.
Why Choose No-Bake Desserts?
I’m a huge advocate for no-bake desserts because they truly simplify life without compromising on taste or quality. They’re typically quick to assemble, call for just a handful of straightforward ingredients, and eliminate the need to heat up your home with a hot oven – especially wonderful during warmer months!
This particular 5-ingredient no-bake cheesecake recipe is a beloved adaptation of my popular no-bake chocolate chip cheesecake recipe, a definite favorite in our household. Its origins trace back to a cherished family recipe, discovered decades ago in a magazine or perhaps on the back of a food box. Through a few simple tweaks and refinements over the years, it has evolved into this perfected version that consistently receives rave reviews.
Reasons You’ll Adore This No-Bake Cheesecake:
- Effortless Simplicity with Minimal Ingredients: Forget complicated baking techniques or long ingredient lists. This cheesecake uses only 5 basic ingredients – no sour cream, heavy cream, or tricky gelatin required. It’s perfect for beginners and seasoned bakers alike who appreciate a straightforward recipe.
- A Versatile Delight for Any Celebration: Despite its humble origins, this cheesecake is a showstopper. Its rich, creamy texture and customizable toppings make it an ideal dessert for parties, holidays, potlucks, and any special occasion where you want to serve something delicious without the fuss. It proves that fancy doesn’t always mean complicated!
- Beginner-Friendly and Virtually Foolproof: The most challenging part of this recipe is patiently waiting for it to chill! The preparation itself is incredibly simple, involving just a few mixing steps. With clear instructions, anyone can achieve a perfectly set, delicious cheesecake on their first try.
- Infinitely Adaptable to Your Cravings: While we provide a fantastic basic no-bake cheesecake filling, this recipe is incredibly versatile. You have the freedom to experiment with various crusts, mix-ins, and an endless array of toppings. Dream up your ideal dessert, and this recipe can make it a reality.
Key Ingredients for Your No-Bake Cheesecake
Gathering your ingredients is the first step to creating this delightful dessert. Here’s a closer look at the five simple components and some essential tips:
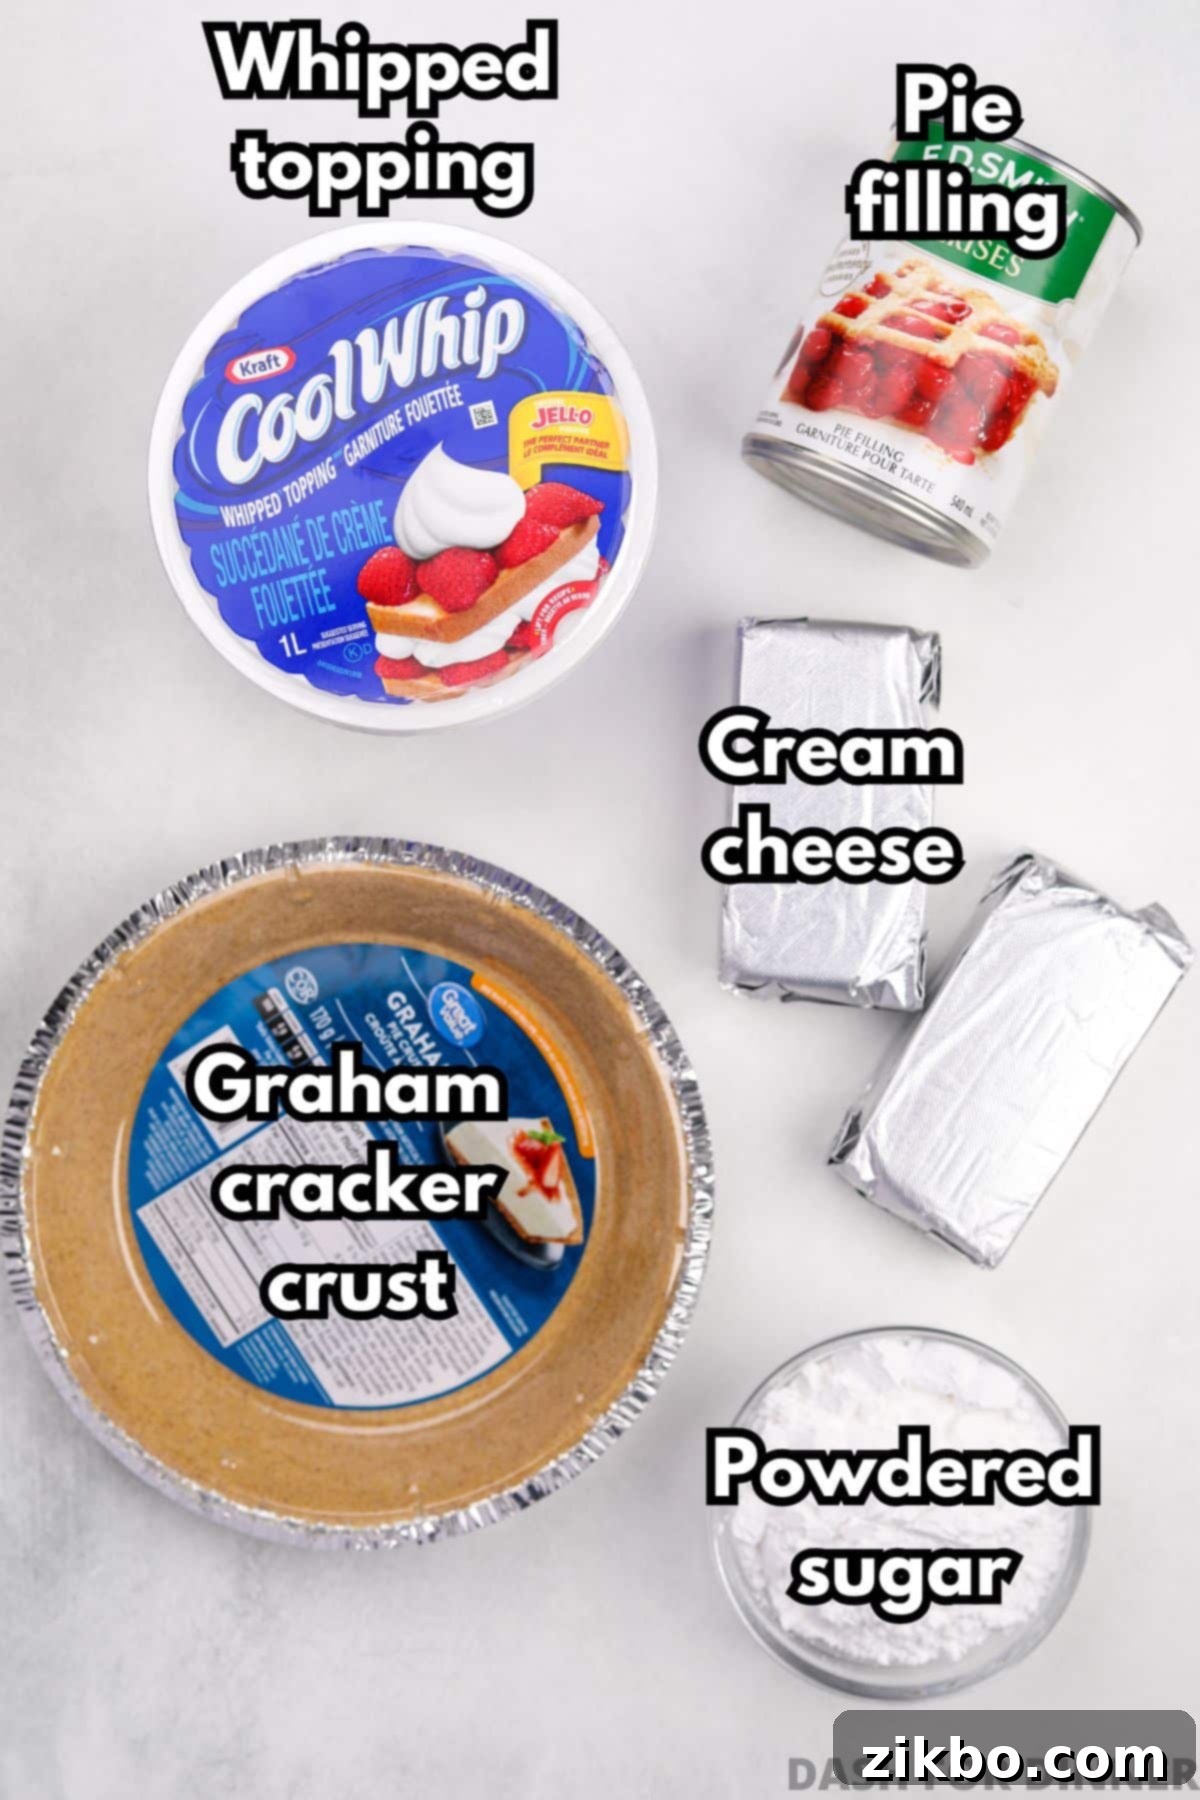
- Cream Cheese: You’ll need two 8-ounce packages of full-fat, brick-style cream cheese. It is crucial that the cream cheese is softened completely to room temperature. This ensures a smooth, lump-free filling that blends effortlessly. Avoid using cream cheese from a tub, as it has a different consistency and won’t set properly for this recipe.
- Cool Whip (or Frozen Whipped Topping): While I might not always reach for Cool Whip on its own, it truly performs magic in this no-bake cheesecake. Its stabilized nature is key, allowing you to prepare this cheesecake several days in advance without worrying about it weeping or losing its airy texture. I’ve successfully tested this recipe with both brand-name Cool Whip and various store brands; both yield equally fantastic results. Ensure it’s thawed according to package directions before use.
- Powdered Sugar (Confectioners’ Sugar): For the smoothest, most velvety texture in your cheesecake filling, powdered sugar is highly recommended. Its fine consistency dissolves easily, preventing any graininess. If you find yourself without powdered sugar, granulated sugar can be used as a substitute, though the texture might be slightly different.
- Graham Cracker Crust: To maintain the sheer simplicity of this recipe, a pre-made graham cracker crust is a perfect shortcut. It saves time and effort, getting you to dessert faster! However, if you prefer the taste and control of homemade, I’ve included instructions below for making your own perfectly buttery graham cracker crust.
- Pie Filling (Your Choice!): Our family’s go-to is often cherry pie filling, and it’s always a hit! However, this recipe is incredibly adaptable, and we’ve experimented with various flavors like blueberry, strawberry, and even apple pie filling, all with delicious outcomes. If canned pie filling isn’t your preference, you can certainly opt for fresh fruit toppings instead.
For precise measurements and a detailed list, please refer to the complete recipe card below.
Essential Equipment
You won’t need an extensive array of kitchen gadgets for this recipe, but a few key tools will make the process even smoother:
- Hand Mixer: An electric hand mixer is my preferred tool for quick recipes like this due to its efficiency and easy cleanup. It effortlessly whips the cream cheese and sugar to a smooth consistency. If you don’t have one, some serious elbow grease and a sturdy whisk will also work, or you can use a stand mixer fitted with the whisk attachment for even less effort.
- Large Mixing Bowl: Essential for combining all your ingredients without making a mess.
- Rubber Spatula: Perfect for scraping down the sides of your bowl and gently folding in the whipped topping, ensuring everything is fully incorporated.
Step-by-Step: Crafting Your Easy No-Bake Cheesecake
Making this cheesecake is surprisingly simple, following these straightforward steps. Remember, the key to success is patience during the chilling phase!
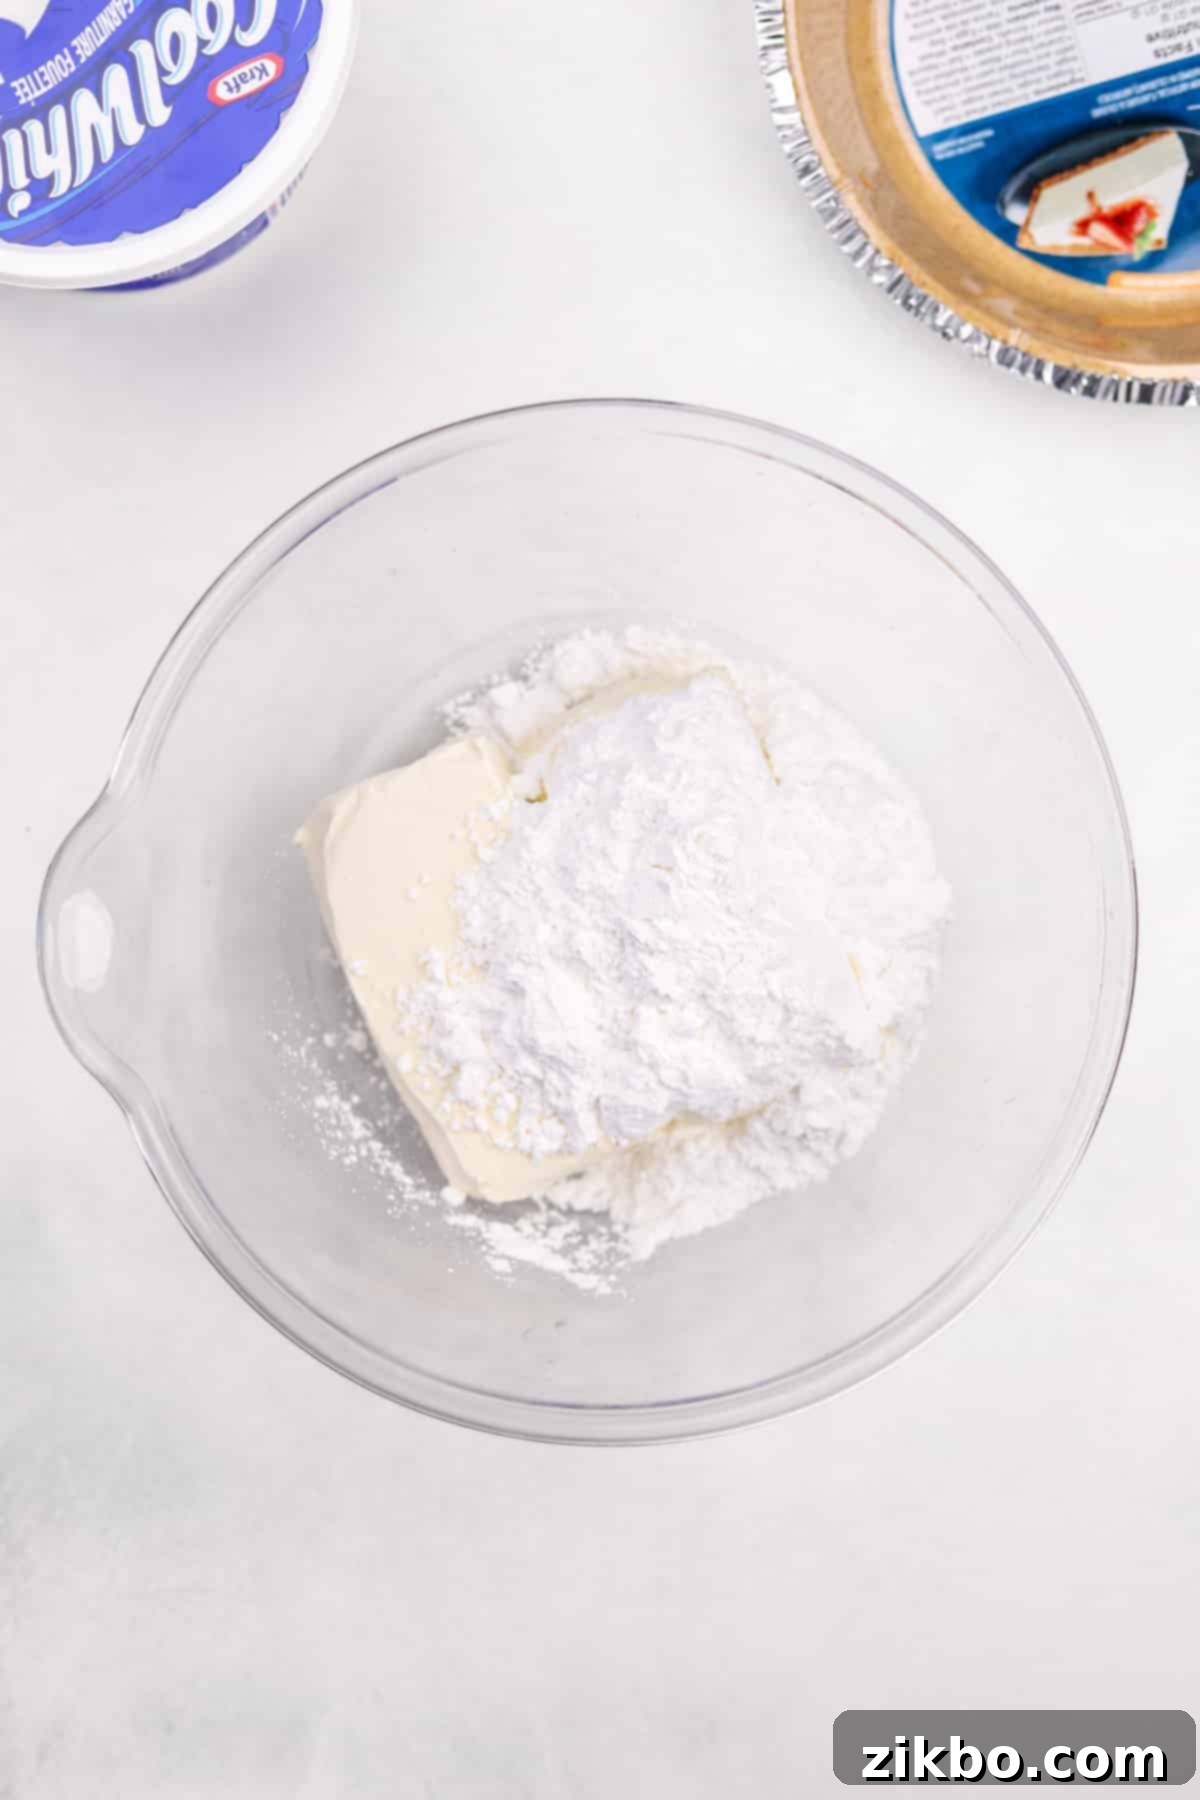
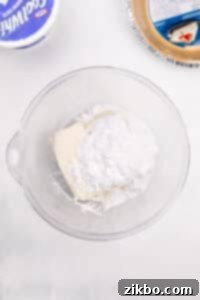
Step One: Combine Cream Cheese and Sugar. In a large mixing bowl, add your two packages of softened brick-style cream cheese along with the powdered sugar. Ensure the cream cheese is at room temperature to prevent lumps.
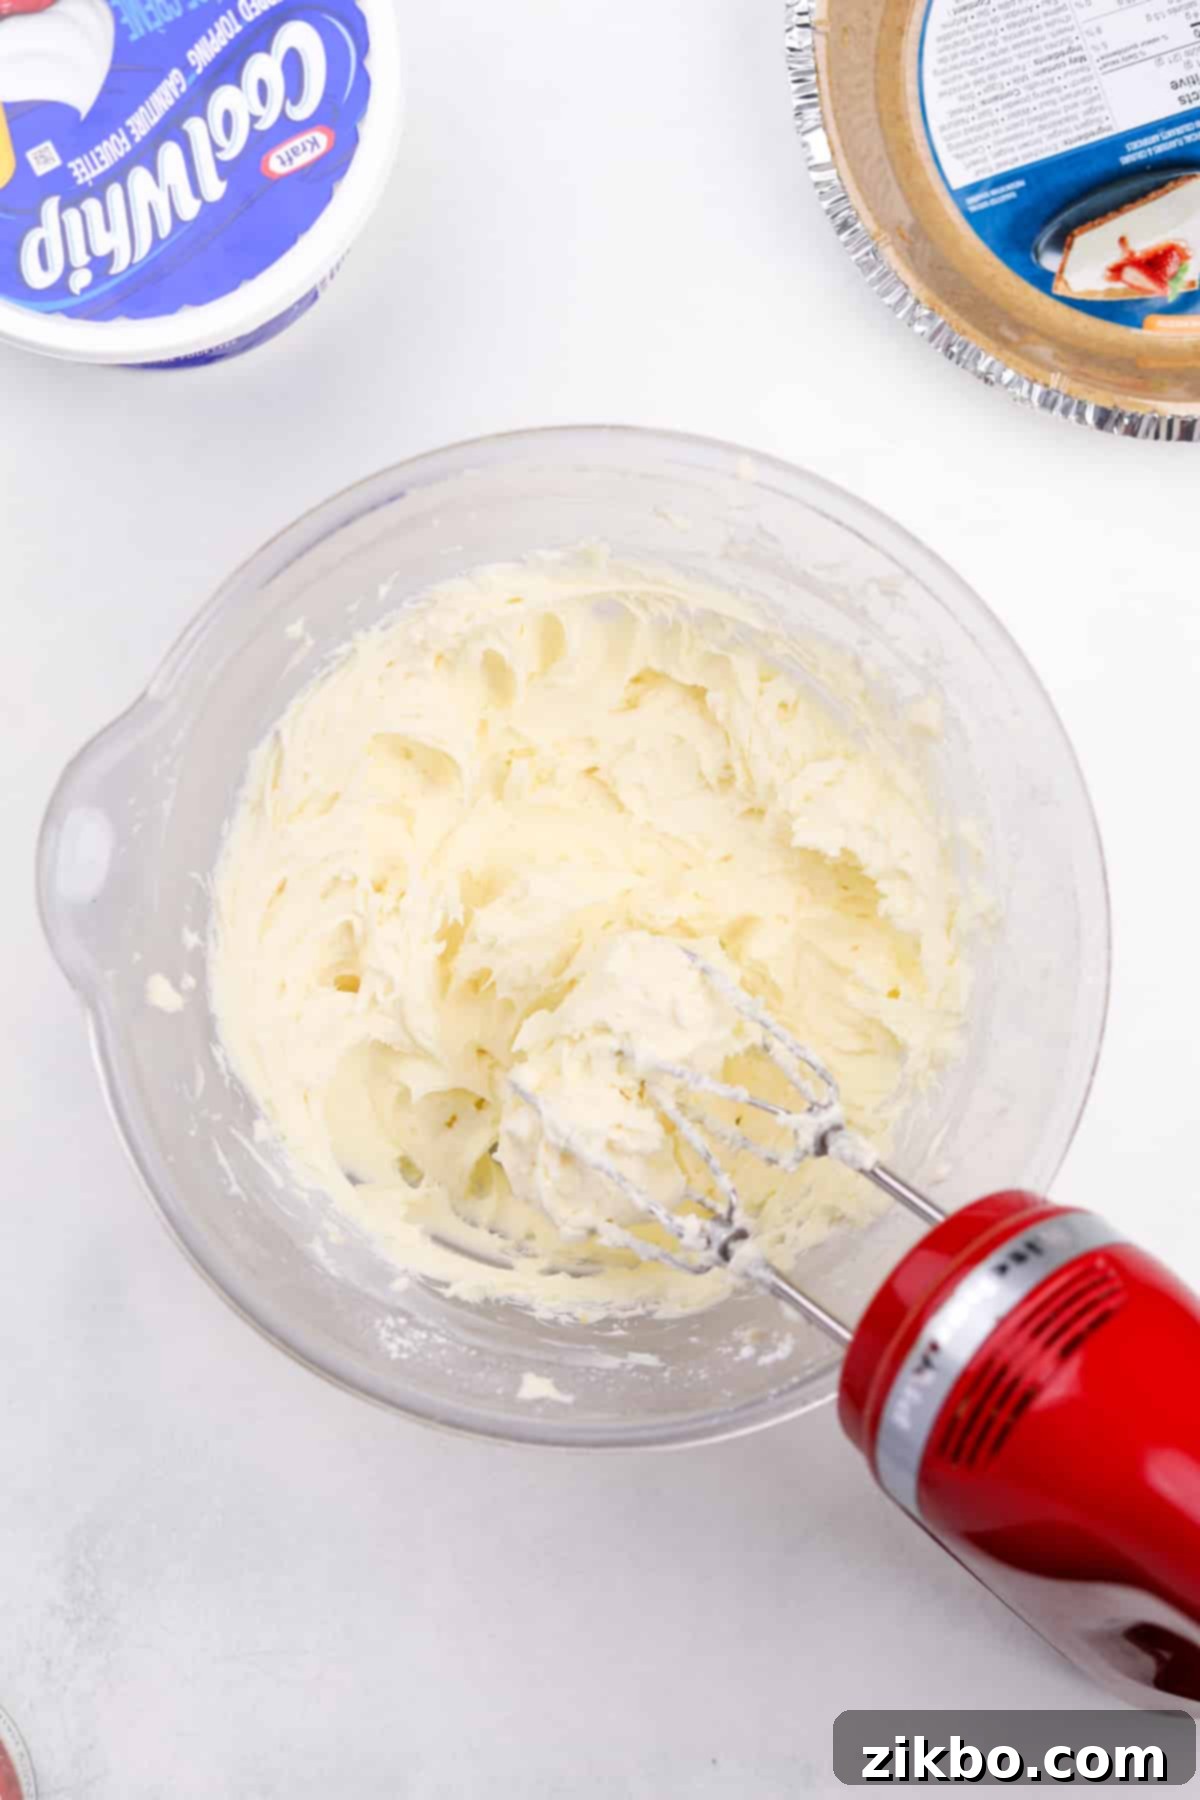
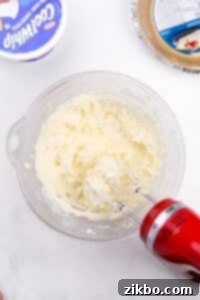
Step Two: Beat Until Smooth. Using your hand mixer on medium speed, beat the cream cheese and powdered sugar until the mixture is completely smooth and creamy. Stop periodically to scrape down the sides of the bowl with a rubber spatula, ensuring all ingredients are fully incorporated and no lumps remain.
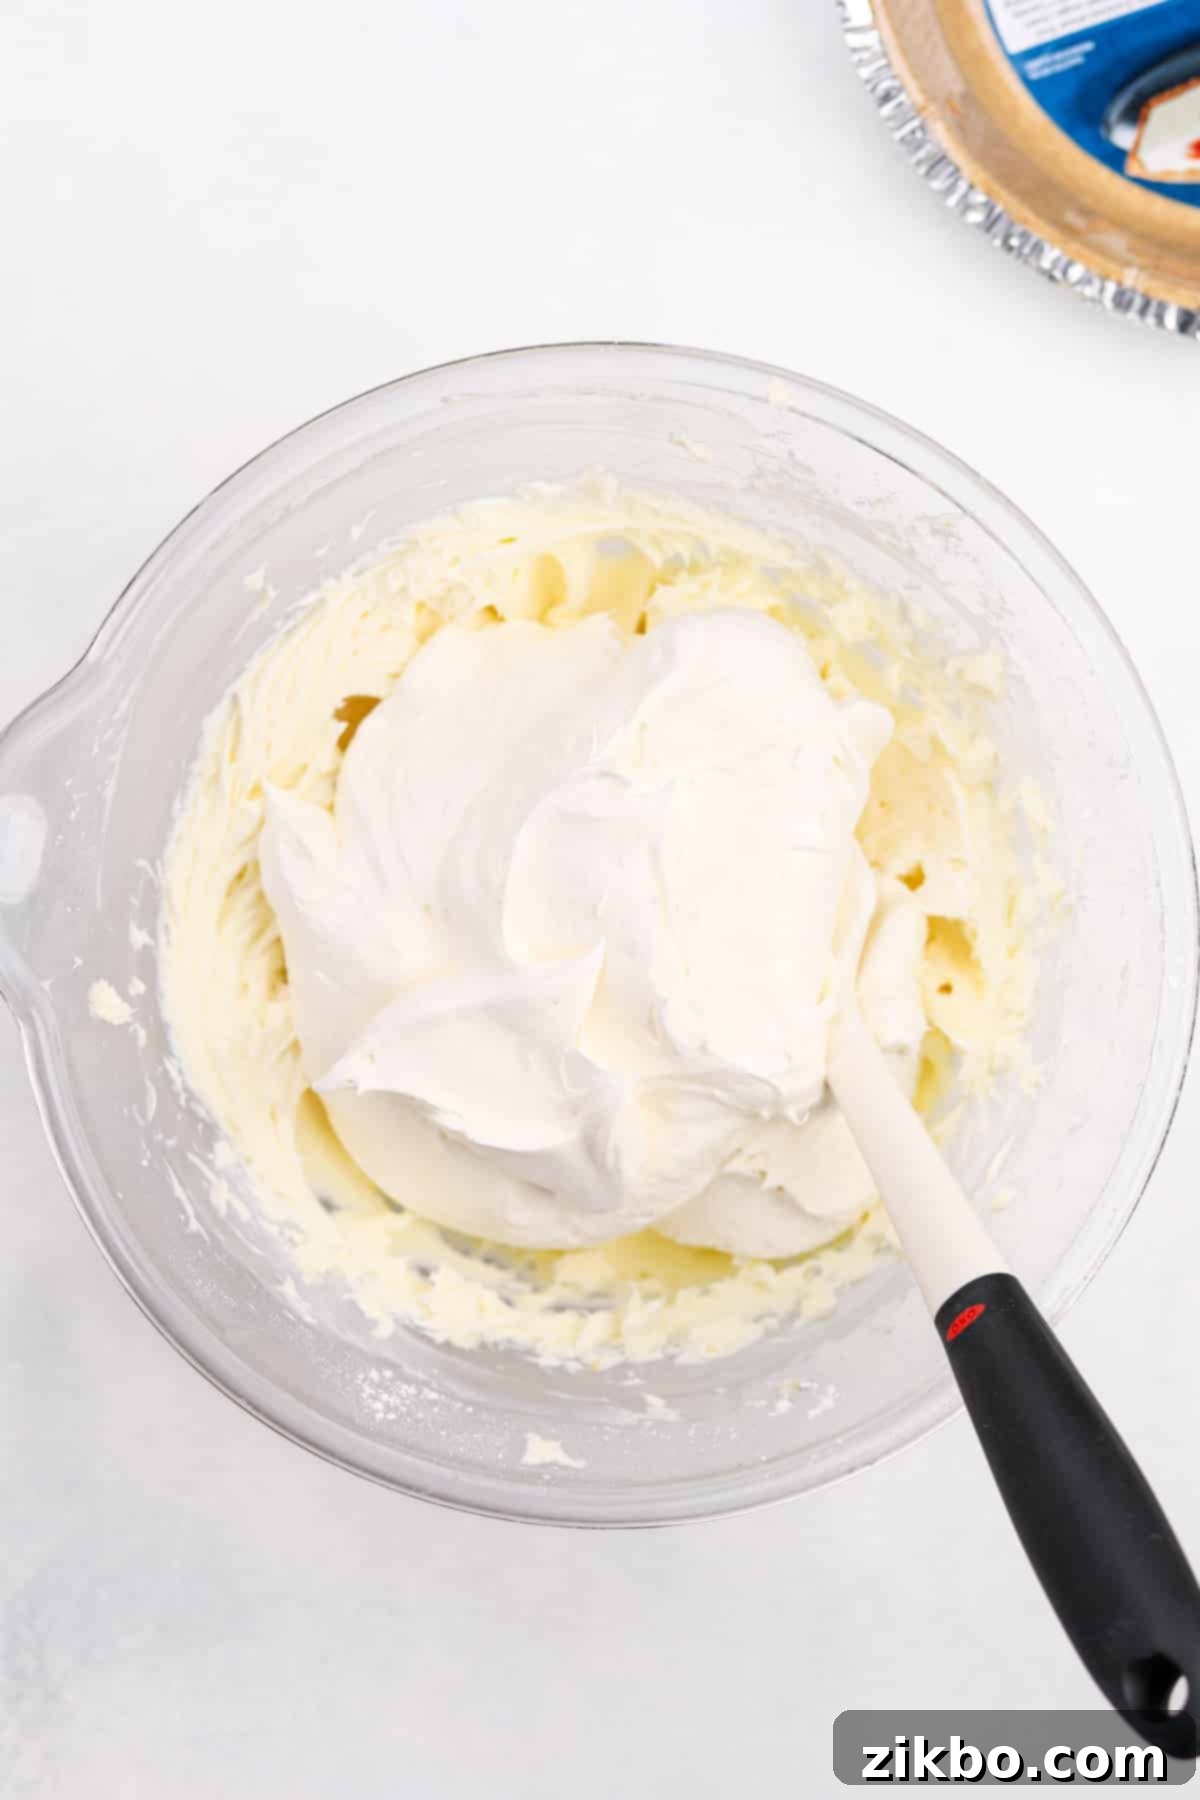
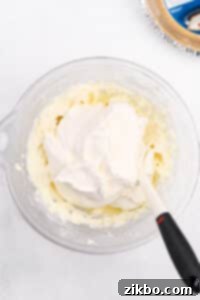
Step Three: Fold in Whipped Topping. Gently add the thawed whipped topping to the cream cheese mixture. It’s important to fold it in carefully to maintain the airy consistency.
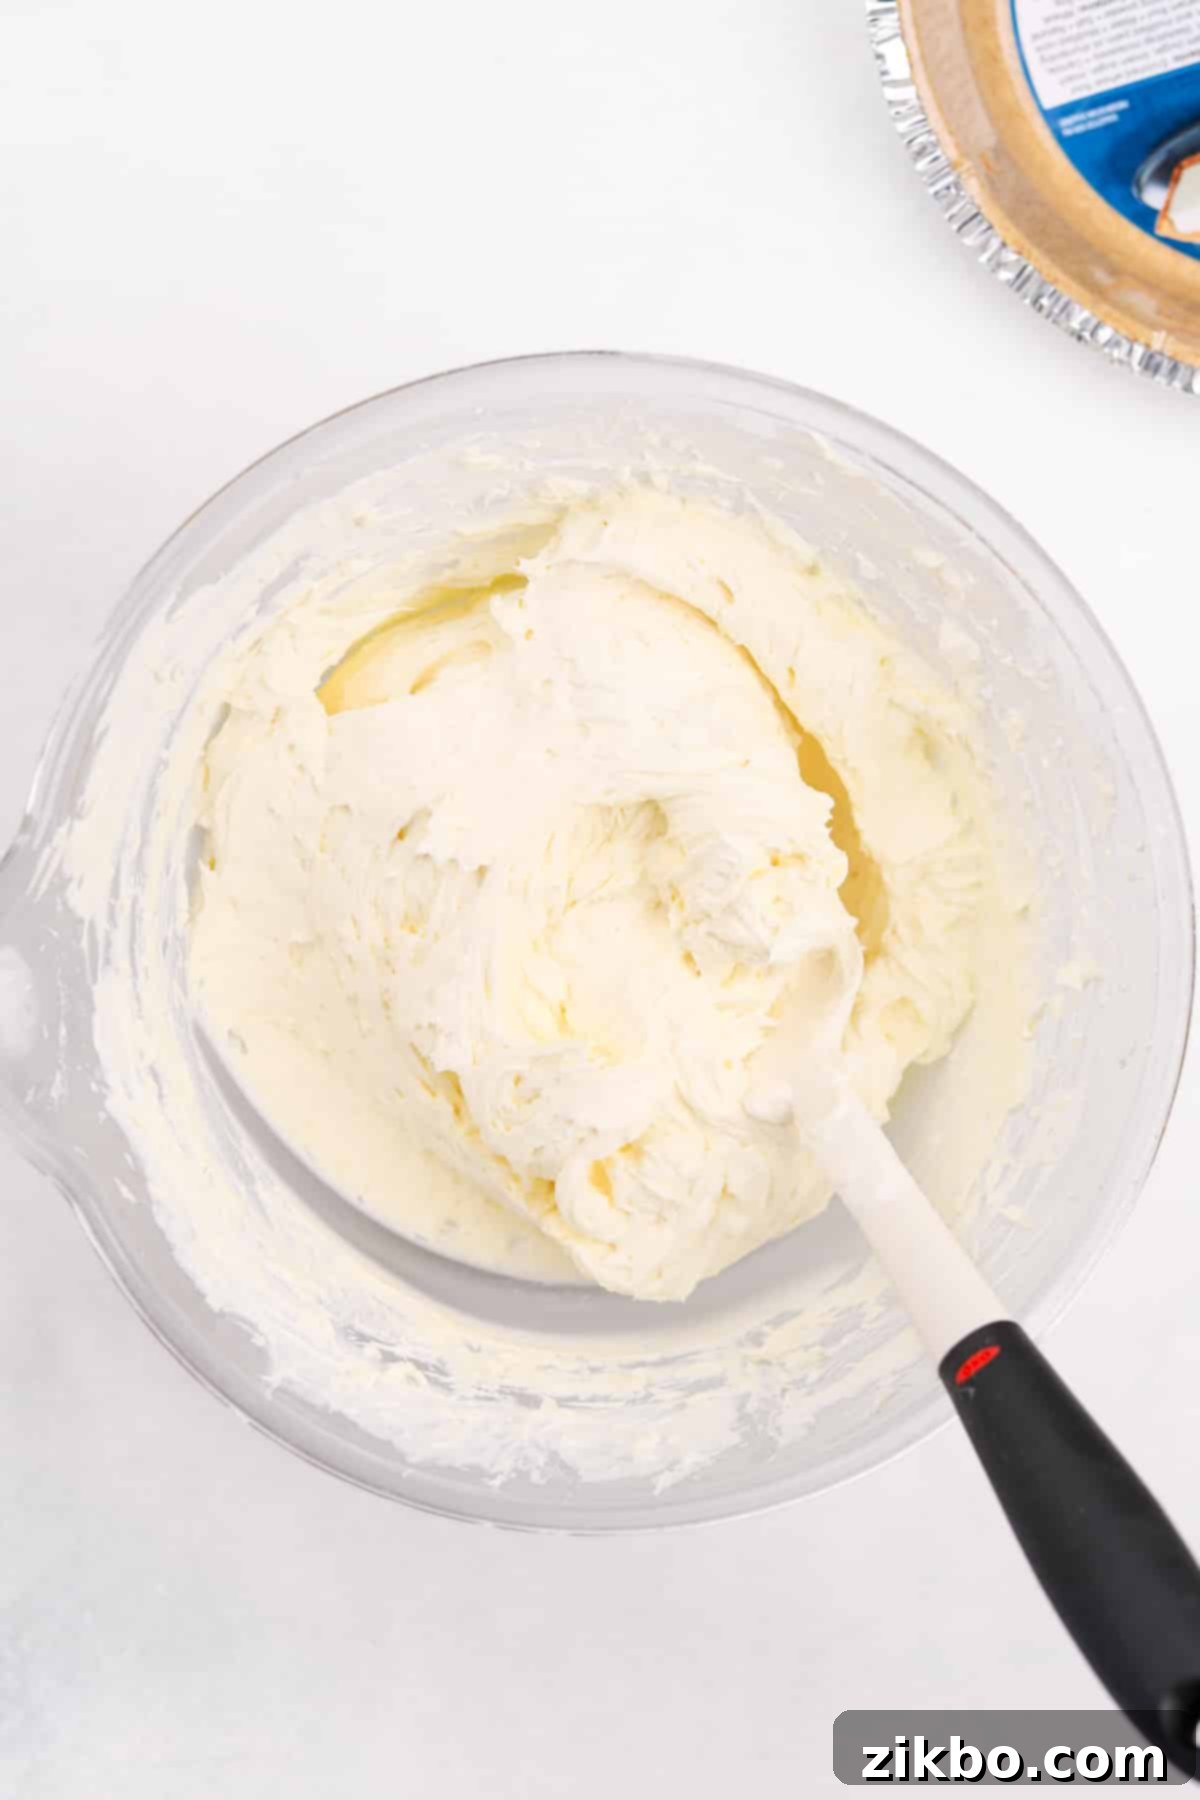
Step Four: Mix Until Fully Incorporated. Continue to mix well, either by hand with your rubber spatula or with your mixer on the lowest speed, until the whipped topping is completely incorporated into the cream cheese mixture and the filling is uniform and smooth. Be careful not to overmix, which can deflate the whipped topping.
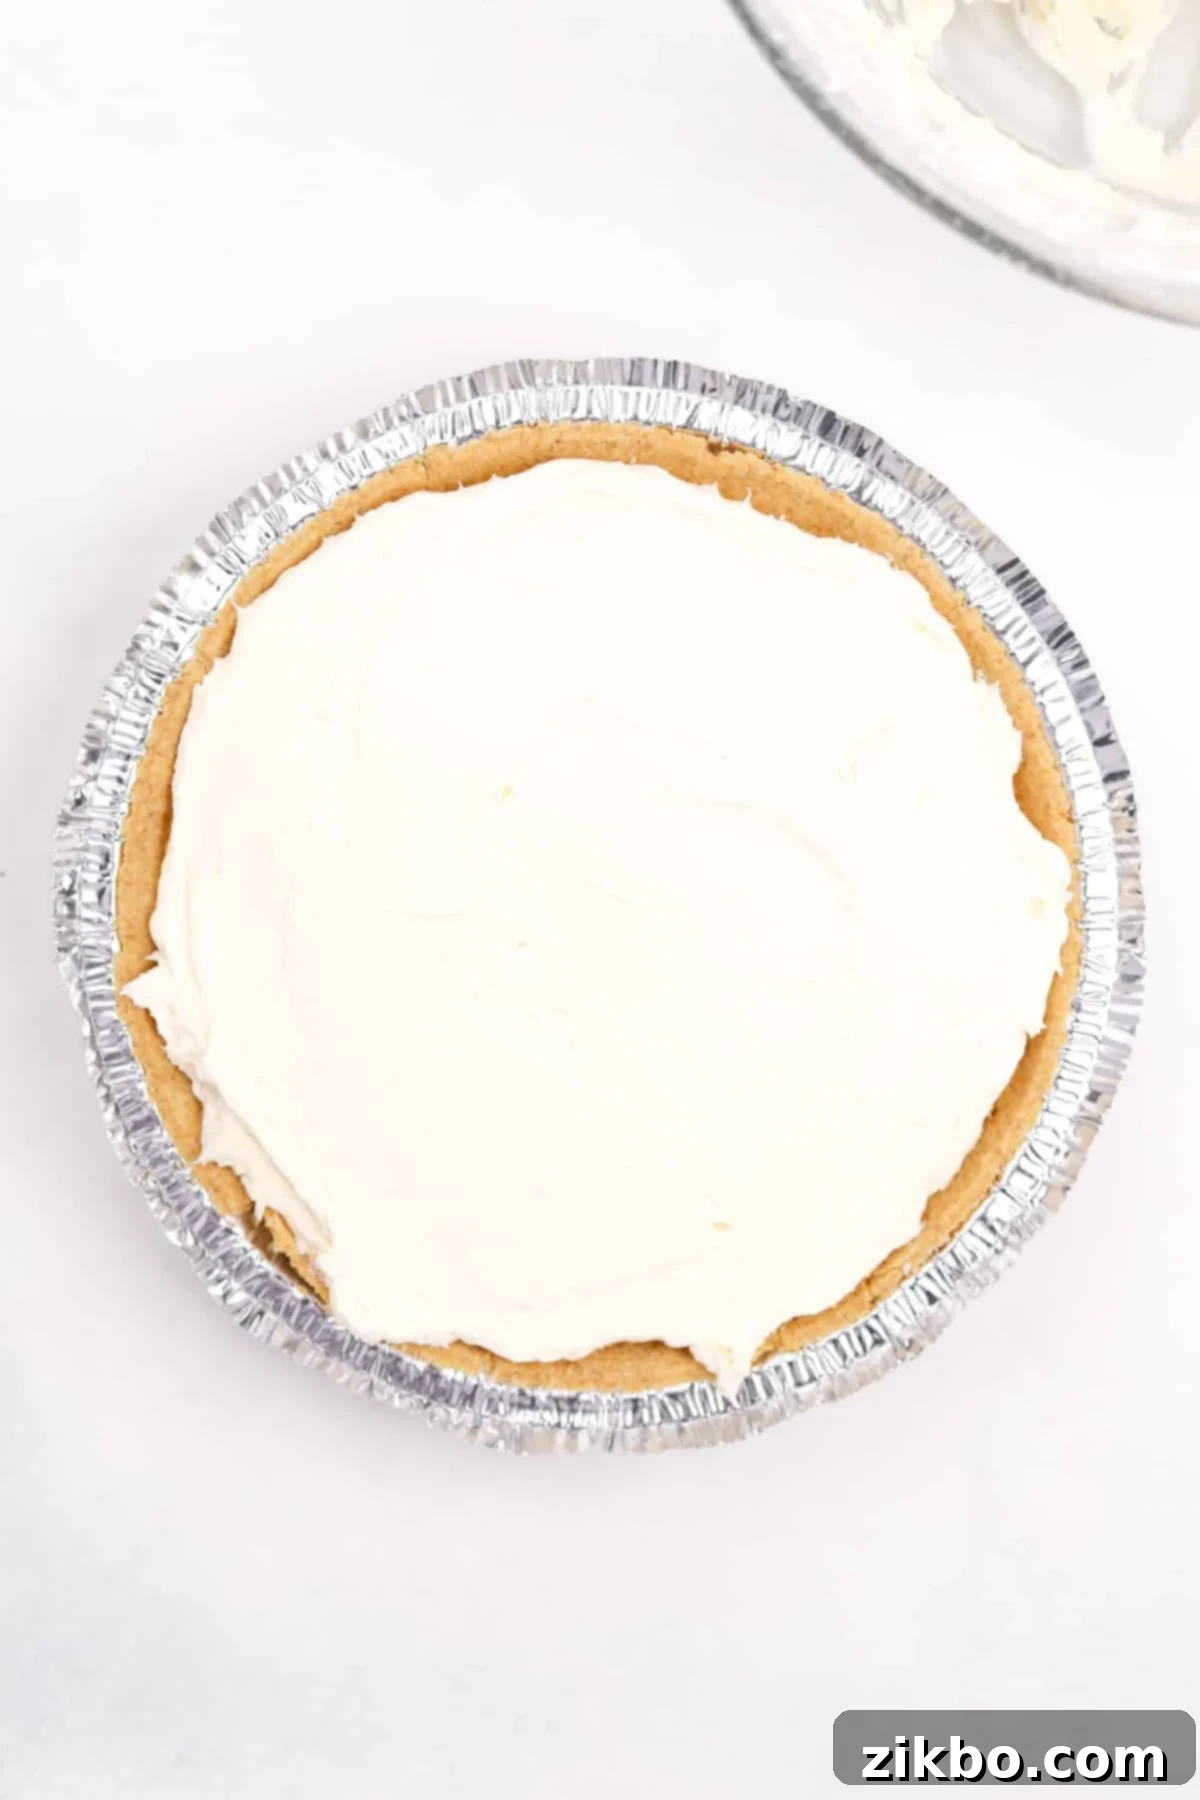
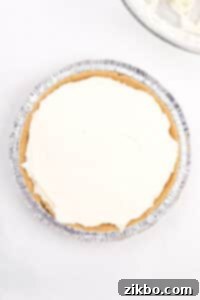
Step Five: Fill Crust and Chill. Carefully spread the creamy cheesecake mixture into your prepared graham cracker crust. Ensure you don’t overfill the crust; depending on its depth, you might have a small amount of filling left over (see note below for ideas). Cover the cheesecake with a domed lid or plastic wrap to prevent it from absorbing refrigerator odors. Chill in the refrigerator for a minimum of 1-4 hours, or until thoroughly set. Patience here is key for a firm, sliceable cheesecake!
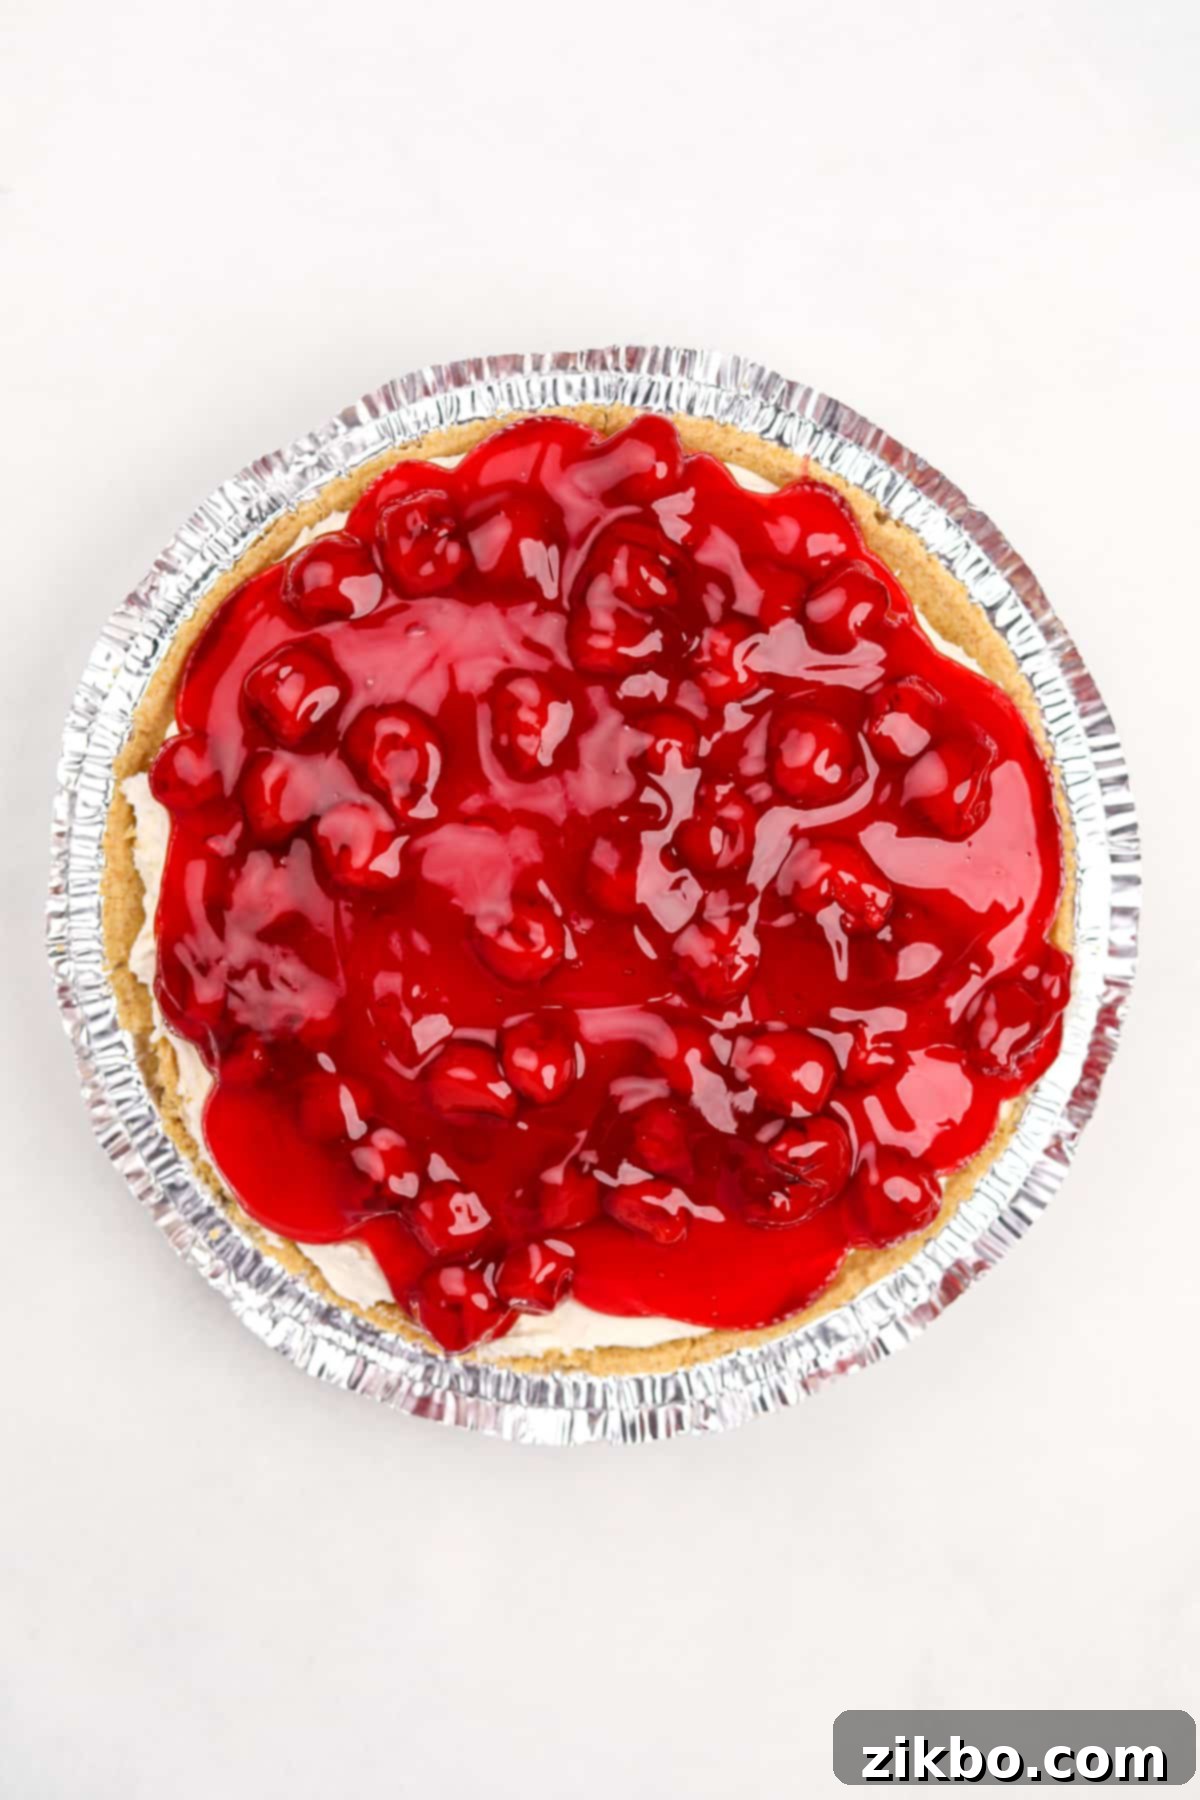
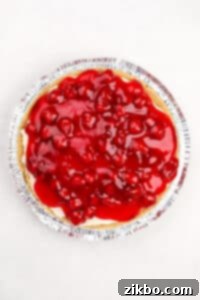
Step Six: Add Your Favorite Topping. Once your cheesecake is perfectly chilled and set, carefully spoon your chosen pie filling over the top. Gently spread it to create an even layer, being mindful not to disturb the cheesecake underneath. You may not need the entire can of filling, depending on how generous you like your topping.
Helpful Note: If your pre-made crust is on the shallower side, you might have some extra cheesecake filling and pie filling left over. Don’t let it go to waste! I love creating a quick “cheesecake cup” or mini trifle with the leftovers – it’s a delightful personal-sized sweet treat for later!
Slicing and Serving Your Masterpiece
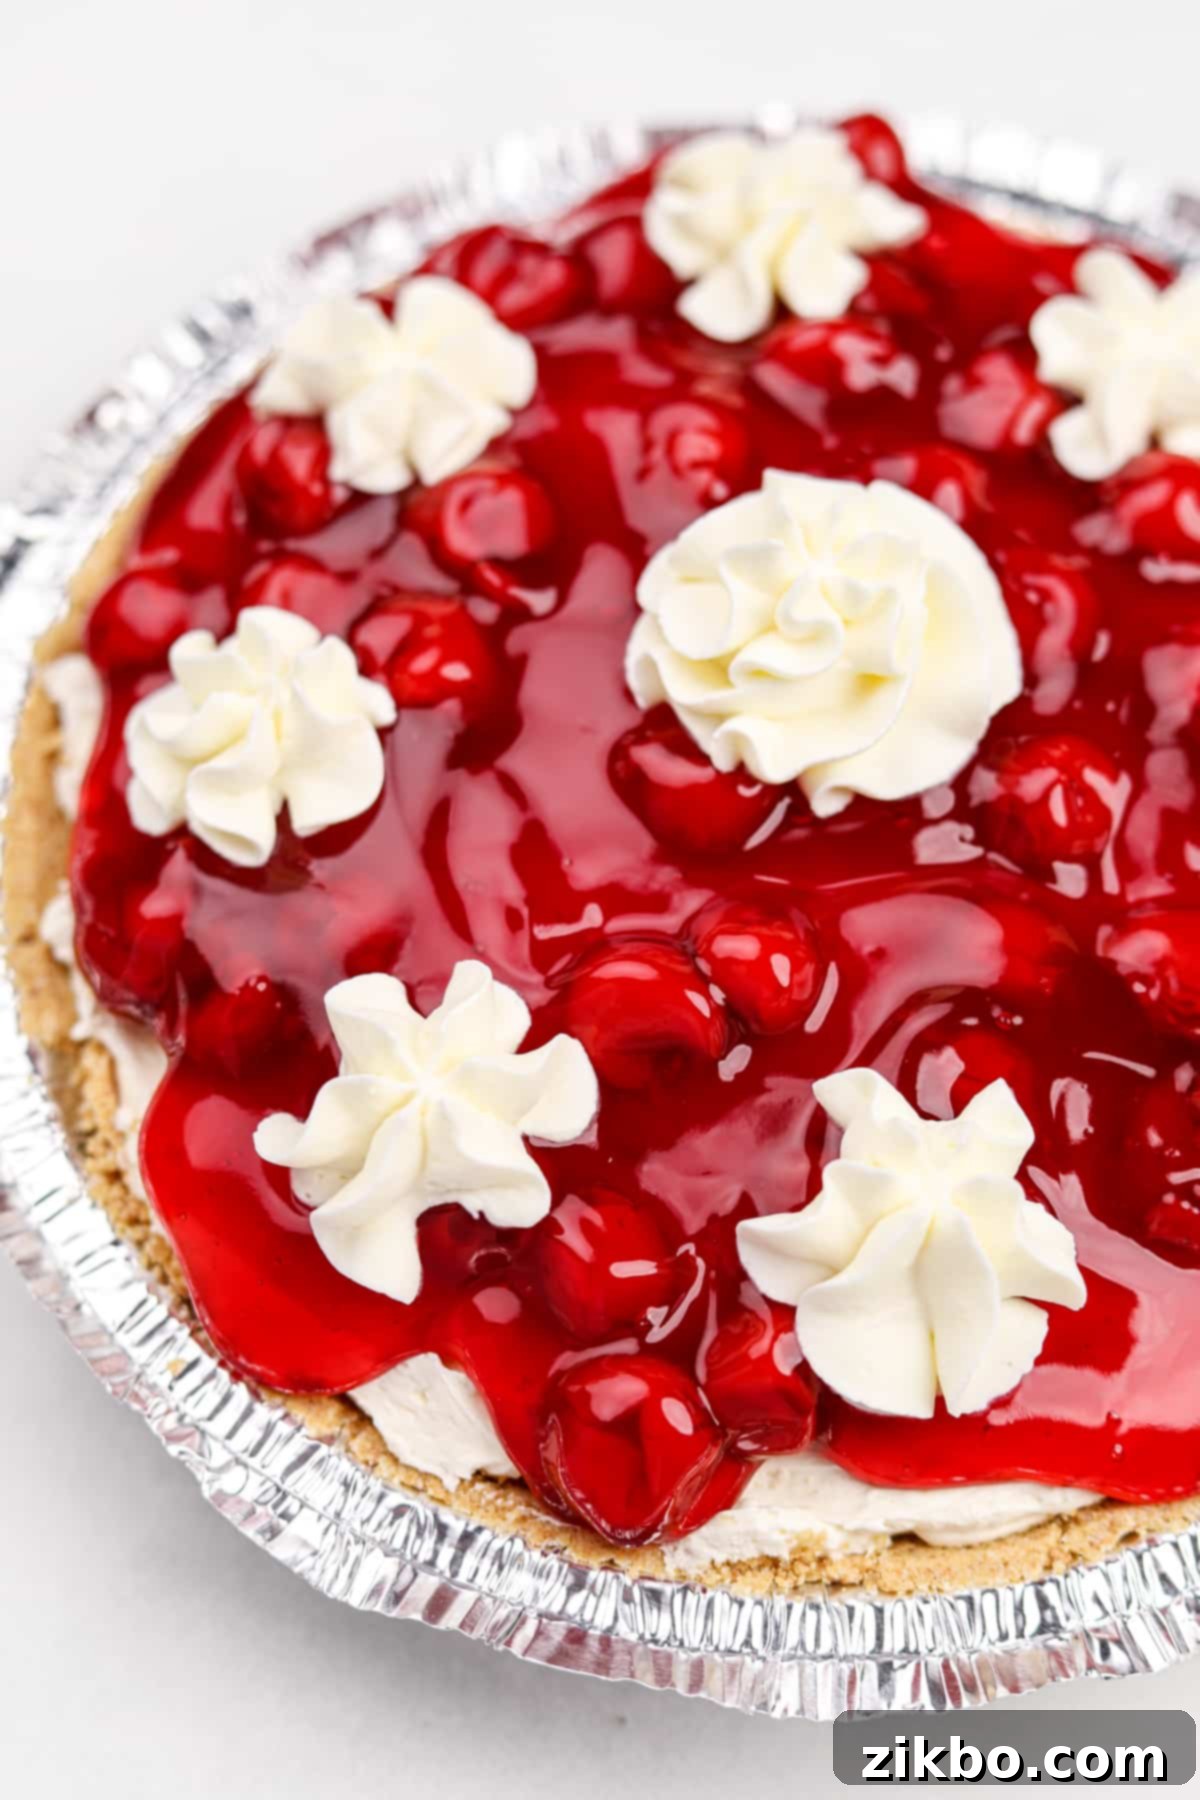
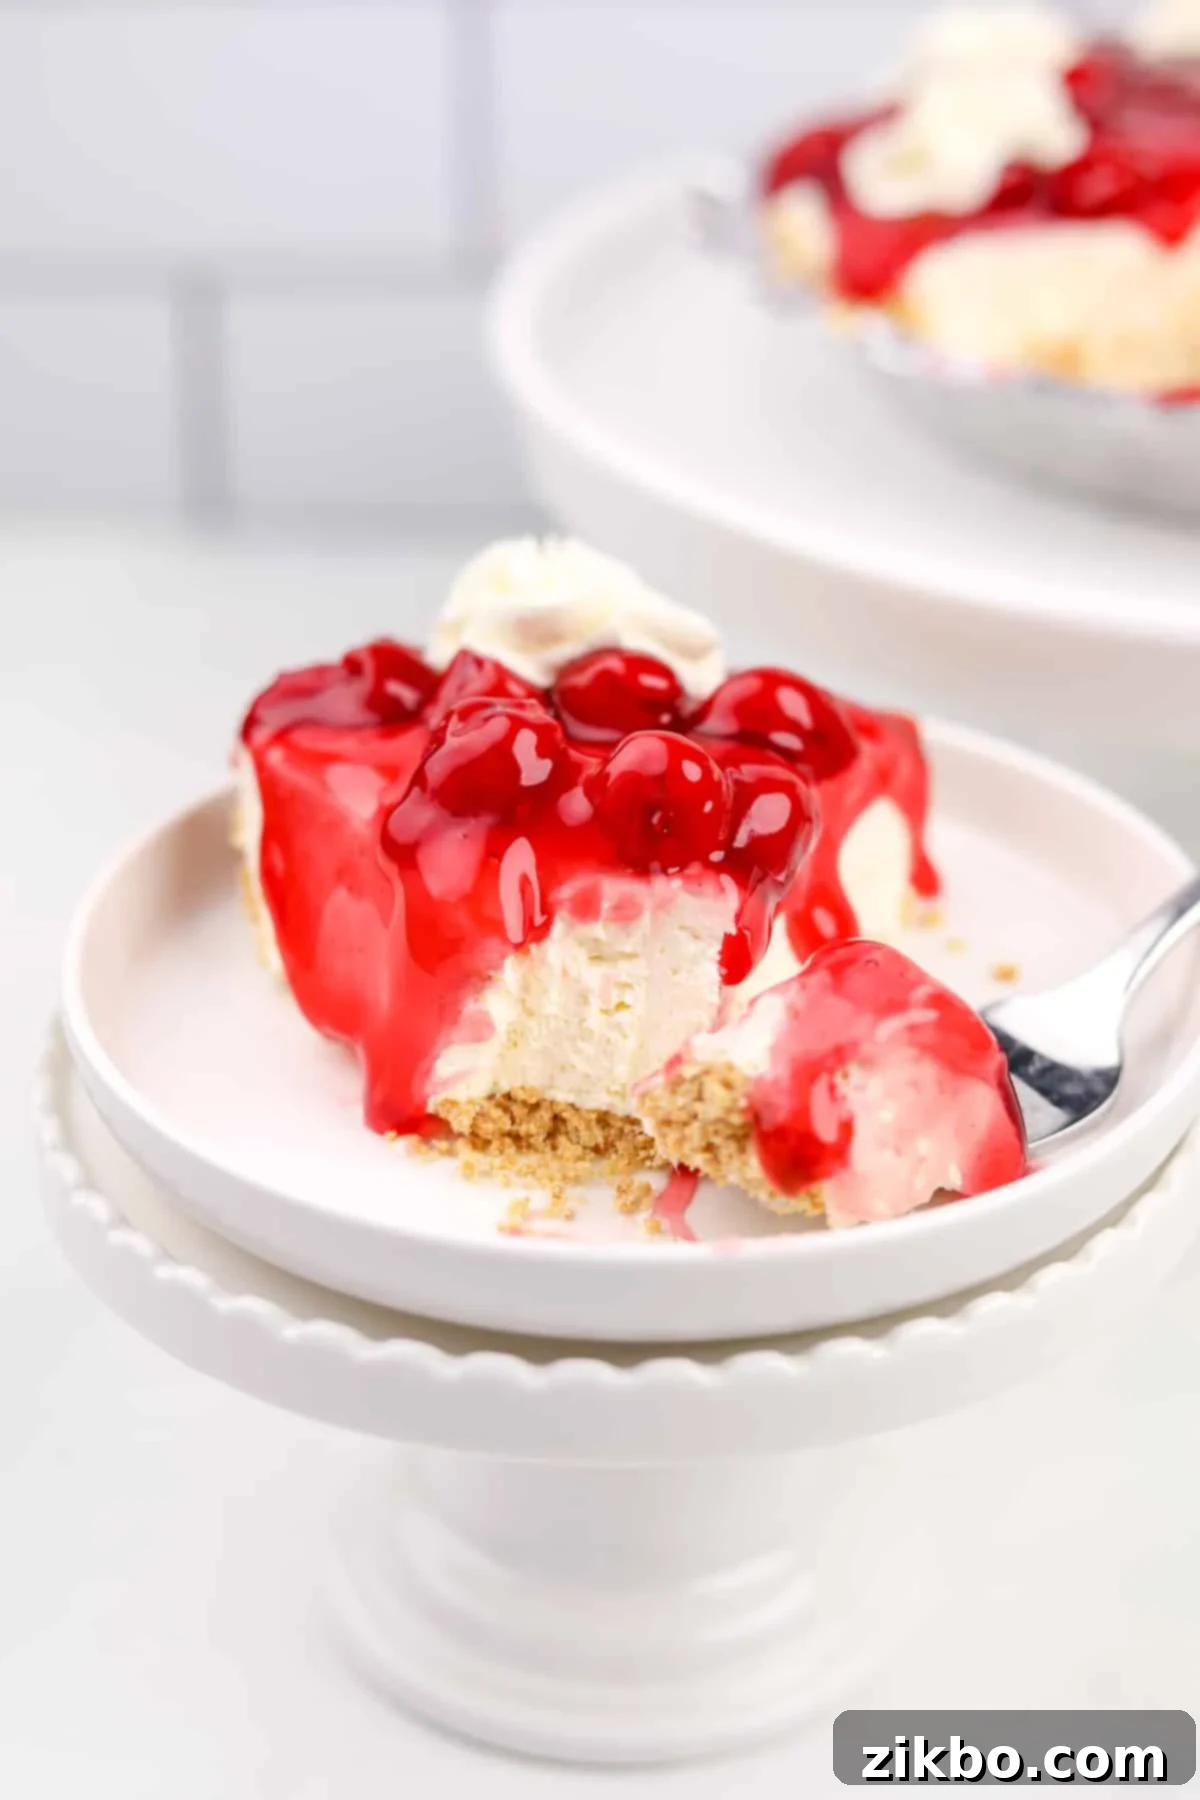
Step Seven: Slice, Garnish, and Enjoy! Once the topping is in place, your no-bake cheesecake pie is ready to be sliced and served. For clean slices, use a sharp knife warmed under hot water and wiped clean between each cut. Cut into 6-8 generous slices. For an extra touch of indulgence and visual appeal, serve each slice with a dollop of homemade whipped cream, a sprinkle of fresh berries, or chocolate shavings (if desired).
Expert Tips for No-Bake Cheesecake Success
Achieving that perfect creamy, set no-bake cheesecake is easy with these insider tips:
- Room Temperature Cream Cheese is Non-Negotiable: This is the golden rule for any cheesecake, baked or no-bake. Cold cream cheese will result in a lumpy filling, no matter how much you beat it. Take it out of the fridge at least an hour before you start, or gently soften it in the microwave on a very low setting for short bursts.
- Don’t Overmix the Whipped Topping: Once the Cool Whip is added, mix just until combined. Overmixing can deflate the whipped topping, leading to a less airy and potentially thinner cheesecake filling that won’t set as firmly.
- Chill Thoroughly: The chilling time is crucial for your cheesecake to set properly. Resist the urge to cut into it too soon! A minimum of 4 hours is recommended, but overnight chilling is even better for the firmest, most sliceable results.
- Use a Domed Lid or Plastic Wrap: When chilling, always cover your cheesecake. A domed lid for pie plates is ideal, as it prevents the plastic wrap from touching the delicate surface of the cheesecake. If using plastic wrap directly, press it gently against the surface to avoid a “skin” forming.
- Experiment with Toppings: While pie filling is classic, don’t limit yourself! Fresh berries, chocolate ganache, caramel sauce, lemon curd, or even a sprinkle of chopped nuts can elevate your cheesecake.
Troubleshooting Your No-Bake Cheesecake
Even with simple recipes, sometimes things don’t go exactly as planned. Here are solutions to common no-bake cheesecake problems:
- My cheesecake didn’t set / is too runny:
- Cream Cheese Temperature: Did you use cold cream cheese? This can prevent it from emulsifying properly. Ensure it’s fully softened next time.
- Overmixing: Did you overmix after adding the whipped topping? This can deflate the stabilizing agents.
- Insufficient Chilling Time: This is the most common culprit! Extend the chilling time to at least 4-6 hours, or preferably overnight. The longer it chills, the firmer it will become.
- Wrong Cream Cheese Type: Did you use cream cheese from a tub (spreadable type) instead of brick-style? Tub cream cheese has more water and won’t set.
- My filling is lumpy: This is almost always due to not fully softening the cream cheese. Ensure it’s at true room temperature before mixing with the sugar.
- The crust is soggy: If using a homemade crust, ensure it’s pressed firmly and chilled well. For store-bought crusts, sometimes excessive moisture from the filling or fridge can cause this. Adding your pie filling closer to serving time can help.
Storing and Making Ahead for Convenience
One of the many advantages of this no-bake cheesecake is its excellent storage capabilities, making it a fantastic make-ahead dessert:
- Refrigerator Storage: Any leftover cheesecake should be transferred to an airtight container or covered tightly with a domed lid or plastic wrap. It will stay fresh and delicious in the refrigerator for 3-4 days.
- Freezing Instructions: If you’re planning to freeze your cheesecake, it’s best to do so *before* adding the pie filling. Wrap the cheesecake (in its crust) tightly in several layers of plastic wrap, then an additional layer of aluminum foil to prevent freezer burn. It can be frozen for up to 2 months. When ready to serve, thaw the cheesecake completely in the refrigerator, then add your chosen pie filling before serving.
- Make-Ahead Prep: The cheesecake filling and crust can be prepared up to 2 days in advance. Simply follow steps 1-5, cover the filled crust tightly, and refrigerate. Add the pie filling 3-4 hours before you plan to serve, then return it to the fridge to chill further until serving time. This strategy allows for stress-free entertaining!
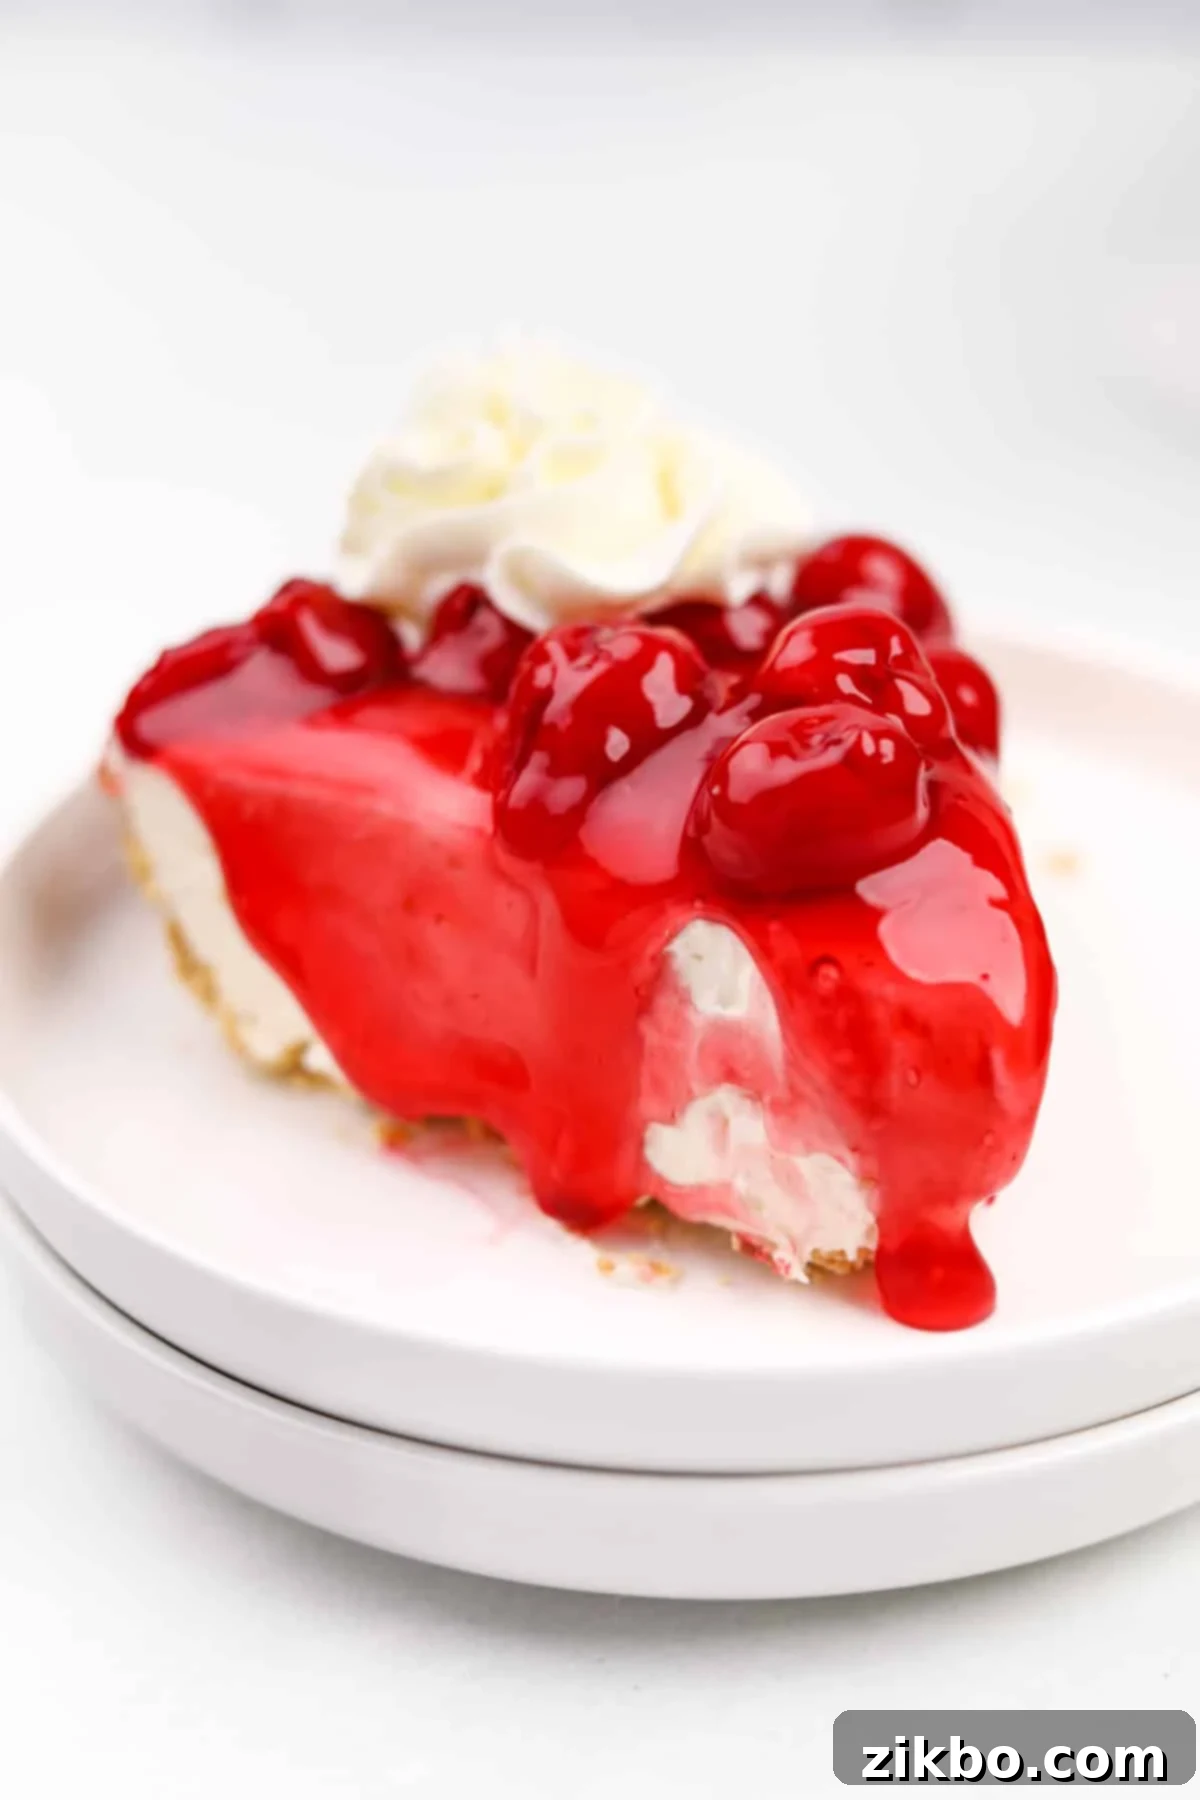
Optional: Elevate Your Cheesecake with Homemade Whipped Cream
While this no-bake cheesecake is utterly delightful on its own, a cloud of homemade whipped cream adds an extra layer of sweetness and a wonderfully fluffy texture that truly complements the rich cheesecake. It’s completely optional, but definitely a tasty addition if you have a few extra minutes!
Here’s my simple, foolproof method for making light and airy homemade whipped cream:
- Start with a clean, chilled mixing bowl (metal bowls work best) and a chilled whisk attachment (if using a stand mixer) or beaters (for a hand mixer).
- Add ¾ cup of very cold heavy cream to the bowl. The colder the cream, the faster and better it will whip.
- Next, add 1 ½ tablespoons of powdered sugar (for sweetness and to help stabilize) and ½ teaspoon of pure vanilla extract (for flavor).
- Beat with a hand mixer (or stand mixer) on medium-high speed. Keep a close eye on it; it will take approximately 3-4 minutes for moderate peaks to form.
- The whipped cream is ready when you can lift the whisk attachment and the peaks hold their shape without collapsing. Be careful not to overbeat, or you’ll end up with butter!
- Transfer the whipped cream to a piping bag with your favorite tip for elegant dollops, or simply spoon it generously over individual slices as desired.
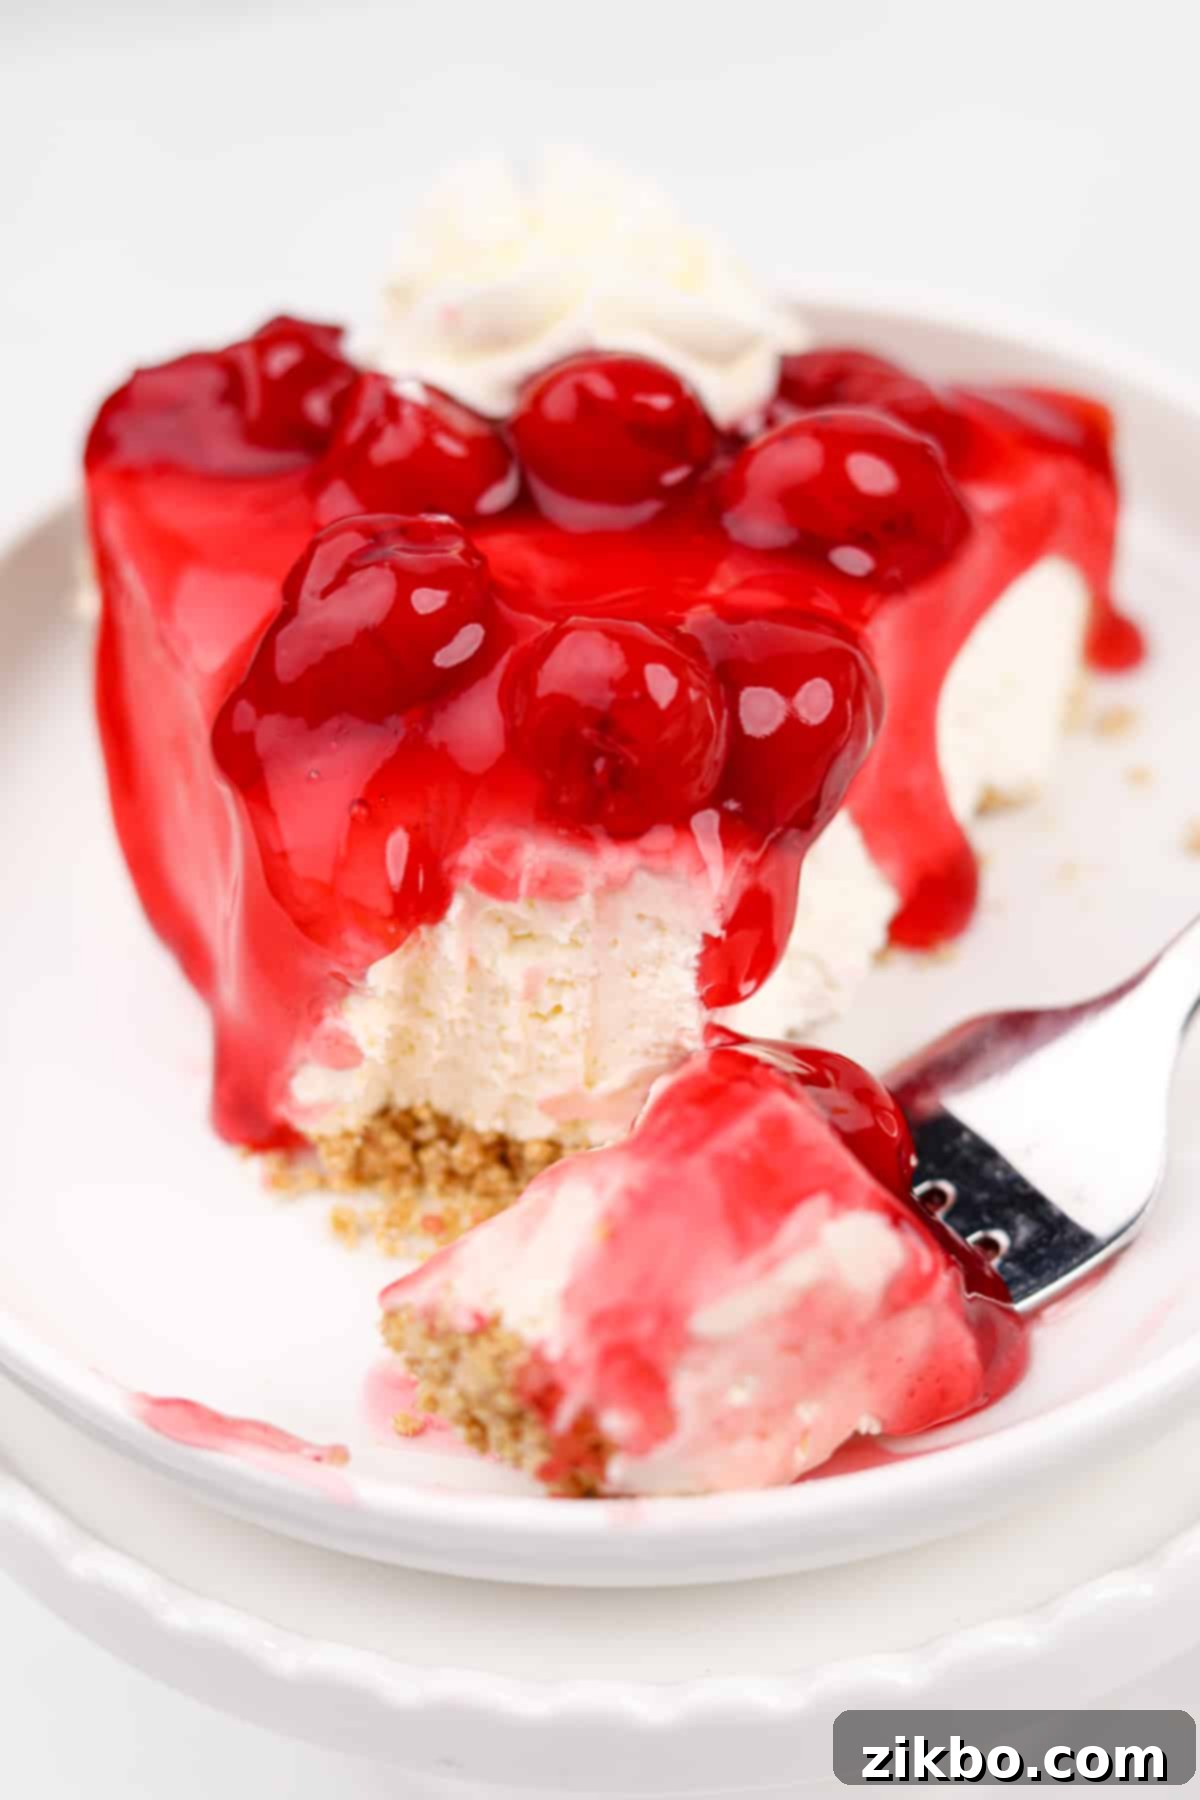
Creative Variations for Your No-Bake Cheesecake
This basic 5-ingredient recipe is incredibly flexible, allowing for endless creative twists. Here are some ideas to inspire your next no-bake masterpiece:
- Individual No-Bake Cheesecake Cups: Perfect for portion control and easy serving! To each small cup or jar, add a spoonful of crushed graham crackers at the bottom (optional, but adds great texture). Then, fill about three-quarters of the way with your creamy cheesecake filling. Finish with a few spoonfuls of your favorite pie filling or fresh fruit, then chill and serve. These are adorable for parties!
- Crustless No-Bake Cheesecake: If you’re looking to cut down on carbs or simply prefer a lighter dessert, omit the graham cracker crust entirely. Instead, layer the cheesecake filling in a decorative baking dish, trifle dish, or even individual ramekins. Top with your chosen pie filling or fresh berries for a elegant, gluten-friendly option.
- Infusing Flavor into the Filling: While the basic recipe is delicious, you can easily add extra flavor to the cheesecake filling itself.
- Vanilla: Add 1 teaspoon of vanilla extract or vanilla bean paste for a classic, aromatic touch.
- Citrus Zest/Juice: A tablespoon of fresh lemon juice or lime juice, along with a teaspoon of zest, can brighten the flavor and add a delightful tang.
- Chocolate: Fold in ⅓ cup of mini chocolate chips for a chocolate chip cheesecake variation, or swirl in melted chocolate for a marbled effect.
- Nut Butter: Swirl in a few tablespoons of creamy peanut butter or almond butter for a nutty twist.
- Homemade Graham Cracker Crust: If you enjoy baking or prefer to avoid pre-made crusts, making your own is simple and allows for greater control over flavor and texture.
- Ingredients: You’ll need one sleeve (about 9 sheets) of graham crackers, finely crushed (this yields approximately 1 cup of crumbs), 1 tablespoon of granulated sugar, and ½ cup of melted unsalted butter.
- Preparation: In a medium bowl, combine the graham cracker crumbs and sugar. Drizzle in the melted butter and stir until the crumbs are evenly moistened and resemble wet sand.
- Press and Chill/Bake: Press this mixture firmly into the bottom of an 8×8 or 9×9 square baking dish, or a 9-inch springform pan.
- No-Bake Option: Chill the crust in the refrigerator for at least 10 minutes to help it set.
- Partial Bake Option: For a sturdier, slightly crispier crust, bake it in a preheated 350ºF (177ºC) oven for 8-10 minutes. Let it cool completely before adding the cheesecake filling.
Smart Substitutions for Dietary Needs and Preferences
This no-bake cheesecake recipe is quite forgiving and can be adapted to various dietary preferences with a few simple swaps:
- Gluten-Free Cheesecake: Easily make this dessert gluten-free by swapping the standard graham cracker crust for a gluten-free version, readily available in most grocery stores. Most Cool Whip products and canned pie fillings are naturally gluten-free, but always double-check the labels to verify ingredients and avoid cross-contamination for strict gluten-free diets.
- Lower Calorie/Sugar Options: For a lighter version, you can make these substitutions:
- Use low-fat or Neufchâtel cream cheese in place of full-fat. Be aware that the texture may be slightly less rich.
- Opt for sugar-free Cool Whip (frozen whipped topping).
- Select sugar-free pie filling or use fresh fruit as a topping, which is naturally lower in added sugars.
These changes will slightly alter the flavor and texture but still yield a delicious, guilt-free treat.
- Explore Different Flavors: The beauty of this recipe lies in its adaptability to different pie fillings and fruit toppings. Don’t be afraid to experiment!
- Berry Bliss: Try blueberry, raspberry, or strawberry pie filling for a burst of fruity flavor. Fresh berries like sliced strawberries, blueberries, or raspberries also make beautiful and delicious toppings.
- Tropical Twist: Use a pineapple pie filling or top with fresh mango and shredded coconut for an exotic flavor profile.
- Decadent Chocolate: Drizzle with chocolate ganache or a homemade chocolate sauce, and sprinkle with chocolate curls.
- Caramel Apple: Top with apple pie filling and a generous swirl of caramel sauce for a fall-inspired treat.
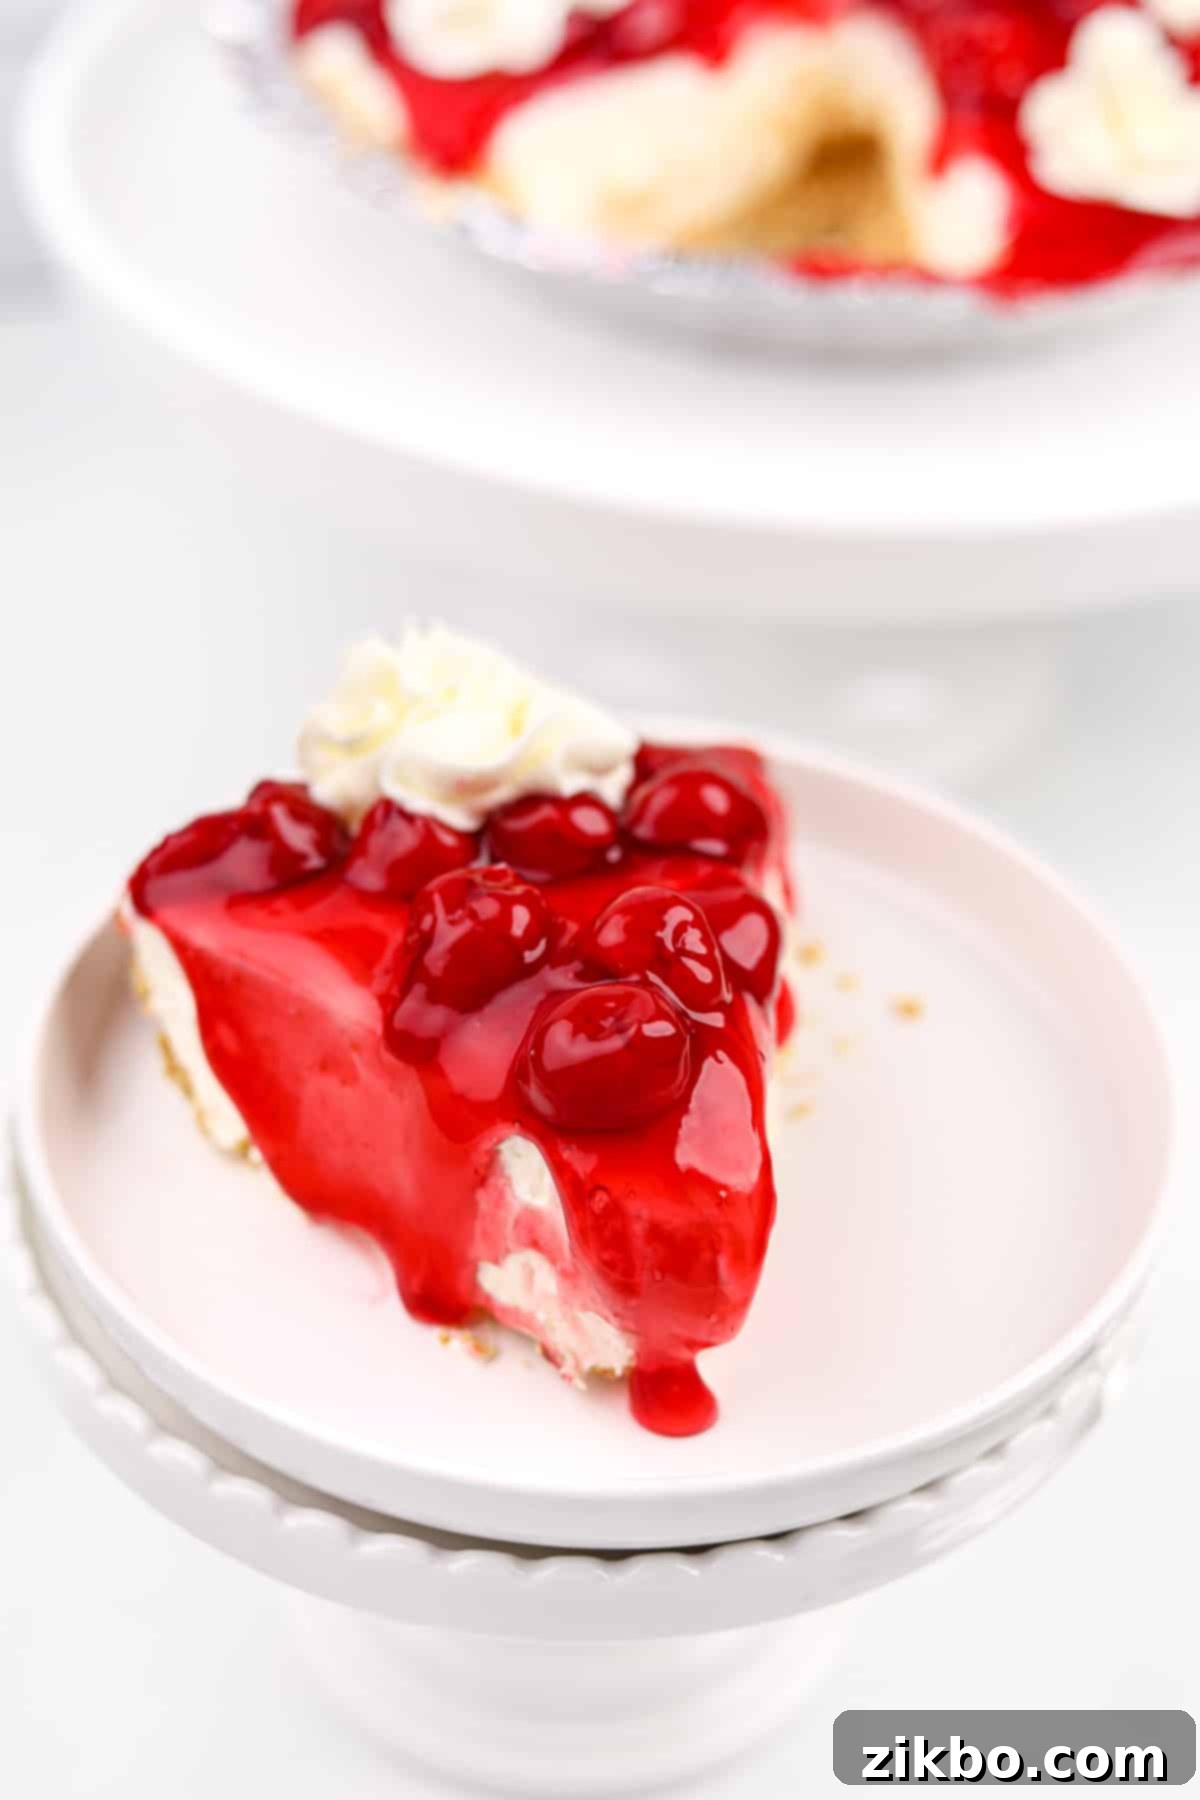
Craving More No-Bake Cheesecake? Explore These Recipes!
If you loved this simple 5-ingredient no-bake cheesecake, you’re in for a treat! Here are more delightful no-bake cheesecake creations from my kitchen that you simply have to try:
- No Bake Chocolate Chip Cheesecake
- Lazy Cheesecake Salad
- Red, White, and Blue Cheesecake Salad
- No Bake Pumpkin Cheesecake Bars
If you tried and loved this incredibly easy no-bake cheesecake recipe, please let me know! Your feedback is incredibly valuable. Consider leaving a 5-star review in the recipe card below or sharing your thoughts in the comments section. You can also tag me on Instagram @dashfordinner with your delicious creations!
5 Ingredient No-Bake Cheesecake
Print
Pin
Rate
Equipment
-
Electric hand mixer
-
Large mixing bowl
-
Rubber spatula
Ingredients
- 2 packages (8oz each) cream cheese softened to room temperature
- 1 cup powdered sugar
- 1 container (12oz) frozen whipped topping thawed (like Cool Whip)
- 1 pre-made graham cracker pie crust or homemade graham cracker crust*
- 1 can (21oz) cherry pie filling or pie filling of choice
Instructions
-
Add the two blocks of softened cream cheese to a large bowl, along with the powdered sugar. Ensure cream cheese is at room temperature for best results.

-
Beat the cream cheese and powdered sugar using an electric hand mixer on medium speed until the mixture is completely smooth and creamy. Scrape down the sides of the bowl as needed to ensure no lumps remain.

-
Gently add in the thawed whipped topping to the cream cheese mixture.

-
Mix until completely combined and smooth. Be careful not to overmix, which can deflate the whipped topping.

-
Spread the cheesecake filling evenly into a pre-made graham cracker crust. Note: Depending on the size of your crust, there may be a bit too much filling. Do not overfill; instead, set some of the filling aside if there is excess (see notes for ideas on leftovers**).
-
Cover the cheesecake tightly with a domed lid or plastic wrap, then place it in the fridge to chill for a minimum of 1-4 hours, or until thoroughly set. For best results, chill overnight.

-
Once the cheesecake has completely chilled and set, carefully spoon your desired pie filling over the cheesecake layer. Note: You may not need the whole can of filling.

-
Slice into 6-8 pieces using a warm, sharp knife, then serve and enjoy your easy, creamy no-bake cheesecake!
Notes
Make ahead: Prepare the crust and cheesecake filling up to 2 days ahead of time. Add the pie filling 4-5 hours before serving, then return to the fridge to chill thoroughly.
Homemade Graham Cracker Crust*:
If you prefer not to use a packaged crust, you can easily make your own for a fresh, buttery flavor.
- 1 sleeve graham crackers (about 9 sheets), finely crushed (approximately 1 cup of graham cracker crumbs)
- 1 tablespoon granulated sugar
- ½ cup melted unsalted butter
- Combine the crushed graham crackers, sugar, and melted butter in a bowl. Stir until crumbs are evenly moistened.
- Press this mixture firmly into the bottom of an 8×8 or 9×9 square baking dish that has been lined with parchment paper, or into a 9-inch pie plate.
- No-bake option: Chill the crust in the refrigerator for at least 10 minutes to set.
- Partial bake option: For a sturdier crust, bake in a preheated 350ºF (177ºC) oven for 8-10 minutes. Allow to cool completely before filling.
**The cheesecake filling should be slightly mounded, but still fairly level with the top of the crust. When using a pre-made crust, I often have about ¾ cup of extra filling. I love using this to make a “Cheesecake Cup” by layering the extra cheesecake filling with some of the pie filling in a small jar. This makes for a perfect personal-sized dessert!
Nutrition
Carbohydrates: 29g |
Protein: 1g |
Fat: 5g |
Saturated Fat: 1g |
Polyunsaturated Fat: 0.4g |
Monounsaturated Fat: 4g |
Cholesterol: 0.3mg |
Sodium: 101mg |
Potassium: 25mg |
Fiber: 0.4g |
Sugar: 19g |
Vitamin A: 4IU |
Vitamin C: 0.01mg |
Calcium: 7mg |
Iron: 1mg
Please note that some of my blog posts here at Dash for Dinner may contain affiliate links. If you make a purchase through these links, I will get a small commission at no additional cost to you. Please see my Disclaimer for more information.
