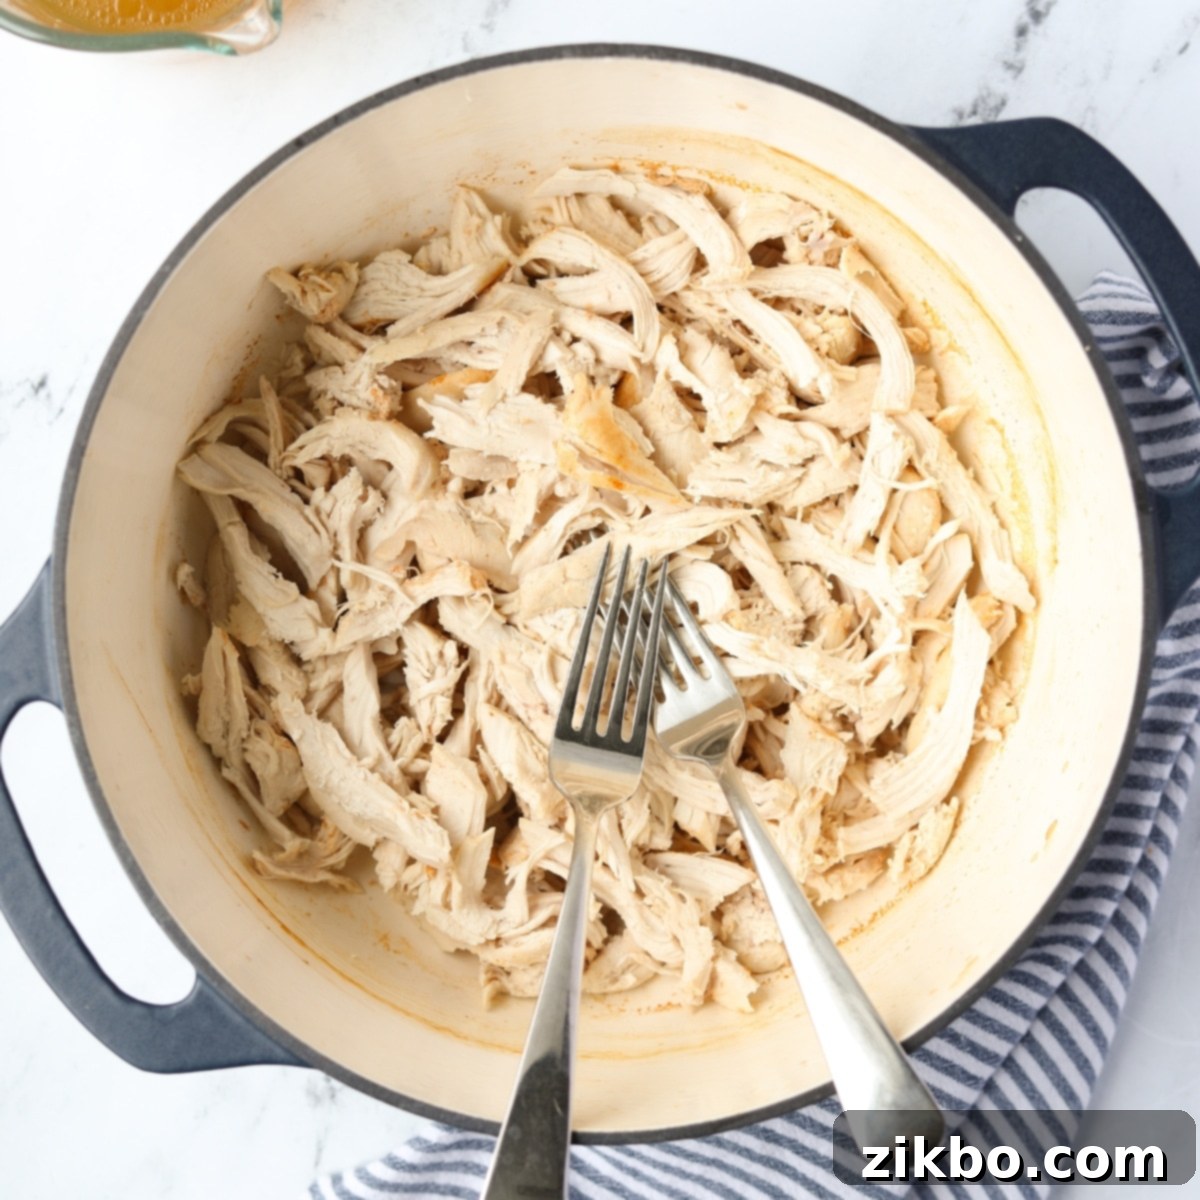
Perfectly Tender Dutch Oven Shredded Chicken: Your Ultimate Meal Prep Guide
Discover the secret to effortlessly preparing incredibly juicy, tender, and perfectly shredded chicken right in your Dutch oven. Whether you need a small batch for tonight’s dinner or a larger quantity for weekly meal prep, this foolproof method will quickly become your absolute favorite. Our Dutch oven shredded chicken recipe guarantees succulent results every single time, transforming simple chicken breasts or thighs into a versatile ingredient ready for countless delicious meals. Say goodbye to dry, flavorless chicken and hello to consistently perfect, moist shredded chicken that’s packed with flavor and incredibly easy to make.
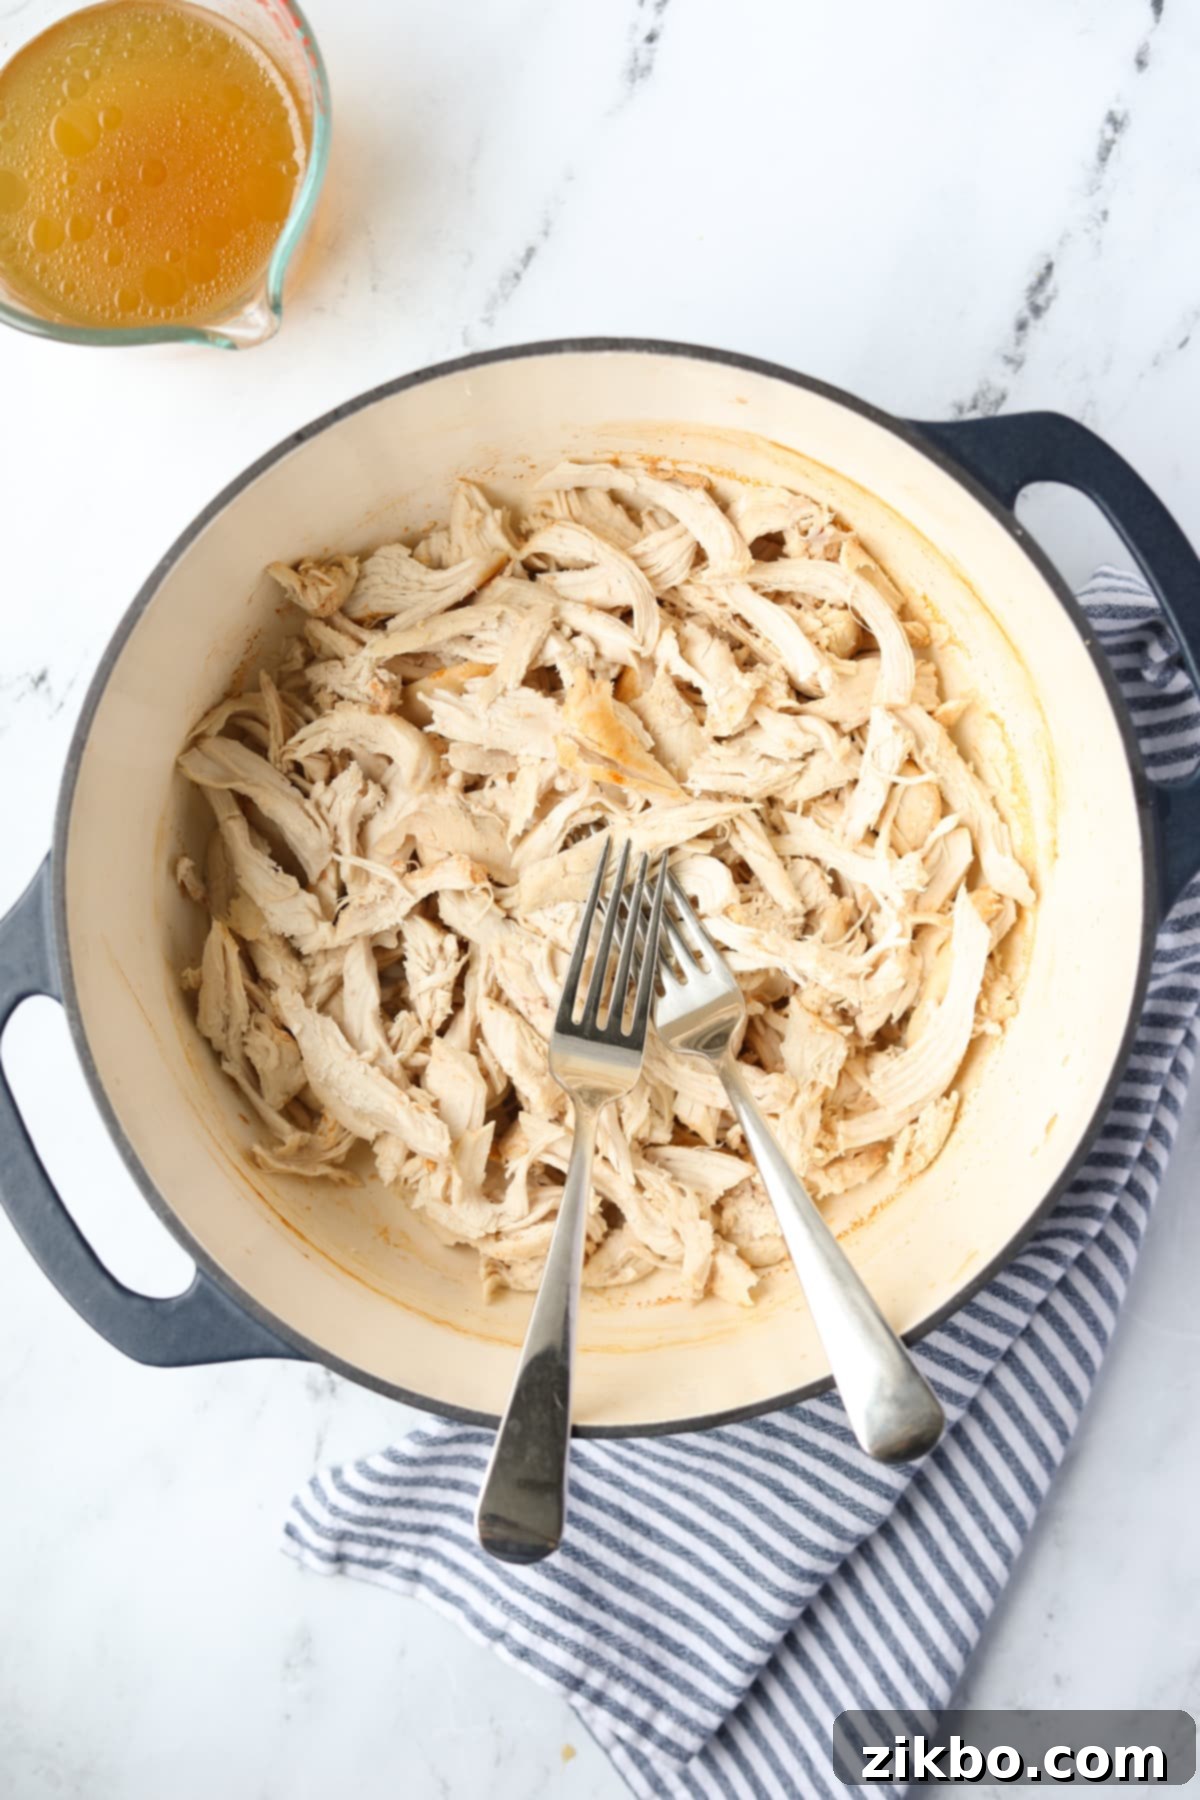
When it comes to preparing shredded chicken for my family’s favorite recipes, this Dutch oven method is undeniably my go-to choice. The magic lies in the Dutch oven’s ability to create an insulated cooking environment, shielding the chicken from the direct, harsh heat of the oven. This gentle poaching process minimizes any risk of overcooking, ensuring your chicken emerges wonderfully tender, consistently juicy, and full of natural flavor. In my extensive experience, this technique yields the absolute best cooked chicken for refreshing salads, comforting casseroles, hearty baked dips, and so much more.
My simple recipe requires just a few basic ingredients: chicken broth (or water), a touch of seasoning, and the chicken itself. That’s right – no olive oil or extensive marinating is needed! The chicken is gently cooked in the flavorful liquid, then easily shredded, providing the perfect, healthy base for a wide variety of delicious and convenient meals. This method truly simplifies the process of achieving perfectly cooked chicken every time.
Why You’ll Adore This Dutch Oven Shredded Chicken Recipe:
- Effortless & Hands-Off: This Dutch oven method for cooking chicken is an incredibly easy and convenient way to kickstart your dinner preparations. Once the chicken is in the pot, simply let your oven do all the hard work. It’s a truly hands-off approach that frees up your time for other tasks or simply to relax.
- Freezer-Friendly Meal Starter: If you’re anything like me, you appreciate having healthy, versatile meal starters waiting in your freezer. This shredded chicken is perfect for batch cooking. Prepare a large quantity, then easily portion and stash it away in freezer bags for future busy weeknights, making healthy eating simple.
- Ultimate Meal Prep Champion: Whether you’re aiming to have a lean protein option ready for quick additions to salads, hearty rice bowls, delicious pasta dishes, or comforting casseroles, this method is an easy and efficient way to batch prep for meals throughout the entire week. It streamlines your cooking process and ensures you always have a healthy option on hand.
- Incredibly Versatile: The beauty of this cooked and shredded chicken lies in its versatility. You can use it in SO many different and creative ways. I particularly love transforming it into a classic chicken salad for sandwiches or wraps, or adding it to quick and easy dinner recipes like creamy Poppyseed Chicken, savory Chicken Divan, or zesty chicken tacos. The possibilities are truly endless!
Essential Ingredients for Tender Shredded Chicken
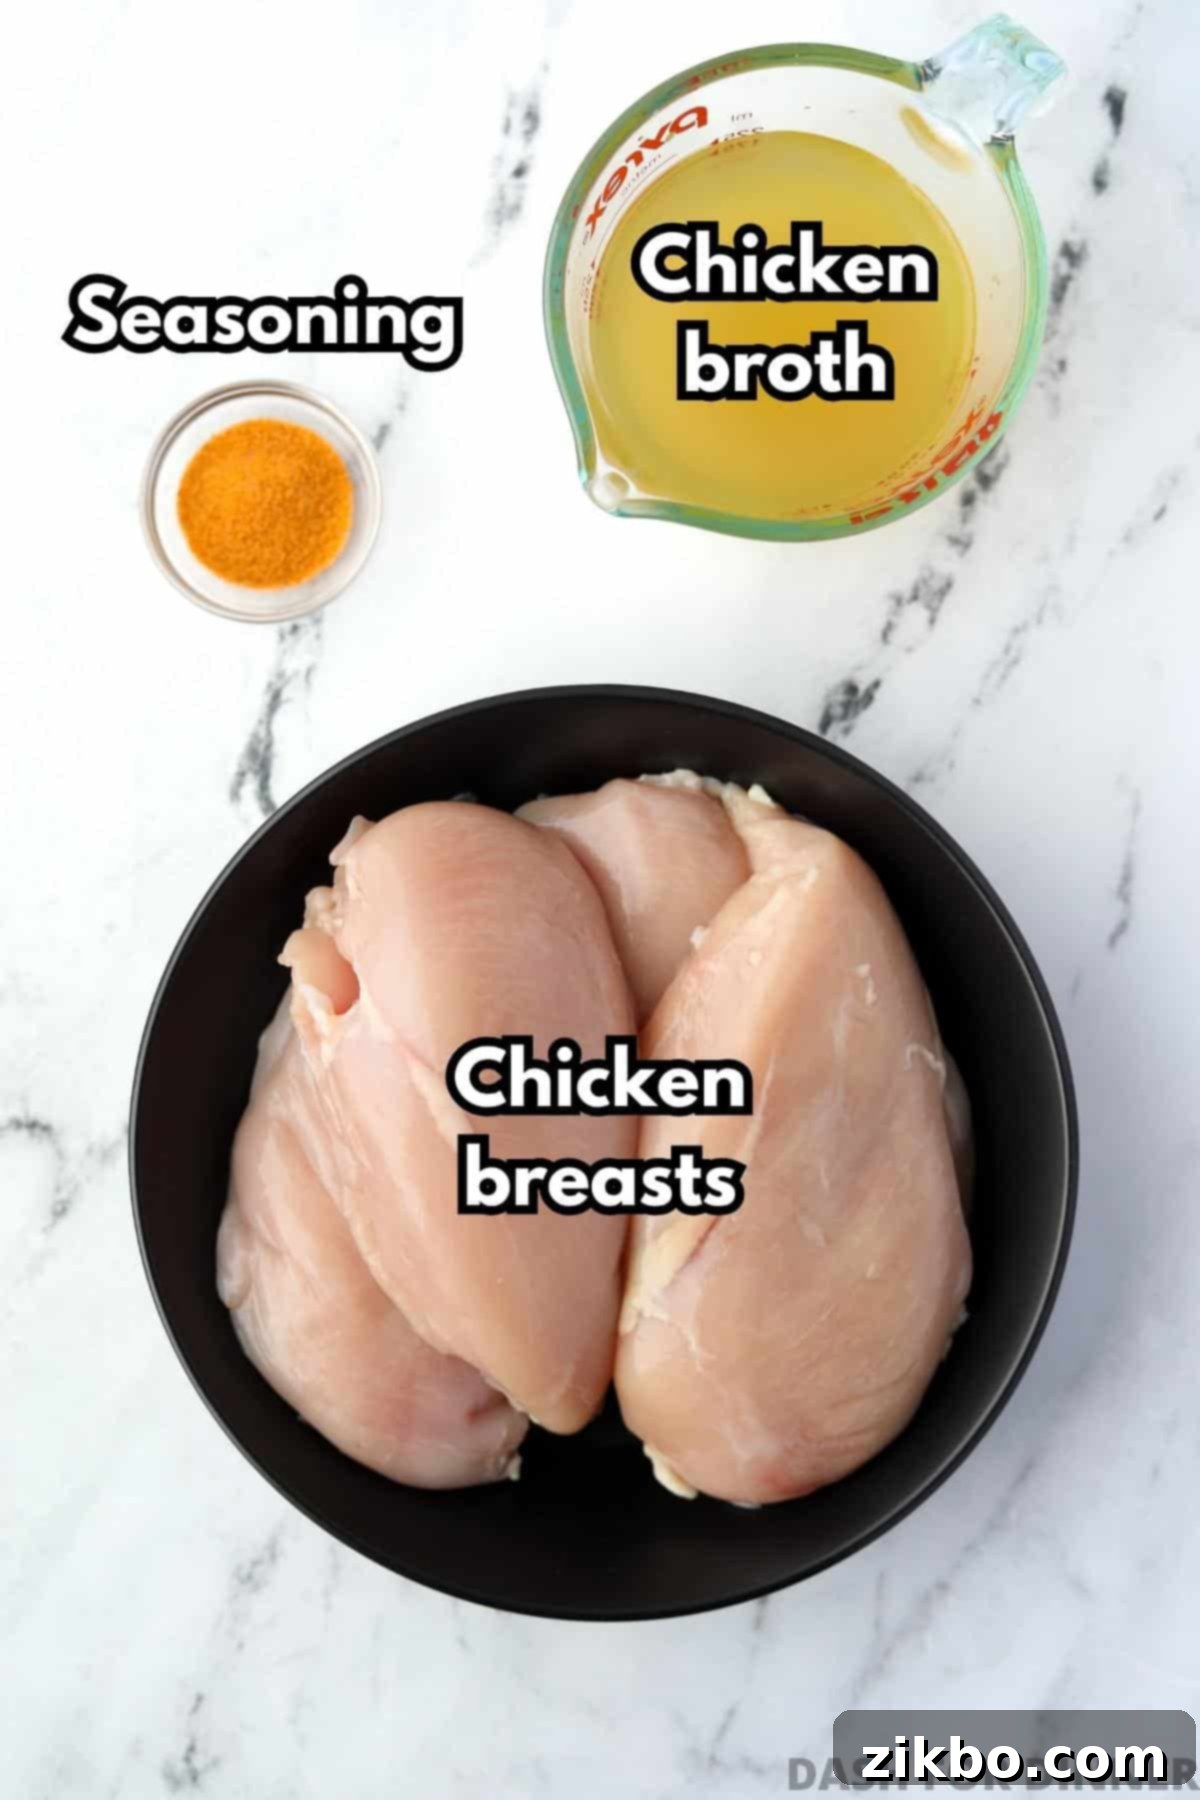
- Chicken: For the best and easiest results, I highly recommend using boneless, skinless chicken breasts. Their lean nature and consistent thickness make them perfect for this poaching method. However, if you prefer the richer flavor and moisture of dark meat, boneless, skinless chicken thighs are an excellent alternative. For a delightful blend of textures and flavors, you could even combine both breasts and thighs, similar to what you’d find in a good rotisserie chicken. Feel free to use whatever cut of chicken you prefer and have on hand!
- Broth: To ensure optimal moisture and prevent any sticking, you’ll need some liquid for poaching. My top recommendation is low-sodium chicken broth (often labeled as chicken stock), as it infuses a subtle savory flavor without adding excessive salt. If you prefer, plain water works just fine, but be sure to significantly amp up your seasonings and be generous with the salt to compensate for the lack of broth flavor. Vegetable broth is another great option for a different flavor profile.
- Seasoning: For a versatile, all-purpose, and neutral shredded chicken that can be adapted to any dish, I typically use a simple seasoned salt. Since this shredded chicken is often incorporated into another recipe, I like to keep the initial flavors understated. However, don’t hesitate to customize! Garlic powder, onion powder, paprika, a pinch of black pepper, or your favorite all-purpose seasoning blend would all work wonderfully. The key is to season to your taste and the intended final dish.
For a comprehensive list of all ingredients and their exact quantities, please refer to the recipe card below.
Essential Equipment for This Recipe
- Dutch Oven: The star of this recipe! I highly recommend a cast iron Dutch oven with a tight-fitting lid. Its heavy structure and excellent insulation are what prevent the chicken from overcooking. The even heat distribution and steam retention inside the pot create a moist environment, essentially acting like the original slow cooker, yielding incredibly tender and moist chicken every time.
- For Shredding: The simplest and most common way to shred your cooked chicken breasts is with two ordinary kitchen forks. Simply place the cooked chicken on a cutting board or in a large bowl and pull in opposite directions. If you want to speed things up significantly and achieve a finer shred, you can use your stand mixer fitted with a paddle attachment – it takes just seconds to perfectly shred a large batch of chicken using this efficient method.
- Digital Thermometer: The most foolproof and accurate way of cooking any type of meat, especially poultry, is to verify its internal temperature. A reliable magnetic digital thermometer is my favorite, as I can keep it conveniently handy on the fridge for quick checks, ensuring food safety and perfectly cooked, never-dry chicken.
How to Make Perfect Shredded Chicken in a Dutch Oven
Achieving perfectly juicy and tender shredded chicken in your Dutch oven is incredibly straightforward. Follow these simple steps for flawless results every time:
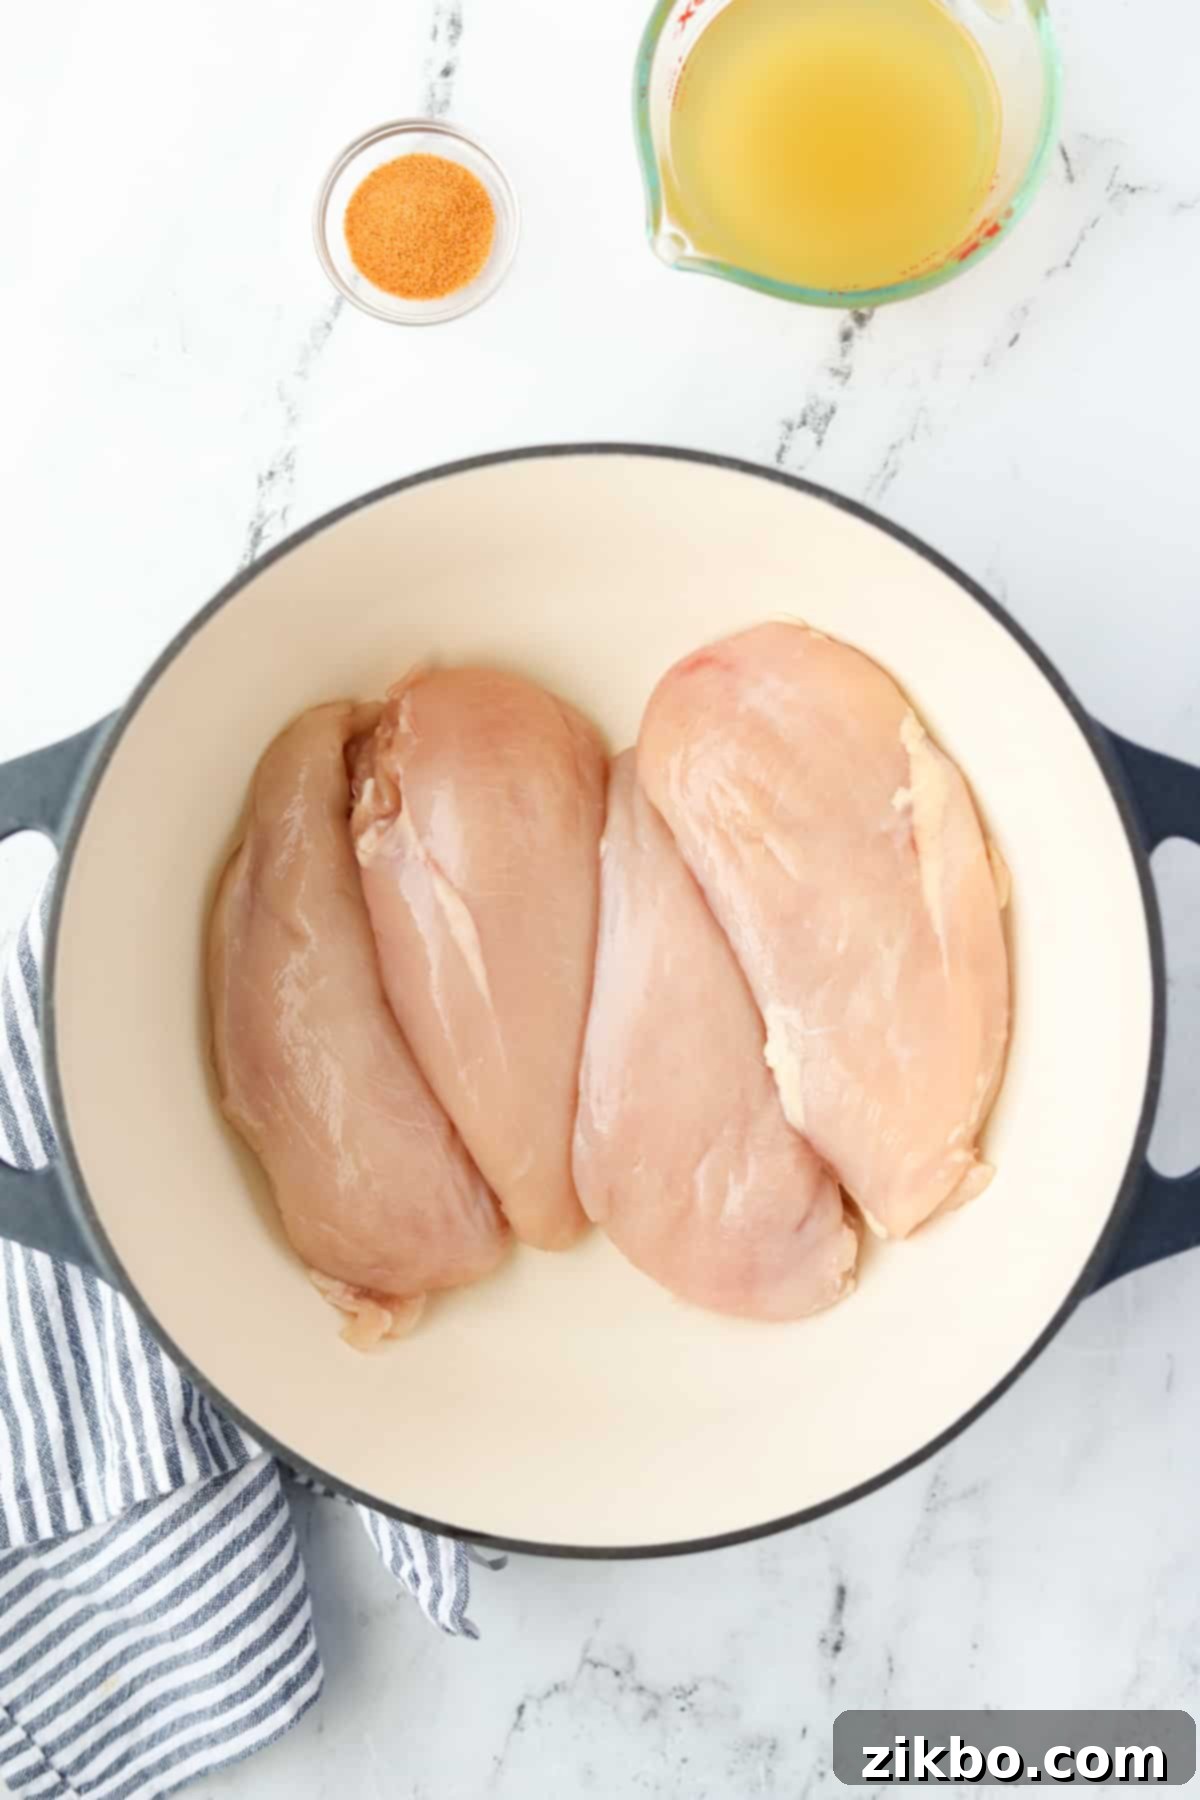
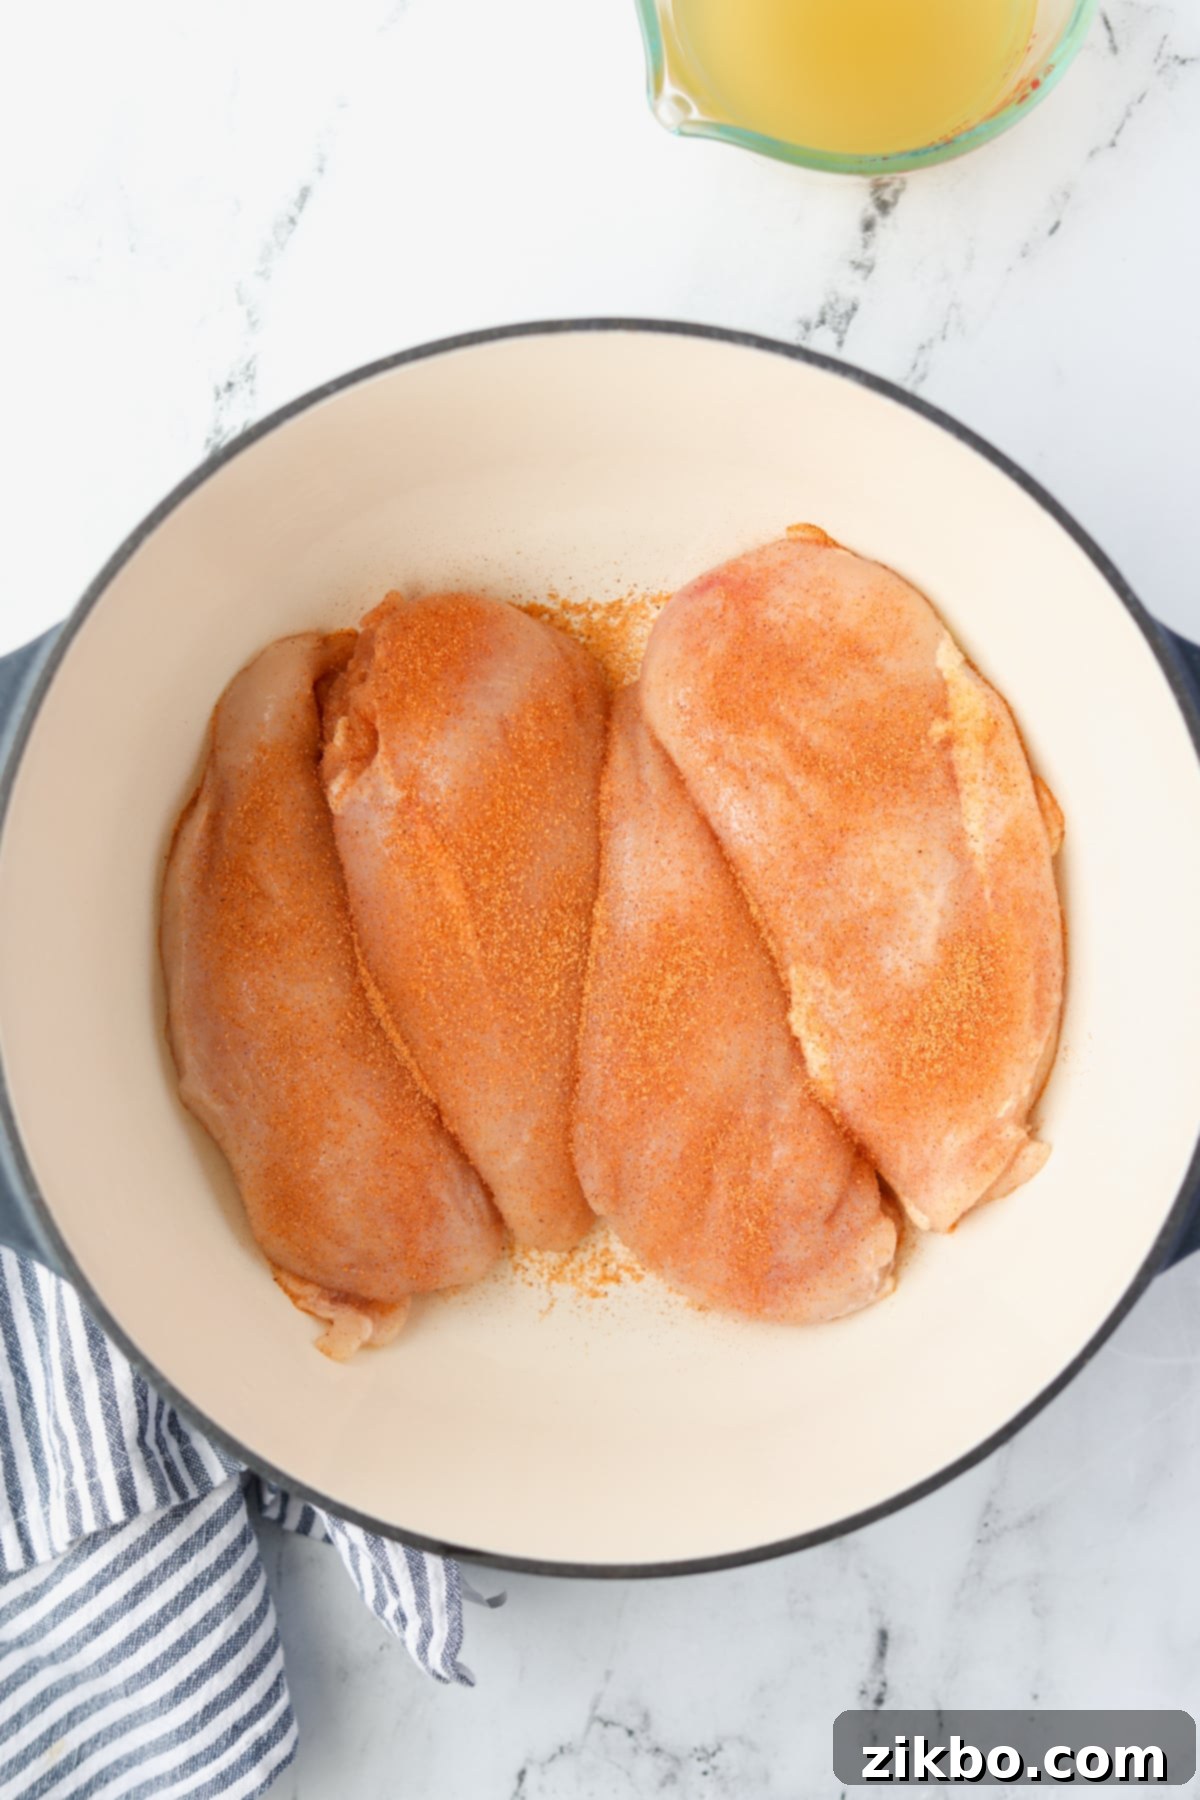
Step One: Prepare the Chicken. Arrange your boneless, skinless chicken breasts (or thighs) in a single, even layer at the bottom of your heavy-bottomed Dutch oven. Ensure they fit comfortably without too much overlap to promote even cooking.
Step Two: Season Generously. Evenly sprinkle your chosen seasoned salt (or a custom blend of garlic powder, onion powder, paprika, and a touch of black pepper) over the surface of all the chicken pieces. Don’t be shy with the seasoning; this is where the foundational flavor comes from.
Cooking to Perfection
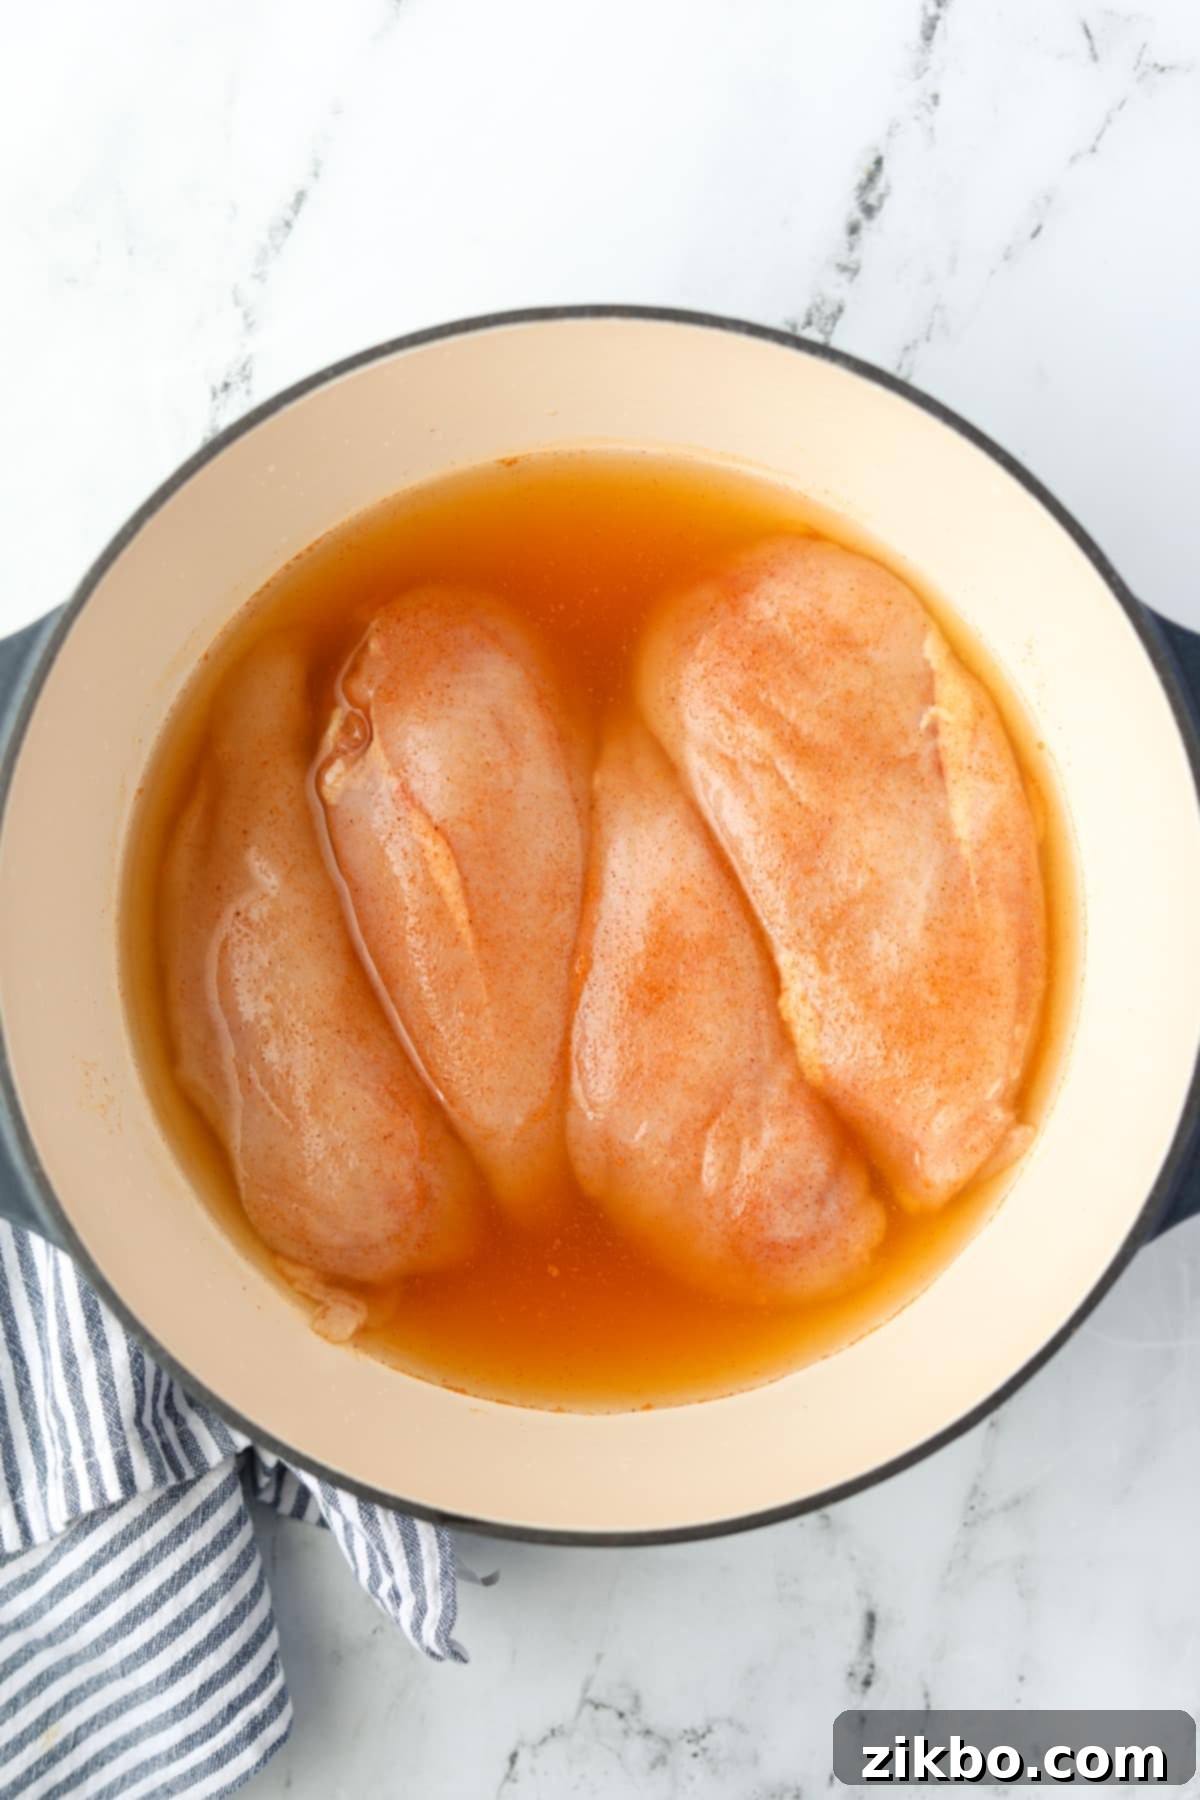
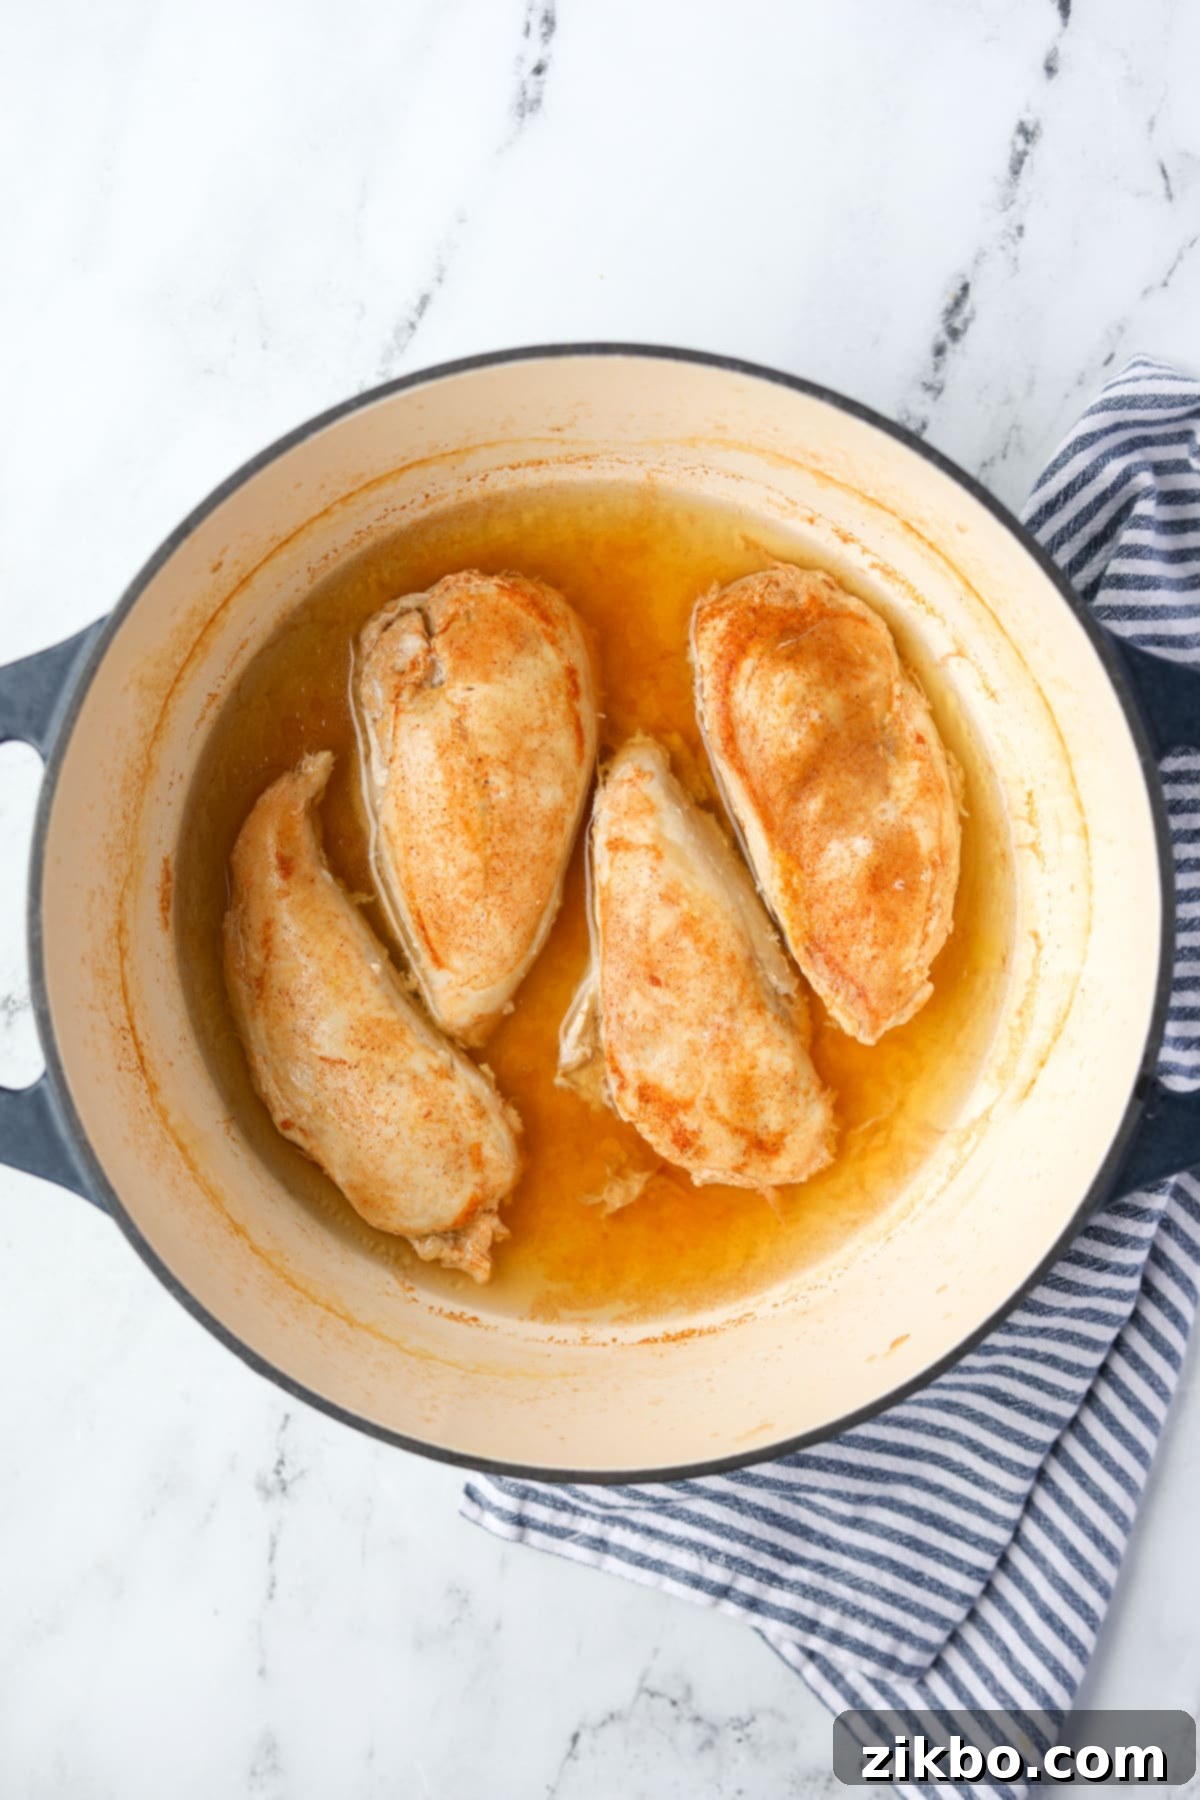
Step Three: Introduce the Liquid. Carefully pour in 1 cup of low-sodium chicken broth, beef broth, or water. The liquid should partially cover the chicken, creating a gentle poaching environment that keeps the chicken incredibly moist and prevents it from drying out during baking. This also infuses a subtle flavor into the meat.
Step Four: Oven Bake. Place the lid securely on your Dutch oven and transfer it to a preheated 400ºF (205ºC) oven. Bake for approximately 30-40 minutes. The precise cooking time will vary slightly depending on the thickness of your chicken pieces. The most crucial part is to cook until the thickest portion of each piece reaches a minimum internal temperature of 165ºF (75ºC) when checked with a digital meat thermometer. This ensures both safety and optimal tenderness.
Shredding the Chicken
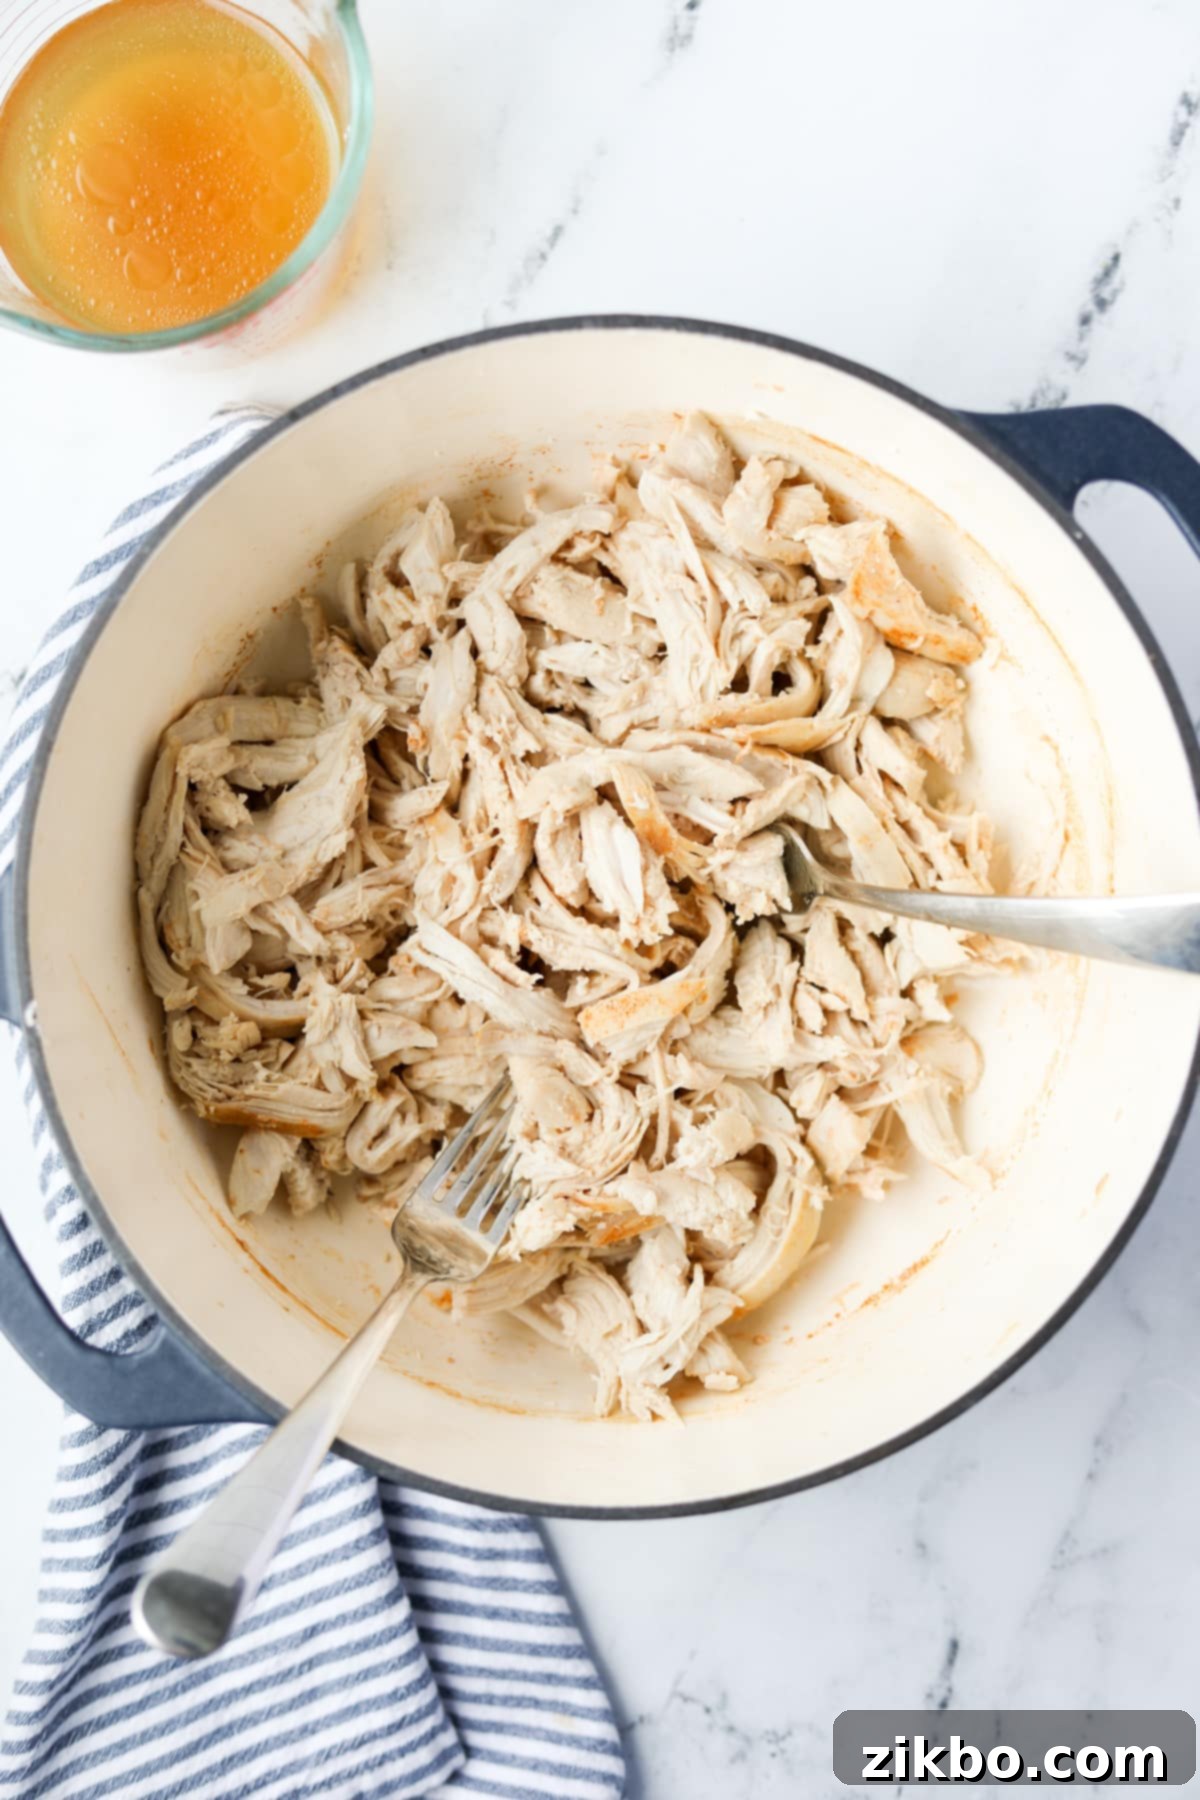
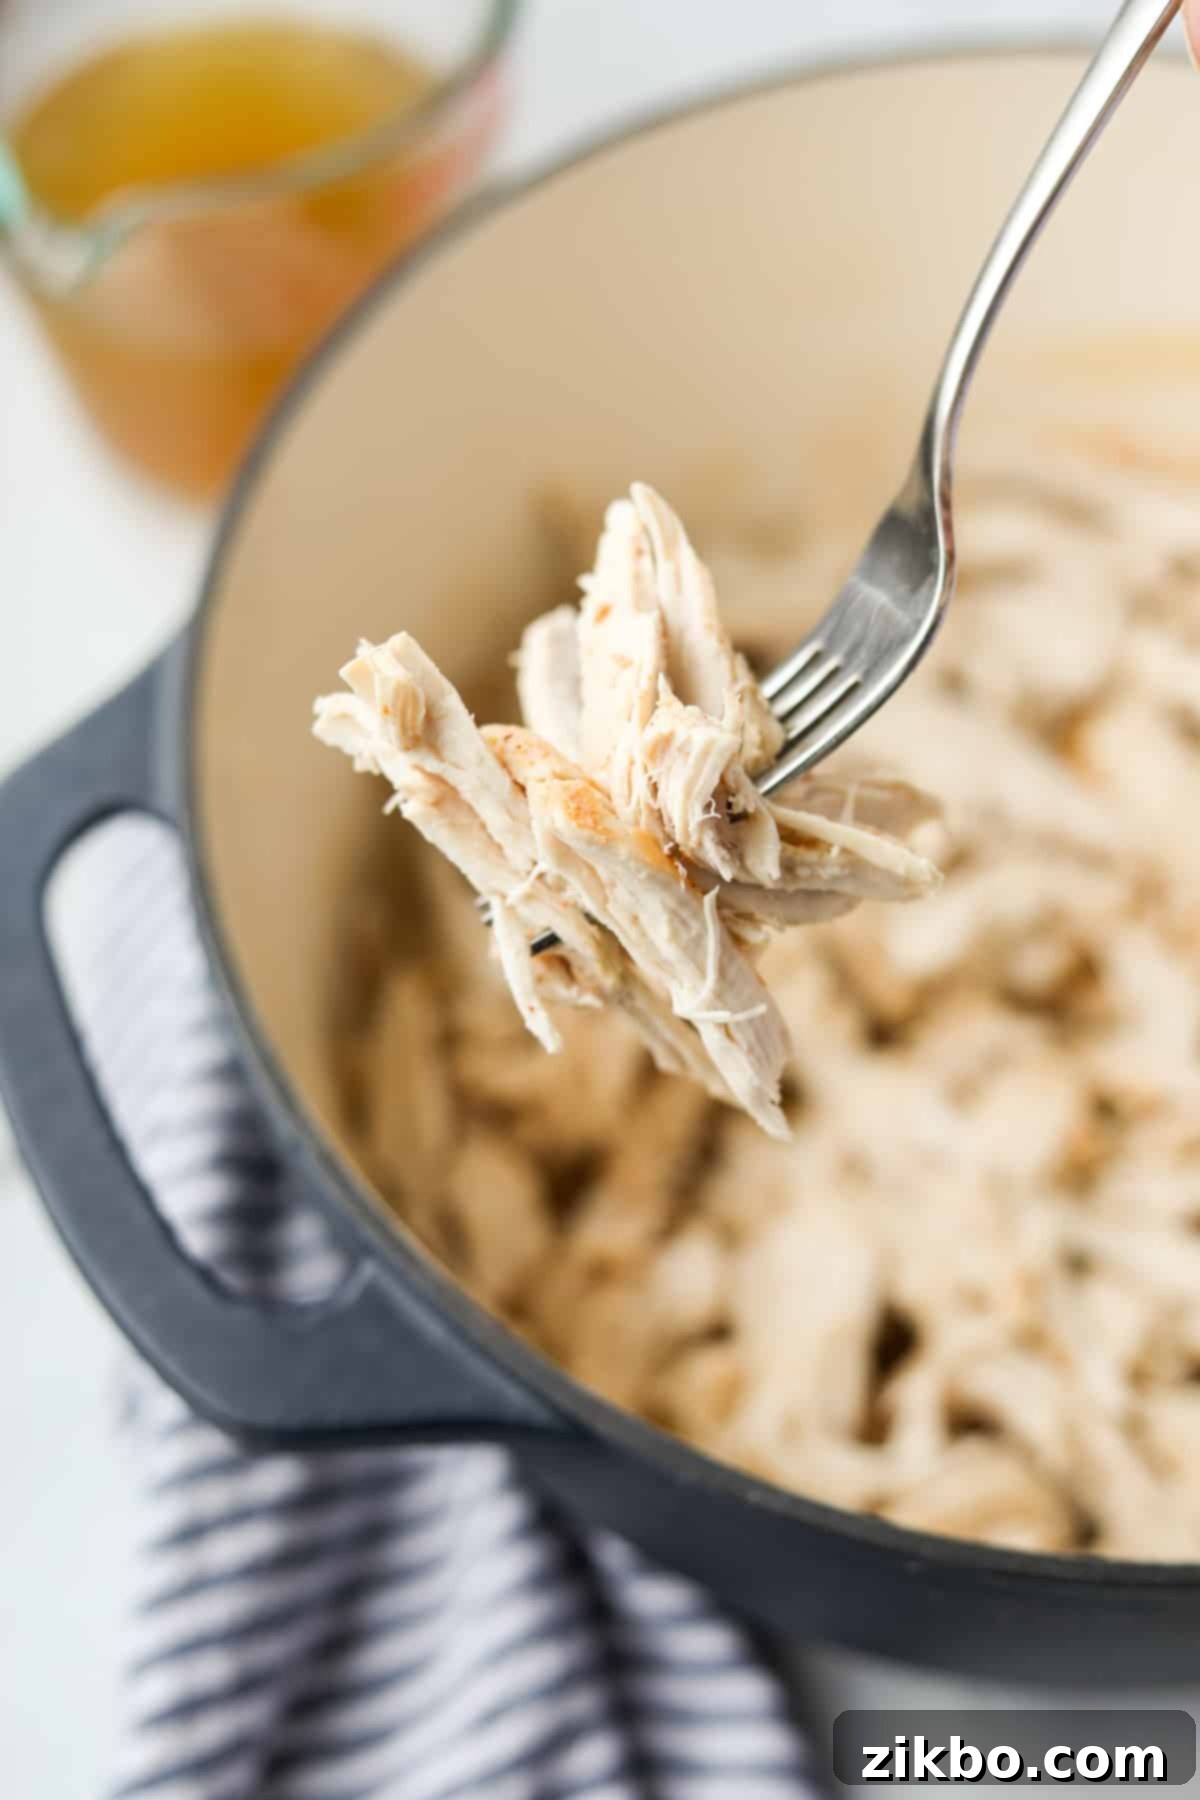
Step Five: Cool and Shred. Once cooked, carefully remove the Dutch oven from the oven. Using tongs, transfer the chicken breasts to a plate or cutting board and allow them to cool down until they are no longer steaming hot, but still warm enough to handle comfortably. This brief cooling period helps the chicken retain its juices. Next, drain off the remaining chicken broth from the Dutch oven (reserve it for later use!). Now, it’s time to shred! You can easily shred the chicken with two forks, pulling the meat apart in opposite directions. For a super-fast and finely shredded result, place the warm chicken breasts into a stand mixer fitted with the paddle attachment and mix on low speed for just a few seconds.
After shredding, if the chicken appears a little dry for your liking, you can add some of the reserved cooking broth back to moisten it. Start with just a little at a time and mix thoroughly; the goal is moist, not wet or soggy, chicken.
Storing and Freezing Your Shredded Chicken
Proper storage is key to making this shredded chicken a fantastic meal prep component. Here’s how to keep it fresh and ready for use:
- Refrigeration: Transfer any leftover shredded chicken to an airtight container. It will keep beautifully in the fridge for up to 3-4 days, making it perfect for quick weekday meals.
- Freezing: For longer storage, allow the chicken to cool completely to room temperature first. Then, transfer it to high-quality freezer bags (I particularly like these reusable ones) or freezer-safe containers. Press out as much air as possible before sealing, label with the date, and freeze for up to 3 months. For convenience, consider freezing in 1-2 cup portions, perfect for most recipes.
- Thawing: Always thaw frozen shredded chicken in the refrigerator overnight before using it in your favorite recipes. If you’re in a hurry, you can thaw it in the microwave using the defrost setting, or submerge the sealed bag in cold water, changing the water every 30 minutes.
Alternative: Slow Cooker Shredded Chicken
While the Dutch oven provides superb results, the slow cooker is another excellent, hands-off option for making shredded chicken. It’s perfect for those days when you want to set it and forget it.
- Place the boneless, skinless chicken breasts in the bottom of your slow cooker crock in an even layer.
- Sprinkle generously with seasoned salt or your preferred blend of seasonings.
- Pour in 1 cup of chicken broth, beef broth, or water into the crock.
- Place the lid securely on the slow cooker and cook on “HIGH” for 2-3 hours, or on “LOW” for 3-5 hours, or until the chicken is fork-tender and easily shreds.
- Always verify that the thickest part of each piece of chicken reaches a minimum internal temperature of 165ºF (75ºC) for food safety.
- Carefully remove the cooked chicken breasts from the slow cooker and allow them to cool slightly on a plate.
- Shred the chicken using two forks or a stand mixer. If needed, add a small amount of the cooking liquid back into the shredded chicken to keep it moist.
- Use your delicious shredded chicken in your favorite recipes, or portion and freeze for later.
Alternative: Instant Pot Shredded Chicken
For those times when you need shredded chicken even faster, the Instant Pot is an incredibly efficient tool. It delivers perfectly cooked chicken in a fraction of the time.
- Place the boneless, skinless chicken breasts in the bottom of the insert of your 6 or 8-quart Instant Pot, arranging them in an even layer.
- Sprinkle with seasoned salt or your seasonings of choice over the chicken.
- Pour in 1 cup of chicken broth (or 1 ½ cups for larger 8-quart Instant Pot models).
- Place the lid on the Instant Pot and ensure the valve is set to the “sealing” position.
- Cook on manual pressure (or pressure cook) for 10 minutes.
- Once the Instant Pot beeps to indicate it has finished the cooking time, allow the pot to perform a 5-minute natural pressure release (do not manually flip the valve during this time).
- After the 5 minutes of natural release, carefully flip the valve to “venting” to perform a quick pressure release and release any remaining steam.
- Once the floating pin drops, indicating that all pressure has been released, carefully remove the lid.
- Use tongs to remove the cooked chicken from the Instant Pot, then shred it with two forks (or quickly in a stand mixer). Add a small amount of the cooking liquid to moisten the chicken as needed.
- Your Instant Pot shredded chicken is now ready to use in your favorite recipes, or it can be cooled and frozen for future meals.

Creative & Delicious Ways to Use Shredded Chicken
The beauty of this Dutch oven shredded chicken lies in its incredible versatility. Once you have a batch ready, a world of culinary possibilities opens up! Here are some of our favorite ways to put your tender, juicy chicken to good use:
- Classic Chicken Salad: This is a go-to for a reason! Mix your shredded chicken with mayonnaise (or Greek yogurt for a lighter option), finely chopped celery, red onion, and seasonings of your choice. Serve it on fluffy sandwiches, crisp lettuce boats for a low-carb option, or with crackers. For a delightful pop of sweetness and texture, consider adding some halved green or red grapes, or chopped pecans.
- Zesty BBQ Chicken: Transform your plain shredded chicken into a smoky, sweet, and tangy delight. Simply toss the warm chicken with your favorite BBQ sauce, season with a touch of chili powder, a dash of smoked paprika, and a splash of apple cider vinegar for extra zing. Serve it piled high on soft buns or slider rolls with a side of creamy coleslaw, over rice, or even inside baked potatoes.
- Flavorful Chicken Tacos & More: Season the chicken generously with your favorite taco seasoning blend (you can even try my homemade taco seasoning for superior flavor), a little water or broth to create a saucy consistency, and a few dashes of hot sauce if you like a kick. Serve with warm tortillas, fresh salsa, cool sour cream or crema, shredded cheese, and all of your favorite taco fixings. This also works wonderfully for quesadillas, burritos, and enchiladas!
- Creamy Baked Dips: Shredded chicken is a star ingredient in so many comforting baked dips. I always aim to freeze my cooked chicken in convenient 2-cup portions, so I can quickly thaw it for our favorite buffalo chicken dip, spinach and artichoke chicken dip, or cheesy chicken bacon ranch dip. It makes entertaining or a cozy night in incredibly easy.
- Hearty Casseroles: Elevate your weeknight casseroles with pre-cooked shredded chicken. I consistently keep at least one bag of shredded chicken stored in the freezer specifically for making a quick batch of family favorites like creamy Chicken Divan, savory Poppyseed Chicken casserole, chicken noodle casserole, or even as a filling for chicken pot pie. It drastically cuts down on prep time.
- Soups & Stews: Stir shredded chicken into your favorite chicken noodle soup, chicken and rice soup, or hearty stews for an instant protein boost.
- Pasta Dishes: Add to pasta salads, alfredo dishes, or a simple chicken and pesto pasta.
- Pizzas & Flatbreads: Use as a topping for homemade pizzas or quick flatbreads.
Tips for Boosting Flavor & Customization
While this recipe provides a versatile, neutral base, you can easily amplify the flavor of your shredded chicken, or the liquid it cooks in, with a few simple additions:
- Add Aromatic Herbs and Spices: This recipe is intentionally designed to be neutral in flavor, allowing for maximum versatility. However, if you already know what recipe you’ll be using your cooked chicken for, you can significantly amp up the flavor by adding complementary fresh or dried herbs and spices during the cooking process. Consider rosemary and thyme for a Mediterranean twist, cumin and chili powder for a Tex-Mex profile, or a poultry seasoning blend for a classic comfort food feel.
- Incorporate Fresh Aromatics: To give a big boost of flavor to both the chicken and the invaluable cooking liquid, add some aromatic vegetables to the Dutch oven alongside your chicken. White or yellow onion (quartered), celery stalks, and sliced carrots are excellent choices. A few whole garlic cloves, bay leaves, or a sprig of fresh parsley or thyme will also infuse wonderful depth and fragrance into the broth.
- Utilize the Leftover Cooking Liquid: While most recipes call for just the cooked chicken, definitely do not throw out that highly flavorful cooking liquid! It’s essentially a homemade, rich chicken stock. You can repurpose this liquid by using it as a base for delicious soups, savory gravies, rich pan sauces, cooking grains like rice or quinoa, or adding it to stews and risottos. You can even reduce it slightly and freeze it in ice cube trays for future concentrated flavor boosts.
If you loved this recipe for Dutch Oven Shredded Chicken, please let me know by leaving a 5-star review in the recipe card or a comment below! You can also tag me on Instagram @dashfordinner.
Dutch Oven Shredded Chicken
Print
Pin
Rate
Equipment
-
Dutch oven
-
Digital Meat Thermometer
Ingredients
- 4 boneless, skinless chicken breasts (approx. 1 ½ – 2 pounds total)
- 1 cup low-sodium chicken broth (or water, see notes*)
- Seasonings (to taste, e.g., seasoned salt, garlic powder, onion powder, paprika**)
Instructions
-
Preheat the oven to 400 °F (205ºC).
-
Place the chicken breasts in the bottom of an enameled Dutch oven in a single layer and season generously to taste.

-
Pour in the chicken broth (or water + extra salt and seasoning if using water*) and place the lid tightly on the pot.

-
Place the Dutch oven in the preheated oven and bake for 30-40 minutes, or until the chicken reaches a minimum internal temperature of 165ºF (75ºC) at its thickest parts when checked with a digital meat thermometer.

-
Carefully remove the Dutch oven from the oven. Using a pair of tongs, transfer the cooked chicken breasts to a clean plate or cutting board. Reserve the cooking liquid.
-
Allow the chicken to cool down for about 10-15 minutes until it is no longer steaming hot but still warm enough to comfortably handle. Once cooled, shred the chicken with two forks, or use a stand mixer with a paddle attachment for faster shredding.

-
If the shredded chicken appears too dry, add a tablespoon or two of the reserved cooking broth back into the chicken and mix to moisten it. Add sparingly to avoid a soggy texture.
-
Your tender, juicy shredded chicken is now ready to be used in your favorite recipes, or it can be cooled completely and stored for later use.
Notes
*If using water: If you opt to use water instead of broth, you’ll definitely want to ensure you season the chicken breast very well. I highly recommend adding a generous amount of seasoned salt, along with garlic powder, onion powder, and paprika to build up the flavor. Consider adding a bouillon cube or powder for extra depth.
**Seasoning: This recipe keeps the seasoning simple and neutral to make the shredded chicken as versatile as possible. If you already know what specific recipe you’ll be using the chicken in, feel free to season it to complement that dish. Great options include taco seasoning, Cajun seasoning, ranch seasoning, or classic blends like garlic powder, onion powder, paprika, and cumin. I personally enjoy using about 1 ½ teaspoons of an all-purpose seasoned salt for a balanced flavor.
Leftover broth: The cooking liquid will be incredibly flavorful! Don’t discard it. Use this extra flavorful broth as a base for soups, stews, gravies, risottos, or anywhere you would typically use chicken broth. It adds fantastic depth.
Slow cooker method: Place chicken and broth in crockpot. Cook on “HIGH” for 2-3 hours, or on “LOW” for 3-4 hours, or until easily shredded. Ensure internal temp reaches 165ºF (75ºC).
Instant Pot method: Place chicken and broth in Instant Pot. Cook on manual pressure for 10 minutes. Follow with a 5-minute natural pressure release, then quick release any remaining pressure. Ensure internal temp reaches 165ºF (75ºC).
Nutrition
Please note that some of my blog posts here at Dash for Dinner may contain affiliate links. If you make a purchase through these links, I will get a small commission at no additional cost to you. Please see my Disclaimer for more information.
