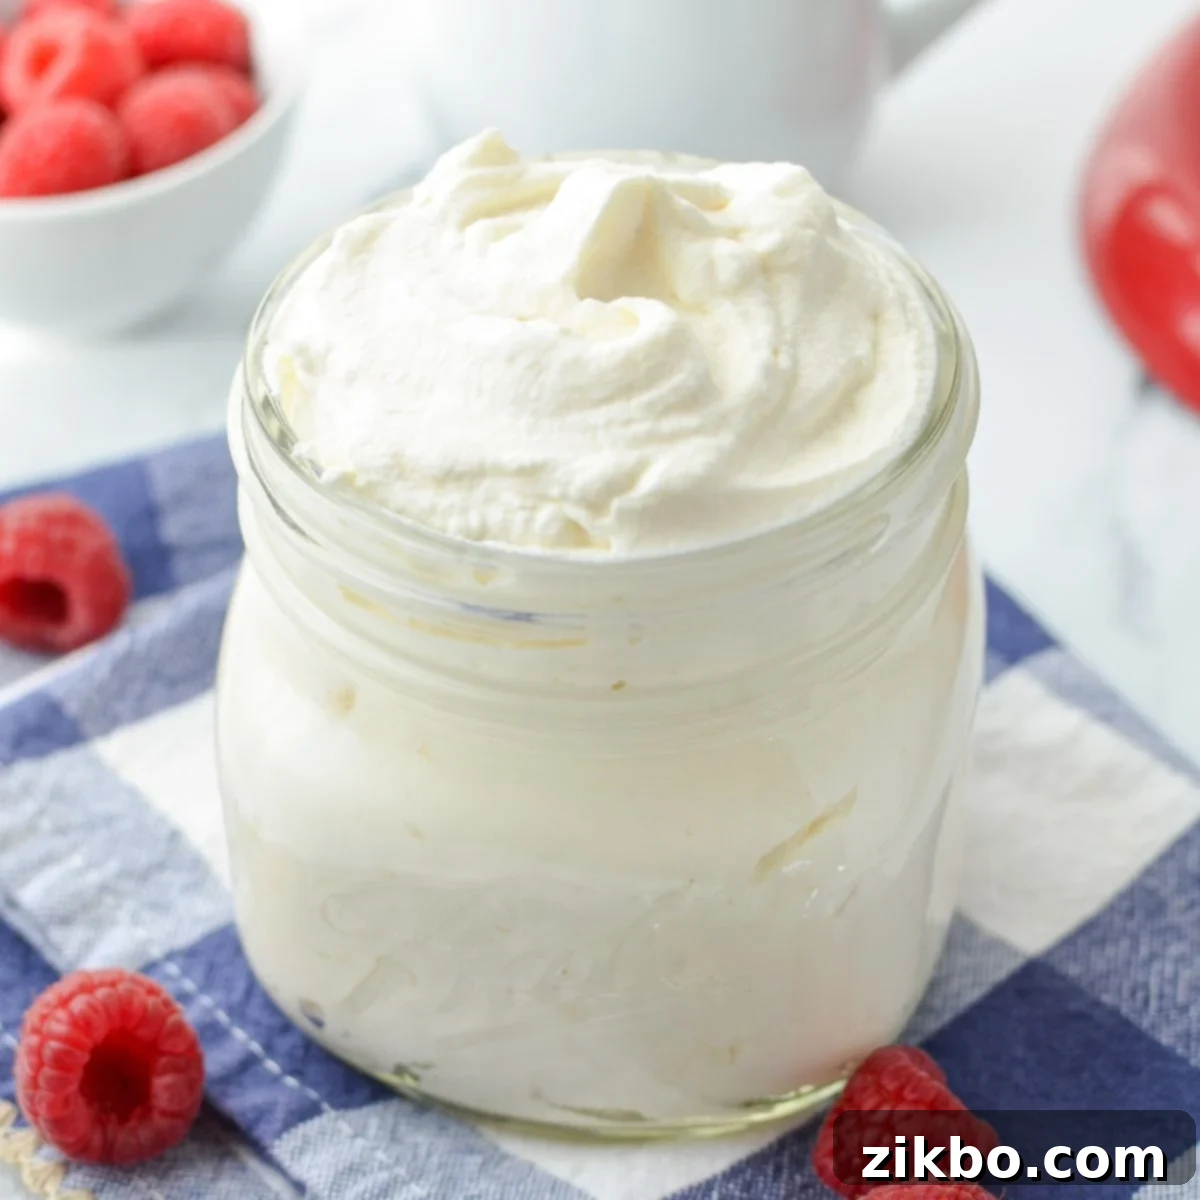
The Ultimate Guide to Easy Homemade Whipped Cream: A 3-Ingredient Recipe for Perfect Topping
Imagine a cloud-like, sweet, and incredibly versatile topping that elevates almost any dessert or warm beverage. That’s exactly what you get with this simple, easy-to-make homemade whipped cream. Whether you’re a seasoned baker or just starting your culinary journey, this recipe is designed for success. Crafted with just three fundamental ingredients, this pillowy delight is ideal for an array of uses, from generously topping a steaming mug of hot chocolate to enhancing a fresh fruit salad or classic strawberry shortcake. Forget the store-bought alternatives; once you try this fresh, rich homemade version, there’s no going back!
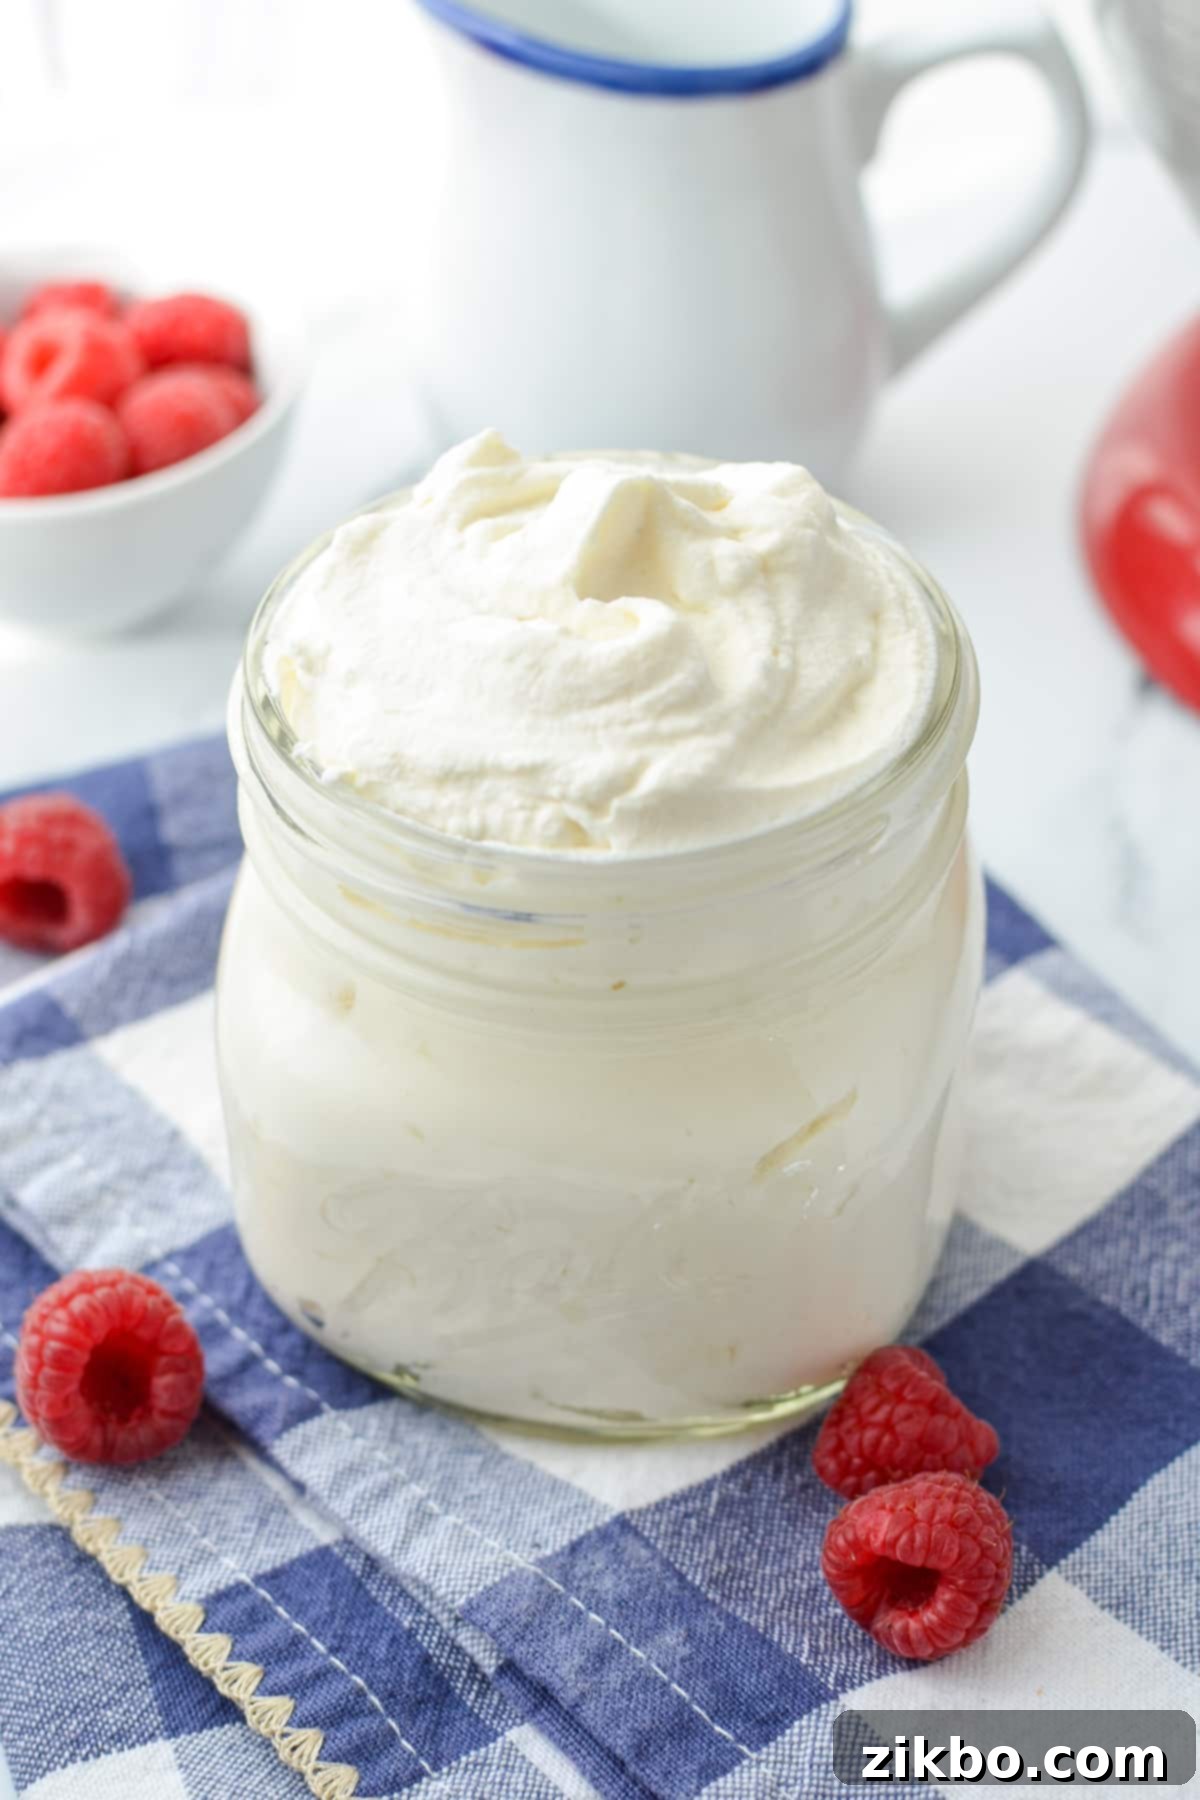
My baking adventure began almost 15 years ago, and one of the very first triumphs in my kitchen was learning how to make whipped cream from scratch. Before that, like many, my go-to was always a tub of Cool Whip or the convenient, but ultimately inferior, canned spray. Little did I know, the secret to truly spectacular whipped cream was incredibly simple and lay right within my grasp.
That moment marked a turning point, a time when I truly fell in love with the process of cooking and baking. Witnessing the transformation of plain heavy cream into a sweet, subtly vanilla-scented, billowy mountain of whipped cream was nothing short of magical. It was an eye-opening experience that redefined my understanding of good food.
I had always believed that delicious food had to be intricate, demanding a plethora of ingredients and countless complex steps. This revelation showed me otherwise. In fact, some of the world’s most exquisite and satisfying dishes are remarkably simple. Think of a perfectly ripe tomato, served simply with a fresh basil leaf and a delicate drizzle of balsamic vinegar – pure, unadulterated deliciousness! This principle holds true for homemade whipped cream. It’s a testament to how humble ingredients, expertly handled, can produce something truly extraordinary.
This homemade whipped cream recipe is not only incredibly easy for beginners to master but also perfect for integrating into your favorite desserts or as a luxurious topping for a steamy cup of hot cocoa. It’s straightforward, deeply satisfying, and will undoubtedly become a staple in your kitchen that you’ll want to whip up again and again. Its fresh flavor and superior texture simply cannot be matched by any store-bought variety.
Why You Should Always Make Your Own Whipped Cream
If you’re still on the fence about ditching the store-bought stuff, here are compelling reasons why homemade whipped cream is always the superior choice:
- Unbeatable Freshness and Flavor: Quite simply, it tastes far superior to anything you can buy in a can or tub. The fresh dairy flavor, combined with the subtle sweetness and hint of vanilla, creates an experience that processed alternatives simply can’t replicate. It’s richer, creamier, and genuinely more satisfying.
- Minimal, Wholesome Ingredients: You only need just 3 simple ingredients that you likely already have on hand: heavy cream, sugar, and vanilla. No artificial flavors, stabilizers, or preservatives that often appear in store-bought versions. You control exactly what goes into it.
- Next-Level Texture and Experience: Homemade whipped cream offers a luscious, melt-in-your-mouth texture that store-bought varieties can’t match. It’s truly the BEST whipped cream, elevating any dessert or drink it accompanies. The airy, yet rich consistency is simply divine.
- Effortlessly Easy and Quick: It’s so easy to make! With basic ingredients always available, you can create a fresh, decadent dessert topping in mere minutes. This makes impromptu dessert cravings or last-minute entertaining a breeze.
- Customization Options: When you make it yourself, you have complete control. Adjust the sweetness, add different flavorings (almond extract, citrus zest, coffee liqueur), or even incorporate food coloring for festive occasions.
Oh, and let’s be honest, it absolutely kicks Cool Whip’s butt! Once you experience the real deal, there’s no turning back.
Essential Ingredients for Perfect Whipped Cream
Creating this delicious, fluffy topping requires only a handful of common ingredients, but selecting the right ones makes all the difference:
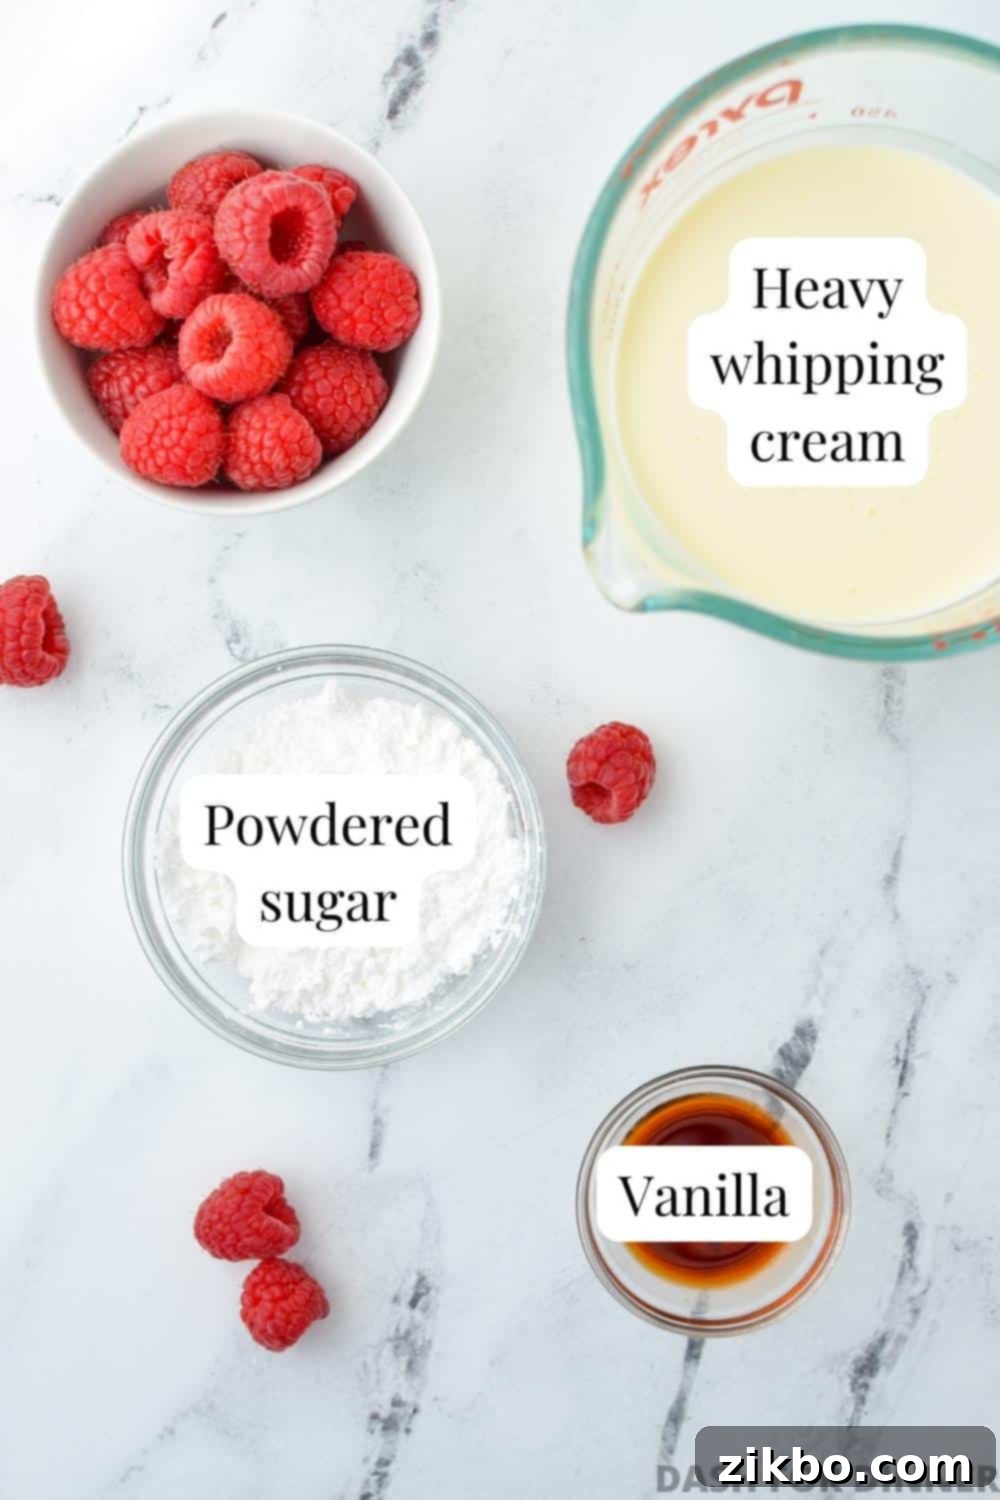
- Heavy Cream: This is the star of the show. To achieve those beautiful, pillowy clouds, you absolutely must use heavy cream. Look for labels like “heavy whipping cream” or “whipping cream.” Avoid light cream, half-and-half, or milk, as they simply don’t have enough milk fat to whip properly and hold their shape. The high fat content is what allows air to be incorporated, creating the desired volume and stable structure.
- Sugar: While granulated sugar can be used, I highly recommend using powdered sugar (also known as confectioners’ sugar) in your homemade whipped cream. The fine texture of powdered sugar dissolves more easily, resulting in a smoother, more uniform consistency. Crucially, powdered sugar often contains a small amount of cornstarch, which acts as a minor stabilizer. This helps your whipped cream last a bit longer and reduces the likelihood of it weeping or separating prematurely.
- Vanilla Extract (Optional, but Recommended): A touch of pure vanilla extract adds a wonderful depth of flavor and aroma. Whipped cream with vanilla extract is technically known as Chantilly cream, but it’s so commonly included in modern recipes that the two terms are often used interchangeably. For the best flavor, opt for pure vanilla extract over imitation.
Alternative Sweeteners for Dietary Needs
For those following a keto or low-carb diet, you can easily adapt this homemade whipped cream recipe. Simply substitute traditional powdered sugar with a low-carb sweetener that measures 1:1 with sugar. Excellent options include monk fruit blends, erythritol blends, or stevia blends. Always check the packaging for specific conversion ratios to ensure optimal sweetness.
A Crucial Note About Heavy Cream Quality and Temperature
The success of your whipped cream hinges almost entirely on your heavy cream. It should have a high milk fat percentage, typically around 35-40%. This generous fat content is what enables the cream to thicken, incorporating air and transforming into the fluffiest, most stable whipped cream. The higher fat also contributes to that incredibly creamy, luscious mouthfeel that we all adore in real whipped cream.
For truly the best results, always keep your heavy cream well-chilled in the refrigerator right up until you’re ready to start whipping. Room temperature cream will take significantly longer to whip and may not achieve the desired volume or stability. For an extra edge, chill a freezer-safe or metal mixing bowl in the freezer for about 15 minutes before you begin. A cold environment helps the fat molecules in the cream firm up faster, leading to quicker and more successful whipping.
How to Make the Fluffiest Homemade Whipped Cream: A Step-by-Step Guide
Making your own whipped cream is remarkably straightforward. Follow these easy steps for perfect results every time:
Step One: Prepare Your Tools and Ingredients. Begin by pouring your very cold heavy cream into a large mixing bowl. If you’re using a stand mixer, make sure it’s fitted with the whisk attachment. Remember the tip about chilling your bowl? Now’s the time to use that perfectly cold bowl!
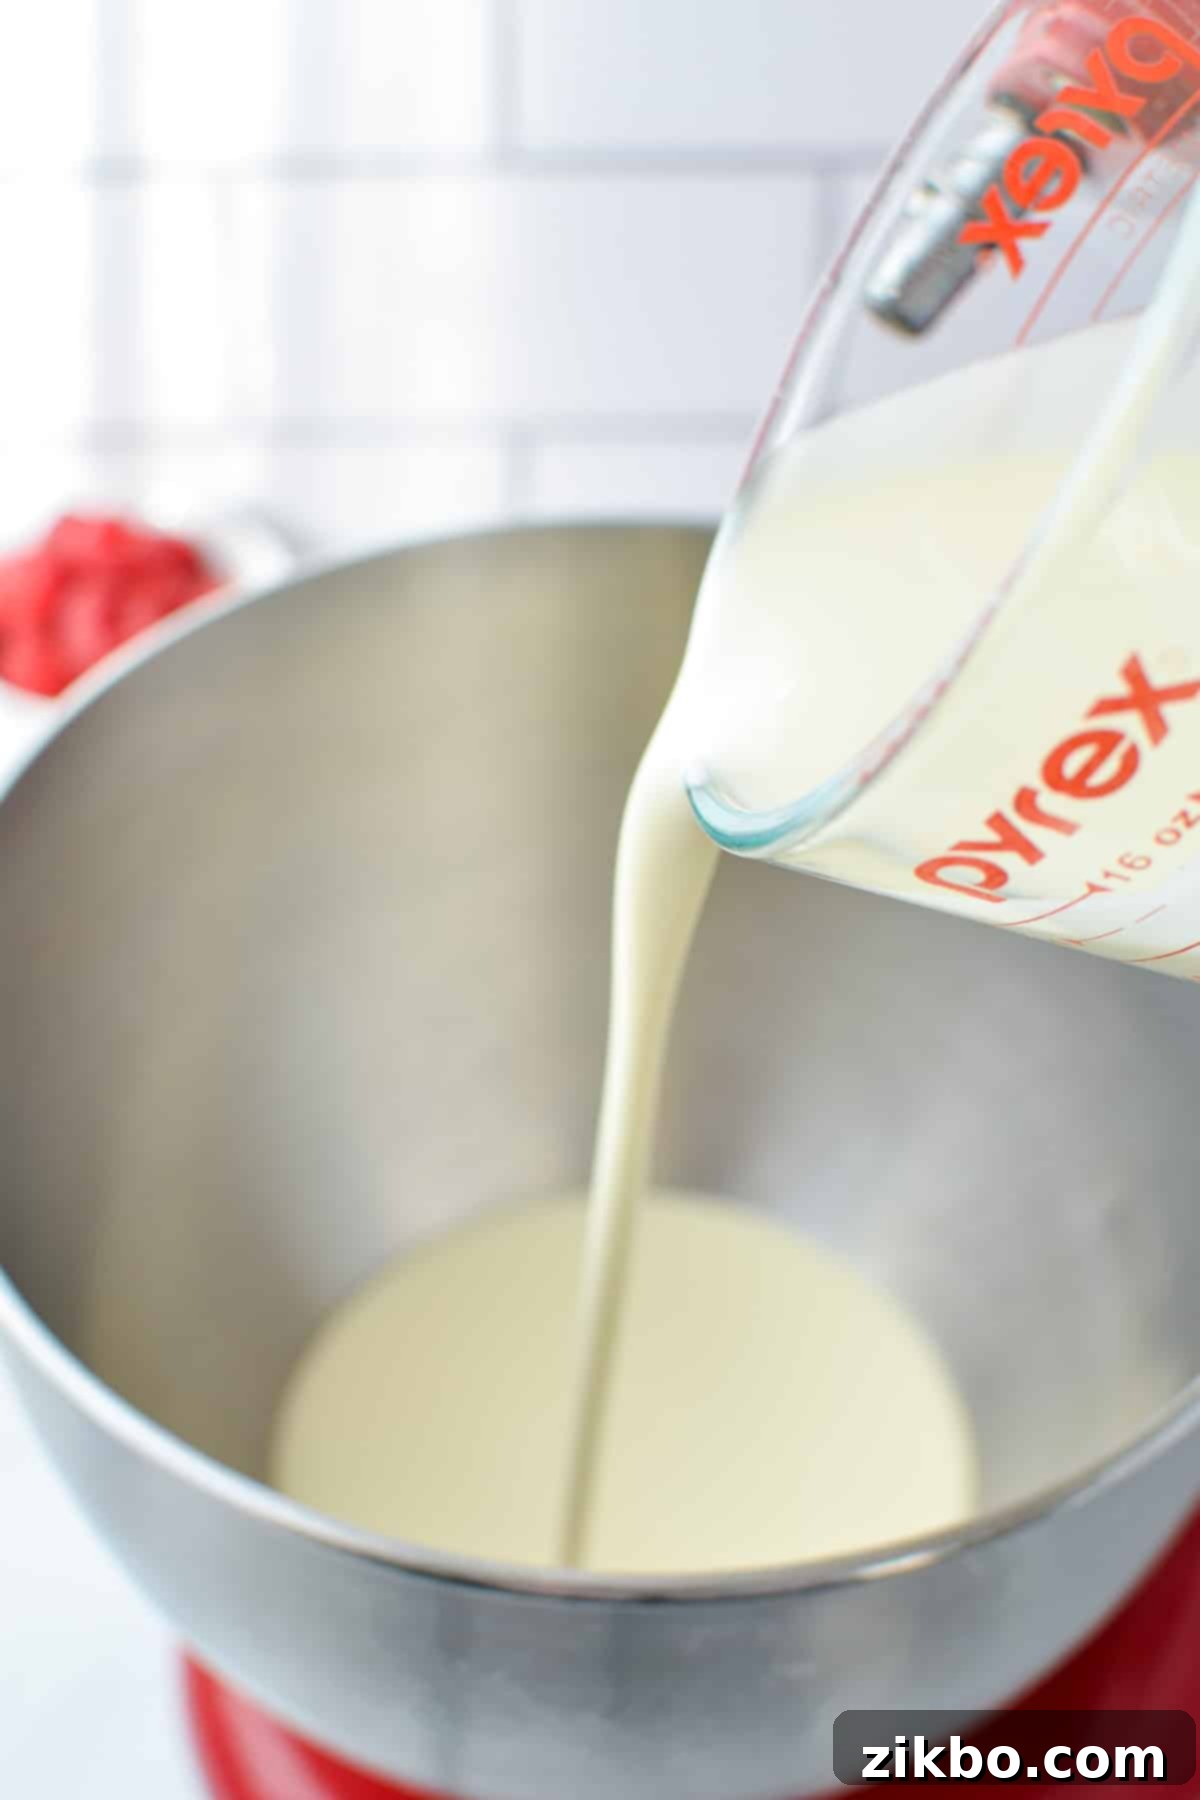
Step Two: Add Sweetness and Flavor. Carefully add the powdered sugar and, if you’re using it, the pure vanilla extract to the bowl with the heavy cream. Adding these at the beginning ensures they are evenly distributed as the cream whips. If you wait until later, it can be harder to fully incorporate them without over-whipping.
Step Three: Begin Whipping to Soft Peaks. Start beating the heavy cream mixture on medium-high speed. As you begin, the cream will initially look foamy and liquid. Continue beating, and you’ll notice it will gradually start to thicken. Keep an eye on it! After about 2-3 minutes, depending on your mixer, it will begin to form very soft peaks. This means when you lift the whisk, the peaks will momentarily form but then quickly collapse back into the cream. This is your first visual cue.
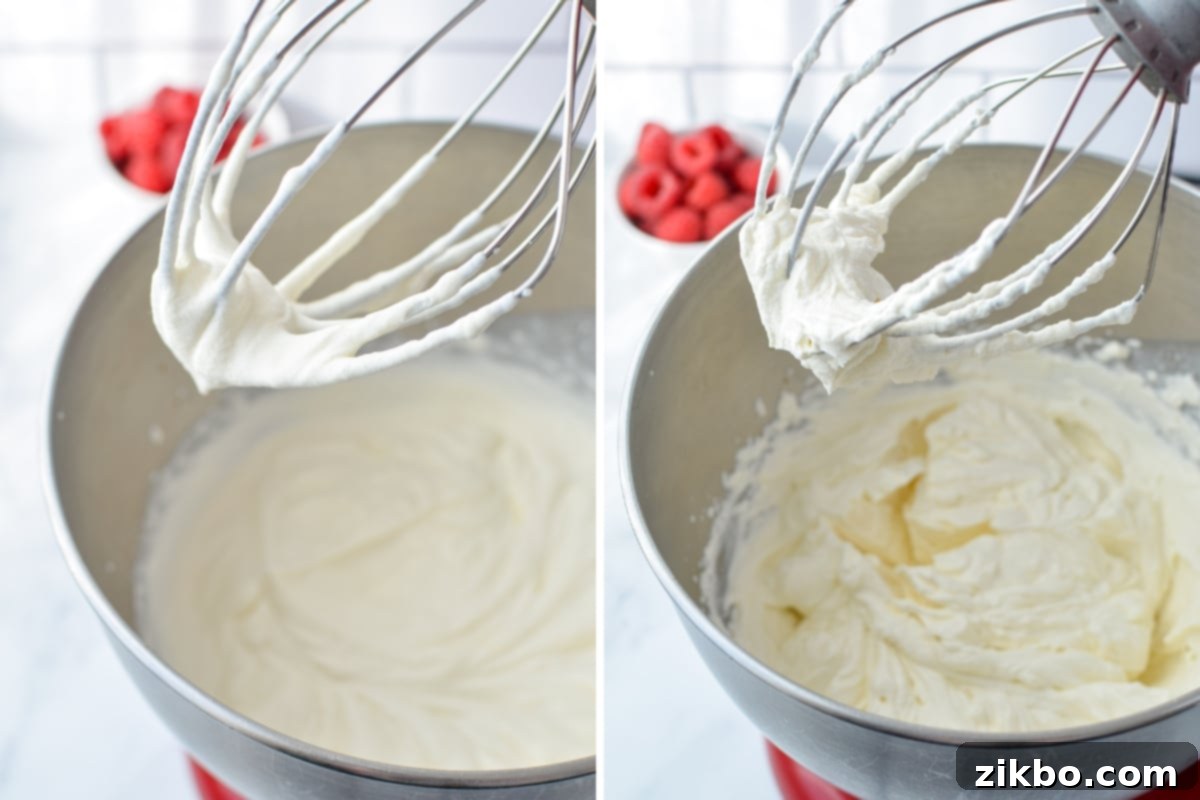
Step Four: Scrape Down the Bowl. Periodically, stop the mixer and use a rubber spatula to scrape down the sides and bottom of the bowl. This ensures that all of the cream is evenly whipped and prevents any unmixed liquid from remaining at the bottom, which can compromise the overall consistency.
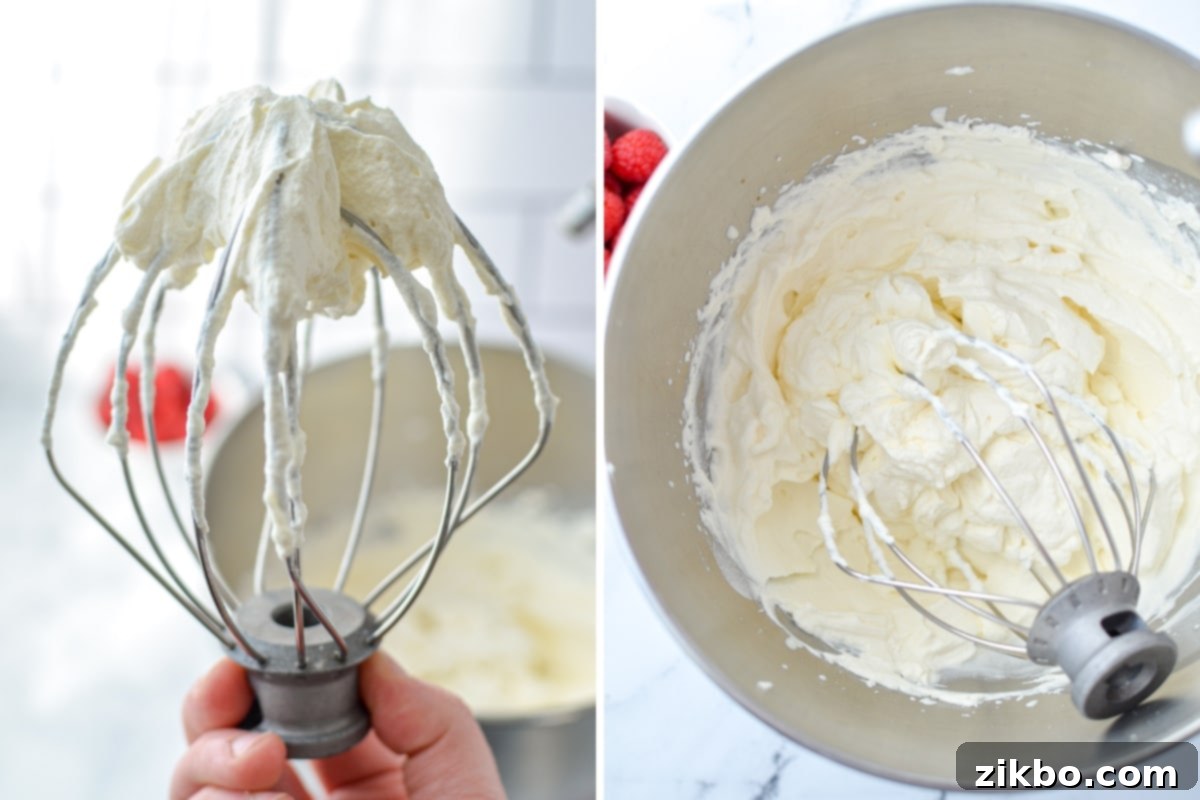
Step Five: Continue to Stiff Peaks. Resume beating on medium-high speed. The cream will continue to thicken and become more voluminous. Keep a close watch as you approach the desired consistency. You’re aiming for stiff peaks. This is the stage where, when you lift the whisk out of the cream, a peak (or a “mountain”) will form, and it will hold its shape firmly without collapsing. Be careful not to over-whip at this point, as it can quickly turn into grainy, then buttery, consistency.
Step Six: Serve or Store Immediately. Once stiff peaks are achieved, your perfect homemade whipped cream is ready! Transfer it to a serving bowl or use it immediately to adorn your favorite desserts. If you’re not planning to use your homemade whipped cream right away, transfer it to an airtight container or wrap it tightly with plastic wrap to prevent it from absorbing refrigerator odors. For the absolute best results, enjoy it within 12-24 hours. While it can store for up to 3 days, you might notice minimal weeping or slight separation over time.
Understanding the Three Stages of Whipped Cream (and How to Spot Them)
Knowing the different stages of whipped cream is key to achieving your desired consistency. Pay attention as you whip to avoid over-beating!
- Soft Peaks: This is the initial thickening stage, occurring shortly after the cream has lost its liquid appearance. When you pull a whisk or beater up suddenly, you will see peaks that form momentarily but then quickly dissolve into soft mounds. The cream will still appear quite glossy and somewhat fluid.
- Medium Peaks: If you continue whipping after soft peaks, you will soon reach medium peaks. At this stage, the cream forms a peak when the whisk is lifted, and while it might slowly curl or droop slightly at the tip, it generally holds its shape much better than soft peaks. The cream will be visibly thicker and more opaque. This consistency is perfect for fillings or for piping soft swirls.
- Stiff Peaks (or Firm Peaks): This is the final and most common stage for whipped cream. When you pull a whisk or beater up suddenly, you will see peaks that form and maintain their general shape and size, standing upright without collapsing. The cream will be very thick, airy, and opaque. This is ideal for piping intricate designs or for a sturdy topping.
Important Warning: If you continue to whip the cream past the stiff peaks stage, it will rapidly thicken further before eventually separating into butter and buttermilk. The texture will become grainy, then solid. So, it’s crucial to check and watch your stand mixer or hand mixer carefully as you approach stiff peaks, stopping as soon as the desired consistency is achieved!
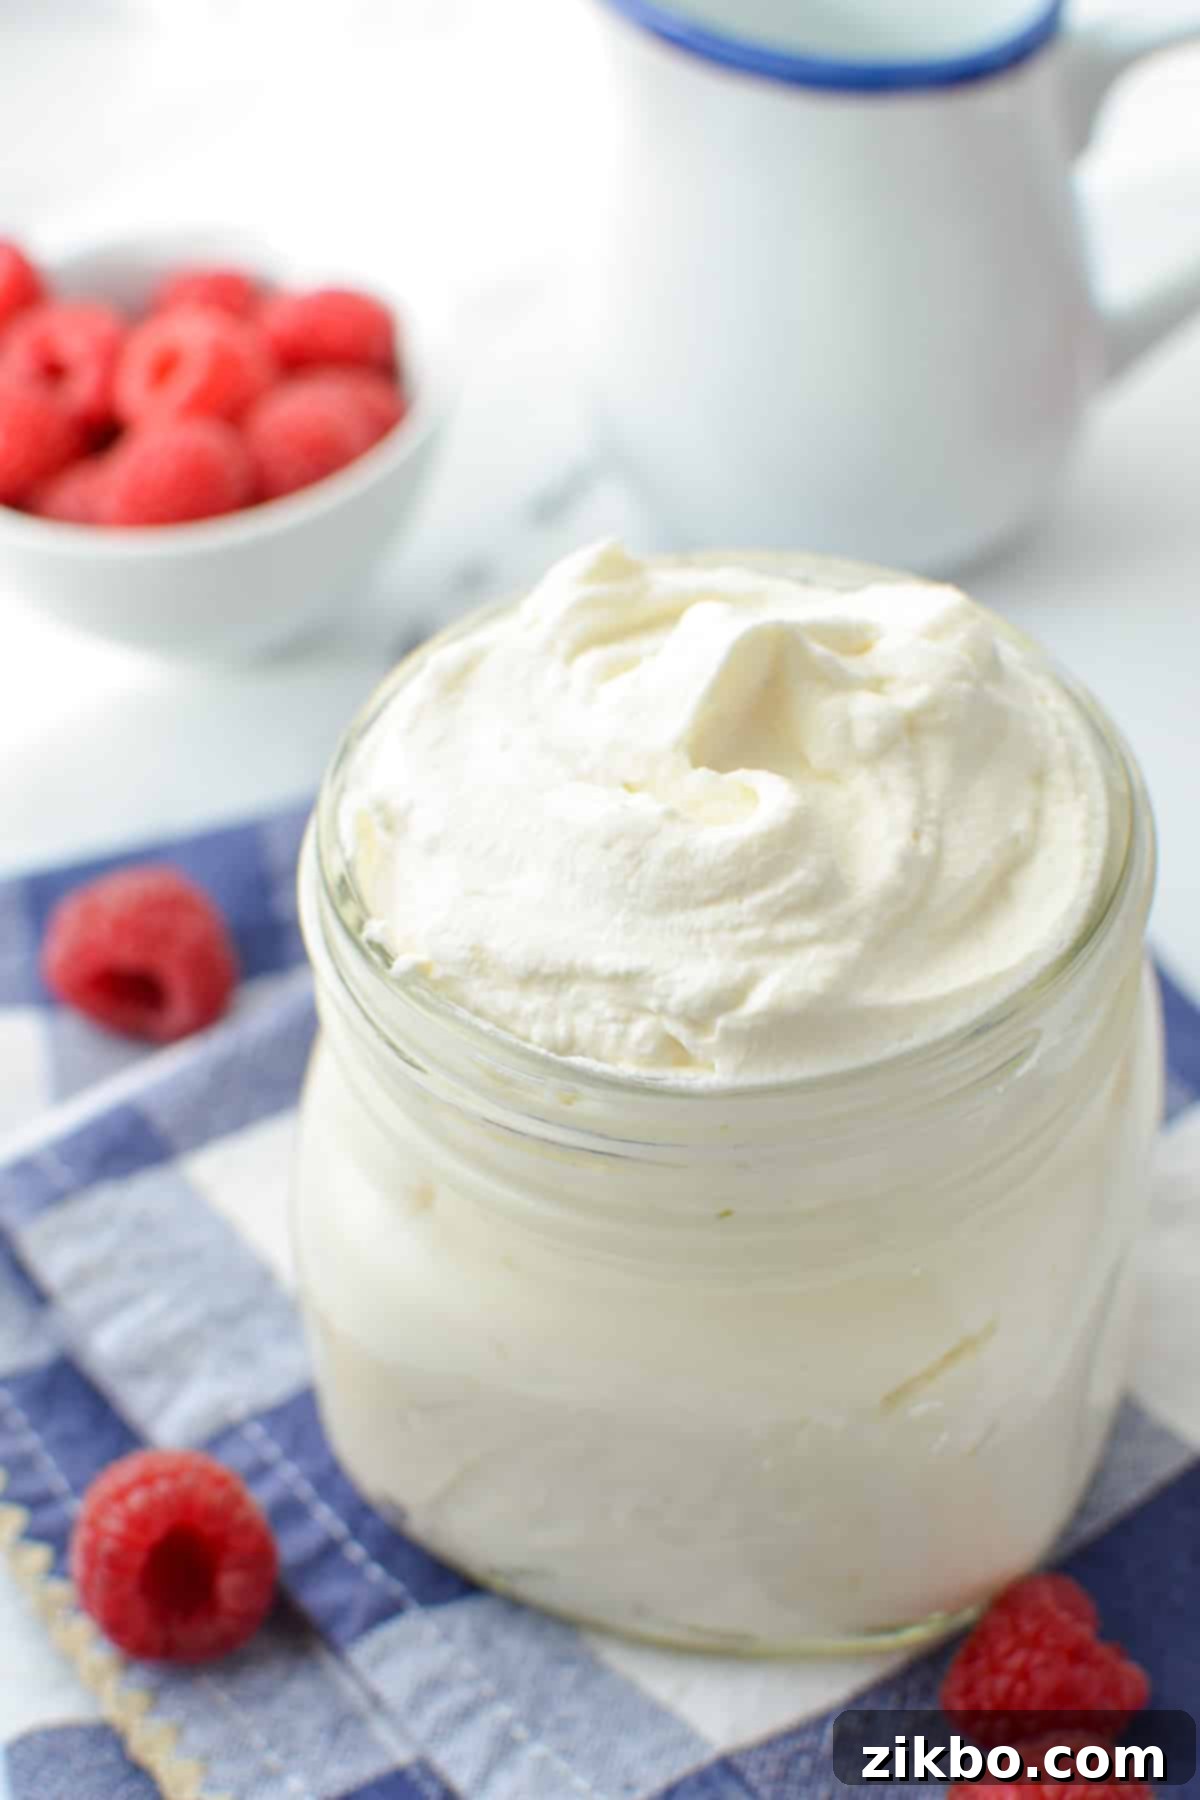
Delicious Ways to Use Your Homemade Whipped Cream
The versatility of homemade whipped cream is one of its greatest assets. Here are countless ways to enjoy this delightful topping:
- Pie Perfection: A generous dollop is the quintessential topping for virtually any pie, from autumn’s pumpkin pie or apple pie to a refreshing key lime pie. Hellooo, holiday desserts!
- Strawberry Shortcake: Layer it with fresh biscuits and juicy strawberries for the ultimate classic dessert.
- Hot Beverages: A swirl atop hot chocolate (aka hot cocoa) or a specialty coffee drink transforms it into a luxurious treat.
- Fresh Fruit Dip: Serve it as a light, sweet dip for an assortment of fresh fruits like berries, melon, and grapes.
- Berries’ Best Friend: Simply serve a bowl of fresh berries (strawberries, blueberries, raspberries) with a spoonful of whipped cream for a simple, elegant dessert.
- The Ultimate Dessert Topping: It’s the perfect finishing touch for nearly any sweet creation – cakes, cupcakes, brownies, cobblers, crisps, and puddings.
- Cool Whip Replacement: Use it in place of Cool Whip in any recipe that calls for it for a fresher, more natural flavor profile. Think no-bake cheesecakes, trifles, and layered desserts.
- Fruit Salads and Stewed Fruit: Add a light dollop to a bowl of fruit salad or warm stewed berries for an added touch of creaminess and sweetness.
- Anywhere and Everywhere: Essentially, anywhere you would consider using store-bought whipped cream, your homemade version will be a significant upgrade!
And yes, you could absolutely eat it by the spoonful if you wanted to! You will get zero judgment from me for enjoying this simple pleasure straight from the bowl.
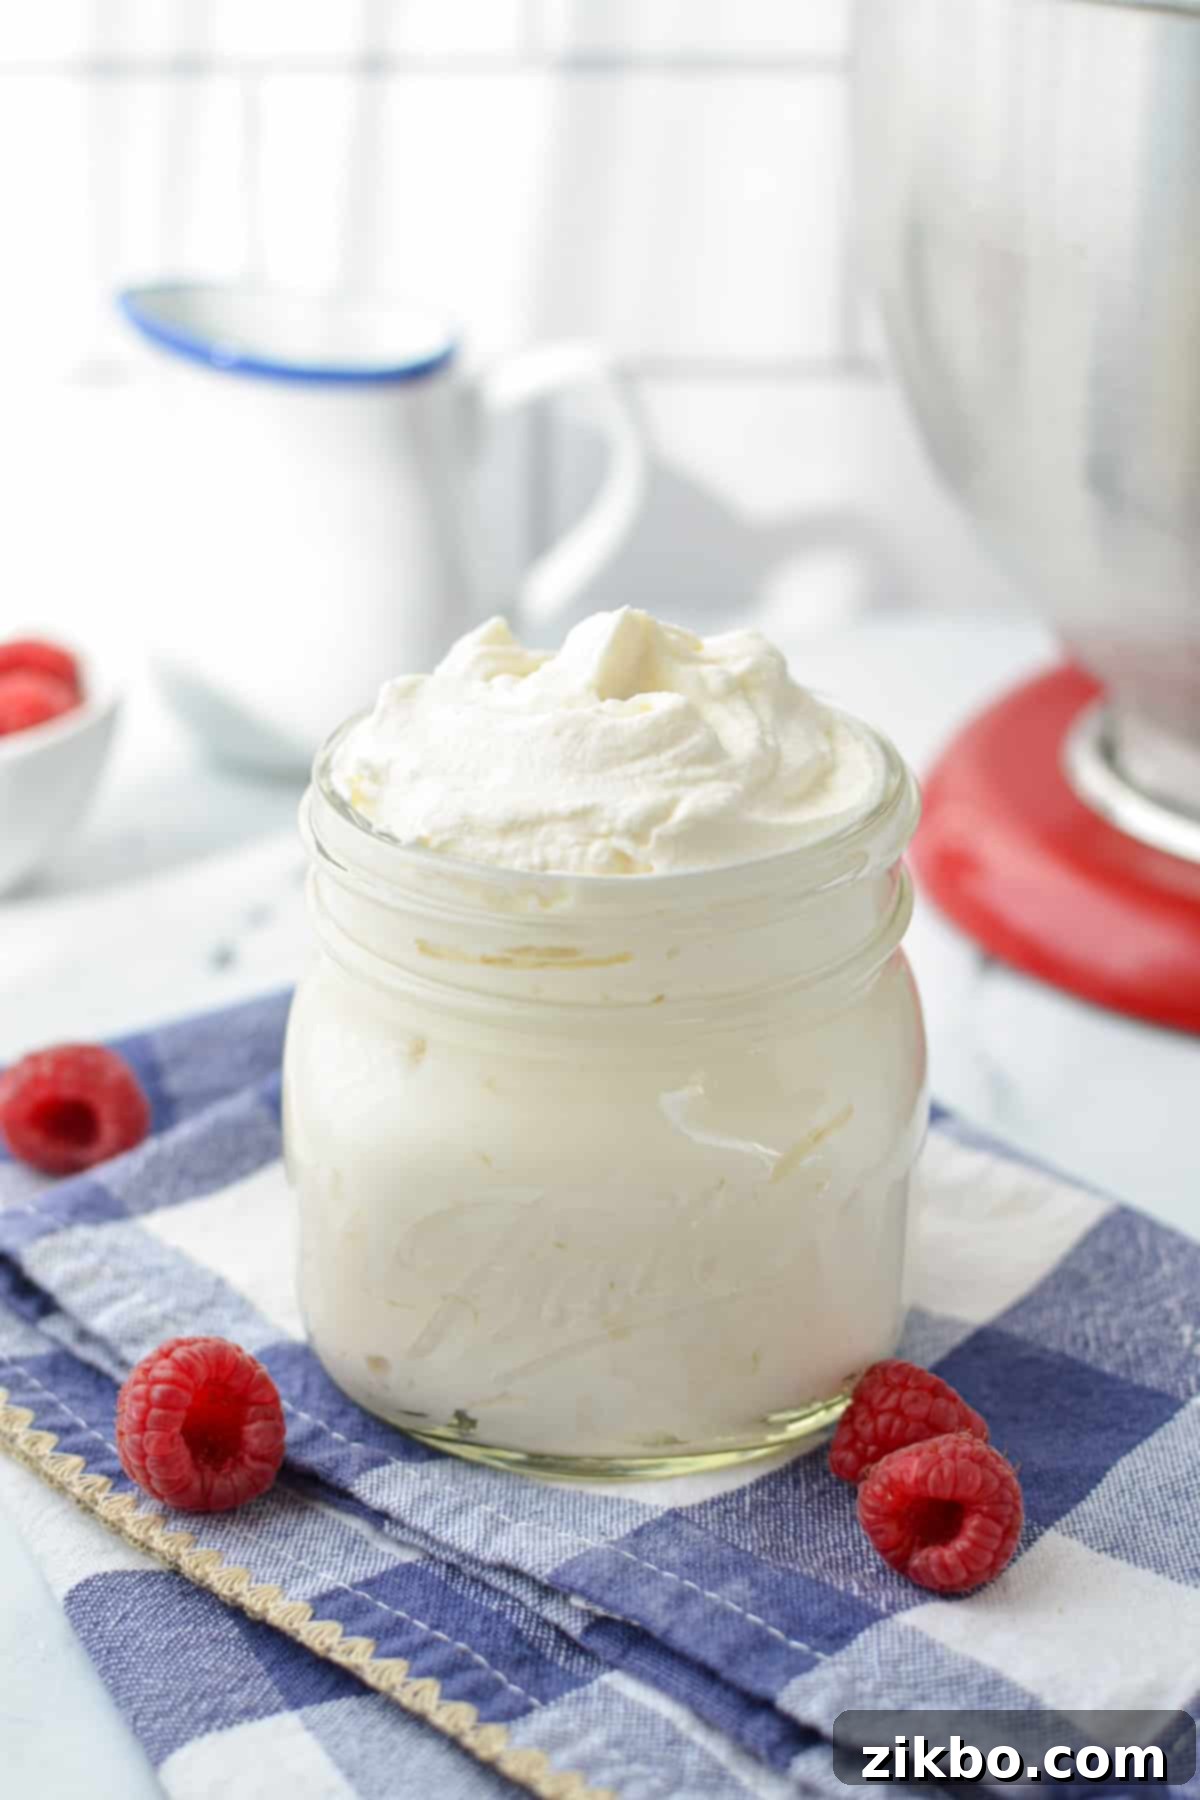
Expert Tips for Achieving Perfectly Stable and Fluffy Whipped Cream
Even though it’s simple, a few professional tricks can make your homemade whipped cream truly outstanding:
- Cold is Non-Negotiable: This is perhaps the most critical tip. Ensure you are working with extremely cold heavy cream before you begin to whip it. Room-temperature cream will not whip easily, if at all, and will result in a runny, unstable product. I always keep my heavy cream in the coldest part of the fridge until the very moment I need it. The colder the cream, the faster and firmer it will whip.
- Embrace Your Mixer: While it is technically possible to make whipped cream by hand with a whisk and a lot of elbow grease, it’s definitely a significant workout and can be inconsistent. For the best, most consistent results with minimal effort, I strongly recommend using either a stand mixer fitted with a whisk attachment or a powerful electric hand mixer. These tools provide the consistent, high-speed agitation needed to incorporate air efficiently and stabilize the cream.
- Opt for Powdered Sugar for Stability: While you can absolutely use granulated sugar (and many recipes do), I highly recommend using powdered sugar (confectioners’ sugar) if possible. The finely ground sugar dissolves more readily, creating a smoother texture. More importantly, the small amount of cornstarch often found in powdered sugar acts as a subtle, natural stabilizer. This significantly helps in preventing your whipped cream from weeping (releasing liquid) or separating for at least 24 hours, giving it a longer shelf life and more reliable structure.
BONUS POINTS: Chill Your Bowl and Whisk! If you really want that cream to whip like a dream, the secret is to chill the bowl and even the whisk attachment you’re whipping in. This simple step is done by sticking them in the freezer for about 15-20 minutes beforehand. A cold environment prevents the cream from warming up during the whipping process, making it much easier and quicker to achieve stiff peaks. This trick is especially helpful if it’s your first time or if your kitchen is warm.
Whipped Cream Troubleshooting: Common Issues and Quick Fixes
Even with the simplest recipes, sometimes things don’t go exactly as planned. Here’s how to troubleshoot common whipped cream problems:
- My Whipped Cream is Too Thick or Grainy? You probably whipped it just a bit past the point of stiff peaks, and it’s starting to turn towards butter. Don’t despair! That’s okay, and often fixable. Just add a touch more very cold heavy cream (start with 1-2 tablespoons) and gently beat it again on low speed, or even whisk it by hand, just until it’s incorporated and the desired smooth, fluffy texture returns. This should give you the result you’re aiming for!
- My Whipped Cream Is Not Thickening at All? The most common culprit here is cream that isn’t cold enough. Was your heavy cream adequately chilled? It should have been in the refrigerator for at least 6-8 hours, ideally, before whipping. Avoid using cream that has just been purchased and is still warm from the grocery trip, especially if you live far from the store. Also, ensure you are definitely using “heavy cream” or “heavy whipping cream” and not a lower-fat dairy product like half-and-half or light cream.
- My Whipped Cream Separates or Weeps After Chilling? Homemade whipped cream, especially without added commercial stabilizers, doesn’t store perfectly for a very long time. If you used powdered sugar, you should be good for up to 24 hours with minimal issues. However, if you used granulated sugar, it is likely less stable, and separation might occur sooner. If you need longer storage (more than a day) and wish to prevent weeping, consider purchasing a whipped cream dispenser (which uses nitrous oxide to keep it stable) OR add a commercial whipped cream stabilizer (like unflavored gelatin or meringue powder) to your whipped cream during the whipping process.
Easy Dessert Recipes to Pair with Your Homemade Whipped Cream:
- Chocolate Wafer Icebox Cake (Zebra Cake)
- Berry Cheesecake Salad
- No Bake Peanut Butter Bars
- Nutella Pie
- Lazy Cheesecake Salad
If you loved this recipe for Homemade Whipped Cream, please let me know by leaving a 5-star review in the recipe card below or sharing your thoughts in the comments! You can also tag me on Instagram @dashfordinner and share your beautiful creations. Your feedback truly brightens my day!
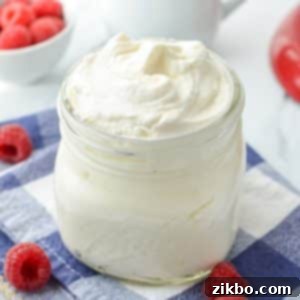
Homemade Whipped Cream
Print
Pin
Rate
Equipment
-
Stand mixer or electric hand mixer
Ingredients
- 1 ½ cups heavy whipping cream chilled
- 3 tablespoons powdered sugar or granulated sugar
- 1 teaspoon vanilla extract optional
Instructions
-
Add chilled heavy cream to a large bowl or the bowl of a stand mixer, along with the powdered sugar and vanilla extract.
-
Using an electric hand mixer or the whisk attachment for a stand mixer, whip the cream and other ingredients on medium-high speed until moderate peaks form, about 3-4 minutes. Stop the mixer and scrape down the sides of the bowl as needed.
-
You will know the whipped cream is ready when you can pull the whisk portion out of the whipped cream and it holds its shape for at least 30 seconds before falling.
-
Serve immediately, or store in the refrigerator for up to 24 hours.
Notes
Chilling: Make sure the heavy cream is chilled. Ideally, the bowl would be chilled as well. This helps to ensure it whips and thickens easily.
Using granulated sugar: You can absolutely make this recipe using granulated sugar. Powdered sugar does help stabilize the cream a bit better, allowing it to hold shape and prevent weeping too soon, but granulated sugar works just fine.
Too thick?: If you have accidentally overworked the cream and it is quite stiff, you can pour in a small amount of heavy cream and gently fold it in with a silicone spatula until fully combined.
Nutrition
Please note that some of my blog posts here at Dash for Dinner may contain affiliate links. If you make a purchase through these links, I will get a small commission at no additional cost to you. Please see my Disclaimer for more information.
