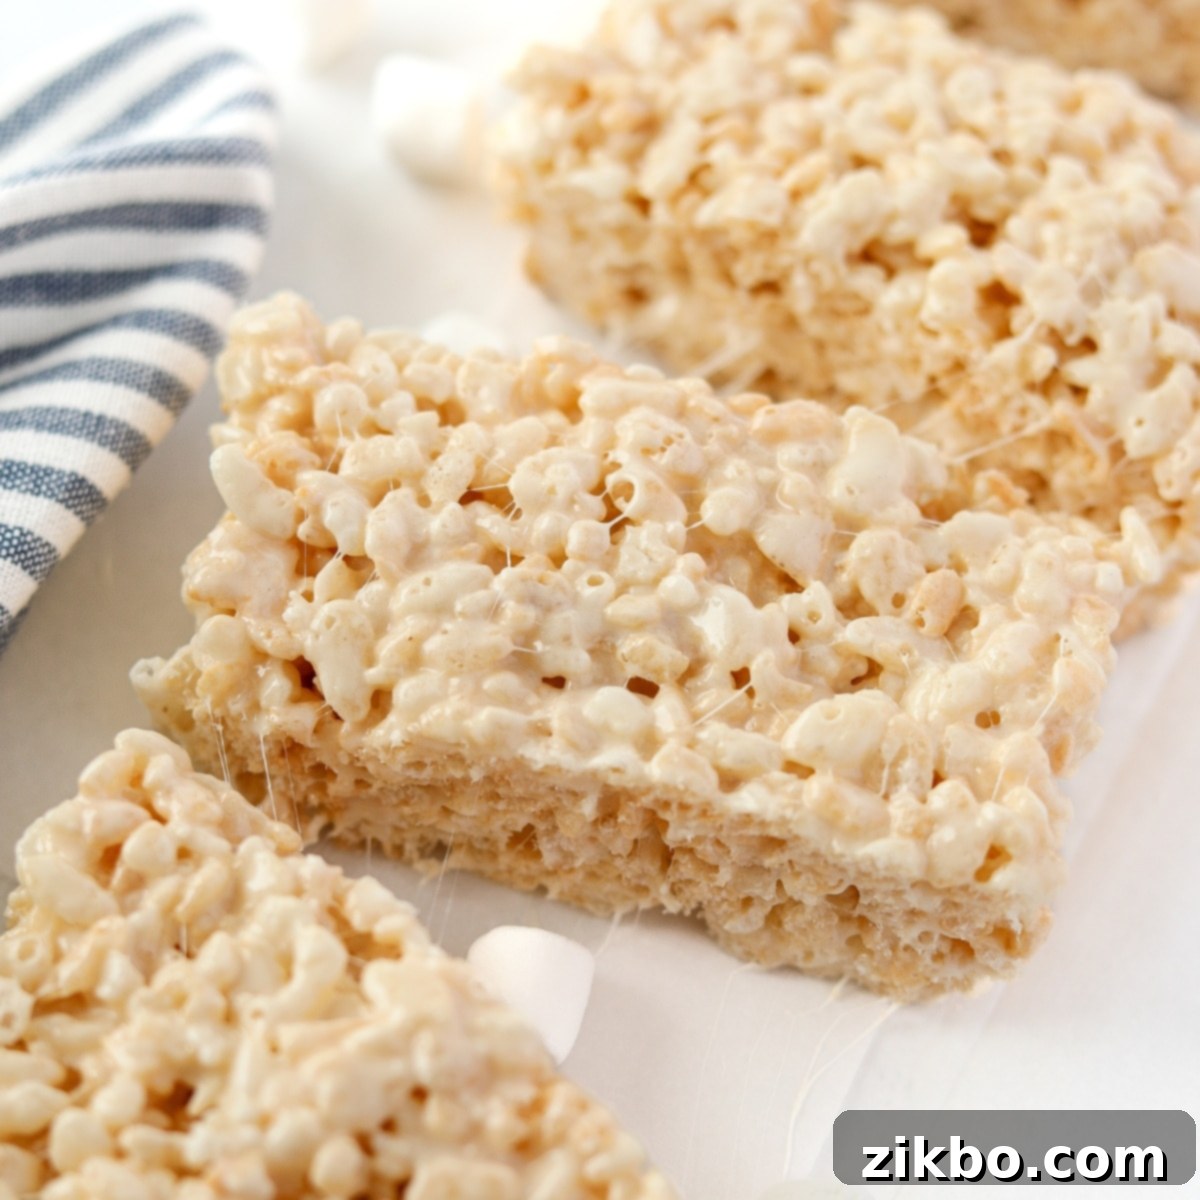
Easy Small Batch Rice Krispie Treats: Perfect Gooey Portions Every Time
Are you yearning for that nostalgic, sweet, and wonderfully gooey taste of homemade Rice Krispie treats, but find yourself hesitant to make a colossal batch that could feed an entire party? You’re not alone! That’s precisely why this recipe for **easy small batch Rice Krispie treats** is your ultimate solution. Crafted with just 4 pantry-staple ingredients, this scaled-down version perfectly yields either 4 generous treats or 8 delightful mini ones. It’s the ideal amount for individuals, couples, or small families who desire a quick, satisfying dessert without the commitment of a full-sized pan.
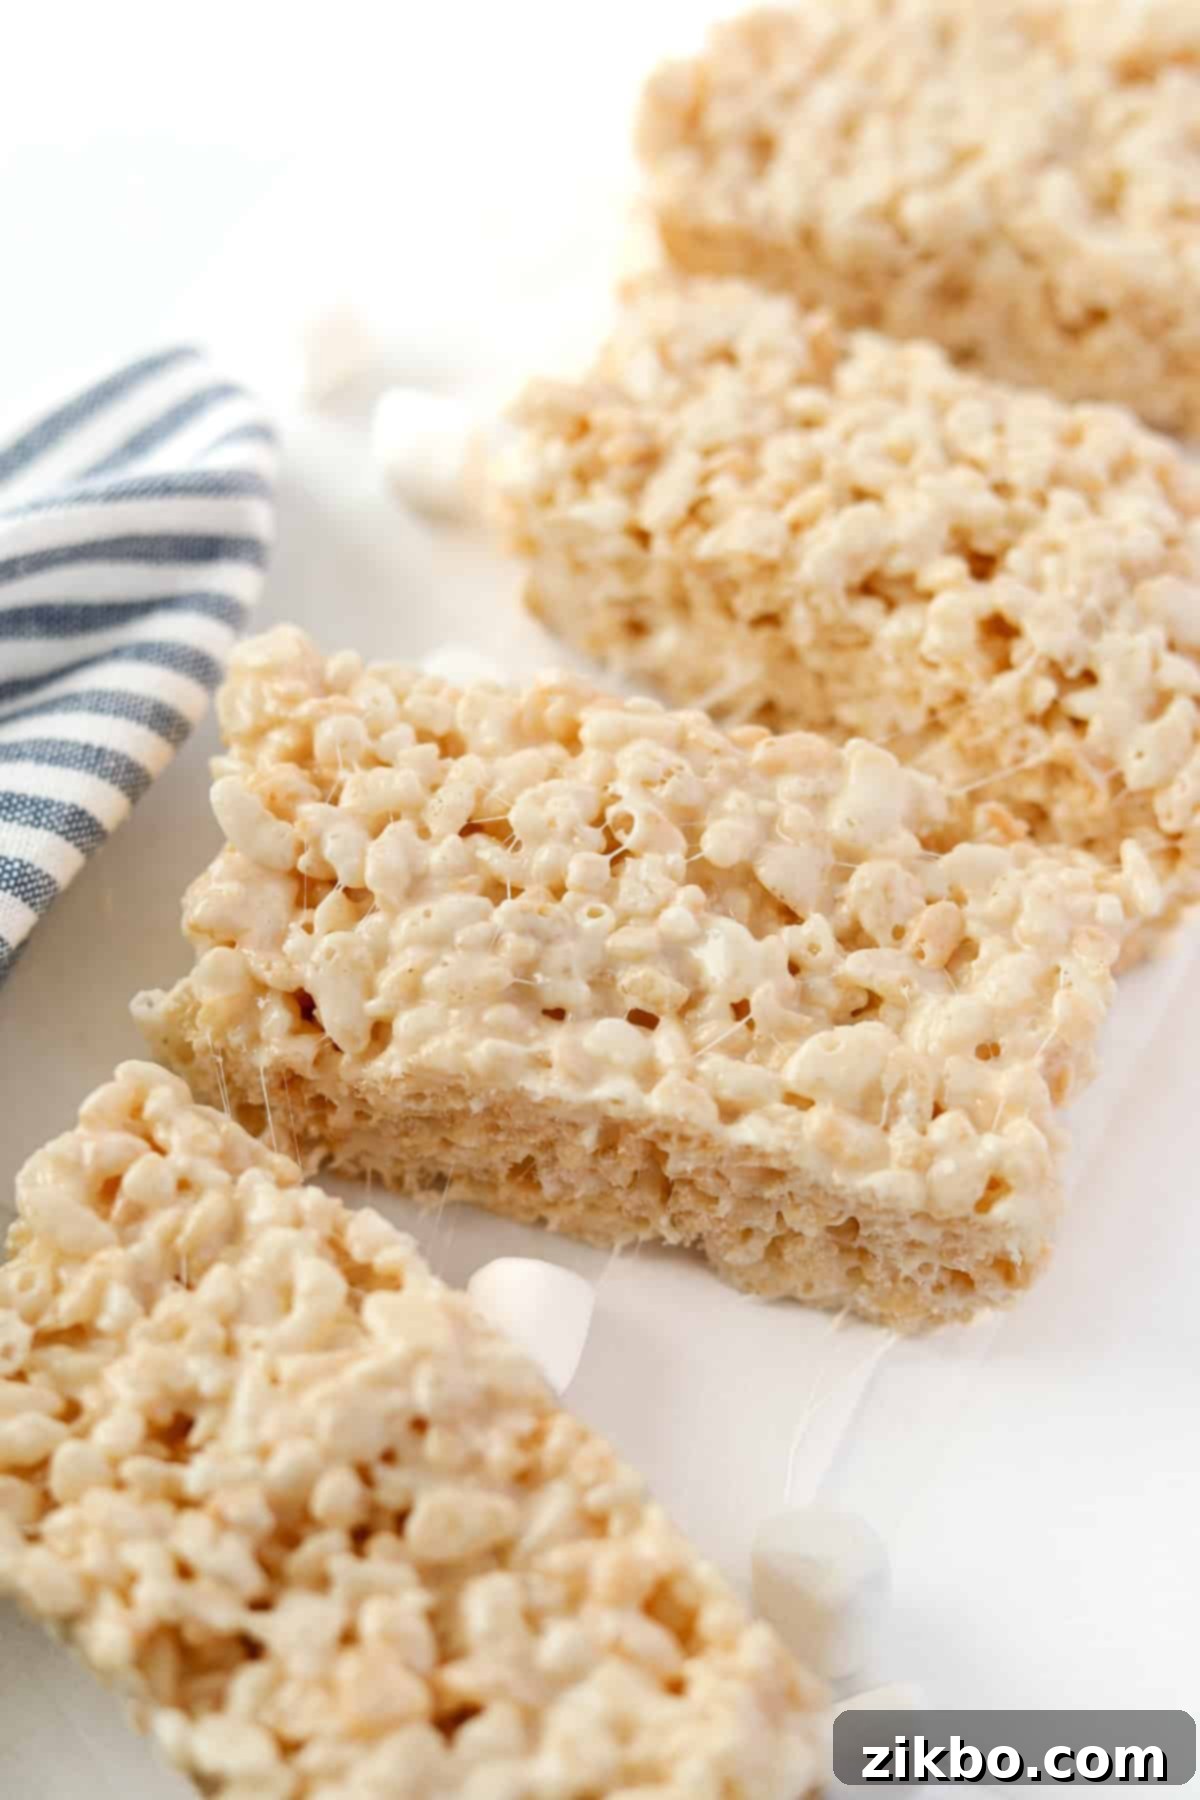
If you’re anything like me, you hold a firm belief that **homemade Rice Krispie treats are undeniably superior to any store-bought alternative.** The fresh, buttery aroma, the perfect balance of crispiness and marshmallowy chew, and the sheer joy of creating them in your own kitchen simply can’t be matched. Plus, they are incredibly simple and quick to prepare. However, there’s often one significant drawback: traditional recipes tend to produce a very large quantity, leaving you with more treats than you can reasonably consume before they lose their optimal freshness.
I don’t know about you, but if I have a tray of nine or more tempting cereal treats staring at me, I’m likely to *eat* nine or more cereal treats! In the spirit of maintaining balance and moderation in my snacking habits, that’s simply not a sustainable option. This realization led me to develop a method for making a perfectly portioned **small batch of Rice Krispie treats** whenever that irresistible craving strikes, ensuring I can indulge without overdoing it.
Instead of wrestling with a standard 9×13-inch baking pan, this ingeniously scaled-down recipe can be effortlessly prepared in a **simple loaf pan.** This clever adjustment yields precisely the right amount for 1-4 people, making it an ideal sweet snack for a cozy night in, a modest gathering, or just a personal treat. Not only is it incredibly easy to prepare, but it also minimizes cleanup, adding to its appeal.
The best part is that you get to savor all the delightful yumminess and superior taste of a fresh, homemade dessert, but in a more manageable portion size, similar to what you might find in a pre-packaged store-bought snack. For anyone looking for a quick and satisfying sweet fix without the excess, I call that an absolute win-win situation!
Why You’ll Love This Small Batch Recipe:
- A Perfectly Sized Sweet Treat. Whether you only want to whip up a few treats for an immediate craving, or you happen to have just a couple of cups of crispy rice cereal left to use, this small batch version of the classic recipe is both quick and easy to make. It’s perfect for satisfying that sweet tooth without leading to overindulgence or waste.
- The Ideal Amount for Small Households. If you live alone, with a partner, or have a small family, you likely don’t want to be eating the same dessert every single day for an entire week. Making a smaller batch of these homemade **Rice Krispie treats** is the perfect solution, offering just enough to enjoy without feeling overwhelmed by leftovers.
- Great for Kids (and Adults!). The smaller quantities involved in this recipe mean it’s much easier to stir the mixture and significantly simpler to clean up afterwards. This makes it an excellent recipe for getting younger chefs involved in the kitchen, fostering their love for cooking with minimal mess.
- Effortlessly Easy. This recipe boasts ultimate convenience! It can be made in the microwave for speed (or on the stovetop for classic preparation), requires absolutely no baking, and calls for just a handful of simple, readily available ingredients. It’s a truly fuss-free dessert that delivers maximum flavor with minimal effort.
Simple Ingredients You Will Need:
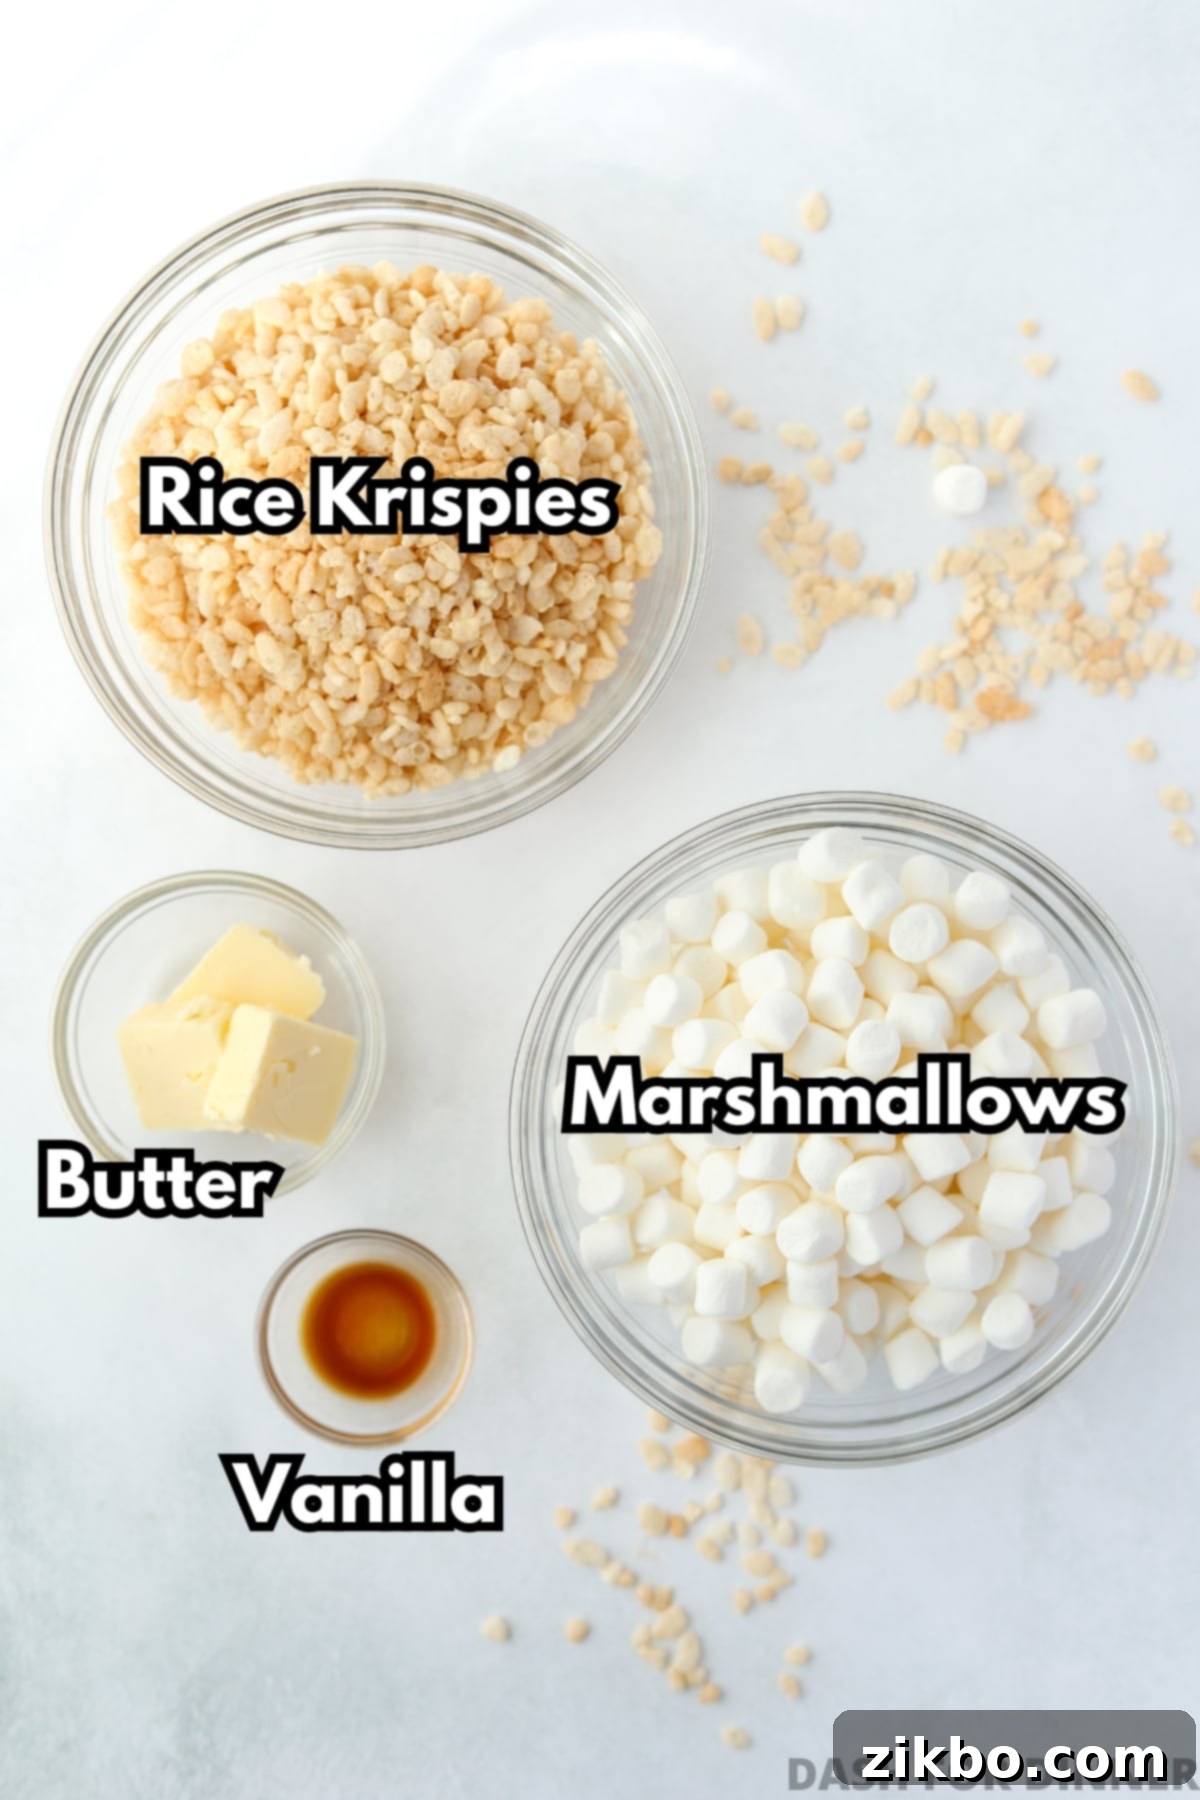
- Crispy Rice Cereal: While “Rice Krispies” is the most widely recognized brand name, you can absolutely use any brand of crispy rice cereal you prefer. If you need a gluten-free option, be sure to check the ingredient label carefully, as some generic brands (and specific gluten-free brands like Nature’s Path crispy rice) do not contain barley malt extract, which is present in Kellogg’s Rice Krispies and contains gluten. The key is to use a fresh, crunchy cereal for the best texture.
- Marshmallows: This recipe calls for about 3 cups of mini marshmallows. Mini marshmallows are highly recommended because they melt more quickly and evenly, resulting in a smoother, more consistently gooey marshmallow mixture. If you only have regular-sized or large marshmallows, simply weigh out 5 ounces to ensure an accurate conversion. For optimal melt and chewiness, always use fresh marshmallows; stale ones can result in a tougher treat.
- Butter: For the most balanced flavor, I highly recommend using salted butter. The hint of salt perfectly cuts through the sweetness of the marshmallows, enhancing the overall taste. If you only have unsalted butter on hand, don’t worry – simply add a small pinch (about ⅛ to ¼ teaspoon) of fine sea salt to the melting butter and marshmallows. This small addition makes a big difference!
- Vanilla Extract: Just a small touch of pure vanilla extract is the secret ingredient that elevates these treats from good to absolutely amazing. It adds a warm, aromatic depth that complements the sweetness of the marshmallows beautifully. Don’t skip this step, as it truly enhances the homemade flavor!
For precise measurements and a complete list of ingredients, please refer to the recipe card below.
How to Make a Small Batch of Rice Krispie Treats (Microwave Method)
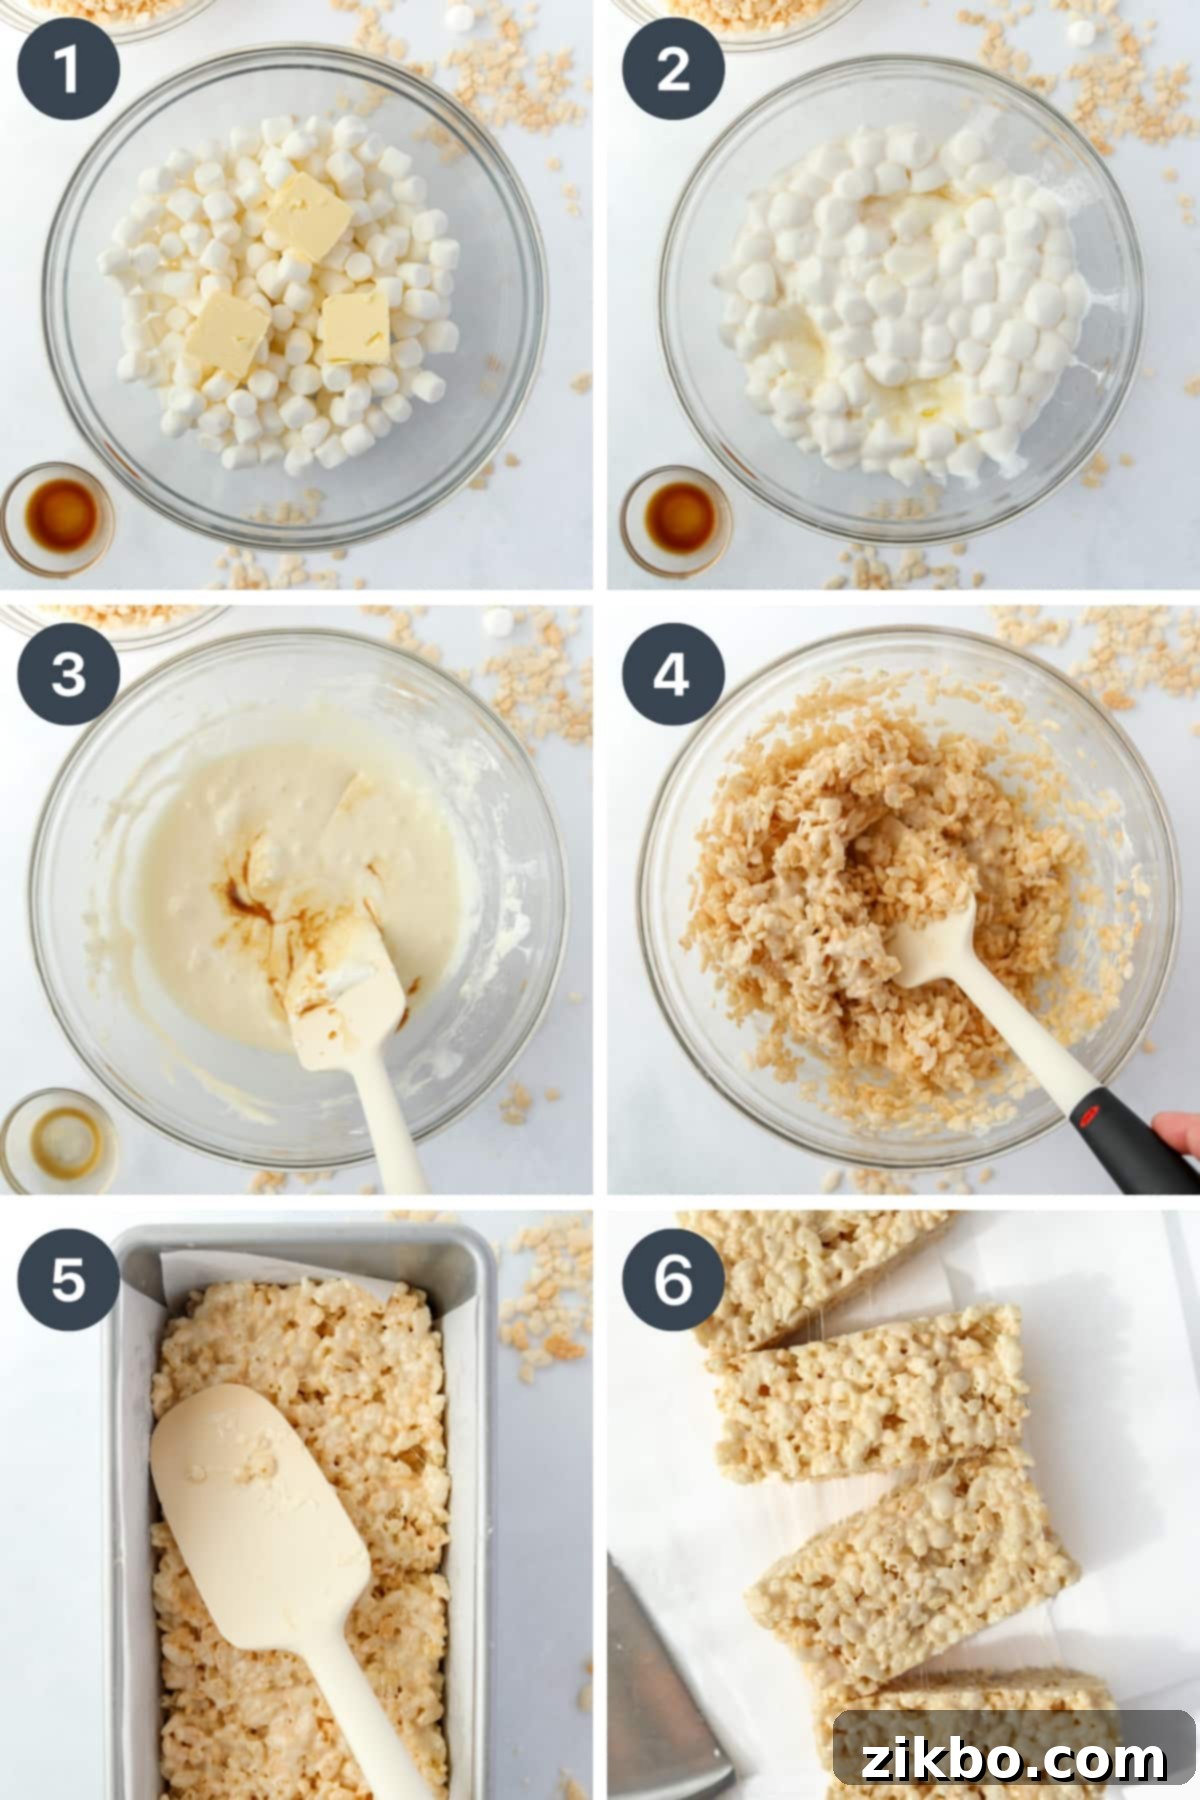
- Prepare Your Pan: First, line a loaf pan (an 8.5 x 4.5 inch or 9 x 5 inch pan works perfectly) with parchment paper. This crucial step will make removing your sticky treats incredibly easy and greatly simplify cleanup. You can lightly grease the pan first to help the parchment stick.
- Melt Marshmallows and Butter: In a large, microwave-safe bowl, combine 5 ounces (approximately 3 cups) of mini marshmallows with 3 tablespoons of butter, cut into a few pieces. This ensures the butter melts more evenly.
- Microwave with Care: Heat the mixture in the microwave in short 30-second intervals. After each interval, give it a quick stir. Continue until the butter is completely melted and the marshmallows are soft, puffy, and easily stirred into a smooth, glossy consistency. Be careful not to overheat, as this can make the marshmallows tough.
- Add Flavor: Once melted and smooth, stir in ½ teaspoon of vanilla extract. Mix just until it’s fully combined into the marshmallow-butter mixture. The vanilla adds a wonderful depth of flavor.
- Incorporate Cereal: Working quickly, add 2¼ cups of crispy Rice Krispie cereal to the marshmallow mixture. Using a rubber spatula, gently but thoroughly fold the cereal into the gooey mixture until every piece is evenly coated. Avoid pressing too hard, as this can crush the cereal and make the treats too dense.
- Press into Pan: Transfer the coated cereal mixture into your prepared parchment-lined loaf pan. Use your greased spatula or your fingertips (lightly coated with butter or cooking spray) to gently press the mixture evenly into the pan. Do not compact it too tightly, as this will result in hard, rather than gooey, treats.
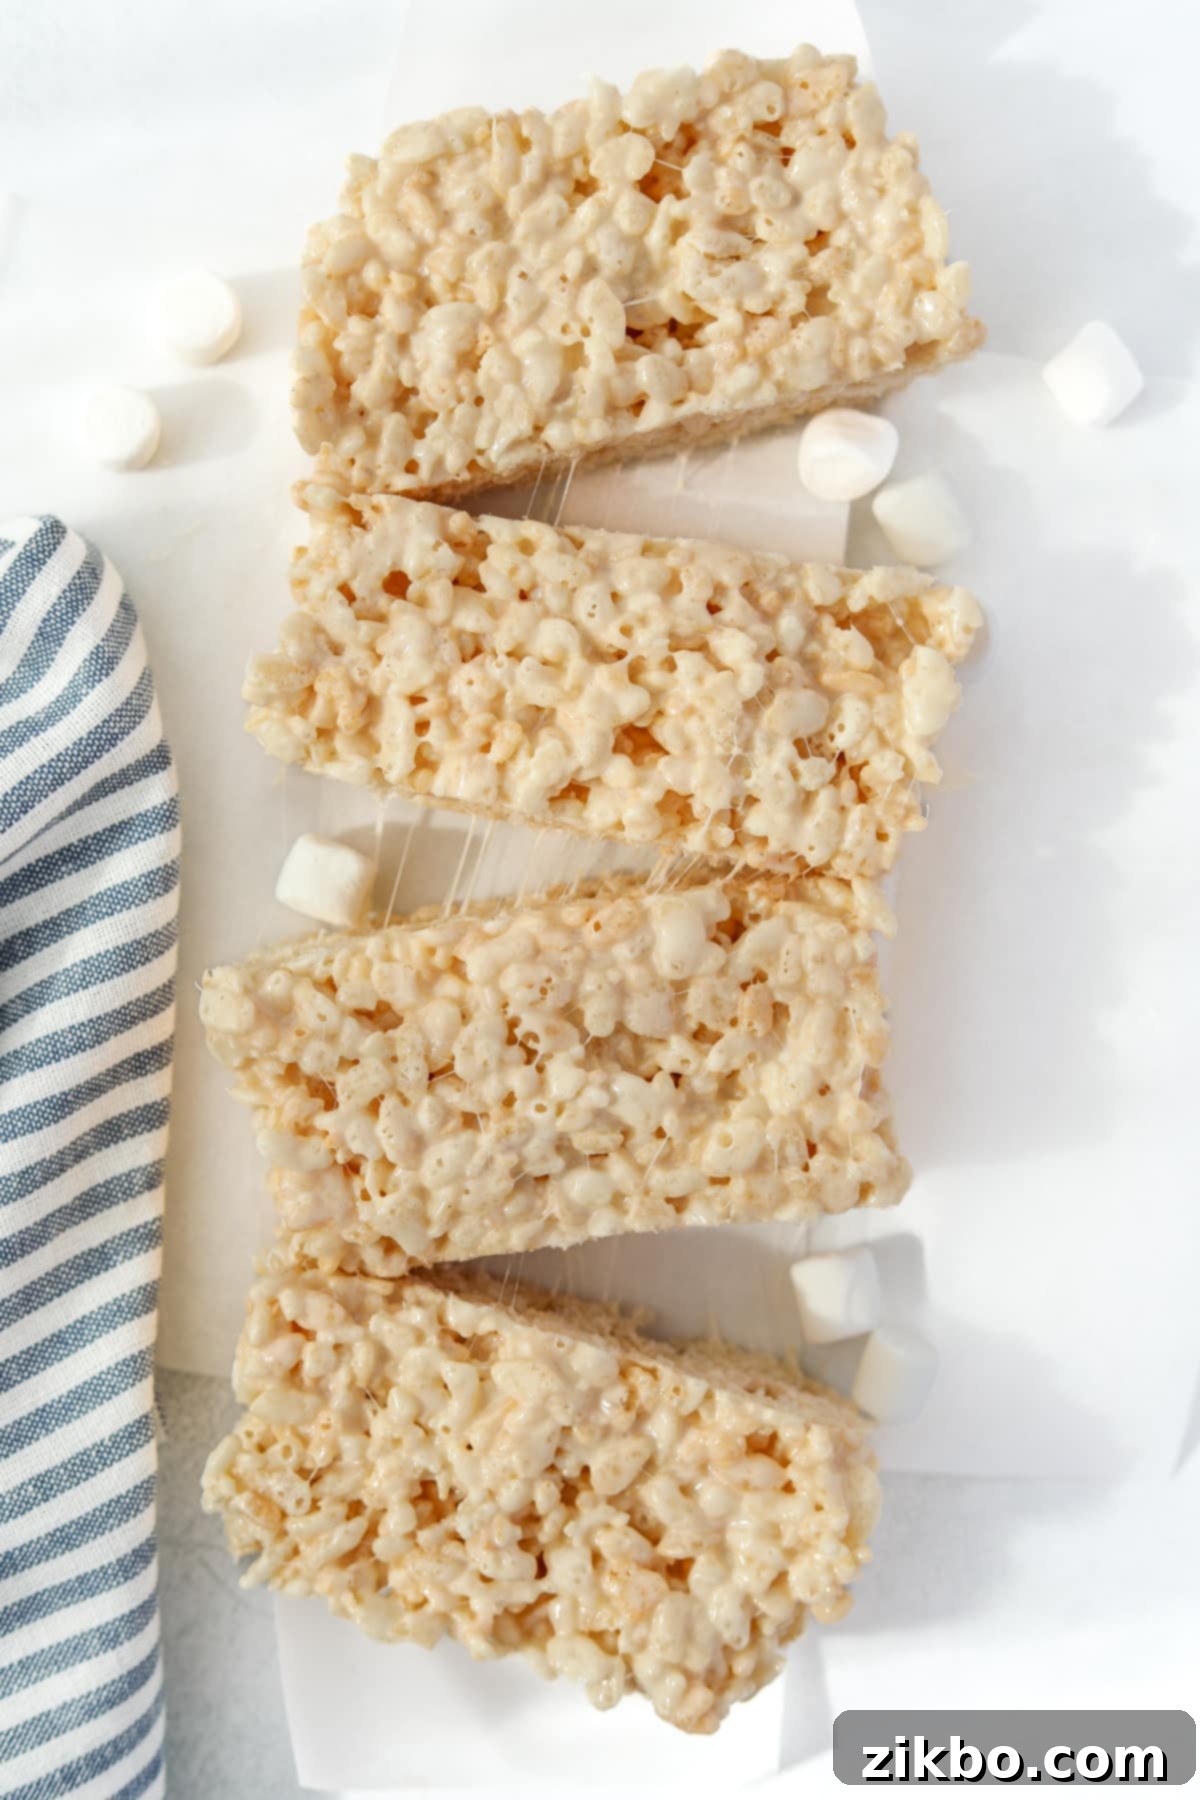
- Set and Serve: Allow the cereal treats to firm up at room temperature for at least 1 hour. This resting time is essential for them to set properly, making them easy to slice without sticking. Once firm, lift the treats out using the parchment paper, slice into 4 large bars or 8 smaller squares, and enjoy your perfectly portioned, gooey **small batch Rice Krispie treats**!
This specific recipe makes 4 generous large Rice Krispies treats or 8 delightful mini ones.
Stovetop Method: A Classic Alternative
If you prefer not to use a microwave or simply enjoy the traditional method, this **small batch Rice Krispie treat recipe** can easily be made on the stovetop. It offers excellent control over the melting process and works just as beautifully in a large pot or Dutch oven.
- Melt Ingredients: In a medium saucepan or a Dutch oven, melt the 3 tablespoons of butter over medium-low heat. Once melted, add the 5 ounces (about 3 cups) of mini marshmallows. Continue to cook, stirring frequently with a rubber spatula, until the marshmallows are completely melted and smooth. This typically takes a few minutes. Ensure the heat isn’t too high to prevent scorching the marshmallows.
- Remove from Heat and Flavor: Once the marshmallow and butter mixture is perfectly smooth and glossy, remove the pot from the heat. Immediately stir in the ½ teaspoon of vanilla extract until well combined. The residual heat will help distribute the vanilla evenly.
- Add Cereal: Pour in the 2¼ cups of crispy rice cereal. Using your spatula, gently fold the cereal into the warm marshmallow mixture until every piece of cereal is fully coated. Again, avoid aggressive stirring to keep the treats light and airy.
- Transfer and Cool: Quickly transfer the mixture into your parchment-lined loaf pan. Gently press it into an even layer using a buttered spatula or your lightly greased fingertips. Allow the treats to cool and set at room temperature for at least 1 hour.
- Slice and Enjoy: Once firm, remove the entire block of treats from the pan using the parchment paper. Slice into your desired size – 4 large bars or 8 mini squares – and savor your delicious, homemade **small batch Rice Krispie treats**!
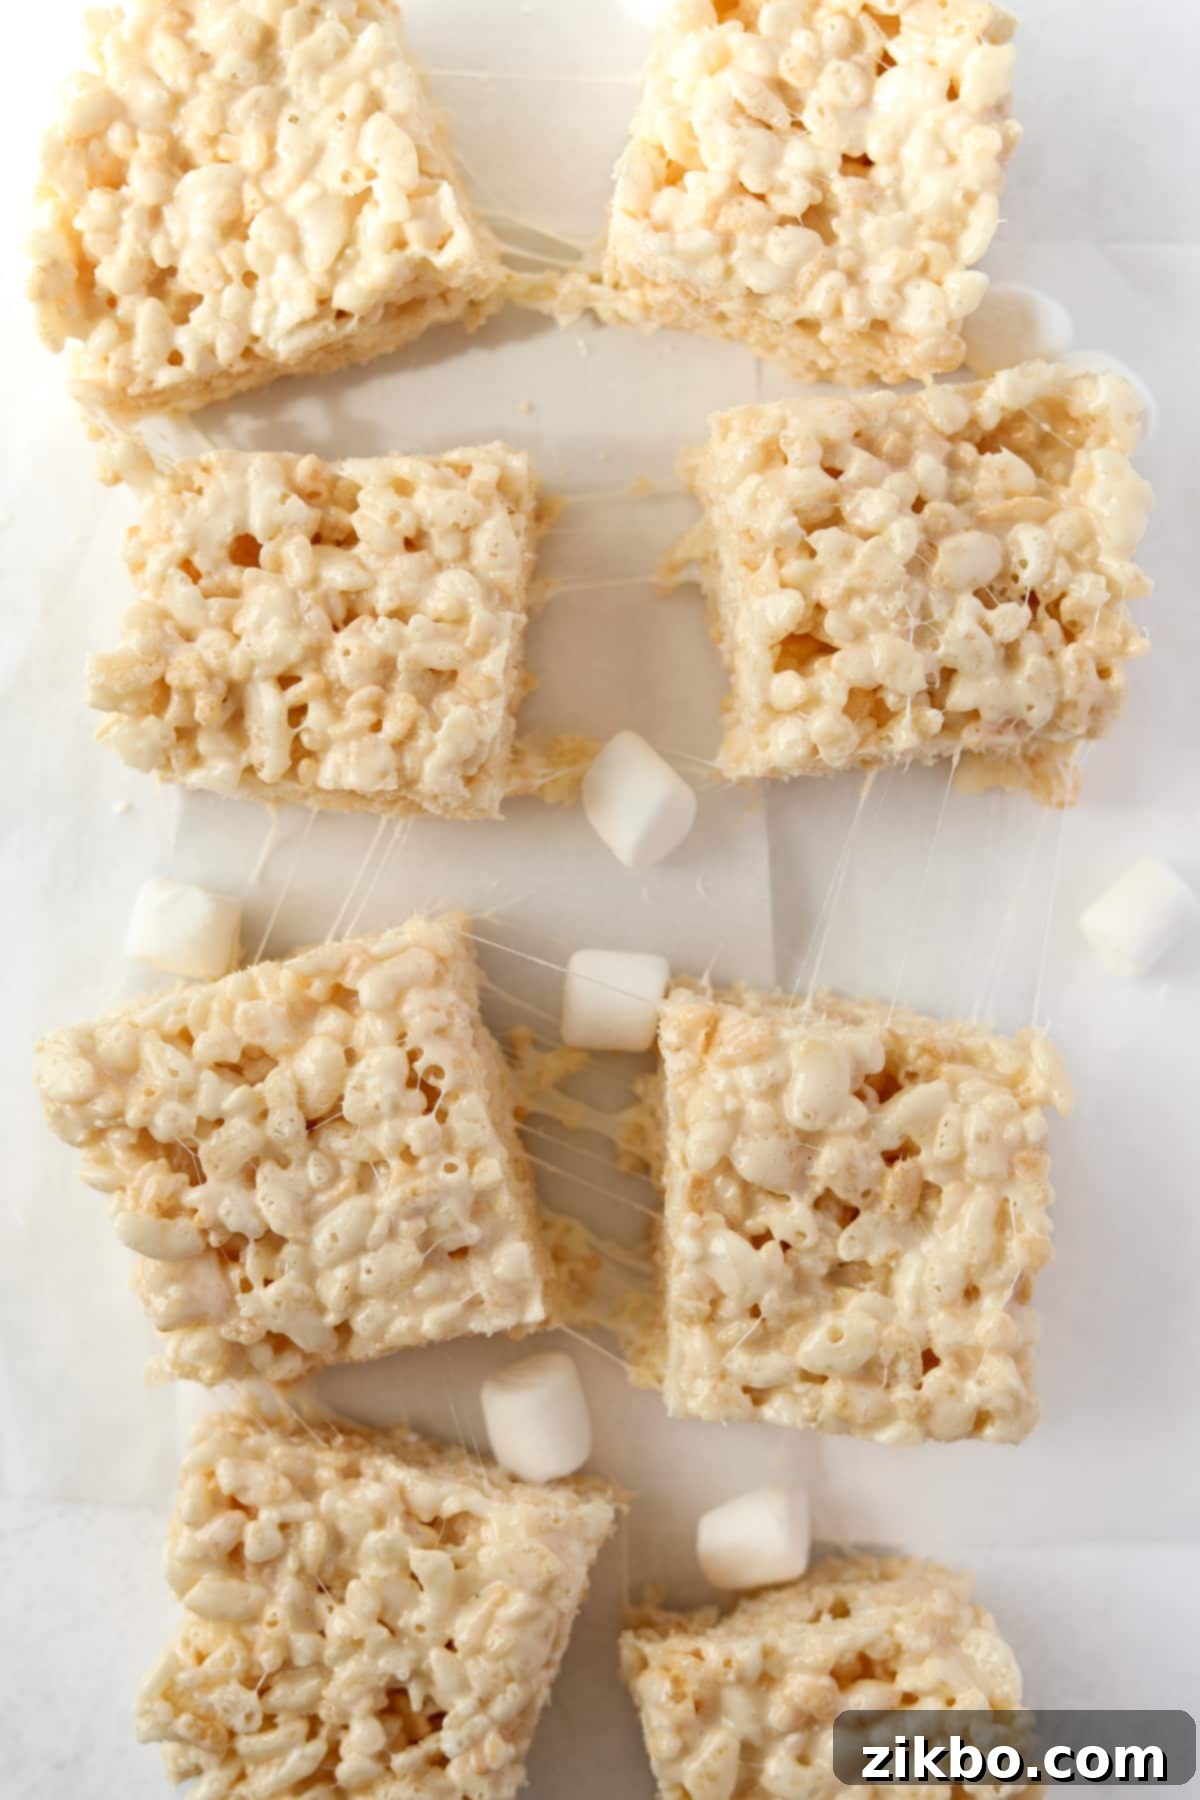
Storing Leftover Small Batch Rice Krispie Treats
Proper storage is key to keeping your **homemade Rice Krispie treats** fresh and delightfully chewy. While they are best enjoyed the day they’re made, they can certainly be saved for a few days.
- Room Temperature is Best: For optimal texture and gooeyness, always store your leftover treats in an airtight container at room temperature. They will remain wonderfully fresh and soft for up to 3 days.
- Prevent Sticking: To ensure your treats don’t stick together, especially if stacking them, place a layer of parchment paper or wax paper between each treat. This simple step makes them much easier to grab and enjoy.
- Avoid the Refrigerator: While tempting, storing Rice Krispie treats in the refrigerator is generally not recommended. The cold temperature tends to make them extra dense and hard, losing that signature chewy texture we all love. However, if you prefer a firmer treat and want to extend their shelf life, they will keep for longer (around 5-7 days) in the fridge, but be prepared for a change in texture.
- Freezing for Longer Storage: If you’ve made a batch and want to save some for much later, you can freeze your cereal treats. Wrap each individual treat tightly in plastic wrap to prevent freezer burn, then transfer them to a labeled freezer-safe bag or airtight container. They can be frozen for up to 2 months. To serve, simply thaw them at room temperature until soft again. Note that the texture may be slightly different after freezing and thawing, but they will still be delicious!
Expert Tips for Perfect Small Batch Rice Krispie Treats
- Always Line Your Loaf Pan: Rice Krispies squares are notoriously sticky, and even a non-stick pan can present a challenge for removal and cleanup. For the absolute best results and easiest experience, always line your loaf pan with parchment paper. To do this, cut a piece of parchment paper to size so it extends up the long sides of the pan, creating “handles.” You can lightly grease the pan first to help the parchment adhere. If you absolutely don’t have parchment paper, a generous coating of non-stick cooking spray might help, but parchment is highly preferred.
- Combat the Sticky Situation: Dealing with gooey marshmallows can be a messy affair. To prevent a big cleanup headache, utilize silicone or rubber cooking tools, such as a spatula. The marshmallow mixture is less likely to cling to these surfaces. If you’re working with metal or wooden spatulas, a light coating of butter or non-stick spray on the tool itself can significantly reduce sticking when pressing the mixture into the prepared baking pan.
- Scaling Up Your Recipe: While this recipe is designed for a small batch, it’s incredibly versatile and easy to scale. Maybe you started with a small batch and now realize you need more! The recipe can easily be doubled to fit an 8×8-inch or 9×9-inch baking pan, which is perfect for a medium-sized crowd. If you’re hosting a larger gathering or simply want a full classic batch, you can quadruple (x4) the ingredients to fill a standard 9×13-inch baking pan. Just remember to use a larger bowl or pot for melting and mixing if you’re scaling up.
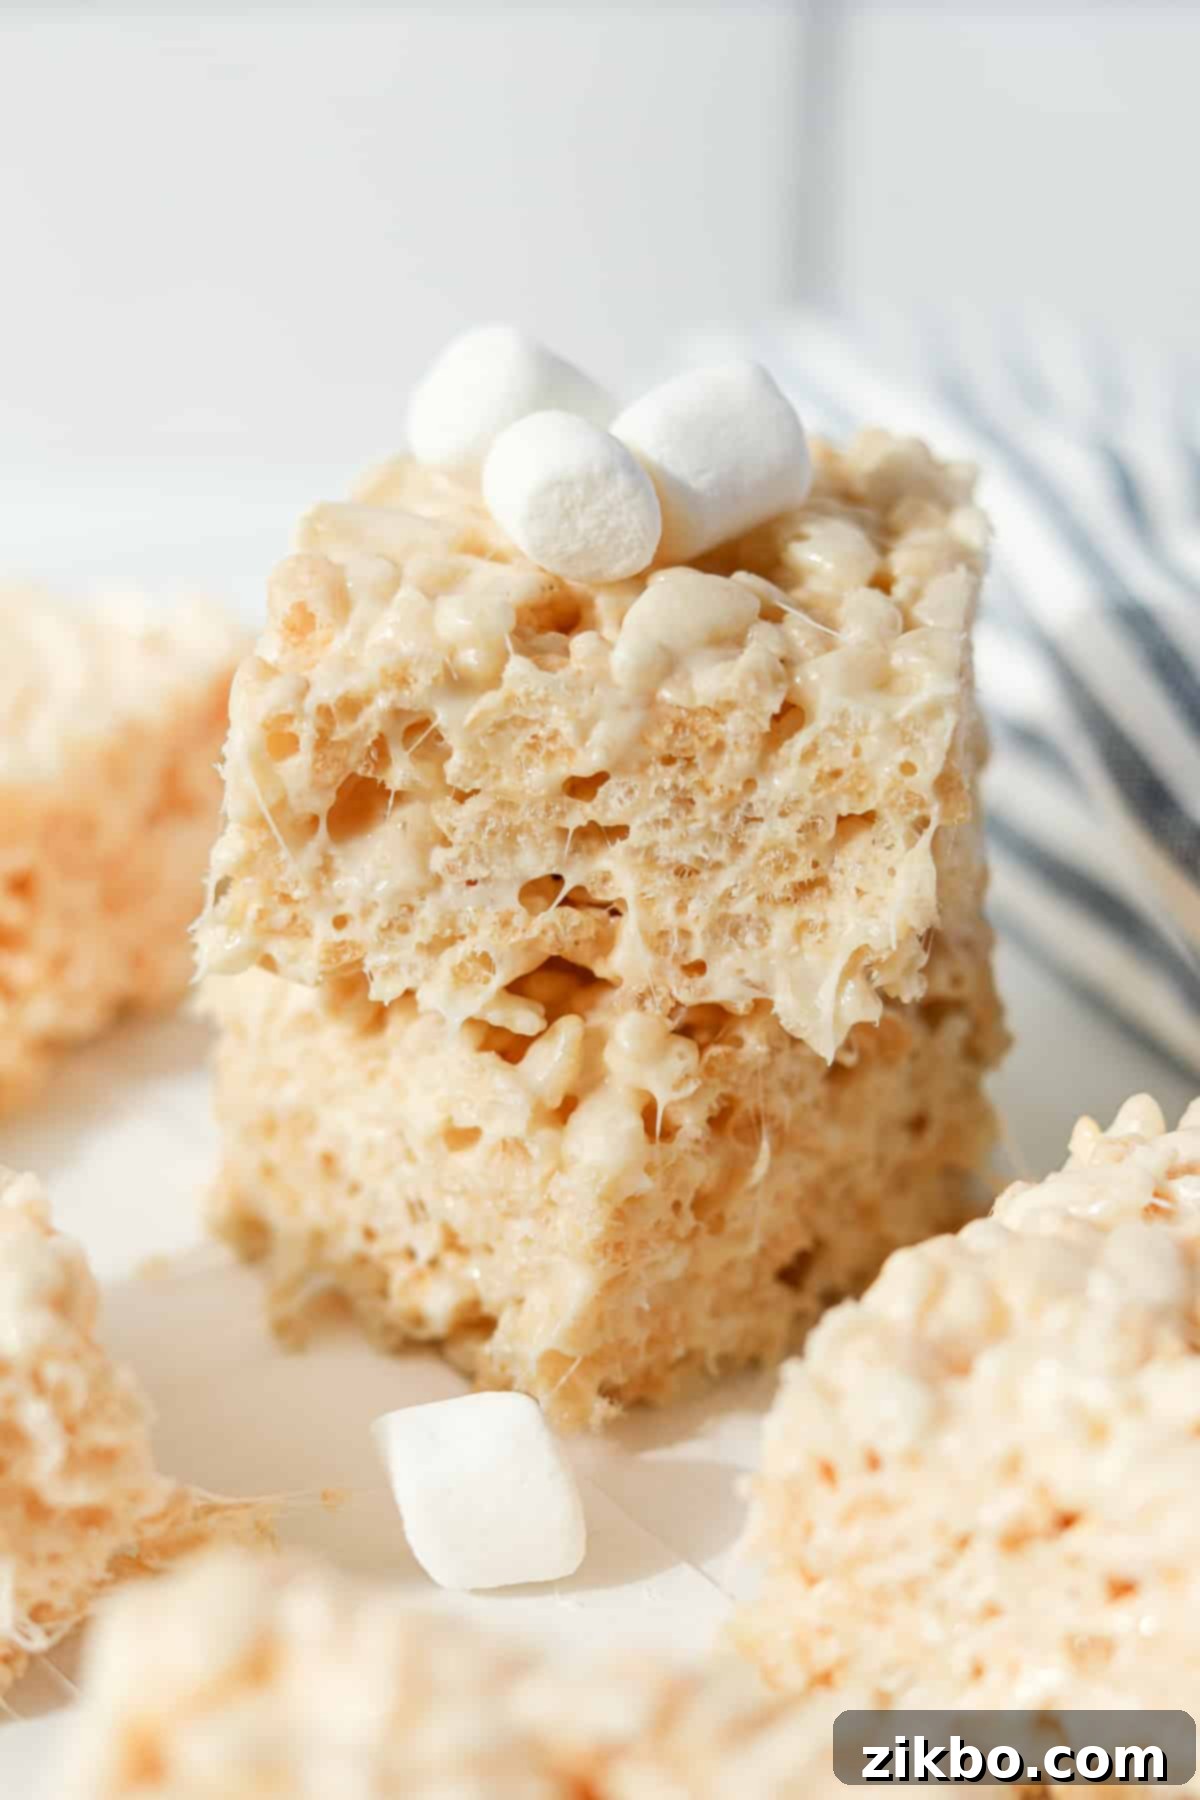
Variations and Creative Substitutions
While the classic **small batch Rice Krispie treat** is delightful on its own, there are many ways to customize and enhance this simple recipe to suit your preferences or dietary needs.
- Brown Butter Magic: For an elevated flavor profile, try browning your butter! Instead of simply melting the butter with the marshmallows, melt your butter alone in a saucepan over medium to low heat. Allow it to cook slowly, stirring occasionally, until it turns a rich golden brown, smells nutty, and small brown bits form at the bottom. This process adds an incredible depth of caramelized, toasted flavor. Then, stir in the marshmallows until melted, and finally add the vanilla and cereal. This small step takes your **homemade Rice Krispie treats** to a gourmet level!
- Go Gluten-Free: If you or someone you’re baking for has a gluten sensitivity or allergy, making **gluten-free Rice Krispie treats** is entirely possible. The key is to swap the regular crispy rice cereal for a brand that is certified gluten-free. It’s important to note that Kellogg’s Rice Krispies typically contain gluten due to the barley malt extract used in their manufacturing. However, many generic store brands or health food brands (such as Nature’s Path Crispy Rice Cereal) do not include this additive, making them safe gluten-free alternatives. Always double-check the ingredient label to ensure it meets your dietary requirements.
- Using Regular or Large Marshmallows: After numerous tests, we’ve found that mini marshmallows consistently melt the best and contribute to a superior, more consistent texture in the finished treats. Their smaller size allows them to melt more quickly and evenly, creating a smoother marshmallow matrix. That being said, you absolutely can use regular-sized or even large marshmallows if that’s what you have on hand. The most important tip for substitution is to weigh them (aim for 5 ounces for this small batch recipe, or 10 ounces for a standard full batch) rather than relying on cup measurements, as larger marshmallows can create air pockets that affect volume.
- Homemade Marshmallows: Have you ventured into the world of making homemade marshmallows? While I haven’t personally tested this specific recipe with homemade marshmallows, there’s no reason why they wouldn’t work beautifully! Homemade marshmallows often offer an even chewier, more flavorful base. Just like with store-bought large marshmallows, using weight as a measurement will provide the most accurate conversion and best results for your **small batch marshmallow treats**.
More Cereal Treats to Explore:
- Fruity Pebbles Treats
- Cocoa Pebbles Treats
- Lucky Charms Treats
- Classic Rice Krispie Treats
If you loved this recipe for **Small Batch Rice Krispie Treats**, please let me know by leaving a 5-star review in the recipe card or a comment below! You can also tag me on Instagram @dashfordinner to share your creations. Your feedback truly helps!
Small Batch Rice Krispie Treats
Print
Pin
Rate
Equipment
-
Loaf pan or small baking pan
Ingredients
- 5 ounces mini marshmallows (approximately 3 cups)
- 3 tablespoons butter cut into 3 pieces
- ½ teaspoon vanilla extract
- 2 ¼ cups Rice Krispies cereal
Instructions
-
Prepare. Line a loaf pan (8.5 x 4.5”) with parchment paper. Set aside.
-
Combine. Add the marshmallows to a medium bowl and top with butter.5 ounces mini marshmallows, 3 tablespoons butter
-
Melt. Heat in 30-second intervals in the microwave until the butter and marshmallows are melted.
-
Mix. Stir to combine the butter and marshmallows, then add in the vanilla extract and stir again.½ teaspoon vanilla extract
-
Cereal. Add in the crispy rice cereal and fold it in with a silicone spatula until completely coated in the marshmallow mixture.2 ¼ cups Rice Krispies cereal
-
Form. Spread the cereal mixture into the loaf pan, spreading it out to the edges and into an even layer.
-
Rest. Allow to set at room temperature for at least 1 hour.
-
Slice or store. Remove the treats and slice into 4 bars (or 8 squares).
Notes
Yield: 4 large bars or 8 mini treats.
Stovetop Method:
- Melt the butter and marshmallows together over medium heat in a medium saucepan, stirring often until smooth.
- Remove from the heat and stir in vanilla extract.
- Pour in the cereal and fold it in with a silicone spatula until completely coated in the marshmallow mixture.
- Spread the cereal and marshmallow mixture into the prepared loaf pan, pressing it out gently into an even layer.
- Allow to cool and set at room temperature for at least 1 hour.
- Remove the treats from the pan and slice into 4 bars (or 8 squares) before serving.
Storing: These treats are best stored in an airtight container at room temperature for up to 3 days. To prevent sticking, place parchment or waxed paper between layers.
Freezing: While the texture may change slightly after freezing, these treats can be frozen for up to 2 months. Wrap each treat individually in plastic wrap, then place them in a labeled freezer bag. Thaw at room temperature before enjoying.
Nutrition
Please note that some of my blog posts here at Dash for Dinner may contain affiliate links. If you make a purchase through these links, I will get a small commission at no additional cost to you. Please see my Disclaimer for more information.
