Crispy Chickles (Cheese Pickles) Recipe: Your Ultimate Low-Carb & Keto Snack!
Craving something incredibly crunchy, savory, and satisfying, but also quick and healthy? Look no further than Chickles (AKA Cheese Pickles)! This easy-to-make, two-ingredient snack has taken the internet by storm, offering a perfect low-carb, high-protein alternative to traditional fried pickles.
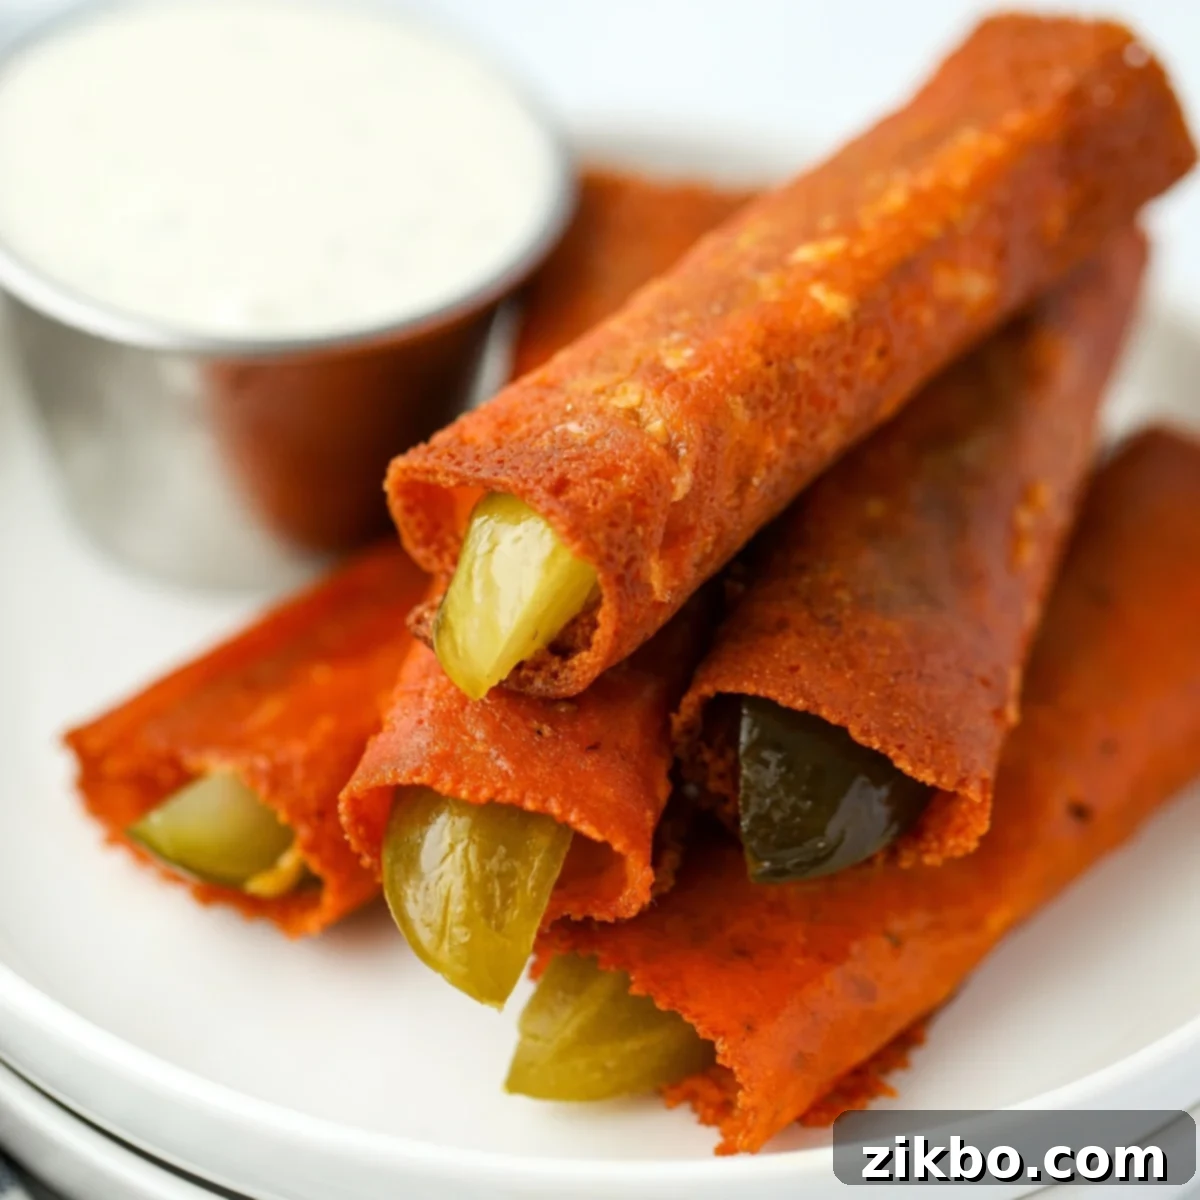
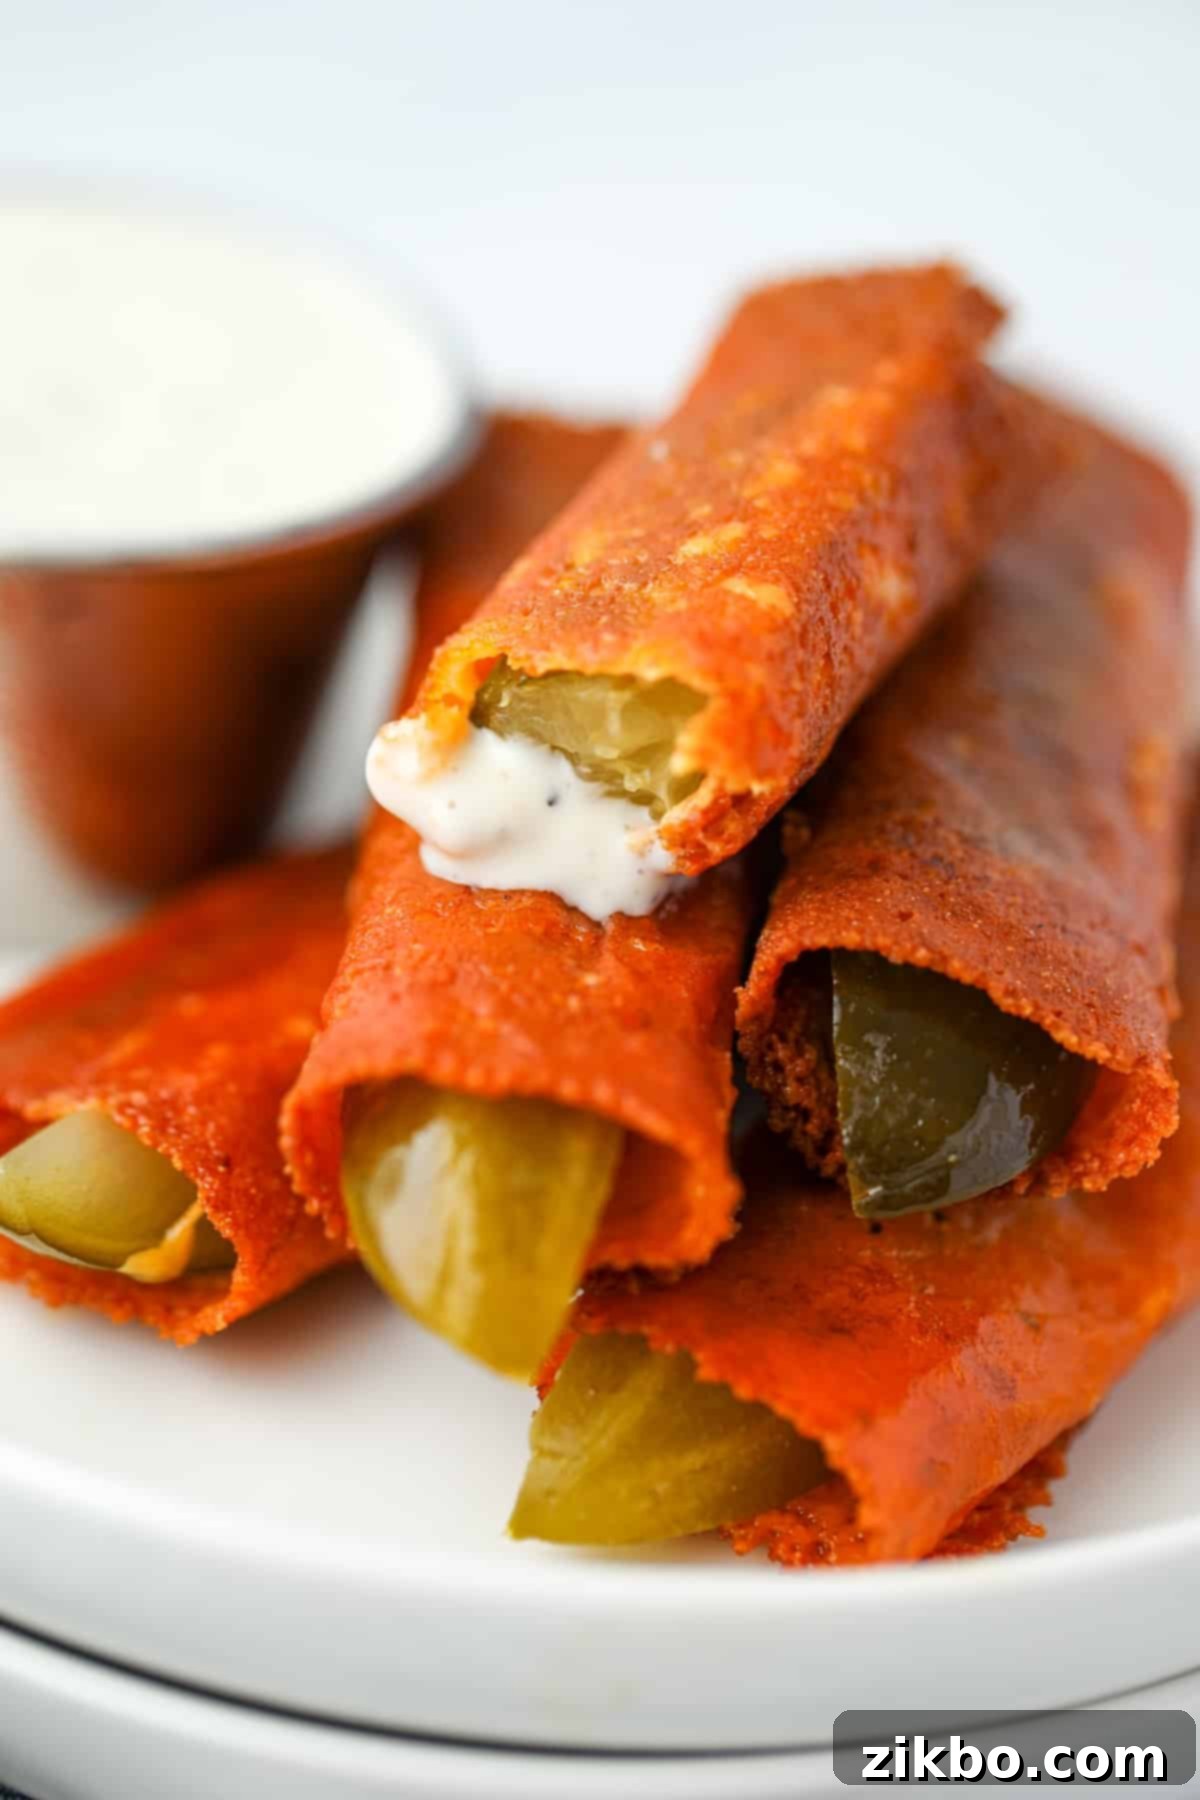
Imagine golden-brown, crispy fried cheese wrapped around a tangy dill pickle spear. It’s a flavor and texture sensation that will leave you wondering why you haven’t tried this genius combination sooner. Perfect for a midday snack, a unique appetizer, or a fun addition to your “girl dinner” lineup, these cheese pickles are incredibly versatile and always a hit.
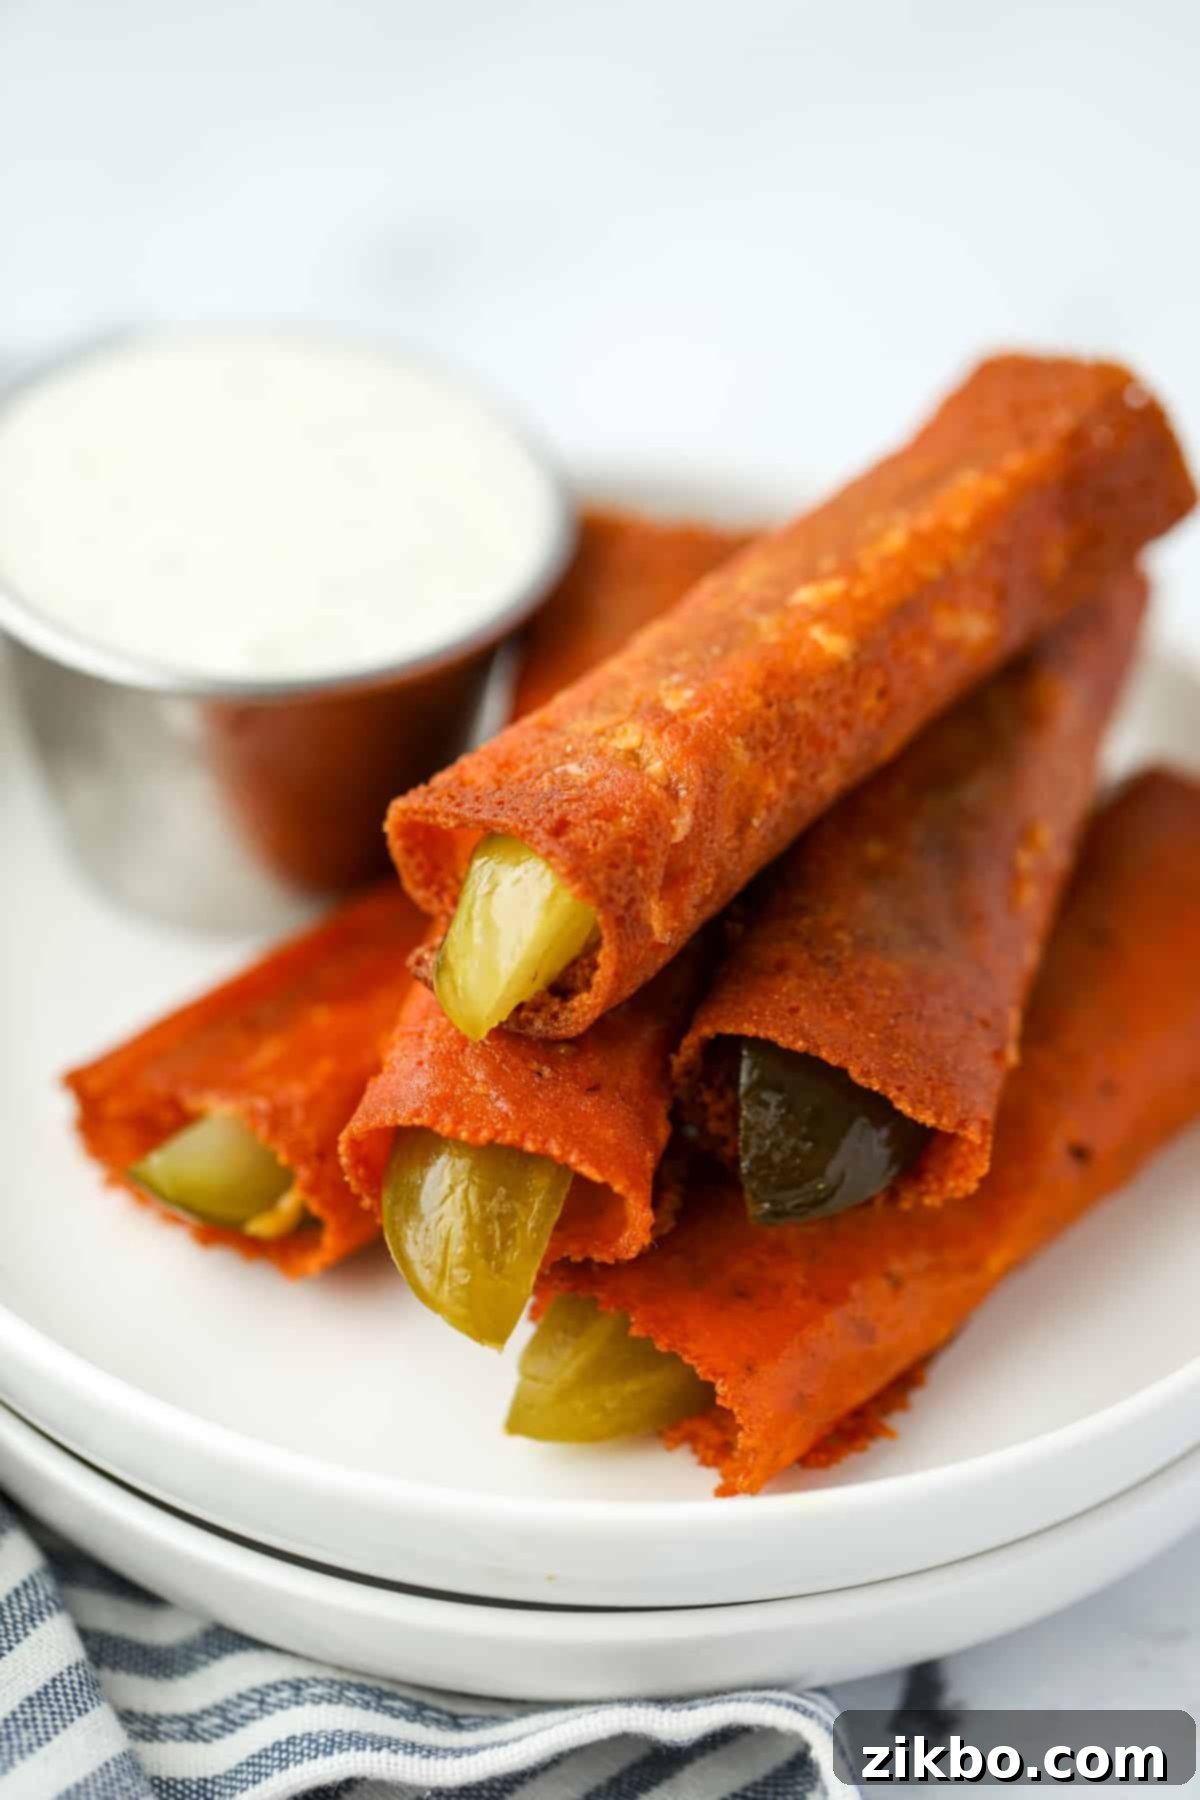
I first stumbled upon the concept of these delightful easy fried cheese pickles on TikTok over a year ago, and they’ve become a weekly staple in my kitchen ever since. The original viral video showcased shredded cheese being melted in a skillet and then carefully enveloped around a pickle. While many variations exist, including smaller “pickle chips” made with cheese slices, my extensive experimenting led me to a crucial discovery: using pre-sliced cheese yields the best results.
Cheese slices not only ensure easier cleanup but also boast a significantly higher success rate in achieving that perfect crispy exterior. This recipe includes all my expert tips and tricks, ensuring you get the most delicious, perfectly crispy cheese pickle every single time. Get ready to satisfy your cravings for fried pickles in a wonderfully guilt-free, low-carb way!
Why You’ll Love These Crispy Cheese Pickles:
- Unbelievably Easy & Quick: Each individual cheese pickle takes approximately 2 minutes from start to finish. This makes them the ultimate speedy snack, perfect for those moments when a craving strikes and you need something satisfying in an instant.
- High Protein and Low Carb Powerhouse: If you’re following a low-carb, keto, or high-protein diet, these chickles are a dream come true. With 5 grams of protein and just 1 net carb per chickle, they keep you full and energized without derailing your dietary goals. They’re a smart choice for a snack that truly contributes to your macros.
- Minimalist Ingredients: You literally only need two ingredients: a slice of real cheese and a dill pickle spear. This simplicity makes them incredibly accessible and budget-friendly, proving that delicious, healthy snacks don’t have to be complicated.
- Irresistible Flavor & Texture Combination: The magic happens when the rich, salty, golden-brown crispy cheese meets the tart, juicy, and crunchy pickle. It’s a delightful contrast of flavors and textures that mimics the beloved fried pickle experience, but without the extra carbs and fuss of breading.
- Versatile for Any Occasion: Beyond being an amazing snack, chickles make a fantastic appetizer for parties, a fun side dish, or a clever component of a “girl dinner” spread – pairing wonderfully with grilled cheese or tomato soup for an extra layer of crunch.
Essential Ingredients for Perfect Chickles:
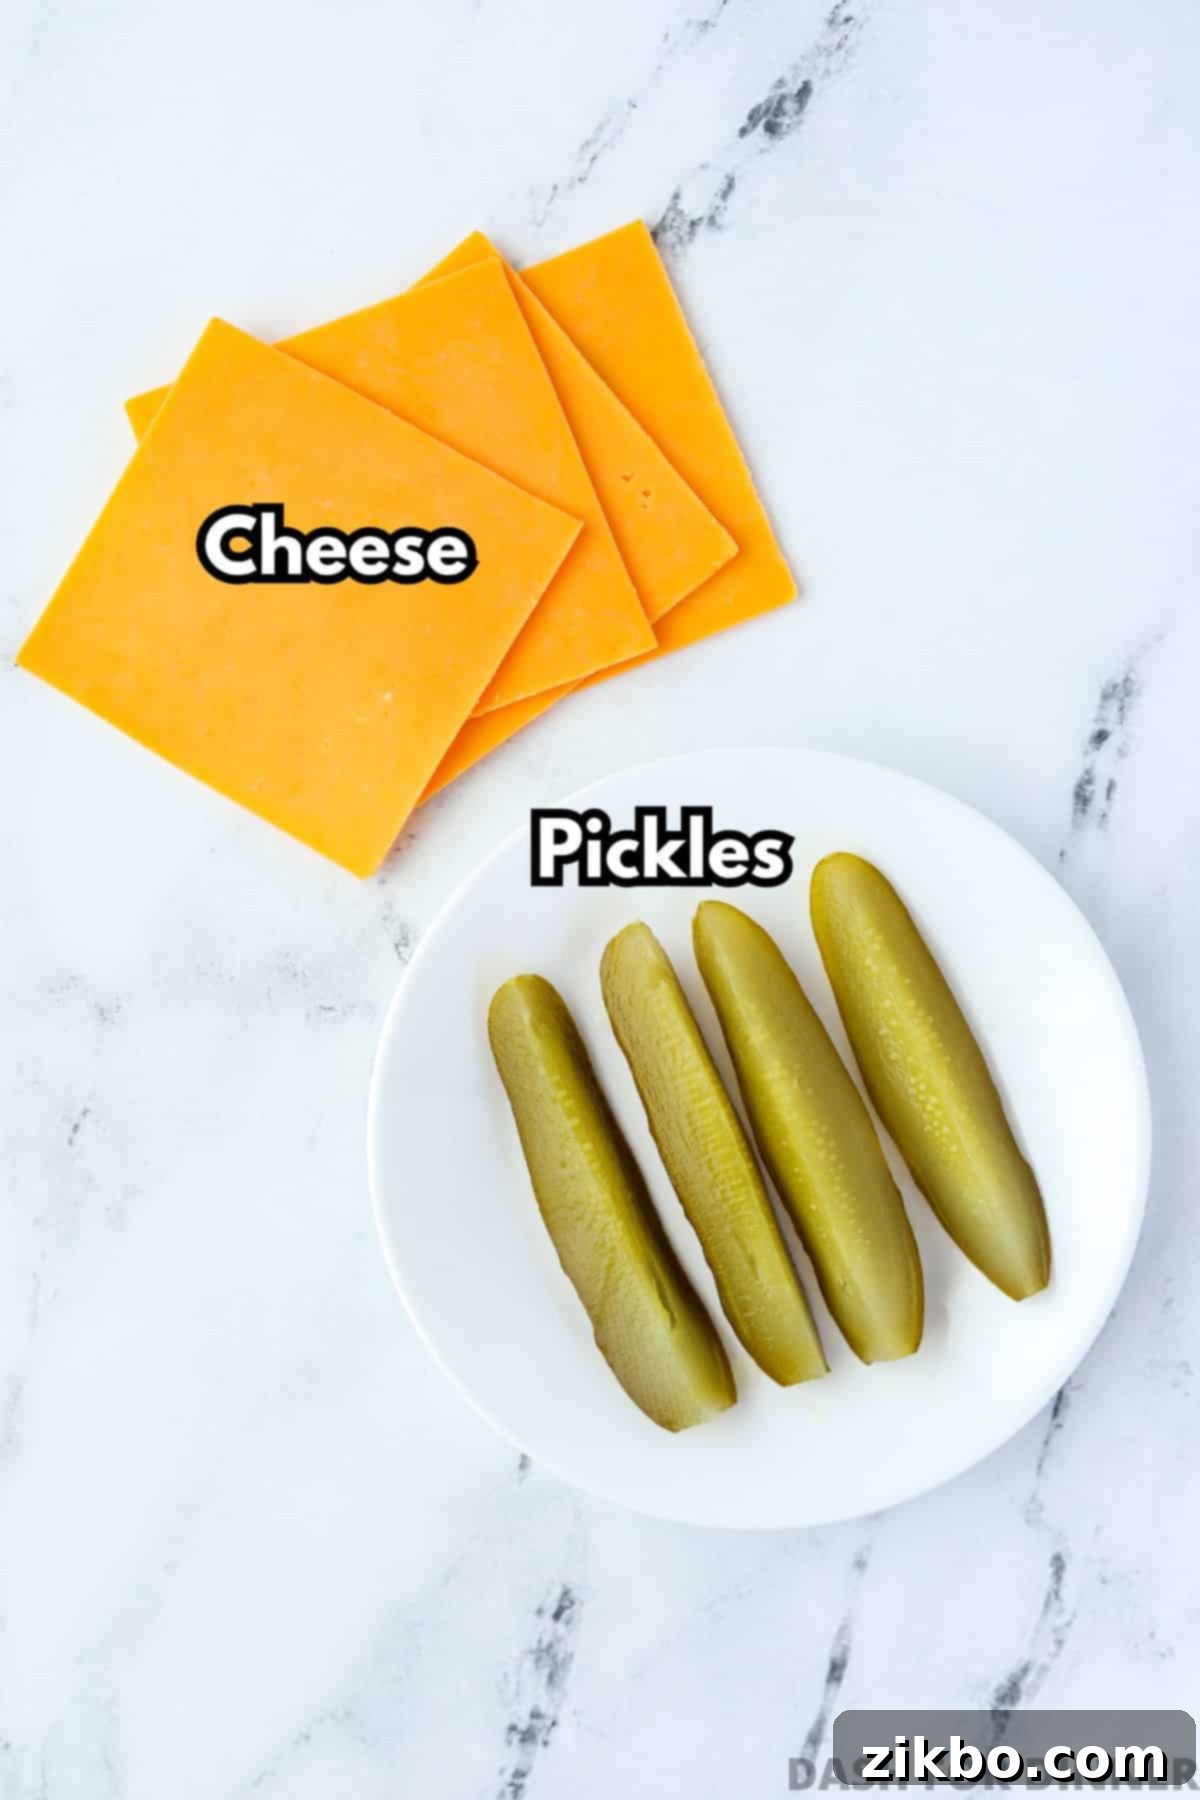
- Cheese: For the absolute best results, I strongly recommend using real, natural cheese slices. Varieties like cheddar, Monterey Jack, marble, or provolone work exceptionally well. These cheeses crisp up beautifully, develop fantastic flavor, and release easily from the pan. It’s crucial to avoid highly processed “American cheese” slices, as they tend to melt into an oily puddle and don’t achieve that desirable crispy texture. If you only have shredded cheese on hand, you can still make these – just ensure you lay it out in a single, even layer in a square shape in the hot skillet to encourage even crisping.
- Pickles: Dill pickle spears are the star here. Their elongated shape and robust dill flavor provide the ideal pickle-to-cheese ratio, closely resembling traditional fried pickles. Look for firm, crisp spears that aren’t overly watery. While spears are preferred, dill pickle slices can also be used if that’s what you have; they will result in more of a “pickle chip” style chickle. Patting your pickles dry with a paper towel before wrapping them can help prevent excess moisture from making the cheese soggy.
Tools & Equipment:
- Non-stick Skillet: A good quality non-stick skillet is your best friend for this recipe, ensuring the cheese crisps up perfectly and detaches without a struggle. A well-seasoned cast iron skillet can also work wonders, providing excellent heat distribution for even browning.
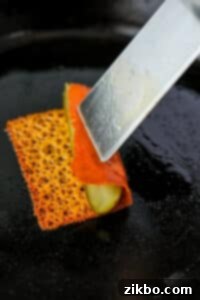
- Turner or Spatula: A thin-edged metal spatula or turner is a significant advantage. Its slim profile allows you to easily slide under the delicate crispy cheese edges, preventing tearing and making the rolling process much smoother.
How to Make Cheese-Wrapped Pickles (Step-by-Step):
Making chickles is incredibly simple, but a few key techniques will guarantee perfectly crispy results every time. Follow these steps for an amazing low-carb snack!
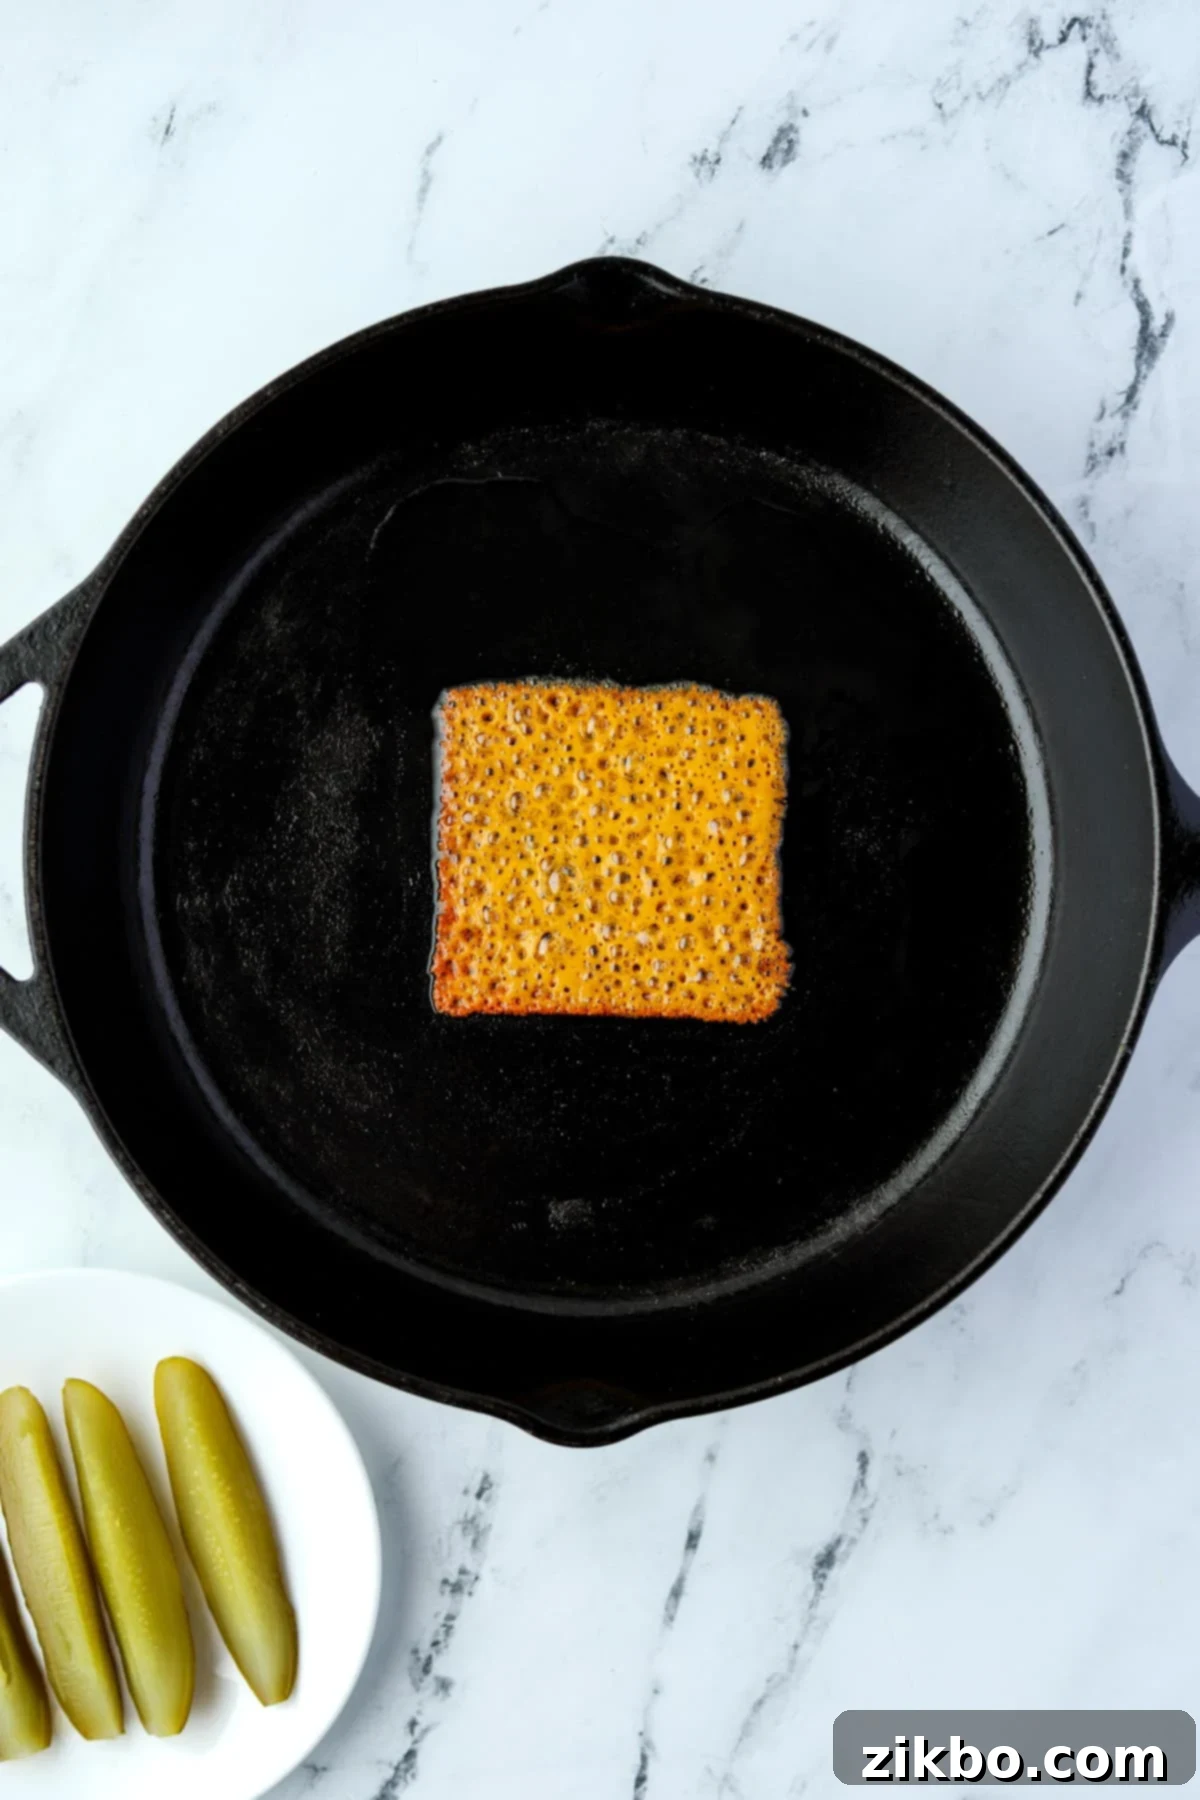
- Prepare Your Pan: Preheat a heavy-bottomed non-stick skillet (or a thoroughly seasoned cast iron skillet) over medium heat for several minutes. This crucial step ensures the pan is hot enough to instantly start crisping the cheese, preventing it from sticking. You should feel heat radiating when you hover your hand over the center.
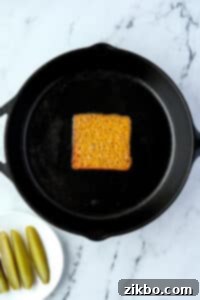
- Add the Cheese: Once your skillet is properly heated, gently place a single slice of cheese in the center of the pan. If using shredded cheese, arrange it in an even, compact square layer roughly the length of a pickle spear.
Pro Tip for Shredded Cheese: If you’re using shredded cheese, ensure it’s in a single, even layer to promote consistent crisping. Try to form a square shape that’s wide enough to easily wrap around your pickle spear.
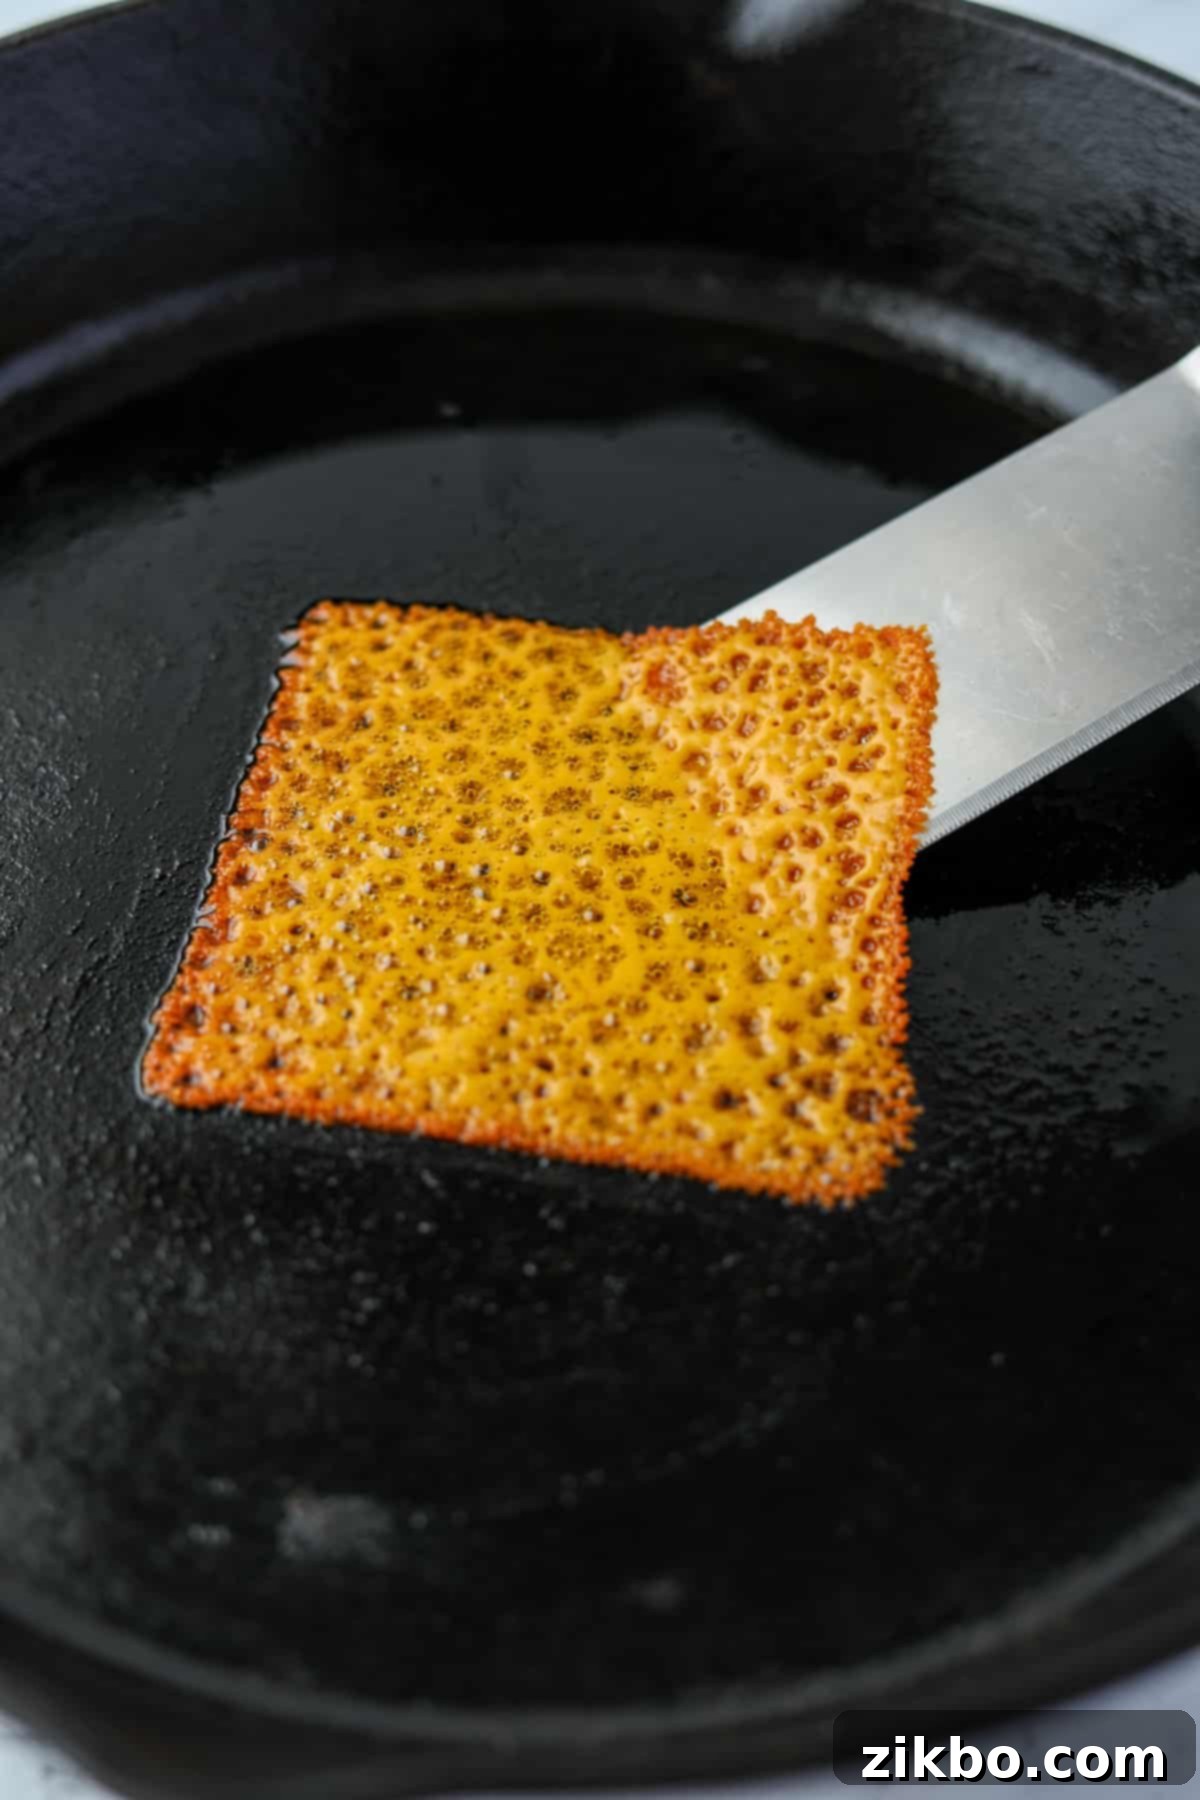
- Melt and Crisp: Allow the cheese to melt, bubble, and cook undisturbed. Patience is key here! Resist the urge to poke or move it. As it cooks, you’ll see the edges begin to turn golden brown and crisp up. This usually takes 1-2 minutes, depending on your pan and cheese type.
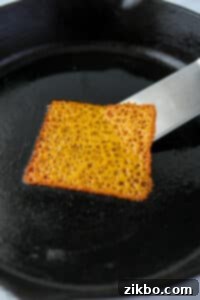
- Loosen the Edges: Once you see that beautiful browning around the perimeter, use a thin-edged spatula to carefully slide around the edges of the cheese. This will loosen it from the pan, ensuring it doesn’t stick and is ready for wrapping.
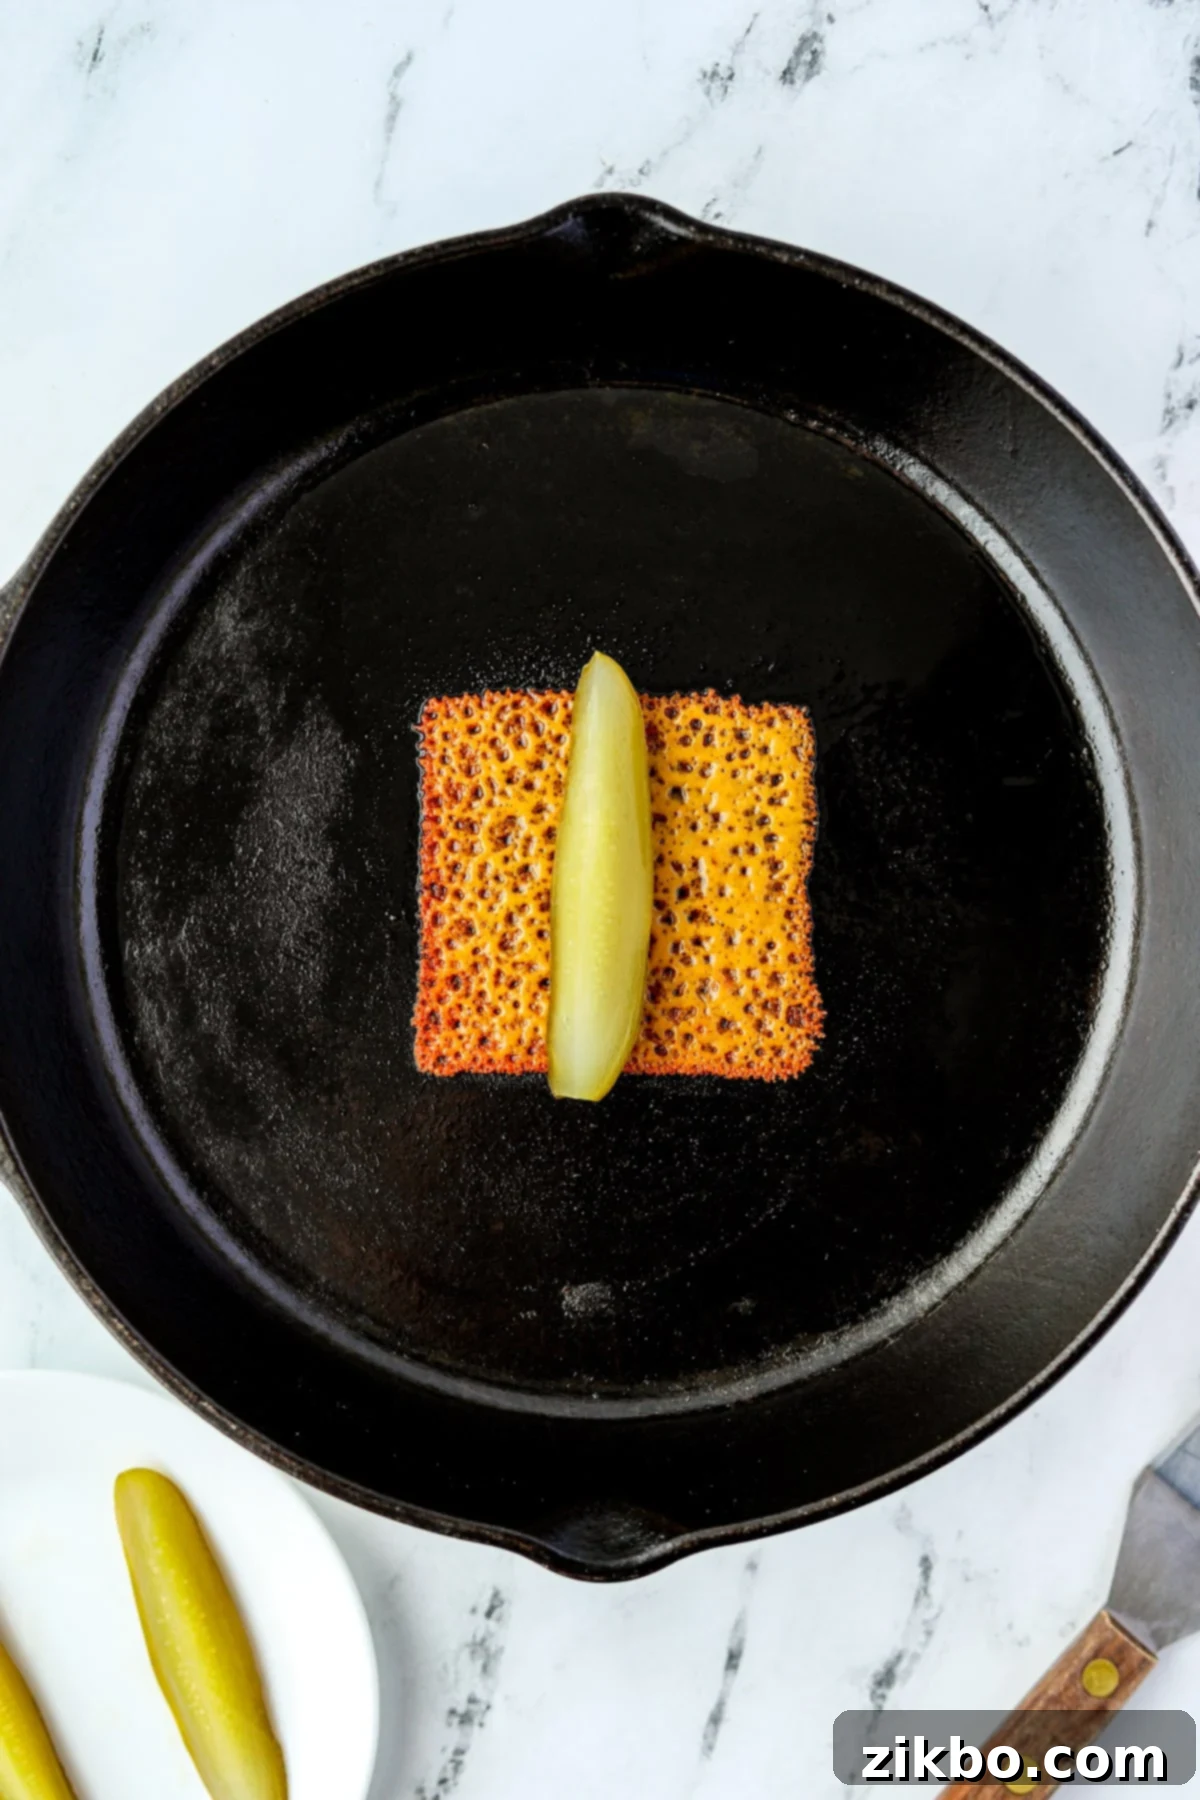
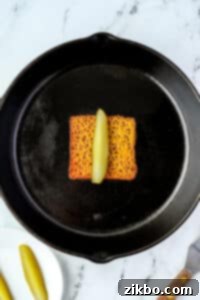
- Add the Pickle: Carefully place a dill pickle spear directly in the center of the now crispy-edged, melted cheese slice. Position it lengthwise to prepare for rolling.
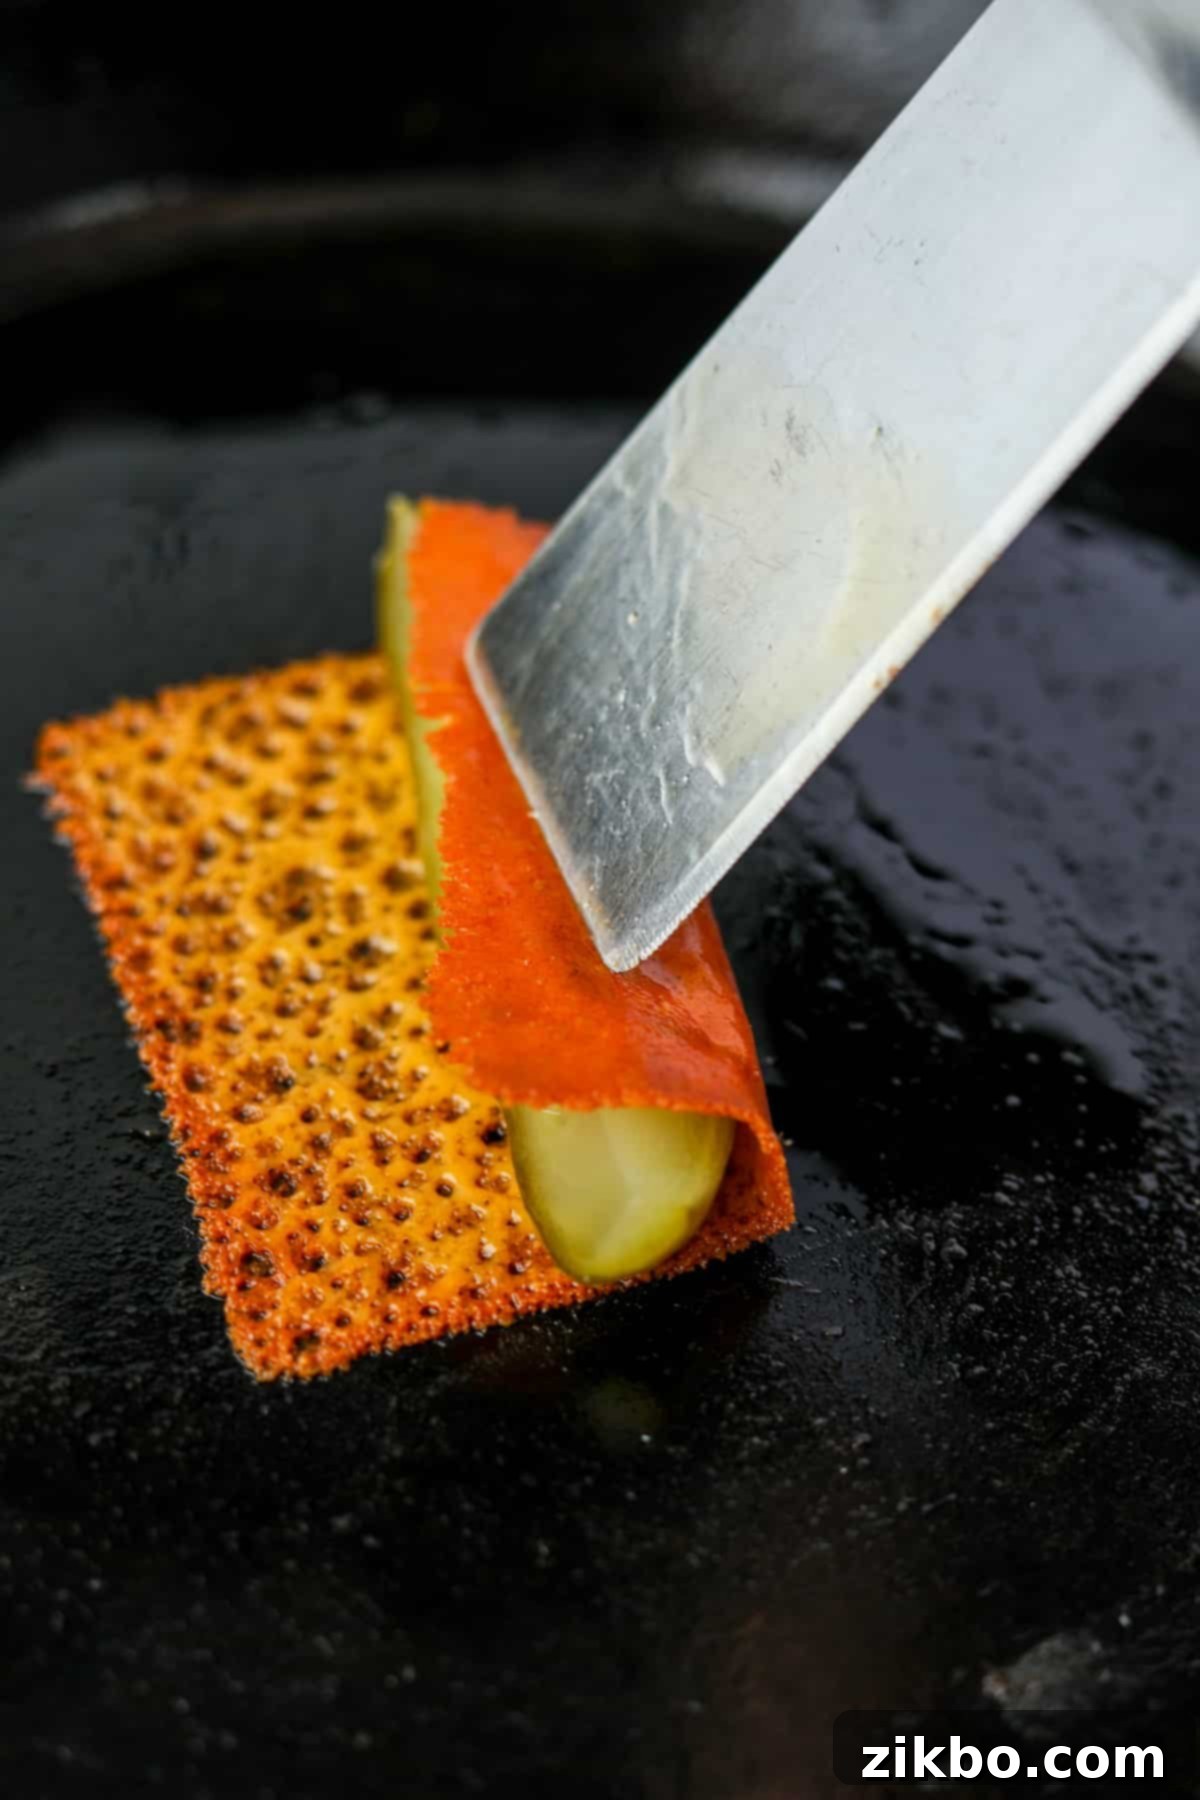
- Wrap it Up: Using your spatula, gently lift one side of the crispy cheese and roll it over the pickle spear. Continue to carefully roll the pickle until it is completely enveloped in the warm, pliable cheese. The heat will help the cheese adhere.
- Final Roll & Remove: Once fully wrapped, remove the chickle from the skillet. If you notice any excess grease, you can briefly place it on a paper towel-lined plate to blot it away, enhancing its crispiness.
- Repeat: Continue this process for as many delicious chickles as your heart desires! Remember to work in small batches for the best control and results.
Serve & Enjoy!
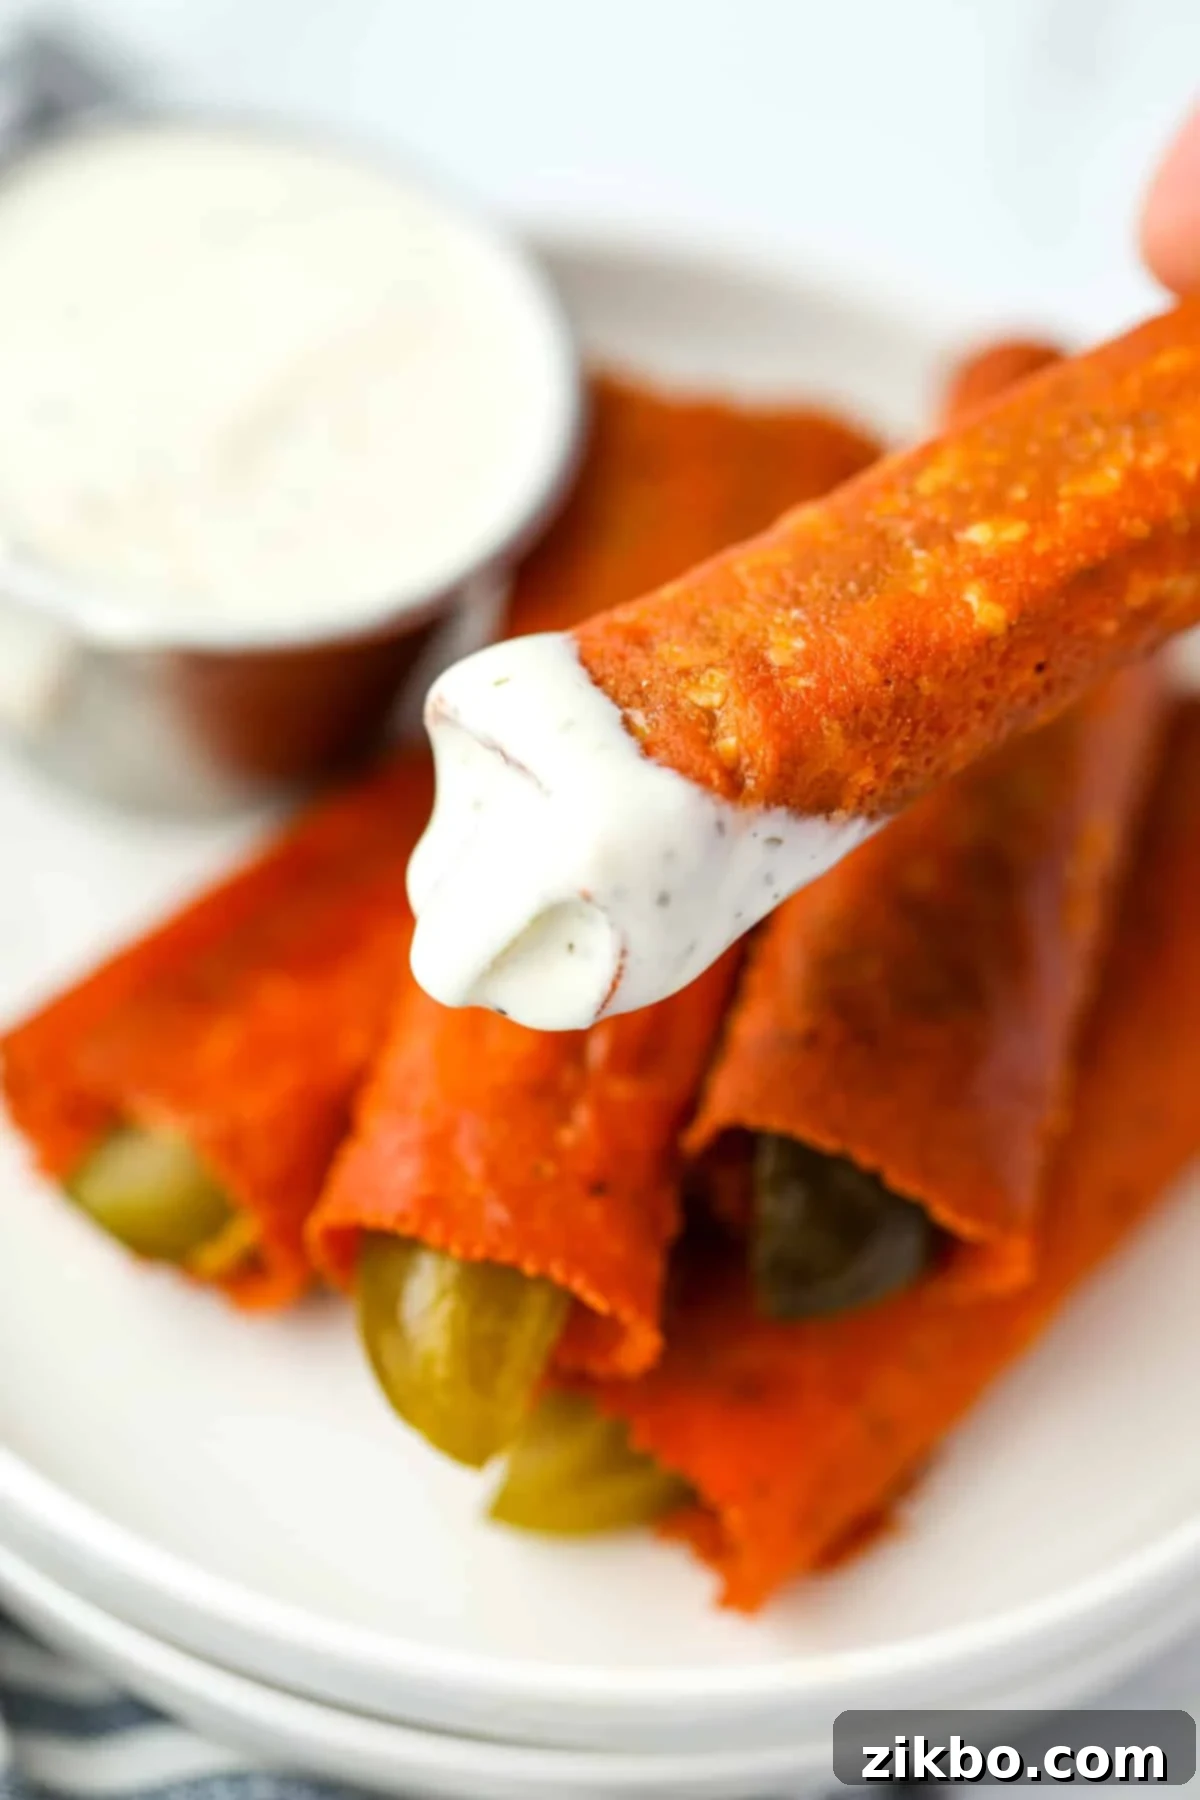
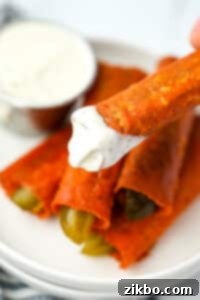
Once you’ve crafted your desired quantity of chickles, it’s time to enjoy them! While they are perfectly delicious on their own, the experience is elevated with a good dipping sauce.
My top recommendation is a high-quality ranch dressing or a creamy homemade ranch dip. The cool, tangy creaminess of the ranch perfectly complements the salty, crispy cheese and the bright, briny pickle. Other fantastic dipping options include honey mustard, sriracha mayo for a spicy kick, a simple sour cream and chive dip, or even a zesty remoulade. Don’t be afraid to experiment with your favorites!
More Easy Low-Carb Snacks You’ll Love:
If you’re looking for more simple and delicious low-carb snack ideas, try these:
- Crispy Air Fryer Pepperoni Chips
- Easy Parmesan Crisps (Whisps Copycat)
- Air Fryer Paneer Cubes
Storing Leftovers & How to Reheat:
While chickles are undeniably best enjoyed fresh off the skillet when they are at their crispiest, you can store any leftovers. Place them in an airtight container and refrigerate for up to 2-3 days. Be aware that the moisture from the pickles will likely soften the cheese somewhat, so the texture won’t be quite the same as when freshly made.
- To reheat and attempt to restore some crispiness, place them on a baking sheet and warm them in an oven preheated to 350ºF (175ºC) for about 5-8 minutes, or until heated through and the cheese begins to firm up again.
- Alternatively, an air fryer at 325ºF (160ºC) for 3-5 minutes can also work effectively for reheating, often yielding slightly crisper results than an oven. Avoid the microwave, as it will make them rubbery and soggy.
Expert Tips for Perfect Chickles Every Time:
- Work in Small Batches: This is my number one tip! Trying to manage more than 2-3 melting cheese slices simultaneously can quickly become chaotic. I’ve made hundreds of these, and I’ve found that making them one at a time in the skillet gives you the most control and ensures each chickle is perfectly crispy and wrapped. Don’t rush the process; quality over quantity is key here.
- Always Preheat the Skillet Properly: The secret to cheese that crisps beautifully instead of sticking to your pan lies in a well-preheated skillet. Heat your non-stick or cast iron skillet over medium heat for several minutes before adding the cheese. You should be able to feel a noticeable radiant heat when you hold your hand a few inches above the surface. This immediate heat sears the cheese, creating that desirable non-stick crisp.
- Opt for Non-Processed, Real Cheese: Ditch the highly processed “American cheese” slices for this recipe. They contain emulsifiers that cause them to melt differently, resulting in an oily, less crispy, and often sticky mess. Instead, choose real cheese slices like sharp cheddar, mild Monterey Jack, a flavorful marble blend, or even Provolone. These varieties offer superior flavor and crisping properties.
- Use a Thin Metal Spatula: A thin-edged metal spatula (ideally with a short handle for better control) is an invaluable tool for making chickles. Its sharp edge allows you to easily slide under the crispy cheese, loosening it from the pan without tearing. This precision is crucial for achieving a neat and secure wrap around the pickle.
- Pat Pickles Dry: Pickles can carry a lot of moisture, which can inhibit the cheese from crisping properly or even make it soggy. Before placing the pickle on the melted cheese, gently pat it dry with a paper towel. This small step makes a big difference in the final texture.
- Season Your Cheese (Optional): For an extra layer of flavor, consider lightly sprinkling the melting cheese with a pinch of garlic powder, onion powder, paprika, or even a dash of everything bagel seasoning. This adds a gourmet touch to your simple snack.
More Delicious Low Carb Recipes:
If you’re enjoying the low-carb lifestyle, explore these other fantastic recipes from our collection:
- Chicken Diane
- Inside Out Egg Roll in a Bowl
- Creamy Spinach and Mushroom Chicken
- John Wayne Casserole
If you loved this recipe for Chickles (AKA Cheesy pickles), let me know by leaving a 5-star review in the recipe card or comment below! You can also tag me on Instagram @dashfordinner. I love seeing your creations!
Chickles (Cheese Pickles)
Print
Pin
Rate
Ingredients
- 1 slice cheese cheddar, monterey Jack, marble, etc. (Do not use American cheese)
- 1 dill pickle spear
Instructions
-
Heat a large non-stick skillet (or well seasoned cast iron) over medium heat.
-
Once the pan radiates heat, place the cheese slice in the center of the pan.

-
The cheese slice will bubble up and melt. Do not attempt to touch it until the edges begin to brown and the bottom crisps up.
-
Once the edges of the cheese brown (about 1-2 minutes), slide a thin spatula around the edges of the cheese to loosen it from the pan.

-
Place a single pickle spear in the center of the melted cheese square.

-
Use the spatula to roll one half of the cheese on top of the pickle spear, then continue to roll the pickle so that it becomes wrapped in the fried cheese.

-
Remove from the skillet. If desired, drain the excess grease on a paper towel lined plate.
-
Repeat with the desired amount of cheese and pickles.
-
Serve with ranch dressing (or your favorite dipping sauce) and enjoy!

Notes
Can I use shredded cheese? This recipe can work well with shredded cheese. Just place it in a single layer, keeping it in a square shape about the length of a pickle spear.
Nutrition
Please note that some of my blog posts here at Dash for Dinner may contain affiliate links. If you make a purchase through these links, I will get a small commission at no additional cost to you. Please see my Disclaimer for more information.
